Introduction
Welcome to our guide on how to get pictures from an SD card to an iPhone. If you’ve ever found yourself in a situation where you had to transfer photos from an SD card to your iPhone, you know it can be a bit challenging. However, there are several methods and tools available to help you accomplish this task quickly and easily.
Having your pictures readily accessible on your iPhone is convenient, allowing you to easily view, edit, and share them on the go. Whether you want to transfer your photos for personal use or for professional reasons, we’ve got you covered.
In this article, we will explore four different options for transferring photos from an SD card to an iPhone. Each option varies in terms of tools required and the steps involved. By the end of this guide, you’ll have a clear understanding of how to accomplish this task with ease, no matter which method suits your needs best.
While the process of transferring pictures from an SD card to an iPhone may initially seem daunting, we assure you that it can be done efficiently, even if you do not consider yourself a tech expert. So, without further ado, let’s dive into the different options available to you.
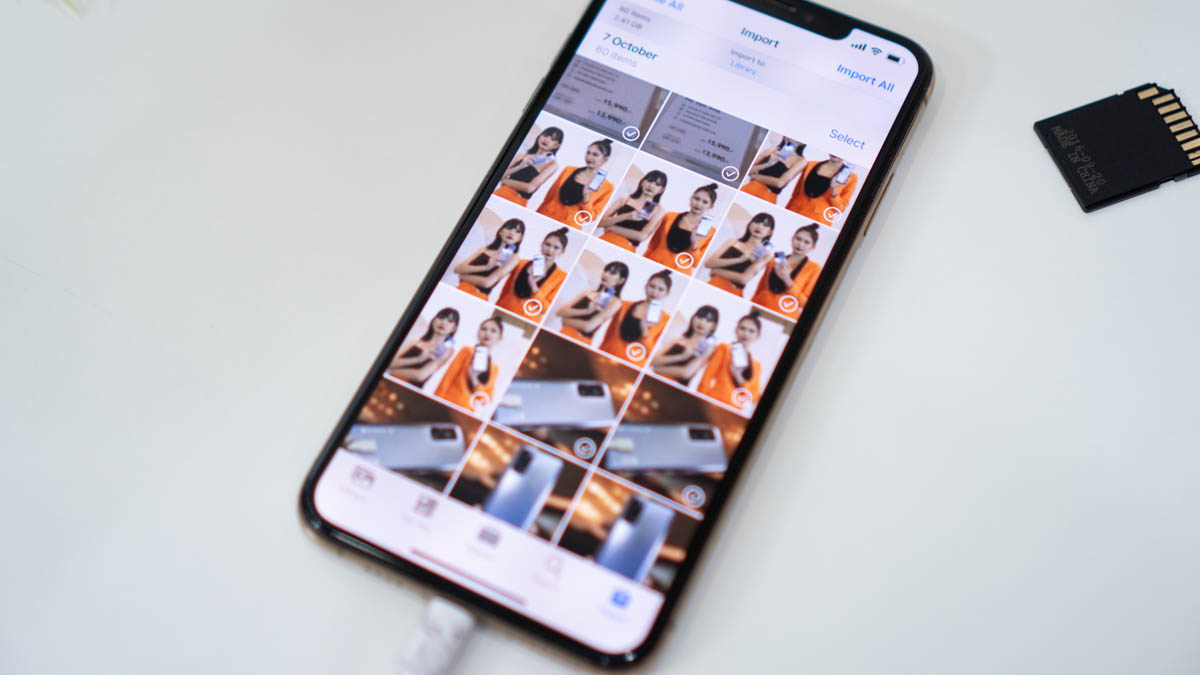
Option 1: Using the Apple Lightning to SD Card Camera Reader
The Apple Lightning to SD Card Camera Reader is a handy tool that allows you to directly transfer photos from an SD card to your iPhone. This option is ideal for individuals who prefer a straightforward and hassle-free method of transferring pictures.
To begin, insert the SD card into the Apple Lightning to SD Card Camera Reader. Then, connect the Lightning end of the reader to your iPhone. Your device will automatically launch the Photos app, where you can select the photos you want to import. Alternatively, you can choose to import all the photos from the SD card.
Once you have selected the photos, click the “Import” button to initiate the transfer process. The imported photos will be stored in the “Imported” album in the Photos app on your iPhone. From there, you can easily organize, edit, and share your pictures as desired.
It’s important to note that the Apple Lightning to SD Card Camera Reader is compatible with all iPhone models that feature a Lightning connector. Additionally, it supports standard photo formats, including JPEG and RAW files.
Overall, this option offers a seamless and uncomplicated way to transfer photos from an SD card to your iPhone. It eliminates the need for complex configurations or additional software and ensures that your pictures are readily available in the Photos app on your device.
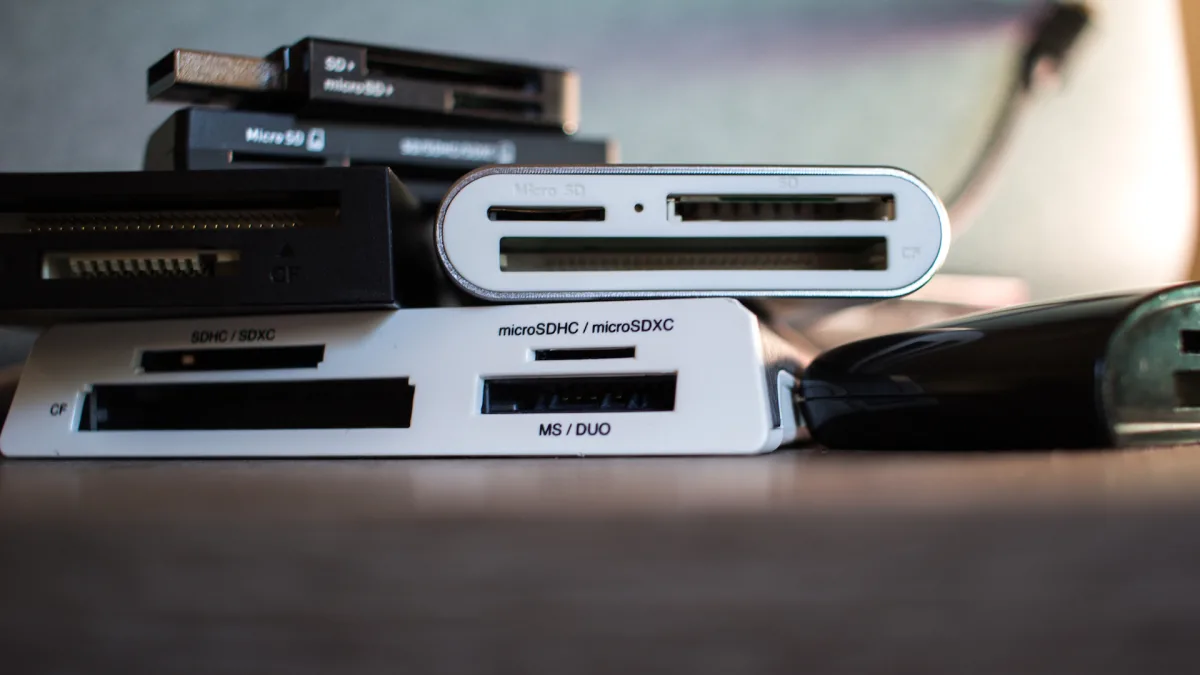
Option 2: Using a Third-Party Card Reader and File Manager App
If you don’t have access to the Apple Lightning to SD Card Camera Reader, or if you prefer to explore alternative options, you can transfer photos from an SD card to your iPhone using a third-party card reader and a file manager app. This method provides flexibility and is not limited to iPhone models with a Lightning connector.
First, obtain a compatible SD card reader that connects to your iPhone via the device’s charging port or a lightning connector. There are many reliable options available on the market that offer seamless compatibility with iOS devices.
Next, insert the SD card into the card reader and connect it to your iPhone. Once connected, your iOS device should recognize the card reader, and you may be prompted to download the corresponding file manager app from the App Store.
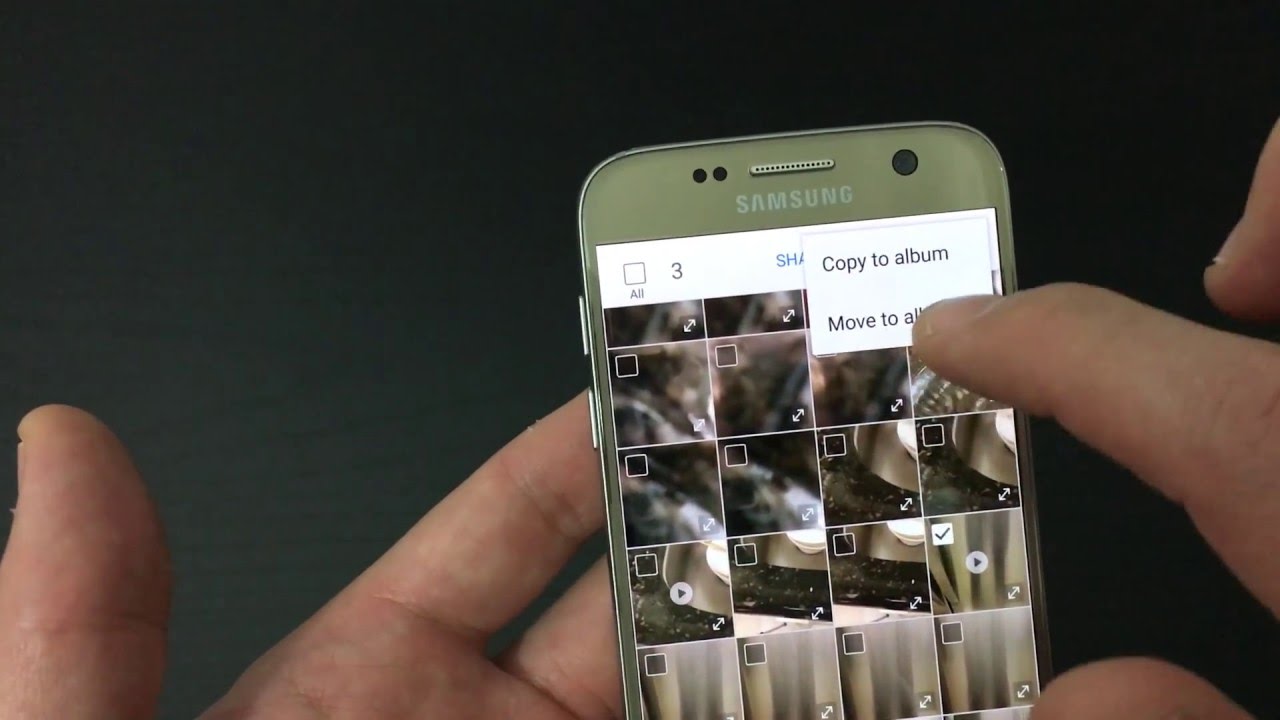
After installing the file manager app, open it and navigate to the “File” or “Storage” section. Locate the SD card folder listed under the connected devices, usually labeled with the card reader name. Select the photos you wish to transfer to your iPhone, then choose the option to import or save them to your device’s Camera Roll or a designated photo album.
Depending on the file manager app you use, the interface and specific steps may vary slightly. However, most apps provide an intuitive and user-friendly experience, making it easy to manage and transfer your photos from the SD card to your iPhone.
This method offers a versatile solution, as it allows you to connect various types of card readers to your iPhone. Whether you’re using an SD card, microSD card, or other memory card formats, utilizing a third-party card reader and file manager app gives you extensive compatibility and flexibility.
Remember to safely eject the SD card from the card reader once the transfer is complete to prevent any data loss or corruption. Additionally, you can use the file manager app to organize and manage your transferred photos, giving you full control over your photo library on your iPhone.
Option 3: Importing Photos to a Mac and Syncing with iCloud
Another convenient option for transferring photos from an SD card to an iPhone is to import the photos to a Mac and then sync them with iCloud. This method is suitable for individuals who have access to a Mac computer and prefer to have their photos backed up and easily accessible across multiple devices through iCloud.
To begin, insert the SD card into the SD card slot on your Mac or use an external card reader to connect the SD card to your Mac. Your Mac should automatically detect the SD card and launch the Photos app. If it doesn’t, manually open the Photos app.
In the Photos app, click on the “Import” tab located in the top center of the window. Select the photos you want to transfer from the SD card to your Mac. You can choose individual photos or use the “Import All New Photos” option to import all new photos from the SD card.
Once the photos are imported to your Mac, open the iCloud Photos app, which is part of the iCloud suite of apps, and log in with your Apple ID. Enable the iCloud Photos feature to sync your photos with the iCloud storage.
Ensure that your iPhone is signed in with the same Apple ID and has iCloud Photos enabled. Your photos should automatically sync across your devices. Open the Photos app on your iPhone, and you will find the imported photos in your iCloud Photos Library.
This method not only transfers the photos from the SD card to your iPhone but also provides a convenient backup solution using iCloud. With iCloud Photos enabled, your entire photo library, including the imported photos, will be securely stored and easily accessible on your iPhone, Mac, and other Apple devices.
It’s important to note that this method requires a Mac computer, iCloud storage space, and a stable internet connection for seamless syncing. Additionally, ensure that you have enough iCloud storage to accommodate your photo library.
By importing photos to a Mac and syncing with iCloud, you can easily manage and access your photos across multiple devices. It’s a reliable and efficient method to transfer photos from an SD card to your iPhone while ensuring your precious memories are safely stored and synchronized.
Option 4: Using a Wi-Fi SD Card
If you’re looking for a wireless solution to transfer photos from an SD card to your iPhone, using a Wi-Fi SD card could be the ideal option for you. A Wi-Fi SD card allows you to wirelessly connect your iPhone to the SD card and transfer photos without the need for any additional adapters or cables.
To begin, make sure your Wi-Fi SD card is inserted into your camera or the SD card slot of a compatible card reader. Turn on the Wi-Fi feature on the card by following the manufacturer’s instructions. Most Wi-Fi SD cards come with dedicated apps that you can download from the App Store to facilitate the connection.
On your iPhone, open the Wi-Fi settings and connect to the Wi-Fi network broadcasted by the SD card. Launch the dedicated app associated with the Wi-Fi SD card and follow the prompts to establish a connection between your iPhone and the SD card.
Once the connection is established, open the app and navigate to the photo transfer or import section. Select the photos you want to transfer and choose the option to import them to your iPhone. The app will transfer the photos wirelessly from the SD card to your iPhone’s Camera Roll or a designated photo album.
Wi-Fi SD cards offer convenience and flexibility by eliminating the need for physical connections or additional accessories. They allow you to transfer photos directly to your iPhone, making it easy to access and manage your photos on the go.
It’s worth noting that different Wi-Fi SD cards may have varying features and app interfaces. Some cards may offer additional functionalities like automatic backup to cloud storage services or the ability to view and edit photos directly from the card. Therefore, consider your specific needs and choose a Wi-Fi SD card that suits your requirements.
The wireless nature of the Wi-Fi SD card makes it an excellent option for individuals who prefer a cable-free solution to transfer photos from an SD card to their iPhone. With just a few simple steps, you can easily and conveniently transfer your photos wirelessly, ensuring they are readily accessible for viewing, editing, and sharing on your iPhone.
Conclusion
Transferring photos from an SD card to an iPhone may seem challenging at first, but with the right methods and tools, it can be a straightforward process. In this guide, we explored four different options for transferring photos to an iPhone, each offering its own advantages and flexibility.
Using the Apple Lightning to SD Card Camera Reader provides a simple and hassle-free way to transfer photos directly to your iPhone. It eliminates the need for additional software or complex configurations, making it a convenient option for many users.
If you prefer alternative methods, using a third-party card reader and file manager app allows for compatibility with various card types and offers a versatile solution. This option gives you more flexibility and control over the transfer process.
For individuals with a Mac and iCloud account, importing photos to a Mac and syncing them with iCloud provides a seamless way to transfer and access photos across multiple devices. This method ensures your photos are backed up and easily accessible wherever you go.
Lastly, using a Wi-Fi SD card offers a wireless solution for transferring photos, eliminating the need for cables or adapters. With a simple connection and a dedicated app, you can easily transfer photos from the SD card to your iPhone, giving you the freedom to manage your photos on the go.
Remember to choose the method that best suits your needs and preferences. Whether you prefer a direct connection, wireless transfer, or utilizing iCloud, each option provides a convenient way to get your photos from an SD card to your iPhone.
Now that you have a better understanding of these four options, you can confidently transfer your photos and enjoy the convenience of having them readily accessible on your iPhone. Keep exploring and discovering new possibilities to make the most of your iPhone’s photo capabilities!