Introduction
Welcome to this guide on how to transfer videos from an SD card to an iPhone. With the increasing popularity of capturing videos on digital cameras, camcorders, and even drones, many people find themselves wanting to transfer these videos to their iPhone for easy sharing and editing. While iPhones are known for their excellent camera capabilities, they do not have a dedicated SD card slot like some other devices. However, transferring videos from an SD card to an iPhone is still possible with the right tools and steps.
In this article, we will walk you through a simple and straightforward process to transfer videos from an SD card to your iPhone. We will guide you on how to properly connect the SD card to your iPhone, locate the videos, and copy them to your device for easy access and enjoyment. Whether you want to share beautiful travel footage, memorable family moments, or creative projects, this guide will help you seamlessly transfer your videos to your iPhone.
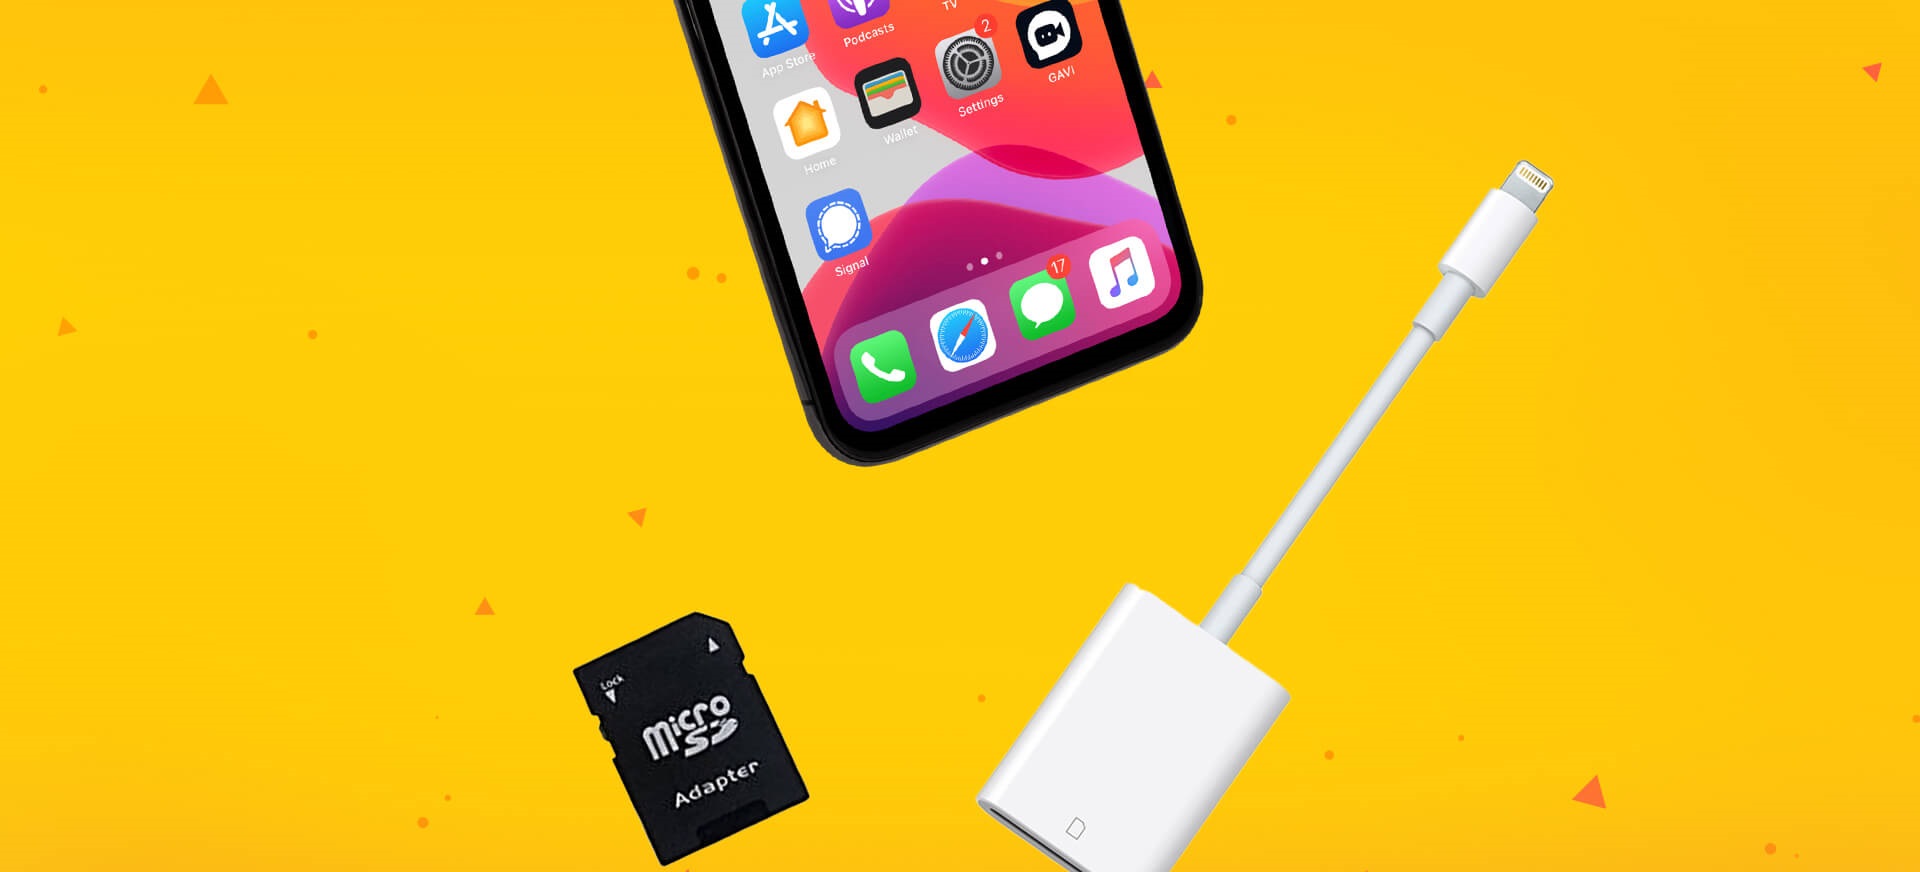
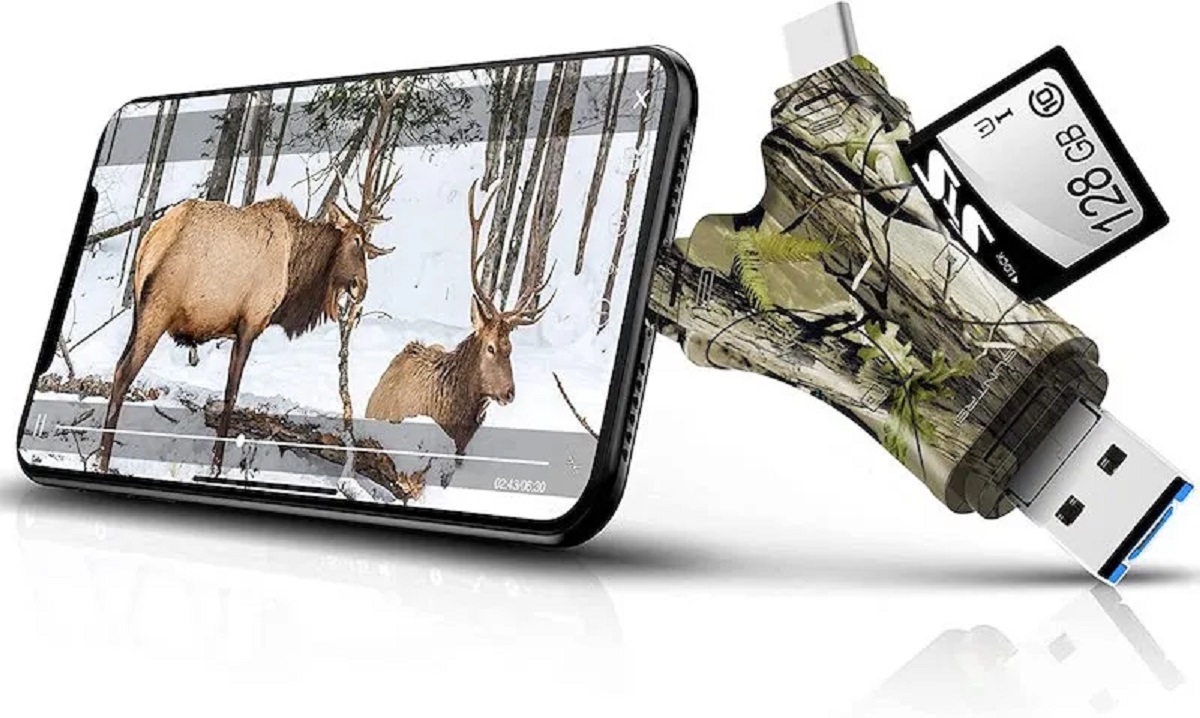
Before we dive into the step-by-step process, it’s important to mention that transferring videos from an SD card to an iPhone requires the use of an external device called a card reader. This device allows you to connect the SD card to your iPhone and access its contents. Card readers come in various forms such as lightning adapters, USB-C adapters, or wireless options.
Now that you are aware of the necessary equipment, let’s get started with the transfer process. Follow along with each step carefully to ensure a successful transfer of your videos. By the end of this guide, you will be able to effortlessly transfer videos from your SD card to your iPhone and enjoy them on the go.
Step 1: Insert the SD card into a card reader
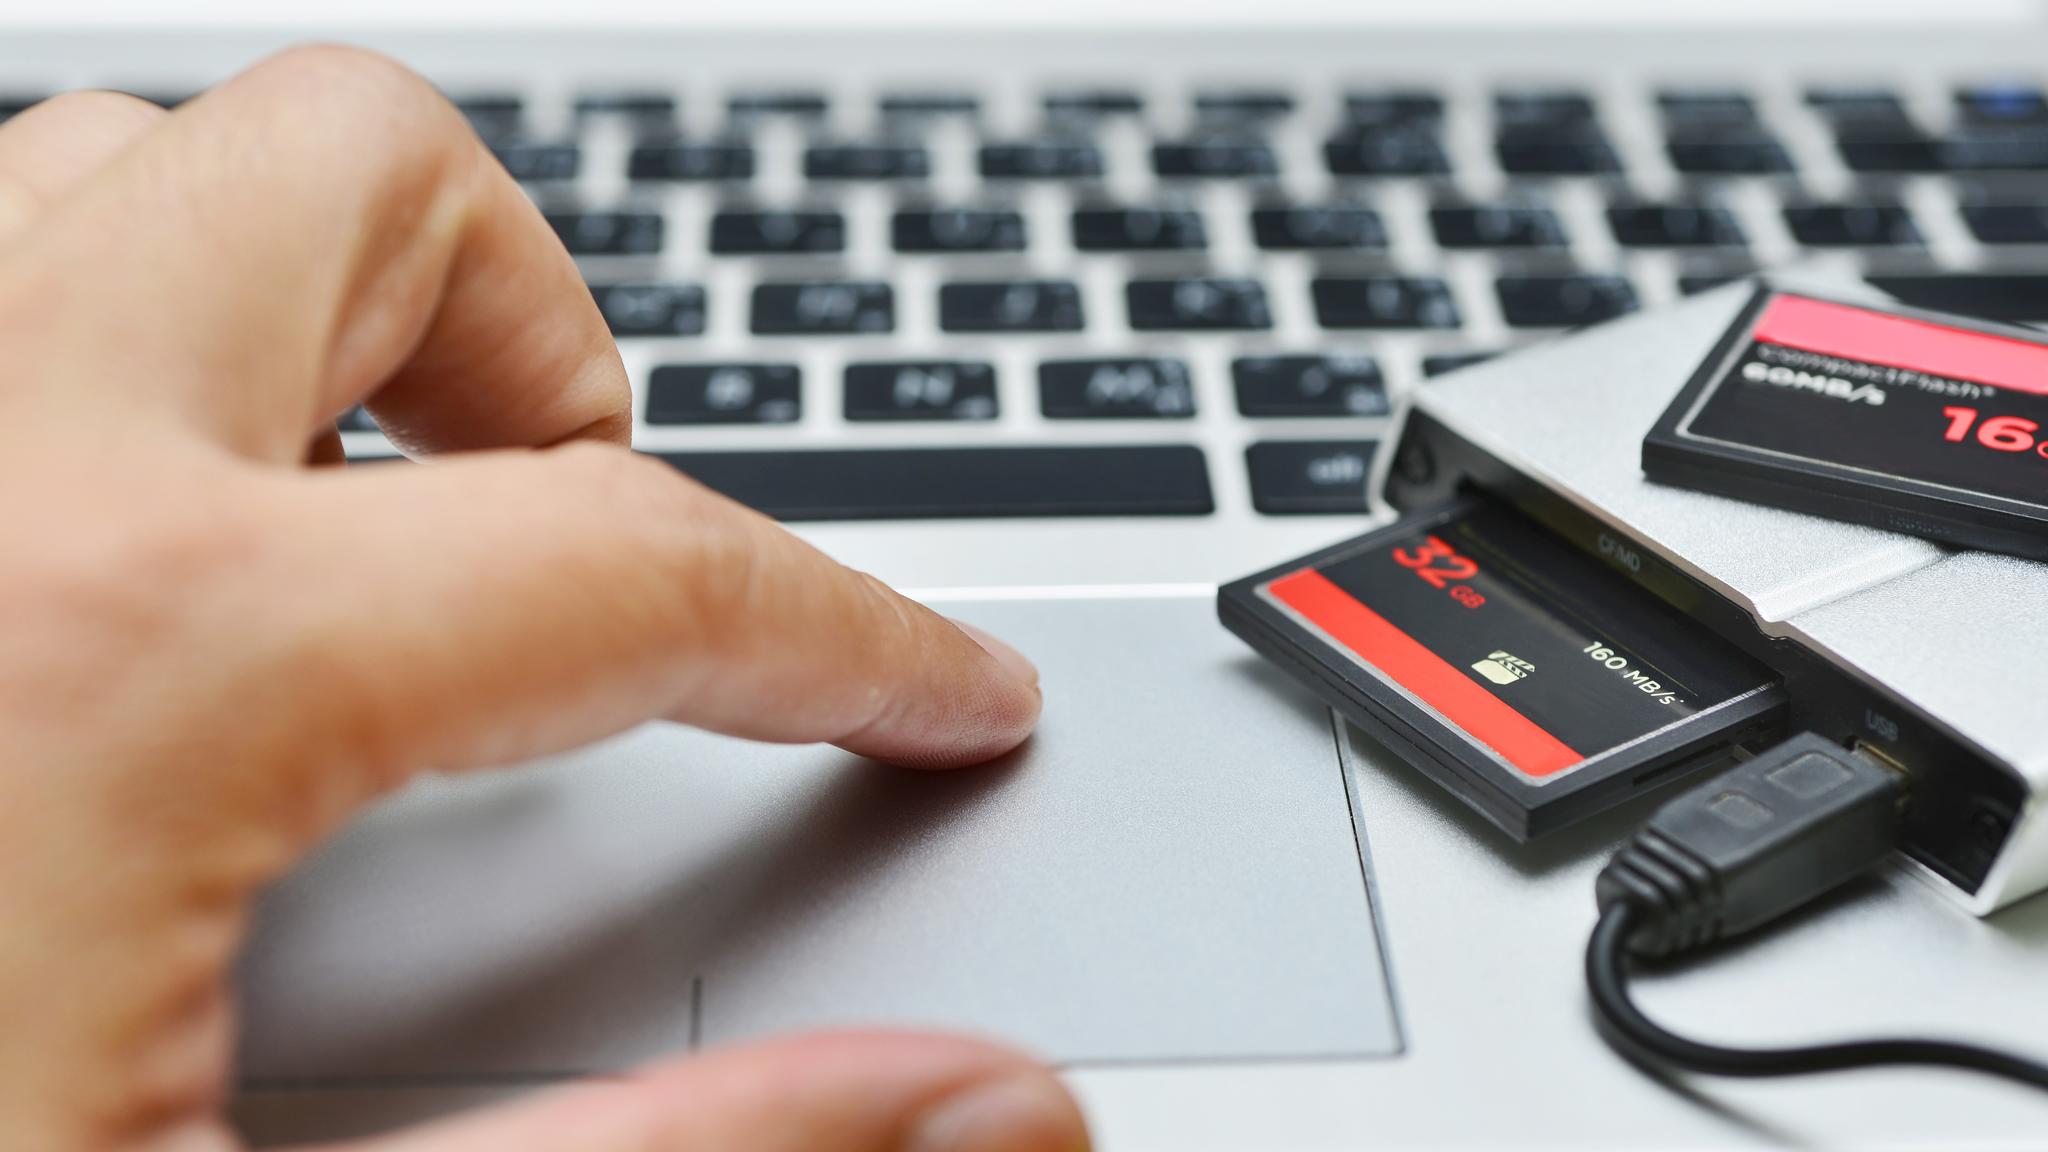
The first step in transferring videos from an SD card to an iPhone is to insert the SD card into a card reader. The card reader serves as a bridge between the SD card and your iPhone, allowing you to access and transfer the videos.
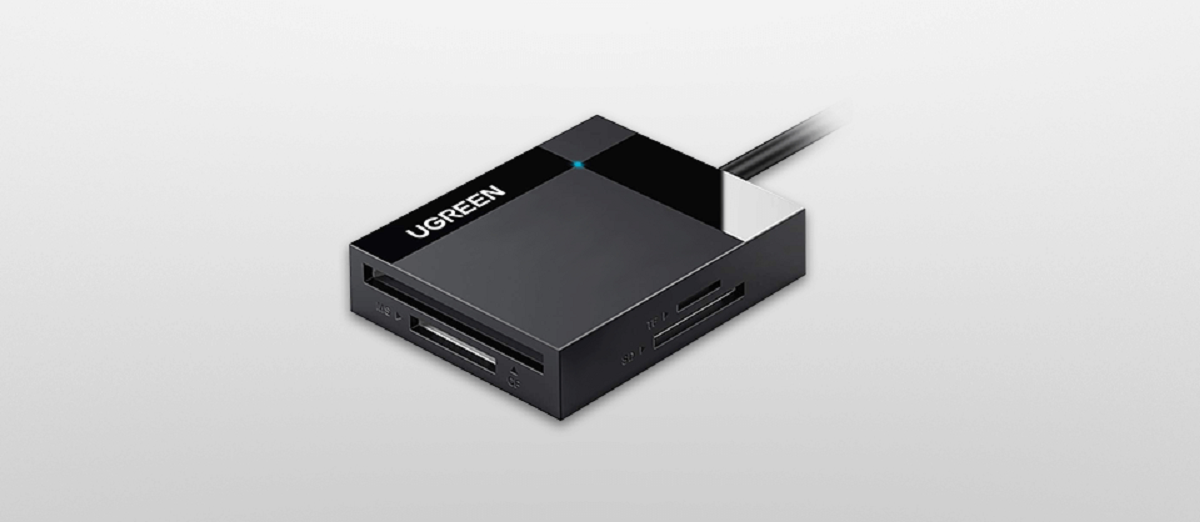
Start by locating the SD card slot on your card reader. Most card readers have multiple slots that support different types of cards, including SD cards. Insert the SD card into the appropriate slot, ensuring that it is inserted in the correct orientation. Take care not to force the card into the slot to avoid damage.
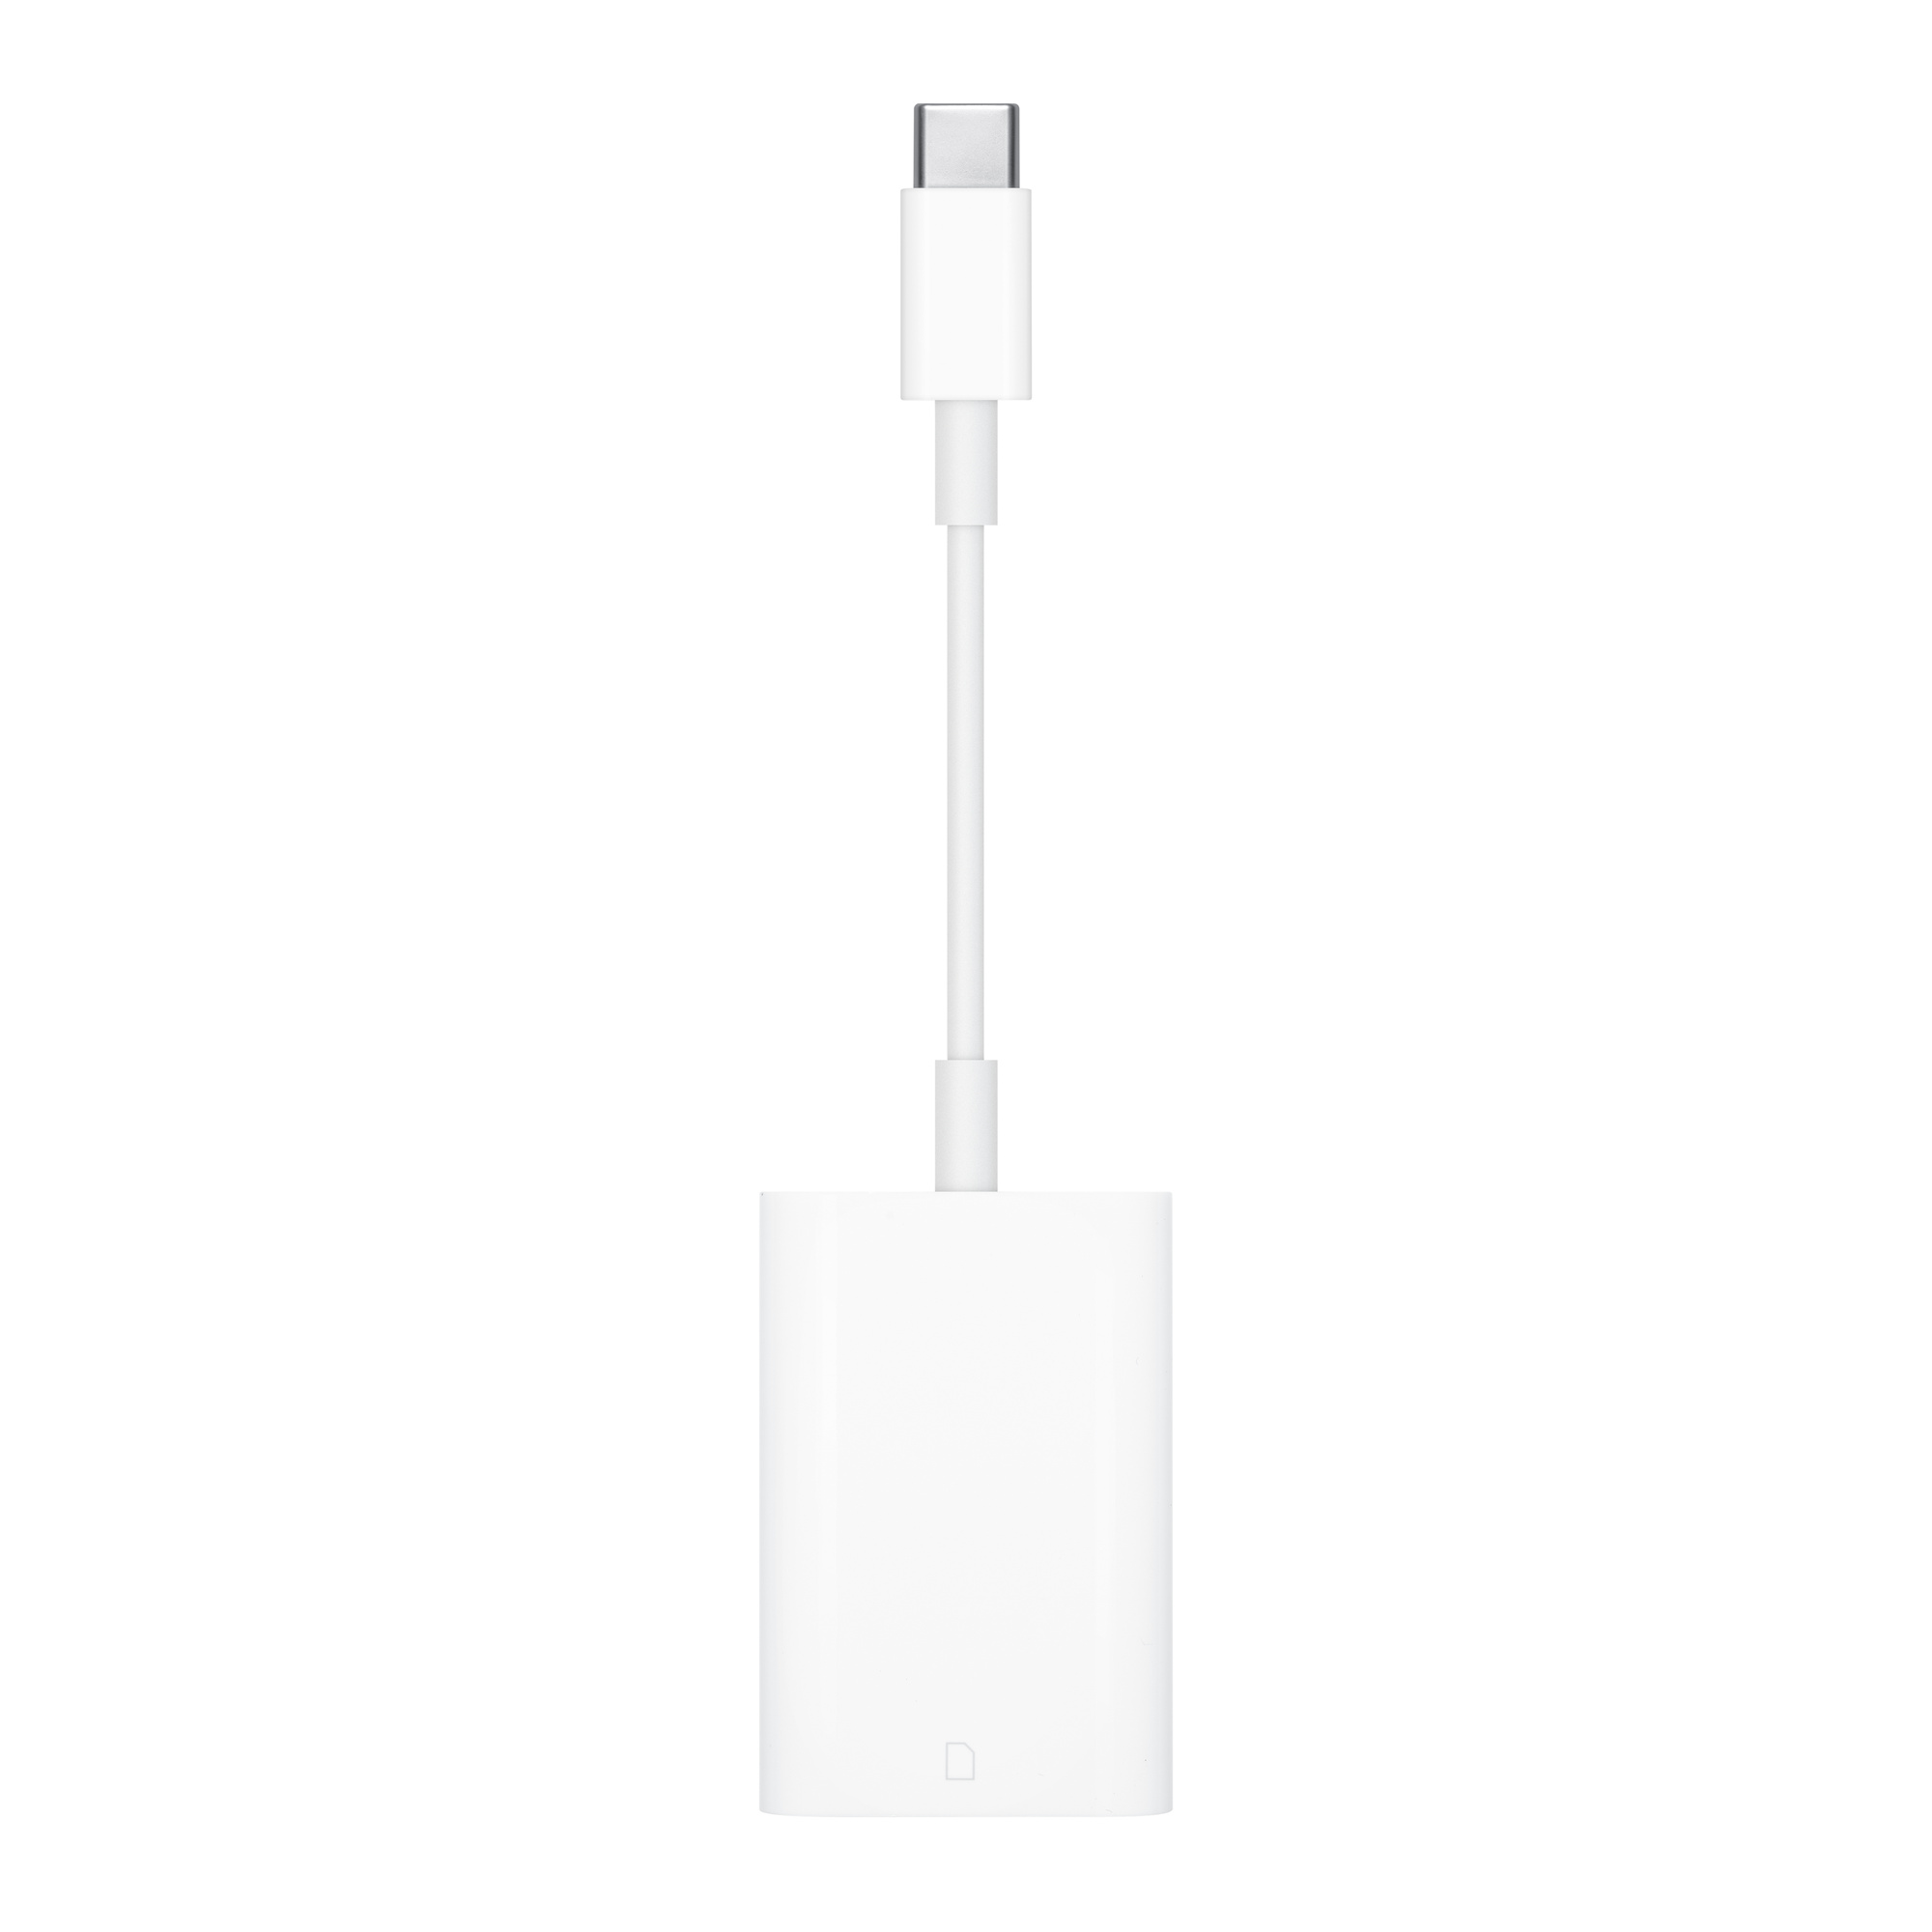
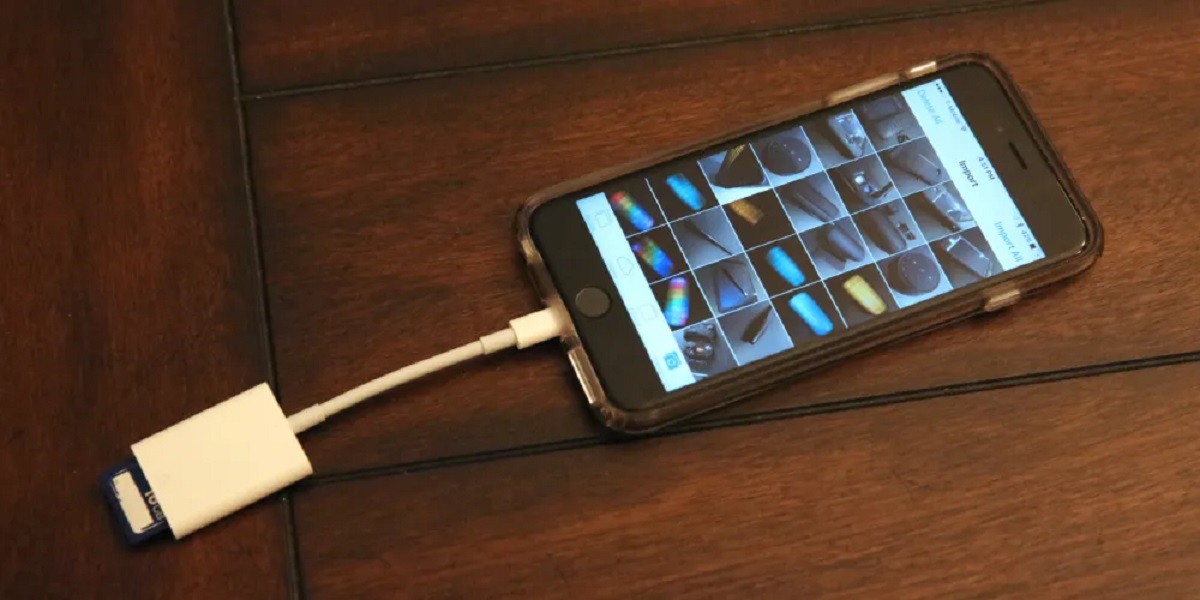
If you’re using a lightning adapter or a USB-C adapter, connect it to your iPhone. The lightning adapter plugs into the charging port of your iPhone, while the USB-C adapter connects to the corresponding port, depending on the model of your iPhone. These adapters have a slot for the SD card, allowing you to connect it directly to your iPhone.
Alternatively, if you’re using a wireless card reader, make sure it is powered on and connected to your iPhone via Bluetooth or Wi-Fi. Follow the manufacturer’s instructions to establish a connection between the card reader and your iPhone.
Once the SD card is securely inserted into the card reader and connected to your iPhone, you are ready to move on to the next step. Keep your iPhone and the card reader nearby as we proceed with the transfer process.
Step 2: Connect the card reader to your iPhone
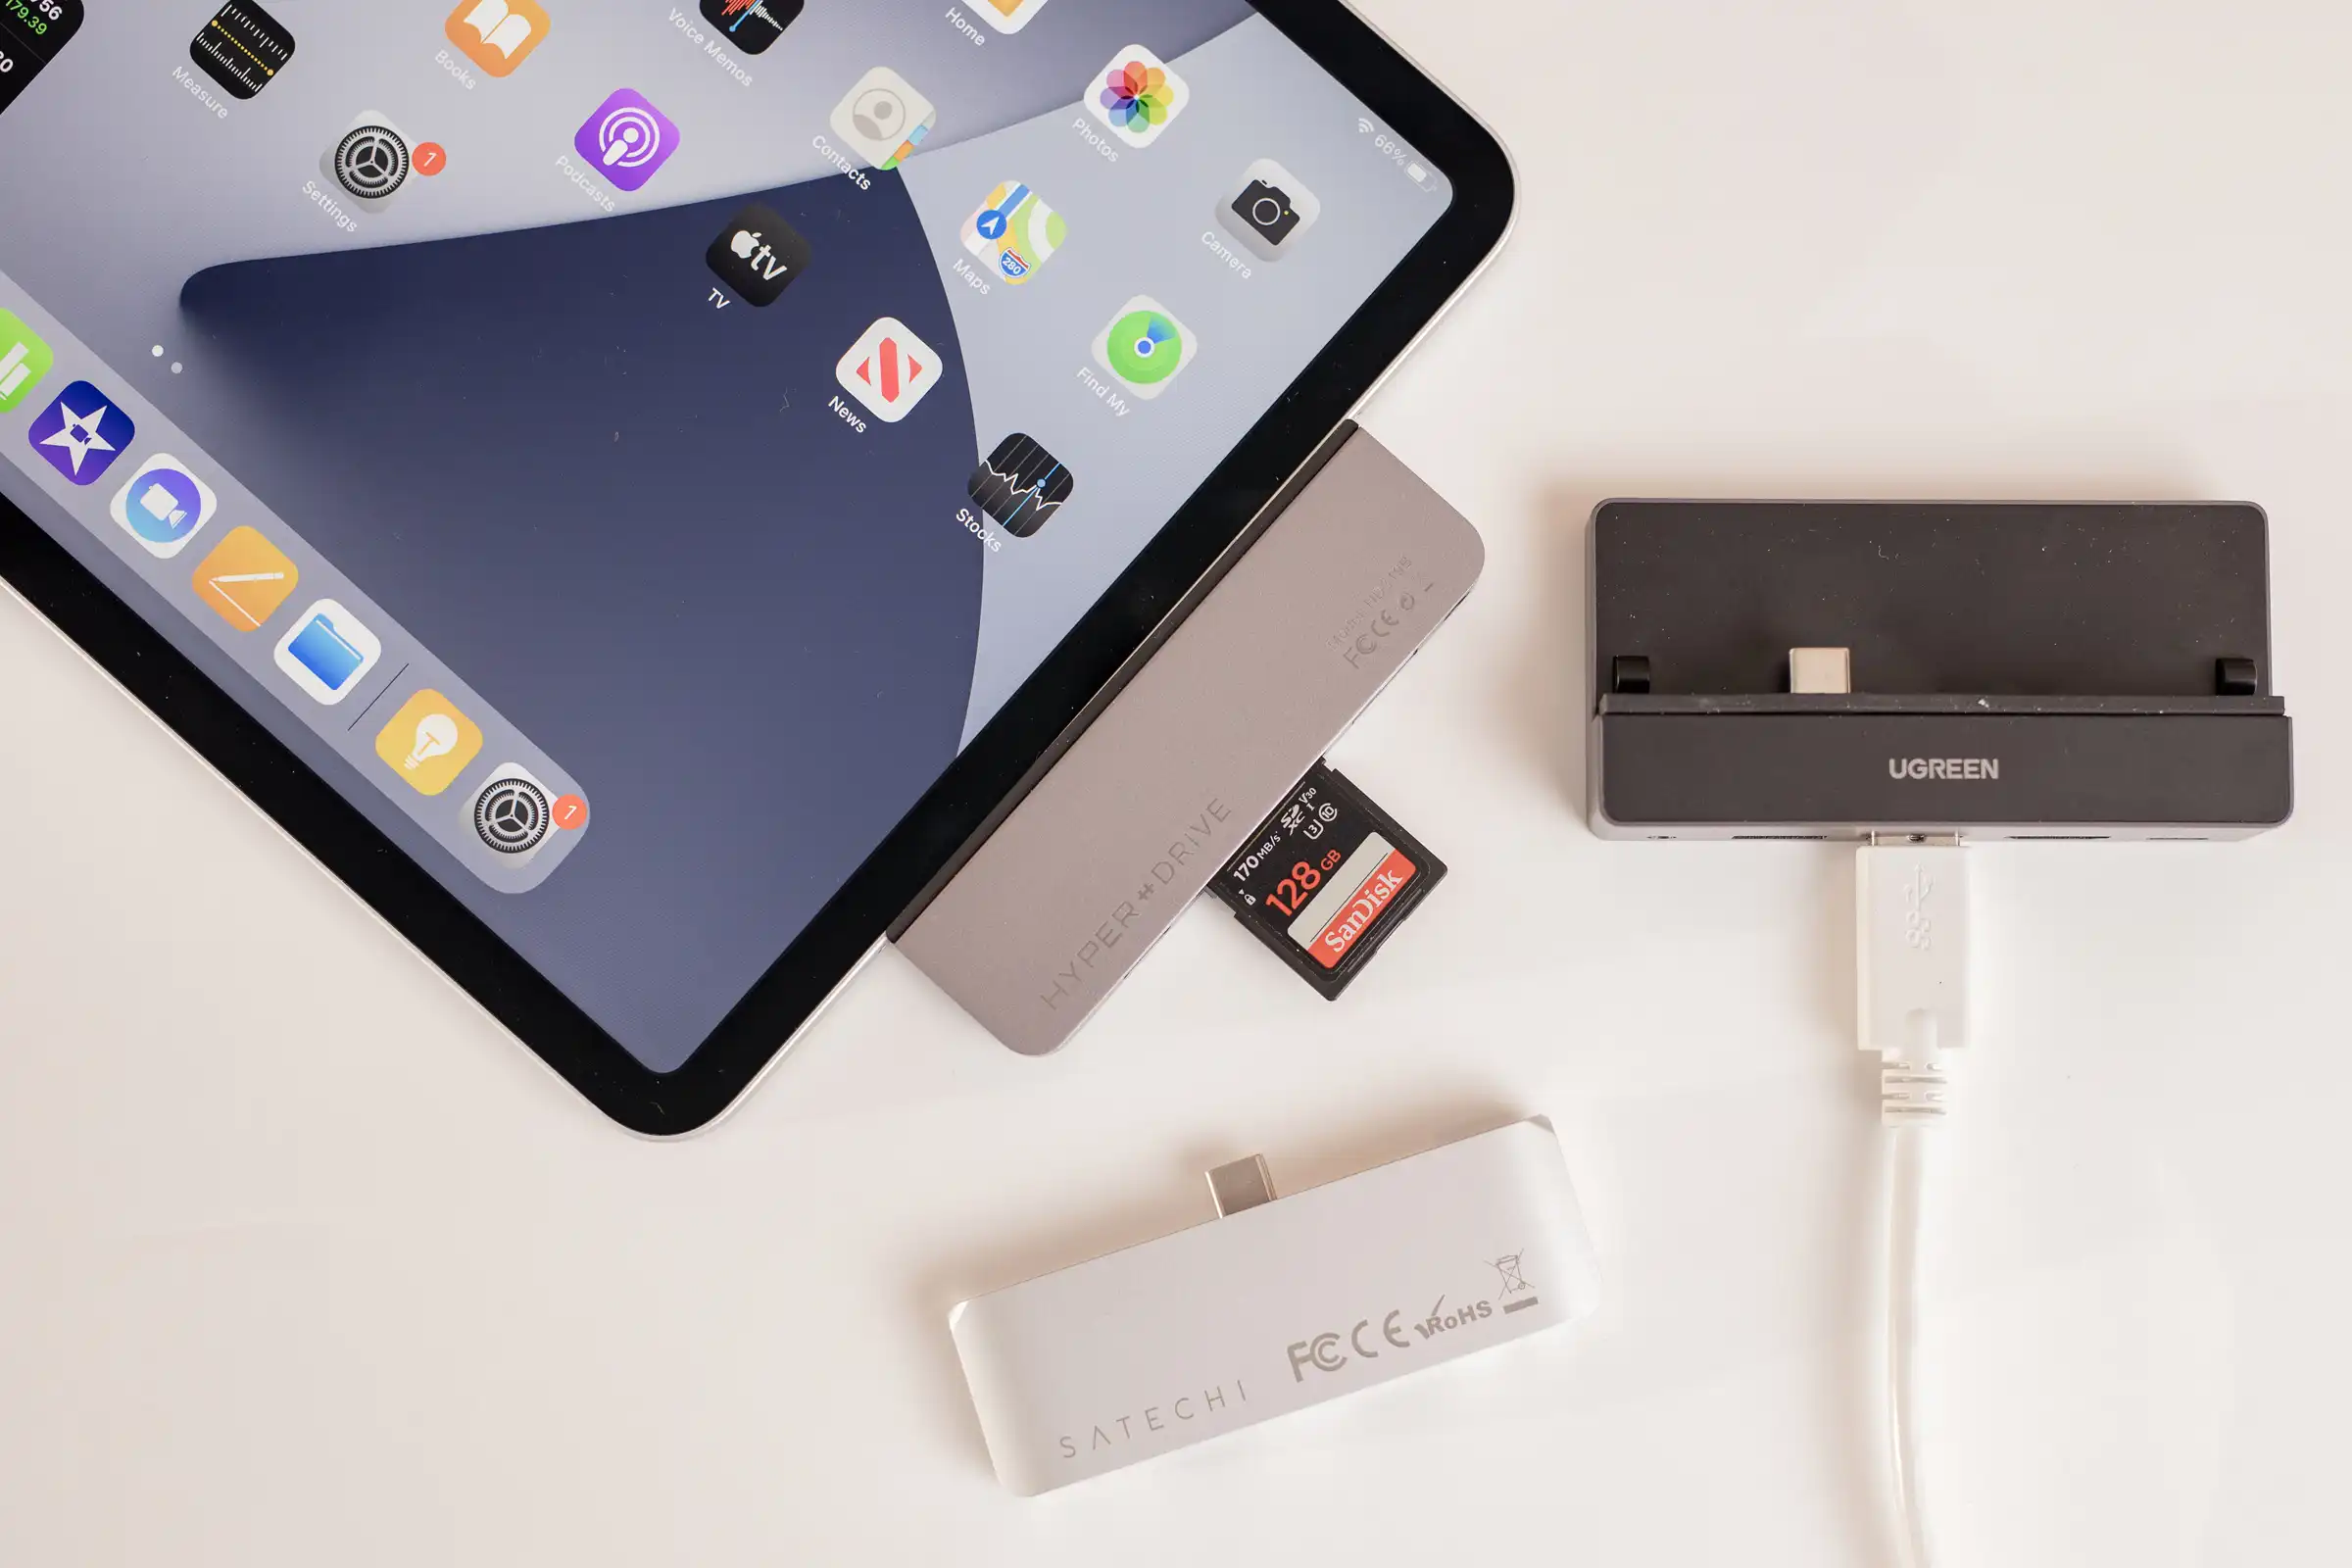
After inserting the SD card into the card reader, the next step is to connect the card reader to your iPhone. The method of connection will depend on the type of card reader you are using – whether it is a lightning adapter, USB-C adapter, or a wireless card reader.
If you are using a lightning adapter or USB-C adapter, simply plug the adapter into the charging port of your iPhone. Ensure that the adapter is securely connected to the iPhone, as a stable connection is essential for a successful transfer. Once connected, the iPhone should recognize the card reader automatically.
In the case of a wireless card reader, make sure that both the card reader and your iPhone are connected to the same Wi-Fi network. Open the settings on your iPhone and navigate to the Wi-Fi options. Select the network that corresponds to your wireless card reader. Follow any additional instructions provided by the card reader manufacturer to complete the connection.
Once the connection between the card reader and your iPhone is established, you are ready to proceed to the next step and access the contents of the SD card on your iPhone.
It’s important to note that some card readers may require you to install a specific app on your iPhone to access the contents of the SD card. If prompted, download and install the recommended app from the App Store before proceeding.
With the card reader successfully connected to your iPhone, you are now ready to open the Files app and begin the process of transferring videos from the SD card to your iPhone.
Step 3: Open the Files app on your iPhone
Now that your SD card is connected to your iPhone through the card reader, it’s time to open the Files app. The Files app is a built-in file management tool on iPhones that allows you to access and manage various files and folders.
To locate the Files app, look for its icon on your iPhone’s home screen. It resembles a blue folder with a white document inside. Tap on the Files app icon to launch it.
Once the Files app is open, you will be presented with several options and folders. To access the SD card and its contents, you need to locate and select the external storage device. Depending on the card reader you are using, the SD card may appear under a specific folder or within the Locations section.
Tap on the relevant folder or location to view the contents of the SD card. If you’re unsure which folder to select, try looking under the “External Drives” or “On My iPhone” sections. In some cases, the SD card may have a specific label or name assigned to it by the card reader.
Once you have found and selected the SD card, you will see a list of files and folders stored on the card. This includes all the videos you have recorded and saved on the SD card. Take a moment to familiarize yourself with the organization of the files and folders to locate the specific videos you want to transfer.
With the Files app open and the SD card selected, you are ready to proceed to the next step and begin the process of transferring videos from the SD card to your iPhone.
Step 4: Locate the SD card in the Files app
Now that you have opened the Files app on your iPhone, the next step is to locate the SD card within the app. This will allow you to navigate through the SD card’s files and folders and find the specific videos you want to transfer.
Start by exploring the different folders and locations displayed in the Files app. Look for any section or folder that indicates external storage devices or removable media. Depending on the card reader you are using, the SD card may be listed under a specific folder or in the Locations section.
Tap on the relevant folder or location to access the contents of the SD card. The Files app will display the files and folders stored on the SD card, including the videos you have recorded and saved.
Take some time to navigate through the folders and subfolders to find the videos you want to transfer. If you have organized your videos into different folders on the SD card, this is the moment to locate the correct folder that contains the desired videos.
If you’re having trouble locating the SD card or the desired videos, you can use the search functionality within the Files app to find specific file names or keywords. Tap on the search bar at the top, enter the relevant information, and the app will display the matching results.
Once you have located the SD card and identified the videos you want to transfer, it’s time to proceed to the next step and select the videos for transfer to your iPhone.
Step 5: Select the videos you want to transfer
After locating the SD card and accessing its contents in the Files app, it’s time to select the videos you want to transfer to your iPhone. This step allows you to choose the specific videos you wish to have on your device for sharing, editing, or simply for easy access.
Scroll through the list of files and folders within the SD card to find the videos you want to transfer. You may come across video files in various formats such as MP4, MOV, or AVI. Keep in mind that the Files app supports most common video formats, so you should be able to transfer most videos without any issues.
To select a video, tap on it once. You will notice that a checkmark appears on the file to indicate selection. If you want to select multiple videos at once, simply tap on each video file you wish to transfer. The Files app allows you to select multiple files simultaneously.
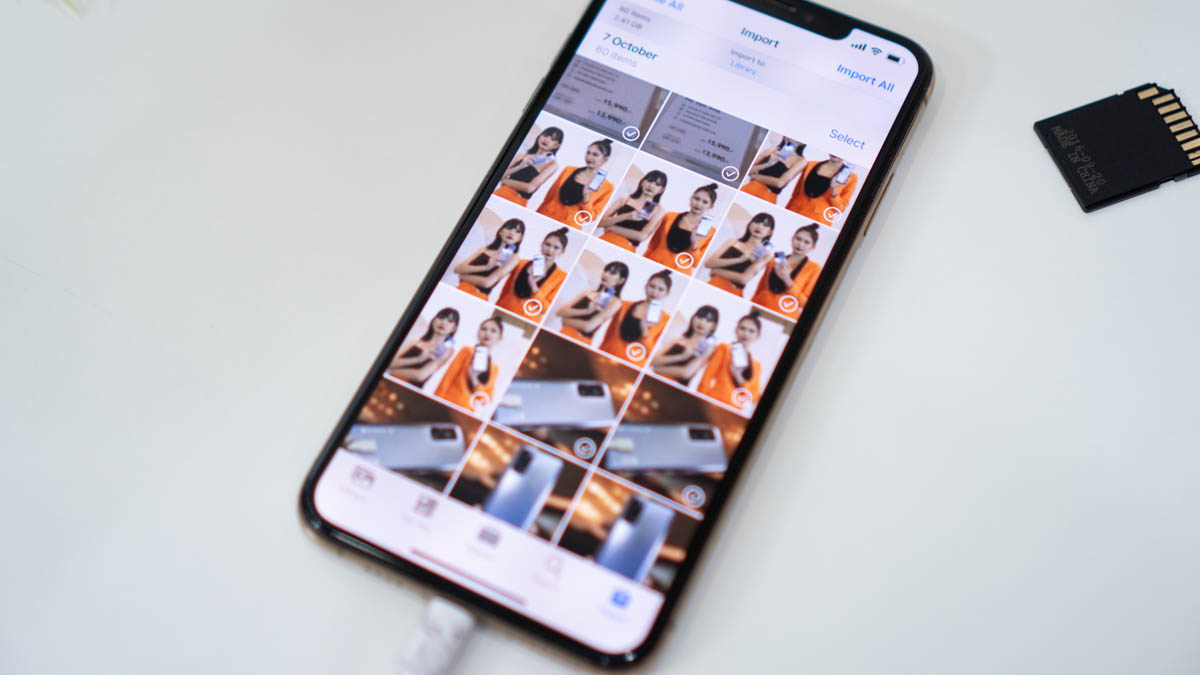
If you want to select all the videos in a particular folder, tap on the “Select” option located at the top right corner of the Files app. This will enable you to choose multiple videos concurrently, making the transfer process more efficient.
It’s important to note that transferring multiple videos at once may take longer, depending on the file sizes and the speed of the SD card. If you’re in a hurry or have limited storage space on your iPhone, consider selecting only the essential videos for transfer.
Once you have selected the videos you want to transfer, they will be marked with a checkmark. Take a moment to review your selections and make sure you have chosen the correct videos. Once you are satisfied with your choices, proceed to the next step to copy the selected videos to your iPhone.
Step 6: Copy the videos to your iPhone
With the desired videos selected in the Files app, it’s time to copy them to your iPhone. This step will transfer the selected videos from the SD card to your iPhone’s internal storage, making them easily accessible for viewing, editing, or sharing.
Once you have selected the videos you want to copy, tap on the “Share” icon located at the bottom of the screen. The Share icon looks like a box with an arrow pointing upward. Tapping on it will bring up a menu with various sharing options.
In the sharing menu, look for the “Copy” option. Tap on it to initiate the copying process. This action will copy the selected videos from the SD card and save them to your iPhone’s clipboard, ready to be pasted in the desired location.
Now, navigate to the desired location on your iPhone where you want to store the transferred videos. This can be the Photos app, a specific folder in the Files app, or any other location where you prefer to keep your videos. Once you have reached the appropriate destination, tap and hold on an empty space within the app or folder, then select the “Paste” option from the context menu that appears.
The selected videos will now be copied from the clipboard and pasted into the chosen location on your iPhone. The copying process may take some time, depending on the size of the videos and the speed of your iPhone. Be patient while the transfer takes place and avoid interrupting the process to ensure the successful completion of the transfer.
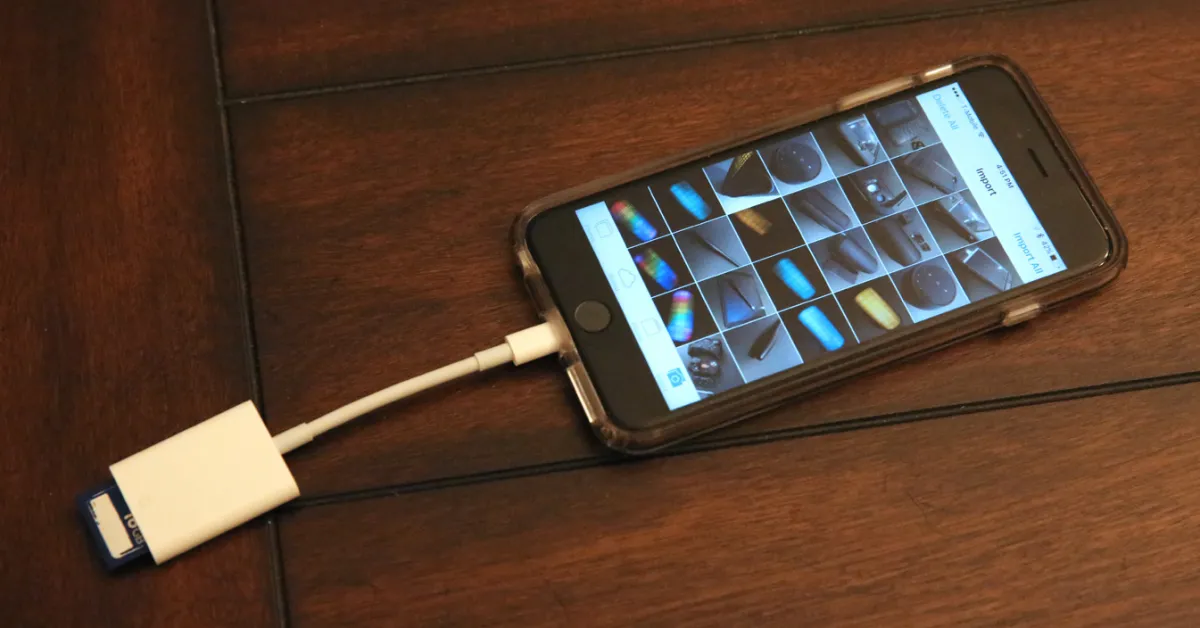
Once the videos have been successfully copied to your iPhone, you can verify their presence by navigating to the destination you selected. Open the Photos app or the Files app, depending on where you chose to store the videos, and locate the transferred files. You should now be able to access and enjoy the videos directly from your iPhone.
Congratulations! You have successfully copied the selected videos from the SD card to your iPhone. The transferred videos are now readily available on your device for your viewing pleasure or any other purposes you have in mind.
Step 7: Verify the transfer was successful
After copying the videos from the SD card to your iPhone, it is important to verify that the transfer was successful. This step ensures that the videos are correctly saved on your iPhone and can be accessed without any issues.
Start by opening the Photos app or the Files app on your iPhone, depending on where you chose to store the transferred videos. Navigate to the location where you pasted the videos and check if they are visible in the respective app.
In the Photos app, look for the “Videos” album or any other specific album where the videos might be located. Tap on the album to view its contents, and check if the transferred videos are present. You should see thumbnail previews of the videos, allowing you to easily identify them.
If you chose to store the videos in a specific folder within the Files app, navigate to that folder and verify if the transferred videos are present. You can visually inspect the files and ensure that they match the ones you copied from the SD card.
Tap on one of the videos to open and play it. Check if the video starts playing smoothly without any issues. Pay attention to the audio and video quality to ensure that the transferred videos are of the expected quality and playback properly on your iPhone.
While viewing the transferred videos, you can also try various functionalities such as sharing a video, editing it, or performing any other actions that you typically do with videos on your iPhone. This will help verify that the transferred videos are fully functional and can be utilized as desired.
If you encounter any difficulties during this verification step, such as videos not appearing or playing correctly, ensure that you properly followed the previous steps and try transferring the videos again. Double-check that you have enough storage space available on your iPhone to accommodate the transferred videos.
Once you have successfully verified the transfer and confirmed that the transferred videos are accessible and functional on your iPhone, congratulations! You have completed the process of transferring videos from an SD card to your iPhone. Your videos are now conveniently stored on your iPhone, ready for you to enjoy and share with others.
Conclusion
Transferring videos from an SD card to your iPhone may initially seem like a challenging task, especially without a dedicated SD card slot. However, with the right equipment and following the steps outlined in this guide, the process becomes straightforward and efficient.
By inserting the SD card into a card reader and connecting it to your iPhone, you gain access to the files and folders stored on the SD card. Opening the Files app allows you to navigate through the SD card’s contents, locating the specific videos you want to transfer.
By selecting the desired videos and copying them to your iPhone, you ensure that they are readily available for viewing, editing, and sharing. Verifying the successful transfer in the Photos app or the Files app provides assurance that the videos are correctly saved on your iPhone and can be accessed without any issues.
With this guide, you can confidently transfer videos from an SD card to your iPhone, enabling you to enjoy and share your favorite moments with ease. Whether it’s capturing travel adventures, preserving family memories, or showcasing creative projects, you now have the ability to conveniently access and utilize your videos on your iPhone.
Remember that when using a card reader and transferring videos, it’s essential to handle the SD card and iPhone with care. Ensure a stable connection, and avoid removing the SD card or disconnecting the card reader abruptly while the transfer is in progress.
Now that you have successfully mastered the art of transferring videos from an SD card to your iPhone, go ahead and unleash your creativity. Capture videos, transfer them effortlessly, and let your iPhone become a gateway to sharing and cherishing your most treasured moments.