Introduction
Welcome to our guide on how to clean an SD card. If you use an SD card to store your important files, documents, or media, it’s crucial to keep it clean and well-maintained. Over time, dirt, dust, and fingerprints can accumulate on the surface of the SD card, affecting its performance and potentially causing data corruption or loss. By regularly cleaning your SD card, you can ensure that it functions optimally and prolong its lifespan.
Whether you use an SD card in your camera, smartphone, or other electronic devices, this step-by-step guide will provide you with various methods to clean your SD card effectively. We’ll cover how to clean an SD card on a PC, Mac, Android device, and iPhone, so you can choose the method that’s most convenient for you.
Before we dive into the cleaning process, it’s essential to understand why you should clean your SD card. The accumulation of dust, dirt, and fingerprints can lead to read or write errors, causing your device to fail to recognize the card or produce corrupted files. Regular cleaning will help maintain the card’s performance and ensure the longevity of your data.
However, it’s crucial to note that SD cards are delicate electronic devices, so it’s important to take precautions while cleaning them. Avoid using excessive force or harsh chemicals that could damage the card. In this guide, we will provide you with safe and effective methods to clean your SD card without causing any harm.
To get started, let’s take a look at the tools you’ll need for cleaning your SD card.
Why Clean Your SD Card?
Regularly cleaning your SD card is essential for maintaining its performance and preserving your valuable data. Here are a few reasons why cleaning your SD card is crucial:
- Improves Data Integrity: Over time, dust, dirt, and fingerprints can accumulate on the surface of your SD card. These contaminants can interfere with the proper reading and writing of data, leading to errors or corruptions. Cleaning your SD card removes these contaminants, ensuring the integrity of your data.
- Enhances Device Compatibility: A dirty SD card may not be recognized or properly read by your electronic devices. By cleaning the SD card, you ensure that it remains compatible with your camera, smartphone, or other devices, allowing them to recognize and access the data stored on it.
- Extends Lifespan: Routine cleaning helps to prolong the lifespan of your SD card. Dust and dirt can cause mechanical wear on the card’s contacts and connectors, potentially leading to premature failure. By keeping your SD card clean, you minimize the risk of damage and maximize its lifespan.
- Prevents Data Loss: Dirty or corrupted SD cards are more prone to data loss. By regularly cleaning your SD card, you reduce the risk of losing important files, photos, or videos. This is especially important if you use your SD card for storing irreplaceable memories or critical work-related data.
- Optimizes Performance: A clean SD card ensures optimal performance. By removing dust and dirt from the contacts and connectors, you maintain good electrical conductivity, reducing the chances of errors or slow data transfer rates. This is particularly important for photographers or videographers who rely on their SD cards for quick and seamless file transfers.
Now that you understand the importance of cleaning your SD card, let’s move on to the precautions you should take before cleaning any SD card.
Precautions before Cleaning
Before you start cleaning your SD card, it’s important to take certain precautions to ensure the safety of both the card and your electronic devices. Here are some essential precautions to keep in mind:
- Power off your device: Before removing the SD card from your device, make sure to power it off completely. This prevents any potential damage that could occur from removing or inserting the card while the device is still powered on.
- Handle the SD card with care: SD cards are sensitive electronic devices, so it’s important to handle them gently. Avoid applying excessive force or bending the card during the cleaning process.
- Use proper cleaning tools: When cleaning your SD card, use a soft, lint-free cloth or a microfiber cloth. Avoid using harsh cleaning chemicals or abrasive materials as they can scratch the surface of the card. It’s best to use specialized cleaning kits designed for cleaning electronic devices.
- Don’t expose the card to water: SD cards are not waterproof, so avoid exposing them to water or other liquids. Moisture can damage the card and lead to data loss or corruption. If the card gets wet, make sure to dry it completely before inserting it back into your device.
- Avoid contact with magnets: Keep your SD card away from magnetic objects or devices. Magnetic fields can interfere with the card’s data storage and cause data corruption or loss.
- Regularly backup your data: Before cleaning your SD card, it’s always a good idea to back up your important data. This ensures that even if something goes wrong during the cleaning process, you won’t lose any valuable files or information.
By following these precautions, you can minimize the risk of damaging your SD card and ensure a successful cleaning process. Now that you’re aware of the precautions, let’s move on to the tools you’ll need for cleaning your SD card.
Tools Needed for Cleaning
To properly clean your SD card, you’ll need a few tools to ensure a thorough and safe cleaning process. Here are the essential tools you should have on hand:
- Soft lint-free cloth or microfiber cloth: A soft cloth is ideal for wiping away any dust or dirt from the surface of the SD card. Make sure it’s lint-free to avoid leaving any fibers on the card.
- Cleaning solution: To remove stubborn stains or fingerprints, you may need a gentle cleaning solution specifically designed for electronic devices. Look for a solution that is safe for use on SD cards and electronics.
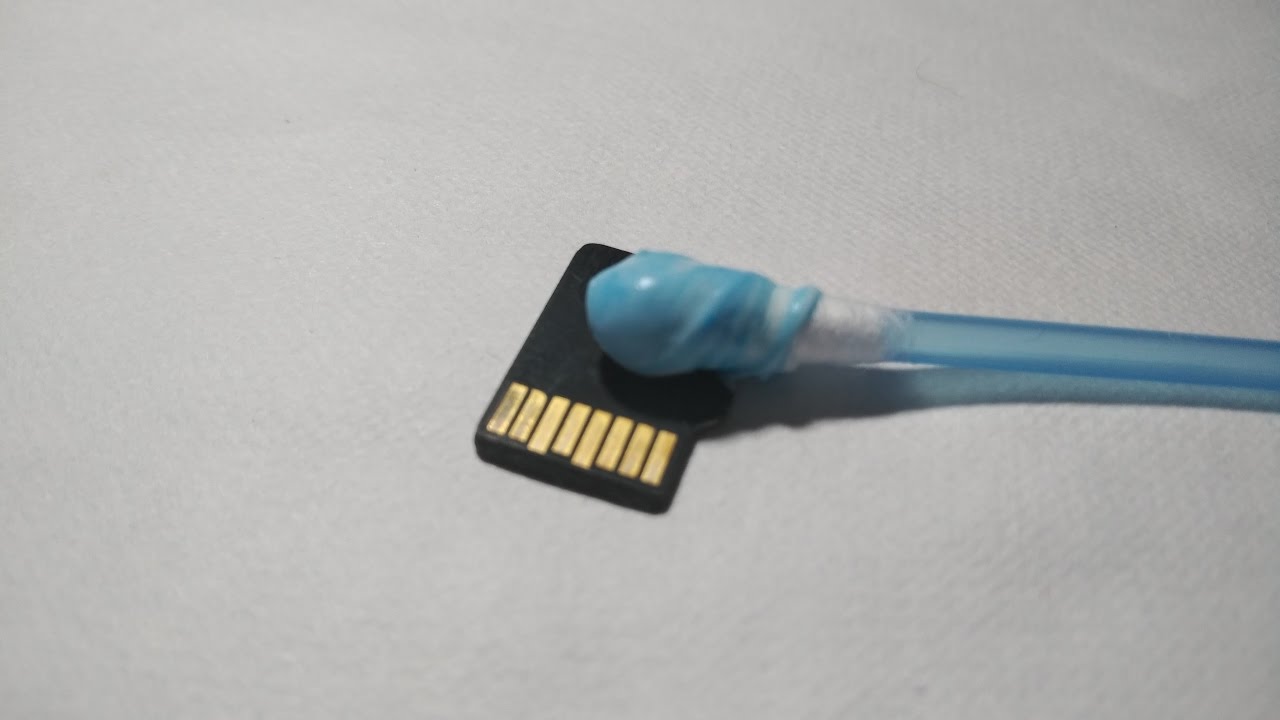
- Cotton swabs: Cotton swabs can be helpful for reaching into the corners or crevices of the SD card slot to remove any debris or dust buildup. Be careful not to leave any cotton fibers behind.
- Canned air or blower: A can of compressed air or a blower can be effective for removing dust or debris that may have accumulated in the SD card slot or on the surface of the SD card. Avoid using high-pressure air, as it may damage the card.
- SD card reader (for PC or Mac cleaning): If you plan to clean your SD card on a desktop or laptop computer, you’ll need an SD card reader. This allows you to connect the SD card to your computer for easy access and cleaning.
It’s important to note that not all of these tools may be necessary for every cleaning method. The specific tools you’ll need will depend on the cleaning option you choose, whether it’s cleaning on a PC, Mac, Android device, or iPhone. In the following sections, we will provide step-by-step guides for each cleaning option.
Now that you have an understanding of the tools needed for cleaning your SD card, it’s time to dive into the step-by-step guide for cleaning on a PC.
Step by Step Guide to Clean an SD Card
Cleaning an SD card is a simple process that can help maintain its performance and prolong its lifespan. Follow these step-by-step instructions to clean your SD card:
- Power off your device: Before removing the SD card, ensure that your device is completely powered off. This prevents any potential data loss or damage to the card.
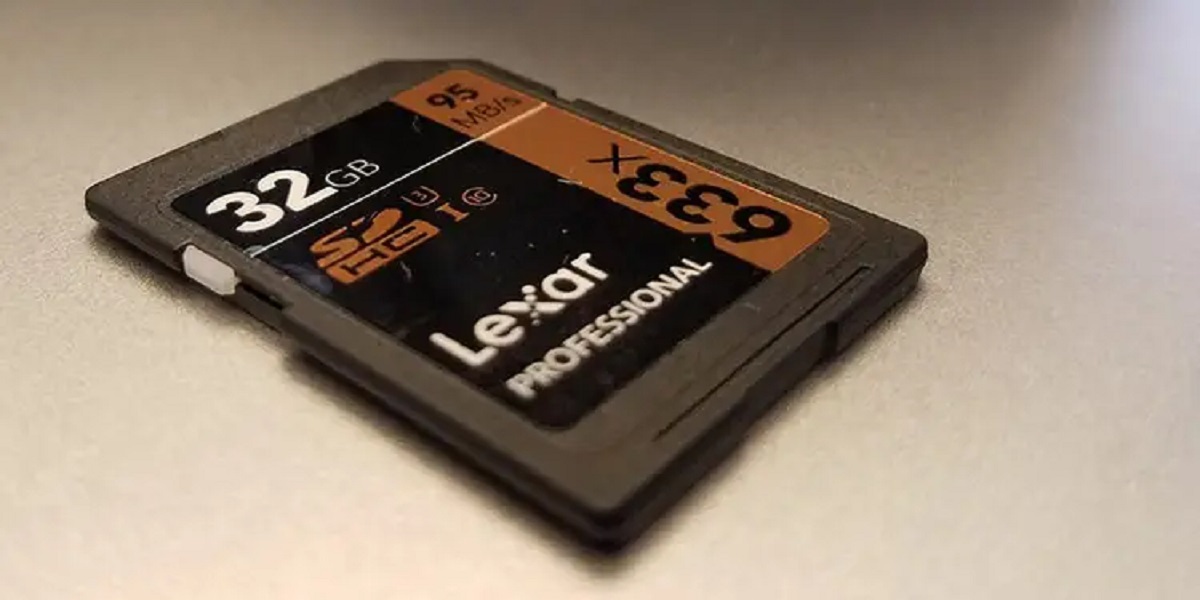
- Remove the SD card: Locate the SD card slot on your device and carefully remove the SD card. Take care not to touch the gold contact pins on the card’s surface, as oils from your fingers can cause connectivity issues.
- Inspect the SD card: Take a moment to visually inspect the SD card for any visible dirt, dust, or debris. If you notice anything on the surface, proceed to the next step.
- Clean the SD card: Gently wipe the surface of the SD card with a soft lint-free or microfiber cloth to remove any loose dirt or debris. If there are stubborn stains or fingerprints, dampen the cloth with a small amount of a gentle cleaning solution and wipe the card surface. Avoid using excessive moisture, as it can damage the card.
- Remove dust from the SD card slot: If there is dust or debris inside the SD card slot of your device, use a can of compressed air or a blower to blow away the particles. Be careful not to hold the can too close to the slot or use excessive force, as it may damage the card slot.
- Inspect the SD card slot: After cleaning the SD card slot, use a flashlight to inspect it for any remaining debris. If necessary, gently remove any remaining dust or debris with a cotton swab. Take care not to apply too much pressure or leave any cotton fibers behind.
- Insert the SD card back into the device: Once you’ve cleaned both the SD card and the card slot, carefully insert the SD card back into the device. Ensure that it is properly aligned and inserted all the way in.
- Power on your device: Finally, power on your device and check if the SD card is recognized. If all goes well, your SD card should now be clean and ready to use.
That’s it! By following these simple steps, you can effectively clean your SD card and ensure its optimal performance. Now, let’s move on to the different cleaning options depending on the device you’re using – PC, Mac, Android device, or iPhone.
Option 1: Cleaning SD Card on PC
If you prefer to clean your SD card using a computer, follow these steps:
- Insert the SD card: Insert your SD card into the SD card reader slot on your PC. If your computer doesn’t have a built-in SD card reader, you can use an external USB card reader.
- Open File Explorer: Open the File Explorer on your PC by pressing the Windows key + E simultaneously or by clicking on the File Explorer icon in the taskbar.
- Locate the SD card: In the File Explorer, look for the SD card under the “Devices and drives” section. It is usually labeled with the SD card’s name or assigned drive letter.
- Right-click on the SD card: Once you’ve located the SD card, right-click on it and select “Eject” to safely remove the SD card from the computer. Wait until you receive the confirmation that it’s safe to remove the card.
- Remove the SD card: Once it’s safe to do so, remove the SD card from the card reader slot.
- Clean the SD card: Proceed to clean your SD card following the steps mentioned in the previous section, “Step by Step Guide to Clean an SD Card.”
- Insert the SD card back into the PC: After cleaning the SD card, insert it back into the SD card reader slot on your PC.
- Check for proper recognition: Power on your computer and check if the SD card is recognized. It should appear as a removable storage device in the File Explorer.
That’s it! By following these steps, you can easily clean your SD card using your PC. Now, let’s move on to the next option: cleaning the SD card on a Mac.
Option 2: Cleaning SD Card on Mac
If you’re using a Mac and want to clean your SD card, follow these simple steps:
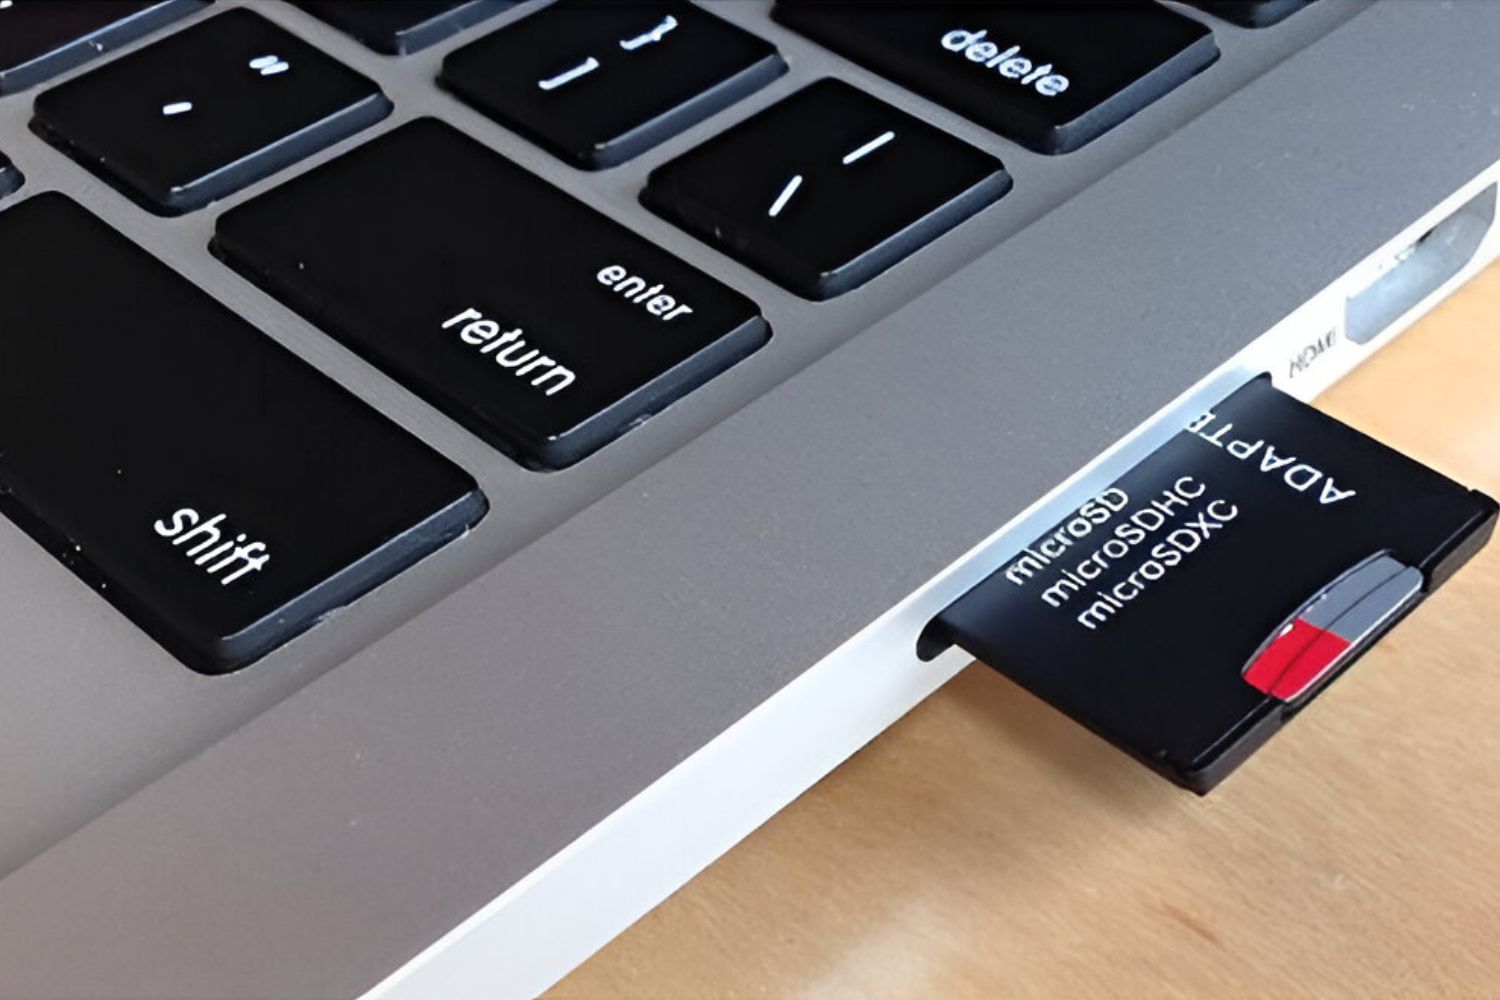
- Insert the SD card: Insert your SD card into the SD card slot on your Mac. If your Mac doesn’t have a built-in SD card slot, you can use an external USB card reader.
- Open Finder: Open Finder by clicking on the Finder icon in the Dock or by pressing Command + Spacebar and typing “Finder” in the spotlight search.
- Locate the SD card: In the Finder sidebar, you should see the SD card listed under the “Devices” section. Click on it to access the files and folders stored on the card.
- Eject the SD card: Right-click on the SD card and select “Eject” from the dropdown menu. Wait until you see the notification that it’s safe to remove the card.
- Remove the SD card: Once it’s safe to do so, remove the SD card from the card slot.
- Clean the SD card: Proceed to clean your SD card following the steps mentioned in the previous section, “Step by Step Guide to Clean an SD Card.”
- Insert the SD card back into the Mac: After cleaning the SD card, insert it back into the SD card slot on your Mac.
- Check for proper recognition: Power on your Mac and check if the SD card is recognized. It should appear as a removable storage device in the Finder sidebar.
That’s it! By following these steps, you can easily clean your SD card on a Mac. Now, let’s move on to the next option: cleaning the SD card on an Android device.
Option 3: Cleaning SD Card on Android
If you’re using an Android device and want to clean your SD card, follow these steps:
- Open the Settings: Open the Settings app on your Android device by tapping on the gear-shaped icon in the app drawer or by pulling down the notification shade and tapping on the gear icon.
- Scroll down and select Storage or Storage & USB: Depending on your Android device’s version and manufacturer, the storage settings may vary. Look for the option that allows you to manage your device storage or SD card storage.
- Tap on the SD card: In the storage settings, you should see the SD card listed as an option. Tap on it to access the SD card settings.
- Tap on the three-dot menu: Look for the three-dot menu icon or the “More” option in the SD card settings. Tap on it to reveal additional options.
- Select Storage settings or Format SD card: Look for the option that allows you to manage the storage settings or format the SD card. Note that formatting the SD card will erase all data stored on it, so make sure to back up any important files before proceeding.
- Clean the SD card: After formatting the SD card (if desired), proceed to clean your SD card following the steps mentioned in the previous section, “Step by Step Guide to Clean an SD Card.”
- Insert the SD card back into your Android device: After cleaning the SD card, insert it back into the SD card slot on your Android device.
- Check for proper recognition: Power on your Android device and check if the SD card is recognized. It should appear as removable storage in the storage settings.
That’s it! By following these steps, you can clean your SD card on an Android device. Now, let’s move on to the final option: cleaning the SD card on an iPhone.
Option 4: Cleaning SD Card on iPhone
iPhones do not have expandable storage or a built-in SD card slot. However, if you have an external SD card reader that is compatible with iPhones, you can follow these steps to clean your SD card:
- Connect the SD card reader: Connect your SD card reader to your iPhone using the Lightning connector or USB-C connector, depending on the model of your iPhone and the type of SD card reader you have.
- Open the Files app: On your iPhone, open the Files app from the home screen or by swiping down on the home screen and typing “Files” in the search bar.
- Select the SD card reader: In the Files app, you should see the external SD card reader listed under the “Locations” section. Tap on it to access the files and folders stored on the SD card.
- Eject the SD card: To safely remove the SD card, tap on the “Eject” button next to the SD card reader in the Files app. Wait until you receive the notification that it’s safe to remove the card.
- Remove the SD card: Once it’s safe to do so, remove the SD card from the card reader.
- Clean the SD card: Proceed to clean your SD card following the steps mentioned in the previous section, “Step by Step Guide to Clean an SD Card.”
- Insert the SD card back into the card reader: After cleaning the SD card, insert it back into the SD card reader.
- Reconnect the SD card reader to the iPhone: Reconnect the SD card reader to your iPhone using the Lightning connector or USB-C connector.
That’s it! By following these steps, you can clean your SD card on an iPhone using an external SD card reader. It’s important to note that not all SD card readers may be compatible with iPhones, so make sure to choose one that is specifically designed for use with iPhones.
With these options available, you can clean your SD card on different devices depending on your preference and the tools you have at hand. In the next section, we’ll address some common issues and troubleshooting tips you may encounter while cleaning your SD card.
Common Issues and Troubleshooting
While cleaning an SD card is a straightforward process, you may come across some common issues or face troubleshooting situations. Here are a few common problems and their solutions:
- Unable to remove the SD card: If you’re having trouble removing the SD card from your device, try turning off the device and gently push the card to release it. Avoid using excessive force or tools that could damage the card or device.
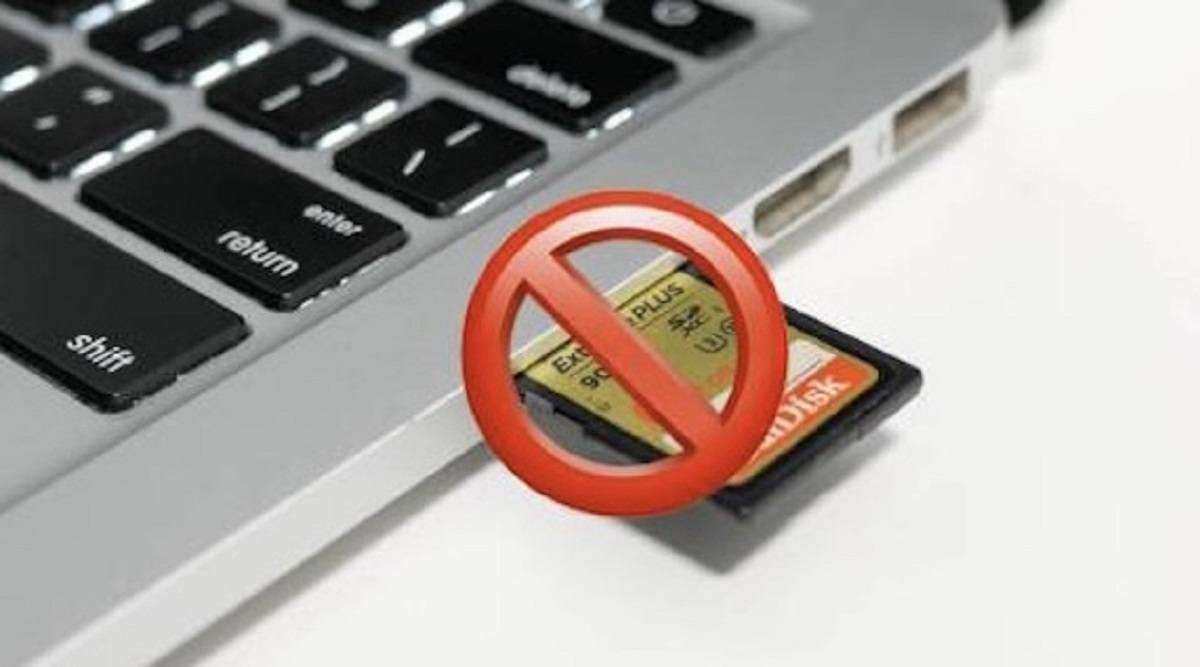
- SD card not recognized: If your device fails to recognize the SD card after cleaning, try removing and reinserting the card a few times to ensure a proper connection. If the problem persists, check if the card is compatible with your device or try cleaning the card contacts and connectors again.
- Data loss: If you accidentally format the SD card or experience data loss during the cleaning process, unfortunately, data recovery may be challenging or impossible. Therefore, it is crucial to regularly backup your data to mitigate the risk of permanent loss.
- Repeated cleaning required: If you find that you need to clean your SD card frequently, it might be an indication of a more serious issue. Consider replacing the SD card if you continue to encounter problems even after thorough cleaning.
- Sudden card failure: If the SD card fails to work altogether after cleaning, it could indicate physical damage or a technical issue. In such cases, consult a professional data recovery service to assess the situation and recover any lost data if possible.
- Incompatibility issues: Some SD cards may not be compatible with certain devices, so it’s important to check the device’s specifications and the card’s compatibility beforehand. Ensure that the card is the correct size, format, and capacity for your device.
If you encounter any other issues while cleaning your SD card, refer to the device manufacturer’s instructions or seek technical support for further assistance. Remember to take precautionary measures, regularly backup your data, and handle the SD card with care to avoid any unwanted problems.
Now that we’ve covered some common issues and troubleshooting tips, let’s wrap up this guide on cleaning an SD card.
Conclusion
Cleaning your SD card is an essential part of maintaining its performance and prolonging its lifespan. Whether you use an SD card in your camera, smartphone, or other electronic devices, regular cleaning helps to ensure that your data remains safe and accessible.
In this guide, we discussed the importance of cleaning your SD card and the reasons why it’s crucial to keep it free from dust, dirt, and fingerprints. We also provided a step-by-step guide on how to clean an SD card, covering various methods for cleaning on a PC, Mac, Android device, and iPhone.
Throughout the cleaning process, it’s important to take precautions to protect both the SD card and your electronic devices. Handle the SD card with care, use appropriate cleaning tools and solutions, and avoid exposing the card to water or magnetic fields.
In addition, we addressed common issues and provided troubleshooting tips to help you overcome any challenges you may encounter while cleaning your SD card. Remember to regularly backup your data to minimize the risk of permanent loss and seek professional assistance when needed.
By following these guidelines and incorporating regular cleaning into your SD card maintenance routine, you can ensure that your SD card performs optimally, remains compatible with your devices, and safeguards your valuable data.
Thank you for reading our guide on how to clean an SD card. We hope you found it informative and helpful. Happy cleaning!


