Introduction
Transferring data from one SD card to another is a common task for Nintendo Switch owners. Whether you’re upgrading to a larger capacity card or simply need to replace a damaged one, it’s essential to know how to transfer your Switch data smoothly. This article will guide you through the process of transferring your Switch data to a new SD card, ensuring that you can continue playing your favorite games and accessing your valuable save files without any issues.
The Nintendo Switch is a popular gaming console that allows you to enjoy a vast library of games on the go or at home. The Switch’s portability is convenient, particularly with the ability to expand storage using microSD cards. However, as you accumulate more games, DLCs, and save data, you may find that your current SD card is running out of space. Upgrading to a new SD card not only provides more room for your digital collection but also ensures better performance and faster load times.
Before you embark on the process of transferring your Switch data to a new SD card, it’s crucial to have a clear understanding of the steps involved. This guide will walk you through each step, from backing up your data to verifying the successful transfer. By following these instructions, you can seamlessly transition to a new SD card without losing any valuable data or experiencing any interruptions to your gaming experience.
Now, let’s dive into the process of transferring your Switch data to a new SD card and ensure a hassle-free transition.
Step 1: Backing Up Switch Data
Before transferring your Switch data to a new SD card, it’s essential to create a backup to ensure the safety of your game saves, screenshots, videos, and other important files. This backup will serve as a safeguard in case anything goes wrong during the transfer process. Here’s how to back up your Switch data:
- Power on your Nintendo Switch.
- Ensure that you have a stable internet connection.
- Navigate to the Home menu and select System Settings.
- Scroll down and select Data Management.
- Choose the option for Save Data Cloud Backup. If you’re not subscribed to Nintendo Switch Online, this option may not be available.
- Select the game you want to back up and choose the individual save files you want to save. Alternatively, you can choose to back up all save files for every game by selecting “Back Up All Save Data.”
- Wait for the backup process to complete. This may take a few minutes, depending on the size of your save files.
- Once the backup is finished, you can verify its completion by checking the “Backup Complete” message on the screen.
It’s important to note that the Save Data Cloud Backup feature is only available for select games and requires an active Nintendo Switch Online subscription. If you don’t have a subscription or if the game you want to back up doesn’t support cloud saves, you can still back up your data using the built-in data transfer feature of the Switch. However, this method requires both the source and target SD cards to be inserted into the console simultaneously.
By following these steps to back up your Switch data, you can ensure that your game progress and other important files are safely stored before proceeding with the transfer process. This backup will provide peace of mind and serve as a safety net should anything unexpected happen during the transfer.
Step 2: Formatting New SD Card
Now that you have successfully backed up your Switch data, it’s time to prepare your new SD card for the data transfer. Formatting the new SD card ensures compatibility and removes any existing data or partitions that may interfere with the transfer process. Here’s how to format your new SD card:
- Ensure that your new SD card is inserted into your computer or SD card reader.
- Using your preferred file management software, navigate to the location of the new SD card.
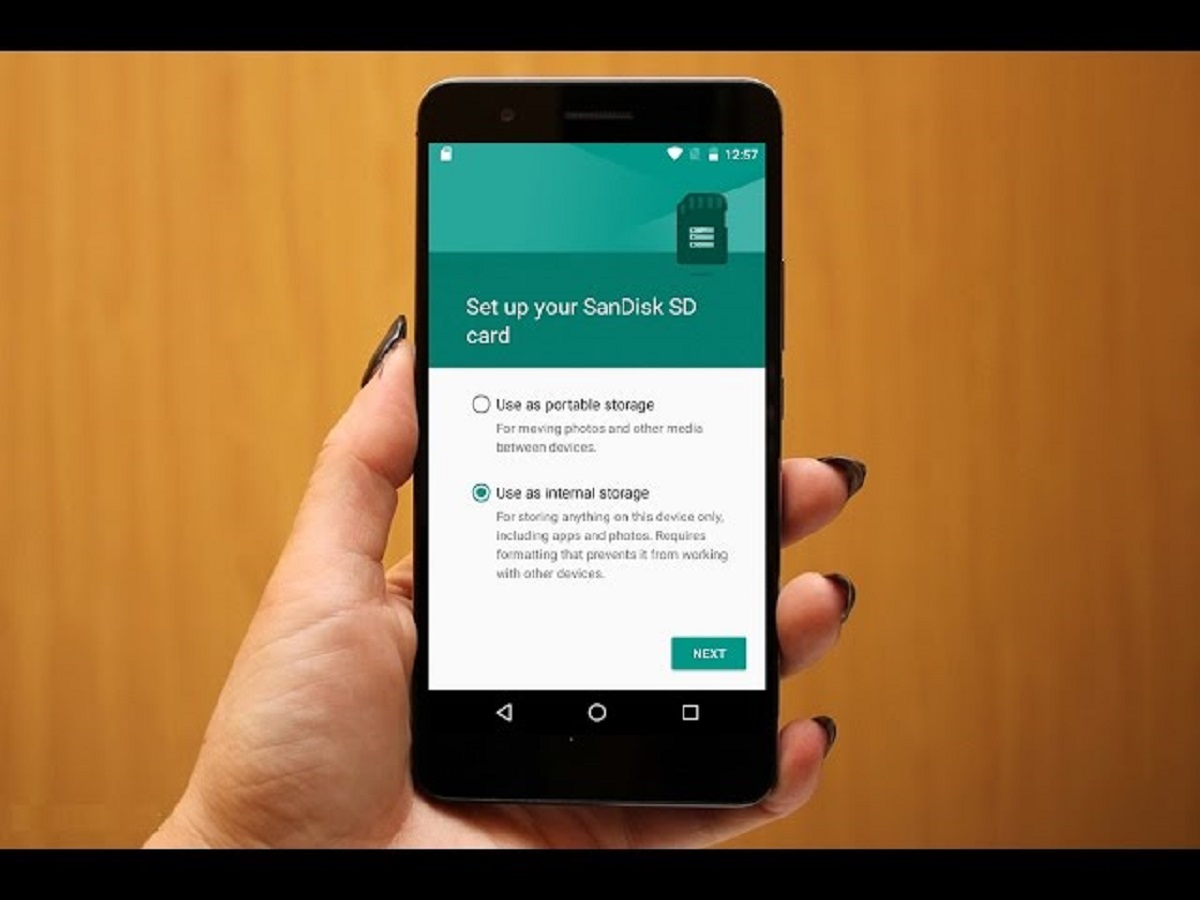
- Right-click on the new SD card and select the option to format it. Make sure to choose the correct file system format, which should be “FAT32” for SD cards up to 32GB in size, or “exFAT” for SD cards larger than 32GB.
- Double-check the formatting options and click “Start” or “Format” to begin the formatting process.
- Wait for the formatting process to complete. This may take a few moments, depending on the size of the SD card.
- Once the formatting is finished, you can proceed to the next step.
It’s crucial to note that formatting a new SD card erases all existing data. Therefore, ensure that you have made a backup of any files or documents you want to keep before formatting. Additionally, make sure to choose the correct file system format as specified above, as using an incompatible format may result in the SD card being unreadable or causing issues in the data transfer.
By following these steps to format your new SD card, you will ensure that it is ready to receive the transferred data from your Switch. This prepares the new SD card for a smooth and successful transfer process and avoids any potential compatibility issues.
Step 3: Transferring Switch Data to New SD Card
Now that you have backed up your Switch data and formatted the new SD card, it’s time to transfer your data from the old card to the new one. Here’s how to do it:
- Turn off your Nintendo Switch console.
- Remove the old SD card from your Nintendo Switch and insert the new, formatted SD card.
- Power on your Nintendo Switch.
- Navigate to the Home menu and select System Settings.
- Scroll down and select Data Management.
- Choose the option for “Transfer Your Save Data.”
- Select “From SD Card to System/MicroSD Card,” depending on where your data is currently stored. If your data is stored on the internal system memory, select “From System/MicroSD Card to SD Card.”
- Follow the on-screen instructions to complete the data transfer. This process may take a few minutes, depending on the size of your data.
- Once the transfer is complete, you will be able to access your games, save data, and other files from the new SD card.
It’s important to note that the data transfer process only moves save data, screenshots, videos, and other files associated with your games. It does not transfer game software itself. To download your games onto the new SD card, you will need to redownload them from the Nintendo eShop or insert the game cartridges into the console.
By following these steps to transfer your Switch data to the new SD card, you can ensure that all your game progress and other files are seamlessly moved over. This process allows you to continue playing your favorite games and accessing your valuable data with the newly upgraded storage capacity of the new SD card.
Step 4: Verifying Data Transfer
After transferring your Switch data to the new SD card, it’s crucial to verify that the transfer was successful and that all your files and game progress have been properly transferred. Here’s how you can verify the data transfer:
- Power on your Nintendo Switch console.
- Navigate to the Home menu and select System Settings.
- Scroll down and select Data Management.
- Choose the option for “Manage Save Data/Screenshots and Videos.”
- Select “On MicroSD Card” to view the data stored on the new SD card.
- Check that all your saved games are listed and that the save files display the correct timestamps and progress.
- Launch some of your games to ensure that your progress has been transferred correctly and that you can continue playing from where you left off.
- Review your screenshots and videos to make sure they have been transferred successfully.
By following these steps to verify the data transfer, you can ensure that everything has been successfully moved to the new SD card. It’s important to thoroughly check your game saves and files to confirm that nothing has been lost or corrupted in the process.
If you encounter any issues or notice that some files are missing or corrupted after the transfer, you can attempt the transfer process again or restore your backup using the Save Data Cloud Backup feature if you have a Nintendo Switch Online subscription.
By verifying the data transfer, you can have peace of mind knowing that your games, save data, and other files are intact and ready to be accessed on the new SD card. Now that you have confirmed the successful transfer, you can proceed to the final step – inserting the new SD card into your Nintendo Switch console.
Step 5: Inserting New SD Card into Switch
Now that you have verified the successful transfer of your Switch data to the new SD card, it’s time to physically insert the new SD card into your Nintendo Switch console. Here’s how to do it:
- Power off your Nintendo Switch console.
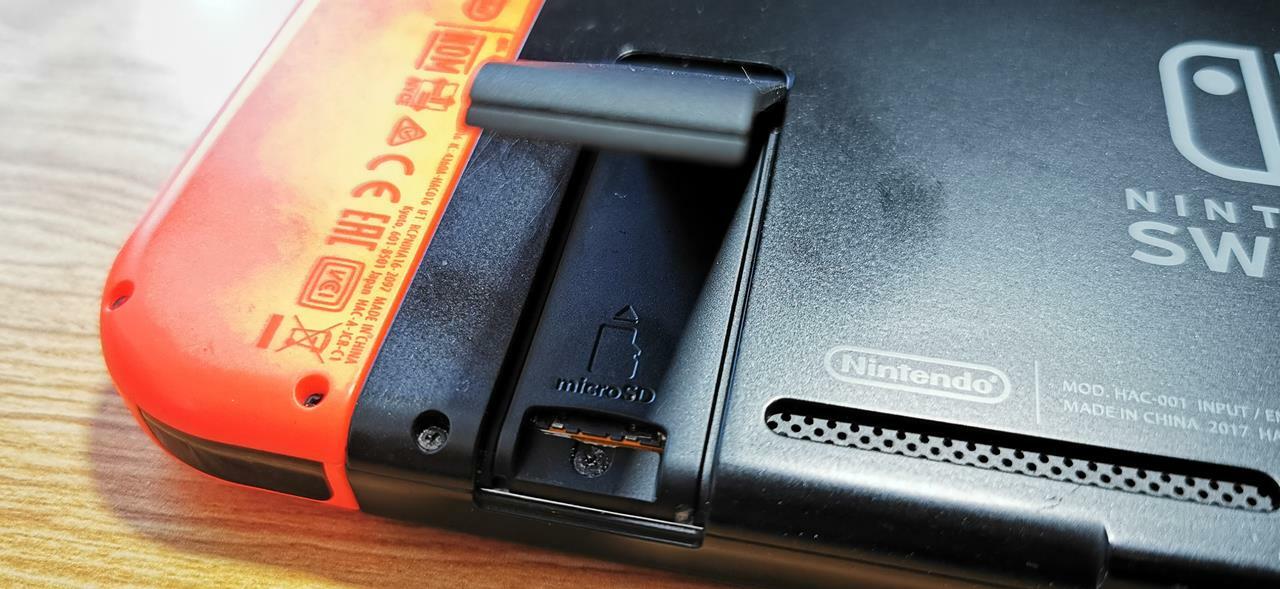
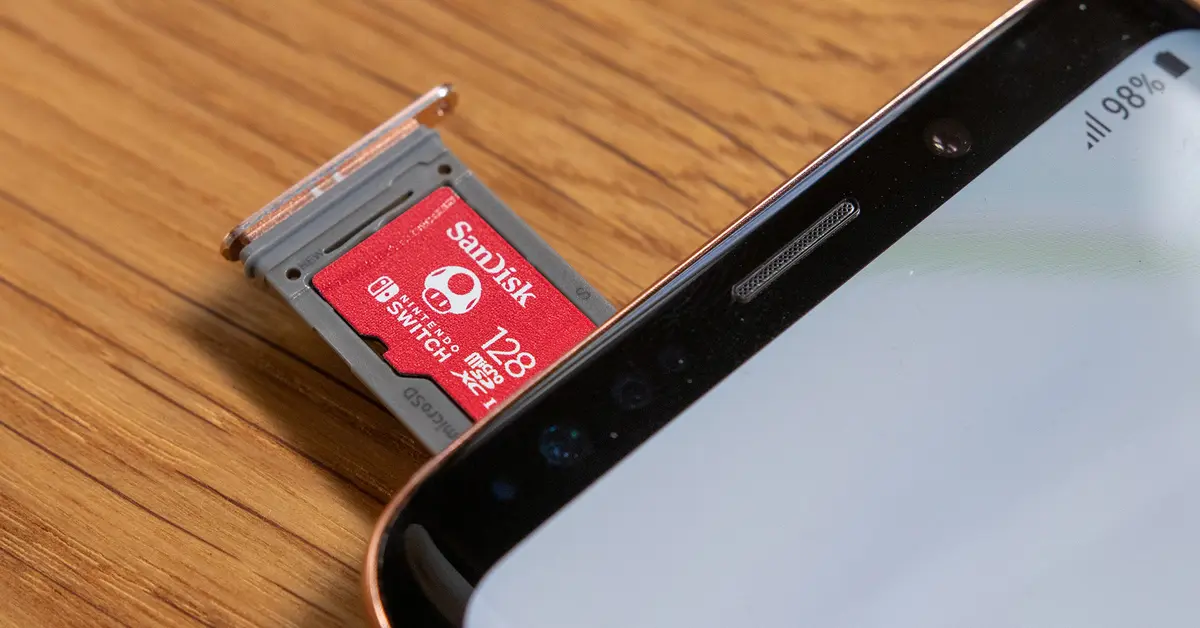
- Locate the SD card slot on your Nintendo Switch. It is usually located behind the console’s kickstand or under a cover flap.
- Gently push the kickstand up or lift the cover flap to reveal the SD card slot.
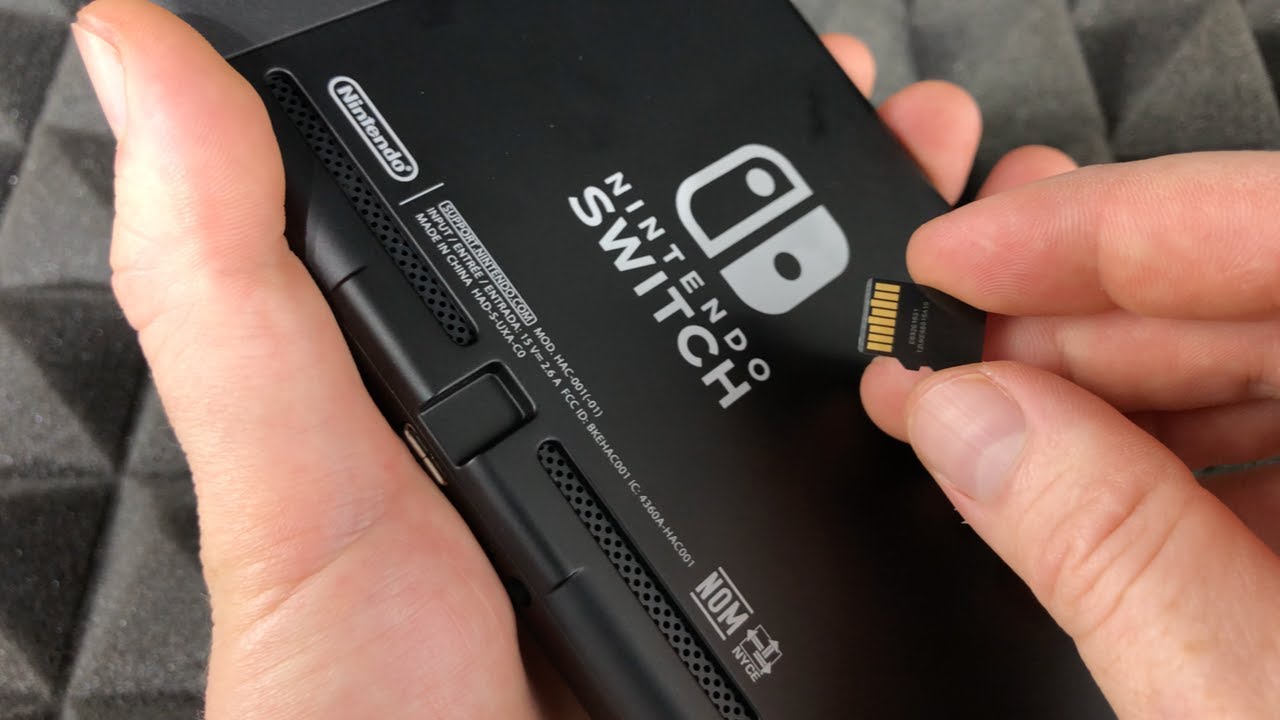
- Remove the old SD card (if not already removed) and carefully insert the new SD card into the slot. Make sure to align the card with the proper orientation to avoid forcing it.
- Once the new SD card is inserted, gently push it in until you hear a click sound or until it remains securely in place.
- Close the kickstand or cover flap.
- Power on your Nintendo Switch console.
- Navigate to the Home menu and access your games and save data to confirm that everything is functioning correctly with the new SD card.
That’s it! You have successfully inserted the new SD card into your Nintendo Switch console. It is now ready to handle your games, save files, screenshots, videos, and other data without any issues.
Remember to keep your old SD card in a safe place, as it may still contain valuable data that was not transferred. You can continue using the old SD card for other purposes or keep it as a backup option.
By following these steps to insert the new SD card, you can continue enjoying your Nintendo Switch games with the expanded storage capacity provided by the new card. Now, you can fully embrace your gaming experience without worrying about running out of space for your digital library.
Conclusion
Transferring data to a new SD card for your Nintendo Switch is a straightforward process that ensures the continuity of your gaming experience and protects your valuable save files and other data. By following the steps outlined in this guide, you can seamlessly transfer your Switch data to a new SD card without any hassle or risk of data loss.
From backing up your Switch data to formatting the new SD card, transferring the data, verifying the transfer, and finally inserting the new SD card into your Nintendo Switch, each step is important in ensuring a successful transition. Taking the time to follow these steps carefully will save you from potential headaches and frustration down the line.
Remember, always back up your data before making any changes to ensure your valuable game progress and files are safe. Formatting the new SD card correctly is crucial to ensure compatibility and prevent any compatibility issues. Transferring the data and verifying the transfer will give you peace of mind, knowing that everything is intact and ready to be accessed on the new SD card.
With the new SD card securely inserted into your console, you can continue enjoying your favorite games and accessing your save files and other data seamlessly. The expanded storage capacity of the new SD card will allow you to expand your digital library and take full advantage of the Nintendo Switch’s portability without worrying about limited space.
So, go ahead and upgrade your SD card confidently using the knowledge and steps provided in this guide. Happy gaming!