Why You Need More Storage on Switch Without SD Card
Your Nintendo Switch is home to a vast collection of games, from popular titles like Animal Crossing: New Horizons to indie gems like Stardew Valley. As you dive deeper into the world of gaming, you’ll quickly realize that the built-in storage on your Switch might not be enough to hold all your favorite games and applications.
Running out of storage space can be frustrating, especially when you’re eager to try out new releases or download updates for your existing games. It can also limit your ability to take advantage of the various features offered by the Switch, such as capturing screenshots and video clips.
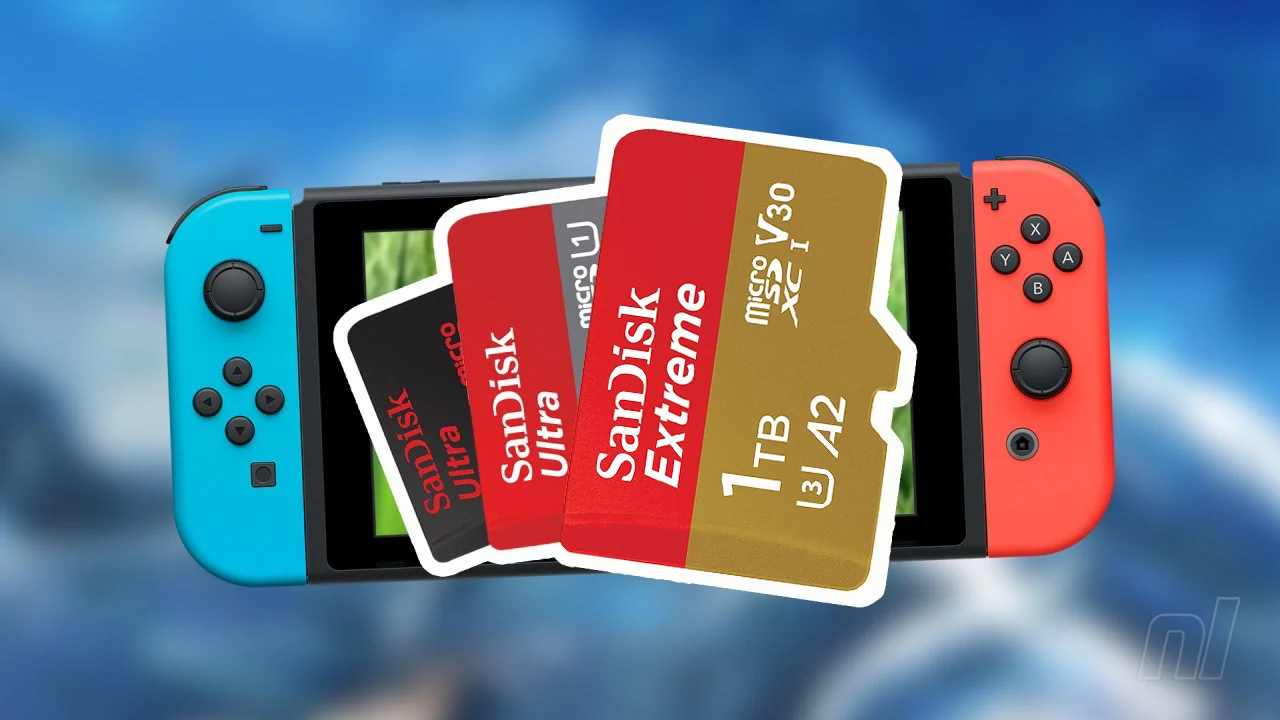
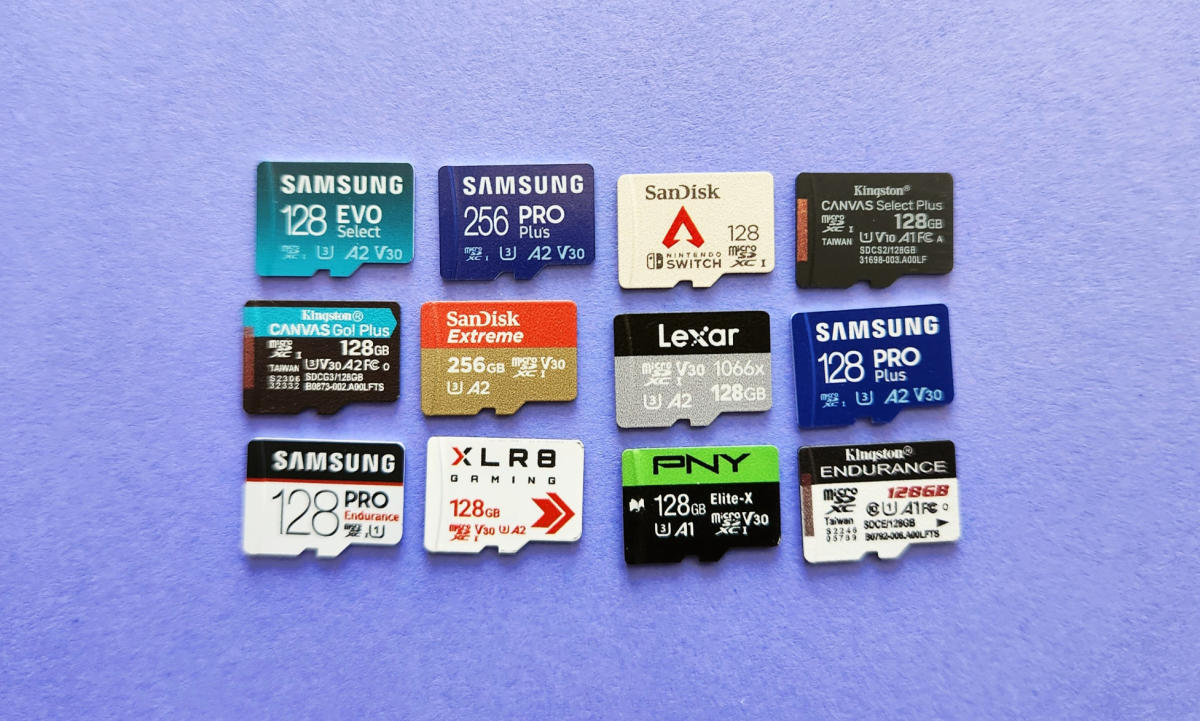
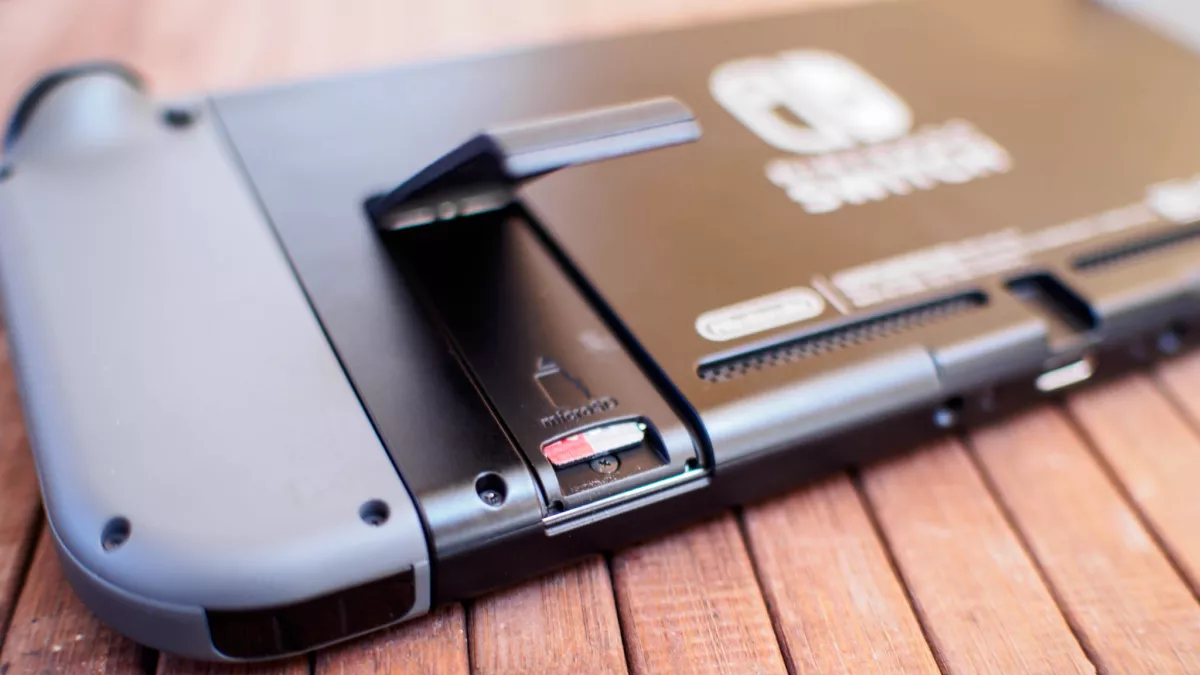
While the Switch does have a slot for an SD card, not everyone wants to invest in additional storage. Whether it’s for financial reasons or simply the desire for a clutter-free gaming experience, finding ways to increase your storage without relying on an SD card is essential.
By maximizing the built-in storage capacity, you can continue enjoying a wide range of games without sacrificing space. This article will guide you through the various methods and techniques to get more storage on your Switch without using an SD card.
So, if you’re tired of constantly juggling games, deleting and re-downloading them, or are just looking for a more convenient and efficient way to manage your Switch’s storage, read on. We’ll explore strategies like deleting unused games and applications, moving game data to external storage, clearing temporary cache, utilizing cloud storage for backup, and even utilizing external storage devices.
With these tips and tricks at your disposal, you can optimize the available storage on your Nintendo Switch and enjoy a seamless gaming experience without the need for an SD card.
Clearing Up Space on Your Nintendo Switch
If you find yourself running low on storage space on your Nintendo Switch, don’t worry! There are several steps you can take to clear up valuable space without the need for an SD card. By following these methods, you can make room for new games, updates, and other content on your Switch.
One of the most effective ways to free up space is by deleting unused games and applications. Take a moment to assess your game library and identify titles that you no longer play or are not interested in. By removing these games, you can instantly regain valuable storage space. You can easily delete games by navigating to the HOME menu, selecting the game icon, pressing the “+” button, and choosing the “Manage Software” option.
While deleting games is a great way to clear space, keep in mind that you can always re-download them if desired. This is particularly useful for digital games purchased from the Nintendo eShop. Simply go to the eShop, navigate to your account, and select “Redownload” to restore previously purchased games.
If you have games that you want to keep but are running out of space, consider moving game data to external storage. The Switch allows you to transfer data to compatible external storage devices, such as USB flash drives or external hard drives. By offloading game data to external storage, you can free up space on your Switch’s internal storage without losing progress or game saves.
Another space-saving method is to remove screenshots and video clips that you no longer need. While capturing memorable moments in your games is fun, the stored media can quickly accumulate and eat into your storage capacity. Go through your gallery and delete any unnecessary screenshots or video clips to free up space.
In addition to clearing out games, media, and applications, it’s also worth clearing temporary cache files. These files are created by the Switch while playing games or using applications and can take up significant storage space over time. To clear the cache, power off your Switch, hold down the power button for 15 seconds, and restart the console. This will automatically clear the temporary cache, giving you more storage space.
By following these simple steps, you can effectively clear up space on your Nintendo Switch without the need for an SD card. Remember to regularly assess your game library, offload game data, delete unnecessary media, and clear temporary cache files to optimize the available storage and enjoy a seamless gaming experience.
Deleting Unused Games and Applications
As your collection of games and applications expands on your Nintendo Switch, it’s important to regularly assess which ones you no longer need or play. By deleting unused games and applications, you can free up valuable storage space and ensure that your Switch remains optimized for new content.
To begin, navigate to the HOME menu on your Nintendo Switch and locate the game or application you wish to delete. Press the “+” button on the controller to access the options menu. Here, you’ll find the “Manage Software” option. Select it, and you’ll be presented with various management options for the selected game or application.
Before proceeding with the deletion, take a moment to evaluate your decision. Make sure you no longer play the game or use the application and confirm that you won’t lose any important data or progress by deleting it. If there are any game saves or data that you want to keep, consider backing them up using the cloud backup feature or by transferring them to an external storage device.
Once you’ve made your decision, select the “Delete Software” option. You’ll be prompted with a confirmation message, and upon confirming, the game or application will be removed from your Nintendo Switch. Any associated update data or DLC will also be deleted, freeing up additional storage space.
Remember that if you wish to play the game or use the application again in the future, you can always re-download it from the Nintendo eShop. Your previously purchased games will be accessible in your account, allowing you to reinstall them whenever you want.
Deleting unused games and applications not only helps in freeing up valuable space but also ensures that your Switch remains clutter-free and organized. By removing unnecessary content, you can improve the overall performance of your console and have a better gaming experience.
Regularly evaluate your game library and remove any games or applications that you no longer use. This will not only optimize the available storage space but also make it easier to navigate and find the content that you truly enjoy.
Keep in mind that the size of games varies, so deleting a few large games can make a significant difference in your available storage. Clear out the clutter, and make room for the games and applications that matter to you.
Moving Game Data to External Storage
If you’re running out of storage space on your Nintendo Switch but don’t want to delete games or applications, a great alternative is to move game data to external storage. The Switch allows you to transfer game data to compatible external storage devices, such as USB flash drives or external hard drives, providing a convenient way to free up internal storage while retaining your game progress and saves.
Before you begin, ensure that your external storage device is compatible with the Nintendo Switch. USB flash drives with USB 3.0 support or external hard drives with USB 3.0 are recommended for better performance.
To move game data to external storage, start by plugging in your external storage device into one of the USB ports on the Switch dock. Once connected, navigate to the HOME menu and select the game whose data you want to transfer. Press the “+” button on the controller to open the options menu and choose “Manage Software.”
In the “Manage Software” menu, you’ll find the option to “Archive Software.” Selecting this option will initiate the process of moving the game data to the external storage device. The time it takes to complete the transfer will depend on the size of the game data and the speed of your external storage device.
Once the transfer is complete, you’ll see that the game icon on the HOME menu now displays a cloud icon, indicating that the game data is stored externally. You can still access and play the game as usual, with your progress and saves intact.
It’s important to note that moving game data to external storage doesn’t transfer the entire game itself. Instead, it transfers the game update data, DLC, and save files. The actual game software will still need to remain installed on your Switch’s internal storage or an SD card for you to play the game.
If you want to play the game again without re-downloading the data, simply transfer the game data back to the internal storage by selecting the “Data Management” option in the “System Settings” menu.
By moving game data to external storage, you can maximize the available storage on your Nintendo Switch. This method allows you to have a larger game library at your disposal while ensuring that your console performs optimally.
Remember to periodically manage your game data by moving unused games to external storage and making space for new releases. This way, you can enjoy a diverse collection of games without worrying about running out of storage.
Removing Screenshots and Video Clips
One often overlooked area that can consume a significant amount of storage space on your Nintendo Switch is the collection of screenshots and video clips captured during gameplay. While capturing and sharing memorable moments is fun, it’s important to periodically review and remove any unnecessary media to free up storage space.
To begin, navigate to the HOME menu on your Switch and select the “Album” application. Here, you’ll find all the screenshots and video clips that you have taken while playing games. You can scroll through the gallery to review your media and decide which ones you want to keep and which ones you can delete.
To delete a screenshot or video clip, select it to open it in full screen view. Next, press the “-” button on the controller to bring up the options menu. From here, choose the “Delete” option. Confirm the deletion when prompted, and the selected media will be permanently removed from your Switch’s storage.
If you have a large number of screenshots or video clips to delete, you can speed up the process by selecting multiple items at once. While in full screen view, press the “+” button on the controller to enter selection mode. Use the control stick or directional pad to highlight and select multiple items. Once you’ve made your selections, follow the same steps as before to delete the chosen media.
Regularly clearing out unnecessary screenshots and video clips can help you reclaim a significant amount of storage space on your Switch. Consider removing duplicates, blurry images, or any media that you no longer enjoy or need.
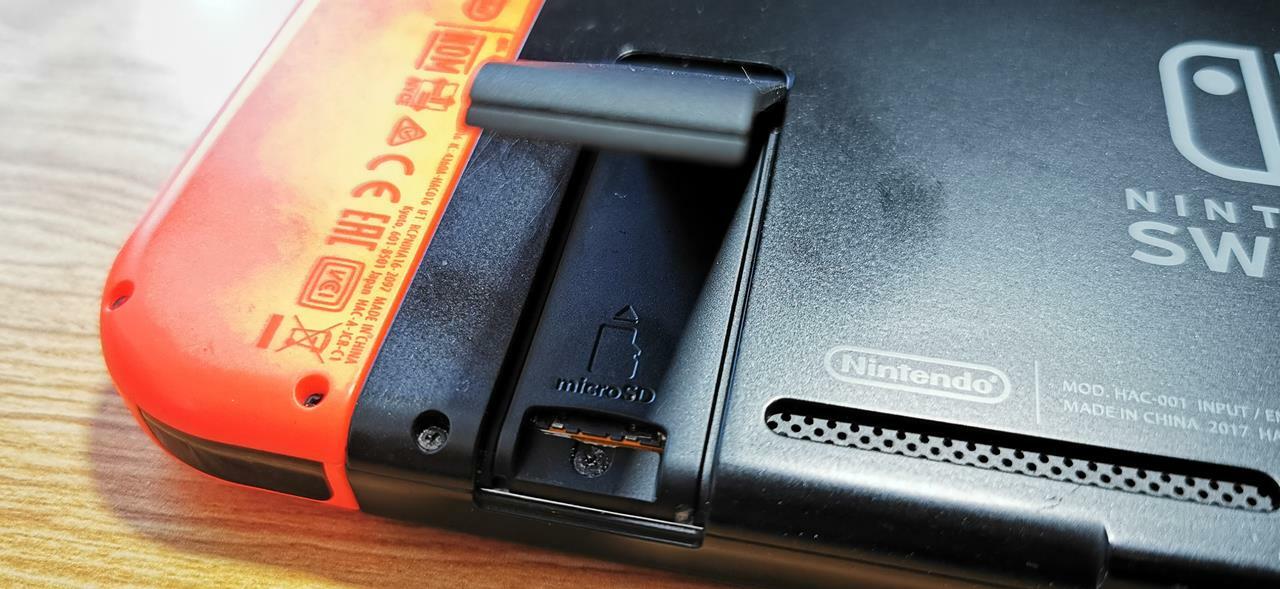
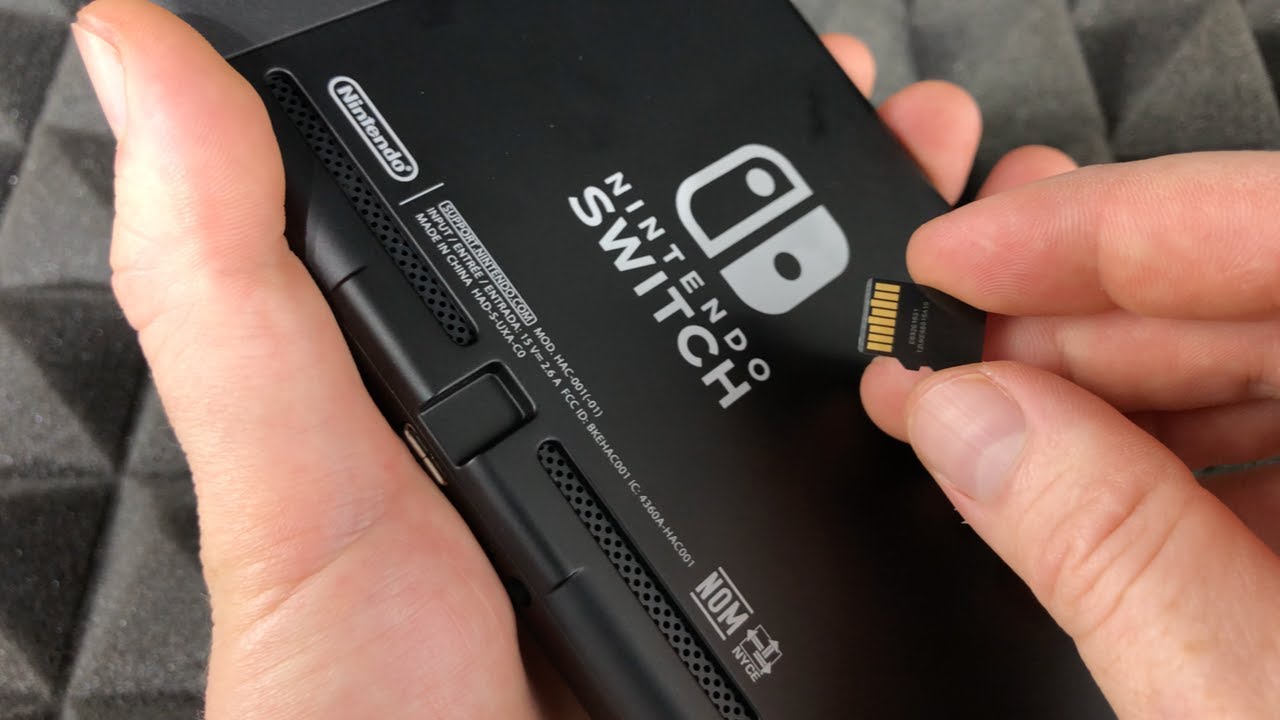
If you’re hesitant to delete your media permanently, you have the option to transfer your screenshots and video clips to a microSD card. Simply insert a compatible microSD card into the slot on your Switch and follow the on-screen instructions to transfer the media. This allows you to keep your memories while freeing up internal storage space.
By removing unnecessary screenshots and video clips, you can create more room for new game updates, downloadable content, and applications. It’s a simple yet effective way to optimize your Nintendo Switch’s storage and ensure a smoother gaming experience.
Remember to regularly review your media collection and delete any content that is no longer needed or desired. This practice will not only help in managing your storage space but also allow for easier navigation through your screenshots and video clips.
Clearing Temporary Cache
Over time, your Nintendo Switch accumulates temporary cache files while playing games or using applications. These files can take up valuable storage space and potentially affect the performance of your console. Clearing the temporary cache is a simple and effective way to free up storage and optimize your Switch’s performance.
To clear the temporary cache on your Switch, you’ll need to perform a soft reset. Start by powering off your console completely. Once powered off, hold down the power button for about 15 seconds. This will initiate the soft reset process.
After the 15 seconds, release the power button and wait for a few moments. Then, press the power button again to turn on your Switch. This soft reset will clear the temporary cache and give your console a fresh start.
When your Switch boots up again, you’ll notice a slight improvement in performance, as the cache files have been cleared. The freed-up storage space can be utilized for new games, updates, and other content.
It’s worth noting that clearing the temporary cache does not delete any saved game data or progress. Your game saves and data will remain intact after the cache is cleared.
Performing a soft reset and clearing the temporary cache is a good routine maintenance procedure that you can do regularly. By doing so, you can ensure that your Nintendo Switch runs smoothly and efficiently.
Do keep in mind that this method only clears temporary cache files and not permanent files, such as game downloads or save data. If you want to free up more storage space, you may need to consider other methods, such as deleting unused games and applications or moving game data to external storage.
By periodically clearing the temporary cache, you can maintain a clutter-free and optimized Nintendo Switch. This practice not only improves performance but also helps in managing your storage space effectively.
Remember to perform a soft reset and clear the temporary cache on your Nintendo Switch every so often to keep it running in its best condition.
Reinstalling Games from the eShop
If you’re looking to free up storage space on your Nintendo Switch without permanently deleting games, one option is to reinstall games from the eShop whenever you want to play them. This allows you to maintain a diverse library of games without occupying unnecessary space on your console.
The Nintendo eShop is the digital marketplace where you can purchase and download games directly to your Switch. If you previously purchased a game from the eShop and later deleted it to free up storage, you can easily reinstall it at any time.
To reinstall a game from the eShop, start by accessing the HOME menu on your Switch. Locate and launch the eShop application on your console. Once in the eShop, navigate to your account by selecting your profile icon in the top-right corner.
In your account, you’ll find a list of your previously purchased games and applications. Select the game you want to reinstall, and you’ll be taken to its product page. Here, you’ll see an option to download or redownload the game.
Choose the “Redownload” option, and the game will begin reinstalling on your Nintendo Switch. Depending on the size of the game and your internet connection speed, the process may take a few minutes or longer. Once the download is complete, the game will be available for you to play again.
Reinstalling games from the eShop is a convenient way to manage your storage space while maintaining access to your favorite titles. It also allows you to easily switch between different games without the need for an SD card or constantly deleting and re-downloading games.
Keep in mind that you’ll need a stable internet connection and sufficient available storage space on your Switch to reinstall games from the eShop. If you’re running low on storage, consider deleting some games or moving game data to external storage before you proceed with reinstalling.
By utilizing the reinstall feature in the eShop, you can optimize the storage space on your Nintendo Switch and have a well-curated game library that suits your preferences and interests.
Regularly evaluate your game collection and remove games that you no longer play to create space for new releases. By doing so, you can manage your storage effectively and make the most of your Nintendo Switch gaming experience.
Using Cloud Storage for Backing Up Data
One of the most convenient and reliable solutions for backing up your game data on the Nintendo Switch without taking up internal storage is to utilize cloud storage. The Switch offers a cloud backup feature that allows you to store your game saves and data securely in the cloud, providing peace of mind and freeing up valuable storage space on your console.
To use the cloud backup feature, you must have an active Nintendo Switch Online subscription. The subscription provides access to various online features, including cloud storage for game data.
To back up your game data to the cloud, start by accessing the HOME menu on your Switch and select the “System Settings” icon. Within the settings, navigate to the “Data Management” section and select “Save Data Cloud Backup.”
From here, you’ll see a list of compatible games that support cloud backup. Select the game for which you want to enable cloud backup and follow the on-screen instructions to enable the feature. Once enabled, your game data, including save files and progress, will automatically be backed up to the cloud.
In the event that you need to restore your game data or transfer it to another console, you can do so by navigating to the “Save Data Cloud Backup” section again and selecting the game in question. From there, you can choose to either download the backup data to your console or transfer it to another Nintendo Switch console.
Using cloud storage for backing up your game data provides several advantages. First and foremost, it ensures that your valuable game saves are protected in case of console issues, loss, or damage. It also allows you to free up internal storage space on your Nintendo Switch, as you no longer need to store multiple game saves locally.
However, it’s important to note that not all games support cloud backup due to factors like multiplayer cheating prevention. Make sure to check the compatibility list for cloud backup support for each game you want to back up.
By leveraging the cloud storage feature on the Switch, you can enjoy a seamless and worry-free gaming experience. Knowing that your game data is backed up safely in the cloud gives you the freedom to explore new games, updates, and content without concerns about storage limitations or losing progress.
Remember to periodically check your cloud backups and ensure that they are up to date. This way, you can have peace of mind knowing that your game data is secure and readily available whenever and wherever you need it.
Utilizing External Storage Devices
If you’re looking for a way to significantly expand your storage capacity on the Nintendo Switch, utilizing external storage devices is a perfect solution. The Switch allows you to connect compatible external storage devices, such as USB flash drives or external hard drives, to greatly increase your available storage space without sacrificing convenience or performance.
Before you get started, make sure that your external storage device is compatible with the Nintendo Switch. USB flash drives with USB 3.0 support or external hard drives with USB 3.0 are recommended for optimal performance.
To begin, insert your external storage device into one of the USB ports on your Nintendo Switch dock. Once connected, navigate to the HOME menu and select “System Settings.” From there, scroll down to the “Data Management” section and choose “Manage Software.”
In “Manage Software,” you’ll find an option to “Archive Software.” Select this option, and you’ll be presented with a list of games and applications installed on your Switch. You can now choose which games or applications you want to move to the external storage device.
Once you’ve selected the games or applications you want to transfer, click “Archive” to move them to the external storage device. The process may take some time depending on the size of the files being transferred.
After the transfer is complete, you’ll notice that the games or applications you moved to the external storage device no longer occupy space on your Nintendo Switch’s internal storage. However, they still remain accessible to play and enjoy, with your progress and game saves intact.
To access the games or applications stored on the external storage device, simply launch them from the HOME menu as you normally would. The Switch will detect and load the game data from the external storage, allowing you to seamlessly continue playing.
By utilizing external storage devices, you can significantly expand the storage capacity of your Nintendo Switch, giving you the freedom to download and enjoy a vast library of games, updates, and applications without worrying about running out of space.
Remember to regularly manage your external storage device by archiving or moving games you no longer play to create space for new releases. This way, you can keep your gaming library organized and ensure a smooth gaming experience.
By making use of external storage devices, you can unlock the full potential of your Nintendo Switch and enjoy a vast collection of games and applications without limitations.