Introduction
Welcome to the world of gaming with the Nintendo Switch! Whether you’re a casual gamer or a die-hard fan, you’re probably familiar with the need for additional storage space. The Nintendo Switch comes with limited internal storage, which can fill up quickly when you download games, DLCs (Downloadable Content), and updates. That’s where a Micro SD card comes in handy.
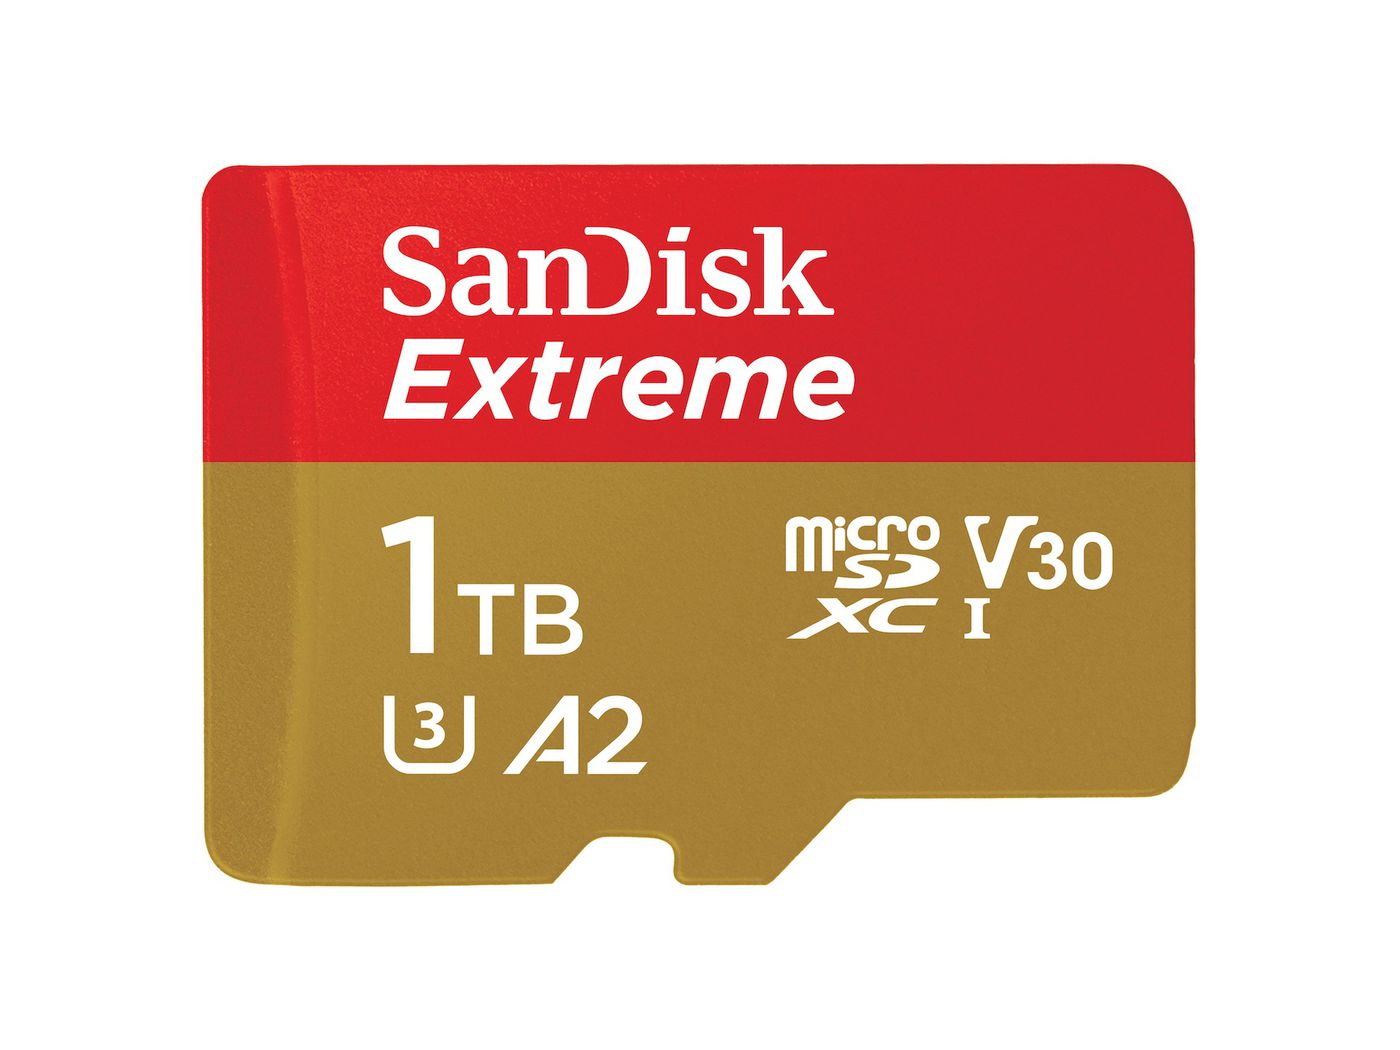
A Micro SD card is a small, removable storage device that can be inserted into the Nintendo Switch to expand its storage capacity. With the ability to hold up to 2TB of data, a Micro SD card provides ample space to store more games, screenshots, videos, and other media files.
In this article, we’ll walk you through the process of inserting a Micro SD card into your Nintendo Switch, as well as provide tips and troubleshooting advice to ensure a seamless gaming experience.
So, whether you’re looking to expand your game library or just need some extra storage space, we’ve got you covered. Let’s dive in and learn how to make the most out of your Nintendo Switch with a Micro SD card!
What is a Micro SD Card?
A Micro SD card, also known as a micro Secure Digital card, is a small and portable storage device used in various electronic devices, including smartphones, cameras, and gaming consoles like the Nintendo Switch. It is a smaller version of the standard SD card, designed to fit in devices with limited space.
Micro SD cards are commonly used to expand the storage capacity of devices that have built-in memory limitations. They offer a convenient way to store and transfer data, such as photos, videos, documents, and applications.
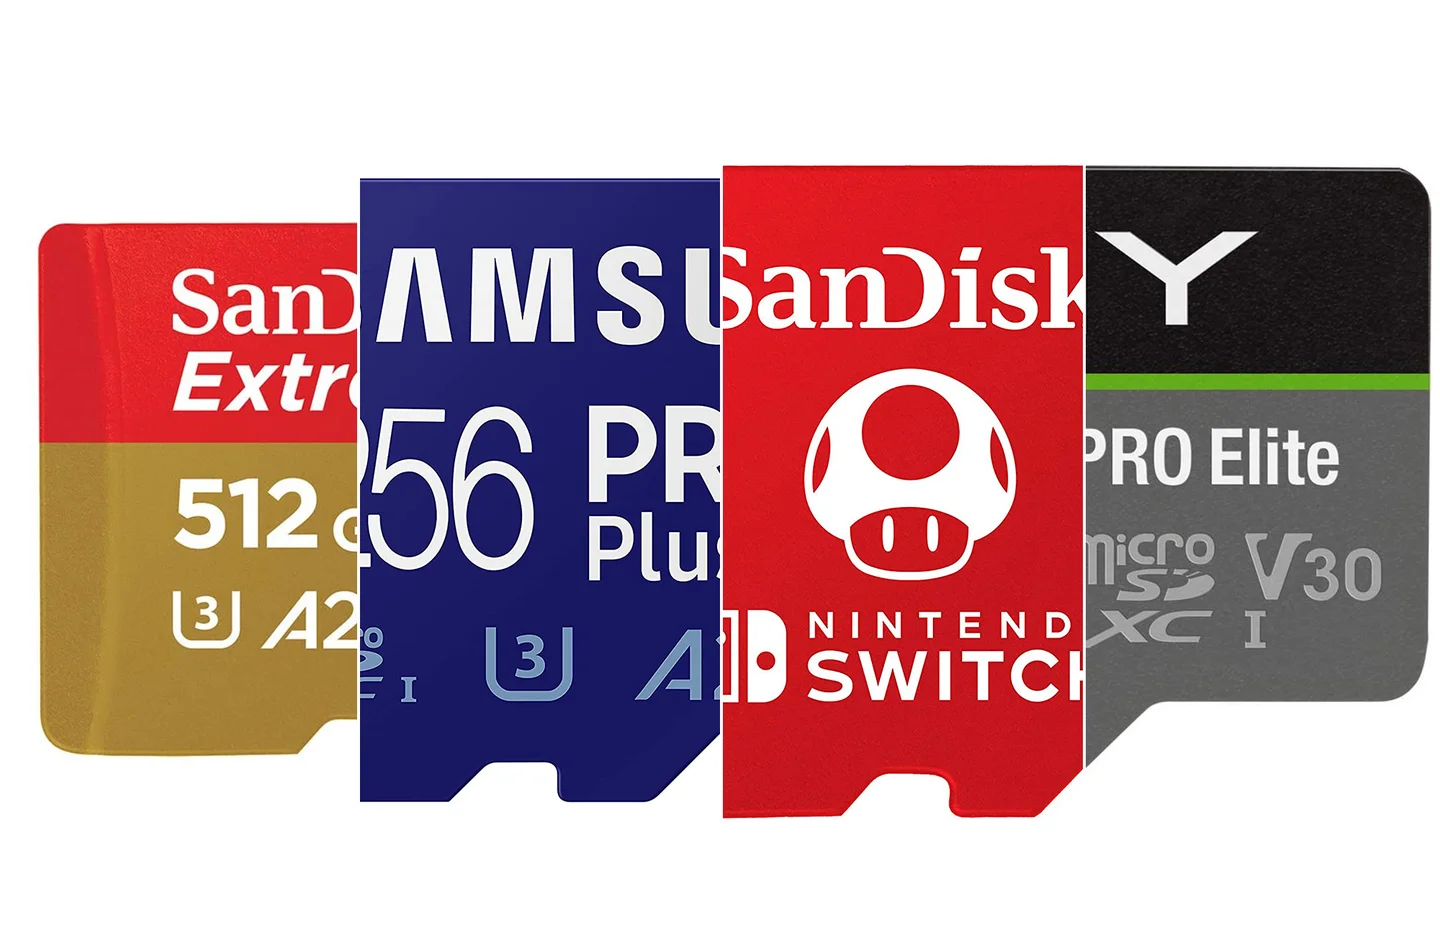
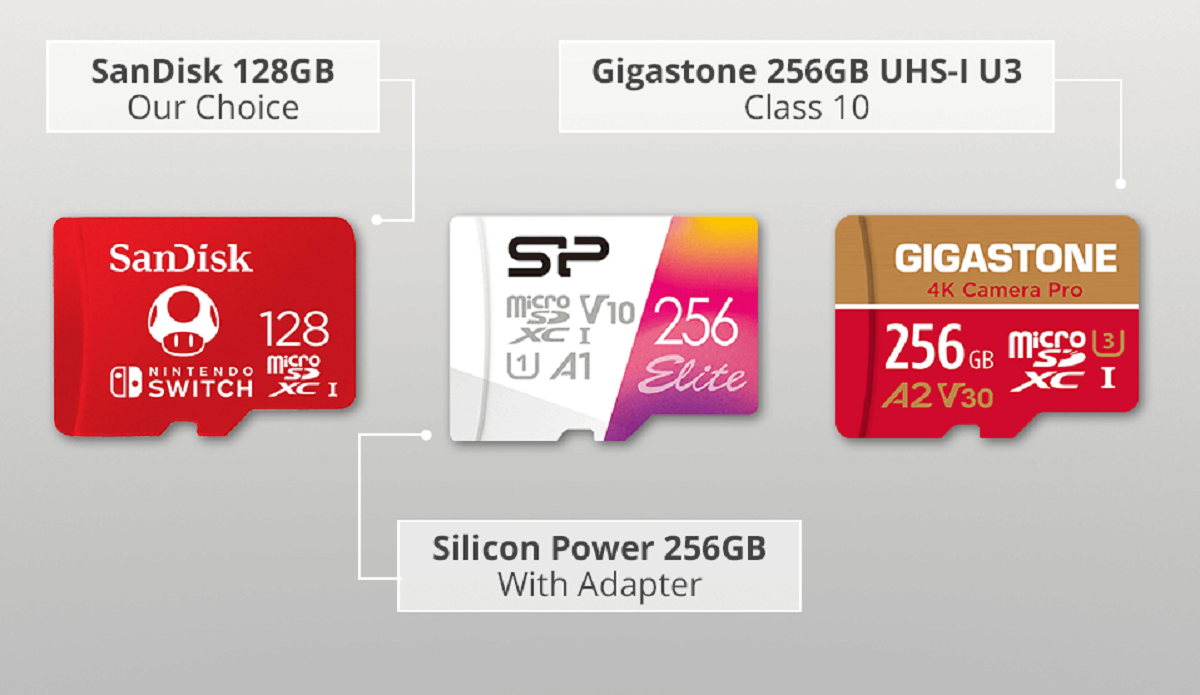
Micro SD cards come in different storage capacities, ranging from a few gigabytes to several terabytes. The storage capacity you choose depends on your needs and budget. For gaming purposes, it’s advisable to opt for higher capacities, such as 128GB or 256GB, to accommodate multiple games and downloadable content.
Micro SD cards also have different speed ratings, classified as Class 2, 4, 6, 10, and UHS Speed Class 1 (U1) or 3 (U3). These speed ratings indicate the minimum write speed, allowing for smoother performance and faster data transfers. When using a Micro SD card in a gaming console like the Nintendo Switch, it’s recommended to use a card with a minimum speed class of 10 or a UHS Speed Class of U1 or higher.
It’s important to note that not all Micro SD cards are compatible with the Nintendo Switch. The Switch requires cards that adhere to the SDXC (Secure Digital eXtended Capacity) standard. Make sure to check the compatibility of the Micro SD card before purchasing it for your gaming needs.
In summary, a Micro SD card is a small and portable storage device used to expand the memory capacity of electronic devices. It offers a convenient and flexible way to store and transfer data, making it an essential accessory for the Nintendo Switch and other devices with limited internal storage.
Why Do You Need a Micro SD Card in a Switch?
As a Nintendo Switch owner, you may wonder why you need a Micro SD card when the console already has internal storage. The answer lies in the limited capacity of the Switch’s built-in memory and the growing size of modern games.
By default, a standard Nintendo Switch comes with either 32GB or 64GB of internal storage, which may seem spacious at first. However, as you start downloading games, DLCs, and updates, that space can quickly fill up.
Newer games, especially those with high-resolution graphics and expansive worlds, often require several gigabytes of storage space. Some games even exceed 10GB, meaning you’ll only be able to store a limited number of games before running out of space. This is where a Micro SD card becomes essential.
A Micro SD card allows you to significantly expand the storage capacity of your Nintendo Switch. With larger capacities available, such as 128GB, 256GB, or even 512GB, you can store more games, DLCs, screenshots, videos, and other media files without worrying about running out of space.
Having a Micro SD card also enables you to manage your gaming library more effectively. Instead of constantly deleting and re-downloading games to free up space, you can simply store them on the Micro SD card and access them whenever you want. This convenience can save you time and ensure that all your games are readily available.
In addition to game storage, a Micro SD card is also useful for backing up your save data. By transferring your game saves to the Micro SD card, you have an extra layer of security in case your console is lost, damaged, or needs to be formatted. This ensures that your progress in games is preserved, even if unforeseen circumstances occur.
In summary, a Micro SD card is essential for Nintendo Switch owners who want to expand their game library, store DLCs and updates, capture screenshots and videos, and have peace of mind knowing that their game saves are backed up. With a Micro SD card, you can enjoy a larger and more diverse gaming experience without worrying about storage limitations.
How to Insert a Micro SD Card in a Switch
Inserting a Micro SD card into your Nintendo Switch is a straightforward and simple process. Follow these steps to expand your console’s storage capacity:
- Power off your Nintendo Switch by holding down the power button on the top of the console and selecting “Power Options” and then “Turn Off.”
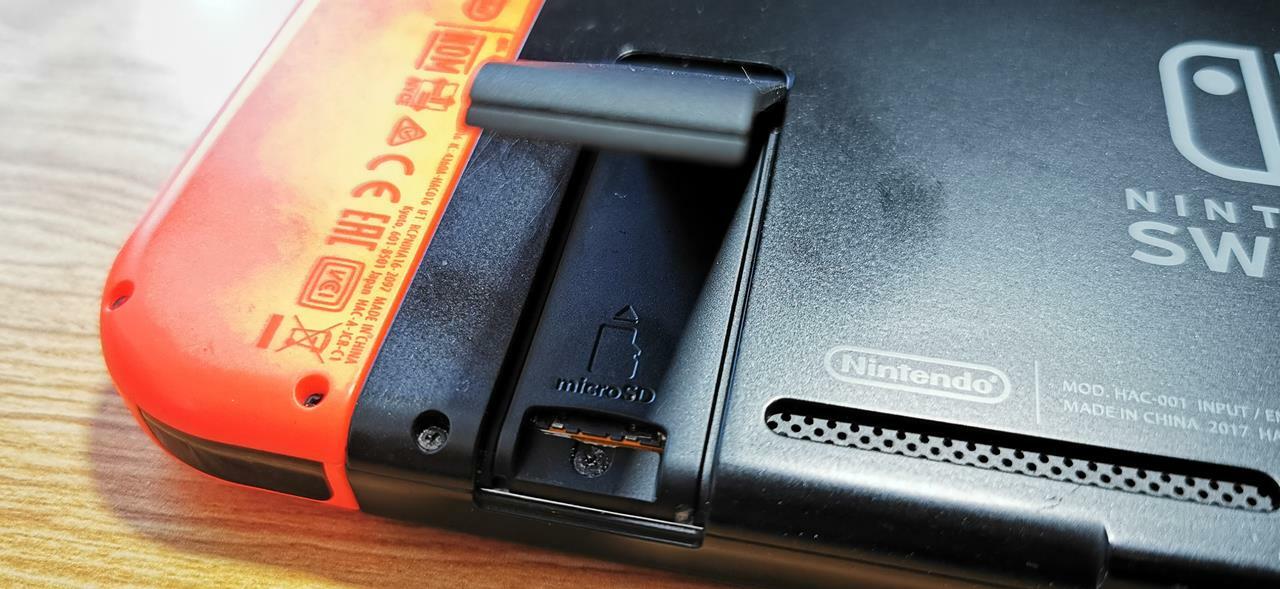
- Locate the Micro SD card slot on the back of the Switch. It is located underneath the kickstand.
- Use your fingernail or a small tool to gently push the kickstand open.
- You will see a small cover or flap. Slide it open with your finger or a suitable tool.
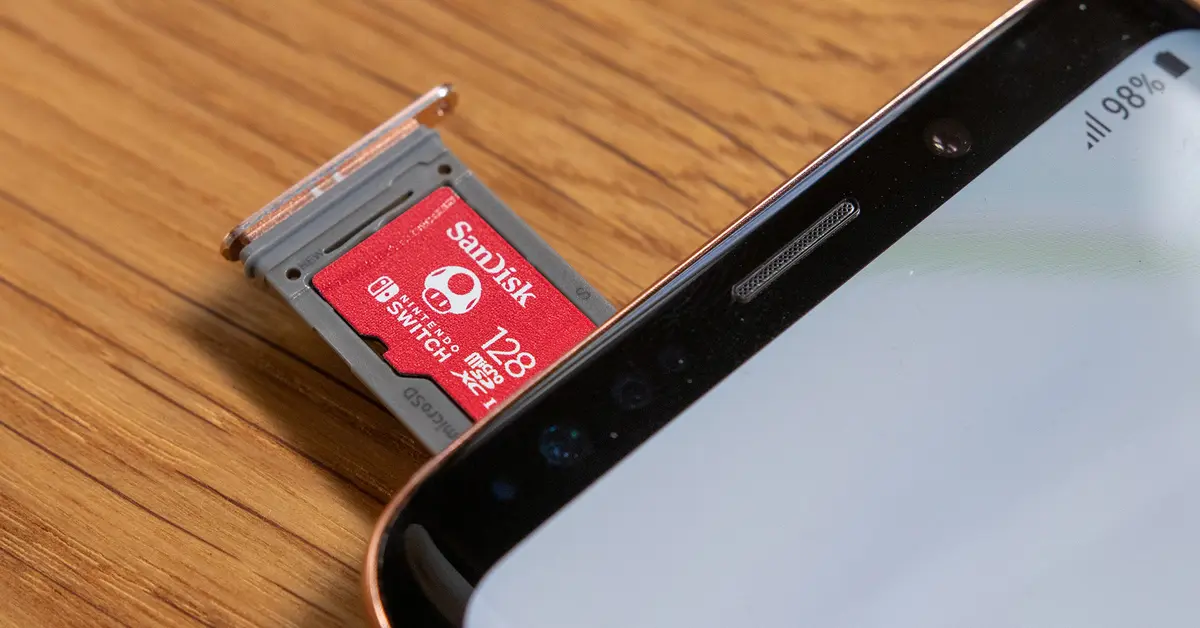
- Insert the Micro SD card into the slot with the label facing upward and the gold contacts facing downward.
- Push the Micro SD card gently until you feel it lock into place.
- Close the cover or flap and press the kickstand back into its closed position.
- Power on your Nintendo Switch and wait for it to recognize the newly inserted Micro SD card.
- To ensure that the Micro SD card is properly recognized, go to the System Settings and select “Data Management,” then “Manage SD Card.” Here, you can view the available storage on your Micro SD card.
That’s it! You have successfully inserted a Micro SD card into your Nintendo Switch and expanded its storage capacity. You can now download and store more games, DLCs, screenshots, videos, and other media files without worrying about running out of space.
Keep in mind that the Nintendo Switch can only use one Micro SD card at a time. If you want to switch to a different card, you will need to power off the console, remove the current Micro SD card, and insert the new one following the same steps mentioned above.
Steps to Insert a Micro SD Card in a Switch
If you’re new to the Nintendo Switch or need a refresher, here are the step-by-step instructions on how to insert a Micro SD card into your Switch:
- Power off your Nintendo Switch. To do this, press and hold the power button located on the top of the console.
- Flip the console around to access the backside. Look for the kickstand, which is located near the center of the back panel.
- Open the kickstand by gently pulling it outwards. Be careful not to apply excessive force to avoid damaging the kickstand.
- Underneath the kickstand, you’ll find a small cover or flap. Using your finger or a small tool, slide the cover open to reveal the Micro SD card slot.
- Take your Micro SD card and properly orient it. Make sure the label on the card is facing upward, and the gold contacts are facing downward.
- Insert the Micro SD card into the slot. Gently push it in until you feel a slight resistance and it locks into place.
- After inserting the Micro SD card, close the cover or flap that was previously opened.
- Push the kickstand back into its closed position. Ensure that it is securely fastened.
- Power on your Nintendo Switch. Press the power button to turn it on and wait for the console to fully boot up.
- To verify that the Micro SD card has been successfully inserted, navigate to the System Settings on your Switch’s home screen.
- Select “Data Management,” then choose “Manage SD Card.” Here, you can view the available storage on your Micro SD card and manage its contents.
By following these steps, you can easily insert a Micro SD card into your Nintendo Switch and start enjoying expanded storage for your games, screenshots, videos, and other media files.
Remember, if you decide to switch to a different Micro SD card in the future, make sure to power off the console, remove the current card, and repeat the steps outlined above to insert the new one properly.
Removing a Micro SD Card from a Switch
At some point, you may need to remove a Micro SD card from your Nintendo Switch. Whether you want to upgrade to a larger capacity card or transfer data to another device, here are the steps to safely remove the Micro SD card from your Switch:
- Power off your Nintendo Switch by pressing and holding the power button on the top of the console. Select “Power Options” and then “Turn Off”.
- Flip the console around to access the backside. Locate the kickstand, which is positioned near the center of the back panel.
- Open the kickstand by gently pulling it outwards, being mindful not to apply excessive force.
- Underneath the kickstand, you will find a small cover or flap. Use your finger or a suitable tool to slide it open.
- Locate the Micro SD card that is currently inserted into the slot. Gently press down on the card until you feel it release from the slot.
- Carefully remove the Micro SD card from the slot by pulling it out with your fingers.
- Once the Micro SD card is removed, close the cover or flap on the back of the console.
- Push the kickstand back into its closed position, ensuring it is securely fastened.
That’s it! You have successfully removed the Micro SD card from your Nintendo Switch. You can now proceed with transferring data to another device or replacing the card with a different one.
It’s essential to handle the Micro SD card with care while removing it from the console to prevent any damage to the card or the slot. Avoid applying excessive pressure or bending the card during the removal process.
If you plan to insert another Micro SD card into your Switch after removing the current one, follow the previous instructions on how to insert a Micro SD card in a Switch to ensure proper installation.
Remember to power off your Nintendo Switch before removing or inserting a Micro SD card to prevent any potential data loss or damage to the card or console.
Things to Consider when Using a Micro SD Card in a Switch
While a Micro SD card can greatly enhance your gaming experience on the Nintendo Switch, there are a few important considerations to keep in mind to ensure optimal performance and storage management:
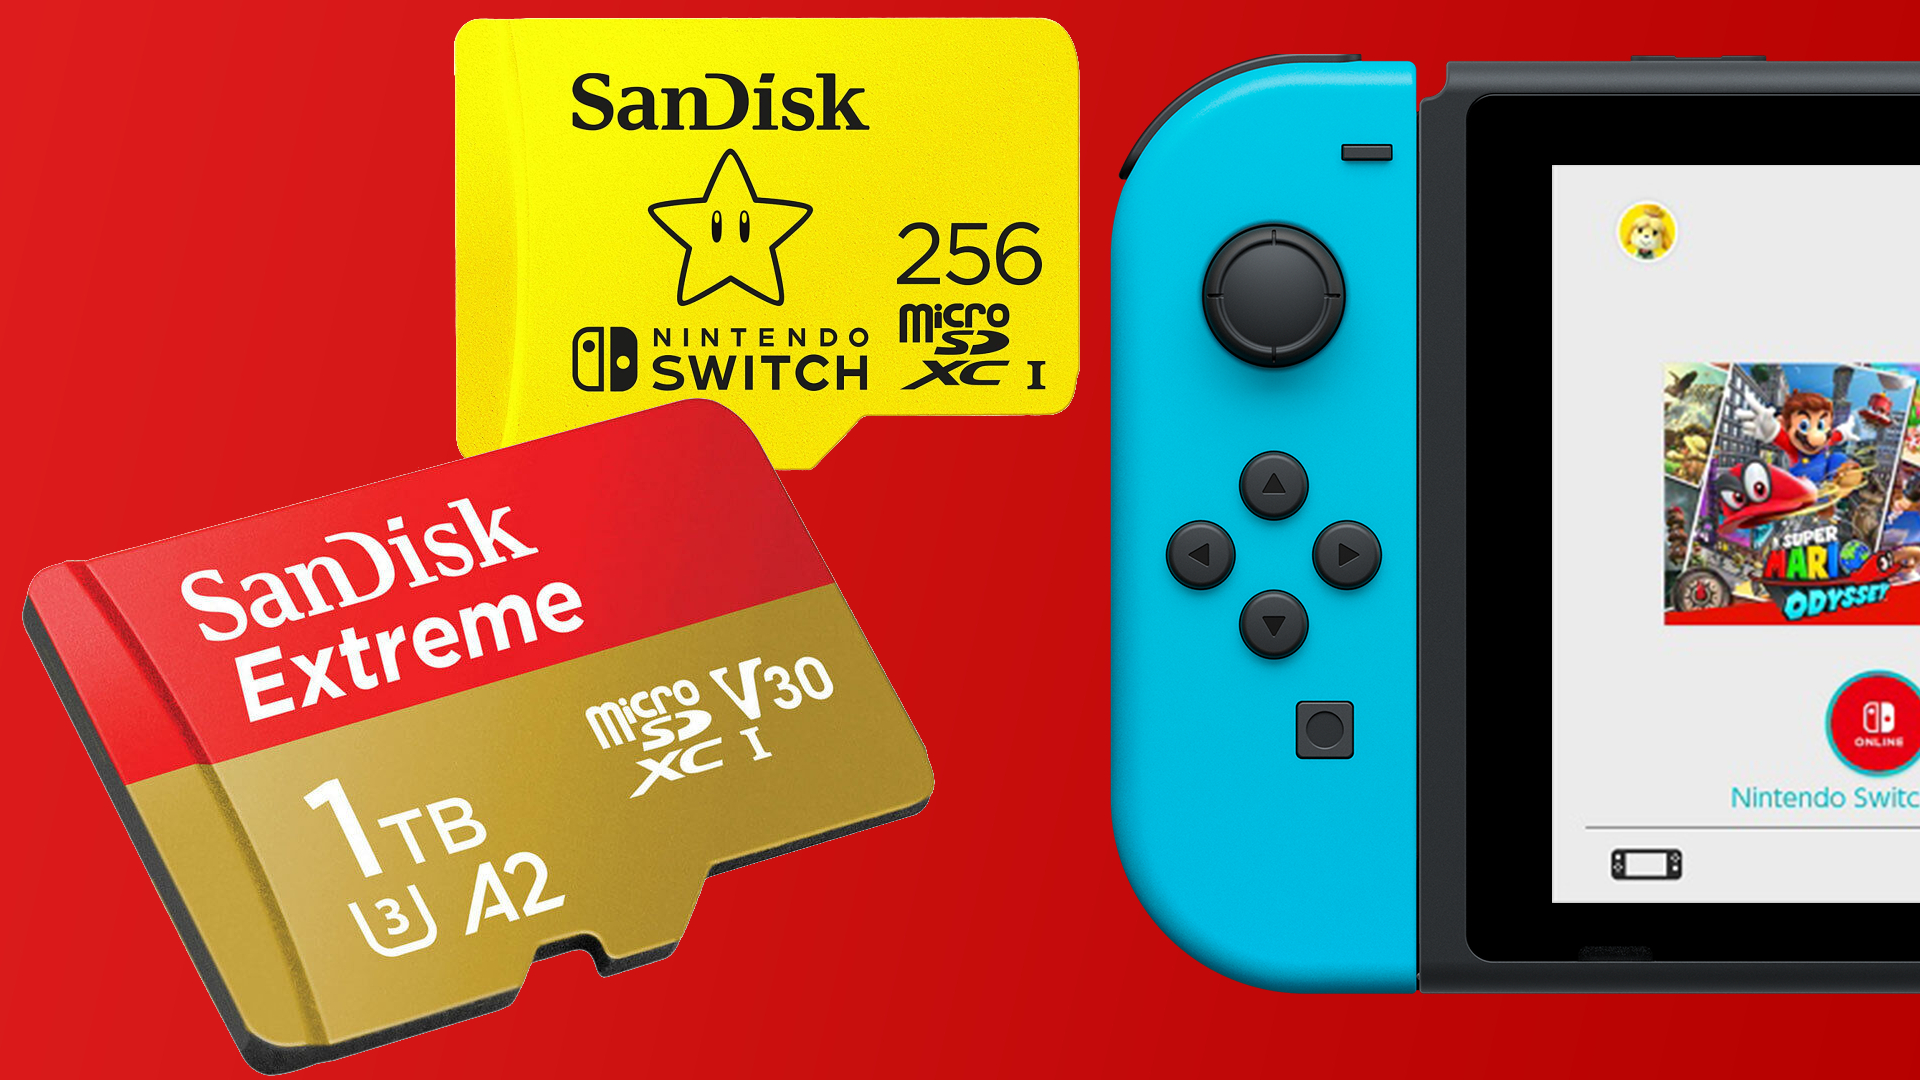
- Compatibility: Before purchasing a Micro SD card, make sure it is compatible with the Nintendo Switch. The Switch requires cards that adhere to the SDXC (Secure Digital eXtended Capacity) standard. Look for cards specifically designed for the Switch or those labeled as compatible with the console.
- Storage Capacity: Choose an appropriate storage capacity for your needs. Larger capacities, such as 128GB, 256GB, or even 512GB, allow you to store more games, DLCs, and media files. Consider the number of games you play and the size of their updates when determining the ideal storage capacity.
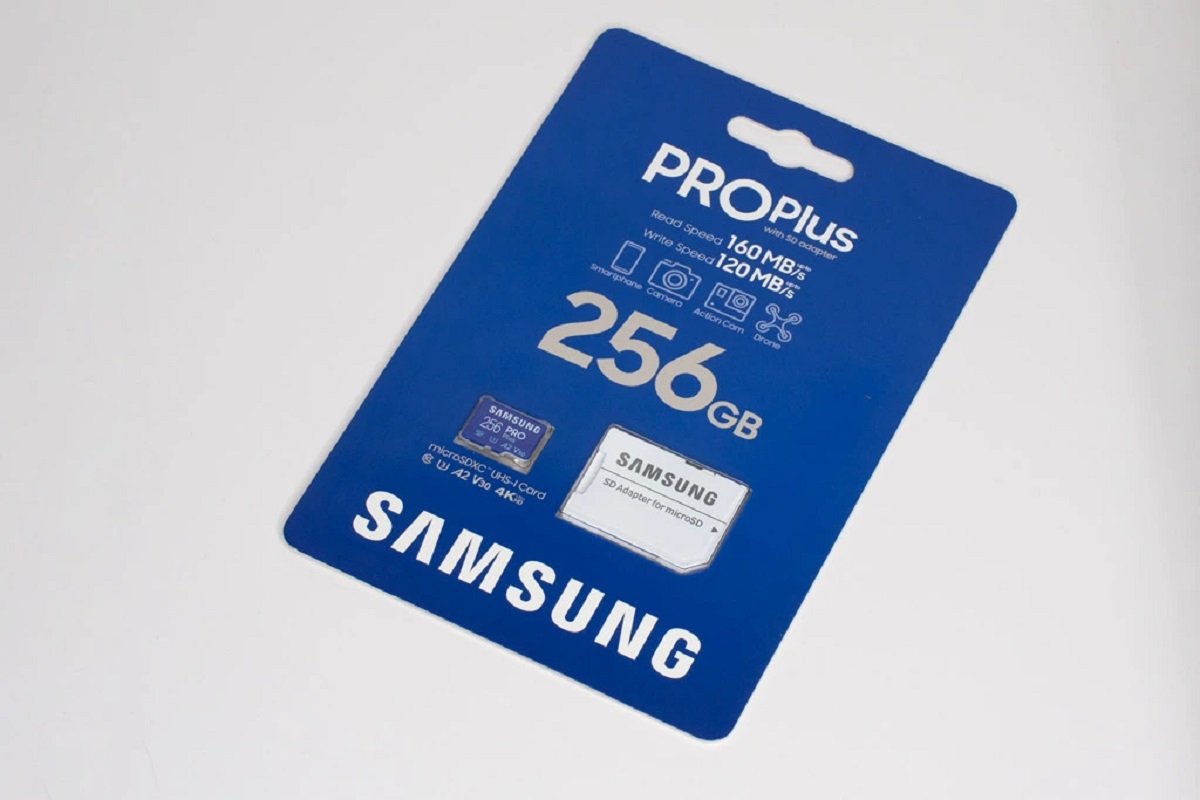
- Speed Class: Pay attention to the speed rating of the Micro SD card. A minimum speed class of 10 or a UHS Speed Class of U1 or higher is recommended for smooth performance and faster data transfers.
- Authenticity: Beware of counterfeit Micro SD cards, especially when shopping online. Purchase your Micro SD card from reputable retailers to ensure authenticity and avoid purchasing fake or low-quality cards that may lead to performance issues.
- Format the Card: The first time you insert a new Micro SD card into your Nintendo Switch, it will prompt you to format the card. This process prepares the card for use with the console. Be aware that formatting will erase all data on the card, so ensure that you have backed up any important files before proceeding.
- Managing Storage: Take advantage of the Switch’s “Data Management” feature to manage your storage effectively. Regularly delete unplayed or finished games to free up space, and consider archiving or transferring screenshots and videos to a computer or cloud storage to keep your Micro SD card organized.
- Backup Save Data: As a precaution, it’s recommended to enable automatic save data backup using the Nintendo Switch Online service. This protects your game progress even if the console or Micro SD card encounters issues or needs to be replaced.
- Protect Your Card: Keep your Micro SD card safe from physical damage and extreme temperatures. Store it in a protective case or sleeve when not in use and avoid exposing it to water, heat, or direct sunlight.
By considering these factors and following best practices when using a Micro SD card in your Nintendo Switch, you can ensure a smooth and enjoyable gaming experience with ample storage capacity for your games and media files.
Troubleshooting Common Micro SD Card Issues
While using a Micro SD card in your Nintendo Switch can greatly enhance your gaming experience, you may encounter certain issues along the way. Here are some common problems that you may come across and how to troubleshoot them:
- SD Card Not Recognized: If your Switch does not recognize the Micro SD card, make sure it is properly inserted. Power off the console, remove the card, and reinsert it, ensuring that it locks into place. If the issue persists, try using a different Micro SD card to determine if the problem lies with the card itself.
- Data Corruption: In some cases, data on a Micro SD card can become corrupted, resulting in games not loading or save data being inaccessible. To address this, power off your console, remove the Micro SD card, and insert it into a computer. Use a data recovery program if available to attempt to retrieve any important files. If unsuccessful, you may need to reformat the card, but be aware that this will erase all data on the card.
- Write Errors: If you encounter write errors when saving or updating a game, it could indicate a problem with the Micro SD card. Try removing the card and cleaning the contacts using a soft cloth. Reinsert it and test if the issue persists. If it does, it is advisable to try the card on a different device to determine if the problem lies with the card or the console.
- Slow Load Times: If you experience slow load times when accessing games or files on your Micro SD card, it may be due to a low-speed class card. Consider upgrading to a higher-speed class or UHS Speed Class card to improve performance.
- Full Storage: If you receive a “No More Space” error message despite having a Micro SD card inserted, check if the card is properly recognized and formatted. Additionally, manage your storage by deleting games or transferring files to free up space on the card.
- Card Corruption: If your Micro SD card becomes corrupted and unresponsive, it may require reformatting. However, keep in mind that reformatting erases all data on the card. If you have important data on the card, consider using data recovery software or services to retrieve the files before proceeding with reformatting.
If you encounter persistent issues with your Micro SD card that cannot be resolved through troubleshooting, it is recommended to contact the card manufacturer’s customer support for further assistance or consider getting a replacement if applicable.
It’s important to handle your Micro SD card with care, avoid forcefully removing it while the console is in use, and regularly backup important files to prevent data loss or corruption.
Conclusion
Expanding the storage capacity of your Nintendo Switch with a Micro SD card is a practical and essential step for any avid gamer. With the ability to store more games, DLCs, screenshots, and videos, a Micro SD card enhances your gaming experience and allows you to enjoy a diverse library of titles.
In this article, we’ve explored the importance of a Micro SD card in a Nintendo Switch and provided step-by-step instructions on inserting and removing the card. We’ve also highlighted factors to consider when choosing a compatible card, managing storage, and troubleshooting common issues.
Remember, when selecting a Micro SD card, ensure compatibility with the Nintendo Switch and choose a suitable storage capacity and speed class for your needs. Take advantage of the Switch’s “Data Management” feature to effectively manage your storage and consider backup options for your game saves.
If you experience any issues with your Micro SD card, follow the troubleshooting steps provided. However, be cautious when troubleshooting, as errors with Micro SD cards can sometimes result in data loss or further complications.
By following these guidelines, you can make the most of your Nintendo Switch, expand its storage capacity, and enjoy a seamless gaming experience without worrying about storage limitations.
So, go ahead and enhance your gaming adventure by inserting a Micro SD card into your Nintendo Switch today. Get ready to dive into a world of limitless gaming possibilities!