Introduction
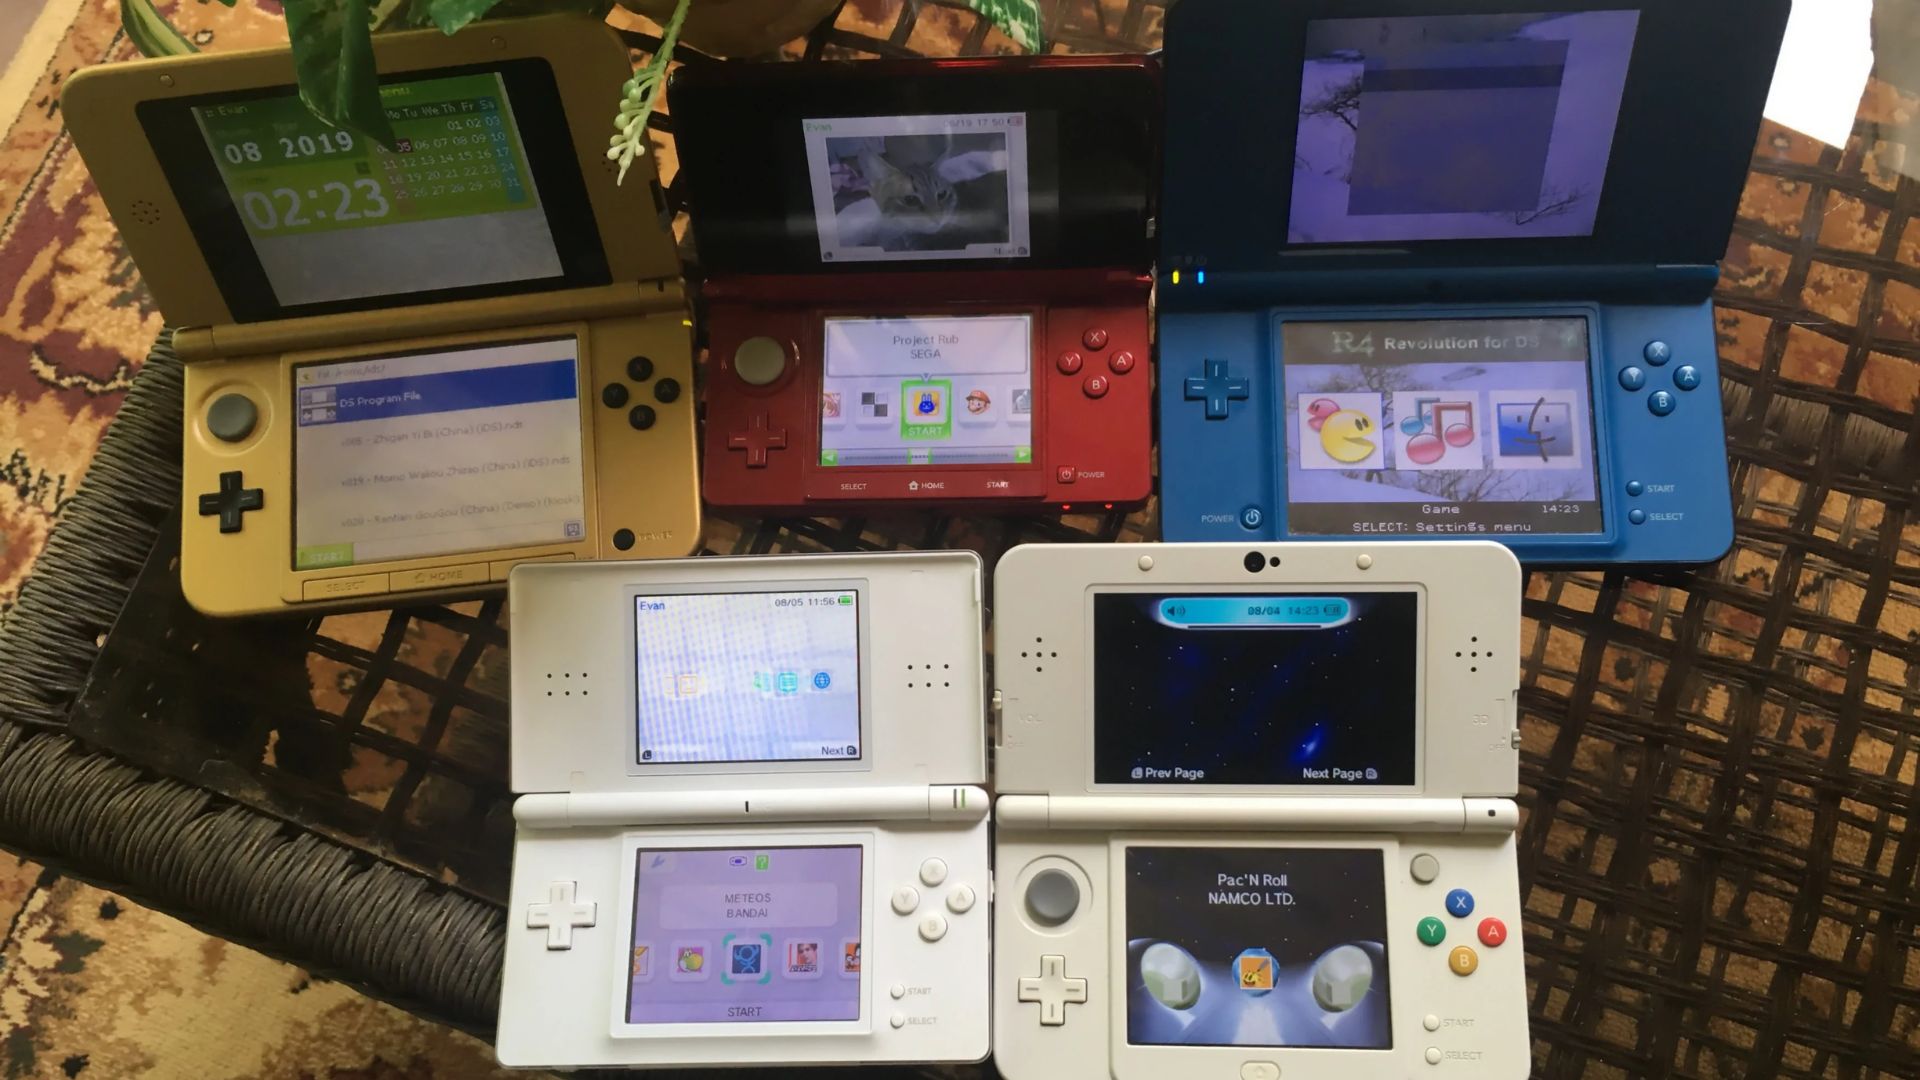
Welcome to the fascinating world of technology where devices are constantly evolving to become smaller, smarter, and more powerful. One such innovation is the Micro SD card, which allows you to expand the storage capacity of your devices, such as smartphones, tablets, cameras, or even gaming consoles. Adding a Micro SD card to your device can provide you with ample space to store photos, videos, documents, and other files.
However, if you’re new to using Micro SD cards, you may be wondering how to insert one properly. Don’t worry, we’ve got you covered. In this guide, we will walk you through the step-by-step process of inserting a Micro SD card into your device, ensuring a smooth and successful installation.
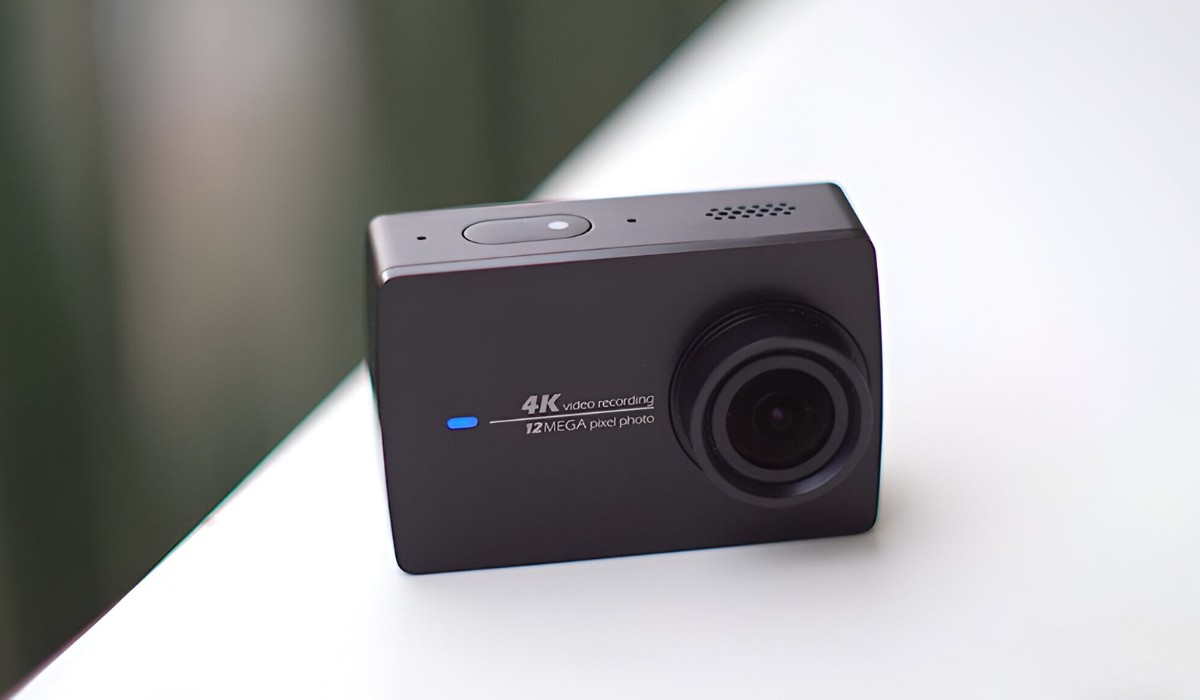
Before we begin, it’s important to note that not all devices are compatible with Micro SD cards. You need to check whether your device has an available SD card slot and if it supports Micro SD cards. Additionally, each device may have a slightly different process for inserting the card. Therefore, it’s always recommended to refer to your device’s user manual for specific instructions.
Now, let’s dive into the steps required to insert a Micro SD card and expand the storage capacity of your beloved device.
Step 1: Check Compatibility
Before you dive into the process of inserting a Micro SD card, it’s essential to ensure that your device is compatible with this type of storage expansion. Not all devices have an SD card slot, and even if they do, they may not support Micro SD cards. Here’s how you can check the compatibility of your device:
- Refer to the user manual: The user manual is your best friend when it comes to understanding your device’s capabilities. Look for information about SD card slots and compatibility specifications. The manual should mention whether your device supports Micro SD cards and the maximum storage capacity it can handle.
- Online research: If you don’t have the user manual or can’t find the information you need, search for your device’s model number online. You may find product specifications on the manufacturer’s website or forums where fellow users discuss the compatibility of different devices with Micro SD cards.
Once you have confirmed that your device is compatible with Micro SD cards, it’s time to move on to the next step. It’s important to note that while most devices support Micro SD cards, there may be variations in the size and type of cards they can accommodate. Make sure you purchase a Micro SD card that is compatible with your specific device to avoid any compatibility issues.
Step 2: Power Off Device
Before you begin handling any internal components of your device, it’s crucial to power it off completely. This step ensures that you avoid any potential damage or interference while inserting the Micro SD card. Here’s how you can power off your device:
- Save your work: If you are currently working on your device, save any open files or applications and close them properly to prevent any data loss.
- Press and hold the power button: Locate the power button on your device. It is usually located on the top or side panel. Press and hold the power button until a screen or prompt appears, indicating that the device is shutting down.
- Confirm shutdown: Depending on your device, you may be asked to confirm the shutdown process. Follow the on-screen instructions and confirm the shutdown to ensure that the device is completely powered off.
- Wait for shutdown: Give your device a few moments to shut down completely. You may notice the screen going blank or a LED light turning off, indicating that the device is no longer powered on.
It’s important to fully power off your device before proceeding to the next steps. This ensures that you don’t accidentally damage any internal components or disrupt the device’s functions. Once your device is powered off, you’re ready to move on to the next step of inserting the Micro SD card.
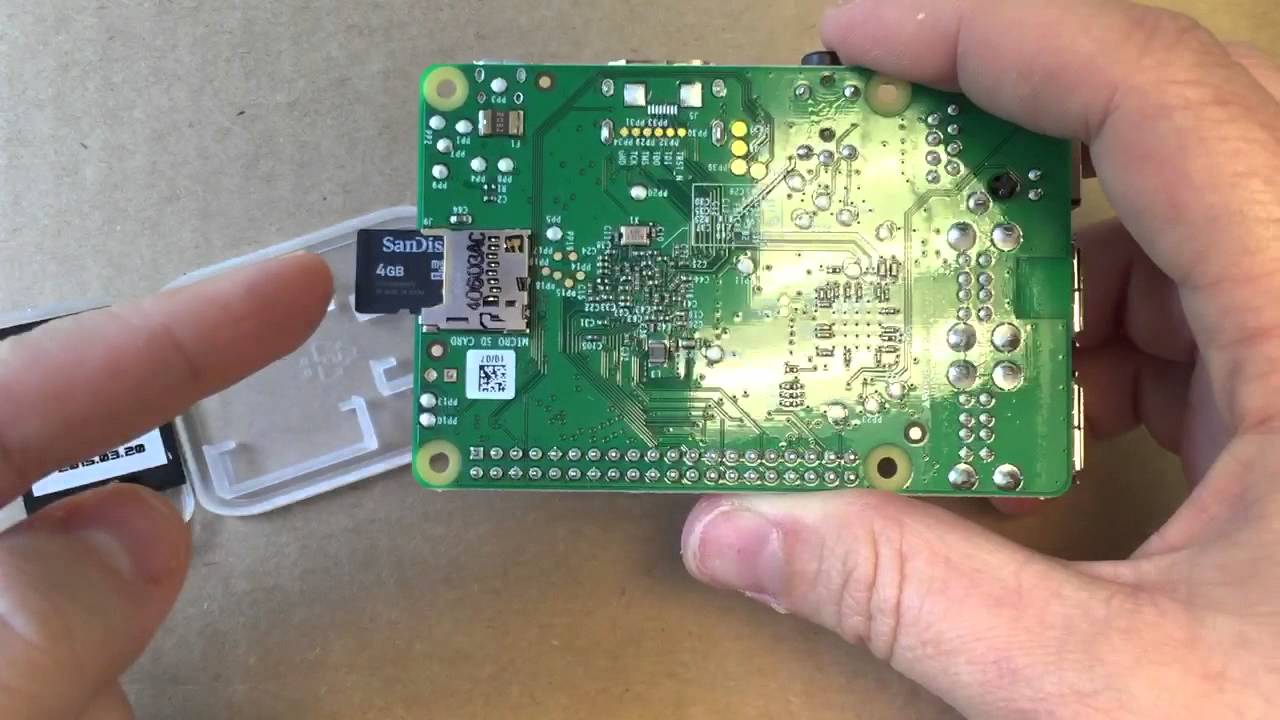
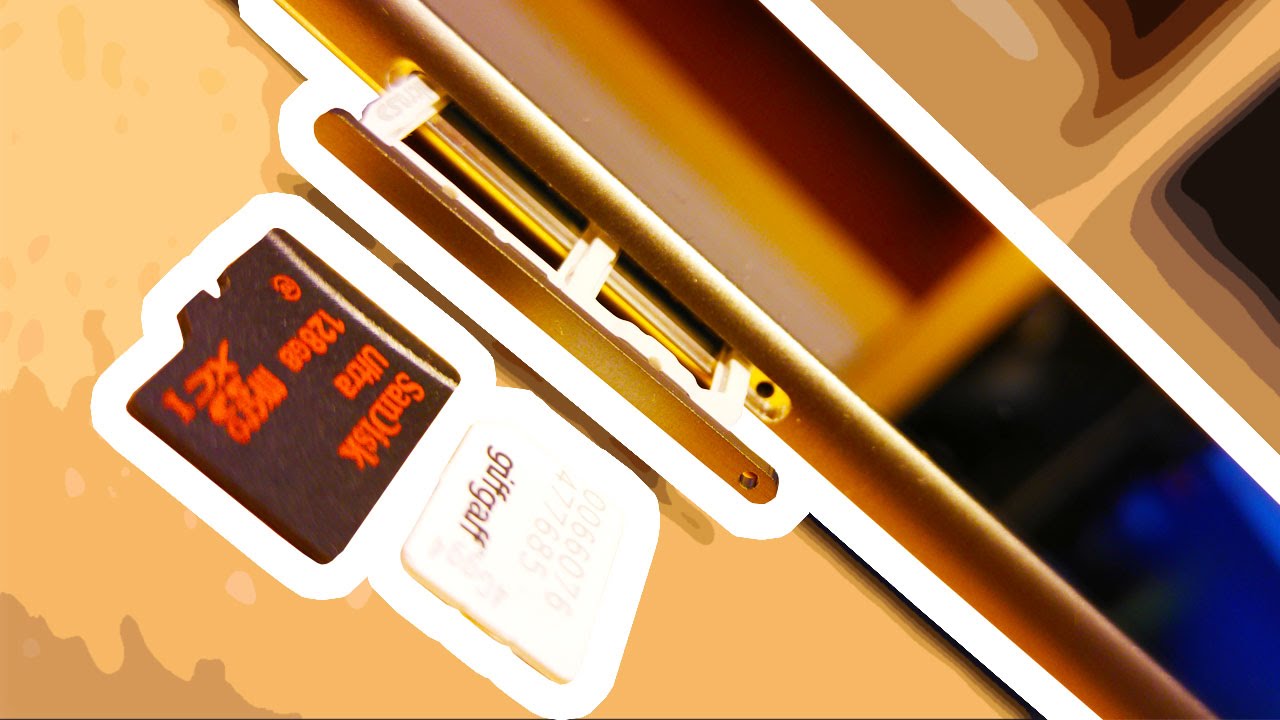
Step 3: Locate the SD Card Slot
Now that your device is powered off, the next step is to locate the SD card slot. The location of the SD card slot can vary depending on the device, so it’s important to familiarize yourself with its placement. Here’s how you can find the SD card slot:
- Consult the user manual: The user manual is your ultimate guide when it comes to understanding the physical layout of your device. Look for a section that highlights the location of the SD card slot. It may include diagrams or images to help you locate it easily.
- Inspect the device: Take a close look at the sides or edges of your device. Some devices have a dedicated slot or compartment specifically for the SD card, while others may have a shared slot with other ports, such as the SIM card slot or USB ports. Look for a small opening or cover that indicates the presence of an SD card slot.
- Online resources: If you don’t have access to the user manual or need visual references, try searching online for your device model. You may find images or videos that highlight the location of the SD card slot.
Once you have located the SD card slot, you’re ready to move on to the next step of inserting the Micro SD card. Make sure to handle the device with care and avoid exerting excessive force when inserting the card to avoid any potential damage.
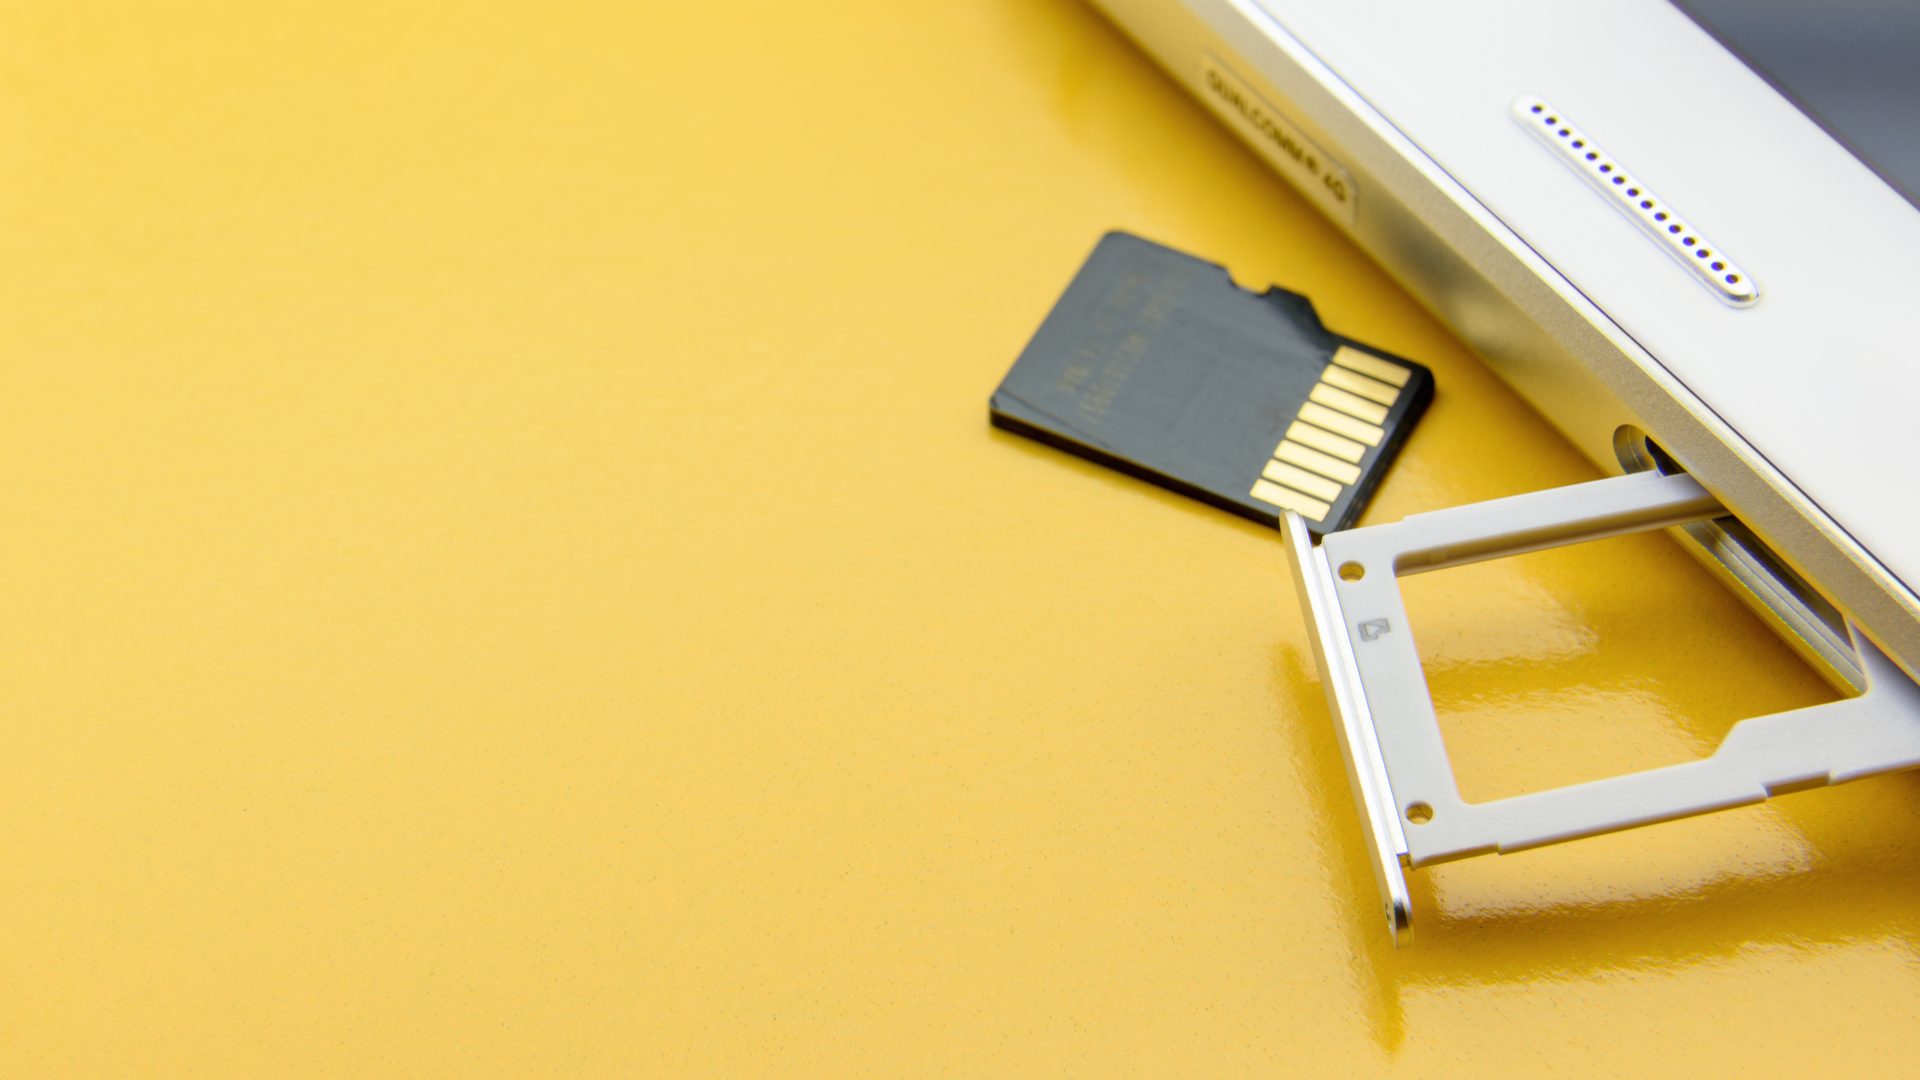
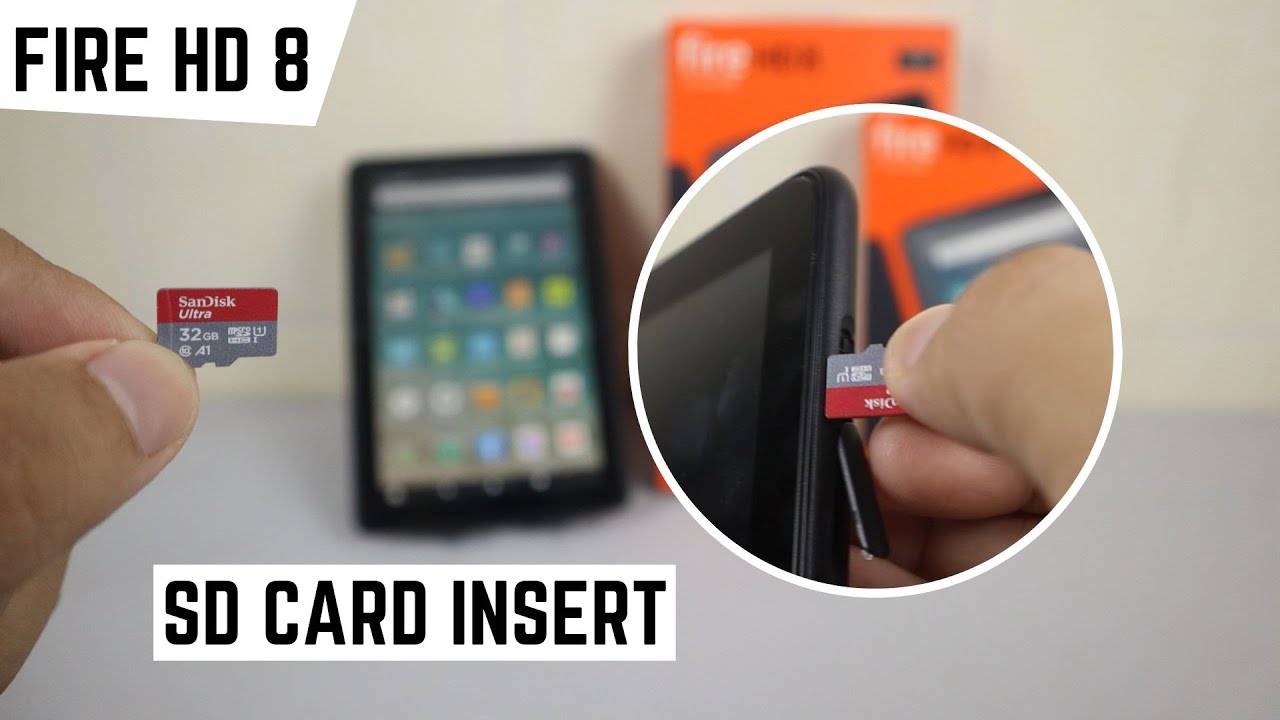
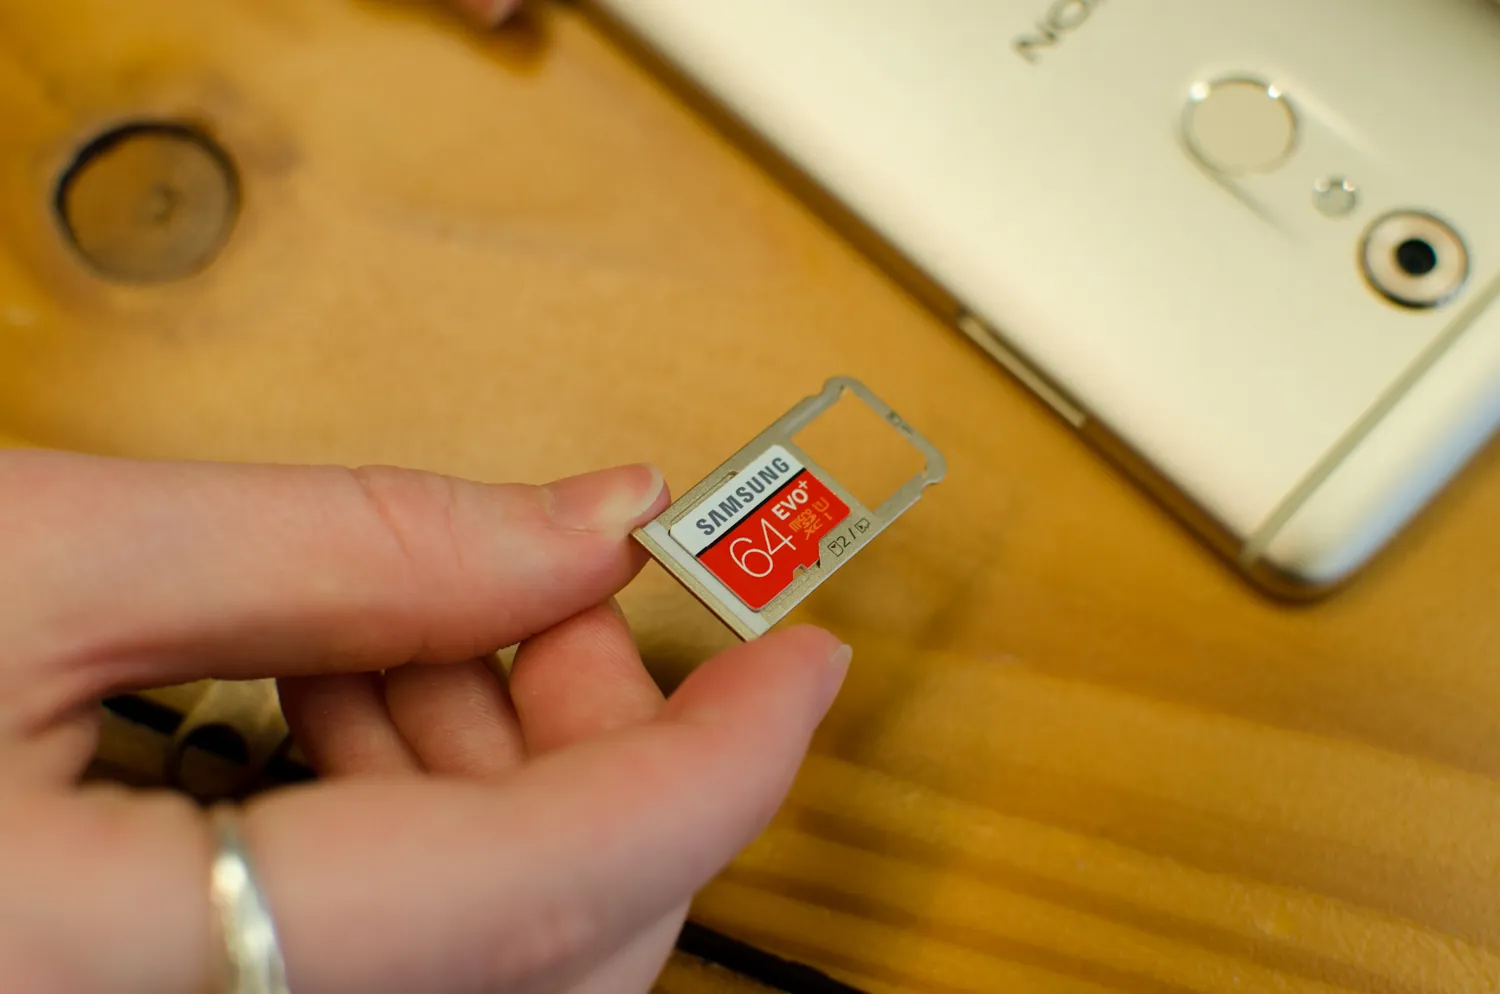
Step 4: Insert the Micro SD Card
Now that you’ve located the SD card slot, it’s time to insert the Micro SD card into your device. Follow these steps to ensure a proper and secure insertion:
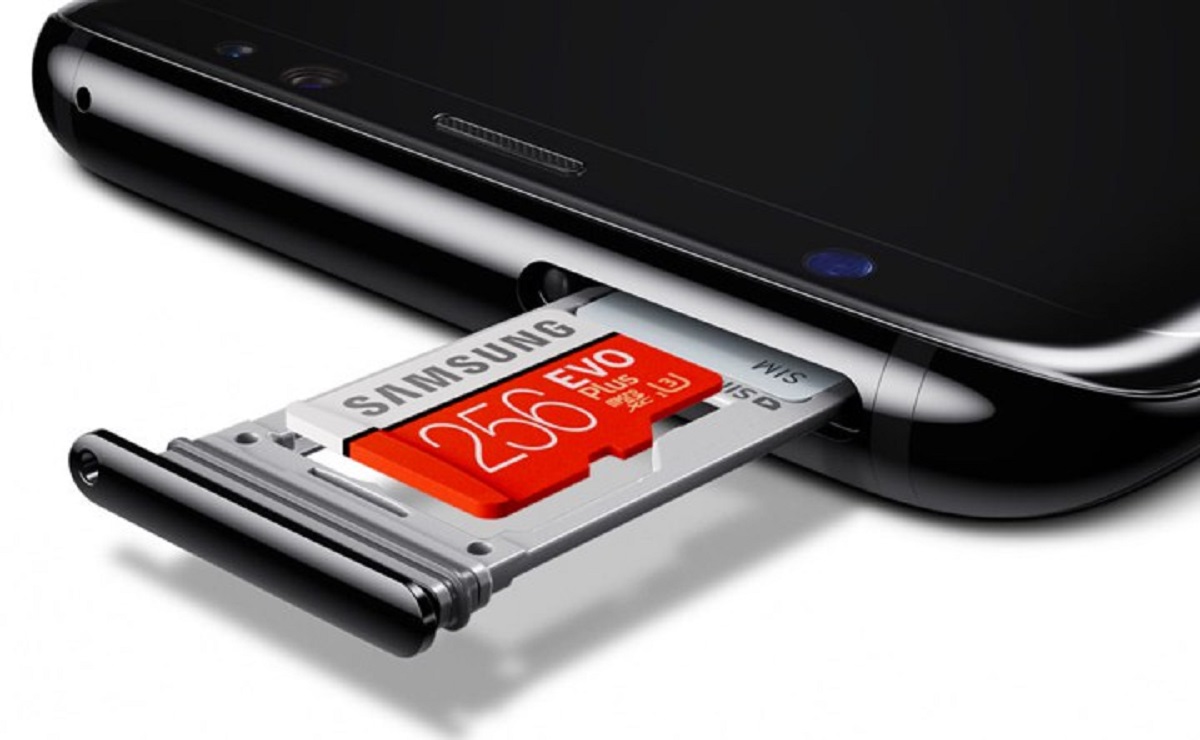
- Remove any covers or trays: If there are covers or trays covering the SD card slot, gently remove them using your fingertips or a small tool, following the device’s instructions.
- Orientation: Take a close look at the Micro SD card and the SD card slot to determine the correct orientation. Most Micro SD cards have a distinctive chip and contact design. Align the card accordingly to ensure proper insertion.
- Insert the card: With the correct orientation in mind, carefully insert the Micro SD card into the slot. Apply gentle pressure until the card clicks into place or is firmly seated within the slot. Avoid forcing or bending the card, as this can cause damage.
- Replace covers or trays: If you had to remove any covers or trays in the first step, now is the time to replace them securely. Ensure that they fit snugly and don’t interfere with the Micro SD card.
It’s important to handle the Micro SD card with care during the insertion process. Avoid touching the metal contacts on the card, as this can lead to connectivity issues. If you encounter any resistance while inserting the card, double-check the orientation and make sure you’re inserting it correctly. With the Micro SD card successfully inserted, you can proceed to the next step of securing it in place within the device.
Step 5: Secure the Micro SD Card
After inserting the Micro SD card into the slot, it’s important to ensure that it is securely held in place within your device. Follow these steps to properly secure the Micro SD card:
- Verify proper insertion: Before moving forward, double-check that the Micro SD card is inserted correctly and fully seated within the SD card slot. It should be flush with the device’s surface, and the contacts on the card should not be visible.
- Locking mechanism: Some devices have a locking mechanism to secure the Micro SD card in place. Check if your device has a switch, latch, or other locking mechanism near the SD card slot. If it does, follow the device’s instructions to engage the lock, ensuring that the card remains securely in place.
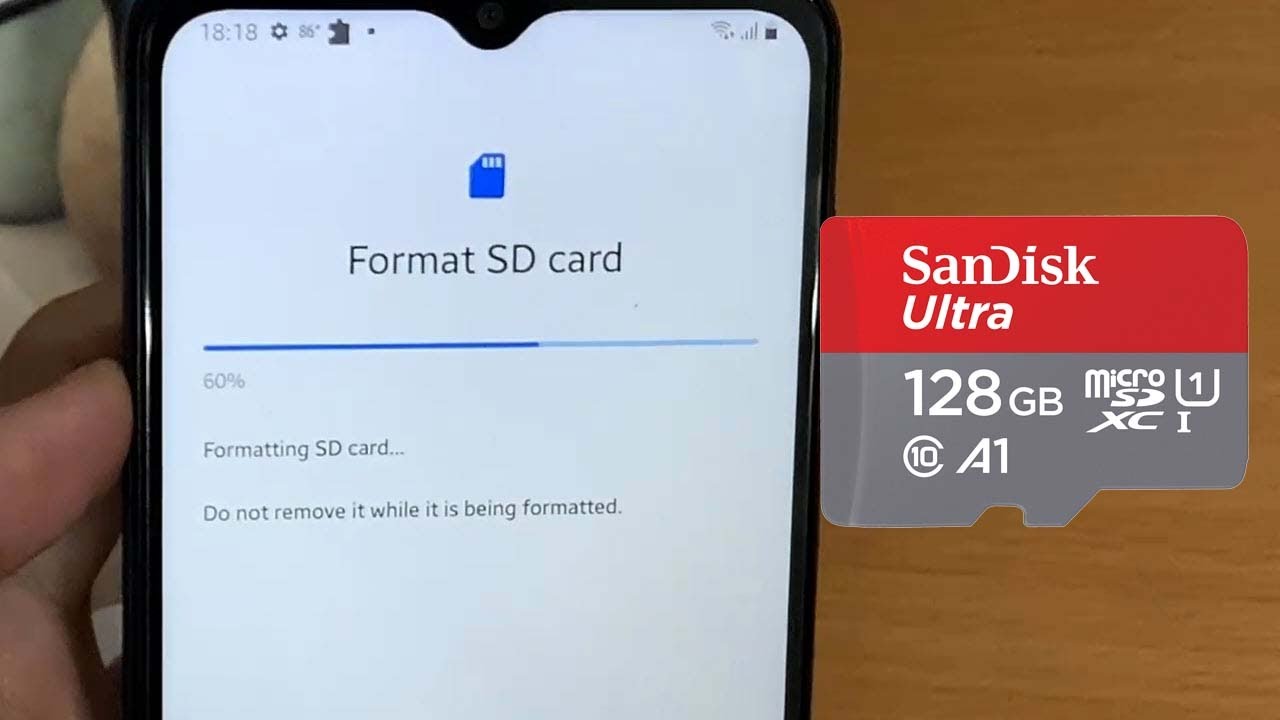
- Test the card: Once you have secured the Micro SD card, power on your device and make sure it recognizes the card. Navigate to the device’s settings and verify that the storage capacity of the card is detected correctly. You can also try accessing files or capturing photos/videos to ensure they are saved directly to the Micro SD card.
By following these steps, you can ensure that the Micro SD card remains securely in place and functions properly within your device. It’s always a good idea to periodically check the card’s status in the device’s settings to ensure that it is recognized and functioning optimally.
Step 6: Power On and Test
Now that you have inserted and secured the Micro SD card, it’s time to power on your device and test its functionality. Follow these steps to ensure everything is working as expected:
- Power on your device: Press and hold the power button to turn on your device. Wait for it to boot up and reach the home screen or main interface.
- Check for card recognition: Once your device is powered on, navigate to the device’s settings and look for the storage or memory section. Verify that your device recognizes the Micro SD card and displays the correct storage capacity.
- Transfer files or capture media: To further test the Micro SD card, try transferring some files from your device’s internal storage to the card. You can also capture photos or videos directly to the Micro SD card to ensure they are saved there instead of the internal storage.
- Access files and media: Use your device’s file manager or media gallery to access the files and media stored on the Micro SD card. Make sure you can open and view the files without any issues.
If at any point during the testing process, you encounter difficulties or your device does not recognize the Micro SD card, double-check the proper insertion and secure placement of the card. If the issue persists, refer to your device’s user manual or contact the manufacturer’s support for further assistance.
By following these steps, you can ensure that the Micro SD card is functioning correctly and expanding the storage capacity of your device. Enjoy the additional space and take full advantage of the flexibility and convenience that the Micro SD card provides!
Conclusion
Inserting a Micro SD card into your device can greatly enhance its storage capacity and allow you to store more files, media, and apps. By following the step-by-step guide provided in this article, you can ensure a successful and hassle-free insertion process. Remember to check the compatibility of your device and purchase a Micro SD card that is suitable. Power off your device, locate the SD card slot, insert the Micro SD card with caution, and secure it in place. After powering on your device, test the Micro SD card to ensure it is recognized and functioning properly.
Adding a Micro SD card not only provides you with more storage space but also enables you to organize your files more efficiently and enjoy a smoother user experience on your device. Whether you’re a photography enthusiast wanting to capture more memories, a music lover with a vast collection of songs, or a professional needing additional storage for your work files, a Micro SD card can make a significant difference.
Remember, each device may have slight variations in the process of inserting a Micro SD card, so it’s always best to refer to your device’s user manual for specific instructions. With the knowledge and guidance provided in this article, you can confidently expand your device’s storage capacity and make the most out of its capabilities.
So, go ahead and start enjoying the benefits of a Micro SD card – more storage, more possibilities!