Introduction
Welcome to our guide on how to use a micro SD card on an Android tablet! With the rapid expansion of digital media and the increasing need for storage space, micro SD cards have become essential accessories for Android tablet users. These tiny memory cards offer a convenient way to expand the storage capacity of your device, allowing you to store more apps, photos, videos, and files.
In this article, we will walk you through the process of using a micro SD card on your Android tablet, from checking compatibility to transferring files. Whether you’re a beginner or an experienced user, this guide will provide you with the necessary steps and tips to get the most out of your micro SD card.
Before we dive into the specifics, it’s important to note that the steps provided may vary slightly depending on the make and model of your Android tablet. However, the general principles and concepts should apply to most Android devices. Additionally, we recommend that you consult your tablet’s user manual for device-specific instructions, as it may have specific requirements or limitations regarding the use of micro SD cards.
Now, let’s begin our journey into the world of micro SD cards and discover how to utilize them on your Android tablet. Whether you’re looking to expand storage, optimize performance, or simply organize your files better, this guide has you covered.
Understanding Micro SD Cards
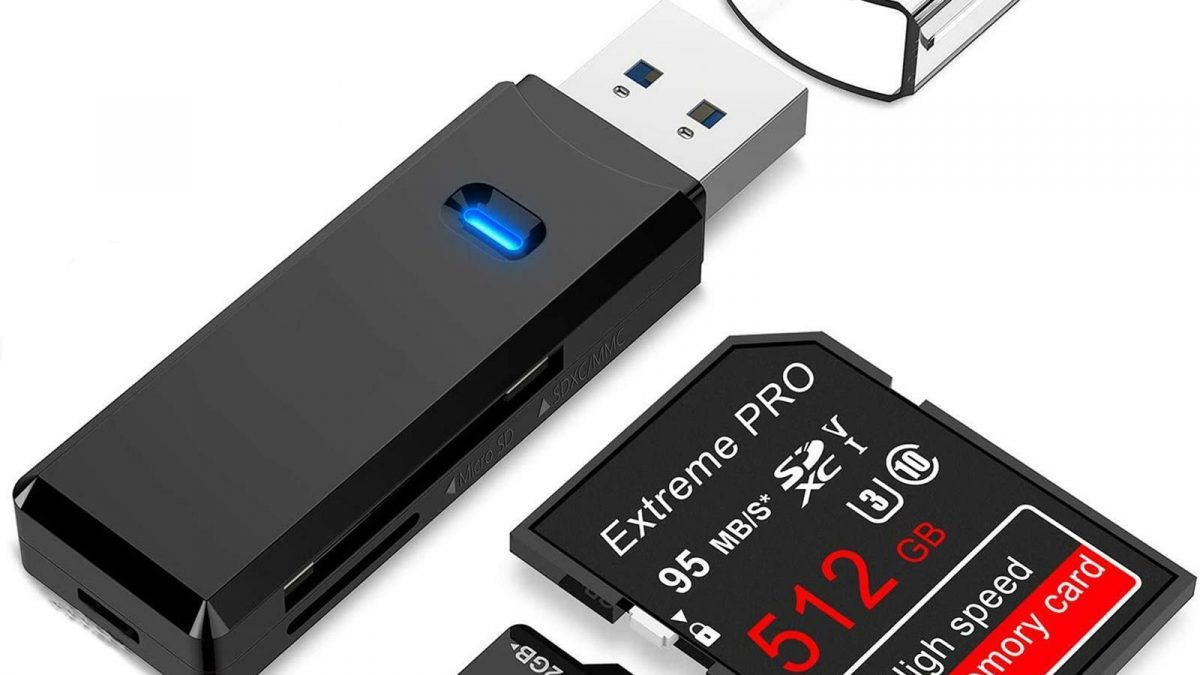
Micro SD cards are tiny, removable flash memory cards that are commonly used to expand the storage capacity of smartphones, tablets, digital cameras, and other portable devices. They come in various storage capacities, ranging from a few gigabytes to several terabytes.
The term “micro SD” stands for micro Secure Digital, which indicates that these cards are a smaller version of the traditional SD (Secure Digital) cards used in many devices. The smaller size of micro SD cards makes them ideal for smaller, compact devices, such as smartphones and tablets.
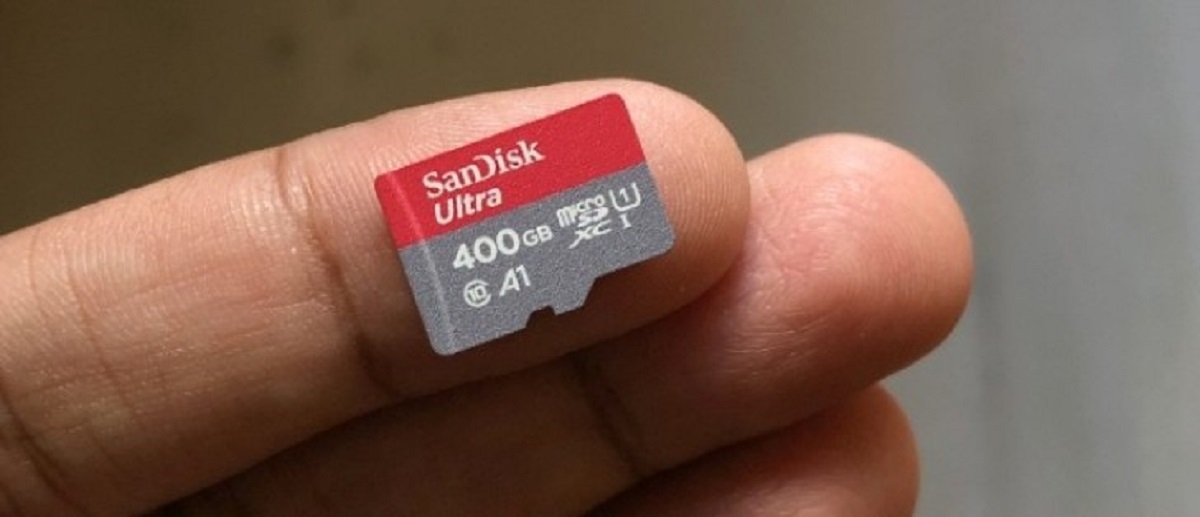
Micro SD cards are classified based on their storage capacity and speed class. The storage capacity denotes the amount of data that can be stored on the card, while the speed class indicates the minimum write speed of the card for recording video files. The different speed classes range from Class 2, which has a minimum speed of 2 Mbps, to Class 10, which has a minimum speed of 10 Mbps.
When choosing a micro SD card for your Android tablet, it’s important to consider both the storage capacity and the speed class. If you plan on storing a large number of apps, photos, videos, and files on your tablet, opt for a higher storage capacity. Similarly, if you need to record HD videos or capture high-resolution photos, choose a micro SD card with a higher speed class to ensure smooth performance.
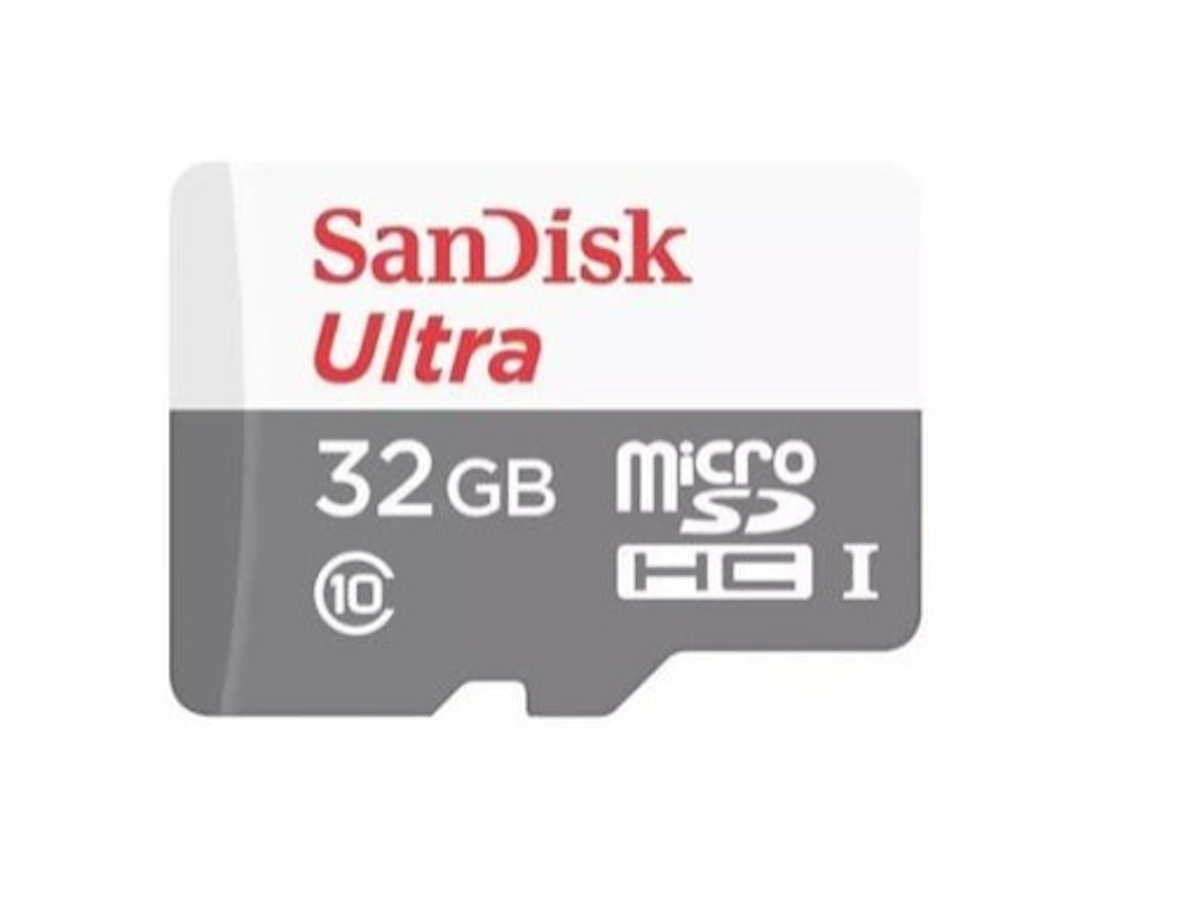
It’s worth noting that some Android tablets support additional features, such as UHS (Ultra High Speed) and A1/A2 (Application Performance Class) ratings. UHS cards offer faster data transfer speeds, while A1/A2 cards are specifically optimized for running apps. Check your tablet’s specifications or user manual to see if it supports these advanced features.
Now that you have a basic understanding of micro SD cards, let’s move on to the next section where we’ll discuss how to check compatibility with your Android tablet.
Checking Compatibility
Before you can start using a micro SD card on your Android tablet, it’s important to ensure that it is compatible with your device. Here are a few steps to help you check the compatibility:
- Check your tablet’s specifications: Begin by reviewing your tablet’s specifications or user manual. Look for information regarding the maximum supported storage capacity and compatible types of micro SD cards. This will help you determine the appropriate card to purchase for your tablet.
- Identify the micro SD card slot: Locate the micro SD card slot on your tablet. It is typically located on the side or back of the device and may be covered by a small cover or flap. Consult the user manual if you’re unsure about its location.
- Inspect the micro SD card slot: Examine the micro SD card slot to determine the card size it supports. Most Android tablets use micro SD cards, but there are also some that support the smaller nano SD or micro SDXC cards. Ensure that the card you have or plan to purchase matches the size supported by your tablet’s slot.
- Consider the storage capacity limit: Take note of the maximum supported storage capacity for micro SD cards on your tablet. Some older or budget tablets may have limitations on the maximum capacity they can support. Make sure to choose a card within the supported range to avoid issues.
It’s important to keep in mind that using an incompatible micro SD card may result in various issues, such as the card not being recognized by the tablet or reduced performance. Therefore, it’s crucial to double-check compatibility before purchasing a micro SD card for your Android tablet.
Once you have confirmed that your tablet is compatible with a micro SD card and have chosen an appropriate card, you can proceed to the next section, where we will discuss how to insert the micro SD card into your Android tablet.
Inserting the Micro SD Card
Inserting a micro SD card into your Android tablet is a straightforward process. Follow the steps below to ensure a successful insertion:
- Power off your tablet: Before inserting or removing a micro SD card, it is recommended to power off your tablet. This will prevent any potential data loss or damage to the card.
- Locate the micro SD card slot: Identify the micro SD card slot on your tablet. As mentioned earlier, it is usually located on the side or back of the device and may have a small cover or flap.
- Remove the card slot cover: If there is a cover or flap covering the micro SD card slot, gently pry it open using your fingernail or a small tool. Be careful not to apply excessive force to avoid damaging the cover.
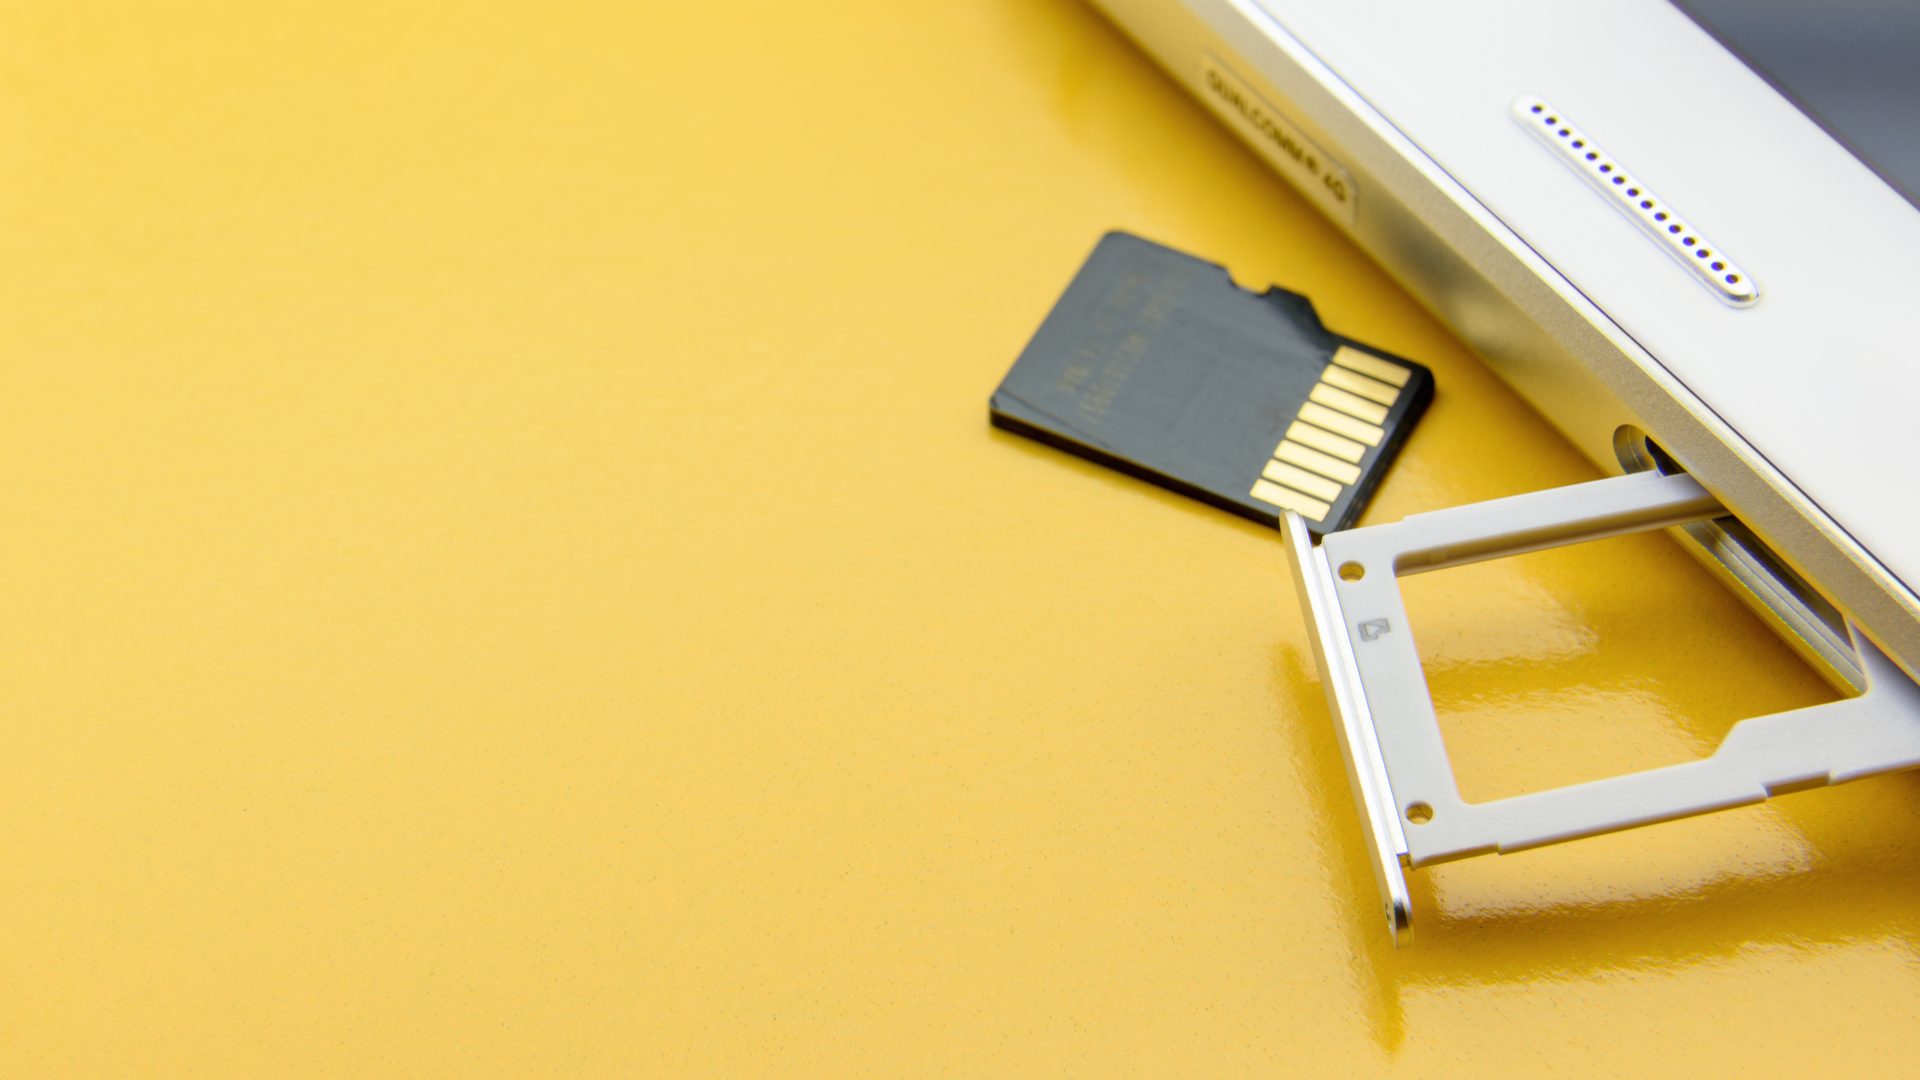
- Insert the micro SD card: Hold the micro SD card with the label facing up and the gold contact pins facing down. Align the card with the micro SD card slot and carefully insert it into the slot, applying gentle pressure until it is fully seated.
- Replace the card slot cover: If you removed a cover or flap in the previous step, gently close it back into place to secure the micro SD card in the slot.
- Power on your tablet: After inserting the micro SD card, power on your tablet. The device should automatically recognize the card and prompt you to perform any necessary setup or formatting.
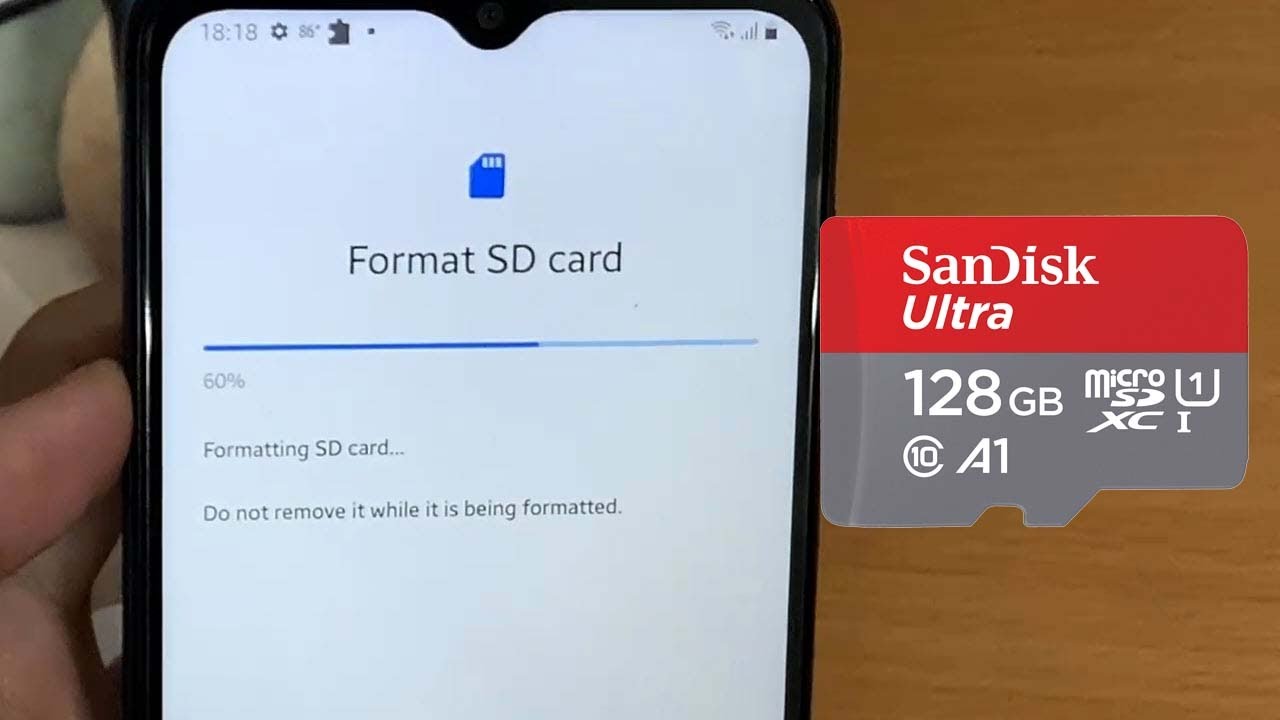
It’s worth noting that some tablets may require you to format the micro SD card before you can start using it. If prompted, follow the on-screen instructions to format the card.
With the micro SD card successfully inserted into your Android tablet, you can now move on to the next section, where we will discuss how to format the micro SD card for optimal performance and compatibility.
Formatting the Micro SD Card
Formatting the micro SD card is an important step to ensure optimal performance and compatibility with your Android tablet. Here’s how you can format the micro SD card:
- Go to the Settings menu: Open the Settings app on your Android tablet. You can usually find it in the app drawer or by swiping down on the notification panel and tapping the gear-shaped icon.
- Find the Storage or Memory option: Look for the Storage or Memory option in the Settings menu. The exact location may vary depending on the Android version and device manufacturer.
- Select the micro SD card: Tap on the micro SD card option from the list of available storage options. It may be labeled as “SD card” or with the brand name of your micro SD card.
- Choose the format option: Once you’ve selected the micro SD card, you will see various options related to storage management. Look for the Format or Erase option and tap on it.
- Confirm the formatting process: A warning message will appear, informing you that formatting will erase all data on the micro SD card. Make sure you have backed up any important data and then proceed to confirm the formatting process.
- Wait for the formatting to complete: The formatting process may take a few moments to complete. Avoid removing the micro SD card or turning off your tablet during this process to prevent data corruption.
- Formatting is complete: Once the formatting is finished, you will receive a notification or see a message indicating that the micro SD card has been formatted successfully.
By formatting the micro SD card, you ensure that it is properly prepared for use with your Android tablet. This process removes any existing data and sets up the card with a compatible file system, optimizing its performance and allowing your tablet to read and write data to it efficiently.
Now that you have formatted the micro SD card, you can explore different storage options and utilize the expanded storage space on your Android tablet. We will discuss these options in the next section.
Exploring Storage Options
Once you have inserted and formatted the micro SD card on your Android tablet, you can explore various storage options to make the most of the expanded storage space. Here are some options to consider:
- Default storage location: By default, Android devices are set to save data, including photos, videos, and app installations, to the internal storage. However, you can change the default storage location to the micro SD card. To do this, go to the Settings app, navigate to Storage or Memory, and find the option to set the default storage location. Select the micro SD card as the preferred storage location for new content.
- Transferring media files: Move existing photos, videos, and other media files from your tablet’s internal storage to the micro SD card. You can use the built-in file manager or a third-party file management app to select the files and move them to the micro SD card. This helps free up space in the internal storage while keeping your media files easily accessible.
- App data storage: Some apps allow you to store their data on the micro SD card. This is particularly useful for apps that generate large amounts of data, such as photo editing or gaming apps. Check individual app settings to see if there is an option to change the storage location and move app data to the micro SD card.
- Offline media storage: If you frequently use apps or services that allow you to download media for offline access, such as music or video streaming apps, consider changing the download location to the micro SD card. This prevents the downloads from taking up space in the internal storage and allows you to download more content for offline enjoyment.
- App installations: By default, Android devices install apps to the internal storage. However, some newer devices and versions of Android allow you to install apps directly to the micro SD card. This is a great option if you have limited internal storage but ample space on your micro SD card. Check your device’s settings or app installation settings to see if this option is available.
By utilizing these storage options, you can effectively manage your Android tablet’s storage and optimize the use of the micro SD card. Remember to regularly check the storage usage on both the internal storage and the micro SD card to ensure you have sufficient space for new content.
In the next section, we will discuss how to move apps to the micro SD card, allowing you to free up space on the internal storage and take advantage of the expanded capacity.
Moving Apps to the Micro SD Card
One of the key benefits of using a micro SD card on your Android tablet is the ability to move apps from the internal storage to the card. This can help free up space on the internal storage and allow you to install more apps without running into storage limitations. Here’s how you can move apps to the micro SD card:
- Go to the Settings menu: Open the Settings app on your Android tablet.
- Navigate to the Apps section: Look for the Apps or Applications option in the Settings menu. The location may vary depending on the Android version or device manufacturer.
- Select an app to move: Tap on the app that you want to move to the micro SD card. Keep in mind that not all apps can be moved, as it depends on the app’s developer and the Android version.
- Check app storage details: Within the app settings, you should see information about the app’s storage usage, including the amount of space it occupies on the internal storage.
- Move the app to the micro SD card: If the app is eligible to be moved, you will see an option to “Move to SD card” or similar. Tap on this option to initiate the app transfer process.
- Wait for the app to be moved: The app transfer process may take a few moments to complete, depending on the size of the app. Avoid interrupting the process or removing the micro SD card until the transfer is finished.
- Verify the app’s new storage location: Once the app has been moved, you can go back to the app settings or the main Apps section to confirm that the app is now stored on the micro SD card. You should see a change in the amount of space occupied on the internal storage.
Please note that while moving apps to the micro SD card can free up space on the internal storage, it may slightly impact the app’s performance. This is because reading data from the micro SD card may be slower compared to the internal storage. However, for most apps, the impact is minimal and may not be noticeable during regular usage.
Remember that not all apps can be moved to the micro SD card, as it depends on the app’s compatibility and the Android version. Some system apps or essential apps may not have the option to be moved. In such cases, managing the internal storage by clearing app caches or uninstalling unused apps can help free up space.
In the next section, we will discuss how to transfer files to the micro SD card, allowing you to easily manage and access your files on your Android tablet.
Transferring Files to the Micro SD Card
Transferring files to the micro SD card on your Android tablet is a simple process that allows you to manage and access your files more efficiently. Here’s how you can transfer files to the micro SD card:
- Use the built-in file manager: Most Android devices come with a built-in file manager app that allows you to browse and manage files on your tablet. Open the file manager app from the app drawer or the quick settings menu.
- Navigate to the internal storage: In the file manager, navigate to the internal storage to locate the files you want to transfer. Common folders include “Downloads,” “Pictures,” “Videos,” and “Documents.”
- Select the files to transfer: Long-press on the files or folders you want to transfer to the micro SD card. You can select multiple files or folders by tapping on them individually or using the “Select All” option.
- Choose the “Move” or “Copy” option: Once you have selected the files, tap on the “Move” or “Copy” button (symbolized by a cut or copy icon). This will initiate the transfer process.
- Navigate to the micro SD card: After choosing the move or copy option, navigate to the micro SD card location in the file manager. It is usually labeled as “SD card” or with the brand name of your micro SD card.
- Paste the files: Once you have reached the micro SD card location, tap on the “Paste” button (symbolized by a clipboard icon) to paste the files onto the micro SD card. The files will start transferring from the internal storage to the micro SD card.
- Monitor the transfer progress: Depending on the size and number of files, the transfer process may take some time. Monitor the progress bar or notifications in the file manager app to ensure the files are successfully transferred.
By transferring files to the micro SD card, you not only free up space in the internal storage but also ensure efficient storage management. This is especially useful for large media files like photos, videos, and music.
Please note that the file transfer process may vary slightly depending on the file manager app you are using. Some third-party file manager apps offer additional features and customization options for file management on your Android tablet. Feel free to explore different file manager apps from the Google Play Store to find one that suits your needs.
In the next section, we will discuss the proper way to safely remove the micro SD card from your Android tablet to avoid any potential data loss or damage.
Safely Removing the Micro SD Card
When you want to remove the micro SD card from your Android tablet, it’s important to follow the proper procedure to avoid any potential data loss or damage. Here are the steps to safely remove the micro SD card:
- Unmount the micro SD card: Before physically removing the micro SD card, you need to unmount it from your tablet. This ensures that all processes accessing the card have been stopped, preventing data corruption. To unmount the micro SD card, go to the Settings app, navigate to Storage or Memory, and tap on the option representing the micro SD card. Look for the “Unmount,” “Eject,” or “Safe to Remove” button, and tap on it.
- Turn off your tablet: Once the micro SD card is unmounted, it is recommended to power off your tablet. This ensures that there are no active processes or data transfers involving the micro SD card.
- Locate the micro SD card slot: As mentioned earlier, the micro SD card slot is usually located on the side or back of your tablet. Refer to the user manual or look for any visible indicators to find the exact location.
- Eject the micro SD card: To remove the micro SD card, gently push it inward until you feel a click. This will release the card from the slot. Carefully pull the card out of the slot, ensuring not to apply excessive force or bend the card.
It’s important to note that abruptly removing the micro SD card without following the proper procedure can corrupt data and potentially damage the card. Always make sure to unmount and power off your tablet before removing the micro SD card.
To safely handle the micro SD card, it’s recommended to store it in a protective case or holder when it’s not in use. This helps prevent physical damage, dust, or moisture from affecting the card’s performance.
When you’re ready to insert the micro SD card back into the tablet, simply follow the steps mentioned earlier in the section “Inserting the Micro SD Card.”
In the next section, we will discuss common issues that you may encounter when using a micro SD card on your Android tablet and provide troubleshooting tips to resolve them.
Troubleshooting Common Issues
While using a micro SD card on your Android tablet, you may encounter certain issues that can affect its functionality. Here are some common issues that users may face and troubleshooting tips to help resolve them:
- Micro SD card not recognized: If your tablet does not recognize the micro SD card after inserting it, try the following steps:
- Restart your tablet and check if the card is detected.
- Clean the micro SD card and the card slot with a soft, lint-free cloth to remove any dust or debris.
- Try inserting the micro SD card into a different device or adapter to see if it is functioning properly.
- If none of these steps work, the micro SD card may be faulty or incompatible with your tablet. Consider trying a different micro SD card or contacting the card manufacturer for assistance.
- Slow performance or freezing: If your tablet experiences sluggish performance or freezes when accessing files on the micro SD card, try the following:
- Ensure that the micro SD card has sufficient free space. Low storage capacity can affect the card’s performance.
- Check if the card is a compatible speed class for your tablet. Lower-speed class cards may result in slower performance.
- Restart your tablet to clear any temporary issues that may be causing the slowdown.
- If the problem persists, consider transferring some files from the micro SD card to the internal storage to free up space.
- Data corruption or loss: If you encounter data corruption or loss on the micro SD card, try these steps:
- Ensure that you have safely removed the micro SD card as explained earlier in this guide to prevent data corruption.
- Use a reliable file manager app to transfer and manage files on the micro SD card, as some third-party apps may not handle file transfers properly, leading to data corruption.
- Regularly back up important files from the micro SD card to a separate storage device or cloud storage to minimize the risk of data loss.
- If the micro SD card becomes inaccessible or shows signs of physical damage, such as bent pins or cracks, it may be irreparable. In such cases, consult a professional data recovery service for assistance.
If you encounter other issues with your micro SD card or have exhausted the troubleshooting tips provided above, it’s advisable to consult your tablet’s user manual or contact the manufacturer’s customer support for further assistance. They can provide device-specific troubleshooting steps or recommend specific micro SD card models that are tested and recommended for your tablet.
Remember to handle the micro SD card with care, regularly back up important data, and keep your tablet’s firmware and apps updated to ensure the best performance and compatibility with the micro SD card.
Conclusion
Using a micro SD card on your Android tablet can greatly enhance your storage capacity and improve the overall usability of your device. Whether you’re looking to expand storage space, optimize performance, or organize your files better, following the steps and tips outlined in this guide will help you make the most of your micro SD card.
We started by understanding what micro SD cards are and the importance of checking compatibility with your Android tablet. We then covered the process of inserting the micro SD card, formatting it, and exploring various storage options, including default storage locations, transferring media files, app data storage, offline media storage, and app installations on the micro SD card.
We discussed the steps to move apps to the micro SD card, which can free up space on the internal storage and allow you to install more apps without storage limitations. Additionally, we learned how to transfer files to the micro SD card to better manage and access your files on your Android tablet.
Furthermore, we highlighted the importance of safely removing the micro SD card from your tablet to prevent data loss or damage. Following the correct procedure of unmounting and powering off your tablet before physically removing the card is crucial.
Finally, we addressed common issues that users may encounter when using a micro SD card on their Android tablets and provided troubleshooting tips to resolve these issues.
With the knowledge gained from this guide, you can confidently use a micro SD card on your Android tablet, expand your storage, and optimize your tablet’s performance. Remember to always handle the micro SD card with care, keep it clean, and backup your important data regularly.
Now, it’s time to unleash the full potential of your Android tablet with the power of a micro SD card!