Introduction
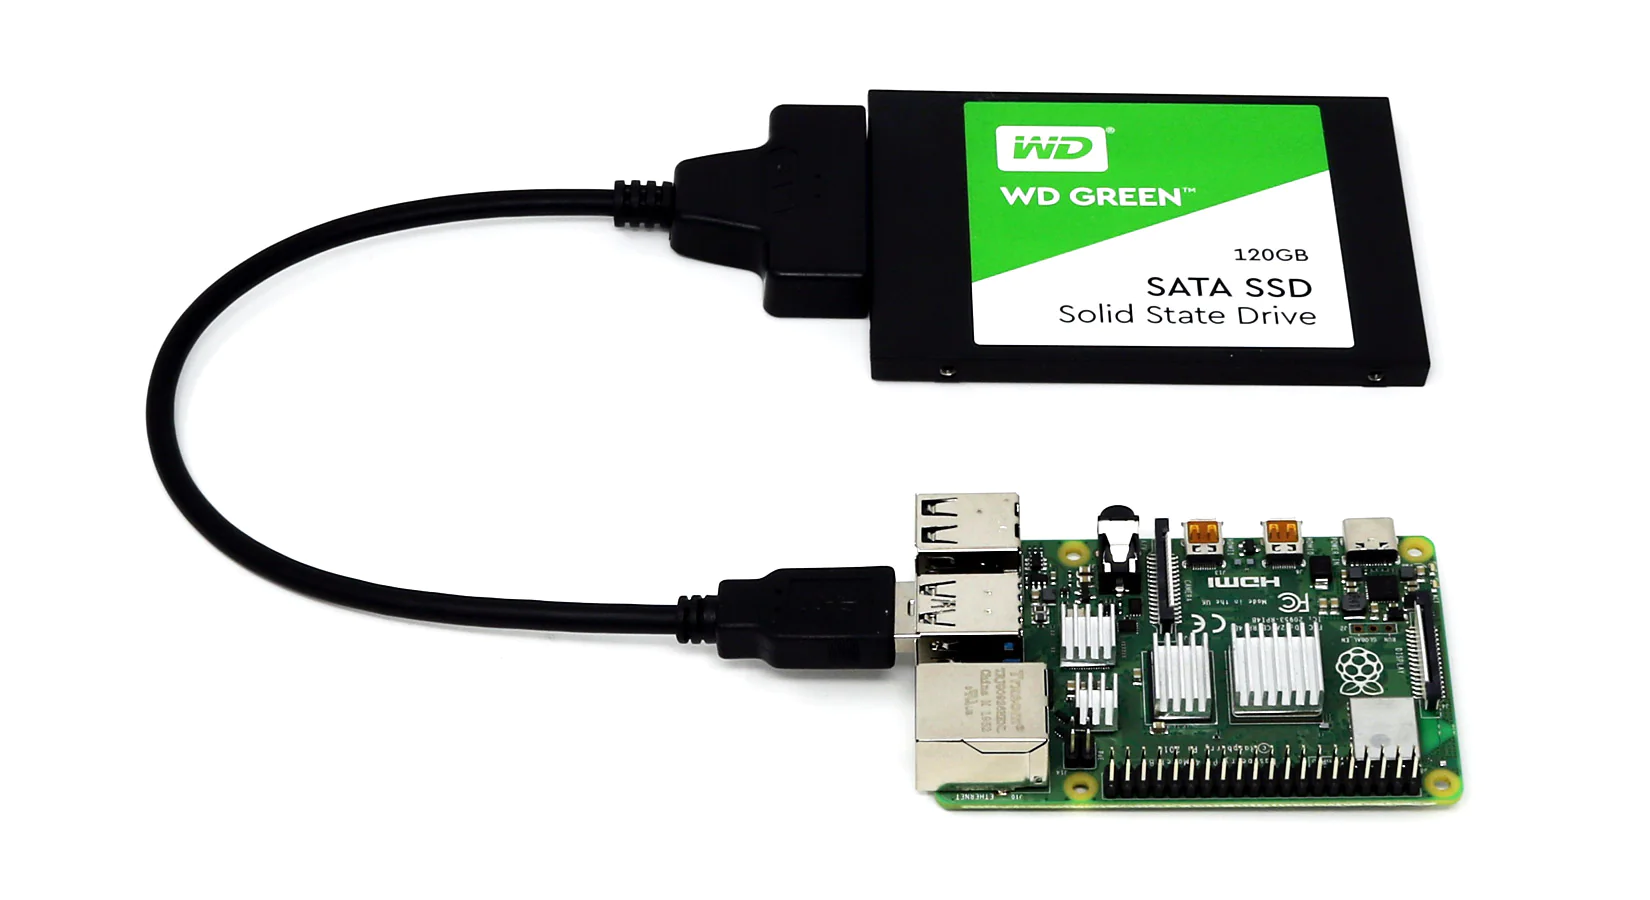
The Raspberry Pi 3 is a versatile and compact computer that has gained immense popularity in recent years. One of its key features is the ability to expand its storage capacity using a micro SD card. This allows users to store more files, install additional software, and run various applications on their Raspberry Pi.
Inserting a micro SD card into a Raspberry Pi 3 may seem like a daunting task, especially for beginners. However, with the right guidance and a bit of patience, it can be a simple and straightforward process. In this article, we will provide step-by-step instructions on how to properly insert a micro SD card into a Raspberry Pi 3.
Before we dive into the steps, it’s important to note that the Raspberry Pi 3 operates on a micro SD card as its primary storage medium. This means that without a properly inserted and functional micro SD card, the Raspberry Pi 3 will not be able to boot up and function as intended.
So, whether you’re a hobbyist looking to experiment with new projects or a professional seeking to expand the capabilities of your Raspberry Pi 3, learning how to insert a micro SD card is an essential skill. By following the steps outlined in this article, you’ll be up and running with your Raspberry Pi 3 in no time.
Step 1: Gather the Necessary Materials
Before you start the process of inserting a micro SD card into your Raspberry Pi 3, it’s important to have all the necessary materials at hand. Here’s what you’ll need:
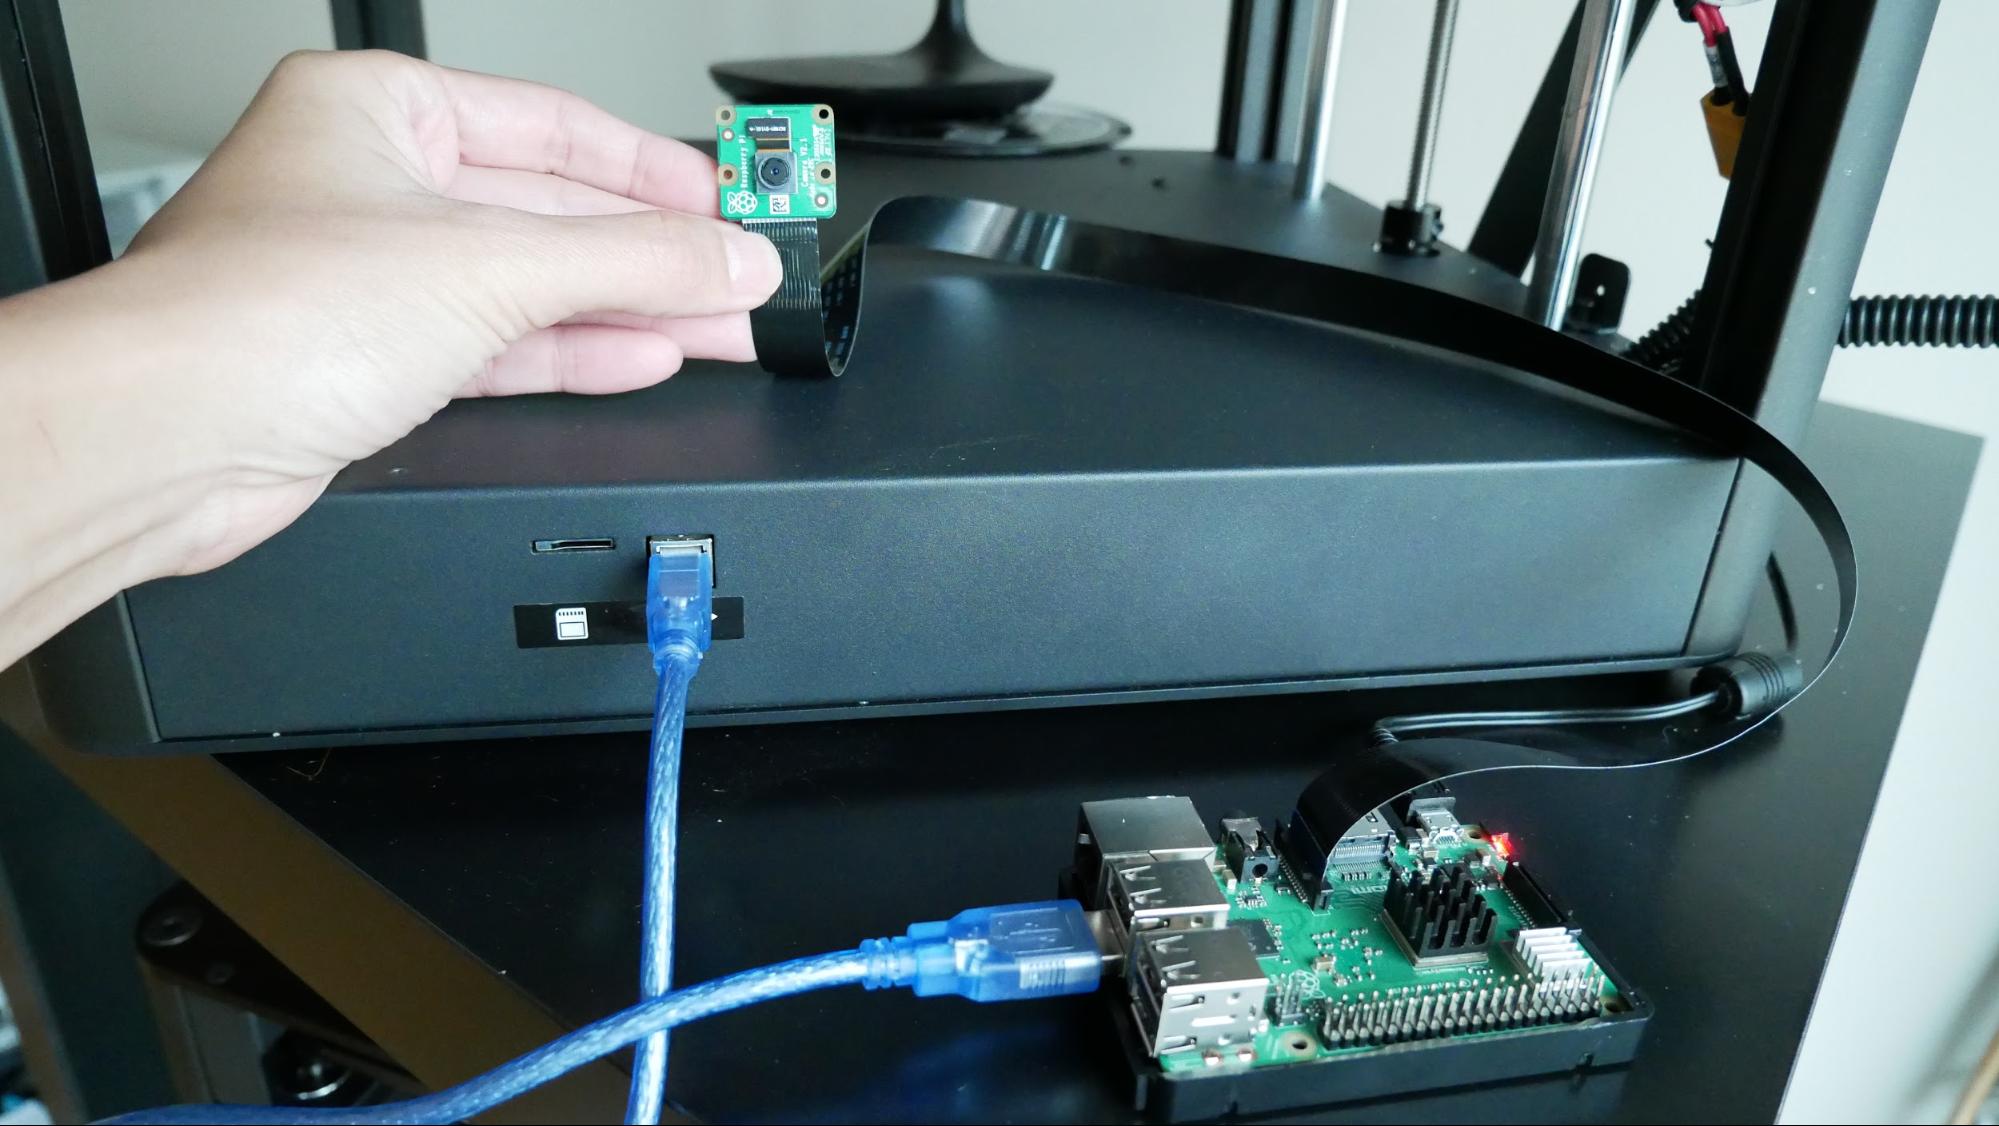
- Raspberry Pi 3: Ensure that you have a Raspberry Pi 3 board. This small but powerful computer is the core component of your setup.
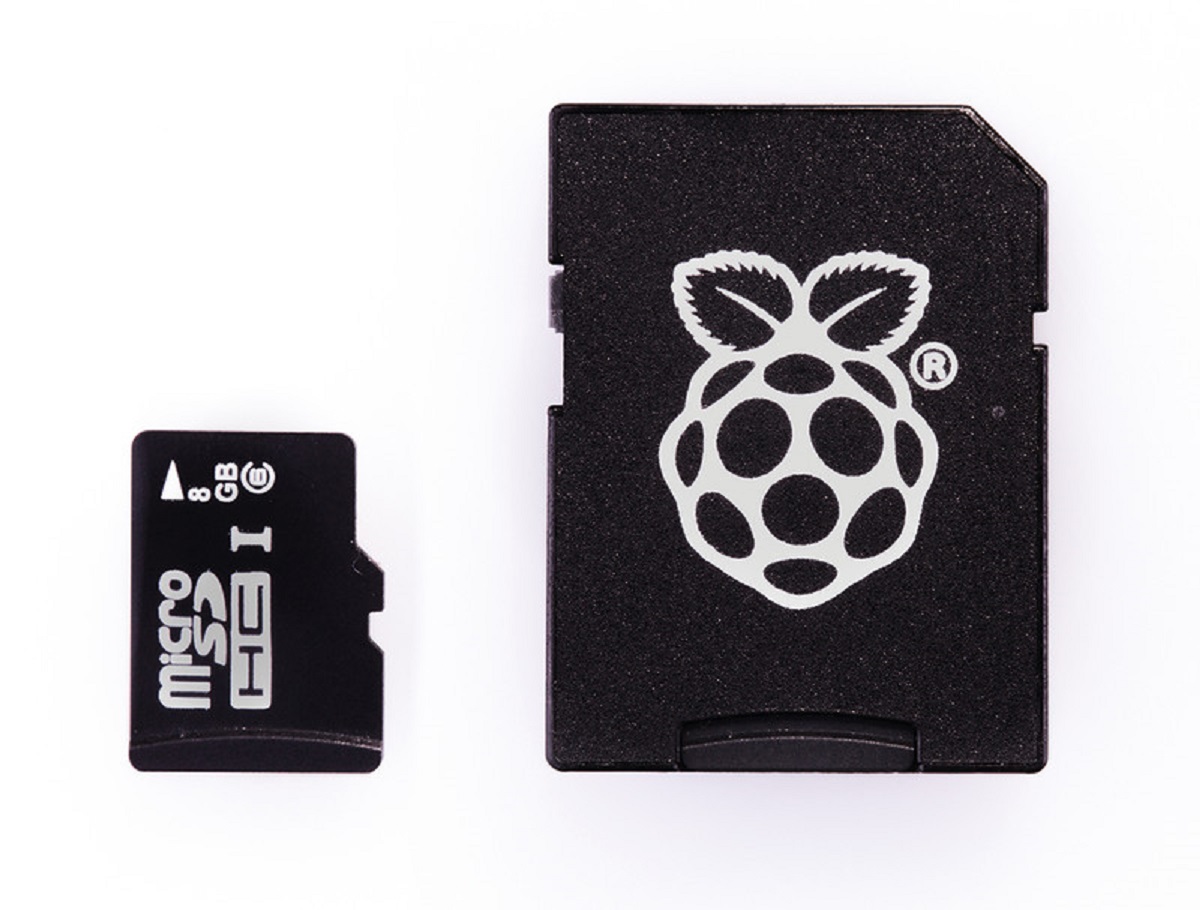
- Micro SD Card: Choose a high-quality micro SD card with enough storage capacity to meet your needs. The recommended minimum size is 8GB, but you can opt for a larger capacity if you plan on storing a lot of files or running resource-intensive applications.
- Micro SD Card Adapter: Since most computers don’t have a dedicated micro SD card slot, you’ll need an adapter that allows you to connect the micro SD card to your computer. This can be a USB adapter or an SD card adapter with a built-in micro SD card slot.
- Computer: You’ll need a computer with an available USB port or an SD card slot to connect the micro SD card adapter.
- SD Card Formatter (Optional): While not mandatory, using an SD card formatter can help ensure that the micro SD card is properly formatted and ready for use with your Raspberry Pi 3. This step is particularly recommended if you’re reusing a micro SD card that was previously used for a different purpose.
Once you have gathered all the required materials, you’re ready to proceed to the next step. Make sure to double-check that you have everything listed above before you move on, as it will save you time and frustration later on.
Step 2: Power Down Raspberry Pi
Before inserting the micro SD card into your Raspberry Pi 3, it’s crucial to power down the device properly. This ensures that no data is lost and that the Raspberry Pi 3 is ready to accept the new micro SD card. Follow these steps to power down your Raspberry Pi 3:
- Save and close any running programs: Make sure to save any open documents or projects and close any running programs on your Raspberry Pi 3. This prevents the loss of any unsaved data.
- Shutdown the Raspberry Pi: Once you have closed all programs, navigate to the Raspberry Pi menu on your desktop. From there, select “Shutdown” to initiate the shutdown process.
- Wait for the Raspberry Pi to power off: It may take a few moments for the Raspberry Pi to complete the shutdown process. Make sure to wait until the activity light on the Raspberry Pi board stops flashing before proceeding.
- Disconnect the power supply: Once the Raspberry Pi is completely powered down, disconnect the power supply by unplugging the power cable from the Raspberry Pi or the power outlet. This ensures that there is no residual power running through the device.
By following these steps, you have successfully powered down your Raspberry Pi 3 and are now ready to proceed to the next step of inserting the micro SD card.
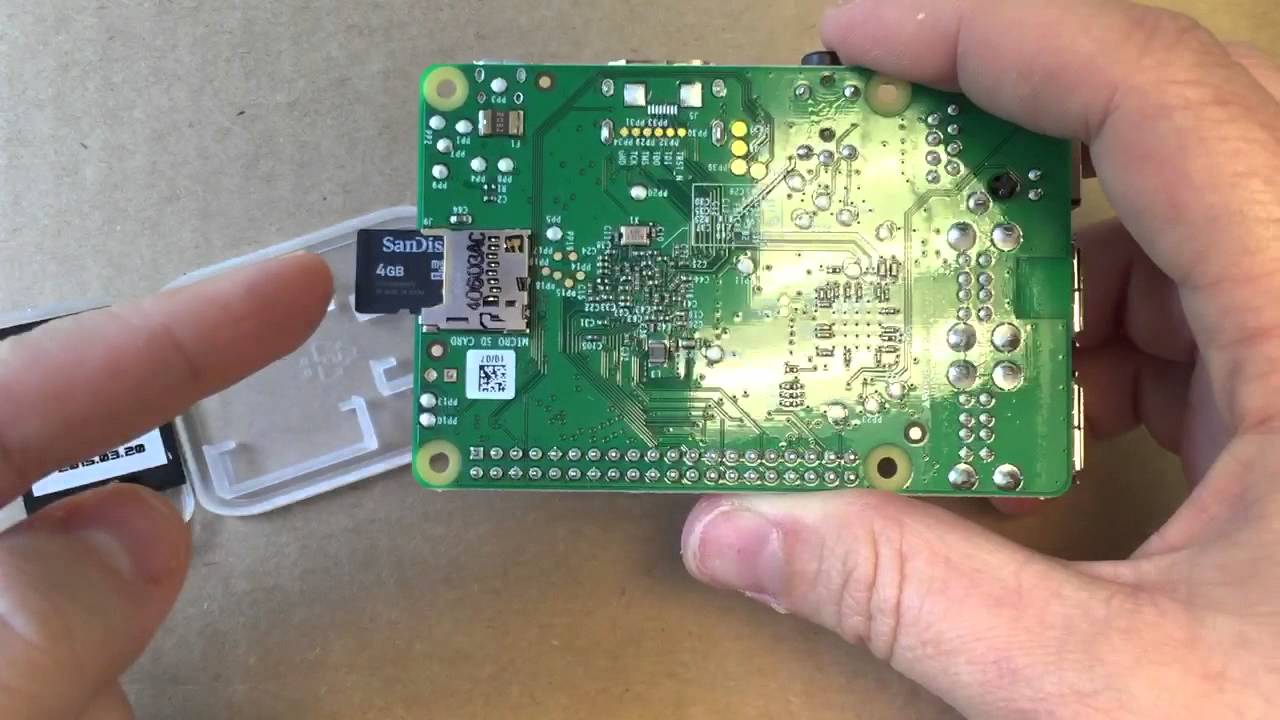
Step 3: Locate the Micro SD Card Slot
Now that your Raspberry Pi 3 is powered down, it’s time to locate the micro SD card slot on the device. The micro SD card slot is where you will insert the micro SD card. Follow these steps to locate the micro SD card slot:
- Flip the Raspberry Pi 3: Carefully flip over your Raspberry Pi 3 board so that the bottom side is facing up.
- Locate the micro SD card slot: Look for a small rectangular slot on the bottom side of the Raspberry Pi 3. This is the micro SD card slot. It is typically located near the center of the board.
- Confirm proper alignment: Take note of the orientation of the micro SD card slot. It should be positioned parallel to the edge of the Raspberry Pi 3 board. This alignment is important for inserting the micro SD card correctly.
- Inspect the slot: Check if there are any obstructions or debris in the micro SD card slot. Use a gentle blast of compressed air or a soft brush to remove any dust or particles that may affect the connection between the micro SD card and the slot.
Once you have located the micro SD card slot and ensured it is free from any debris, you can move on to the next step of inserting the micro SD card into the Raspberry Pi 3.
Step 4: Insert the Micro SD Card
With the micro SD card slot located and prepared, it’s time to insert the micro SD card into your Raspberry Pi 3. Follow these steps to ensure a proper insertion:
- Hold the micro SD card: Carefully hold the micro SD card by its sides, avoiding touching the golden metal contacts or any exposed parts. This helps prevent any potential damage to the micro SD card.
- Align the micro SD card: Position the micro SD card with the metal contacts facing down and the notched corner on the side closest to the edge of the Raspberry Pi 3. Ensure that the micro SD card is aligned with the micro SD card slot on the Raspberry Pi 3 board.
- Insert the micro SD card: Gently and evenly slide the micro SD card into the micro SD card slot on the Raspberry Pi 3. Apply a light pressure and make sure the micro SD card goes all the way into the slot without any obstructions.
- Verify the insertion: Once the micro SD card is fully inserted, check if it is properly seated in the slot. It should sit flush with the Raspberry Pi 3 board, with no part of the micro SD card sticking out.
It’s essential to insert the micro SD card with care and avoid using excessive force. Forceful insertion can lead to damage to both the micro SD card and the Raspberry Pi 3 board. With the micro SD card securely inserted, you can now proceed to the next step of powering up your Raspberry Pi 3.
Step 5: Power Up Raspberry Pi
Now that you have successfully inserted the micro SD card into your Raspberry Pi 3, it’s time to power it up and start enjoying its capabilities. Follow these steps to power up your Raspberry Pi 3:
- Reconnect the power supply: Plug the power cable back into the Raspberry Pi 3 or the power outlet, depending on how you had it connected previously.
- Wait for the boot process: After the power supply is connected, give your Raspberry Pi 3 a moment to boot up. You will see the activity light on the Raspberry Pi board flicker as it starts up.
- Monitor the boot process: Keep an eye on the display connected to your Raspberry Pi 3. You should see the Raspberry Pi logo and a series of boot-up messages appear on the screen. This indicates that the Raspberry Pi 3 is successfully starting up.
- Wait for the operating system to load: Once the boot process is completed, the operating system installed on the micro SD card will start loading. Depending on the operating system and any custom configurations, this may take a few moments.
It’s important to note that the first boot-up may take longer than subsequent ones, as the operating system sets up necessary configurations. Once the operating system is fully loaded, you can proceed to the final step to verify the micro SD card installation.
Step 6: Verify Micro SD Card Installation
After powering up your Raspberry Pi 3, it’s important to verify that the micro SD card has been successfully installed and is functioning as intended. Follow these steps to verify the micro SD card installation:
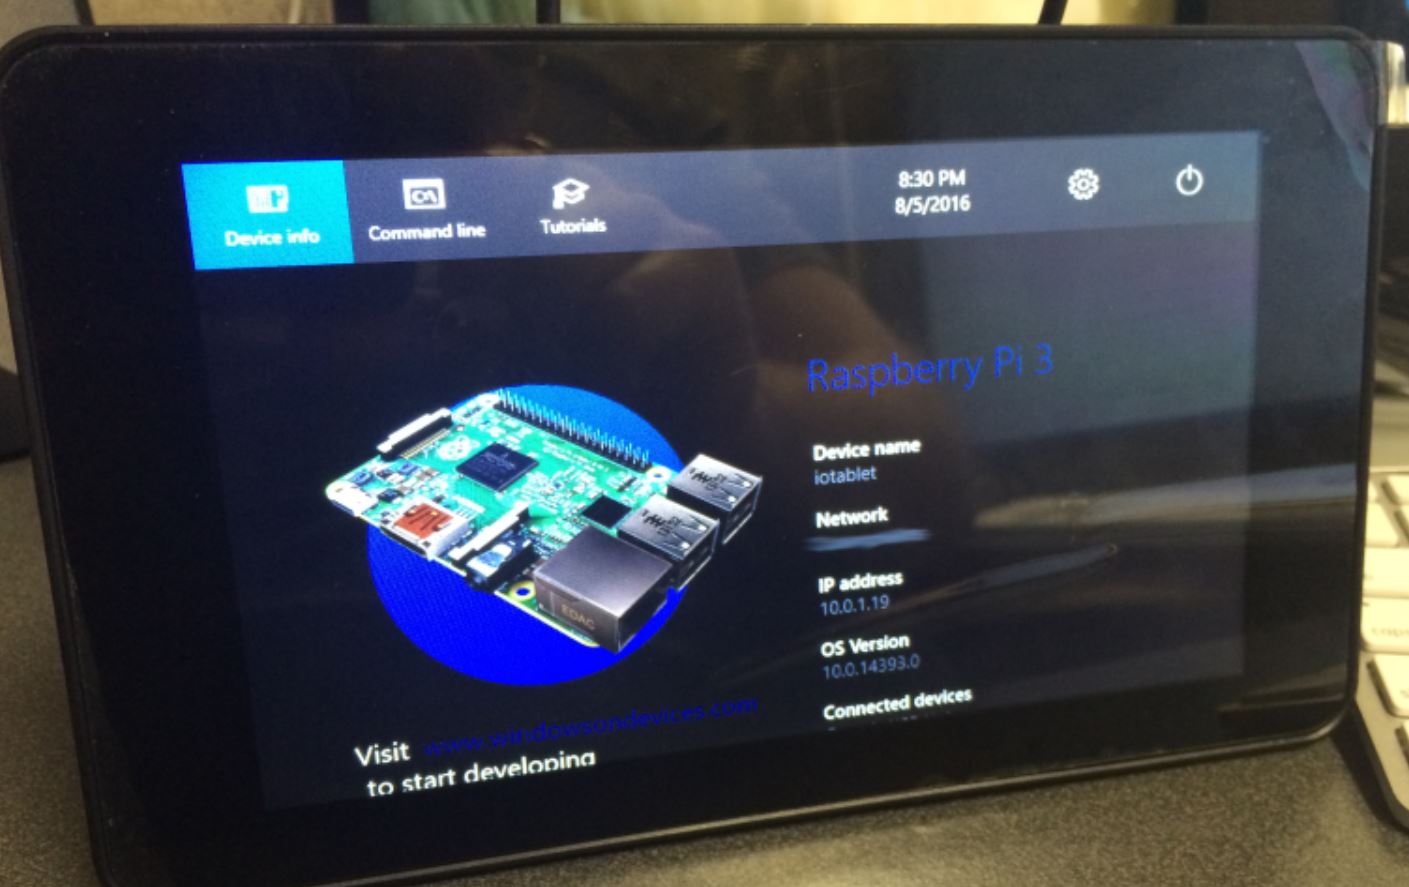
- Check the operating system: Take a look at the screen connected to your Raspberry Pi 3. The operating system should be fully loaded and displayed on the screen. If you see the familiar desktop or command line interface, it indicates that the micro SD card is detected and the operating system is running.
- Access files and programs: Explore the files and programs on your Raspberry Pi 3 to confirm that everything is accessible. Double-click on files or launch applications to ensure that they open without any errors. This will help you confirm that the micro SD card is properly installed and the data is accessible.
- Perform basic functions: Test out basic functions such as opening web browsers, playing media files, and navigating through menus. By performing these tasks, you can ensure that the micro SD card installation is successful and the Raspberry Pi 3 is functioning as expected.
- Confirm storage capacity: Lastly, you can check the available storage capacity on your Raspberry Pi 3. This will give you an idea of how much space is available on the micro SD card and whether it matches the card’s specifications. You can check the storage capacity by accessing the file explorer or using the command line interface.
By following these steps, you can ensure that the micro SD card is properly installed and that your Raspberry Pi 3 is ready for you to fully utilize its capabilities. If you encounter any issues during this verification process, double-check the micro SD card’s insertion and try again.
Congratulations! You have successfully inserted and verified the micro SD card installation in your Raspberry Pi 3. Enjoy exploring the endless possibilities offered by this versatile and powerful computer.
Conclusion
Congratulations on successfully inserting a micro SD card into your Raspberry Pi 3! By following the step-by-step instructions provided in this guide, you have expanded your Raspberry Pi’s storage capacity and unlocked its full potential.
We started by gathering the necessary materials, including a micro SD card, a micro SD card adapter, and a computer. It’s important to ensure that you have all the required items before beginning the process.
Next, we powered down the Raspberry Pi 3 to prevent any data loss and ensure a smooth installation process. Properly shutting down the device is crucial for maintaining the integrity of your data.
We then located the micro SD card slot on the Raspberry Pi 3, ensuring it was free from any debris or obstructions. Proper alignment of the micro SD card slot is essential for a successful insertion.
With the micro SD card slot located, we carefully inserted the micro SD card, aligning it correctly and ensuring a smooth insertion without applying excessive force.
After inserting the micro SD card, we powered up the Raspberry Pi 3 and monitored the boot process. Seeing the Raspberry Pi logo and boot-up messages on the screen indicated that the installation was successful.
Lastly, we verified the micro SD card installation by checking the operating system, accessing files and programs, performing basic functions, and confirming the available storage capacity.
Now that you have completed all the steps, your Raspberry Pi 3 is ready to be utilized to its fullest potential. Whether you’re using it for educational purposes, home automation, or any other projects, the expanded storage capacity provided by the micro SD card will prove valuable.
Remember to regularly back up your data to prevent any potential loss. Additionally, if you ever need to remove or replace the micro SD card, make sure to power down the Raspberry Pi 3 properly before doing so.
We hope this guide has been helpful in assisting you with inserting a micro SD card into your Raspberry Pi 3. Enjoy exploring and experimenting with this versatile and powerful computing device!