Introduction
In today’s digital age, the Raspberry Pi has emerged as a popular choice for DIY enthusiasts and tech enthusiasts alike. This pocket-sized computer has gained a massive following due to its versatility and affordability. To unlock the full potential of the Raspberry Pi, one essential component is the SD (Secure Digital) card.
An SD card serves as the Raspberry Pi’s primary storage device, storing the operating system, applications, and user data. However, before you start using an SD card with your Raspberry Pi, it is crucial to format it properly. In this article, we will explore the importance of formatting an SD card for Raspberry Pi and provide step-by-step instructions for formatting using different operating systems.
By formatting an SD card specifically for the Raspberry Pi, you ensure optimal performance, data integrity, and compatibility. Additionally, formatting also allows you to set up the correct file system that works best with the Raspberry Pi’s operating system.
Before we proceed with the formatting process, let’s take a closer look at what an SD card is and why it is necessary to format it for the Raspberry Pi.
What is an SD Card?
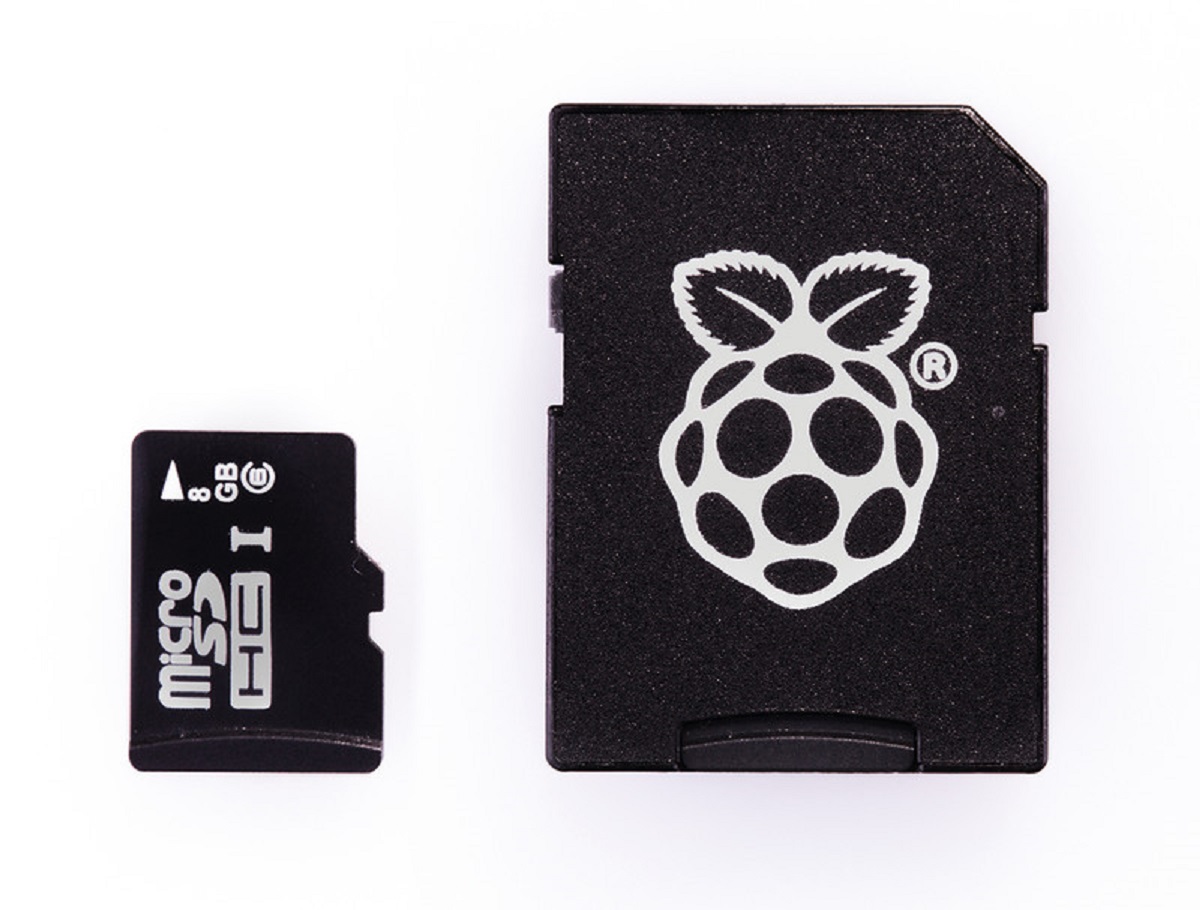
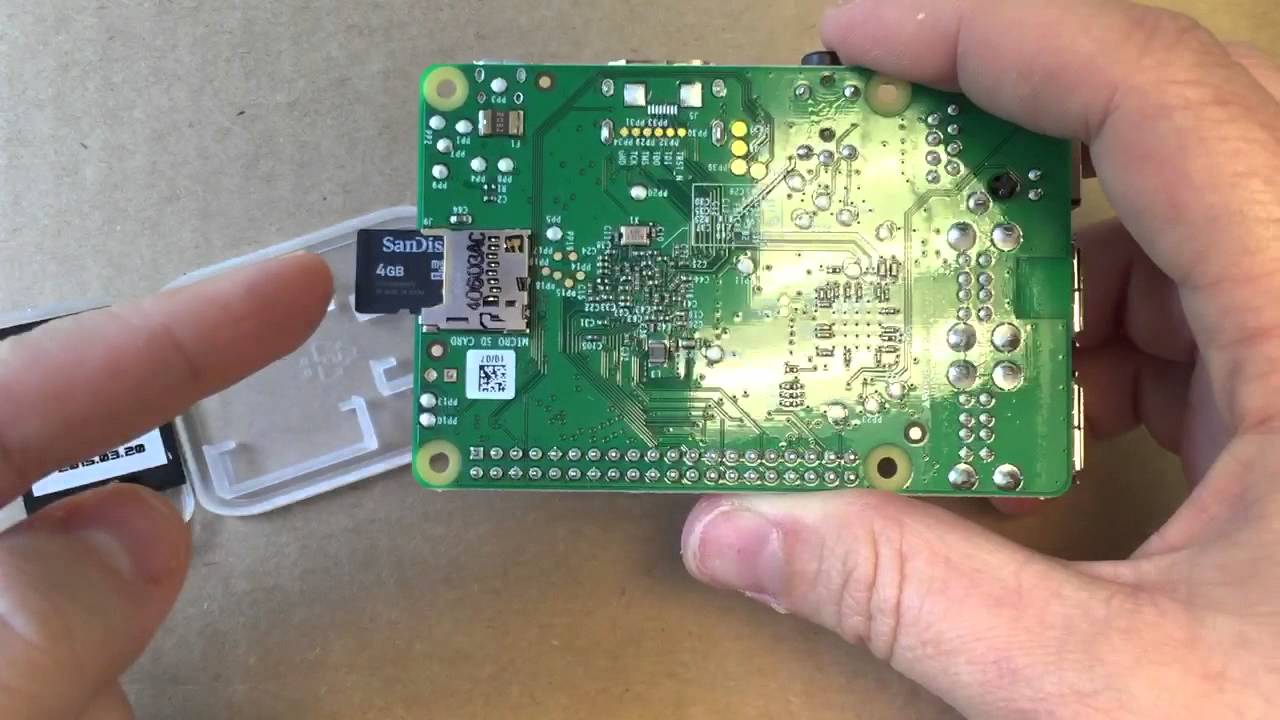
An SD (Secure Digital) card is a small, portable storage device commonly used in digital cameras, smartphones, and other electronic devices. It is a non-volatile memory card that retains data even when not powered. SD cards come in different sizes and capacities, typically ranging from a few gigabytes to several terabytes.
The SD card’s compact design and high storage capacity make it an ideal choice for the Raspberry Pi. It acts as the primary storage medium, holding the Raspberry Pi’s operating system, programs, and files. With an SD card, you can easily switch between different operating systems or boot into different configurations, making it a versatile option for Raspberry Pi users.
SD cards also utilize flash memory technology, which provides faster read and write speeds compared to traditional hard disk drives. This allows for smoother and more responsive performance when running applications or accessing files on the Raspberry Pi.
Additionally, SD cards are rewritable, meaning you can delete and save data multiple times without any negative impact on performance. This makes it convenient for backing up and transferring files between devices.
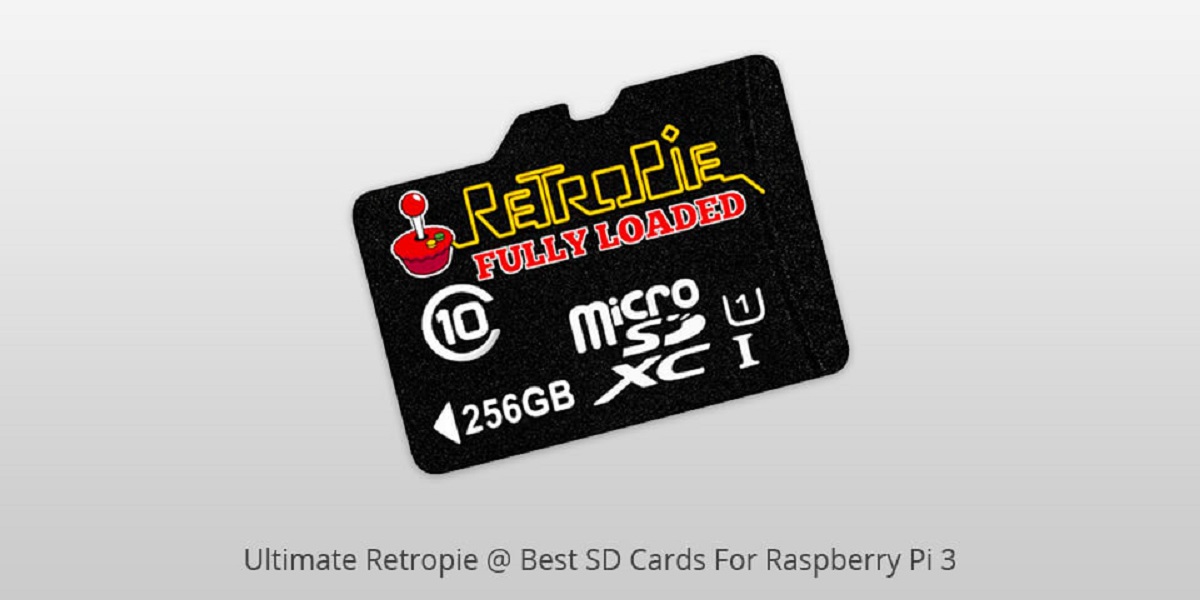
It is important to note that not all SD cards are created equal. Raspberry Pi recommends using SD cards from reputable manufacturers that are specifically designed for the device. These cards are usually categorized into different classes or speed ratings, indicating their read and write speeds. Choosing a high-quality SD card suitable for the Raspberry Pi ensures optimal performance and reliability.
In the next sections, we will explore the reasons why formatting an SD card for Raspberry Pi is crucial and provide detailed instructions on how to format the card using different operating systems.
Why Format an SD Card for Raspberry Pi?
Formatting an SD card specifically for the Raspberry Pi is vital for several reasons:
- Optimal Performance: By formatting the SD card, you set it up with the appropriate file system and cluster size that align with the Raspberry Pi’s operating system. This ensures smooth and efficient data storage and retrieval, resulting in improved overall performance.
- Data Integrity: Formatting an SD card helps to eliminate any corrupted or fragmented data, ensuring the integrity of your files. This is especially important if you are reusing a previously used SD card or using a card with pre-existing data.
- Compatibility: The Raspberry Pi requires specific file systems, such as FAT32 or exFAT, for optimal compatibility. By formatting the SD card to the recommended file system, you guarantee compatibility with the Raspberry Pi’s operating system and software.
- Security: Formatting an SD card erases all existing data, including any potential sensitive information, providing a fresh start for your Raspberry Pi project. This is especially crucial if you plan to use the SD card for a new installation or share it with others.
- Troubleshooting: If you encounter any performance issues or software errors on your Raspberry Pi, formatting the SD card can be a troubleshooting step. It helps to rule out any file system-related problems that might be contributing to the issues.
It is important to note that formatting an SD card will erase all data on the card. Therefore, it is essential to back up any important files or data before proceeding with the formatting process.
In the next sections, we will provide step-by-step instructions for formatting an SD card using Windows, Mac, and Linux operating systems. We will also discuss the importance of choosing the correct file system for your Raspberry Pi setup.
Tools and Materials Needed
Before you start formatting your SD card for Raspberry Pi, here are the tools and materials you will need:
- SD Card: Ensure you have a compatible SD card for your Raspberry Pi. The recommended capacity is a minimum of 8GB, but larger capacities can be used if needed.
- Computer: You will need a computer with an SD card slot or a card reader that supports the SD card format. Most modern laptops and desktops have built-in SD card readers, but if your computer doesn’t have one, you can use an external card reader.
- Operating System: Depending on your computer, you will need the respective operating system installed – Windows, Mac, or Linux – for formatting the SD card.
- Backup Storage: It is highly recommended to have a backup storage device, such as an external hard drive or cloud storage, to back up any important files on the SD card before formatting. This ensures you don’t lose any critical data during the process.
Having these tools and materials ready will ensure a smooth and hassle-free formatting process for your Raspberry Pi SD card.
In the next sections, we will walk you through the step-by-step procedures for formatting an SD card using different operating systems, including Windows, Mac, and Linux.
Backup Important Data on the SD Card
Before proceeding with formatting your SD card for Raspberry Pi, it is crucial to backup any important data that is currently stored on the card. Formatting will erase all data on the card, so this step ensures that you don’t lose any valuable files or information during the process.
Here are some steps to help you backup your data:
- Copy Important Files: Connect your SD card to your computer using an SD card reader or the built-in card slot. Browse through the contents of the SD card and manually copy any files, documents, or media that you want to save onto your computer’s hard drive.
- Use Backup Software: If you have a large amount of data on the SD card, you might find it more convenient to use a backup software or utility. These tools provide a streamlined way to select and back up specific files or directories from your SD card to your computer or external storage device.
- Cloud Storage: Another option is to upload your important files to a cloud storage service, such as Google Drive, Dropbox, or iCloud. This allows you to access your files from any device with an internet connection and ensures their safety in case of any hardware failures or accidental loss.
- Verify Backup: After completing the backup process, double-check that all important files and data have been successfully copied or saved. This helps to ensure that you have a secure and reliable backup before proceeding with the formatting.
By taking the time to backup your important data, you can have peace of mind knowing that your files are protected and easily recoverable. Once you have successfully backed up your data, you can confidently move on to the next step, which is formatting the SD card for your Raspberry Pi.
Formatting the SD Card using Windows
If you are using a Windows operating system, follow these step-by-step instructions to format your SD card for Raspberry Pi:
- Insert your SD card into the SD card slot or connect the SD card reader to your computer.
- Open the File Explorer by pressing the Windows key + E or by double-clicking the “This PC” icon on your desktop.
- Locate your SD card under the “Devices and drives” section in the File Explorer. Take note of the drive letter assigned to your SD card (e.g., “E:”, “F:”, etc.).
- Right-click on your SD card and select “Format” from the drop-down menu.
- In the Format window, select the desired file system for your SD card. For Raspberry Pi, it is recommended to use FAT32 or exFAT. If you are using a larger capacity SD card, choose exFAT, as FAT32 has limitations on file size.
- Check the “Quick Format” option if you want to speed up the formatting process. Leave it unchecked if you prefer a thorough format.
- Click on the “Start” button to initiate the formatting process. A warning message might appear, reminding you that all data on the SD card will be erased. Make sure you have backed up any important data before proceeding.
- Wait for the formatting to complete. This might take a few minutes, depending on the size and speed of your SD card.
- Once the formatting is finished, you will see a confirmation message. Click “OK” to close the message.
- Eject or safely remove the SD card from your computer.
Now your SD card is successfully formatted and ready to use with your Raspberry Pi. Remember to keep your SD card in a safe place and handle it with care to prevent any damage or data loss.
In the next section, we will discuss the procedure for formatting an SD card using a Mac operating system.
Formatting the SD Card using Mac
If you are using a Mac operating system, follow these step-by-step instructions to format your SD card for Raspberry Pi:
- Insert your SD card into the SD card slot or connect the SD card reader to your Mac.
- Open the Finder by clicking on the smiley face icon located on the dock.
- In the Finder, click on “Applications” in the left sidebar and then open the “Utilities” folder.
- Open the “Disk Utility” application.
- In the Disk Utility window, find your SD card listed in the left panel. Click on it to select it.
- Click on the “Erase” button from the options at the top of the Disk Utility window.
- In the Format dropdown menu, select the desired file system for your SD card. For Raspberry Pi, it is recommended to use MS-DOS (FAT) for smaller capacity cards, or exFAT for larger capacity cards.
- Enter a name for your SD card in the “Name” field. This is optional, but it can help you identify the card later.
- Click on the “Erase” button in the lower right corner of the window to start the formatting process. A warning message might appear, notifying you that all data on the SD card will be deleted. Make sure you have backed up any important data before proceeding.
- Wait for the formatting process to complete. This might take a few minutes, depending on the size and speed of your SD card.
- Once the formatting is finished, you will see a confirmation message. Click “Done” to close the message.
- Eject or safely remove the SD card from your Mac.
Your SD card is now successfully formatted and ready to be used with your Raspberry Pi. Be sure to handle it properly and keep it in a safe place to avoid any damage or data loss.
Next, we will explore the process of formatting an SD card using a Linux operating system.
Formatting the SD Card using Linux
For Linux users, formatting an SD card for Raspberry Pi can be done using the following step-by-step instructions:
- Connect your SD card to your Linux computer using an SD card reader or adapter.
- Open the terminal on your Linux computer by pressing Ctrl + Alt + T or searching for “Terminal” in your applications menu.
- Enter the following command to list the connected storage devices:
- Identify your SD card from the list of devices based on its size and other details. It is typically labeled as “/dev/sdX”, where “X” is a letter representing your SD card.
- Unmount the SD card partition(s) using the following command:
- Format the SD card using the FAT32 file system by running the following command:
- Confirm the action by typing “y” when prompted, and then press Enter.
- Wait for the formatting process to complete. The duration may vary depending on the size and speed of your SD card.
- Once the formatting is finished, close the terminal.
- Eject or safely remove the SD card from your Linux computer.
sudo fdisk -l
sudo umount /dev/sdX1
Note: Replace “X1” with the appropriate partition number if your SD card has multiple partitions.
sudo mkfs.fat -F32 /dev/sdX1
Note: Replace “X1” with the appropriate partition number if your SD card has multiple partitions.
Your SD card is now formatted and ready to be used with your Raspberry Pi. Keep it in a safe place and handle it carefully to prevent any damage or data loss.
In the next section, we will discuss the importance of choosing the correct file system when formatting your SD card for Raspberry Pi.
Choosing the Correct File System
When formatting an SD card for Raspberry Pi, it is important to select the appropriate file system that aligns with the Raspberry Pi’s operating system and your specific needs. The two commonly recommended file systems for Raspberry Pi are FAT32 and exFAT.
FAT32:
FAT32 is a widely supported file system that is compatible with various operating systems, including Windows, Mac, and Linux. It is the recommended file system for smaller capacity SD cards (up to 32GB) used with Raspberry Pi.
One advantage of using FAT32 is its compatibility with most devices and operating systems, making it easy to transfer files between different platforms.
exFAT:
For larger capacity SD cards (above 32GB), exFAT is the recommended file system due to its ability to handle larger file sizes. exFAT is also compatible with multiple operating systems, including Windows, Mac, and Linux.
Using exFAT allows you to store large files, such as multimedia files or disk images, on the SD card without the limitations of the FAT32 file system.
When choosing the file system, consider the size of your SD card and the files you intend to store. If you are unsure, it is generally safe to use FAT32 unless you have specific requirements for larger file sizes.
It is important to note that formatting an SD card will erase all existing data, so make sure to backup any important files before proceeding with the formatting process.
In the next section, we will discuss some common mistakes to avoid during the SD card formatting process.
Common Mistakes to Avoid
When formatting an SD card for Raspberry Pi, it is essential to be aware of and avoid common mistakes that can lead to data loss or compatibility issues. Here are some common mistakes to avoid:
- Not Backing Up Data: Failure to back up important data on the SD card before formatting can result in permanent data loss. Always make sure to create a backup of your files and verify the backup before proceeding with the formatting process.
- Formatting the Wrong Drive: Double-check the drive letter or device name assigned to your SD card to ensure that you are formatting the correct drive. Formatting the wrong drive can lead to the loss of data on other storage devices connected to your computer.
- Interrupting the Formatting Process: It is crucial to let the formatting process complete without interruption. Interrupting the process can result in a corrupted filesystem or incomplete formatting, leading to problems when using the SD card with your Raspberry Pi.
- Choosing the Wrong File System: Selecting an incompatible or unsupported file system for your Raspberry Pi can lead to compatibility issues. Make sure to choose the correct file system based on the capacity of your SD card and the compatibility requirements of your Raspberry Pi’s operating system.
- Using Low-Quality or Counterfeit SD Cards: It is recommended to use high-quality SD cards from reputable manufacturers that are specifically designed for use with Raspberry Pi. Using low-quality or counterfeit SD cards can lead to performance issues and potential data loss.
- Mismanaging the SD Card: Treat your SD card with care and avoid mishandling. Rough handling, exposure to extreme temperatures, and bending the card can damage it and result in data loss or hardware failure.
By avoiding these common mistakes and following the proper procedures, you can ensure a successful formatting process and maintain the integrity of your data while using an SD card with your Raspberry Pi.
Now that you are aware of the common mistakes to avoid, you can proceed with confidence in formatting your SD card for Raspberry Pi. In the final section, we will provide a recap and concluding remarks.
Conclusion
Formatting an SD card for Raspberry Pi is a crucial step to ensure optimal performance, data integrity, and compatibility. By following the recommended procedures and selecting the appropriate file system, you can set up your SD card for a seamless and efficient Raspberry Pi experience.
In this article, we discussed the importance of formatting an SD card specifically for the Raspberry Pi and outlined the step-by-step instructions for formatting using Windows, Mac, and Linux operating systems. We also emphasized the significance of backing up important data before proceeding with the formatting to prevent any data loss.
Remember to handle your SD card with care and avoid common mistakes that can lead to potential issues, such as choosing the wrong file system or interrupting the formatting process. By avoiding these pitfalls, you can ensure the successful formatting of your SD card for Raspberry Pi.
Whether you are using your Raspberry Pi for hobby projects, educational purposes, or as a dedicated computing device, properly formatting your SD card is a foundational step for a smooth and reliable user experience.
Now that you have the knowledge and tools to format your SD card, you can confidently embark on your Raspberry Pi adventures and unleash the full potential of this powerful mini-computer.