Introduction
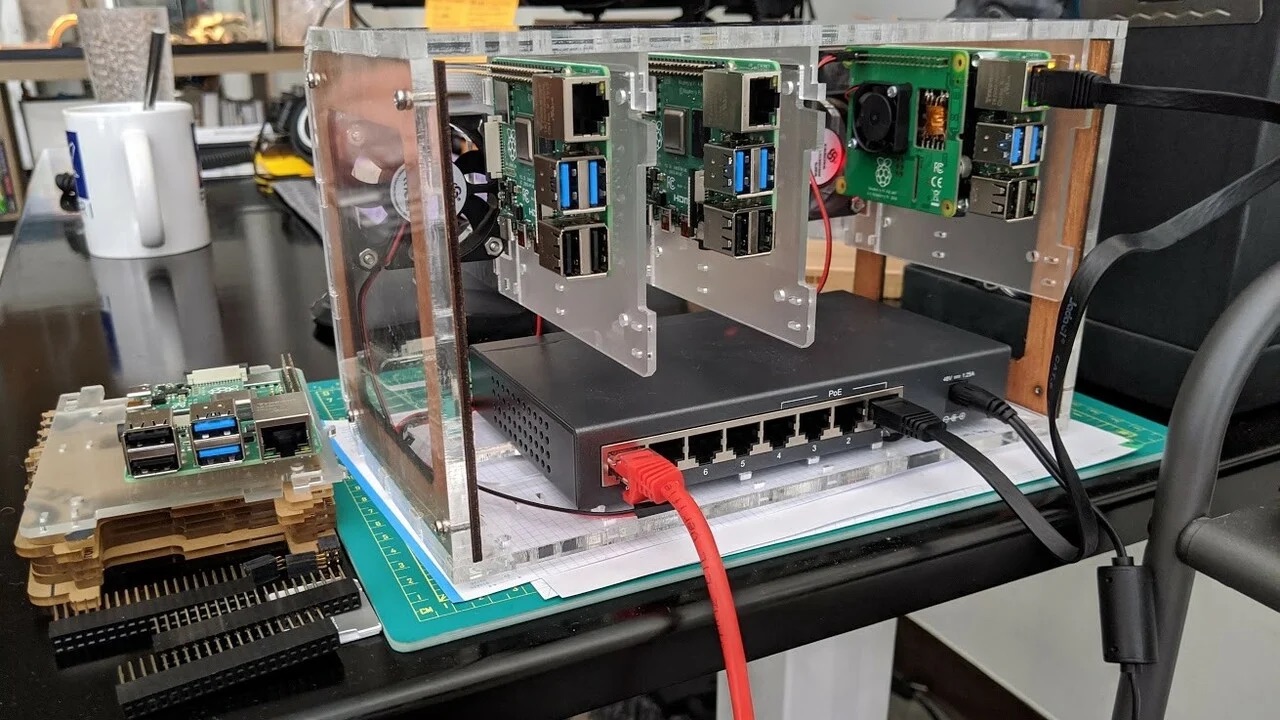
The Raspberry Pi 4 is a powerful single-board computer that can be used for a variety of projects. While its built-in microSD card slot allows for storage, many users opt for installing a solid-state drive (SSD) to enhance performance and increase storage capacity. In this article, we will guide you through the process of installing an SSD on your Raspberry Pi 4.
By installing an SSD on your Raspberry Pi 4, you can significantly improve its speed and responsiveness. SSDs provide faster read and write speeds compared to traditional microSD cards, resulting in quicker boot times, smoother application launches, and faster file transfers. Additionally, SSDs offer larger storage capacities, allowing you to store more data and applications on your Raspberry Pi.
Before diving into the installation process, you need to ensure that you have all the necessary components and a basic understanding of the Raspberry Pi. This step-by-step guide will walk you through the entire process, from choosing the right SSD to configuring your Raspberry Pi to boot from the SSD. So let’s get started!
Prerequisites
Before you begin the installation process, make sure that you have the following prerequisites:
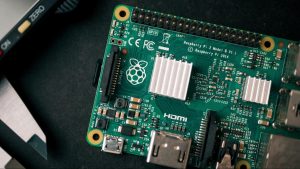
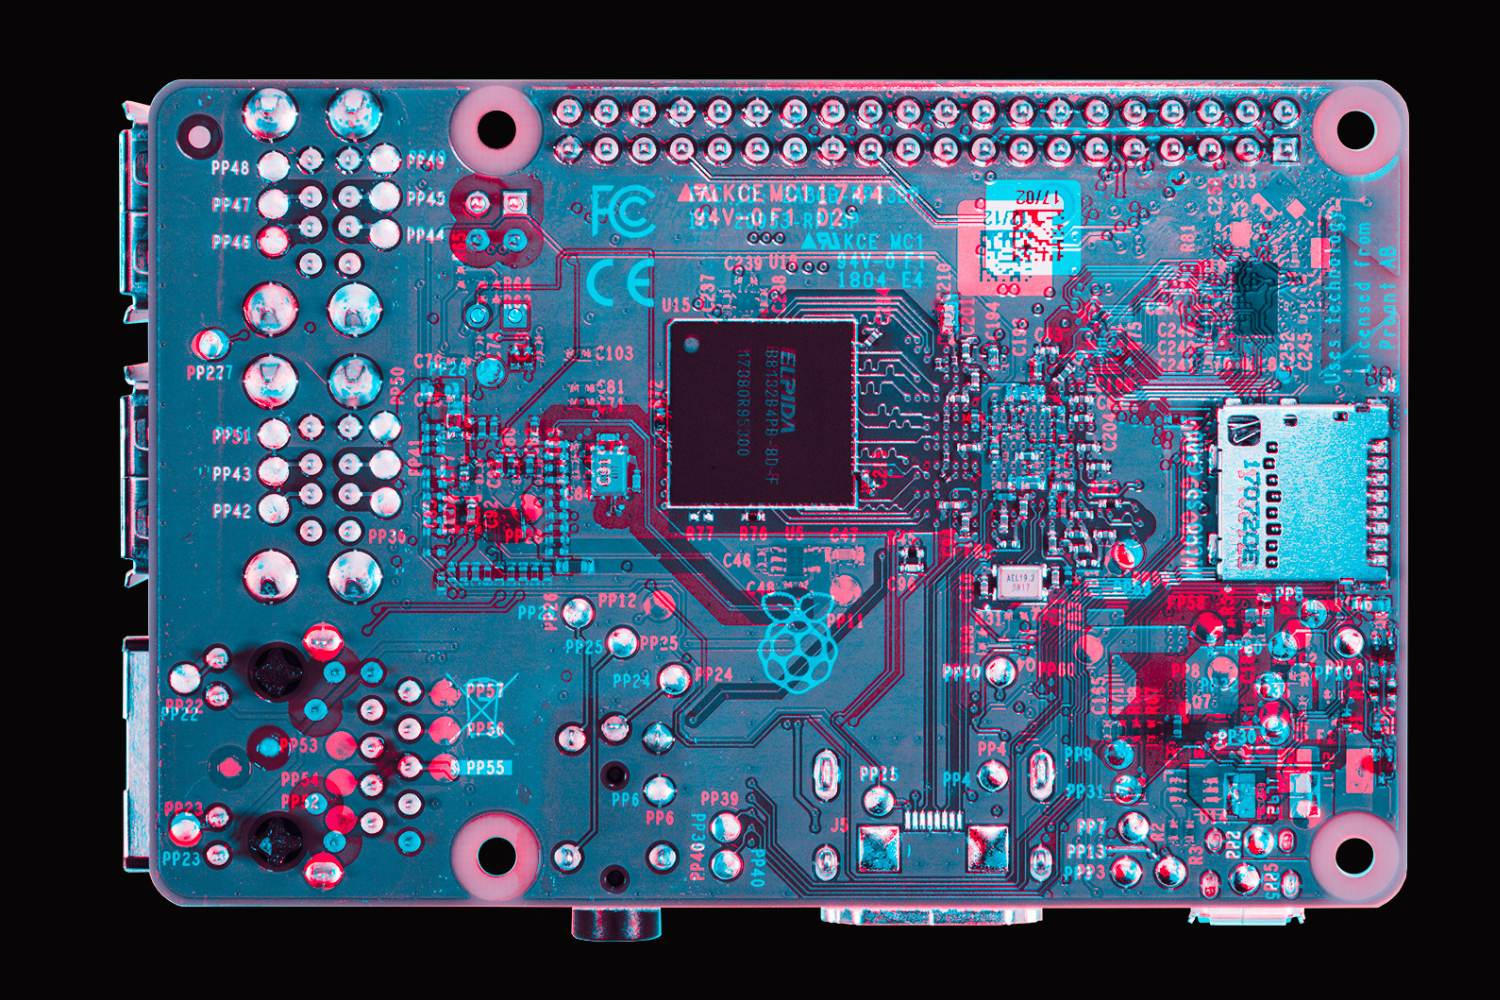
- A Raspberry Pi 4 board
- A power supply for the Raspberry Pi
- An SSD (solid-state drive)
- A microSD card (for initial setup)
- A USB to SATA adapter
- A computer with an SD card reader and an internet connection
It is important to choose a compatible SSD for your Raspberry Pi. While most SSDs will work fine, it is recommended to choose one with a SATA connector. Additionally, consider the storage capacity based on your needs and budget.
Ensure that you have a compatible power supply for your Raspberry Pi 4. A power supply with a minimum output of 5V and 3A is recommended to ensure stable and reliable performance.
You will also need a microSD card for the initial setup process. This will be used to install the operating system onto the Raspberry Pi. Once the setup is complete, you will not rely on the microSD card for booting the system.
Lastly, make sure you have a USB to SATA adapter. This will allow you to connect the SSD to the Raspberry Pi via USB, allowing for data transfer and configuration. Ensure that the USB to SATA adapter is compatible with your chosen SSD.
Before starting the installation process, ensure that you have a computer with an SD card reader and an internet connection. This will be used to download the operating system and other necessary files for the Raspberry Pi.
Once you have gathered all the prerequisites, you are ready to proceed with the installation of the SSD on your Raspberry Pi 4. In the following sections, we will guide you through each step, ensuring a smooth and successful installation process.
Choosing the Right SSD
When it comes to selecting an SSD for your Raspberry Pi 4, there are a few key factors to consider. These factors will help ensure compatibility and optimal performance. Here are some important aspects to keep in mind:
- SATA Connection: It is recommended to choose an SSD with a SATA connection. Raspberry Pi 4 boards typically have USB 3.0 ports, which offer faster data transfer rates compared to USB 2.0 ports. By opting for an SSD with a SATA connector, you can take advantage of this increased speed.
- Storage Capacity: Determine your storage needs before selecting the SSD capacity. If you plan to use the Raspberry Pi for simple tasks, such as a media player or a home server, a smaller capacity SSD like 64GB or 128GB may be sufficient. However, if you intend to use it for more resource-intensive applications or as a desktop replacement, consider opting for larger capacities like 256GB or 512GB.
- Brand and Quality: It is advisable to choose a reputable brand when selecting an SSD. Well-known brands offer better reliability and quality assurance. Research and read reviews from other users to ensure you choose a reliable SSD from a trusted manufacturer.
- Price: Consider your budget when choosing an SSD for your Raspberry Pi. Prices can vary depending on brand, capacity, and performance. Compare different options and find a balance between quality and affordability that suits your requirements.
Ultimately, the choice of SSD for your Raspberry Pi 4 will depend on your specific needs and preferences. It is essential to do thorough research and understand the specifications of the SSD before making a purchase. Taking these factors into consideration will help ensure compatibility with your Raspberry Pi and provide optimal performance for your projects.
Now that you have a better understanding of how to choose the right SSD, we can proceed to the next steps: preparing the Raspberry Pi and the SSD for installation.
Preparing the Raspberry Pi
Before installing the SSD on your Raspberry Pi 4, you need to ensure that the board is properly prepared for the installation process. Follow these steps to get your Raspberry Pi ready:
- Backup important data: If you have any important data stored on your Raspberry Pi’s microSD card, make sure to back it up before proceeding. The installation process may require formatting the microSD card, which will erase all existing data.
- Update the firmware: It is always a good practice to update the firmware of your Raspberry Pi before installing a new component. This ensures compatibility and stability. Connect your Raspberry Pi to the internet and open a terminal. Run the following commands:
sudo apt update sudo apt full-upgrade - Install the operating system: If you don’t have an operating system installed on your Raspberry Pi, you will need to do so before proceeding. Download the latest version of Raspberry Pi OS from the official website and follow the installation instructions. Once the installation is complete, make sure to update the operating system using the following commands:
sudo apt update sudo apt full-upgrade - Enable USB boot: By default, Raspberry Pi 4 boards boot from the microSD card. To enable USB boot, you need to update the bootloader firmware. Open a terminal and run the following command:
sudo raspi-configGo to the “Advanced Options” menu, select “Boot Order,” and choose “USB Boot.” Save the changes and exit the configuration tool.
With these steps completed, your Raspberry Pi is now ready for the SSD installation. The next section will guide you through preparing the SSD for installation and connecting it to the Raspberry Pi.
Preparing the SSD
Before connecting the SSD to your Raspberry Pi 4, there are a few steps you need to take to ensure it is ready for installation. Follow these guidelines to prepare the SSD:
- Format the SSD: If your SSD is brand new or contains existing data, it is recommended to format it for optimal performance. Connect the SSD to your computer using the USB to SATA adapter. Open the Disk Management utility (for Windows) or Disk Utility (for macOS). Locate the SSD and format it using the appropriate file system (e.g., exFAT or FAT32).
- Partition the SSD: After formatting the SSD, you can create partitions based on your requirements. This step is optional and depends on how you plan to use the SSD. You can create a single partition to use the entire SSD, or multiple partitions for different purposes.
- Update the firmware (optional): Some SSDs may have firmware updates available. Check the manufacturer’s website for any firmware updates and follow the instructions to update the SSD’s firmware. This step is optional but can help improve performance and stability.
Once you have completed these steps, the SSD is now prepared for installation on your Raspberry Pi 4. In the next section, we will guide you through connecting the SSD to the Raspberry Pi and powering it on to test the setup.
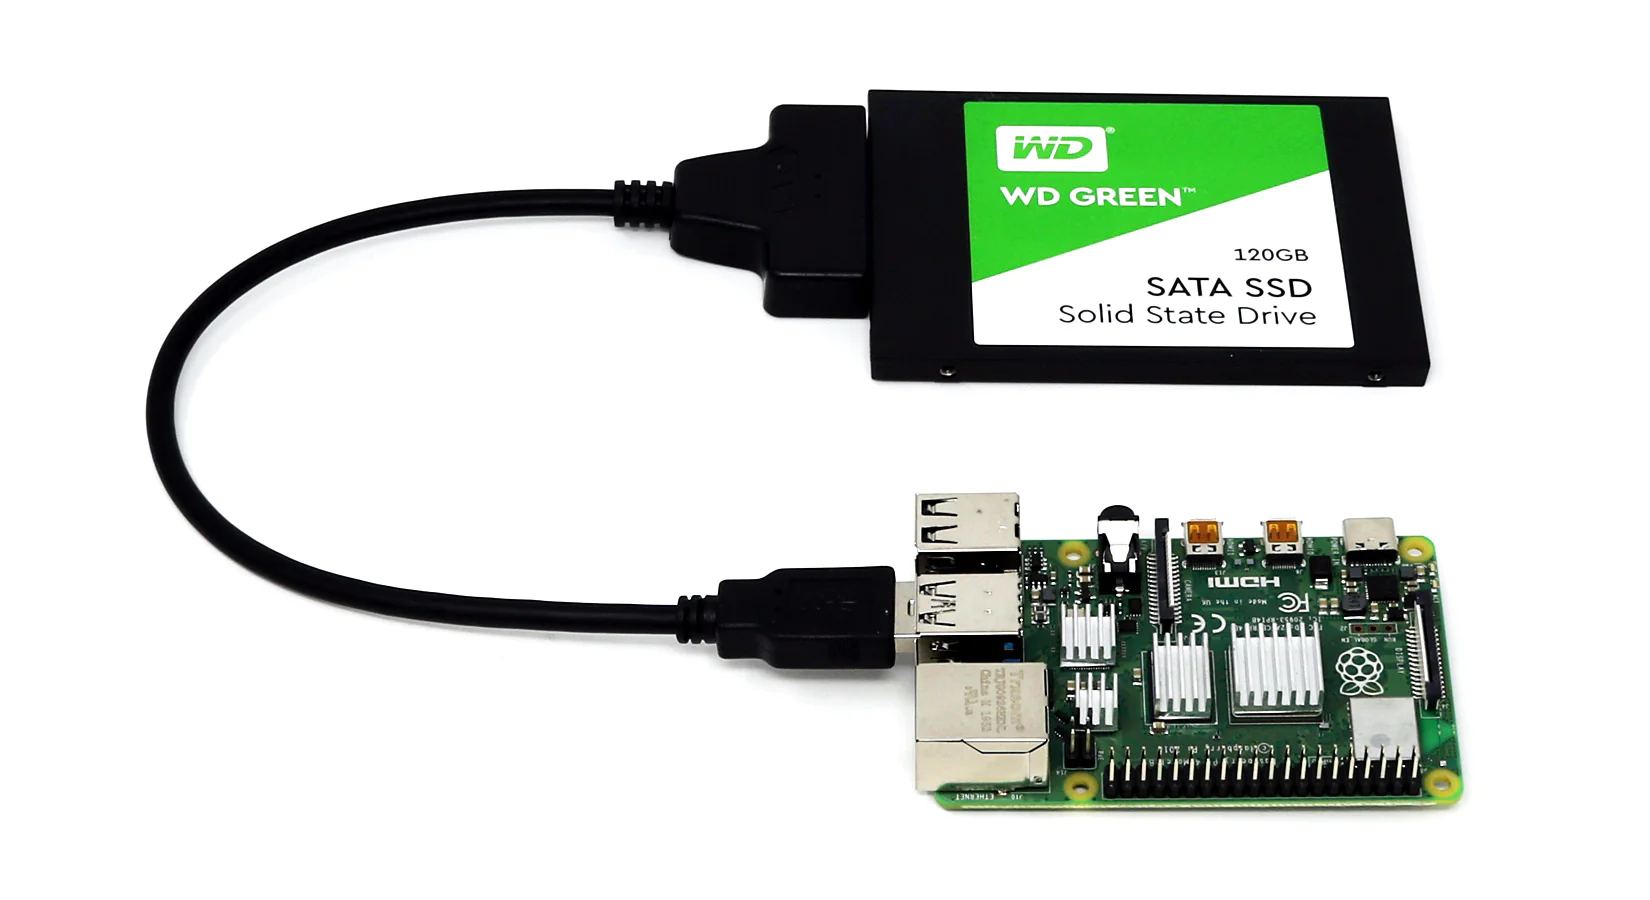
Connecting the SSD to Raspberry Pi
Now that you have prepared the SSD, it’s time to connect it to your Raspberry Pi 4. Follow these steps to ensure a proper and secure connection:
- Shut down the Raspberry Pi: It is important to power off the Raspberry Pi before making any hardware connections. This will prevent any potential damage to the board or SSD.
- Connect the USB to SATA adapter: Take the USB to SATA adapter and plug the USB end into an available USB port on your Raspberry Pi. Connect the other end of the adapter to the SSD’s SATA connector.
- Power on the Raspberry Pi: Once the SSD is connected, power on the Raspberry Pi using the appropriate power supply. The Raspberry Pi will now detect the SSD as an external storage device.
Take a moment to ensure that all connections are secure and properly inserted. If necessary, double-check the connections and make any adjustments before proceeding. Once everything is set up, you can proceed to power on the Raspberry Pi and test the setup.
After powering on the Raspberry Pi, the operating system should recognize the SSD as a new storage device. You can verify this by accessing the file manager and checking if the SSD is listed. You may also want to perform a quick test by transferring some files to the SSD to ensure that the data transfer is working as expected. This will confirm that the SSD is properly connected and functioning correctly.
With the SSD successfully connected to your Raspberry Pi, we can now move on to the next step: configuring Raspberry Pi to boot from the SSD. This will allow the Raspberry Pi to run the operating system directly from the SSD, resulting in improved performance.
Powering On and Testing
Now that the SSD is connected to your Raspberry Pi, it’s time to power on the device and test the setup. Follow these steps to ensure a successful power-on and perform initial testing:
- Connect the power supply: Plug in the power supply to your Raspberry Pi and ensure it is securely connected. Make sure you are using a compatible power supply with sufficient output to support both the Raspberry Pi and the connected SSD.
- Power on the Raspberry Pi: Once the power supply is connected, press the power button or plug in the power cord to turn on the Raspberry Pi. The device will start booting up, and the operating system will load. This may take a few moments.
- Verify SSD detection: Once the Raspberry Pi has finished booting up, access the file manager or the command line to verify if the SSD is detected. You should see the SSD listed as a storage device alongside other drives. This indicates that the Raspberry Pi has successfully recognized and connected to the SSD.
- Perform initial testing: To test the SSD’s functionality, you can perform some basic tasks. Transfer some files to the SSD to check if the data transfer is working as expected. Open applications and observe if the performance has improved compared to when using a microSD card. These tests will help validate that the SSD is working correctly and improving the overall performance of the Raspberry Pi.
During the testing phase, pay attention to any errors or unexpected behavior. If you encounter any issues, double-check the connections and ensure that the SSD is properly formatted and partitioned. It is also recommended to update the operating system and device drivers to ensure compatibility and stability.
Once you have confirmed that the SSD is functioning as expected and providing improved performance, you can proceed to configure the Raspberry Pi to boot directly from the SSD. This will further enhance the speed and responsiveness of your Raspberry Pi. The next section will guide you through the process of configuring the Raspberry Pi to boot from the SSD.
Configuring Raspberry Pi to Boot from SSD
To take full advantage of the SSD’s speed and performance, it is recommended to configure your Raspberry Pi to boot directly from the SSD. Follow these steps to set up the boot configuration:
- Edit the boot configuration file: Access the terminal on your Raspberry Pi and open the boot configuration file for editing by running the following command:
sudo nano /boot/cmdline.txt - Modify the boot parameters: In the text editor, locate the line that begins with “root=PARTUUID=”. Replace the PARTUUID value with the UUID of the SSD’s partition. You can find the UUID by running the following command in the terminal:
sudo blkidLook for the entry corresponding to the SSD’s partition and copy the UUID value.
- Save and exit: Once you have updated the boot parameters, press Ctrl+X to exit the text editor. When prompted to save the changes, press Y and then Enter to confirm the filename.
- Reboot the Raspberry Pi: To apply the changes and boot from the SSD, reboot your Raspberry Pi by running the following command:
sudo reboot
After the Raspberry Pi reboots, it will use the SSD as its boot device. The operating system will load from the SSD, resulting in faster boot times and improved overall performance.
It is important to note that if you ever want to revert to booting from the microSD card, you can simply remove or comment out the modified line in the boot configuration file (cmdline.txt) and reboot the Raspberry Pi.
With the Raspberry Pi successfully configured to boot from the SSD, you can now enjoy the enhanced performance and storage capacity that the SSD provides. You can further explore the capabilities of your Raspberry Pi and embark on various projects with the added speed and efficiency of the SSD.
Conclusion
Installing an SSD on your Raspberry Pi 4 can greatly enhance its performance and storage capabilities. By following the steps outlined in this guide, you have learned how to select the right SSD, prepare both the Raspberry Pi and the SSD, connect the SSD to the Raspberry Pi, power on and test the setup, and configure the Raspberry Pi to boot from the SSD.
The use of an SSD significantly improves the speed of your Raspberry Pi, resulting in faster boot times, smoother application launches, and quicker file transfers. Additionally, the increased storage capacity allows you to store more data and applications, making your Raspberry Pi more versatile and capable of handling various projects.
Remember to choose a reliable brand and properly format and partition the SSD before connecting it to the Raspberry Pi. Always ensure that the Raspberry Pi and SSD are powered off before making any hardware connections to prevent any potential damage to the devices.
By configuring the Raspberry Pi to boot directly from the SSD, you maximize its performance potential. This allows the operating system to load directly from the SSD, delivering faster and more responsive performance compared to a microSD card.
With your Raspberry Pi now equipped with an SSD and configured for optimal performance, you are ready to embark on new projects and explore the endless possibilities that this powerful single-board computer can offer. Whether you are using it for media streaming, web server hosting, or running complex applications, the SSD will greatly enhance your Raspberry Pi 4 experience.
As you continue to utilize your Raspberry Pi with an SSD, don’t forget to keep your system up to date with regular software updates and maintenance. This will ensure that you are always benefiting from the latest features, security enhancements, and improved stability.
Now, armed with the knowledge gained from this guide, go ahead and unlock the true potential of your Raspberry Pi 4 with an SSD. Enjoy a faster and more efficient computing experience for all your projects and endeavors.