Introduction
Smart glasses have revolutionized the way we interact with technology, bringing augmented reality right in front of our eyes. These futuristic devices provide a hands-free experience, allowing us to access information, communicate, and even navigate the world around us without the need for traditional screens or keyboards.
In this article, we will explore how to create your own smart glasses using the powerful Raspberry Pi 3 microcomputer. Raspberry Pi 3 is an affordable and versatile single-board computer that can be used for various DIY projects, including building wearable technology like smart glasses.
By utilizing Raspberry Pi 3’s capabilities and combining them with a few additional components, you can construct a functional and customizable pair of smart glasses. These glasses can display information, capture images, and even incorporate voice control functionality.
Throughout this guide, we will dive into the exciting process of setting up the Raspberry Pi 3, installing the required software, and building the hardware components necessary for smart glasses. We will explore how to assemble the display, connect it to the Raspberry Pi 3, and write software to control its functionality. We will also look into incorporating camera and image processing capabilities into our smart glasses, as well as enhancing them with voice control.
Whether you are a seasoned DIY enthusiast or just starting with Raspberry Pi, this article will provide you with the knowledge and steps to create your very own smart glasses. So, put on your creative hat, grab your tools, and let’s embark on this exciting journey into the world of wearable technology!
Understanding Smart Glasses
Smart glasses are wearable devices that integrate a display system into eyewear, allowing users to access digital content and interact with it while keeping their hands free. These devices enable the overlay of digital information onto the user’s real-world view, creating an augmented reality experience.
Smart glasses have gained popularity in various industries and applications. For example, in the field of healthcare, they can provide surgeons with real-time patient data or assist visually impaired individuals in navigating their surroundings. In the workplace, smart glasses can enhance productivity by providing workers with hands-free access to technical information or real-time instructions.
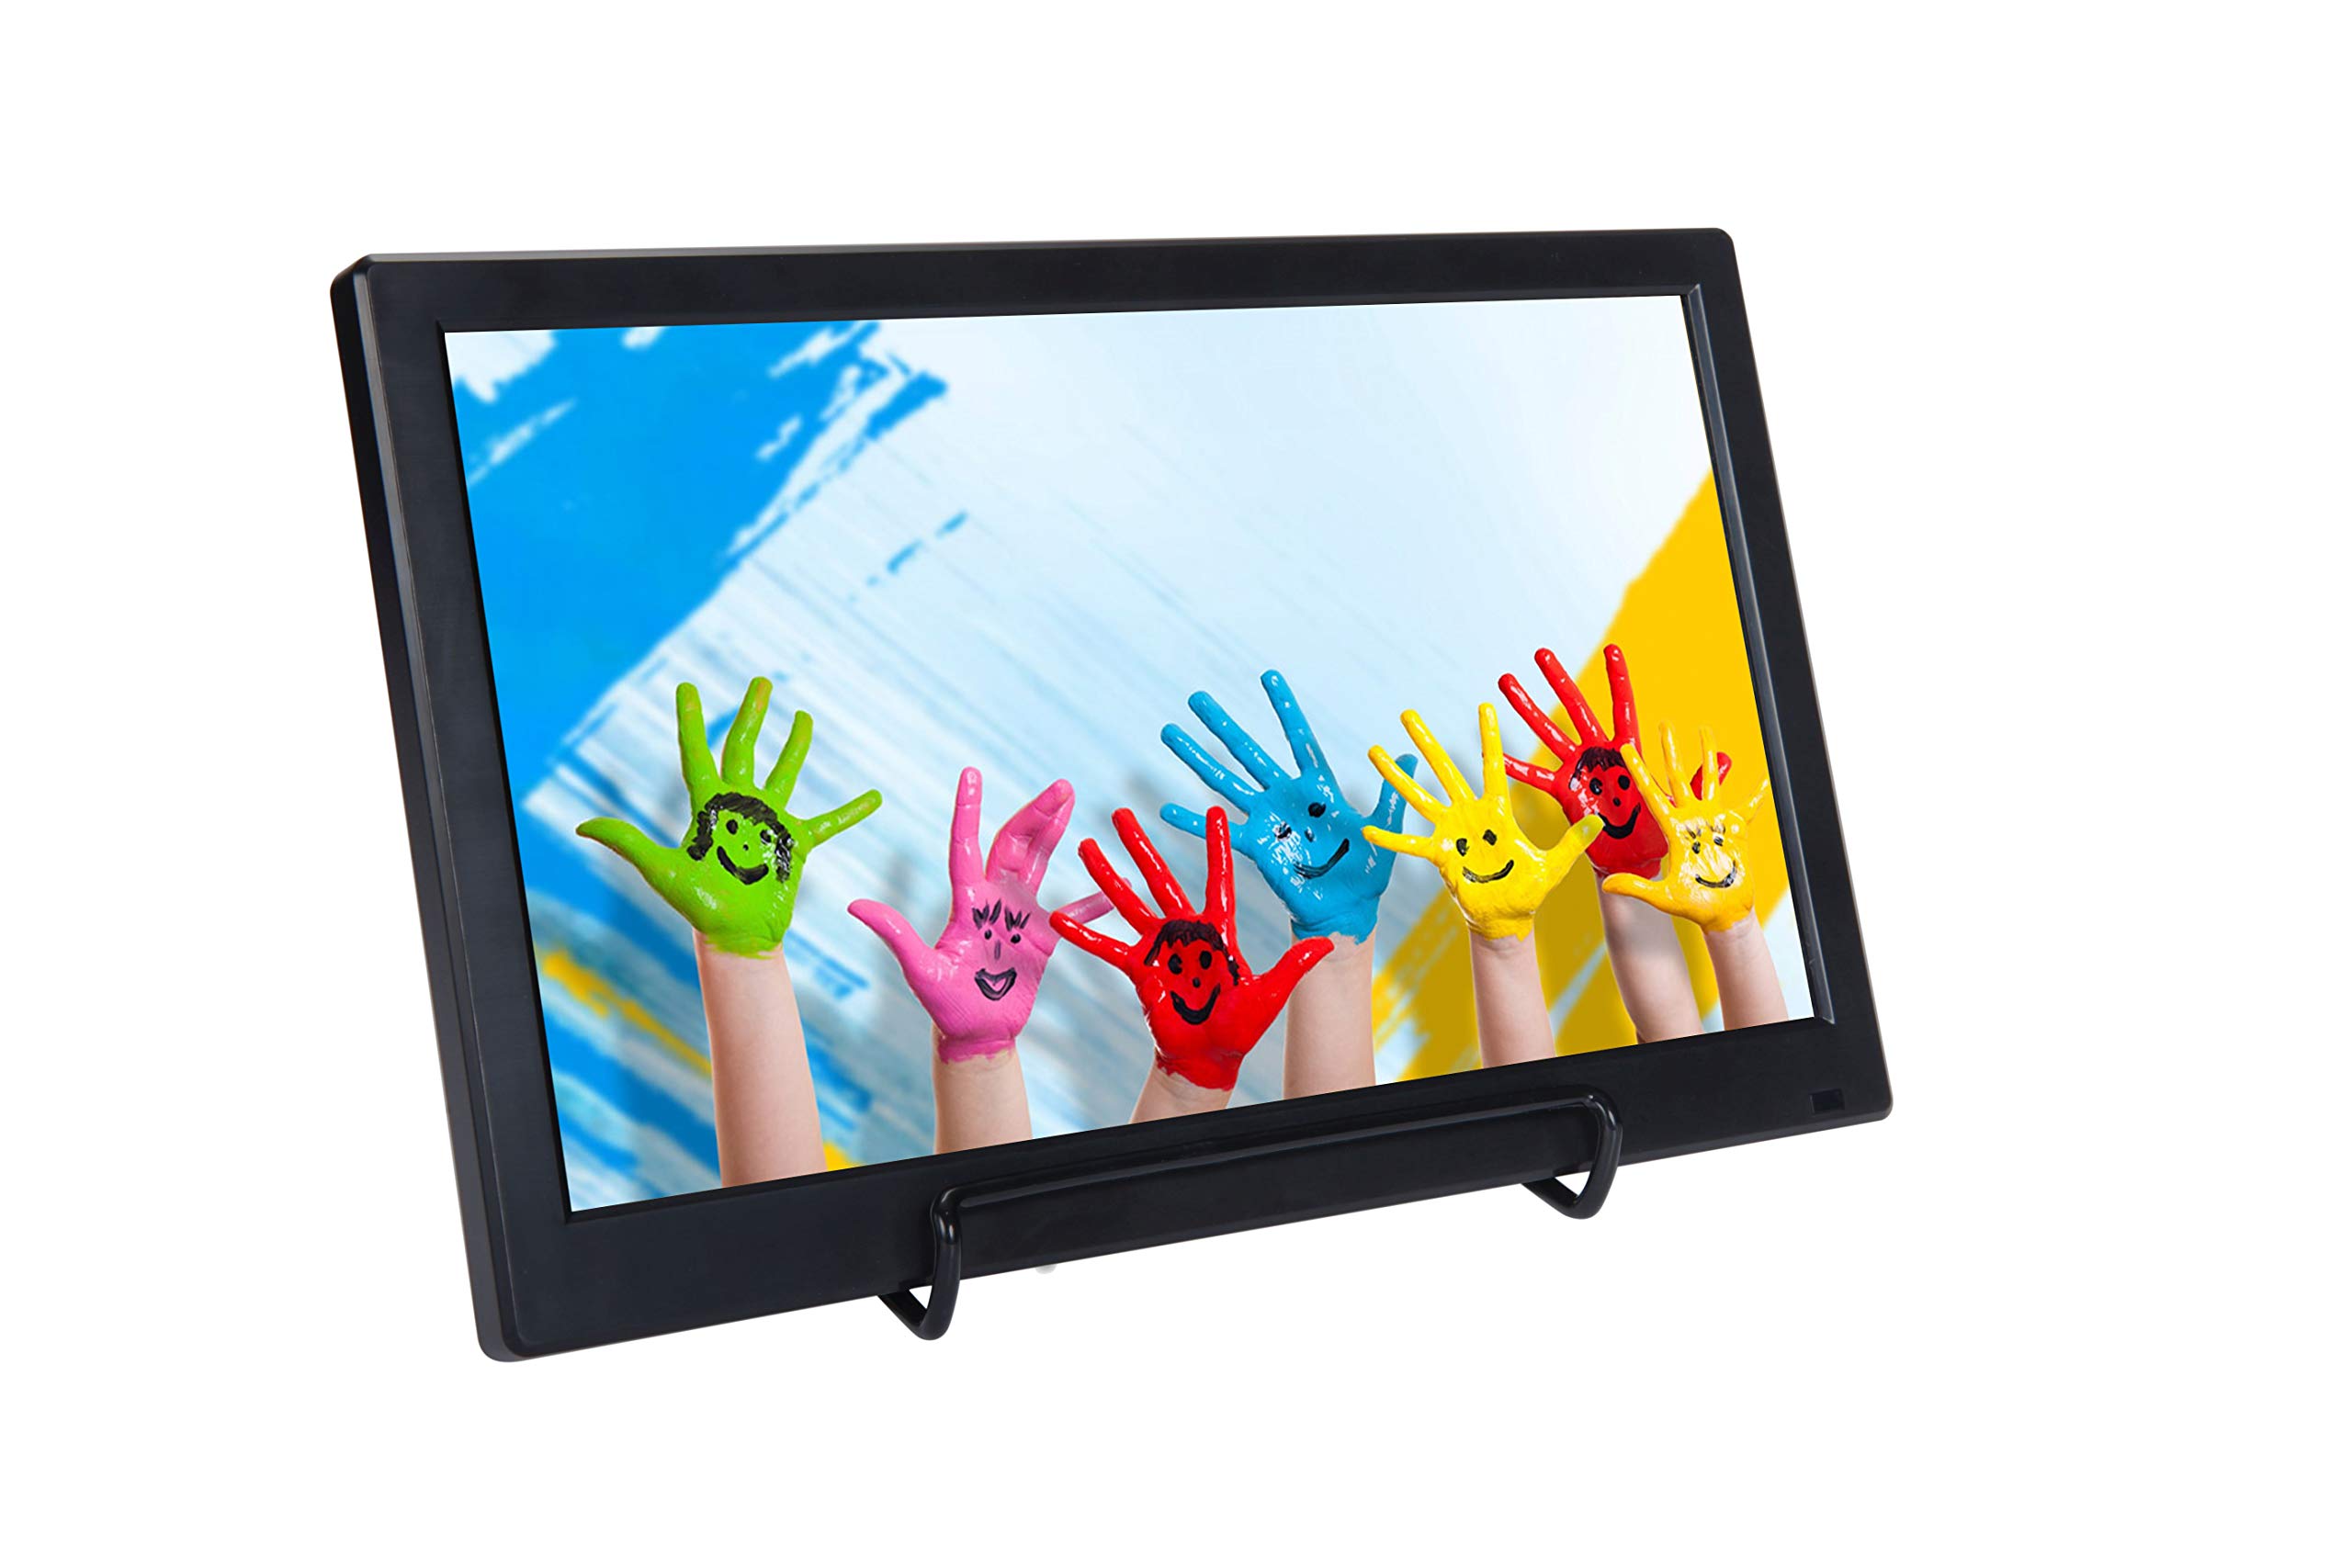
The main components of smart glasses typically include a display, a camera, sensors, and connectivity capabilities. The display is the most crucial aspect, as it provides the augmented reality experience. This display can be in the form of a transparent heads-up display (HUD) or a small screen positioned in front of the user’s eye.
To create smart glasses using the Raspberry Pi 3, we will need to carefully select the display technology that best suits our needs. There are various options available, including OLED displays, LCD screens, or even utilizing a smartphone screen. Each type has its own advantages and considerations, such as power consumption, resolution, and refresh rate.
In addition to the display, smart glasses often include a camera to capture images or record videos. This camera can be used for image recognition, object tracking, or even augmented reality applications. By combining the camera with image processing algorithms, we can enhance the functionality of our smart glasses and enable advanced features such as object detection or face recognition.
Sensors play a crucial role in smart glasses by providing contextual information to the device. These can include GPS for location tracking, accelerometers for motion detection, gyroscopes for orientation sensing, and even heart rate monitors for health-related applications. By utilizing the sensors available in the Raspberry Pi 3 or adding external modules, we can make our smart glasses more interactive and responsive to the user’s surroundings.
Connectivity is another essential aspect of smart glasses. By incorporating wireless capabilities such as Wi-Fi or Bluetooth, we can enable data transfer, remote control, or even integrate our smart glasses with other devices or services. This connectivity allows for cloud-based processing and the ability to access real-time information or updates.
Now that we have a solid understanding of smart glasses and their key components, let’s dive into the process of setting up Raspberry Pi 3 and building our own custom-made smart glasses. In the next section, we will explore the Raspberry Pi 3 and its capabilities in detail.
What is Raspberry Pi 3?
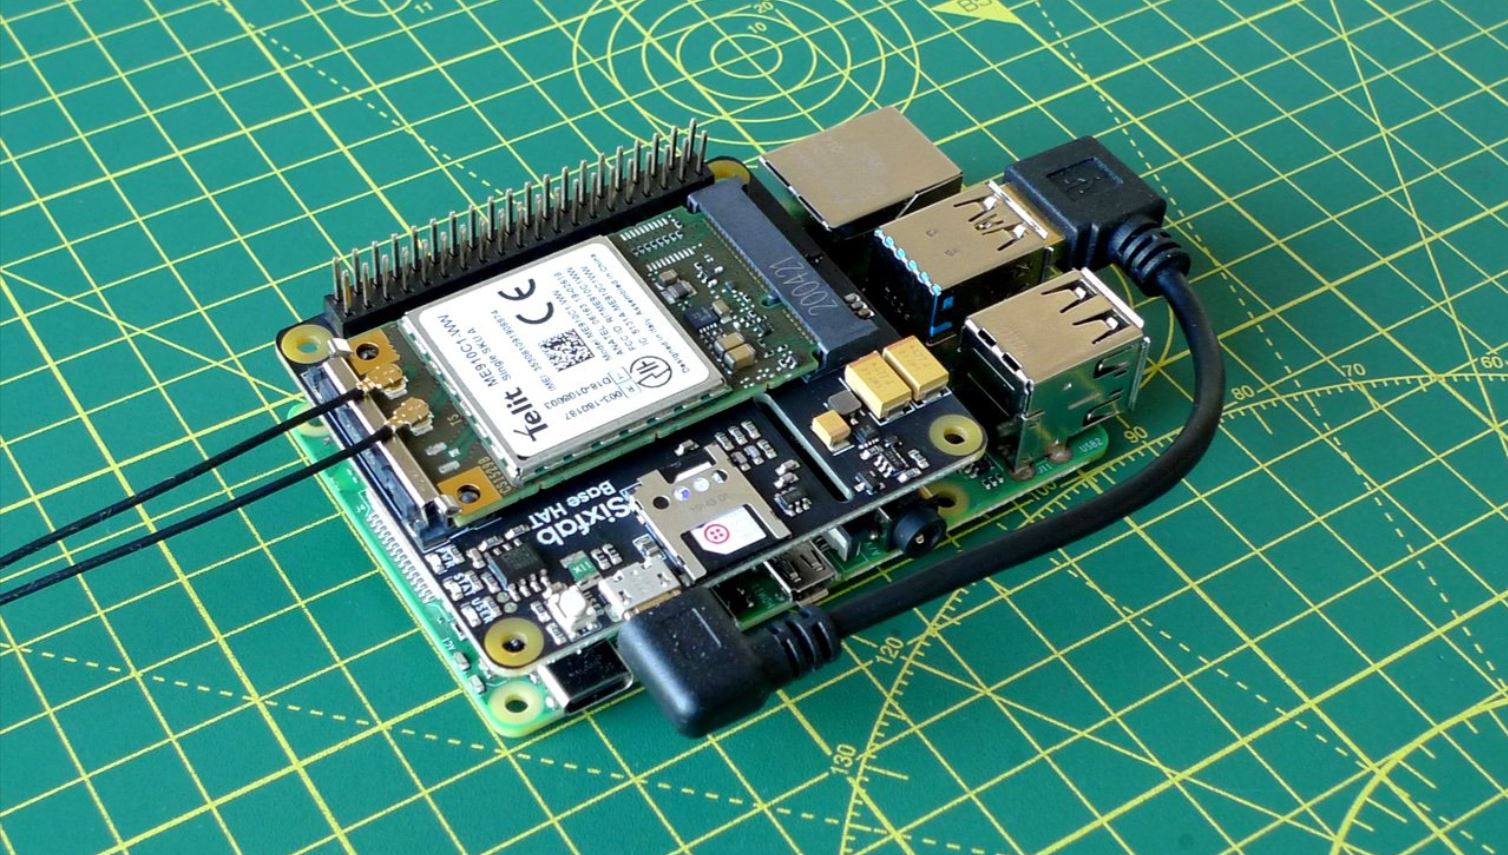
Raspberry Pi 3 is a credit card-sized single-board computer that has gained popularity among DIY enthusiasts, hobbyists, and even professionals due to its affordability, flexibility, and robust capabilities. Developed by the Raspberry Pi Foundation, this tiny but powerful device is designed to promote the teaching of basic computer science in schools and encourage experimentation in the world of electronics.
The Raspberry Pi 3 is equipped with an ARM-based processor, graphics processing unit (GPU), memory, and various connectivity options. The latest model, Raspberry Pi 3 Model B, boasts a 1.2 GHz quad-core processor, 1GB of RAM, built-in Wi-Fi, Bluetooth, Ethernet port, HDMI output, USB ports, and a microSD card slot for storage.
One of the standout features of the Raspberry Pi 3 is its ability to run a full-fledged operating system, such as Linux, making it a versatile tool for a wide range of applications. This capability allows users to develop software, build projects, and even create their own custom devices.
The Raspberry Pi 3 is particularly well-suited for building smart glasses due to its compact size, low power consumption, and hardware capabilities. With the right combination of components and software, we can harness the processing power of the Raspberry Pi 3 to drive the display, control the camera, and enable various functionalities of our DIY smart glasses.
Furthermore, the Raspberry Pi community is vast and vibrant, providing extensive documentation, tutorials, and support. This makes it easier for beginners to get started and for experienced individuals to explore advanced projects. The availability of a wide range of add-on boards, known as HATs (Hardware Attached on Top), also allows for easy expansion and customization of the Raspberry Pi’s capabilities.
Whether you are a student, a hobbyist, or a professional, the Raspberry Pi 3 offers a remarkable platform for experimentation, learning, and creativity. Its affordability, versatility, and large community support make it an ideal choice for building smart glasses and various other DIY projects. In the next section, we will delve into the process of setting up the Raspberry Pi 3, which is the first step in creating our very own smart glasses.
Setting Up Raspberry Pi 3
Before we start building our smart glasses using Raspberry Pi 3, we need to successfully set up the Raspberry Pi 3 board. This involves preparing the necessary hardware, connecting peripherals, and installing the operating system.
First, let’s gather the required hardware. You will need a Raspberry Pi 3 board, a microSD card with at least 8GB of storage, a micro USB power supply, a keyboard, a mouse, an HDMI cable, and a monitor or TV with an HDMI input. Additionally, a Wi-Fi dongle or an Ethernet cable is needed for internet connectivity.
Next, we need to install the operating system (OS) on the microSD card. The most popular OS for Raspberry Pi is Raspbian, a Linux-based OS specifically designed for this platform. You can download the latest version of Raspbian from the official Raspberry Pi website and follow the instructions to flash it onto the microSD card using a tool like Etcher.
Once the OS is installed, insert the microSD card into the Raspberry Pi 3’s microSD card slot. Connect the HDMI cable to the Raspberry Pi’s HDMI port and the other end to the monitor. Plug in the mouse and keyboard into USB ports, and finally, connect the power supply to start the booting process. You should see the Raspbian desktop environment on the monitor.
Now, it’s time to configure the Raspberry Pi 3. Double-click on the “Raspberry Pi Configuration” icon on the desktop and make the necessary changes. Ensure that the correct keyboard layout, timezone, and Wi-Fi (if applicable) settings are selected. You can also change the default password, enable SSH access, and configure other system settings as per your requirements.
To ensure the Raspberry Pi 3 is running the latest software packages, open the Terminal and run the following commands: “sudo apt-get update” and “sudo apt-get upgrade”. This will fetch the latest updates and install them on the system. It is recommended to perform this step regularly to keep your Raspberry Pi up-to-date.
With the Raspberry Pi 3 board set up and configured, we are now ready to move on to the next steps in building our smart glasses. In the upcoming sections, we will explore the installation of the required software and the assembly of the smart glasses hardware components. So, let’s get started on this exciting journey of creating our own DIY smart glasses using Raspberry Pi 3.
Installing the Required Software
Now that we have set up the Raspberry Pi 3 board, it’s time to install the necessary software to enable the functionalities of our smart glasses. We will need to install various packages and libraries to control the display, camera, and other components.
The first software package we need to install is OpenCV (Open Source Computer Vision Library). OpenCV provides a wide range of computer vision and image processing functions that will be essential for our smart glasses. To install the latest version of OpenCV, open the Terminal and run the following commands:
sudo apt-get install libopencv-dev python-opencv
Once OpenCV is installed, we can move on to installing the necessary libraries for controlling the display. If you’re using an OLED display, you may need to install the Adafruit SSD1306 library. To do this, run the following commands:
sudo apt-get update
sudo apt-get install python-pip
sudo pip install Adafruit-SSD1306
If you’re using an LCD display, you may need to install additional libraries specific to your display model. Consult the manufacturer’s documentation for detailed instructions on how to install and configure the necessary software.
To control the camera and capture images or videos, we need to enable the camera interface on the Raspberry Pi. Open the Terminal and run the following command:
sudo raspi-config
Navigate to “Interfacing Options” and select “Camera”. Follow the prompts to enable the camera interface and reboot the Raspberry Pi to apply the changes.
Once the camera interface is enabled, we can use the “picamera” library to control the camera module. This library provides a simple and efficient way to capture images, record videos, and apply various image processing functions. Install the “picamera” library by running the following command:
sudo apt-get install python-picamera
With the required software packages and libraries installed, we are one step closer to completing our smart glasses. In the next sections, we will explore the hardware components and assembly required to build the display for our smart glasses. So, let’s continue our journey of creating DIY smart glasses using the Raspberry Pi 3.
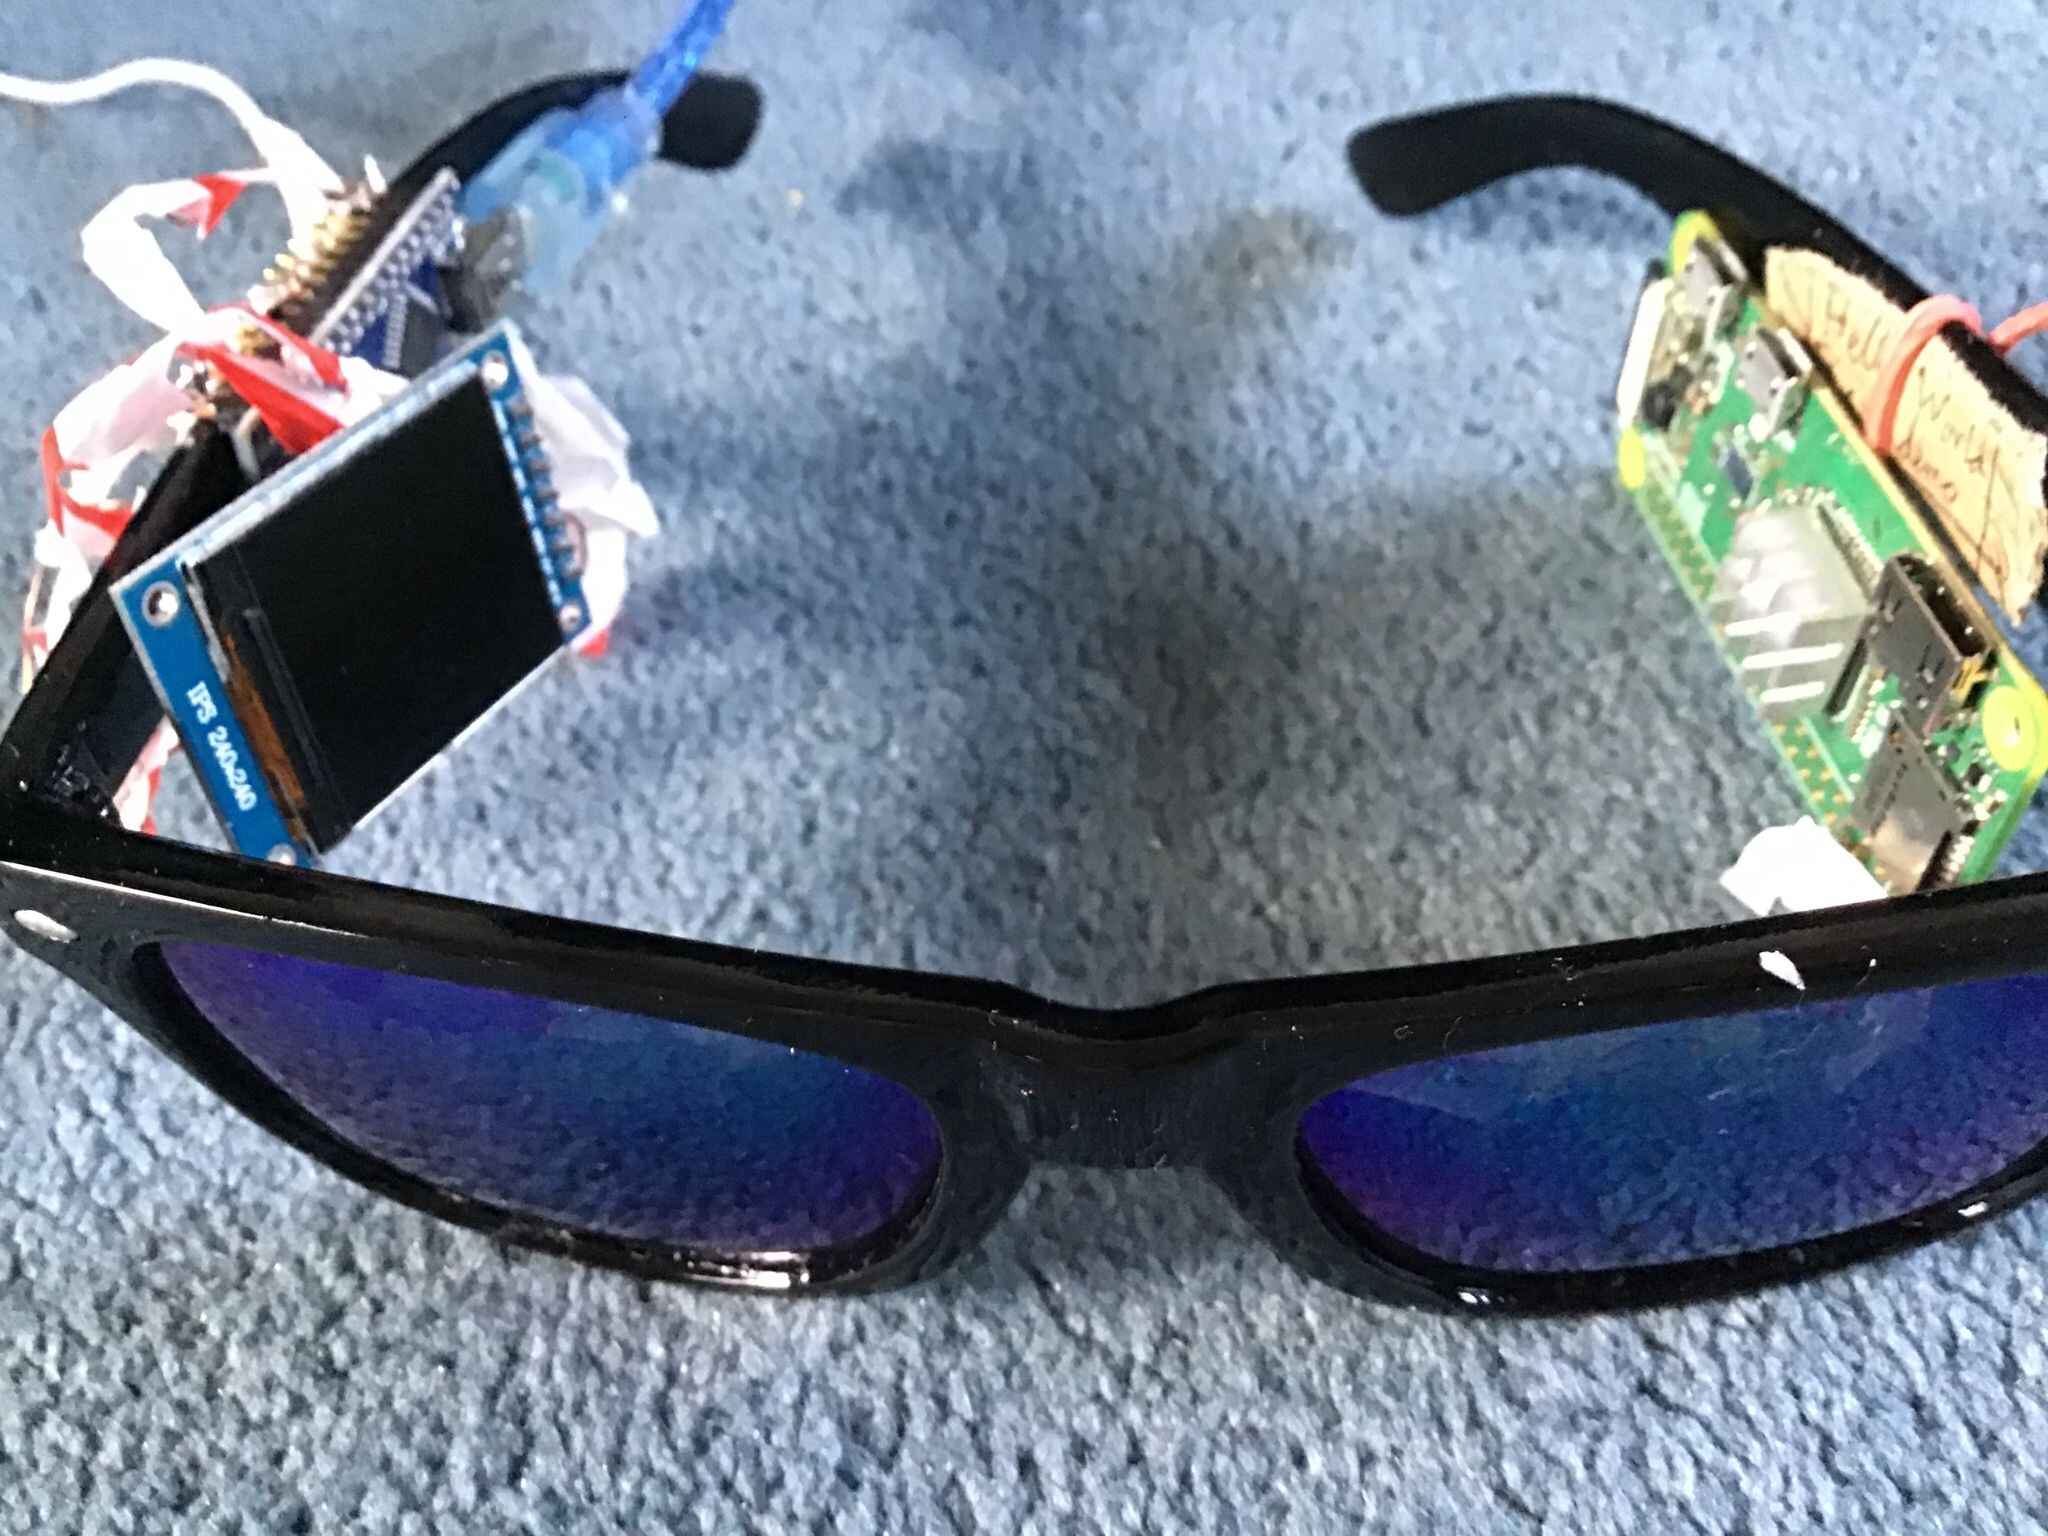
Building the Smart Glasses Hardware
Now that we have installed the necessary software, it’s time to focus on building the hardware components of our smart glasses. The hardware assembly is a crucial step in creating a functional and wearable device that will provide an augmented reality experience.
The main components of our smart glasses hardware include the display, the Raspberry Pi 3, and additional peripherals such as a power source and buttons for control.
To start, let’s choose the appropriate display for our smart glasses. Depending on your preference and requirements, you can opt for various options such as OLED displays, LCD screens, or utilizing a smartphone screen. Consider factors like resolution, visibility, and power consumption when making your choice.
Next, we need to find a suitable frame or enclosure to house the Raspberry Pi 3 and the display. This will ensure the components are securely mounted and protected. Depending on your skill level and resources, you can 3D print or construct a custom enclosure or repurpose an existing frame or glasses frame.
Once you have the display and the enclosure, follow these steps to assemble the smart glasses hardware:
- Place the Raspberry Pi 3 inside the enclosure, ensuring all ports and connectors are accessible.
- Carefully install the chosen display onto the enclosure, aligning it properly with the Raspberry Pi’s HDMI port.
- Secure the display in place using screws, clips, or other suitable methods.
- Connect the display’s power and data cables to the Raspberry Pi, following the manufacturer’s instructions.
- Extend any necessary cables or connectors to ensure comfortable and practical use of the smart glasses.
- Add any additional components or peripherals, such as buttons or sensors, to further enhance the functionality of the smart glasses.
Once the hardware assembly is complete, you can fine-tune the positioning and ergonomics of the smart glasses to ensure a comfortable fit and optimal viewing experience. Adjust the display angle and position within the enclosure to align with your field of vision.
It is essential to carefully secure all components and cables to avoid any risk of damage or interference during use. Use cable ties, adhesive tapes, or other suitable methods to organize and secure the components within the enclosure.
With the smart glasses hardware fully assembled, we are ready to move on to the next steps of connecting the Raspberry Pi 3 to the display and writing the software to control the functionality of our DIY smart glasses. In the upcoming sections, we will explore these aspects in detail, so let’s continue our journey of creating smart glasses using the Raspberry Pi 3.
Assembling the Display and Electronics
After building the hardware components of our smart glasses, it’s time to focus on assembling the display and connecting the necessary electronics to ensure proper functionality. This step is crucial in creating a seamless user experience and ensuring that the smart glasses perform as intended.
Before assembling the display, make sure you have all the necessary components and peripherals handy. This includes the chosen display module, the Raspberry Pi 3, cables, connectors, and any additional electronics or sensors you plan to incorporate.
To assemble the display and electronics, follow these steps:
- Start by connecting the necessary cables between the display module and the Raspberry Pi 3. Depending on the display type, you may need to connect an HDMI cable for video output, power cables, or other specialized connectors.
- Ensure that the cables are connected securely and properly aligned with the port orientations. Be gentle and careful while handling and inserting the connectors to avoid any damage.
- If you are using any additional electronics or sensors, consult their respective documentation to determine how to connect them to the Raspberry Pi. This may involve using GPIO (General Purpose Input/Output) pins, I2C, or SPI interfaces, depending on the device.
- Securely mount the Raspberry Pi inside the enclosure, ensuring that it is positioned appropriately to align with the display module.
- Arrange the cables and connectors neatly within the enclosure to avoid any interference or discomfort when wearing the smart glasses.
- If your smart glasses require power, make sure you have a suitable power source. This can be a battery pack, a portable power bank, or any other appropriate power solution.
- Connect the power source to the Raspberry Pi and any other electronics that require power, following the specifications and recommendations provided by the manufacturers.
Throughout the assembly process, pay attention to cable management to minimize clutter and ensure a clean and organized build. This will not only improve the aesthetics of the smart glasses but also improve the overall functionality and durability of the device.
Once you have completed the assembly of the display and electronics, take the time to test the connections and functionality of each component. Ensure that the display is properly displaying the content, the Raspberry Pi is receiving power, and any additional electronics are functioning as expected.
By carefully assembling the display and electronics, we are one step closer to creating our working smart glasses. In the next sections, we will dive into writing the software to control the functionality of our smart glasses and explore how to incorporate features such as camera and image processing. So, let’s continue our journey of building DIY smart glasses using Raspberry Pi 3.
Connecting the Raspberry Pi 3 and Display
Now that we have assembled the display and electronics for our smart glasses, it’s time to establish the connection between the Raspberry Pi 3 and the display module. This step is crucial in ensuring smooth communication and proper functionality of the display within our DIY smart glasses.
The specific steps for connecting the Raspberry Pi 3 and the display may vary depending on the type of display you have chosen. However, the general principles remain the same.
Here are the common steps to connect the Raspberry Pi 3 and the display:
- Identify the appropriate ports and connectors on both the Raspberry Pi 3 and the display module. Common connectors include HDMI, DSI (Display Serial Interface), or GPIO (General Purpose Input/Output) pins.
- Ensure that you have the necessary cables and adapters to bridge the connection between the Raspberry Pi and the display module. For example, you may need an HDMI cable, a ribbon cable, or an adapter specific to the display module.
- Carefully insert one end of the cable into the corresponding port on the Raspberry Pi 3. Follow the orientation and alignment guidelines provided by the manufacturer of the display module.
- Connect the other end of the cable to the appropriate port on the display module. Again, make sure the connectors are securely inserted and properly aligned.
- If required, secure the cable connections using clips, screws, or any recommended fastening mechanisms provided by the manufacturer. This will prevent accidental disconnection during use.
- Double-check the connections to ensure that everything is properly seated and secured. It is important to avoid any unnecessary strain on the connectors or cables that could lead to damage or poor performance.
Once you have successfully connected the Raspberry Pi 3 and the display module, power on the Raspberry Pi to test the display. You should see the output on the display module, confirming that the connection is established correctly.
Remember to refer to the specific documentation or instructions provided by the manufacturer of your chosen display module for any additional steps or considerations. Different display modules may require specific configuration settings or additional software installations to optimize the display output.
With the Raspberry Pi 3 and the display module successfully connected, we have achieved a critical milestone in creating our DIY smart glasses. In the subsequent sections, we will explore how to write software code to control and enhance the functionality of our smart glasses. Let’s continue our journey towards creating our very own smart glasses using Raspberry Pi 3.
Writing the Software for Smart Glasses
Now that we have our Raspberry Pi 3 and display connected, it’s time to write the software that will control the functionality of our smart glasses. The software will enable us to display content, capture images or videos, and incorporate additional features like voice control or image processing.
To begin, we need to choose a programming language to write our software. Python is a popular choice due to its simplicity and extensive library support. With Python installed on our Raspberry Pi, we can utilize libraries such as OpenCV, Pygame, or picamera to control the display, interact with the camera, and build interactive applications for our smart glasses.
Start by opening a code editor or the integrated development environment (IDE) of your choice on the Raspberry Pi. Create a new Python file and import the necessary libraries for your desired functionalities. For example, if you want to display content on the screen, import libraries like pygame or Adafruit-SSD1306.
Next, write the code to initialize the display and any other components you are using. Depending on the library or module you are using, this may involve setting up the display resolution, initializing the camera module, or configuring any additional sensors or peripherals.
Once the initialization is complete, you can start writing functions or scripts to control the various features of your smart glasses. For example, you can write a function to display text or images on the screen, capture images with the camera module, or implement voice control using speech recognition libraries.
To enhance the functionality of our smart glasses, we can leverage the power of OpenCV. OpenCV provides a wide range of computer vision functions that can be applied to images or video streams captured by the camera module. You can write code to detect objects, perform facial recognition, or even implement augmented reality effects.
As you write the software, consider the user experience and the intended purpose of your smart glasses. Design the user interface to be intuitive and easy to navigate, keeping in mind the limitations of the display size and the input options available on the smart glasses.
Finally, test your software by running it on the Raspberry Pi. Ensure that the display functions as expected, the camera captures images or videos correctly, and any additional features or functionalities are working as intended. Make any necessary adjustments or refinements to perfect the software.
Writing the software for our smart glasses is an exciting and creative process. With the Raspberry Pi and the chosen libraries, we can unleash the full potential of our DIY smart glasses. In the following sections, we will explore specific functionalities and enhancements that can be incorporated to take our smart glasses to the next level. Let’s continue our journey of building smart glasses using Raspberry Pi 3.
Programming the Display Functionality
The display is a crucial component of our smart glasses as it allows us to present information, images, or even videos to the user in an augmented reality fashion. To control the display functionality, we will write software code that utilizes libraries such as pygame or Adafruit-SSD1306, depending on the type of display we have chosen.
First, ensure that the necessary libraries are installed on your Raspberry Pi. Use package managers like pip or apt-get to install the required libraries and their dependencies.
To begin programming the display functionality, create a new Python file or modify your existing file. Import the necessary libraries at the top of your code file. For example, if you are using pygame, import the pygame library.
Next, initialize the display by calling the appropriate functions provided by the library. This may include setting the display resolution, initializing the display driver, or configuring any specific parameters related to your chosen display module.
Once the display is initialized, you can start writing code to present content on the screen. For example, you can display text, images, or even interactive elements. Use functions or classes provided by the library to position and customize the appearance of the content.
You can also incorporate interactivity by detecting user input from buttons or sensors connected to the Raspberry Pi. Write code to listen for input events and respond accordingly. This could involve changing the displayed content, navigating through menus, or triggering specific actions.
Consider the limitations of the display size and the user interface (UI) design. Simplify complex interactions and use clear, legible fonts and intuitive icons or symbols. Experiment with different UI layouts to optimize the user experience within the available screen real estate.
Regularly test your code by running it on the Raspberry Pi and verifying that the display functions as expected. Make any necessary adjustments or refinements to the display code to ensure smooth and accurate rendering of the content.
Throughout the development process, document your code, use meaningful variable and function names, and comment on important sections. This will make it easier to maintain and understand your code as your project evolves.
By programming the display functionality, we give our smart glasses the ability to present information in a visually appealing and user-friendly manner. In the next section, we will explore how to incorporate the camera and image processing capabilities to further enhance our smart glasses. Let’s continue our journey of building smart glasses using Raspberry Pi 3.
Incorporating Camera and Image Processing
The camera is a critical component of our smart glasses, allowing us to capture images or videos and further enhance the functionality and interactivity. In this section, we will explore how to incorporate the camera module and leverage image processing capabilities using libraries like OpenCV.
To begin, ensure that the camera module is connected to the Raspberry Pi correctly. Refer to the manufacturer’s documentation for specific instructions on how to connect and configure the camera module.
We can utilize the picamera library to interact with the camera module in Python. Make sure the library is installed on your Raspberry Pi by running the necessary installation commands using pip or apt-get.
In your Python code, import the picamera library at the beginning of your file. You can then create an instance of the camera object and begin to control its functionalities.
To capture an image, use the capture or capture_continuous methods available in the picamera library. These methods will save the captured image to the specified location on the Raspberry Pi’s storage.
To record video, use the start_recording and stop_recording methods provided by the picamera library. You can set the output file format, resolution, and other parameters to suit your requirements.
To enhance the captured images or video streams, we can leverage the power of OpenCV. Import the OpenCV library into your Python code to access numerous computer vision functions.
With OpenCV, you can perform various image processing tasks such as object detection, image recognition, or even facial recognition. The library provides pre-trained models and algorithms that can be utilized to extract valuable information from the captured images or video streams.
Experiment with different image processing techniques and apply them to the camera output in real-time. For example, you can detect and track objects, shape match or classify objects, or implement augmented reality effects by overlaying digital information onto the live camera feed.
Regularly test your code by capturing images or videos and processing them using OpenCV. Refine your image processing algorithms to optimize accuracy and efficiency.
Remember to consider the limitations of the camera module, such as resolution and frame rate, and adapt your code accordingly. You may need to adjust the capture settings or image processing functions to achieve the desired results within the camera’s capabilities.
By incorporating camera and image processing capabilities to our smart glasses, we can enable a wide range of applications, from visual recognition to augmented reality. In the next section, we will explore how to enhance our smart glasses with voice control, adding another layer of interactivity and connectivity. Let’s continue our journey of building smart glasses using Raspberry Pi 3.
Enhancing Smart Glasses with Voice Control
Voice control adds a new level of interactivity and hands-free operation to our smart glasses. With voice commands, users can control various functionalities, access information, and perform tasks without the need to use physical buttons or touch input. In this section, we will explore how to enhance our smart glasses with voice control using speech recognition libraries.
To incorporate voice control, we can leverage libraries such as SpeechRecognition in Python. Ensure that the library is installed on your Raspberry Pi by using pip or apt-get to install the necessary packages and dependencies.
To begin, import the SpeechRecognition library at the beginning of your Python code file. This library provides a straightforward API to capture audio input, convert it to text, and perform actions based on the recognized speech.
The first step is to initialize the speech recognition object and set any configurations or options required. You can specify the microphone input source, language, and other parameters using the provided functions or properties.
Next, you can use the available methods to capture speech input from the user. For example, you can use the listen method to start listening for audio input and convert it to text.
Once the audio is converted to text, you can implement a set of predefined or customized commands. These commands can trigger specific actions or functionalities in your smart glasses, such as displaying information, capturing photos, or controlling other connected devices.
To improve accuracy and recognition, experiment with different audio configurations, such as adjusting the microphone sensitivity or background noise reduction techniques. This will ensure reliable speech recognition in various environments.
Remember to handle potential errors or exceptions during the speech recognition process. Incorporate error handling and robust feedback mechanisms to provide a seamless user experience.
Regularly test your voice control functionality by issuing commands and verifying how well they are recognized and executed. Make any necessary adjustments to improve accuracy and increase the range of recognized commands.
By implementing voice control, our smart glasses become easier to use and provide a more natural and intuitive user experience. In the final section, we will summarize our journey of building DIY smart glasses using Raspberry Pi 3 and showcase the endless possibilities for customization and creativity. Let’s continue the adventure of creating our very own smart glasses using Raspberry Pi 3.
Conclusion
Congratulations! You have completed the journey of building DIY smart glasses using Raspberry Pi 3. Throughout this guide, we explored the process of setting up the Raspberry Pi 3, installing the necessary software, building the hardware components, and programming the functionality of our smart glasses.
By combining the power of Raspberry Pi 3 with a display module, a camera, and additional electronics, we created a fully-functional pair of smart glasses. We incorporated image processing capabilities using OpenCV to enhance the functionality and interactivity of the device. We also added voice control functionality to enable hands-free operation and a more natural user experience.
As you continue to explore and experiment with your DIY smart glasses, remember that the possibilities for customization and further development are endless. You can continue to refine the software, add new features, or even collaborate with the open-source community to contribute your innovations to the world of smart glasses.
Building smart glasses is not only a fun and challenging project but also a great opportunity to learn about electronics, programming, and wearable technology. It encourages creativity, problem-solving, and exploration, making it an ideal project for DIY enthusiasts, students, and professionals alike.
So go ahead, don your smart glasses, and explore the world with augmented reality at your fingertips. Immerse yourself in the possibilities of wearable technology and discover how your DIY creation can change the way we interact with the digital world.
Remember, this guide serves as a starting point, and you can always build upon it to create your own unique smart glasses. Let your imagination run wild, push the boundaries of innovation, and continue to explore the exciting world of Raspberry Pi, smart glasses, and wearable technology.
Thank you for joining us on this journey, and we hope your smart glasses become a symbol of your ingenuity and creativity. Happy exploring with your DIY smart glasses powered by Raspberry Pi 3!