Introduction
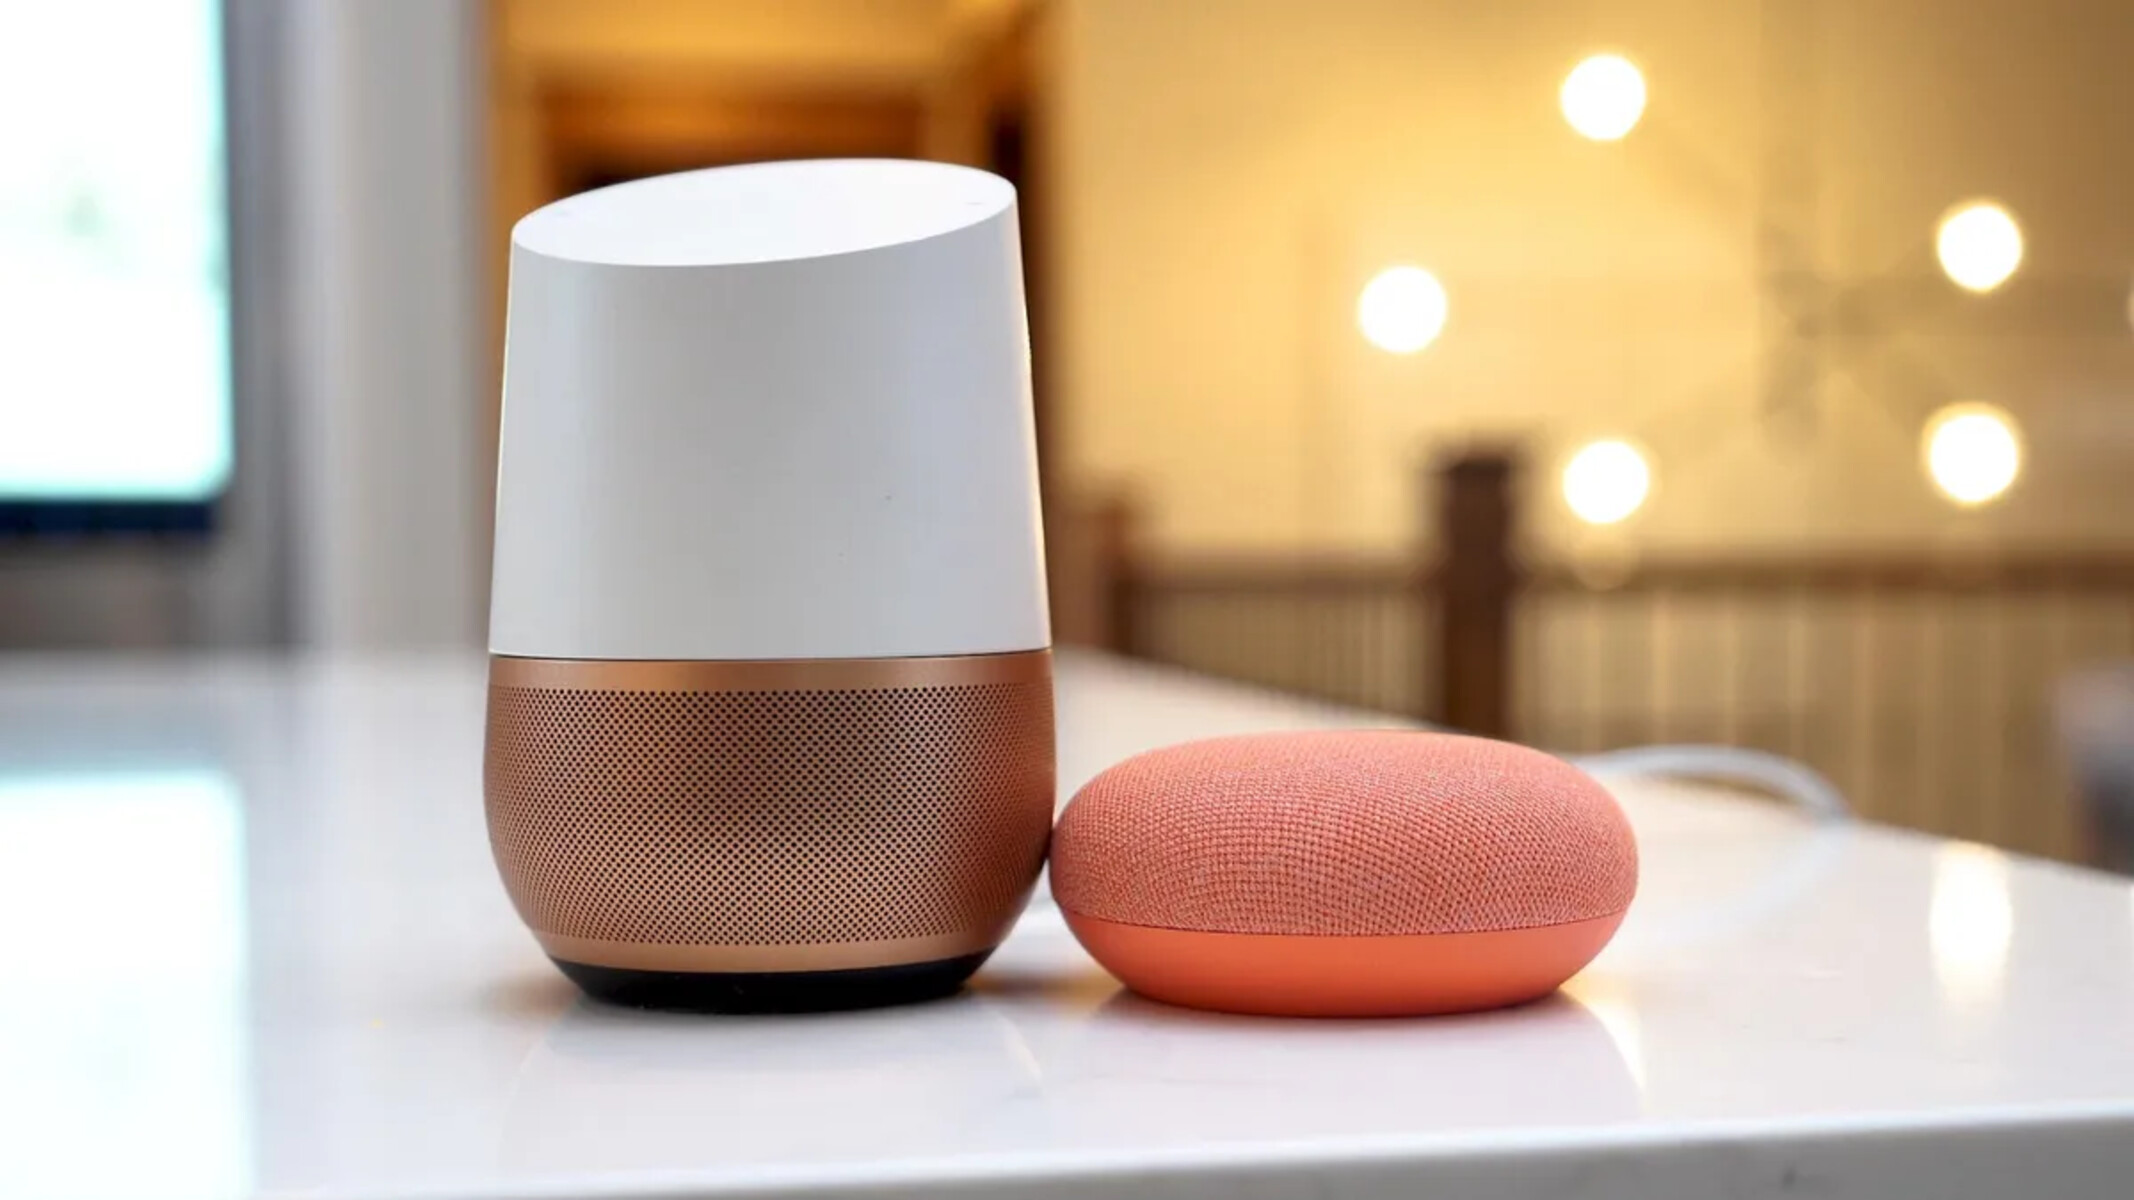
With the rise of smart home devices, having a smart speaker in your home has become more popular than ever. These devices, such as Amazon Echo and Google Home, allow you to control your home with just your voice, making tasks like playing music, setting reminders, and controlling your smart appliances effortless. However, you may not want to invest in a brand new smart speaker, or maybe you already have a powerful speaker that you want to turn into a smart speaker. The good news is, you can transform any speaker into a smart speaker with just a few simple steps!
In this guide, we will walk you through the process of turning any speaker into a smart speaker using a Raspberry Pi and the Google Assistant SDK. The Raspberry Pi is a small, affordable computer that can be used for various projects, and with the Google Assistant SDK, you can integrate the power of the Google Assistant into your speaker system. This opens up a world of possibilities and allows you to enjoy the convenience of a smart speaker without having to spend a fortune.
Whether you have an old speaker lying around or simply want to make the most out of your current speaker system, this guide will provide you with the step-by-step instructions needed to transform it into a smart speaker. By the end, you’ll be able to use voice commands to play music, ask questions, control smart devices, and much more!
So, if you’re ready to harness the power of the Google Assistant and breathe new life into your speaker, let’s get started!
Choosing the Right Speaker
When it comes to transforming any speaker into a smart speaker, it’s important to start with the right foundation. The speaker you choose will greatly impact the sound quality and overall performance of your smart speaker. Here are a few factors to consider when selecting the right speaker:
- Audio Quality: The most important aspect of any speaker is the audio quality. Look for a speaker that delivers clear, crisp sound with good bass response. Consider the size of the speaker and the wattage it can handle to ensure it can provide the sound output you desire.
- Connectivity Options: In order to connect the speaker to the Raspberry Pi and enable smart functionality, it’s important to check the connectivity options. Ideally, the speaker should have a 3.5mm audio jack or Bluetooth capability to establish a reliable connection.
- Size and Portability: Consider the size and portability of the speaker. If you plan on using it in a fixed location, a larger speaker might be suitable. However, if you want the flexibility to move the smart speaker around, a smaller, portable speaker would be a better choice.
- Compatibility: Check if the speaker is compatible with the Google Assistant SDK. While most speakers should work, it’s always a good idea to double-check the compatibility to avoid any compatibility issues down the line.
It’s important to note that the speaker you choose doesn’t have to be an expensive high-end model. Even budget-friendly speakers can be transformed into smart speakers, as long as they meet the basic requirements mentioned above.
By carefully considering these factors, you can ensure that you select a speaker that not only meets your audio needs but is also compatible with the Raspberry Pi and capable of delivering a seamless smart speaker experience.
Gathering the Necessary Equipment
Before you start the process of turning your speaker into a smart speaker, it’s important to gather all the necessary equipment. Here’s a list of what you’ll need:
- Raspberry Pi: The core component of this project is a Raspberry Pi. You can choose from different models, but for optimal performance, it’s recommended to use a Raspberry Pi 3 or newer.
- Power Supply: Ensure that you have a compatible power supply for your Raspberry Pi. It’s recommended to use a 5V micro USB power supply with a minimum current rating of 2.5A to ensure stable operation.
- Micro SD Card: You’ll need a micro SD card to install the operating system and other software required for the Raspberry Pi. Get a high-quality micro SD card with a capacity of at least 8GB.
- Speaker: As mentioned earlier, you’ll need a speaker to transform into a smart speaker. Choose a speaker with good audio quality, connectivity options, and compatibility with the Google Assistant SDK.
- 3.5mm Audio Cable: If your speaker has a 3.5mm audio input, you’ll need an appropriate audio cable to connect it to the Raspberry Pi. Choose a cable that matches the input/output ports of your devices.
- Keyboard and Mouse: You’ll need a USB keyboard and mouse to set up and configure the Raspberry Pi. Any standard USB keyboard and mouse will work fine.
- HDMI Cable and Monitor: For the initial setup, you’ll need an HDMI cable and a monitor or TV with an HDMI input to connect the Raspberry Pi. This will allow you to navigate the setup process and make necessary configurations.
These are the essential equipment you’ll need to transform any speaker into a smart speaker using a Raspberry Pi. Make sure you have all the required items ready before moving on to the next steps.
Setting Up a Raspberry Pi
Now that you have gathered all the necessary equipment, it’s time to set up your Raspberry Pi. Follow these steps to get started:
- Download Raspbian: Raspbian is the official operating system for Raspberry Pi. Visit the Raspberry Pi website and download the latest version of Raspbian. Choose the full desktop version for a more user-friendly experience.
- Flash Raspbian onto the SD Card: Use a tool like Etcher to flash the Raspbian image onto the micro SD card. Insert the micro SD card into your computer, open Etcher, select the Raspbian image, choose the SD card, and click on “Flash” to start the process. This will install Raspbian onto the SD card.
- Insert the SD Card and Connect Power: Once the flashing process is complete, remove the micro SD card from your computer and insert it into the SD card slot on the Raspberry Pi. Connect the power supply to the Raspberry Pi to power it on.
- Follow the Initial Setup: Connect your Raspberry Pi to a monitor or TV using an HDMI cable. Connect a keyboard and mouse to the USB ports of the Raspberry Pi. Turn on the monitor or TV and you should see the Raspbian desktop. Follow the on-screen instructions to complete the initial setup, including language selection, Wi-Fi configuration, and password setup.
- Update the System: Once the initial setup is complete, open a terminal window and run the following commands to update the system:
sudo apt-get update
sudo apt-get upgrade
This will ensure that your Raspberry Pi has the latest software updates and security patches.
By following these steps, you’ll have your Raspberry Pi up and running with Raspbian installed. Now, it’s time to move on to the next steps to transform your speaker into a smart speaker using the Google Assistant SDK.
Installing Raspbian
The first step in setting up your Raspberry Pi is installing the Raspbian operating system. Raspbian is a Debian-based operating system specifically designed for the Raspberry Pi. Follow these steps to install Raspbian:
- Download Raspbian: Visit the official Raspberry Pi website and download the latest version of Raspbian. You can choose between the full desktop version or the lite version, depending on your needs. The full desktop version is recommended for beginners as it provides a user-friendly interface.
- Prepare the Micro SD Card: Insert the micro SD card into your computer and format it using SD Card Formatter or a similar tool. This will ensure that the card is properly formatted and ready for the Raspbian installation.
- Flash Raspbian onto the SD Card: Use a tool like Etcher to flash the Raspbian image onto the micro SD card. Open Etcher and select the Raspbian image you downloaded. Choose the micro SD card as the target drive, then click on “Flash” to start the flashing process. This may take a few minutes to complete.
- Insert the SD Card into the Raspberry Pi: Once the flashing process is finished, safely remove the SD card from your computer and insert it into the SD card slot on the Raspberry Pi. Ensure that it is securely inserted to avoid any connection issues.
- Power On the Raspberry Pi: Connect the power supply to the Raspberry Pi to turn it on. You will see the Raspbian desktop on your display if everything is set up correctly.
Congratulations! You have successfully installed Raspbian on your Raspberry Pi. Now you’re ready to proceed with the next steps to turn your speaker into a smart speaker using the Google Assistant SDK.
Connecting the Hardware
Once you have your Raspberry Pi set up with Raspbian installed, it’s time to connect the necessary hardware to transform your speaker into a smart speaker. Follow these steps to connect the hardware:
- Power Off: Before connecting any hardware, make sure to power off your Raspberry Pi to avoid any potential damage.
- Identify the Audio Output: Locate the audio output options available on your Raspberry Pi. Raspberry Pi models generally have a 3.5mm audio jack or HDMI audio output for audio playback. Choose the option that suits your speaker’s connectivity capabilities. If your speaker has a 3.5mm audio input, use the 3.5mm audio jack on the Raspberry Pi.
- Connect the Audio Cable: Connect one end of the appropriate audio cable (3.5mm or HDMI) to the audio output of the Raspberry Pi, and the other end to the corresponding input on your speaker. Ensure a secure connection to avoid any audio issues.
- Check the Power Supply: Double-check the power supply connection to the Raspberry Pi. Confirm that the power supply is properly connected and supplying power to the Raspberry Pi.
- Power On: Once the hardware connections are secured, power on your Raspberry Pi. The speaker should now be receiving audio output from the Raspberry Pi.
By following these steps, you have successfully connected your speaker to the Raspberry Pi. The next step is to install the Google Assistant SDK and configure it to turn your speaker into a smart speaker. Keep on reading to learn how to complete the process.
Installing the Google Assistant SDK
The Google Assistant SDK allows you to integrate the power of the Google Assistant into your Raspberry Pi-powered smart speaker. By installing the SDK, you can leverage the voice recognition and natural language processing capabilities of the Google Assistant. Follow these steps to install the Google Assistant SDK:
- Set Up a Google Cloud Platform Project: To use the Google Assistant SDK, you need to set up a Google Cloud Platform project and enable the necessary APIs. Go to the Google Cloud Platform Console and create a new project. Enable the Google Assistant API and create credentials for your project.
- Configure Your Project: Once you have set up the project and enabled the Google Assistant API, you’ll need to configure the project to work with your Raspberry Pi. Follow the instructions provided by Google to create an OAuth 2.0 client ID and download the JSON file with your credentials.
- Install Dependencies: Open a terminal window on your Raspberry Pi and run the following commands to install the necessary dependencies:
sudo apt-get install python3-dev python3-venv
sudo apt-get install portaudio19-dev libffi-dev libssl-dev
These packages will ensure that you have the required libraries and tools for the Google Assistant SDK to work properly.
- Create a Virtual Environment: Still in the terminal, create a virtual environment by running the following command:
python3 -m venv envThis will create a virtual environment named “env” in your current directory.
- Activate the Virtual Environment: Activate the virtual environment by running the following command:
source env/bin/activateThis will activate the virtual environment and allow you to install packages specifically for your Google Assistant project.
- Install the Google Assistant SDK: In the activated virtual environment, run the following command to install the Google Assistant SDK:
python3 -m pip install --upgrade google-assistant-sdk[samples]This command will install the necessary packages for the Google Assistant SDK, including the sample code for your smart speaker.
By following these steps, you have successfully installed the Google Assistant SDK on your Raspberry Pi. The next step is to set up the Google Assistant itself and configure it to work with your smart speaker. Keep reading to learn more.
Setting Up the Google Assistant
Now that you have installed the Google Assistant SDK on your Raspberry Pi, it’s time to set up the Google Assistant itself. Follow these steps to configure and set up the Assistant:
- Authorize Your Project: In the terminal, still within the virtual environment, run the following command to authorize your project and generate credentials:
google-oauthlib-tool --client-secrets path/to/client_secret_client-id.json \
  --scope https://www.googleapis.com/auth/assistant-sdk-prototype \
  --save --headless
Replace “path/to/client_secret_client-id.json” with the path to your credentials JSON file obtained from the Google Cloud Platform Console. Follow the on-screen instructions to complete the authorization process.
- Test the Assistant: With the credentials generated, you can now test the Google Assistant. Run the following command to start the sample Assistant script:
googlesamples-assistant-hotword --project-id PROJECT_ID --device-model-id DEVICE_MODEL_IDReplace “PROJECT_ID” with the ID of your Google Cloud Platform project and “DEVICE_MODEL_ID” with the device model ID you created. Follow the on-screen instructions to complete the setup and test the Assistant.
- Enable Continuous Conversation: By default, the Google Assistant only listens for one command at a time. If you want to enable continuous conversation, where the Assistant remains active and listening for follow-up commands, run the following command in another terminal window:
googlesamples-assistant-pushtotalk --project-id PROJECT_ID --device-model-id DEVICE_MODEL_IDAgain, replace “PROJECT_ID” and “DEVICE_MODEL_ID” with your specific project and device model IDs. This command will launch the continuous conversation Assistant script.
- Configure the Assistant on Startup: If you want the Assistant to start automatically on startup, you can create a systemd service. Consult the Google Assistant SDK documentation for detailed instructions on how to create a systemd service file.
By following these steps, you have successfully set up the Google Assistant on your Raspberry Pi smart speaker. You can now use voice commands to interact with the Assistant, control your smart devices, play music, and much more. Enjoy the convenience and power of a smart speaker with your own customized setup!
Configuring the Raspberry Pi
After setting up the Google Assistant on your Raspberry Pi, it’s time to configure the Raspberry Pi itself to optimize the performance and functionality of your smart speaker. Follow these steps to configure the Raspberry Pi:
- Audio Settings: Access the audio settings of your Raspberry Pi by clicking on the speaker icon in the taskbar or navigating to the sound settings in the system preferences. Make sure the audio output is set to the correct device (e.g., the 3.5mm audio jack) and adjust the volume levels as desired.
- Wi-Fi Configuration: If you haven’t already configured the Wi-Fi during the initial Raspberry Pi setup, navigate to the network settings and connect the Raspberry Pi to your Wi-Fi network. Ensure that the Wi-Fi connection is stable to avoid any interruptions in the functionality of your smart speaker.
- Startup Configuration: If you want your smart speaker to automatically start the Google Assistant on boot, you can configure the Raspberry Pi to do so. There are different methods to achieve this, such as editing the rc.local file or using systemd services. Choose the method that best suits your needs and follow the instructions provided by the Raspberry Pi community or the Google Assistant SDK documentation.
- Additional Customizations: Explore the various settings and configurations of your Raspberry Pi to further tailor it to your preferences. You can customize the desktop environment, change the display resolution, set up screen savers, and more. Take advantage of the flexibility and versatility of the Raspberry Pi to create a personalized smart speaker experience.
By following these steps, you will have configured the Raspberry Pi to optimize the performance and functionality of your smart speaker. Take some time to explore the different settings and options available to fine-tune your smart speaker according to your preferences and needs.
Testing the Smart Speaker
Now that you have completed the setup and configuration of your smart speaker, it’s time to test its functionality and ensure everything is working as expected. Follow these steps to test your smart speaker:
- Wake Word Detection: Use the wake word specified during the Google Assistant setup (e.g., “Hey Google” or “OK Google”) to activate the Assistant. Say the wake word clearly and listen for a response from the smart speaker. If the Assistant doesn’t activate, check your microphone and audio settings.
- Commands and Queries: Speak various commands and queries to the smart speaker and observe the Assistant’s response. Ask it to play music, provide weather updates, answer questions, set reminders, and control your smart home devices. Test different features and functions of the Assistant to ensure it understands and executes your commands accurately.
- Audio Quality: Pay attention to the quality of the audio output from your smart speaker. Evaluate the clarity, volume, and bass response to ensure that the speaker is delivering the desired sound quality. Make any adjustments to the speaker placement or audio settings if necessary.
- Connectivity and Integration: Test the connectivity and integration of your smart speaker with other devices. If you have smart home devices linked to your Google account, test the control and management of these devices through voice commands. Verify that the Assistant can successfully interact with your smart devices.
- Troubleshooting: During the testing phase, make note of any issues or inconsistencies you encounter. Debug any problems by checking the logs, reviewing the Google Assistant SDK documentation, or seeking support from the Raspberry Pi community and Google Assistant forums. Troubleshoot and resolve any technical difficulties to ensure the smooth operation of your smart speaker.
By thoroughly testing your smart speaker, you can identify any potential issues and make necessary adjustments to improve its performance. Take the time to experiment with different commands and functionality offered by the Google Assistant to fully utilize the capabilities of your smart speaker.
Troubleshooting Tips
While setting up and using your smart speaker, you may encounter some challenges or issues that hinder its functionality. Here are some troubleshooting tips to help identify and resolve common problems:
- Check Connections: Ensure that all connections, including audio cables and power supply, are securely connected. Loose or faulty connections can result in audio issues or a non-responsive smart speaker.
- Verify Settings: Double-check your Raspberry Pi and Google Assistant settings to make sure they are correctly configured. Pay attention to audio settings, Wi-Fi connections, and startup configurations to ensure they align with your desired setup.
- Test Microphone: Confirm that the microphone is working properly by using a voice recorder or testing it in another application. Make sure the microphone is properly positioned and that there is no obstruction or interference affecting its performance.
- Check for Updates: Ensure that both Raspbian and the Google Assistant SDK are up to date. Run the necessary update commands to install any available software updates that may address bug fixes or compatibility issues.
- Disable Other Audio Applications: If multiple audio applications are running simultaneously, they can conflict with each other and cause disruptions in the audio output or microphone input. Make sure to close or disable any unnecessary audio applications and processes.
- Test Wake Word: If the wake word activation is not working consistently, try adjusting the microphone sensitivity or choosing a different wake word. Experiment with different wake word settings to find the optimal balance between sensitivity and reliability.
- Review Documentation and Forums: Refer to the official documentation and online forums for the Raspberry Pi and Google Assistant SDK. These resources often provide detailed troubleshooting steps and solutions for common issues.
- Restart and Reinstall: In some cases, a simple restart of the Raspberry Pi or reinstalling the Google Assistant SDK can resolve persistent issues. Before doing this, back up any necessary files or configurations to avoid losing any important data.
- Seek Community Support: If you have exhausted all troubleshooting options and still cannot resolve the problem, seek help from the Raspberry Pi and Google Assistant communities. Online forums and communities are filled with knowledgeable users who can offer guidance and advice.
Remember that troubleshooting is an essential part of the process, and with patience and persistence, most issues can be resolved. By applying these troubleshooting tips, you can enhance the performance and reliability of your smart speaker.
Conclusion
Congratulations! You have successfully transformed any speaker into a smart speaker using a Raspberry Pi and the Google Assistant SDK. By following the step-by-step instructions in this guide, you have enabled voice control, integrated the Google Assistant, and created a personalized smart speaker experience.
Throughout this process, you learned how to choose the right speaker, gather the necessary equipment, set up the Raspberry Pi, install Raspbian, connect the hardware, install the Google Assistant SDK, configure the Assistant, and troubleshoot any issues that may arise. By paying attention to audio quality, connectivity, and customization options, you have created a smart speaker that meets your needs and preferences.
With your new smart speaker, you can enjoy the convenience of hands-free control for playing music, managing your smart home devices, getting answers to your questions, and more. The Google Assistant brings a world of possibilities to your fingertips, making your everyday tasks easier and more efficient.
Remember that the customization and personalization of your smart speaker do not end here. Continue to explore the features and capabilities of the Google Assistant and the Raspberry Pi ecosystem to further enhance your smart speaker experience. Stay up to date with the latest software updates, voice command integrations, and new functionalities to make the most out of your smart speaker setup.
Thank you for following this guide and creating your own smart speaker. Embrace the power of voice control and enjoy the benefits of a hands-free smart home experience with your newly transformed speaker!