Introduction
Welcome to the world of Internet of Things (IoT), where everyday objects are connected to the internet, enabling them to send and receive data. One of the most popular devices for creating IoT projects is the Raspberry Pi. If you’re new to the world of Raspberry Pi and IoT, this guide will help you get started on setting up your Raspberry Pi as an IoT device.
The Raspberry Pi is a small, affordable, and versatile computer that can be used for a wide range of projects, including IoT. It runs a Linux-based operating system and is equipped with built-in Wi-Fi, Bluetooth, and GPIO (General Purpose Input/Output) pins, making it ideal for connecting and controlling sensors, actuators, and other devices.
IoT, on the other hand, refers to the network of physical devices, vehicles, appliances, and other objects embedded with sensors, software, and connectivity to enable them to collect and exchange data. These devices can be remotely monitored and controlled, opening up a world of possibilities for automation, data analysis, and smart solutions.
Setting up your Raspberry Pi as an IoT device offers several advantages. Firstly, it is a cost-effective solution compared to other specialized IoT devices. Additionally, the Raspberry Pi’s flexibility allows you to customize and adapt it to your specific IoT project requirements. It also provides a platform for learning and experimentation, making it an excellent choice for hobbyists, students, and professionals.
In this guide, we will walk you through the process of setting up your Raspberry Pi as an IoT device. We will cover everything from the required components and installing the operating system to configuring network settings, installing necessary software, and writing code for your IoT project. By the end, you’ll have a fully functional Raspberry Pi-based IoT device ready to connect to the internet and start collecting or transmitting data.
What is Raspberry Pi?
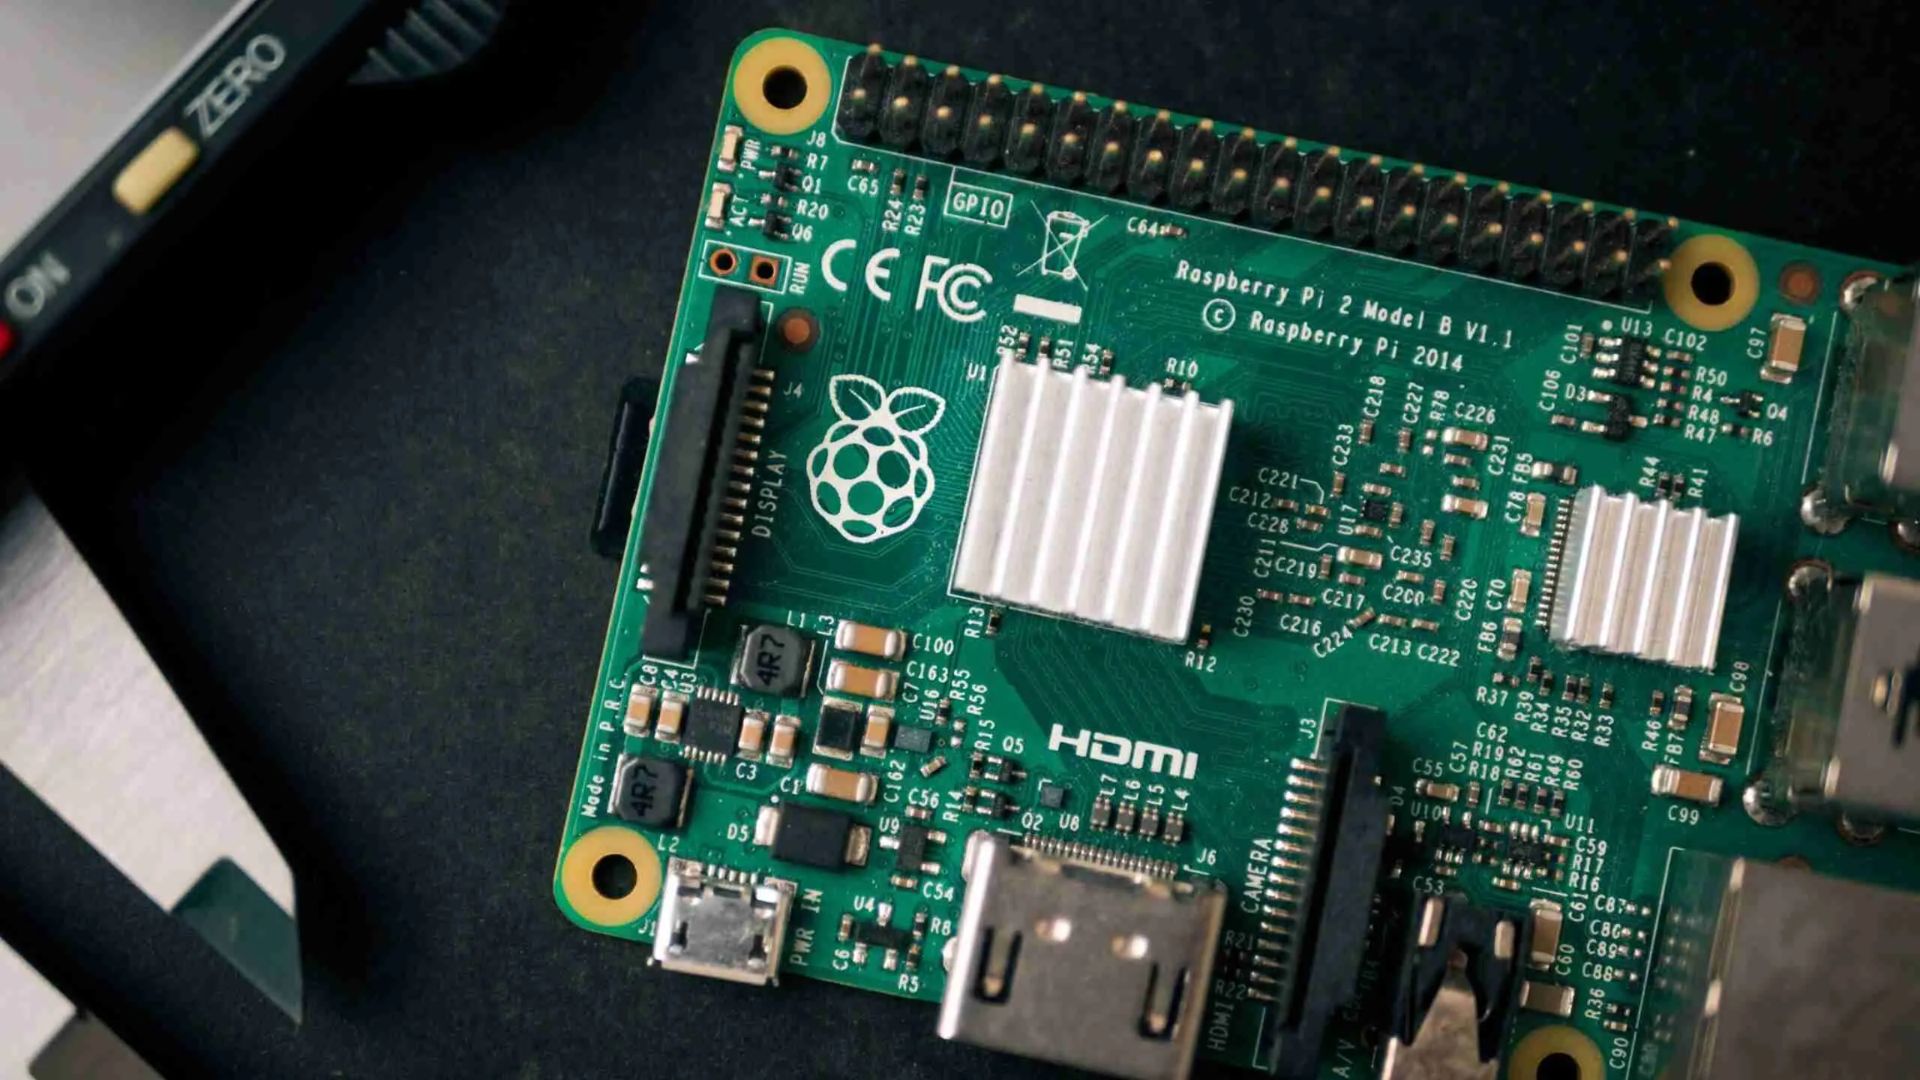
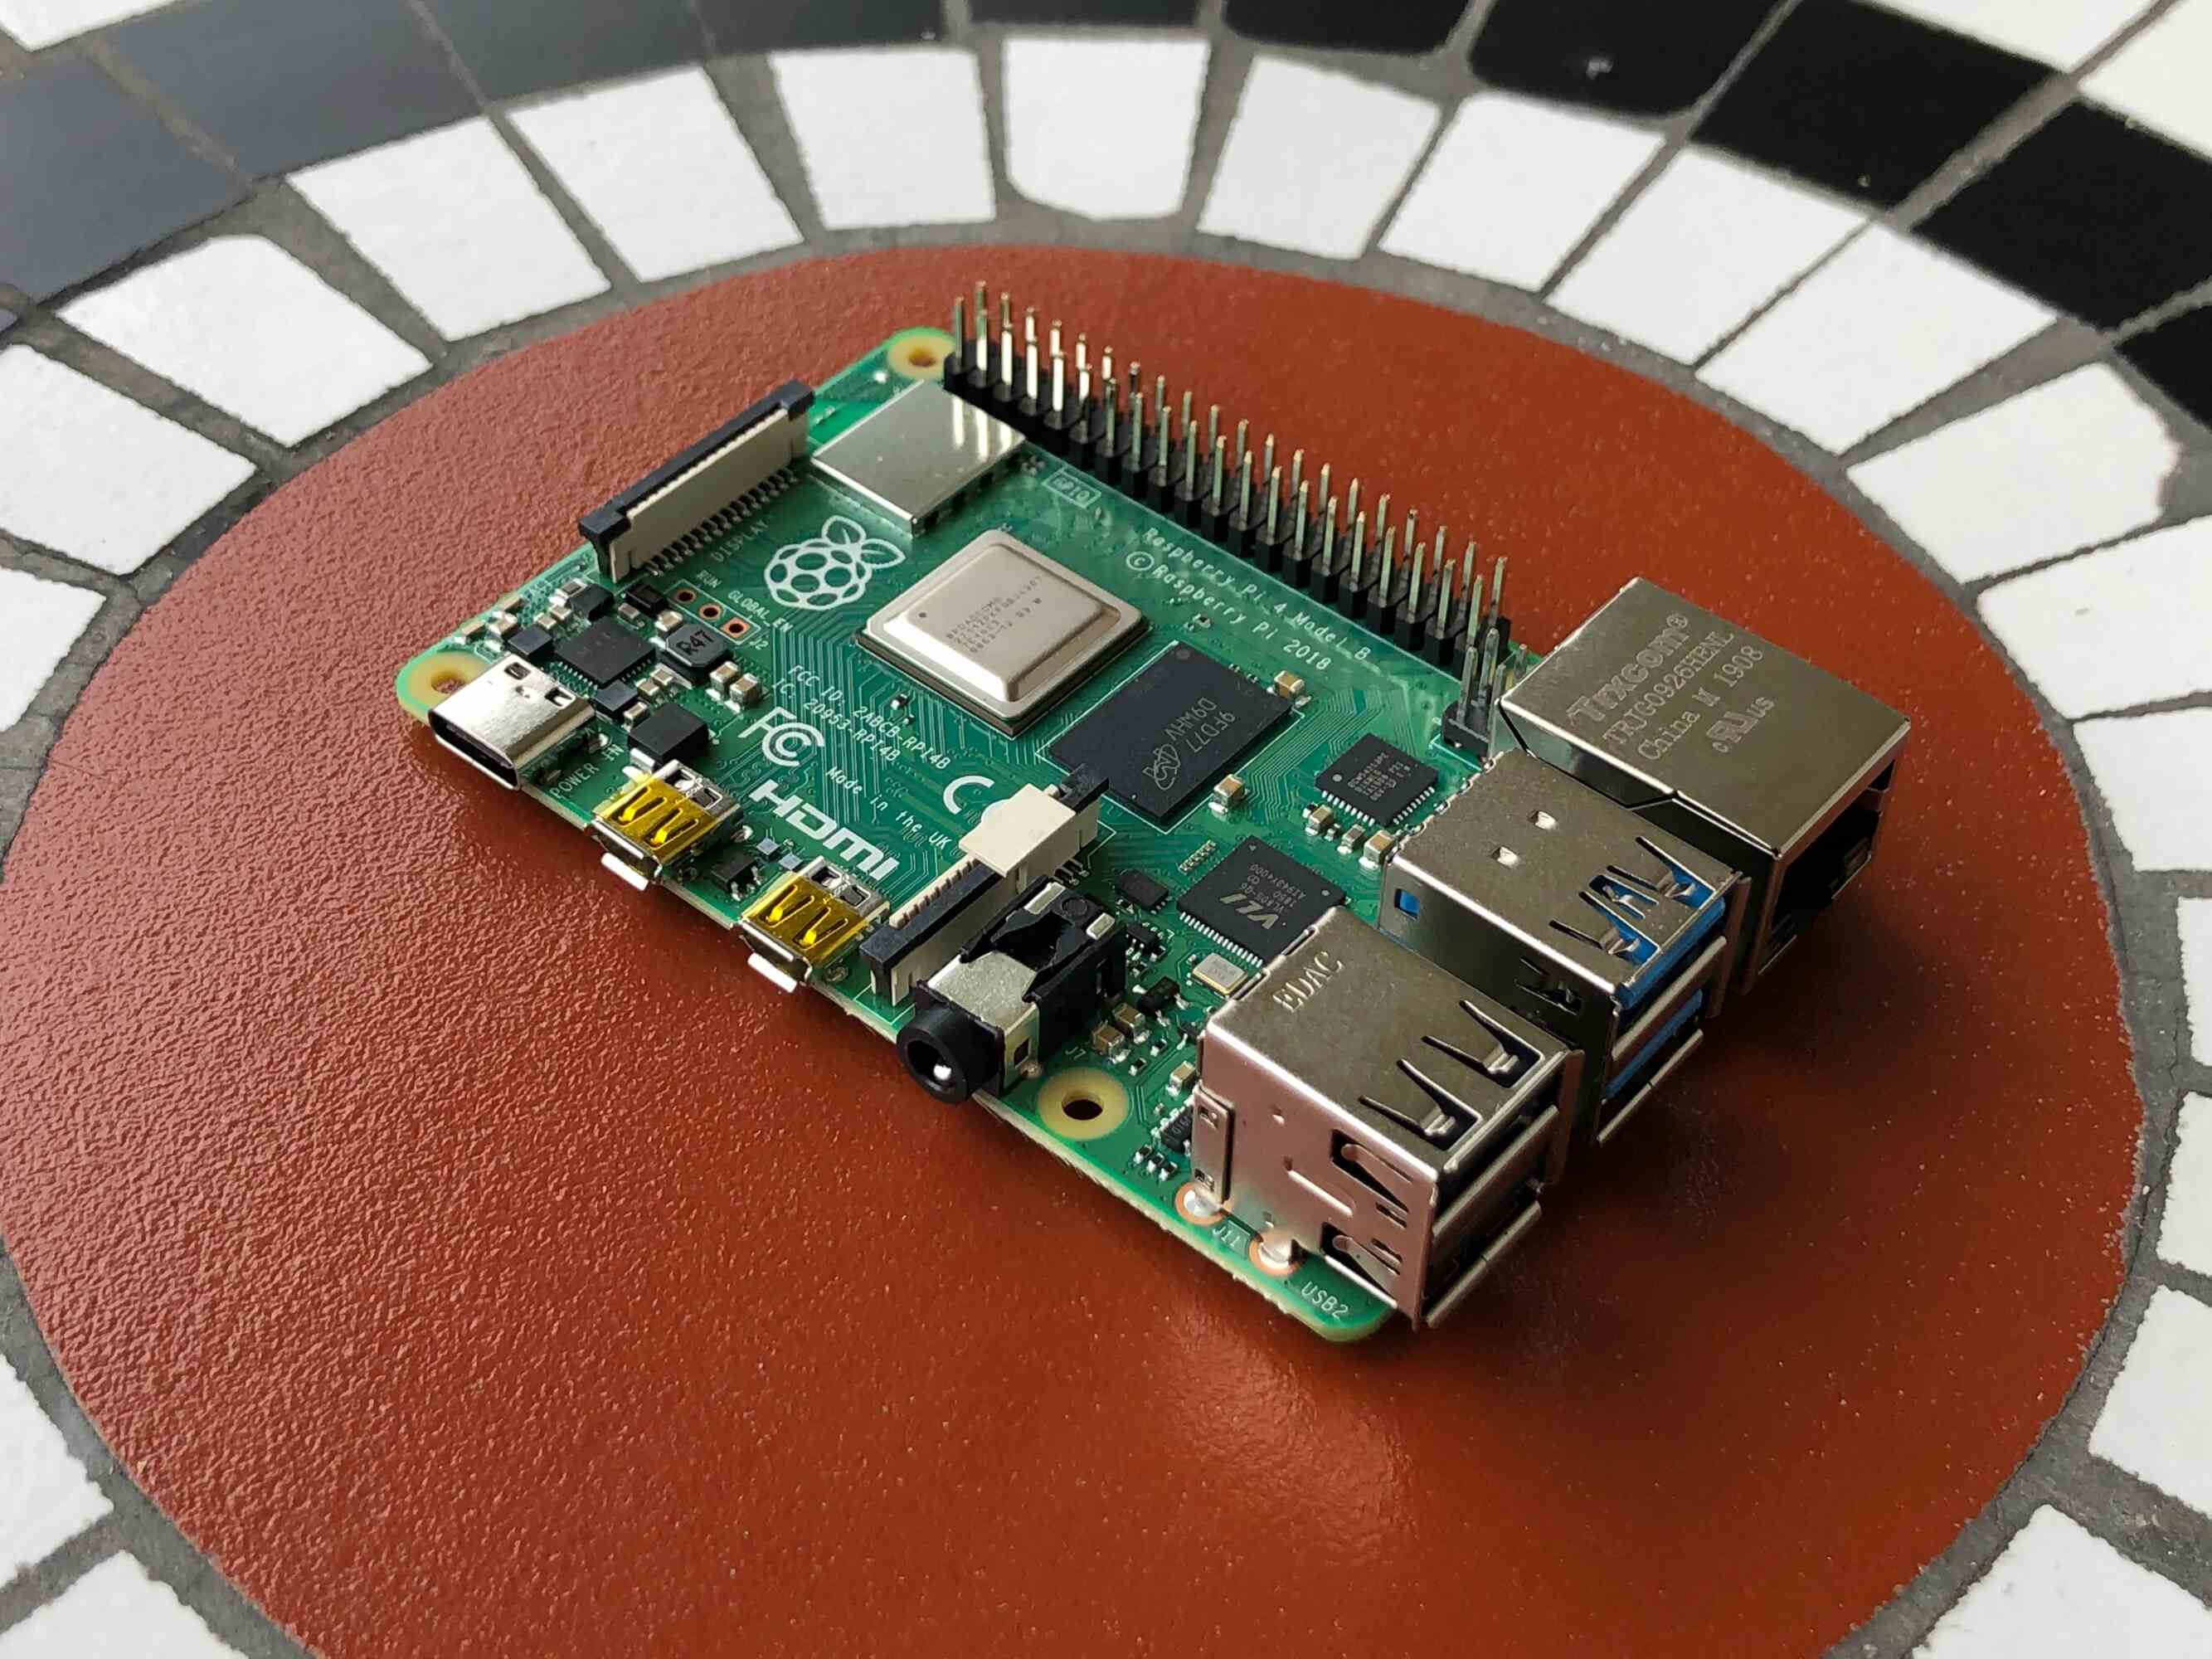
Raspberry Pi is a credit card-sized, single-board computer that was developed by the Raspberry Pi Foundation. It was created with the goal of promoting the teaching of basic computer science in schools and developing countries. However, its versatility and affordability have made it popular among not only students and educators but also hobbyists and professionals in various industries.
The Raspberry Pi board is equipped with a processor, memory, and various ports for connecting peripherals. It runs on a Linux-based operating system and has the capability to perform a wide range of tasks, making it suitable for various applications.
One of the key features of the Raspberry Pi is its GPIO (General Purpose Input/Output) pins. These pins allow you to connect and control external components, such as sensors, LEDs, motors, and more. This makes it an ideal choice for IoT projects that involve collecting data from the physical world or controlling devices remotely.
There have been several models of Raspberry Pi released over the years, each offering different specifications and capabilities. The latest models, such as the Raspberry Pi 4, boast faster processors, increased memory, and improved connectivity options like built-in Wi-Fi and Bluetooth.
Due to its small size, low power consumption, and affordability, the Raspberry Pi has gained popularity in various fields. It is widely used in educational settings to teach coding and electronics, as well as in DIY projects for home automation, media centers, robotics, and more.
Furthermore, the Raspberry Pi has a large and active community of users and developers who contribute to the development of software, libraries, and projects. This means that there are plenty of resources and support available, making it easier for beginners to get started and for experts to push the boundaries of what can be achieved with the Raspberry Pi.
Whether you are a beginner looking to learn about programming and electronics or an experienced professional in need of a versatile and affordable computing platform, the Raspberry Pi is a powerful tool that can be used for a wide range of applications.
What is IoT (Internet of Things)?
The Internet of Things (IoT) refers to the concept of connecting everyday objects to the internet, allowing them to communicate and exchange data with each other. In a broader sense, it is the network of physical devices, vehicles, appliances, and other objects embedded with sensors, software, and connectivity.
The main goal of IoT is to enable these devices to collect, analyze, and share data, which can then be utilized for various purposes, such as automation, remote monitoring, and data-driven decision-making. IoT is transforming many aspects of our lives, from home automation and smart cities to healthcare and industrial applications.
The foundation of IoT lies in the integration of sensors and actuators into physical objects, making them “smart” and capable of interacting with the digital world. These sensors can gather data about the object’s environment, such as temperature, humidity, light, motion, and more. The actuators, on the other hand, can be used to control or manipulate the physical object based on the data received.
Once the data is collected by the sensors, it is sent to the cloud or a nearby server for processing and analysis. The analysis can range from simple data filtering and aggregation to complex machine learning algorithms that derive actionable insights from the data. The processed data is then used to trigger actions, provide feedback, or generate alerts, depending on the specific application.
The possibilities of IoT are endless. In our homes, we can have smart thermostats that adjust the temperature based on occupancy and weather conditions, smart appliances that can be controlled remotely, and security systems that provide real-time monitoring and alerts. In agriculture, IoT can be used for precision farming, allowing farmers to monitor soil moisture, temperature, and plant health to optimize irrigation and fertilizer usage.
In industrial settings, IoT enables the concept of Industry 4.0, where machines, sensors, and systems are interconnected, leading to improved efficiency, predictive maintenance, and enhanced safety. Additionally, IoT plays a crucial role in the development of smart cities, where connected devices, including traffic lights, waste management systems, and parking meters, work together to improve the quality of life for citizens.
Overall, the Internet of Things has the potential to revolutionize how we interact with the physical world, creating a more connected, efficient, and intelligent environment. As more devices become interconnected, the amount of data generated will continue to grow exponentially, leading to new insights and innovations that will shape the future of technology.
Why use Raspberry Pi as an IoT Device?
The Raspberry Pi is a popular choice for building IoT devices due to its numerous advantages and capabilities. Here are some reasons why using a Raspberry Pi as an IoT device is advantageous:
1. Affordability: The Raspberry Pi is an affordable computing platform compared to other specialized IoT devices. It offers a balance between functionality and cost, making it an excellent choice for hobbyists, students, and those on a budget.
2. Versatility: The Raspberry Pi is a versatile device that can be used for a wide range of applications. It is equipped with built-in Wi-Fi, Bluetooth, and GPIO pins, allowing for easy integration with sensors, actuators, and other peripherals. This flexibility enables developers to create customized IoT solutions tailored to their specific needs.
3. Computing Power: Despite its small size, the Raspberry Pi packs a considerable amount of computing power. It is equipped with a processor, memory, and storage, capable of running complex applications and handling data-intensive tasks required for many IoT projects.
4. Open-Source Community: The Raspberry Pi has a large and active community of users and developers, providing a wealth of resources, tutorials, and support. The open-source nature of the device promotes collaboration, innovation, and the sharing of knowledge and projects.
5. Educational Tool: The Raspberry Pi was originally developed with an educational focus, making it an excellent tool for learning about programming, electronics, and IoT. Its user-friendly interface and extensive documentation allow beginners to quickly get started and gain hands-on experience.
6. Integration with Cloud Services: The Raspberry Pi can easily connect to various cloud platforms and services, enabling seamless data sharing and integration with web-based applications. This allows data collected by the IoT device to be accessed and analyzed remotely, providing real-time insights and control.
7. Customization and Expansion: The Raspberry Pi offers a wide range of expansion options to enhance its functionality. It supports additional hardware modules, such as cameras, display screens, and HATs (Hardware Attached on Top), which can be used to add specific features and capabilities to your IoT project.
8. Security and Privacy: The Raspberry Pi allows developers to have more control over the security and privacy aspects of their IoT devices. With the ability to manage software updates, implement encryption, and secure communications, you can ensure the protection of sensitive data and minimize security vulnerabilities.
Overall, the Raspberry Pi provides a cost-effective, versatile, and powerful platform for building IoT devices. Whether you’re a hobbyist, student, or professional developer, using a Raspberry Pi can empower you to unleash your creativity and bring your IoT ideas to life.
Preparing for Raspberry Pi Setup
Before diving into setting up your Raspberry Pi as an IoT device, it is important to make sure you have everything you need and are familiar with the necessary steps. Here are the key preparations you should make:
1. Gather Required Components: Ensure that you have all the necessary components for setting up your Raspberry Pi. This includes the Raspberry Pi board itself, a power supply, an SD card for storing the operating system, a keyboard, a mouse, and a display (such as a monitor or TV) for initial configuration. Additionally, depending on your IoT project requirements, you may need sensors, actuators, and other peripherals.
2. Choose an Operating System: Decide on the operating system you want to install on your Raspberry Pi. The most popular choice is Raspbian, a Linux-based operating system specifically designed for the Raspberry Pi. There are additional operating systems available, such as Ubuntu. Consider the requirements of your IoT project and choose the operating system accordingly.
3. Set up a Development Environment: Prepare your development environment by installing the necessary software tools. You will need a text editor for writing code, such as Visual Studio Code or Nano. Additionally, you may want to install Git for version control and management of your project files.
4. Familiarize Yourself with Raspberry Pi GPIO: Get familiar with the GPIO (General Purpose Input/Output) pins of the Raspberry Pi. These pins allow you to connect and control external devices, such as sensors and actuators, to interact with the physical world. Understand the pin layout and their functions, as you will be using them extensively in your IoT projects.
5. Learn the Basics of Coding: If you are new to coding, it’s beneficial to learn the basics of a programming language such as Python, which is popularly used with Raspberry Pi. Understanding the fundamentals of coding will enable you to write scripts and programs to control your IoT devices and handle data processing.
6. Research and Plan Your IoT Project: Before starting the setup process, spend some time researching and planning your IoT project. Define the objectives, requirements, and desired functionalities. This will help you identify the specific hardware and software components you’ll need and guide you throughout the setup process.
7. Ensure a Stable Internet Connection: Make sure you have a stable internet connection for downloading the operating system and necessary software, as well as for remote access and data communication in your IoT project. A reliable Wi-Fi network is highly recommended for hassle-free connectivity.
8. Take Precautions: When working with electronics, it is important to take precautions. Before handling any components, ensure that you are properly grounded to prevent electrostatic discharge. Handle the Raspberry Pi and other components with care to avoid any physical damage.
By taking these preparatory steps, you will set yourself up for a smooth and successful Raspberry Pi setup process. Having the required components, choosing the right operating system, and familiarizing yourself with the necessary tools and concepts will allow you to proceed with confidence and efficiency in your IoT project.
Required Components for Setting Up Raspberry Pi
Setting up a Raspberry Pi for IoT requires a few essential components to ensure proper functionality and connectivity. Here are the key components you will need:
1. Raspberry Pi Board: The heart of your IoT device will be the Raspberry Pi board itself. There are several models available, with the latest being Raspberry Pi 4. Consider the specifications and features of each model to choose the one that best fits your IoT project requirements.
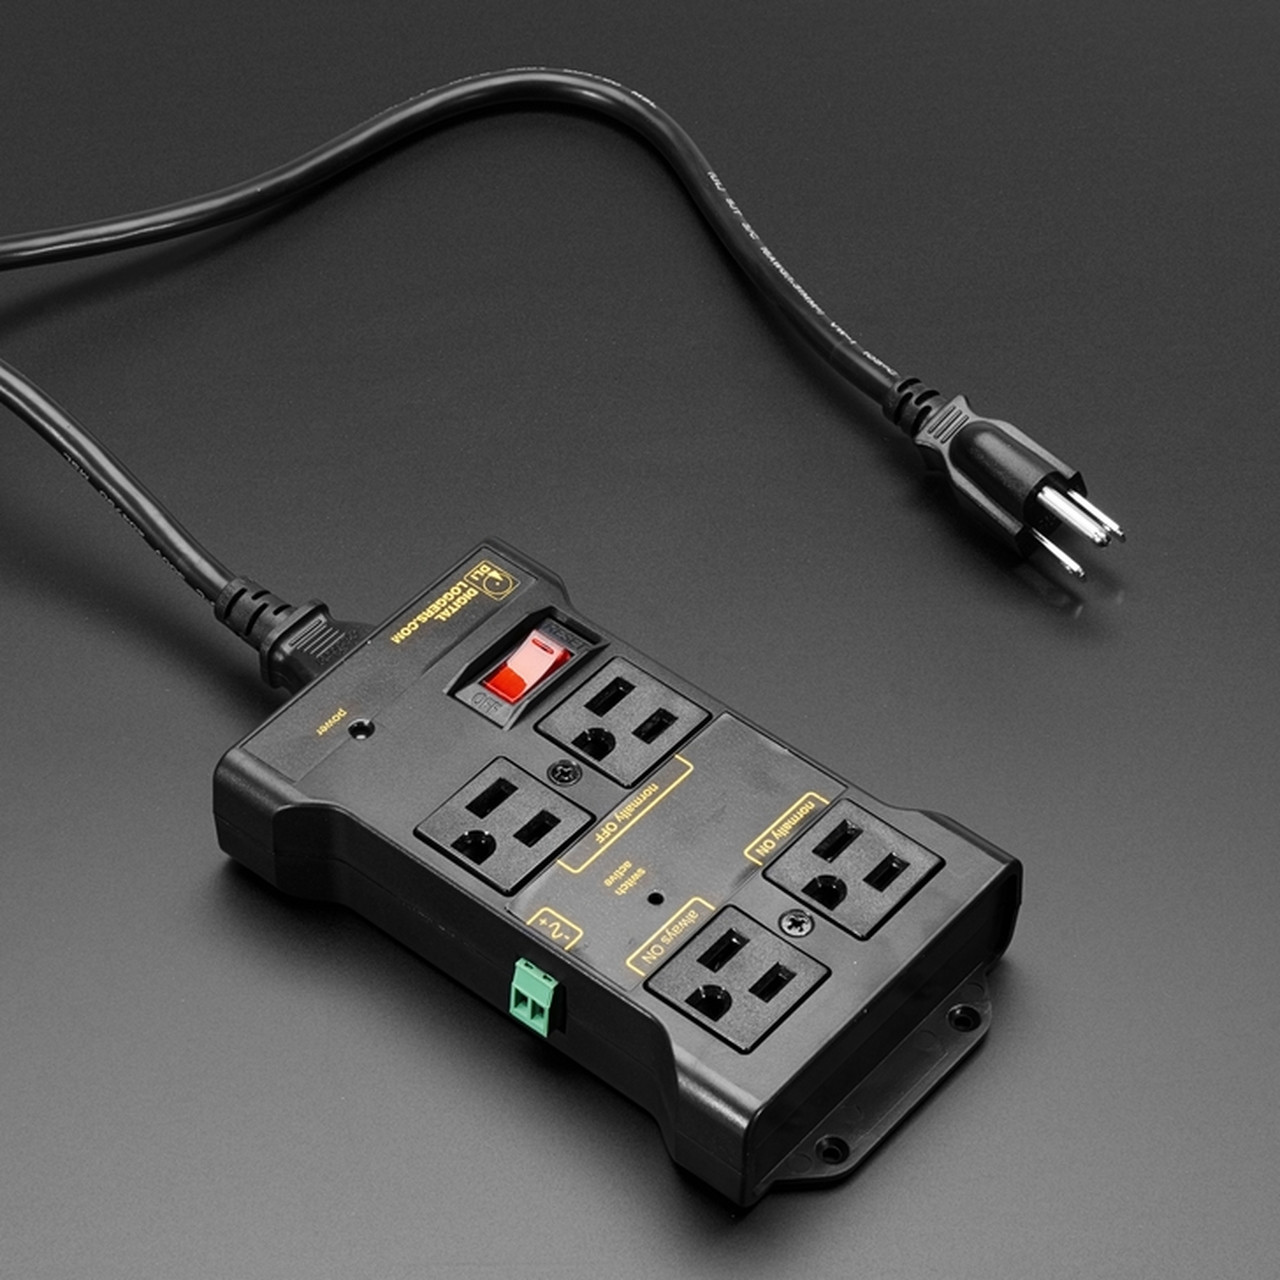
2. Power Supply: A reliable power supply is crucial to power your Raspberry Pi. It is recommended to use the official Raspberry Pi power supply or a power supply that provides a stable 5V and at least 2.5A of current to ensure proper operation.
3. SD Card: You will need an SD card to store the operating system and other files. Look for a high-quality, Class 10 SD card with at least 8GB of storage capacity. It is recommended to use an SD card with higher capacity if you plan to store a large amount of data or run resource-intensive applications.
4. Keyboard and Mouse: For the initial setup and configuration of your Raspberry Pi, you will need a USB keyboard and mouse. These input devices allow you to navigate the user interface and enter commands.
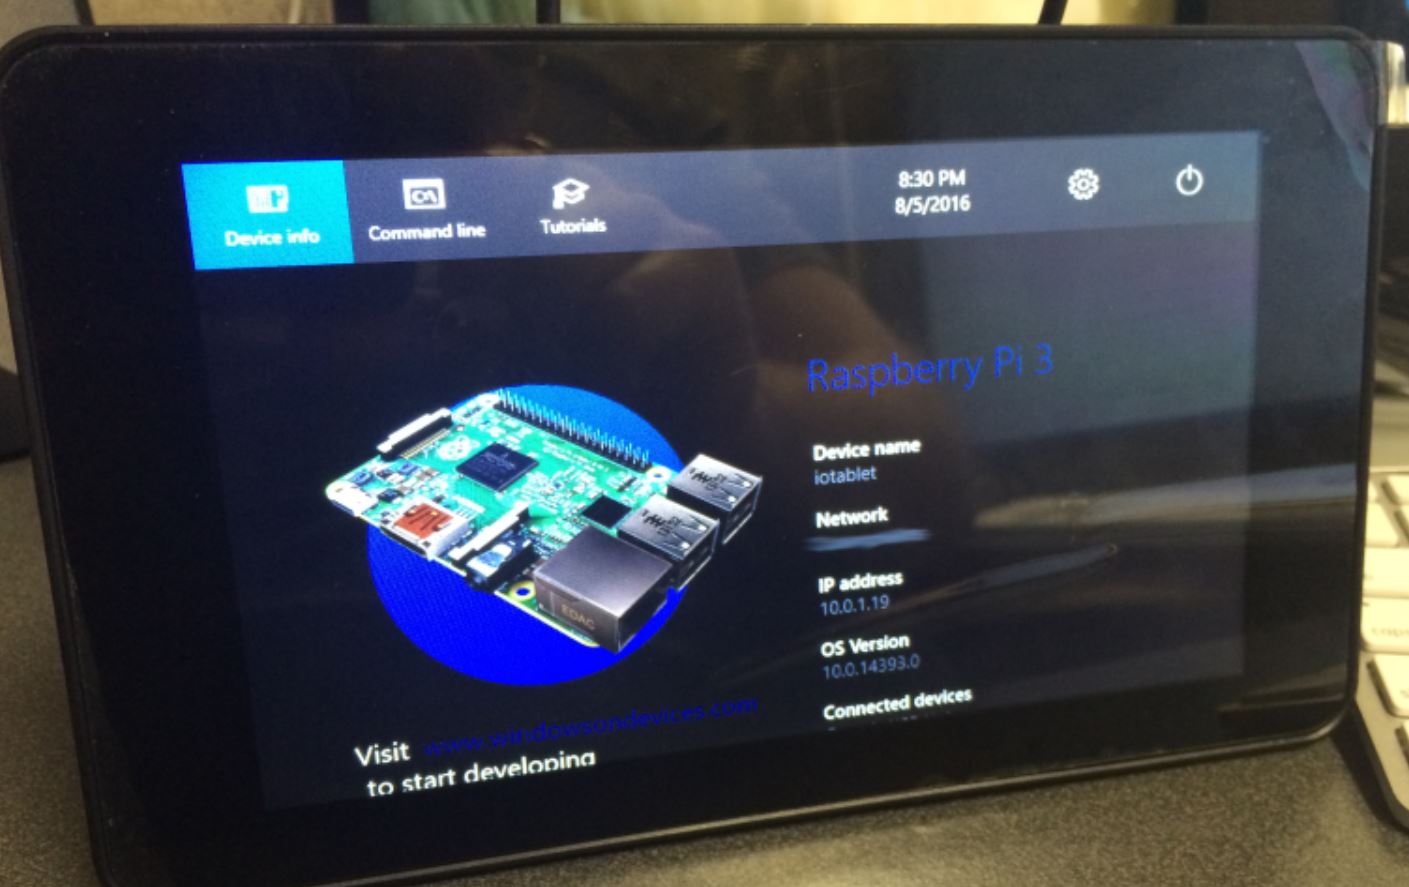
5. Display: A display is necessary to connect and view the output of your Raspberry Pi. You can use a standard HDMI monitor or TV as a display. Alternatively, you can use the official Raspberry Pi touchscreen display or connect to a remote desktop interface using VNC.
6. Internet Connectivity: To connect your Raspberry Pi to the internet, you have a few options. The Raspberry Pi 4 has built-in Wi-Fi and can connect to your home network wirelessly. Alternatively, you can use an Ethernet cable to connect the Raspberry Pi to your router for a wired connection.
7. Sensors and Peripherals: Depending on your IoT project requirements, you may need various sensors and peripheral devices. These could include things like temperature sensors, motion sensors, actuators, LED displays, and more. Ensure that you have the necessary sensors and peripherals to integrate into your IoT device.
8. Protective Case: While not mandatory, a protective case for your Raspberry Pi can provide physical protection and help keep the components safe from dust, static electricity, and accidental damage. There are various types of cases available, including plastic, metal, and acrylic.
9. Breadboard and Jumper Wires: If you plan to connect sensors and other devices to your Raspberry Pi, a breadboard and jumper wires will come in handy. The breadboard allows you to create temporary circuits, and the jumper wires enable easy connections between the Raspberry Pi GPIO pins and the components.
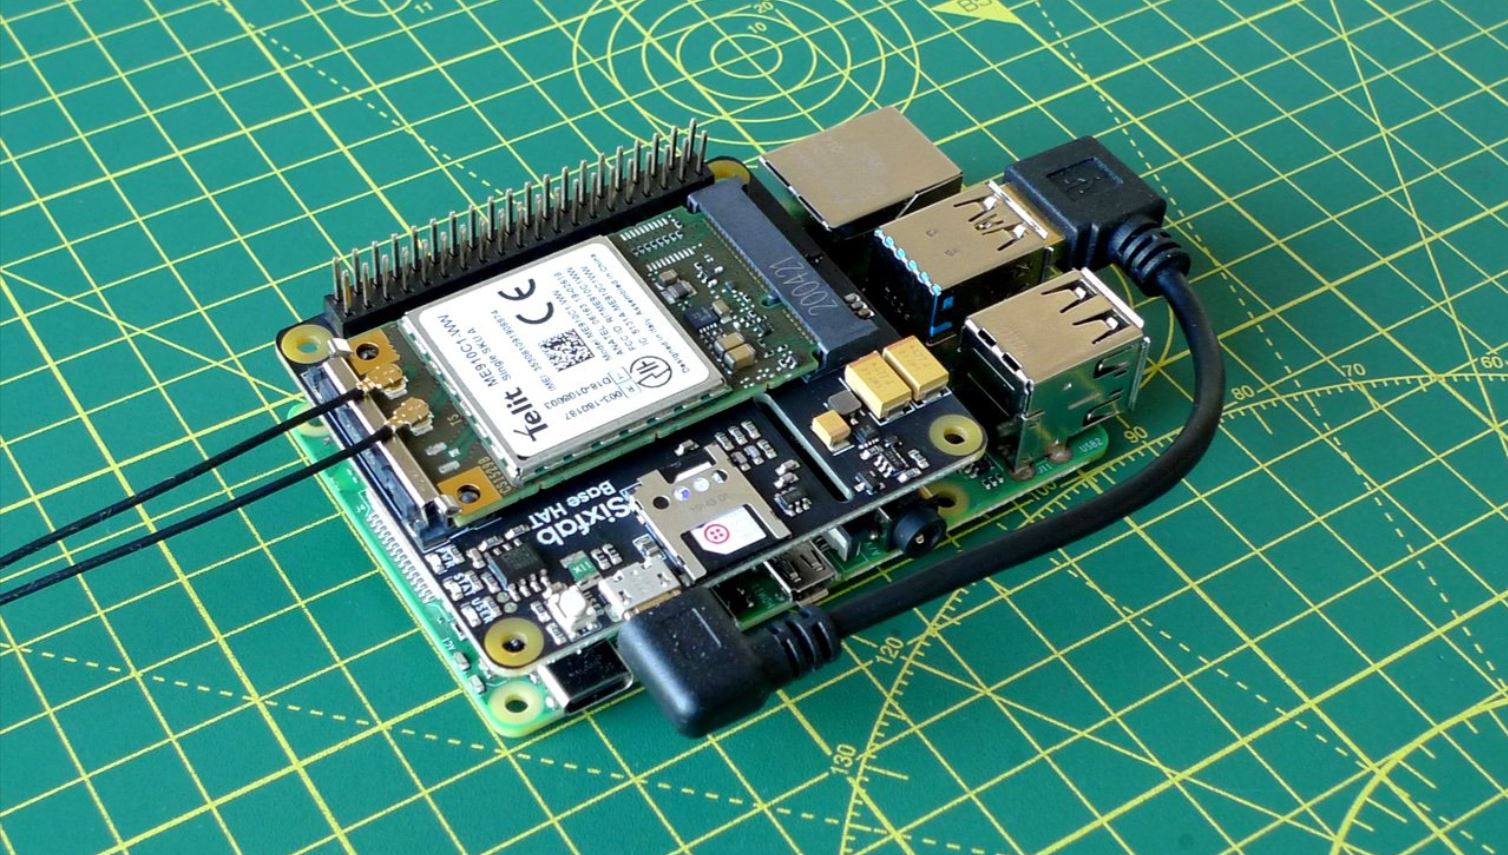
10. Optional Accessories: Depending on your specific IoT project, you may require additional accessories such as cameras, external hard drives, power over Ethernet (PoE) adapters, or HATs (Hardware Attached on Top) for specific functionalities.
By ensuring you have these key components, you will have the necessary foundation for setting up your Raspberry Pi as an IoT device. Each component plays a vital role in powering, controlling, and connecting your Raspberry Pi, enabling you to build and deploy your IoT project successfully.
Installing the Operating System on Raspberry Pi
Installing the operating system (OS) is the first step in setting up your Raspberry Pi for IoT. The operating system provides the necessary software environment for your Pi to run and execute programs. Here is a step-by-step guide on how to install the operating system on your Raspberry Pi:
1. Choose an Operating System: Decide on the operating system you want to install on your Raspberry Pi. The most popular choice is Raspbian, which is a Debian-based Linux distribution specifically designed for the Raspberry Pi. Download the latest version of Raspbian from the official Raspberry Pi website.
2. Prepare the SD Card: Insert the SD card into your computer’s SD card reader. Use a utility like Etcher to format the SD card and write the downloaded Raspbian image onto it. Ensure that you select the correct SD card drive to avoid overwriting any essential data on your computer.
3. Insert the SD Card: Once the Raspbian image is written to the SD card, safely eject it from your computer and insert it into the SD card slot on your Raspberry Pi board. Make sure it is properly seated, and the Pi is powered off.
4. Power Up the Raspberry Pi: Connect the power supply to your Raspberry Pi. As soon as the Pi receives power, it will boot up and start the operating system installation process. The first boot may take some time, so be patient.
5. Configure the Operating System: Once the Raspberry Pi has booted up, you will be prompted to go through the initial configuration process. This includes setting up the language, time zone, Wi-Fi network, and creating a new password for the default user “pi”. Follow the on-screen prompts to complete the configuration.
6. Update the Software: After the initial configuration, it is recommended to update the software packages on your Raspberry Pi. Open the terminal and run the following commands:
sudo apt update
sudo apt upgrade
This will ensure that your Raspberry Pi has the latest software updates and security patches.
7. Explore the Desktop Environment: Raspbian comes with a user-friendly desktop environment called PIXEL. Take some time to familiarize yourself with the desktop interface, explore the menus, and get comfortable with navigating through the operating system.
8. Test the Operating System: To ensure that the operating system is functioning properly, you can run a few basic commands and applications. For example, open the terminal and type python3 to start the Python interpreter. This will confirm that the Python language is installed and working.
By following these steps, you will successfully install the operating system on your Raspberry Pi. The installed operating system will serve as the foundation for your IoT applications, allowing you to move on to the next steps of configuring network settings, installing necessary software, and connecting sensors and peripheral devices.
Configuring the Network Settings
Configuring the network settings on your Raspberry Pi is an important step to ensure connectivity and communication with other devices. Whether you are connecting to a wired or wireless network, here is a guide on how to configure the network settings:
1. Connect to Wi-Fi: If you are using the built-in Wi-Fi on your Raspberry Pi, you will need to connect to your Wi-Fi network. Click on the network icon on the top-right corner of the desktop interface and select your Wi-Fi network from the list. Enter the network password if required, and your Raspberry Pi will connect to the Wi-Fi network.
2. Assign a Static IP Address: To ensure consistent communication and easy access to your Raspberry Pi, it is recommended to assign a static IP address. Open the terminal and enter the following command: sudo nano /etc/dhcpcd.conf. Within the file, find the section that starts with “interface wlan0” for Wi-Fi or “interface eth0” for Ethernet. Uncomment the lines for static IP configuration and input the desired IP address, gateway, and DNS server. Save the changes and exit the nano editor.
3. Configure Ethernet Connection (if applicable): If you are using a wired Ethernet connection, connect the Ethernet cable to your Raspberry Pi and the router. The Raspberry Pi should automatically detect and configure the network settings. However, if you need to assign a static IP address, follow the previous step to modify the dhcpcd.conf file for the “eth0” interface.
4. Enable SSH: If you plan to access your Raspberry Pi remotely, you will need to enable SSH (Secure Shell). Open the terminal and enter the following command: sudo raspi-config. Go to “Interfacing Options” and enable SSH. Save the changes and reboot the Raspberry Pi for the SSH service to start.
5. Test the Network Connection: To verify that your network settings are configured correctly, open the terminal and try to ping a website or another device on your network. For example, enter ping google.com to ping the Google website. If you receive a response, it indicates that your network connection is working properly.
6. Remote Access via VNC: If you want to access the graphical user interface (GUI) of your Raspberry Pi remotely, you can set up VNC (Virtual Network Computing). Install a VNC server on your Raspberry Pi and a VNC client on your computer. Launch the VNC client, enter the IP address of your Raspberry Pi, and connect to it. You will be able to view and control your Pi’s desktop remotely.
7. Configure Firewall and Security: It is important to configure the firewall on your Raspberry Pi to protect it from unauthorized access. Configure the firewall settings to allow necessary network traffic and restrict access to specific ports if required. Additionally, consider enabling SSH key-based authentication for enhanced security.
By following these steps, you will properly configure the network settings on your Raspberry Pi. Whether you are using Wi-Fi or Ethernet, assigning a static IP address, enabling SSH, and securing your network connection are vital for seamless communication and remote access in your IoT projects.
Installing Necessary Software and Libraries
Once you have set up the operating system and configured the network settings on your Raspberry Pi, it’s time to install the necessary software and libraries to support your IoT project development. Here are the steps to install the required software and libraries:
1. Update Package Lists: Before installing any software, it is important to update the package lists on your Raspberry Pi. Open the terminal and run the following command: sudo apt update. This ensures that you have the latest information about available software packages and their versions.
2. Install Python: Python is a popular programming language for Raspberry Pi development. Most IoT projects on the Raspberry Pi are built using Python. Install Python by running the command: sudo apt install python3. This will install Python 3, the latest version available.
3. Install Development Tools: Install the necessary development tools for building and compiling software. Run the following command: sudo apt install build-essential. This will install essential tools like GCC, Make, and other build dependencies.
4. Install Additional Software: Depending on your IoT project requirements, you may need additional software packages. For example, if you are working with web development, you might need to install Apache, MySQL, and PHP. Use the sudo apt install command followed by the names of the packages you need to install.
5. Install Python Libraries: Install the necessary Python libraries to interface with sensors, control actuators, and handle various IoT tasks. Many popular libraries are available for Raspberry Pi, such as RPi.GPIO, Adafruit_Python_DHT, and PiCamera. Install these libraries using the Python package manager pip. For example, to install RPi.GPIO, run the command: sudo pip3 install RPi.GPIO.
6. Test Software and Libraries: After installing the software and libraries, test them by running a simple program. Write a Python script that imports the desired libraries and performs a basic function, such as turning on an LED or reading sensor data. Execute the script and verify that it runs without errors and performs the intended action.
7. Explore Documentation and Tutorials: To fully utilize the software and libraries, explore their documentation and tutorials available online. The Raspberry Pi community is known for its extensive resources and support. Take advantage of these resources to learn more about the software and libraries and find examples and projects that match your IoT project requirements.
8. Keep Software Updated: It is important to regularly update the software and libraries on your Raspberry Pi to benefit from bug fixes, security patches, and new features. Periodically run sudo apt update followed by sudo apt upgrade to update the installed packages on your Raspberry Pi.
By following these steps, you will successfully install the necessary software and libraries on your Raspberry Pi. This will provide you with the tools and resources needed to develop and execute your IoT project effectively.
Connecting Sensors and Peripheral Devices
One of the key aspects of building an IoT project with a Raspberry Pi is connecting sensors and peripheral devices to gather data and interact with the physical world. Here is a guide on how to connect sensors and peripheral devices to your Raspberry Pi:
1. Identify Required Components: Determine the sensors and peripheral devices you need for your IoT project. This could include temperature and humidity sensors, motion sensors, LED displays, servos, or any other components that are relevant to your specific project requirements.
2. Understand Pinout and Protocols: Familiarize yourself with the pinout and communication protocols supported by your Raspberry Pi board. The GPIO (General Purpose Input/Output) pins on the Raspberry Pi allow you to connect external components. Identify the GPIO pins that correspond to specific functionalities, such as digital input/output, analog input, or PWM (Pulse-Width Modulation).
3. Connect Sensors and Devices: Depending on the type of sensor or peripheral device, you will need to connect it to specific GPIO pins on your Raspberry Pi. Use jumper wires or a breadboard to establish the necessary electrical connections. Ensure that you refer to the pinout diagram and datasheets of the sensors for proper wiring.
4. Follow Tutorials and Guides: Many online tutorials and guides are available that provide step-by-step instructions for connecting specific sensors and peripheral devices to the Raspberry Pi. These resources often include circuit diagrams, wiring instructions, and example code. Follow these resources to ensure correct connections and to get started quickly.
5. Test Sensor Data: Once the sensors and devices are connected, write a simple Python script to test their functionality. Use the appropriate libraries and code examples to interact with the sensors and collect data. Run the program to verify that the sensors are connected correctly and providing accurate readings.
6. Handle Data Acquisition: Implement code logic to handle the data acquired from the sensors. This could include storing the data in a file, transmitting it via a network connection, or processing it in real-time for decision-making. Ensure that you have the necessary libraries and understanding of the data formats to process the acquired data.
7. Control Actuators (if applicable): If your IoT project involves controlling actuators, such as servos or LEDs, implement the necessary code and connections to control their actions. Use the GPIO pins or additional hardware modules to provide the required control signals.
8. Secure Connections: Implement necessary security measures if your IoT project involves transferring sensitive data or controlling critical devices. Consider using encryption protocols, access control mechanisms, and secure network configurations to ensure the integrity and privacy of your IoT system.
By following these steps, you will successfully connect sensors and peripheral devices to your Raspberry Pi for your IoT project. Take advantage of online resources, tutorials, and example code to simplify the process and make the most out of your connected devices.
Writing Code for Your IoT Project
Once you have set up your Raspberry Pi, installed the necessary software, and connected sensors and peripherals, the next step is to write code to control and interact with your IoT devices. Here is a guide on how to write code for your IoT project:
1. Choose a Programming Language: Select a programming language that you are comfortable with and that is well-suited for Raspberry Pi development. Python is a popular choice due to its simplicity and extensive support for various libraries and APIs. Alternatively, you may choose other languages such as JavaScript, C++, or Java based on your project requirements.
2. Understand the Sensor/Device APIs: Familiarize yourself with the APIs provided by the libraries for your connected sensors and peripheral devices. The API documentation will provide details on how to interact with the devices, read sensor data, control actuators, and handle any specific functionalities they offer.
3. Plan Your Code Structure: Before diving into writing code, plan the structure and organization of your program. Break down the functionality into smaller functions or modules to make the code more readable, maintainable, and reusable. Define variables and data structures for storing and processing the data collected from the sensors.
4. Implement Data Acquisition: Write code to read data from the sensors. Use the appropriate API calls provided by the sensor libraries to retrieve sensor readings. Based on the nature of the sensor data, handle any necessary data conversions or format adjustments required for your project.
5. Control Actuators: If your IoT project involves controlling actuators, such as LEDs, servos, or motors, write code to control their actions. Use the corresponding functions provided by the device libraries to send appropriate signals and commands to the actuators based on the desired functionality.
6. Incorporate Logic and Processing: Implement any necessary logic or processing steps to handle the collected sensor data. This could involve performing calculations, applying algorithms, triggering specific actions based on predefined thresholds, or implementing decision-making logic.
7. Implement Networking and Communication: If your IoT project requires network connectivity or communication with other devices or services, write code to handle the networking aspect. This could involve sending sensor data to a remote server, receiving commands or updates from a control interface, or integrating with cloud platforms or IoT frameworks.
8. Error Handling and Exception Handling: Implement error handling mechanisms to handle unexpected situations, such as sensor failures, network connectivity issues, or other errors. Use exception handling techniques to gracefully handle exceptions and prevent program crashes.
9. Test and Debug: Test your code thoroughly to ensure it functions as expected. Use debugging techniques and printing out intermediate results to identify and fix any issues or inconsistencies in your code. Test your IoT project in different scenarios to ensure its reliability and stability.
10. Document Your Code: Lastly, document your code by adding comments and documenting any significant functions or sections. This will enhance the maintainability and readability of your code and make it easier for future development or collaboration.
By following these steps, you will be able to write code that effectively controls and interacts with your IoT devices on the Raspberry Pi. Taking a systematic approach and ensuring proper documentation will make your code more robust, maintainable, and scalable for your IoT project needs.
Testing and Troubleshooting Your Raspberry Pi Setup
After setting up your Raspberry Pi for an IoT project, it is essential to thoroughly test and troubleshoot the setup to ensure everything is functioning correctly. Here is a guide on how to test and troubleshoot your Raspberry Pi setup:
1. Power On and Check Indicators: Power on your Raspberry Pi and check for the appropriate LED indicators. Green and red LEDs typically indicate power and activity status, respectively. Ensure that the LEDs light up as expected during the boot process.
2. Connectivity Testing: Test the network connectivity of your Raspberry Pi. Verify that the Wi-Fi or Ethernet connection is stable and that your Pi can access the internet and communicate with other devices on your network.
3. Test External Connections: If you have connected external devices such as sensors or actuators, test their functionality. Ensure the sensors are providing accurate readings, and the actuators are responding correctly to commands. Run sample code or write simple scripts to verify their behavior.
4. Data Transmission and Communication: If your IoT project involves data transmission or communication with other devices or servers, test the data transfer. Verify that data is being sent and received correctly and that the communication protocols and APIs function as expected.
5. Test Power Management: Check the power management of your Raspberry Pi. Ensure that it is receiving consistent power and that there are no issues with the power supply or cables. Monitor the Pi’s temperature to ensure it stays within safe operating limits.
6. Debug and Monitor: Utilize logging and debugging techniques to identify any issues or errors in your code or system. Monitor the logs, print statements, and any error messages or exceptions to pinpoint the source of problems and address them accordingly. Use debugging tools and techniques to step through your code and identify any logical or functional issues.
7. Update Software and Firmware: Keep your Raspberry Pi’s software and firmware up to date. Regularly check for updates and install the latest versions of the operating system, libraries, and firmware. Updates often contain bug fixes, security patches, and improvements to the overall system performance.
8. Documentation and Resources: Refer to documentation, forums, and online resources to troubleshoot any persistent issues or errors. Raspberry Pi has a large and active community of users who are often able to offer solutions or insights into common and specific issues.
9. Recheck Connections: If you encounter any hardware-related issues, double-check your connections to ensure they are properly seated and secure. Verify that the pins are wired correctly and that there are no loose or damaged connections.
10. Seek Support: If you are unable to resolve the issues on your own, seek support from the Raspberry Pi community or relevant IoT forums. Post your specific problem or question and provide relevant details to receive assistance from experienced users or developers.
By following these testing and troubleshooting steps, you can ensure that your Raspberry Pi setup for your IoT project is functioning correctly. Identifying and addressing any issues or errors early on will save time and frustration down the line, allowing you to focus on the success of your IoT project.
Conclusion
Setting up a Raspberry Pi as an IoT device opens up a world of possibilities for creating innovative projects and solutions. By following the steps outlined in this guide, you can successfully prepare your Raspberry Pi for IoT development, configure the necessary software and network settings, and connect sensors and peripheral devices to interact with the physical world.
The Raspberry Pi offers a cost-effective and versatile platform for IoT projects, providing ample computing power and robust connectivity options. Its compatibility with popular programming languages such as Python and its supportive community make it accessible to users of all skill levels.
Writing code for your IoT project allows you to implement custom functionalities, handle data acquisition and processing, and build communication networks. It is essential to plan your code structure, test thoroughly, and troubleshoot any issues that arise to ensure the smooth functioning and success of your IoT system.
Throughout the setup and development process, don’t forget to explore the vast resources, tutorials, and documentation available online. The Raspberry Pi community is known for its strong and supportive network of users, making it easier to find answers, examples, and inspiration for your projects.
Remember to keep your Raspberry Pi, software, and libraries updated to benefit from the latest features and security patches. Regularly test your IoT system, monitor performance, and address any issues promptly to ensure stability and reliability.
By leveraging the power of Raspberry Pi and the concept of IoT, you have the opportunity to create innovative solutions, automate processes, collect data, and contribute to the expanding world of interconnected devices. Embrace the possibilities, continuously learn and improve, and enjoy the exciting journey of exploring the realm of IoT with your Raspberry Pi.