Introduction
Welcome to the world of Windows 10 IoT Core and Raspberry Pi 3! If you have ever wanted to create your own Internet of Things (IoT) devices, this guide will show you how to install Windows 10 IoT Core on your Raspberry Pi 3 and get started with building your own smart and connected projects. With Windows 10 IoT Core, you can leverage the power of the Windows ecosystem and easily develop and deploy your IoT applications.
Before we dive into the installation process, let’s take a moment to understand what Windows 10 IoT Core is and why it is a great choice for IoT development. Windows 10 IoT Core is a version of Windows 10 that is optimized for small, low-cost devices like the Raspberry Pi. It provides a lightweight and streamlined operating system specifically designed for running IoT applications. With Windows 10 IoT Core, you can develop applications using familiar tools such as Visual Studio and deploy them to your Raspberry Pi 3 for testing and production.
One of the key benefits of using Windows 10 IoT Core is the extensive hardware compatibility. Raspberry Pi 3 is one of the most popular single-board computers among IoT enthusiasts due to its affordability and versatility. By combining Raspberry Pi 3 with Windows 10 IoT Core, you have a powerful platform to build a wide range of projects, from home automation systems and weather stations to robotics and smart appliances.
In this guide, we will walk you through the installation process step by step, starting from choosing the right hardware components to connecting your Raspberry Pi 3 to a network and accessing the Windows 10 IoT Core dashboard. We will also provide optional configurations to help you customize your device settings according to your specific needs.
So, if you are ready to embark on your Windows 10 IoT Core journey, let’s begin by selecting the right hardware for your project!
Choosing the right hardware for Windows 10 IoT Core
Before you start installing Windows 10 IoT Core on your Raspberry Pi 3, it’s essential to ensure that you have the right hardware components. Choosing the right hardware will not only ensure compatibility but also optimize the performance of your IoT applications.
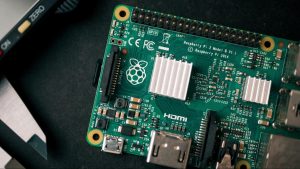
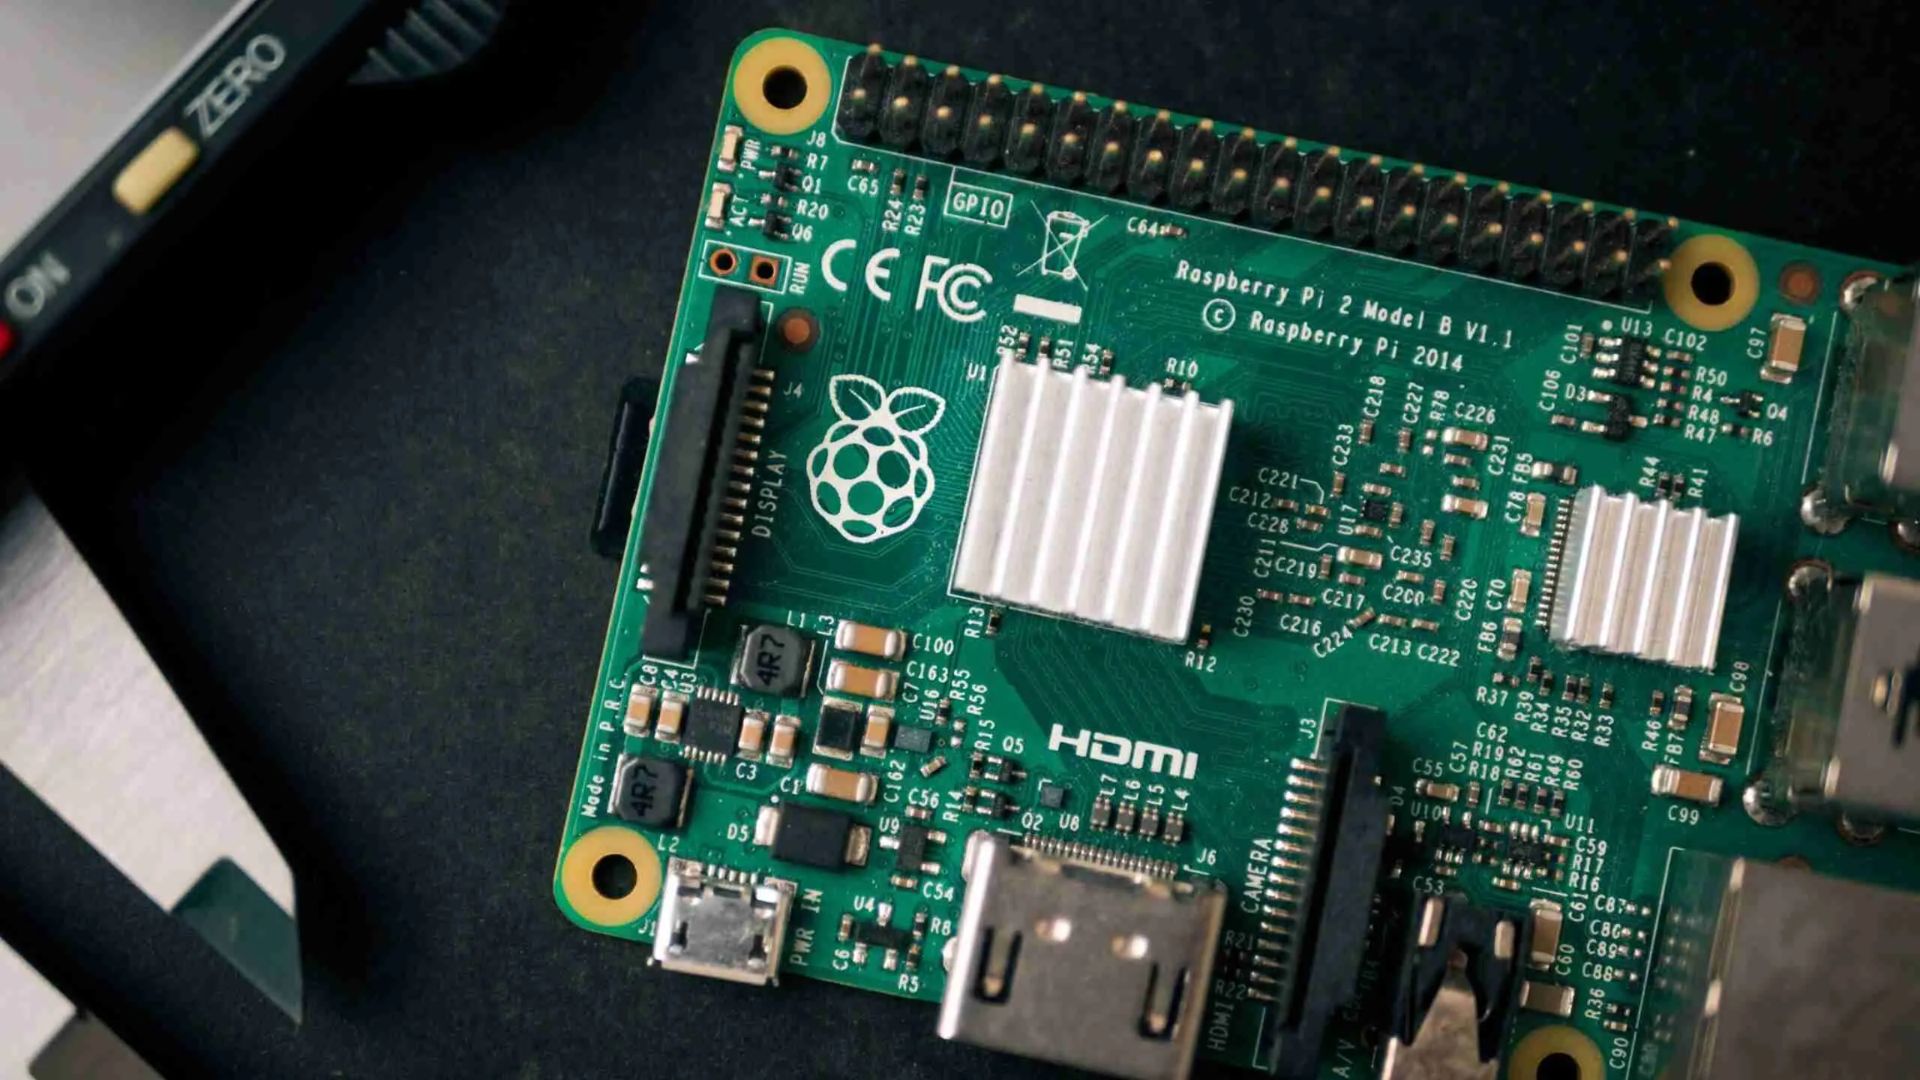
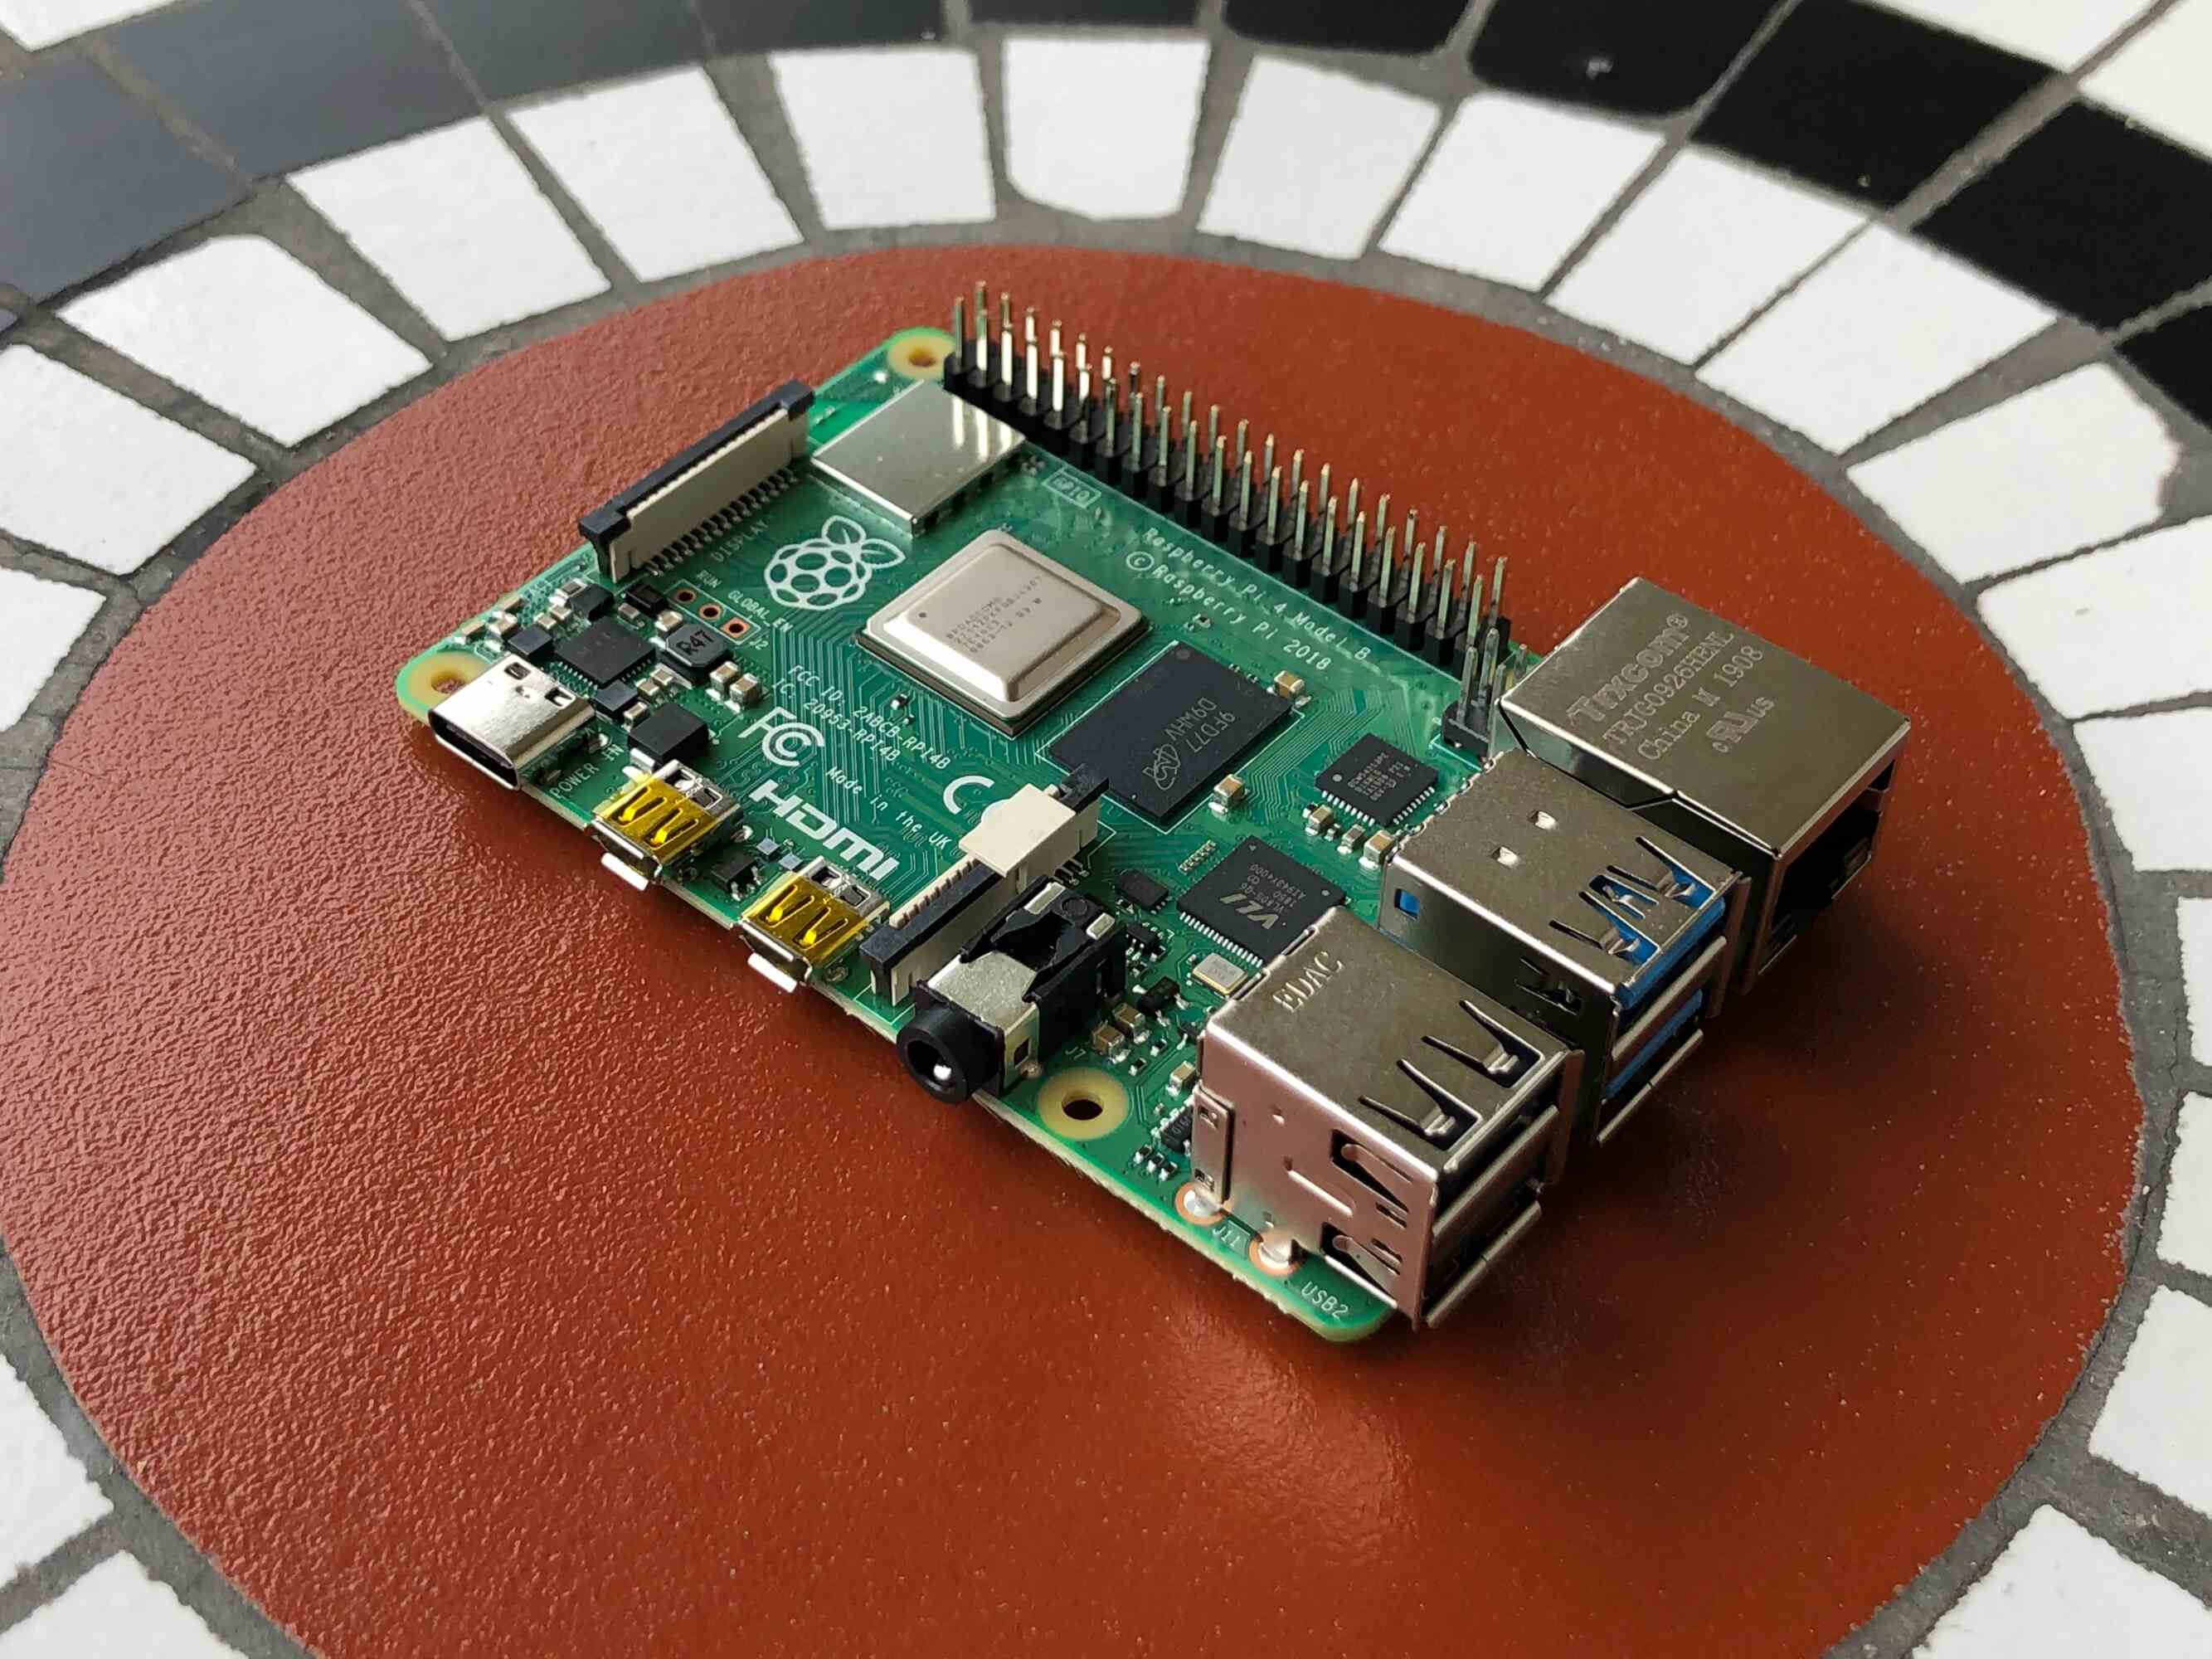
The Raspberry Pi 3 is the recommended board for running Windows 10 IoT Core. It offers significant improvements over its predecessors, including a quad-core ARM Cortex-A53 CPU, 1GB of RAM, and built-in Wi-Fi and Bluetooth capabilities. These specifications provide the necessary processing power and connectivity options for running your IoT projects smoothly.
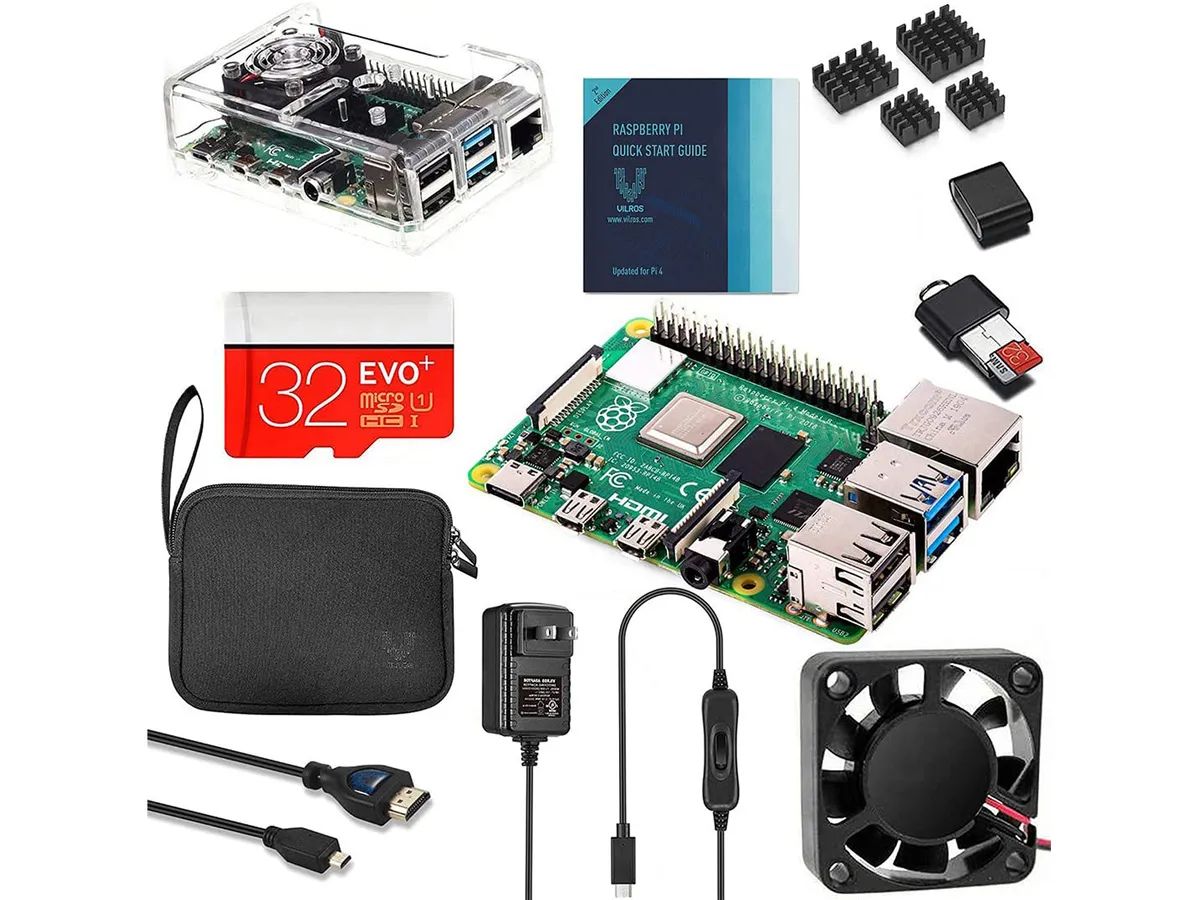
In addition to a Raspberry Pi 3, you will need a few other components to get started:
- MicroSD card: Windows 10 IoT Core requires a microSD card to install the operating system. It’s recommended to choose a Class 10 microSD card with at least 8GB of storage capacity to ensure optimal performance.
- USB power supply: The Raspberry Pi 3 does not come with a built-in power supply, so you will need a 5V micro USB power adapter to supply power to the board.
- Keyboard and mouse: Although not mandatory, having a keyboard and mouse will make it easier to interact with your Raspberry Pi 3 during the initial setup process.
- HDMI cable: You will need an HDMI cable to connect your Raspberry Pi 3 to a monitor or TV for the initial setup and configuration.
- Ethernet cable or Wi-Fi: To connect your Raspberry Pi 3 to the internet, you can either use an Ethernet cable or take advantage of its built-in Wi-Fi support.
Once you have gathered all the necessary hardware components, you are ready to move on to the next step: downloading the necessary files for installing Windows 10 IoT Core.
Remember, choosing the right hardware is crucial for a smooth and successful installation process. Make sure to double-check that you have all the required components before you proceed. With the right hardware in hand, you are one step closer to unleashing the full potential of Windows 10 IoT Core on your Raspberry Pi 3.
Downloading the necessary files
Before installing Windows 10 IoT Core on your Raspberry Pi 3, you need to download the required files to prepare for the installation process. Here’s a step-by-step guide on how to download these files:
- Open your web browser and navigate to the official Windows 10 IoT Core Downloads page on the Microsoft website.
- Scroll down the page until you find the ‘Get Windows 10 IoT Core Dashboard’ section.
- Click on the ‘Get the tools’ button to download the Windows 10 IoT Core Dashboard.
- Once the download is complete, locate the downloaded file and run the installer to install the Windows 10 IoT Core Dashboard on your computer.
- After the installation is complete, launch the Windows 10 IoT Core Dashboard.
- In the IoT Core Dashboard, click on the ‘Set up a new device’ option.
- On the ‘Choose your device type’ screen, select ‘Raspberry Pi 2 & 3’ from the list of available options.
- Next, choose the version of Windows 10 IoT Core that you want to download. It is recommended to download the latest stable version for optimal performance and security.
- Click on the ‘Download and Install’ button to start the download process.
- Wait for the download to complete. The duration may vary depending on your internet connection speed.
Once the download is finished, you are now ready to proceed with the installation process. The downloaded files will be used to prepare the microSD card and install Windows 10 IoT Core on your Raspberry Pi 3.
Downloading the necessary files is a crucial step in setting up Windows 10 IoT Core. Make sure to follow the steps outlined above to ensure a smooth and hassle-free installation process. With the files downloaded, you can now move on to the next section, where we will prepare the microSD card for installation.
Preparing the microSD card for installation
Before you can install Windows 10 IoT Core on your Raspberry Pi 3, you need to prepare the microSD card. This involves formatting the card and copying the necessary files onto it. Follow these steps to prepare the microSD card:
- Insert the microSD card into your computer’s card reader.
- Open the Windows 10 IoT Core Dashboard that you installed in the previous step.
- In the dashboard, click on the ‘Set up a new device’ option and select ‘Raspberry Pi 2 & 3’ as the device type.
- On the next screen, click on the ‘Choose an OS Build’ option and select the downloaded Windows 10 IoT Core image that matches your Raspberry Pi 3 model.
- Click on the ‘Choose a drive’ option and select the microSD card from the list of available drives.
- Ensure that the correct drive is selected, as formatting the wrong drive can result in data loss.
- Click on the ‘Download and install’ button to start the formatting and image deployment process.
- Wait for the process to complete. It may take a few minutes to finish.
- Once the process is complete, remove the microSD card from your computer’s card reader.
Now that you have prepared the microSD card, it is time to insert it into your Raspberry Pi 3 and proceed with the installation of Windows 10 IoT Core. With the necessary files copied onto the microSD card, your Raspberry Pi 3 will be ready to boot up and start the installation process.
Preparing the microSD card is a critical step in the installation process. Take care to follow the steps outlined above to ensure that your microSD card is properly formatted and contains the necessary files. Once you have completed this step, you can move on to the next section, where we will guide you through the installation process of Windows 10 IoT Core on your Raspberry Pi 3.
Installing Windows 10 IoT Core on Raspberry Pi 3
Now that you have prepared the microSD card, it’s time to install Windows 10 IoT Core on your Raspberry Pi 3. Follow these steps to complete the installation process:
- Ensure that your Raspberry Pi 3 is powered off. Insert the prepared microSD card into the microSD card slot on the Raspberry Pi 3.
- Connect your Raspberry Pi 3 to a monitor or TV using an HDMI cable for video output.
- Connect a USB keyboard and mouse to your Raspberry Pi 3.
- If you plan to use a wired Ethernet connection, connect an Ethernet cable to your Raspberry Pi 3. Skip this step if you prefer to use Wi-Fi.
- Connect the power supply to your Raspberry Pi 3 to turn it on.
- Wait for the Windows 10 IoT Core installation process to begin. This may take a few minutes, so be patient.
- Follow the on-screen instructions to customize your installation settings such as language and region.
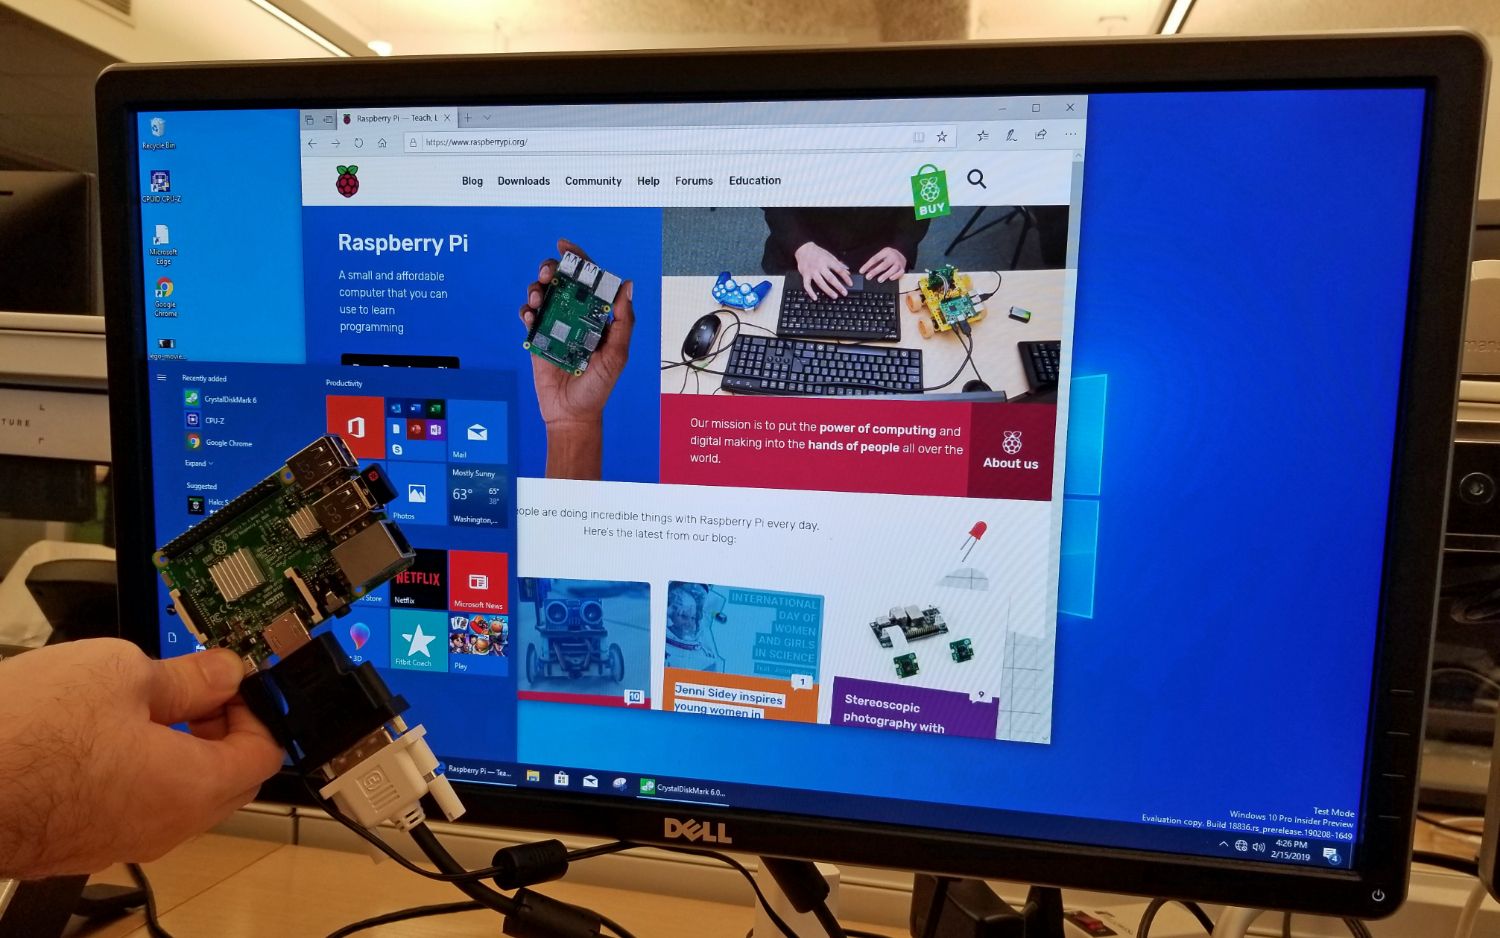
- Once the installation is complete, you will see the Windows 10 IoT Core desktop interface on your monitor or TV.
Congratulations! You have successfully installed Windows 10 IoT Core on your Raspberry Pi 3. Now you can start exploring the possibilities of building IoT applications using the power of Windows 10 and the versatility of Raspberry Pi.
During the installation process, your Raspberry Pi 3 will be assigned an IP address. Note down this IP address as it will be used to remotely connect to your device in the future.
With Windows 10 IoT Core installed, you can now proceed to the next step, which involves connecting your Raspberry Pi 3 to a network.
Installing Windows 10 IoT Core on Raspberry Pi 3 is an exciting milestone in your IoT journey. Don’t forget to power off your Raspberry Pi 3 properly when you have finished exploring and experimenting with your IoT projects.
Connecting Raspberry Pi 3 to a network
After installing Windows 10 IoT Core on your Raspberry Pi 3, the next step is to connect it to a network. By connecting to a network, you can remotely access and manage your Raspberry Pi 3, making it easier to develop and deploy your IoT applications. Here’s how you can connect your Raspberry Pi 3 to a network:
- If you plan to use a wired Ethernet connection, ensure that the Ethernet cable is connected to your Raspberry Pi 3 and your network router or switch. If you prefer to use Wi-Fi, proceed to the next step.
- On the Windows 10 IoT Core desktop interface, click on the network icon in the taskbar, which looks like a Wi-Fi symbol.
- In the network menu, select your Wi-Fi network from the list of available networks.
- If your network requires a password, enter the password when prompted.
- Wait for your Raspberry Pi 3 to connect to the network. Once connected, you will see the Wi-Fi icon in the taskbar change to indicate a successful connection.
Once your Raspberry Pi 3 is connected to the network, you can now access it remotely using another device on the same network. This allows you to interact with your Raspberry Pi 3, deploy and monitor your IoT applications, and perform remote debugging.
To access your Raspberry Pi 3 remotely, you will need to know the IP address assigned to it. You can find the IP address by following these steps:
- On the Raspberry Pi 3, click on the network icon in the taskbar.
- In the network menu, select ‘Connection Information’.
- Look for the ‘IPv4 address’ field, which will display the IP address assigned to your Raspberry Pi 3.
Note down the IP address as you will need it to connect to your Raspberry Pi 3 remotely. You can now move on to the next section, which will guide you on how to access the Windows 10 IoT Core dashboard.
Connecting your Raspberry Pi 3 to a network is an important step in the setup process. Once connected, you can remotely manage and control your IoT projects, making it easier to develop and deploy applications.
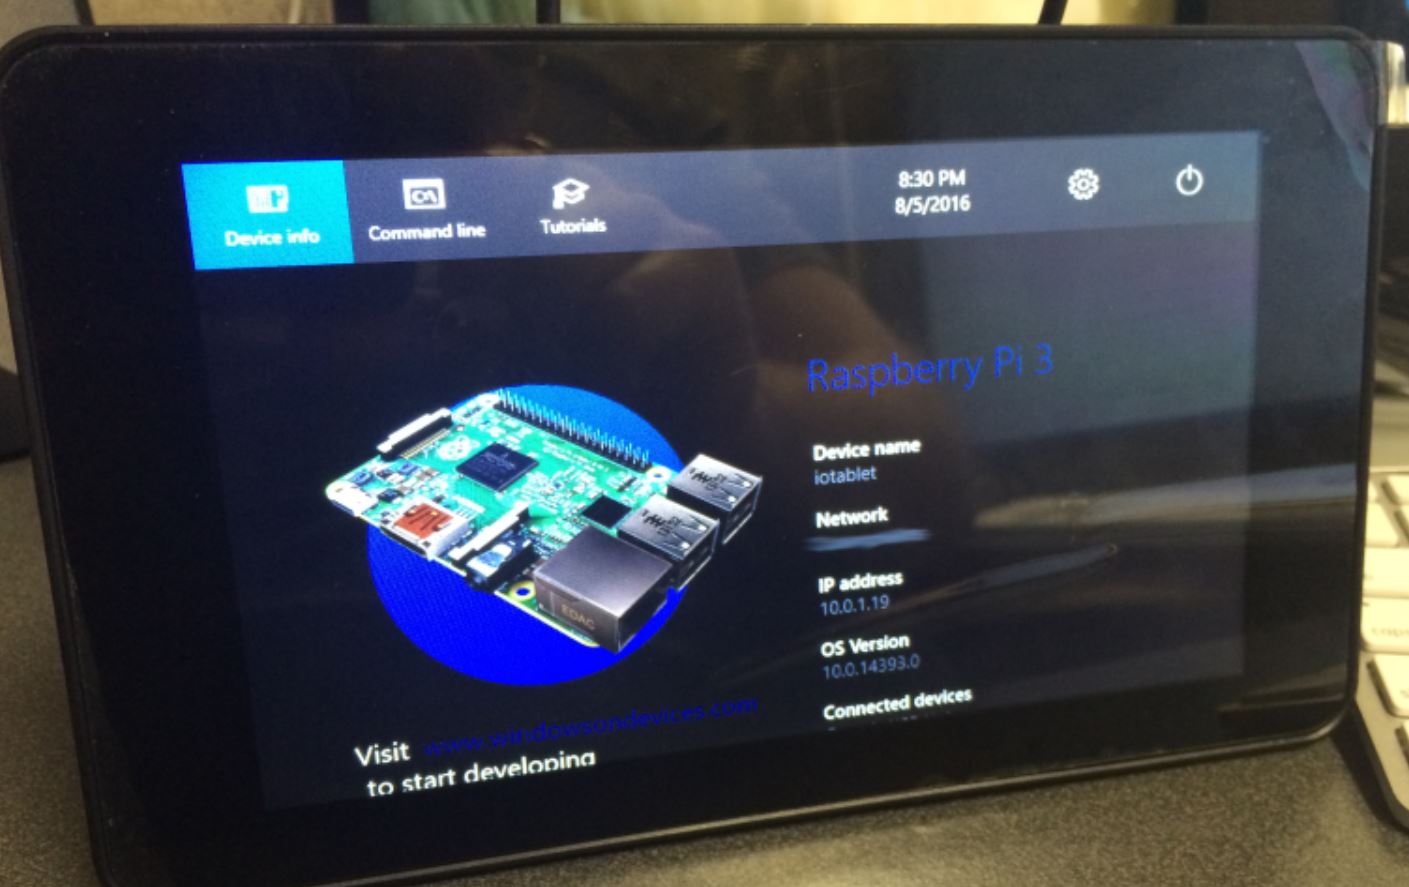
Accessing Windows 10 IoT Core dashboard
Once you have connected your Raspberry Pi 3 to a network, you can access the Windows 10 IoT Core dashboard to manage and monitor your device. The dashboard provides a user-friendly interface that allows you to configure settings, deploy applications, and monitor the status of your Raspberry Pi 3. Here’s how you can access the Windows 10 IoT Core dashboard:
- On a device connected to the same network as your Raspberry Pi 3, open a web browser.
- In the address bar, enter the IP address of your Raspberry Pi 3 that you obtained in the previous section.
- Press Enter to navigate to the Windows 10 IoT Core dashboard.
- You will be prompted to enter your login credentials. Use the default username ‘Administrator’ and the password that you set during the installation process.
- Click on the ‘Sign in’ or ‘Login’ button to access the dashboard.
Once you have successfully logged in, you will have access to the Windows 10 IoT Core dashboard, which provides several features and options to manage your Raspberry Pi 3. From the dashboard, you can perform tasks such as deploying applications, configuring device settings, and monitoring the performance of your IoT projects.
Take some time to explore the different sections and features of the dashboard. Familiarize yourself with the available options and customization settings. This will empower you to fully leverage the capabilities of Windows 10 IoT Core and Raspberry Pi 3 for your IoT projects.
By accessing the Windows 10 IoT Core dashboard, you can conveniently manage and monitor your Raspberry Pi 3 remotely. Whether you are deploying new applications or monitoring the performance of existing projects, the dashboard provides a centralized interface to streamline your IoT development process.
Now that you have successfully accessed the Windows 10 IoT Core dashboard, you can further customize and configure your device settings as per your requirements. In the next section, we will explore some optional configurations to enhance your IoT experience.
Optional: Configuring device options
Windows 10 IoT Core provides various device options that you can configure to enhance your IoT experience and tailor your Raspberry Pi 3 to your specific needs. These optional configurations allow you to customize settings and fine-tune the functionality of your device. Here are some key device options that you can explore:
- Device name: You can change the default name of your Raspberry Pi 3 to something more meaningful or identifiable. This can help distinguish your device when managing multiple IoT devices.
- Auto-login: By enabling auto-login, you can bypass the login screen when accessing the Windows 10 IoT Core dashboard. This can save you time and streamline the login process.
- Remote connections: Windows 10 IoT Core allows remote connections to your Raspberry Pi 3. You can enable or disable remote desktop, PowerShell, SSH, and other connection options based on your security and accessibility preferences.
- Time zone: Adjusting the time zone ensures that your device displays the correct local time and enables accurate timestamps for your IoT applications.
- System updates: Enable automatic system updates to ensure that your Raspberry Pi 3 is always running the latest version of Windows 10 IoT Core with the latest security patches and feature enhancements.
- Firewall settings: Configure firewall settings to control inbound and outbound network traffic to and from your Raspberry Pi 3. This helps enhance network security and protect your device from potential threats.
To access and configure these device options, follow these steps:
- Log in to the Windows 10 IoT Core dashboard using the steps outlined in the previous section.
- Navigate to the ‘Device settings’ or ‘Configuration’ section of the dashboard.
- Explore the available options and customize them according to your preferences.
- Remember to save your changes before navigating away from the configuration page.
By configuring these device options, you can personalize your Raspberry Pi 3 and optimize its performance for your specific IoT projects. Take some time to experiment with different settings and find the optimal configuration that suits your needs.
Remember, these configurations are optional, and you can choose to adjust them based on your requirements. It’s important to strike a balance between functionality, security, and ease of use when configuring your device options.
Now that you have customized your device settings, you are ready to unleash the full potential of your Raspberry Pi 3 running Windows 10 IoT Core. Whether you are building home automation systems, robotics projects, or any other IoT application, these configurations will help you fine-tune your device and create seamless user experiences.
Conclusion
Congratulations on successfully installing Windows 10 IoT Core on your Raspberry Pi 3! You have taken the first step towards building your own Internet of Things (IoT) projects using the power of Windows 10 and the versatility of the Raspberry Pi 3. By following the steps outlined in this guide, you have set up a powerful platform for developing and deploying your IoT applications.
Throughout this guide, we covered everything from choosing the right hardware components to configuring device options. You learned how to download the necessary files, prepare the microSD card, and install Windows 10 IoT Core on your Raspberry Pi 3. We also explained how to connect your Raspberry Pi 3 to a network and access the Windows 10 IoT Core dashboard for remote management and monitoring.
It’s important to remember that Windows 10 IoT Core provides extensive capabilities along with the flexibility of the Raspberry Pi 3. With this combination, you can unleash your creativity and bring your IoT ideas to life. Whether you’re interested in home automation, robotics, or other IoT applications, Windows 10 IoT Core on Raspberry Pi 3 offers a robust and user-friendly platform to develop and deploy your projects.
As you continue your IoT journey, don’t hesitate to explore the vast resources and documentation available from Microsoft and the passionate IoT community. Continuously learning and experimenting with new ideas will help you unleash the full potential of Windows 10 IoT Core on your Raspberry Pi 3.
Thank you for joining us on this adventure into the world of Windows 10 IoT Core and Raspberry Pi 3. We hope this guide has provided you with the knowledge and confidence to start creating amazing IoT applications. Good luck, and happy developing!