Introduction
Welcome to the world of Windows IoT Core and Raspberry Pi! If you’re looking to enhance your Raspberry Pi 3 project with the power of Windows IoT, you’ve come to the right place. In this article, we will guide you through the steps necessary to install Windows IoT Core on your Raspberry Pi 3 device. By the end of this tutorial, you’ll have a fully functional Raspberry Pi 3 running Windows IoT Core, ready to power your IoT applications and experiments.
Windows IoT Core is a specialized version of the Windows operating system designed for Internet of Things (IoT) devices. It offers a familiar Windows experience and allows you to leverage your existing Windows development skills to create innovative IoT solutions. With Windows IoT Core, you can build a wide range of IoT applications, from home automation systems to industrial monitoring devices.
Before we dive into the installation process, let’s make sure you have everything you need. To follow this tutorial, you will need a Raspberry Pi 3 device, an SD card with a minimum of 16GB capacity, a computer running Windows 10, and a stable internet connection. Additionally, you should have a basic understanding of the Raspberry Pi platform and how to work with it.
In the following sections, we will guide you step-by-step through the process of installing Windows IoT Core on your Raspberry Pi 3. We will cover downloading the necessary software, setting up the Raspberry Pi, flashing the OS onto an SD card, and configuring Windows IoT Core. By the end, you will have a fully functional Windows IoT Core installation on your Raspberry Pi 3, ready for your IoT adventures.
So let’s get started and turn your Raspberry Pi 3 into a powerful Windows IoT device!
Prerequisites
Before you begin the installation process, there are a few prerequisites you need to fulfill to ensure a smooth and successful setup of Windows IoT Core on your Raspberry Pi 3. Here’s what you’ll need:
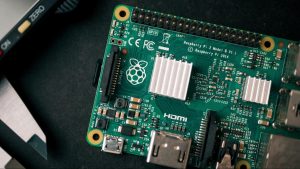
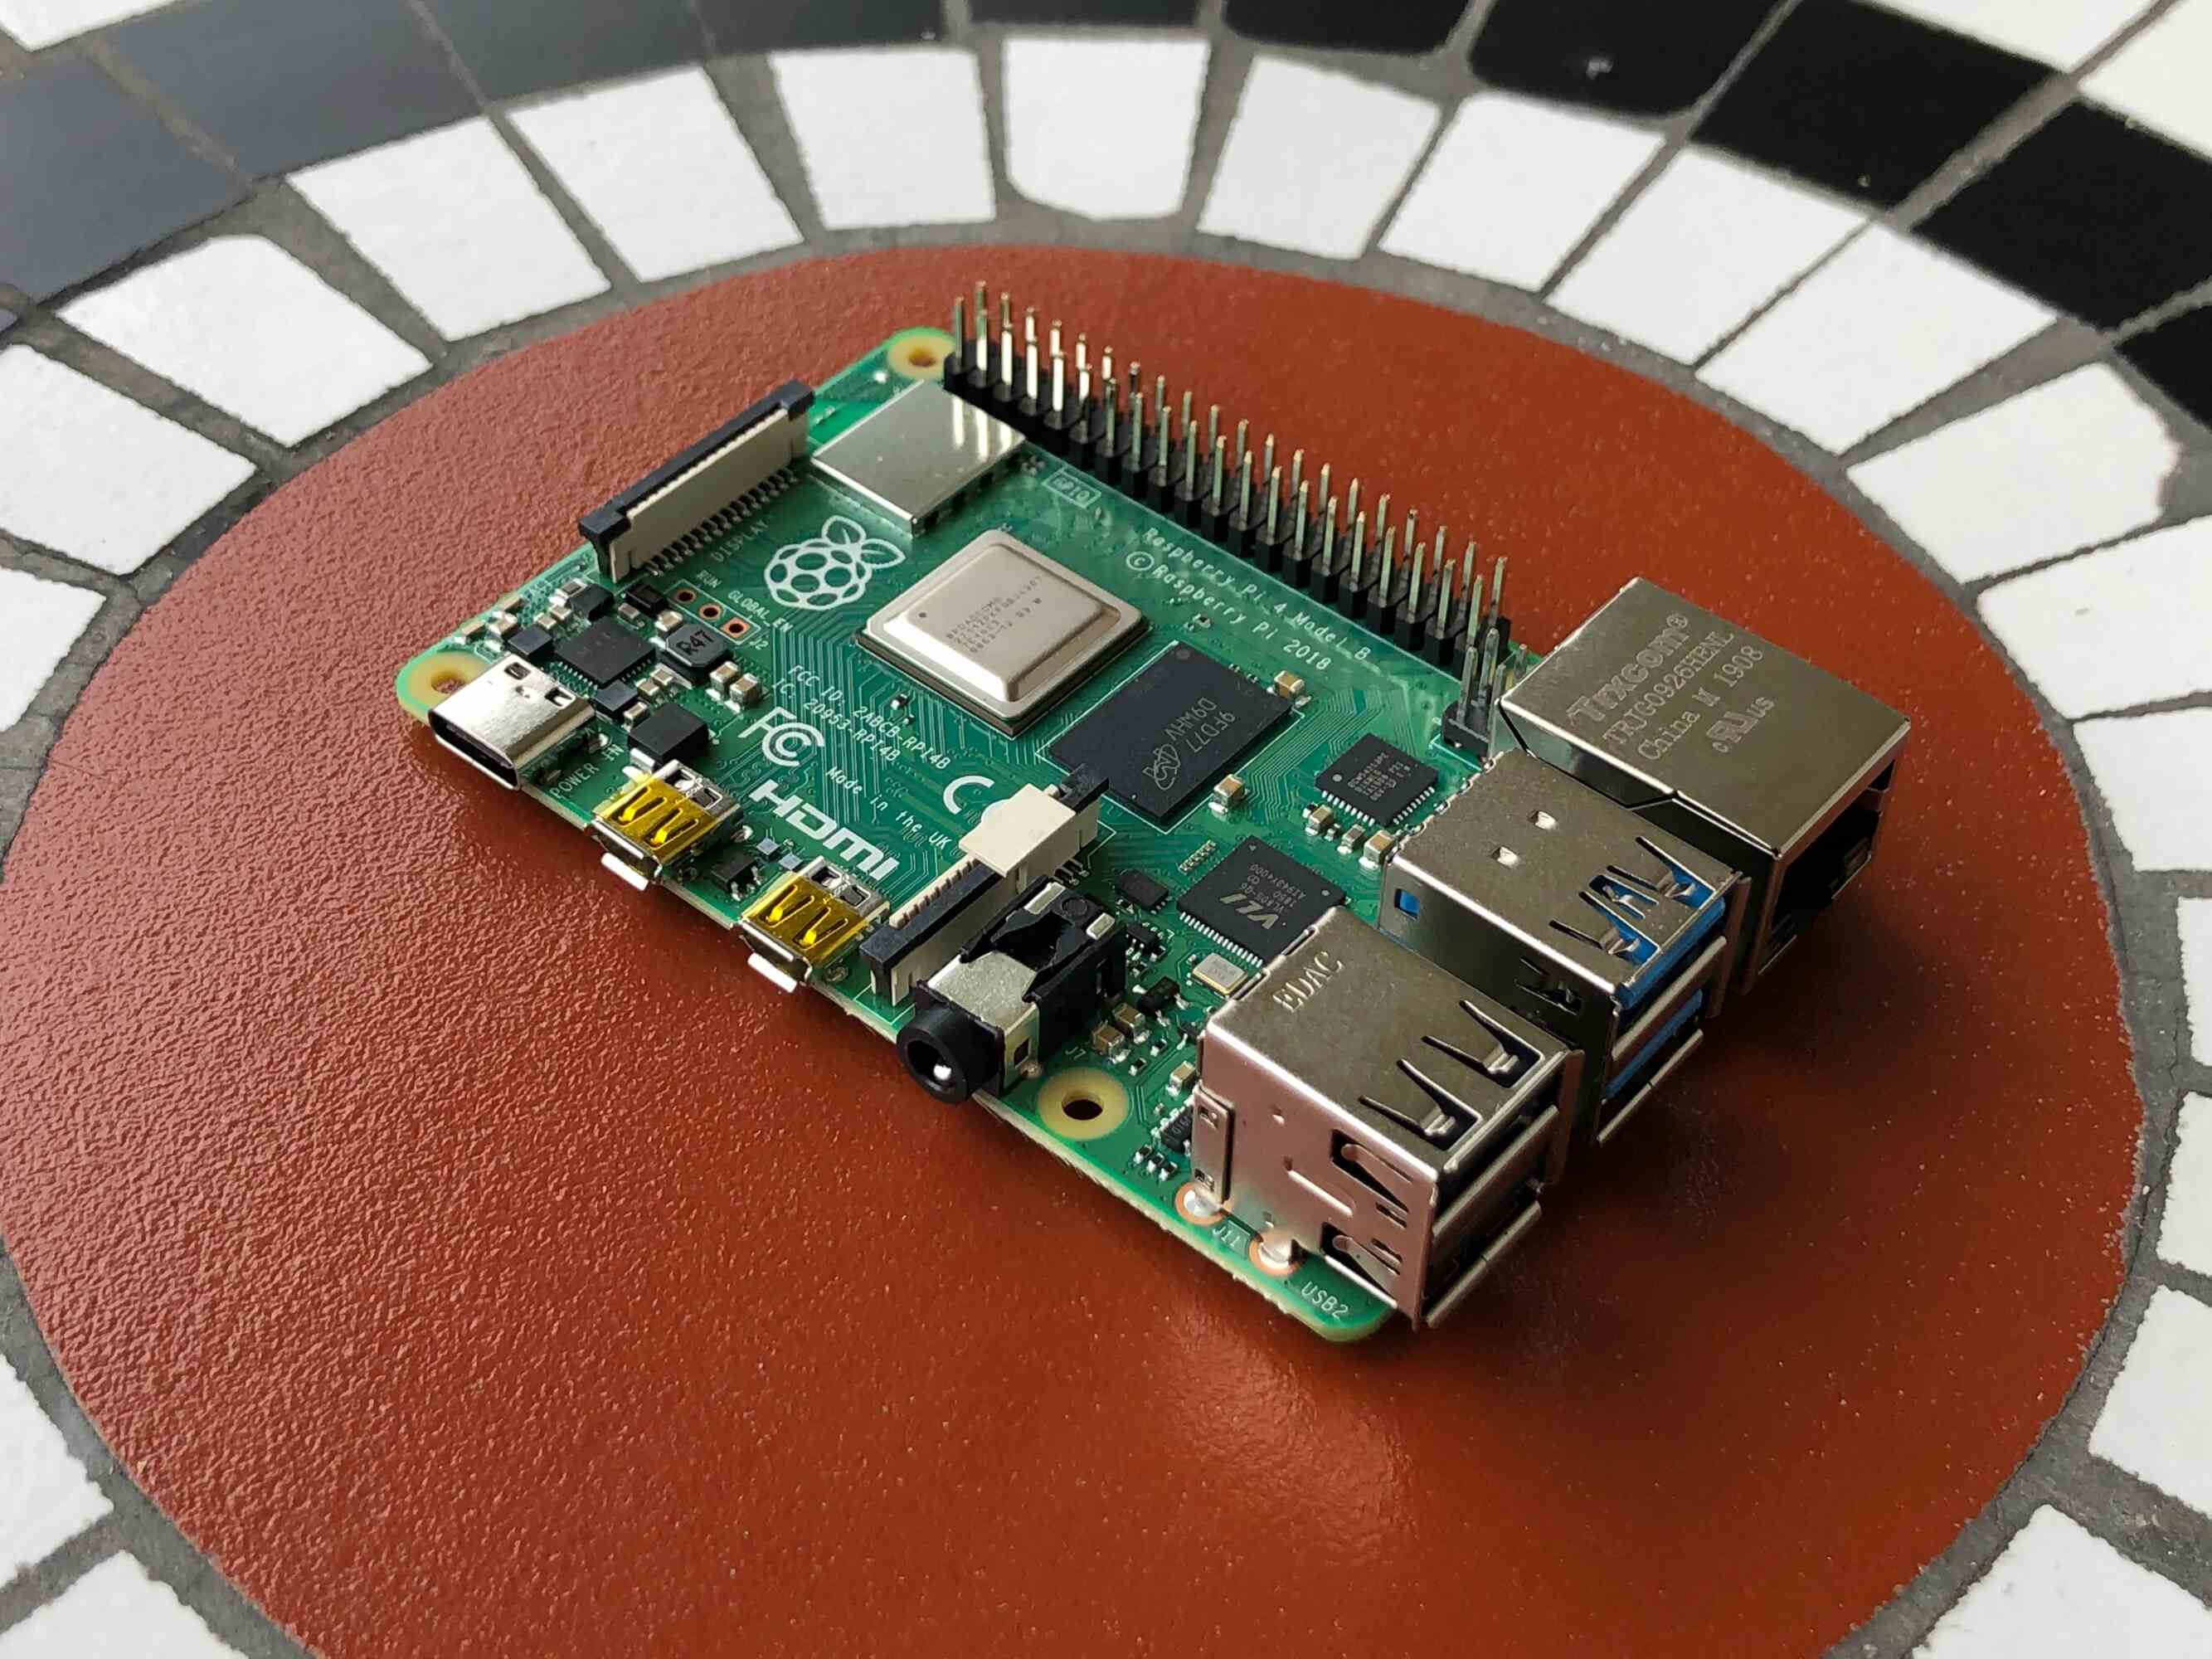
1. Raspberry Pi 3: Make sure you have a Raspberry Pi 3 board. While Windows IoT Core may work with other versions of Raspberry Pi, it is specifically optimized for the Raspberry Pi 3 model.
2. SD Card: You will need an SD card with a minimum capacity of 16GB. This will be used to store the Windows IoT Core operating system.
3. Windows 10 PC: You will need a computer running Windows 10 to complete the installation process. This is required to download the necessary software and tools.
4. Internet Connection: It is essential to have a stable internet connection throughout the installation process. You will need to download the required software and updates.
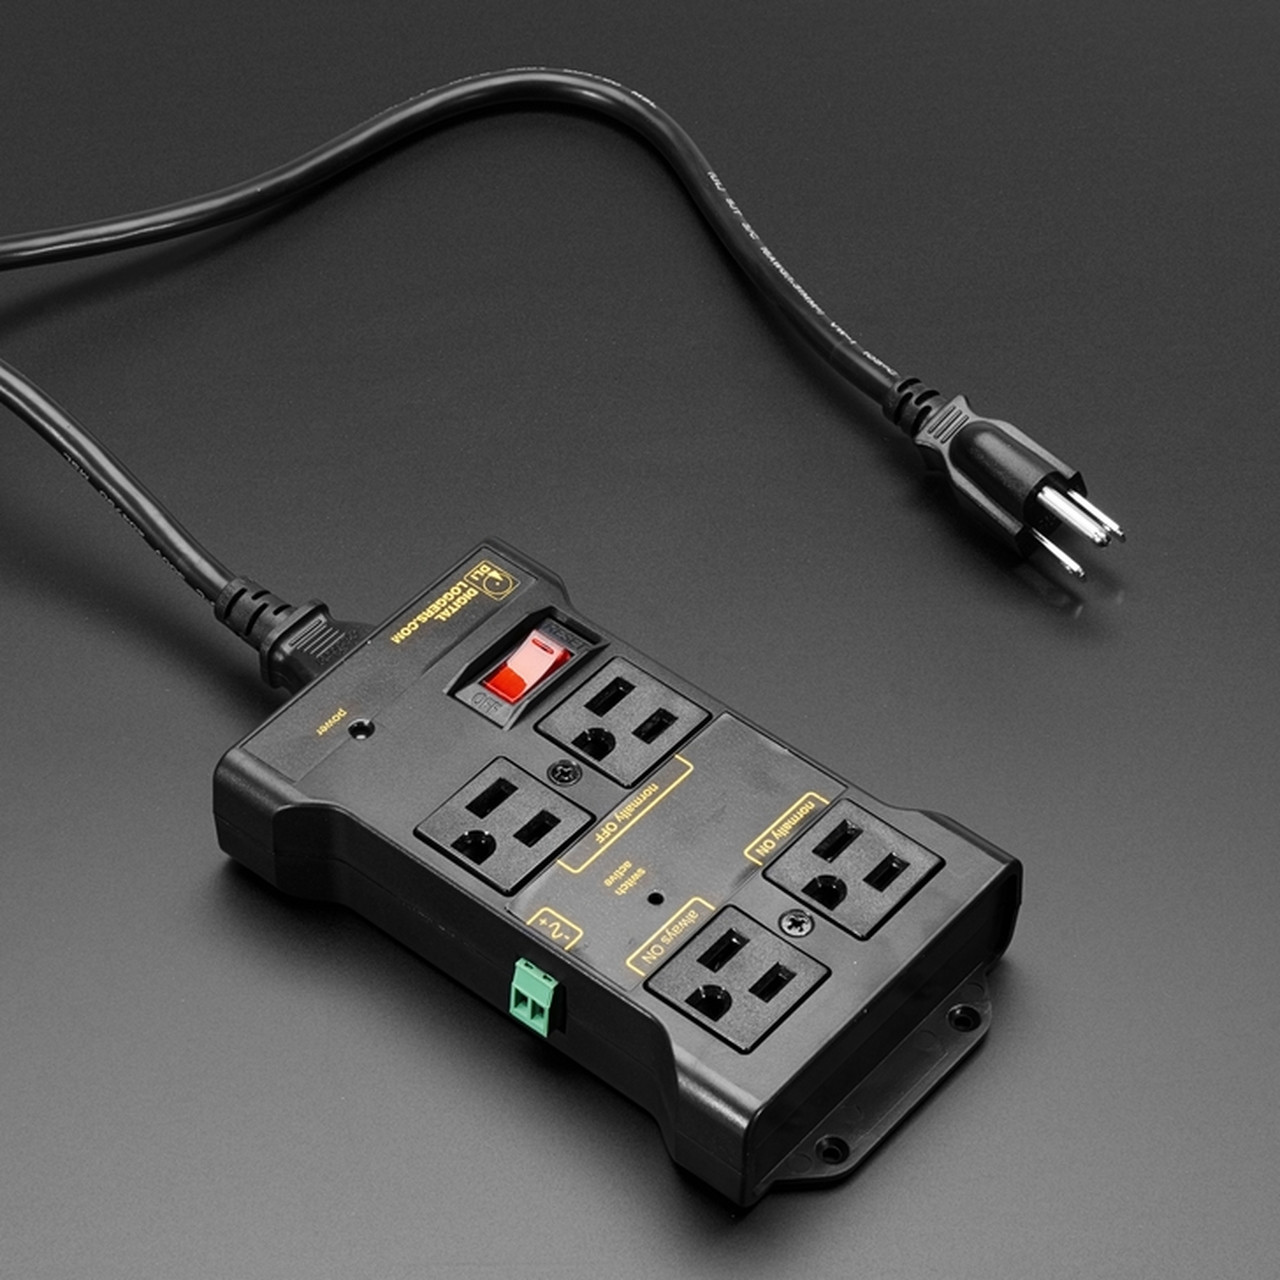
5. Power Supply: Ensure that you have a compatible power supply for your Raspberry Pi 3. This will provide the necessary power to run the device.
6. Keyboard, Mouse, and Monitor: Initially, you will need a keyboard, mouse, and monitor to set up the Raspberry Pi 3 and configure Windows IoT Core. Once set up, you can access the Raspberry Pi remotely.
7. Basic Knowledge of Raspberry Pi: It is helpful to have a basic understanding of how Raspberry Pi works and how to navigate its operating system. Familiarize yourself with the Raspberry Pi environment to follow along more efficiently.
Now that you have the necessary hardware and knowledge, you’re ready to move on to the next steps. In the following sections, we will guide you through the installation process, transforming your Raspberry Pi 3 into a powerful Windows IoT Core device.
Step 1: Downloading Windows IoT Core
The first step in installing Windows IoT Core on your Raspberry Pi 3 is to download the necessary software. Follow these steps:
- Open a web browser on your Windows 10 PC.
- Navigate to the official Windows IoT Core website (https://developer.microsoft.com/en-us/windows/iot).
- Click on the “Get Windows IoT Core” button to access the downloads page.
- On the downloads page, you will see a list of available Windows IoT Core versions. Choose the version that matches your Raspberry Pi 3 device.
- Click on the download link for the selected version. The download process will start automatically.
- Once the download is complete, locate the downloaded file on your PC. It should be an ISO image file.
By downloading Windows IoT Core, you will have the necessary operating system to install on your Raspberry Pi 3 device. The downloaded file contains all the required components to set up Windows IoT Core.
Remember to save the downloaded file in a location where you can easily access it later during the installation process.
Now that you have downloaded Windows IoT Core, we can move on to the next step, which involves installing the Windows IoT Core Dashboard.
Step 2: Installing Windows IoT Core Dashboard
After downloading the Windows IoT Core ISO file in the previous step, the next step is to install the Windows IoT Core Dashboard. This tool will assist us in flashing the Windows IoT Core image onto the SD card. Follow these steps to install the Windows IoT Core Dashboard:
- Locate the downloaded Windows IoT Core ISO file on your PC.
- Double-click on the ISO file to mount it as a virtual drive. This will allow you to access the contents of the ISO file.
- Open the mounted drive and locate the “WindowsIoTCoreDashboard.exe” file.
- Double-click on the “WindowsIoTCoreDashboard.exe” file to start the installation process.
- Follow the on-screen instructions to complete the installation of the Windows IoT Core Dashboard.
- Once the installation is complete, launch the Windows IoT Core Dashboard.
The Windows IoT Core Dashboard provides a user-friendly interface to manage your Windows IoT Core devices and perform various tasks such as flashing the operating system onto an SD card and configuring devices. It is an essential tool for working with Windows IoT Core.
Now that you have successfully installed the Windows IoT Core Dashboard, we can proceed to the next step, which is setting up the Raspberry Pi for Windows IoT Core.
Step 3: Setting up Raspberry Pi for Windows IoT Core
Before we can flash Windows IoT Core onto the Raspberry Pi, we need to ensure that the Raspberry Pi is properly set up to work with Windows IoT Core. Follow these steps to set up your Raspberry Pi:
- Insert the SD card into your Windows PC, using a card reader if necessary.
- Launch the Windows IoT Core Dashboard that you installed in the previous step.
- Click on the “Set up a new device” button in the Windows IoT Core Dashboard.
- Select the appropriate Raspberry Pi model from the list. For Raspberry Pi 3, choose “Raspberry Pi 2 & 3”.
- Choose the SD card that you inserted into your PC from the “Drive” dropdown menu. Be cautious not to select the wrong drive as it will erase its contents.
- Click on the “Download and Install” button to download the necessary files and prepare the SD card for Windows IoT Core.
- Wait for the Windows IoT Core Dashboard to complete the installation process. This may take a few minutes.
- Once the installation is complete, remove the SD card from your PC and insert it into the Raspberry Pi.
Setting up the Raspberry Pi for Windows IoT Core involves preparing the SD card with the required files and configurations. The Windows IoT Core Dashboard streamlines this process, making it easy for you to get your Raspberry Pi ready for Windows IoT Core.
With the Raspberry Pi now set up for Windows IoT Core, it’s time to proceed to the next step: flashing the Windows IoT Core image onto the SD card.
Step 4: Flashing Windows IoT Core onto an SD card
Now that your Raspberry Pi is set up and the SD card is prepared, it’s time to flash the Windows IoT Core image onto the SD card. Follow these steps to complete the flashing process:
- Insert the SD card into the Raspberry Pi, ensuring it is properly seated in the SD card slot.
- Connect the Raspberry Pi to a power source using a compatible power supply.
- Wait for the Raspberry Pi to boot up. This may take a few moments.
- Once the Raspberry Pi has booted up, open the Windows IoT Core Dashboard on your Windows PC.
- Click on the “My Devices” tab in the Windows IoT Core Dashboard.
- Under the “Connected devices” section, you should see your Raspberry Pi listed. Click on it.
- Click on the “Set up” button next to your Raspberry Pi to start the flashing process.
- Follow the on-screen instructions in the Windows IoT Core Dashboard to complete the flashing process.
- Wait for the flashing process to finish. This may take some time, so be patient.
- Once the flashing process is complete, the Raspberry Pi will automatically reboot with Windows IoT Core installed on the SD card.
Flash the Windows IoT Core image onto the SD card is a crucial step in the installation process. This step ensures that the Raspberry Pi is ready to run Windows IoT Core and allows you to leverage the full capabilities of the operating system.
Now that you have successfully flashed Windows IoT Core onto the SD card, it’s time to proceed to the next step: connecting the Raspberry Pi to a network.
Step 5: Connecting Raspberry Pi to a Network
In order to fully utilize the functionalities of Windows IoT Core on your Raspberry Pi, you need to connect it to a network. Follow these steps to connect your Raspberry Pi to a network:
- Ensure that your Raspberry Pi is powered on and running the Windows IoT Core.
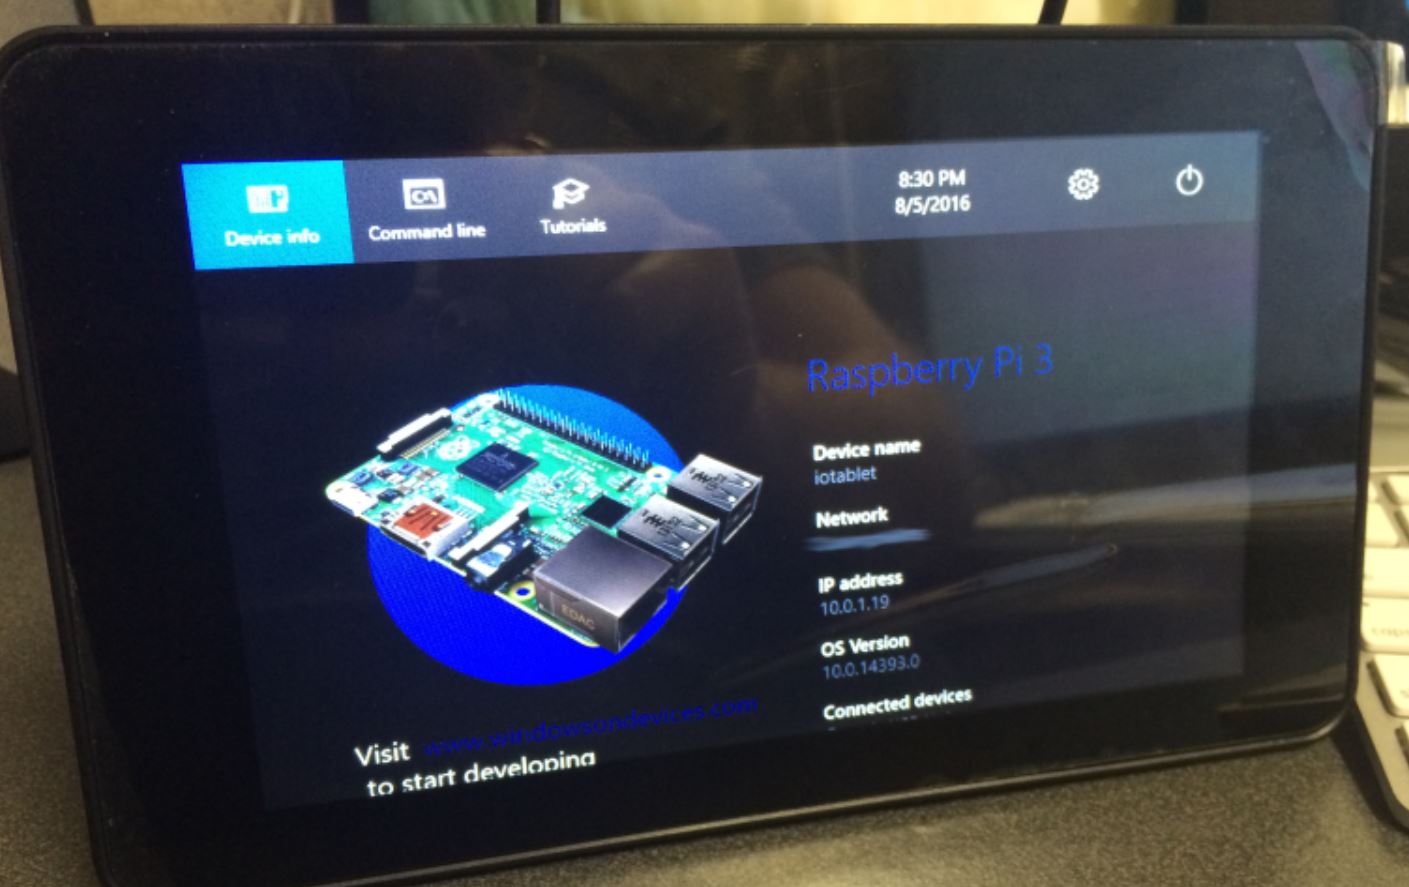
- Connect your Raspberry Pi to a monitor using an HDMI cable, and connect a keyboard and mouse to the USB ports.
- On the monitor, you will see the Windows IoT Core welcome screen. Take note of the IP address displayed on the screen.
- On your Windows PC, open the Windows IoT Core Dashboard.
- Click on the “My Devices” tab and select your Raspberry Pi from the list.
- Click on the “Open in Device Portal” button.
- In the Device Portal interface, navigate to the “Networking” section.
- Under the “Wireless” tab, select your network from the list of available networks.
- Enter the network passphrase or security key, and click on the “Connect” button.
- Wait for the Raspberry Pi to connect to the network. Once connected, the IP address will be displayed.
Connecting your Raspberry Pi to a network is essential for remote access and communication with other devices. It allows you to control and manage your Raspberry Pi remotely, making it convenient for IoT development and remote monitoring.
Now that your Raspberry Pi is connected to a network, you can proceed to the next step: configuring Windows IoT Core on the Raspberry Pi.
Step 6: Configuring Windows IoT Core on Raspberry Pi
With your Raspberry Pi connected to the network, it’s time to configure Windows IoT Core to suit your needs. Follow these steps to configure Windows IoT Core on your Raspberry Pi:
- Open a web browser on your Windows PC.
- Enter the IP address of your Raspberry Pi, which you noted in the previous step, into the address bar of the browser.
- Press Enter to access the Windows Device Portal interface.
- On the Device Portal login page, enter the default credentials. The default username is “Administrator,” and the default password is “password”.
- Once logged in, you will have access to the Windows Device Portal interface.
- Navigate through the different settings and options in the interface to configure Windows IoT Core as per your requirements.
- You can customize settings related to networking, security, device management, and more. Explore the available options and adjust them as desired.
- Make sure to save any changes you make in the Windows Device Portal interface.
- Once you have finished configuring Windows IoT Core, you can close the web browser.
The configuration step allows you to fine-tune the settings of Windows IoT Core on your Raspberry Pi. It gives you control over various aspects of the operating system, enabling you to optimize it for your specific project or application.
With the configuration complete, you are now ready to access your Raspberry Pi remotely and start exploring the possibilities of Windows IoT Core.
Step 7: Accessing Raspberry Pi Remotely
One of the great advantages of Windows IoT Core is the ability to access and control your Raspberry Pi remotely. This allows you to manage and monitor your device from anywhere within your network. Follow these steps to access your Raspberry Pi remotely:
- Ensure that your Raspberry Pi is connected to the same network as your Windows PC.
- Open a web browser on your Windows PC.
- Enter the IP address of your Raspberry Pi into the address bar of the browser.
- Press Enter to access the Windows Device Portal interface.
- On the Device Portal login page, enter the credentials you set during the configuration step.
- Once logged in, you will have remote access to your Raspberry Pi.
- You can explore the various tabs and settings to monitor and manage your device.
- From the Device Portal interface, you can deploy applications, access the file system, monitor performance, and more.
- Take advantage of the remote access capability to control and interact with your Raspberry Pi conveniently.
Remote access to your Raspberry Pi provides flexibility and convenience in managing and monitoring your Windows IoT Core device. It allows you to make changes, deploy applications, and troubleshoot issues without needing physical access to the Raspberry Pi.
With remote access established, you are now ready to unleash the full potential of your Raspberry Pi powered with Windows IoT Core.
Conclusion
Congratulations! You have successfully installed Windows IoT Core on your Raspberry Pi 3, allowing you to harness the power of Windows in your IoT projects. By following the step-by-step guide in this article, you have set up the necessary software, flashed Windows IoT Core onto an SD card, connected your Raspberry Pi to a network, configured the operating system, and gained remote access to your device.
Windows IoT Core provides a familiar and versatile platform for building IoT applications. With its wide range of tools and capabilities, you can develop projects ranging from home automation systems to industrial monitoring devices and beyond.
Remember to explore the various features and options available in Windows IoT Core, such as networking, security, and device management, to optimize your device’s performance and customize it for your specific needs.
With your Raspberry Pi now running Windows IoT Core, you can start developing and deploying applications to leverage the full potential of this powerful combination. Whether you are a hobbyist, a student, or an experienced developer, the possibilities with Windows IoT Core are endless.
Continue to experiment, learn, and innovate with your Windows IoT Core-empowered Raspberry Pi, and unlock the exciting world of the Internet of Things.