Introduction
Welcome to the exciting world of smart home technology! One of the most popular and practical applications of this technology is the creation of a smart door lock. With a smart door lock, you can enhance the security of your home and enjoy the convenience of keyless entry.
In this guide, we will walk you through the step-by-step process of creating your very own smart door lock using a Raspberry Pi. Whether you are a DIY enthusiast, a tech-savvy individual, or simply curious about home automation, this project is a great way to expand your skills and add a cutting-edge feature to your home.
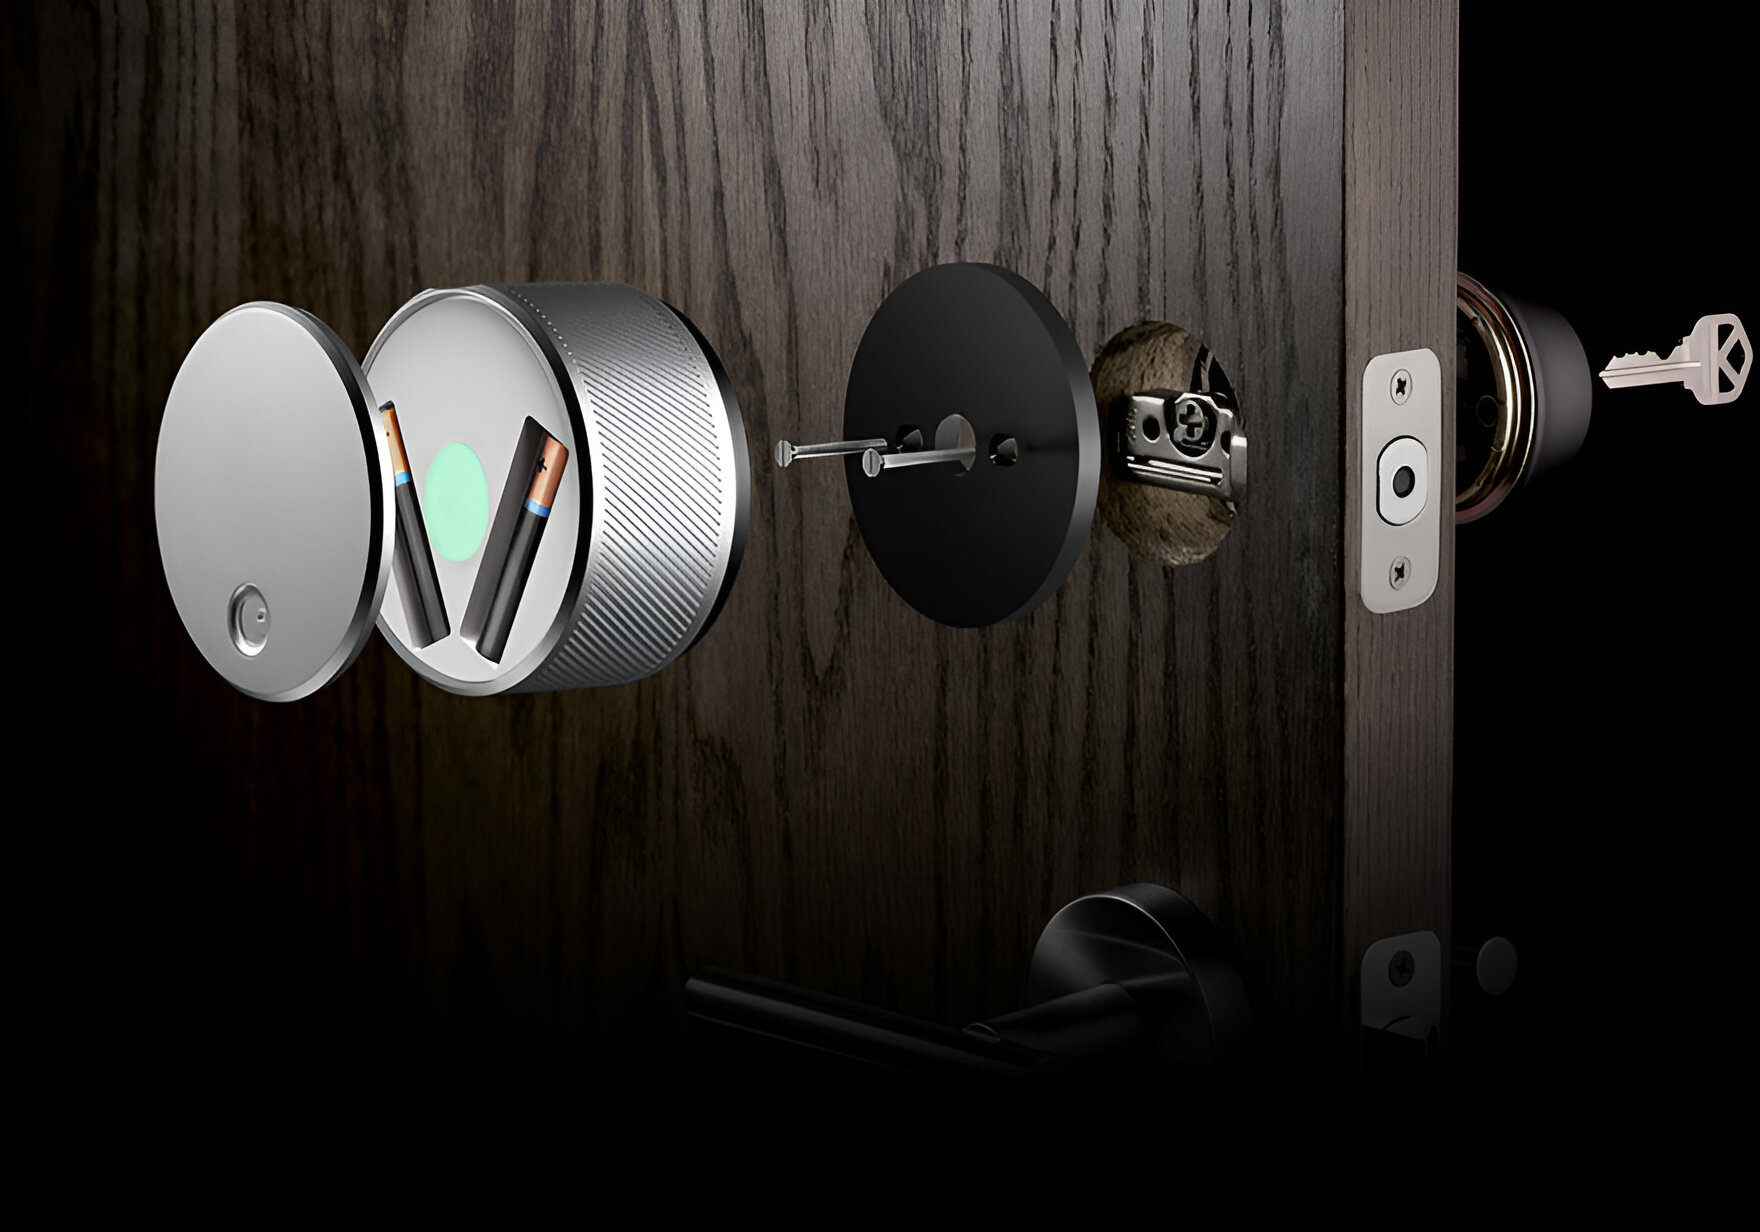
To complete this project, you will need some basic tools and materials, including a Raspberry Pi (preferably a Raspberry Pi 3 or later model), a servo motor, jumper wires, a breadboard, and some basic electronic components. Don’t worry if you’re new to electronics – we will explain everything in detail as we progress through the project.
Building a smart door lock involves a combination of hardware setup, wiring, and programming. Rest assured that we will provide clear instructions and guidance along each step of the way. By the end of this guide, you will have a fully functional smart door lock that you can control remotely using your smartphone or other smart devices.
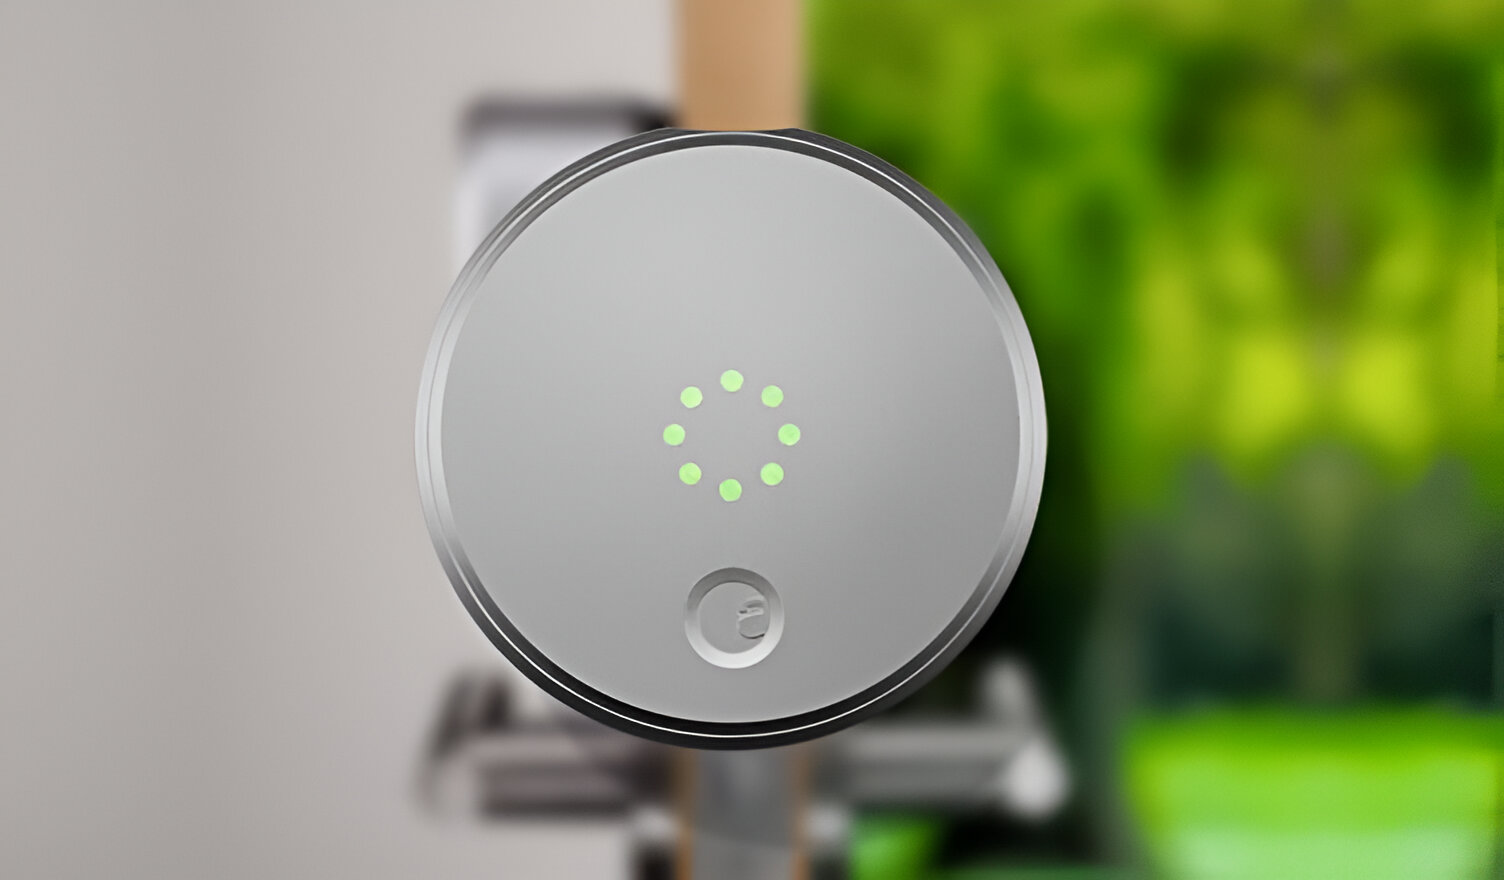
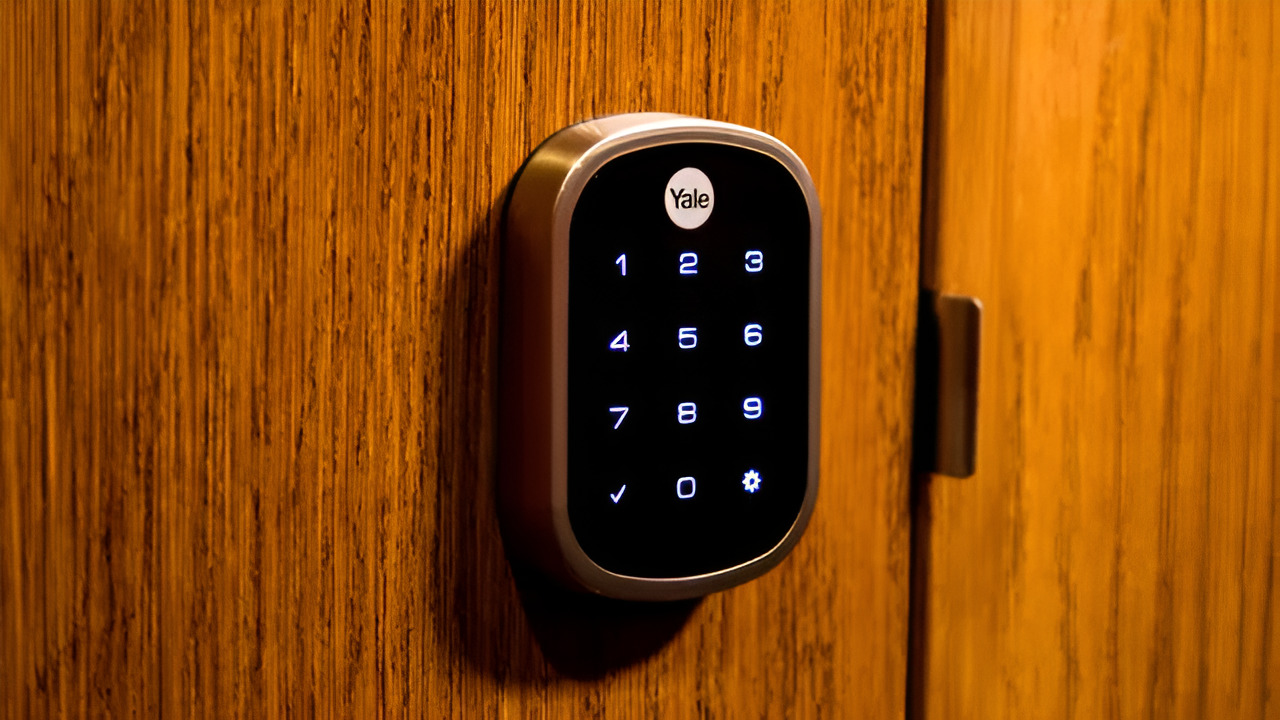
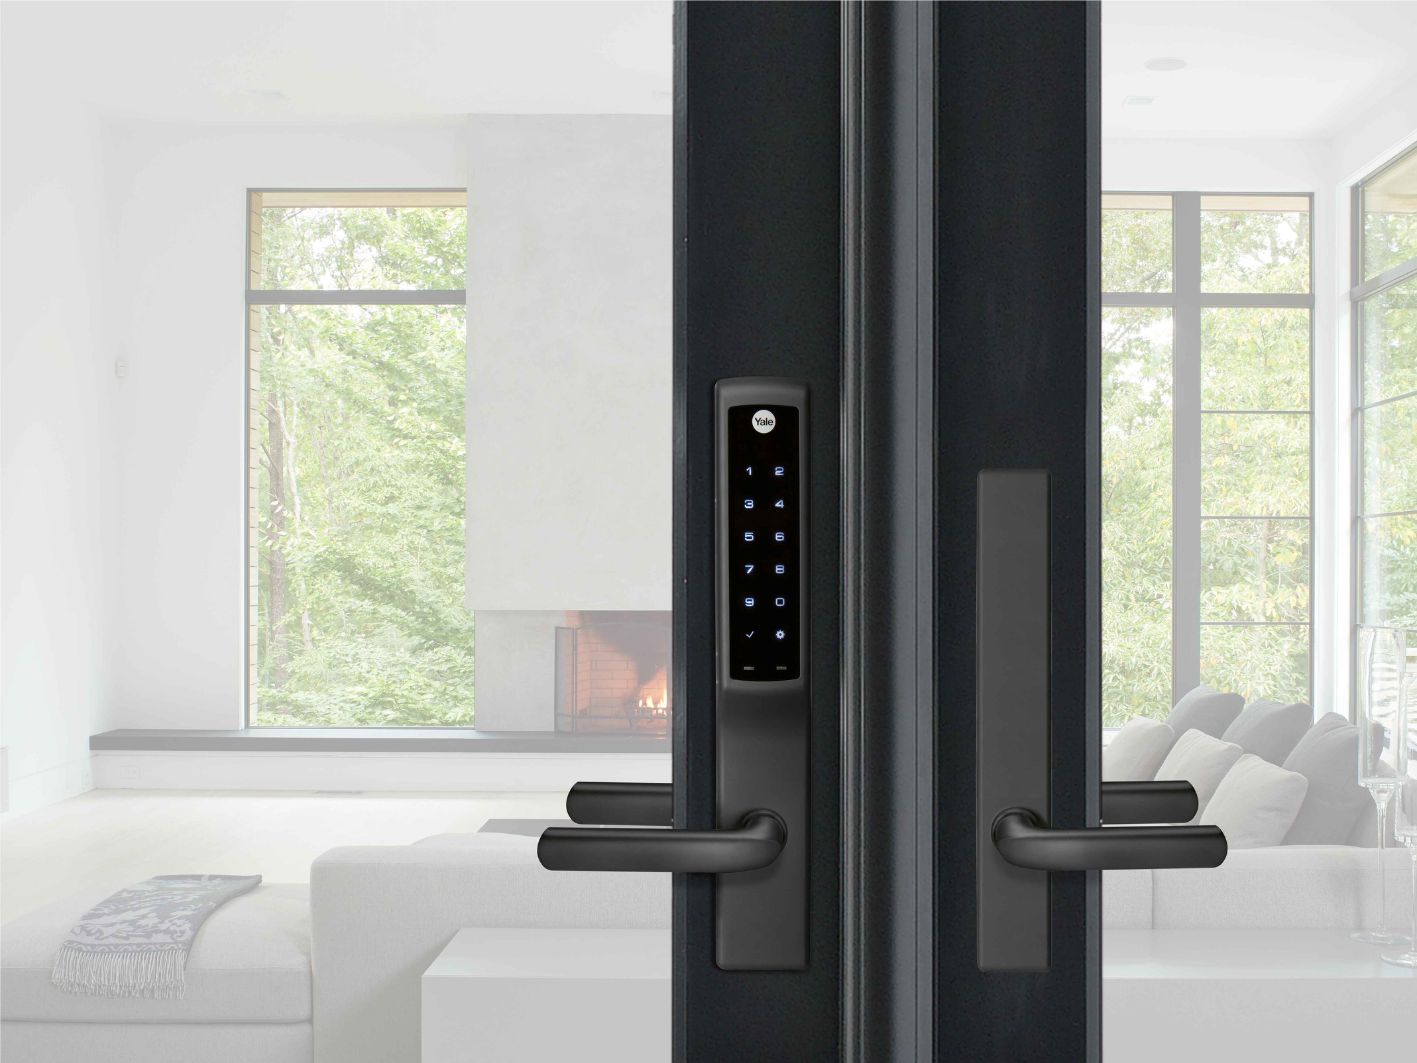
Before we dive into the technical details, let’s take a moment to appreciate the benefits of a smart door lock. Firstly, it eliminates the need for physical keys, which can easily get lost or misplaced. Instead, you can unlock your door using a personalized code, a smartphone app, or even your voice.
Secondly, a smart door lock allows you to grant access to your home remotely. Whether you’re at work, on vacation, or simply away from home, you can conveniently unlock your door for family members, friends, or service providers.
Finally, a smart door lock enhances home security by providing real-time alerts and activity logs. You can receive notifications when someone unlocks or locks the door, keeping you informed of any suspicious activity.
Now that you understand the benefits, let’s gather the tools and materials needed and begin building our smart door lock!
Tools and Materials Needed
Before we start building our smart door lock, let’s gather all the necessary tools and materials. Here’s a list of what you’ll need:
- Raspberry Pi: You’ll need a Raspberry Pi, preferably a Raspberry Pi 3 or later model. This will serve as the brain of our smart door lock system.
- Servo Motor: A servo motor will be used to actuate the locking mechanism of the door. Make sure to choose a servo motor that is compatible with the Raspberry Pi.
- Jumper Wires: These wires will be used to connect the Raspberry Pi, servo motor, and other components. Make sure to have a variety of jumper wires of different lengths.
- Breadboard: A breadboard will provide a convenient platform for prototyping and connecting the electronic components. Make sure to choose a breadboard that is large enough for your project.
- Electronic Components: You’ll need a few basic electronic components such as resistors, capacitors, and LEDs. These components may be required for wiring and indicating the status of the smart door lock.
- Screwdriver: A screwdriver will be needed to assemble the lock mechanism and secure it in place.
- Power Supply: Make sure to have a suitable power supply for the Raspberry Pi. It’s recommended to use a USB power adapter with a Micro USB cable.
- Internet Connection: In order to control the smart door lock remotely, you’ll need an internet connection. Ensure that your Raspberry Pi is connected to your home Wi-Fi network.
- Computer: You’ll need a computer to program the Raspberry Pi and configure the smart door lock system.
These are the essential tools and materials needed to build a smart door lock using a Raspberry Pi. Some additional components or tools may be required depending on the specific design and features you choose.
Keep in mind that safety is crucial when working with electronics. Make sure to handle all tools and materials with care, and follow proper safety precautions. With all the necessary tools and materials ready, let’s move on to the next step: setting up the Raspberry Pi.
Step 1: Choosing the Right Hardware
When building a smart door lock, it’s crucial to choose the right hardware components to ensure compatibility and functionality. In this step, we will guide you through the process of selecting the necessary hardware.
The heart of our smart door lock system is a Raspberry Pi, a small and affordable single-board computer that offers powerful processing capabilities. It’s important to choose a Raspberry Pi model that suits your needs. Ideally, a Raspberry Pi 3 or later model is recommended due to its improved performance and built-in Wi-Fi connectivity.
Next, you’ll need a servo motor to actuate the locking mechanism of the door. Servo motors are widely used in robotics and automation projects due to their precise control and ease of use. When choosing a servo motor, ensure that it is compatible with the Raspberry Pi and has enough torque to operate the door lock smoothly.
In addition to the Raspberry Pi and servo motor, you’ll need a variety of electronic components such as resistors, capacitors, and LEDs. These components may be required for wiring and indicating the status of the smart door lock. Make sure to select components that are suitable for your specific design and requirements.
It’s worth mentioning that there are pre-built smart door lock kits available in the market. These kits often include all the necessary hardware components along with detailed instructions. If you prefer a more plug-and-play approach, consider getting a smart door lock kit that is compatible with the Raspberry Pi.
Before making a purchase, it’s recommended to do some research and read reviews to ensure the quality and compatibility of the hardware components. Look for reputable suppliers and manufacturers that have a track record of providing reliable products.
Once you have chosen the right hardware components, you’re ready to move on to the next step: setting up the Raspberry Pi. It’s time to bring our smart door lock to life!
Step 2: Setting Up Raspberry Pi
In this step, we will guide you through the process of setting up your Raspberry Pi, the brain of our smart door lock system. Follow these steps to get your Raspberry Pi up and running:
- Prepare the SD Card: Start by preparing the SD card that will serve as the storage for the Raspberry Pi’s operating system. Download the latest version of the Raspberry Pi OS and use a tool like Etcher to flash the image onto the SD card.
- Connect Peripherals: Connect your Raspberry Pi to a monitor or TV using an HDMI cable. Plug in a USB keyboard and mouse to navigate through the setup process.
- Power Up the Raspberry Pi: Connect the power supply to your Raspberry Pi, and it will boot up. Follow the on-screen prompts to complete the initial setup.
- Configure Wi-Fi: Once the Raspberry Pi has booted up, open the settings and configure the Wi-Fi connection. Enter the SSID and password for your home network.
- Update the System: It’s essential to keep your Raspberry Pi’s operating system up to date. Open the terminal and run the following commands:
    sudo apt update
    sudo apt upgrade
This will update the system with the latest available packages.
- Enable SSH: To remotely access your Raspberry Pi, you’ll need to enable SSH. Open the terminal and run the following command:
sudo raspi-configNavigate to the Interfacing Options and enable SSH.
- Set a Static IP Address: For convenience, it’s recommended to assign a static IP address to your Raspberry Pi. This will ensure that the IP address remains consistent, even after rebooting. Open the terminal and run the following command to edit the dhcpcd.conf file:
sudo nano /etc/dhcpcd.confScroll to the bottom of the file and add the following lines:
    interface wlan0
    static ip_address=X.X.X.X/24
    static routers=X.X.X.X
    static domain_name_servers=X.X.X.X
Replace X.X.X.X with your desired IP address, router IP, and DNS server IP. Press Ctrl+X, followed by Y and Enter to save the changes.
By completing these steps, you have successfully set up your Raspberry Pi. It is now ready to be used as the brain of our smart door lock system. In the next step, we will dive into building the lock mechanism. Stay tuned!
Step 3: Building the Lock Mechanism
In this step, we will focus on building the lock mechanism for our smart door lock. Follow these instructions to create a functioning lock:
- Measure and Prepare the Lock Mounting Area: Start by measuring the area where the lock will be mounted on your door. Make sure the space is sufficient to accommodate the lock mechanism. Clean the area and remove any obstructions or debris.
- Choose and Prepare the Locking Mechanism: Select a suitable locking mechanism for your door. This can be a traditional deadbolt lock or a latch bolt lock, depending on your preference. Follow the manufacturer’s instructions to prepare the lock according to the dimensions specified by the lock model.
- Mark and Drill Holes: Place the lock mounting plate on the door and mark the spots where you need to drill holes to secure the lock. Use a drill and appropriate drill bit to create the necessary holes. Make sure to align the holes accurately.
- Attach the Mounting Plate: Secure the lock mounting plate to the door, aligning the drilled holes with the corresponding spots on the plate. Use screws or bolts provided with the lock model to attach the mounting plate firmly.
- Install the Lock Cylinder: Insert the lock cylinder into the mounting plate, ensuring that it fits properly. Secure the cylinder using screws or other fasteners, as specified by the lock model’s instructions.
- Test the Lock Operation: Test the lock’s operation by inserting the key and turning it to lock and unlock the mechanism. Ensure smooth and reliable movement, and make any necessary adjustments if the lock is not functioning correctly.
Building the lock mechanism is a crucial step in creating a functional smart door lock. Take your time to ensure that the lock is secure, aligned correctly, and operates smoothly. Once the lock mechanism is installed and tested, we can move on to the next step of wiring the servo motor.
Step 4: Wiring the Servo Motor
Now that we have built the lock mechanism, it’s time to wire the servo motor to the Raspberry Pi. The servo motor will be responsible for actuating the lock and unlocking the door. Follow these steps to wire the servo motor:
- Identify the Pins: Take a look at your Raspberry Pi and locate the GPIO (General Purpose Input/Output) pins. These pins provide the electrical connections between the Raspberry Pi and external components.
- Connect the Power and Ground: Connect the power (VCC) pin of the servo motor to the 5V pin on the Raspberry Pi. Connect the ground (GND) pin of the servo motor to any of the GND pins on the Raspberry Pi.
- Connect the Signal Pin: Find a GPIO pin on the Raspberry Pi that will be used to control the servo motor. Connect the signal (SIG) pin of the servo motor to this GPIO pin. It’s recommended to use one of the PWM (Pulse Width Modulation) capable pins, as they are optimized for controlling servo motors.
It’s important to ensure that the connections are secure and well-insulated to prevent any accidental short circuits. Double-check the wiring to make sure that all connections are accurate.
Once the servo motor is properly wired to the Raspberry Pi, we can move on to the next step: programming the Raspberry Pi. Wiring the servo motor is a crucial step in enabling the Raspberry Pi to control the lock mechanism effectively.
Step 5: Programming the Raspberry Pi
Now that we have the servo motor wired to the Raspberry Pi, it’s time to program it to control the smart door lock. Programming the Raspberry Pi will allow us to send commands to the servo motor and automate the locking and unlocking process. Follow these steps to program the Raspberry Pi:
- Install Required Software: Before we begin programming, make sure that your Raspberry Pi is running the latest version of the Raspberry Pi OS. Install any necessary software libraries or dependencies required for servo motor control. You may need to install the RPi.GPIO library if it is not already installed. Use the following command on the Raspberry Pi terminal to install it:
sudo apt-get install rpi.gpio - Create a Python Script: Open a text editor on your Raspberry Pi and create a new Python script to control the servo motor. Import the necessary libraries, initialize the GPIO pins, and define functions to control the servo motor’s movement based on the desired locking and unlocking actions.
- Program the Lock Logic: Inside the Python script, write the code to control the servo motor according to the desired locking and unlocking logic. This may involve setting the angle of the servo motor to a specific position to lock or unlock the door, as well as implementing any additional features or security measures you desire.
- Test and Debug: Once the code is written, save the Python script and run it on the Raspberry Pi. Test the program by executing various commands to lock and unlock the door. Make any necessary adjustments or debugging based on the feedback and behavior of the servo motor.
Make sure to pay attention to the programming syntax and logic to ensure proper servo motor control. Take your time to test and debug the code to ensure that it functions correctly and meets your requirements.
By completing the programming step, you have successfully programmed the Raspberry Pi to control the smart door lock. In the next step, we will assemble the smart door lock and bring all the components together. Stay tuned!
Step 6: Assembling the Smart Door Lock
Now that we have completed the hardware setup and programming of the Raspberry Pi, it’s time to assemble the smart door lock. Follow these steps to bring all the components together:
- Mount the Servo Motor: Begin by securing the servo motor onto the door or the lock mechanism, depending on your design. Make sure the servo motor is positioned in a way that allows it to interact with the lock mechanism effectively.
- Connect the Servo Motor: Connect the wires from the servo motor to the corresponding GPIO pins on the Raspberry Pi. Double-check the connections to ensure they are secure and properly aligned.
- Assemble the Raspberry Pi: If you haven’t done so already, secure the Raspberry Pi to a suitable location near the door. Consider using mounting brackets or adhesive to hold it in place securely. Ensure that the USB power cable and other connections are properly plugged in.
- Position the Door Sensor (Optional): If you want to incorporate a door sensor for added functionality, position it on the door frame or the door itself, depending on the sensor design. Connect the sensor to the Raspberry Pi as per the manufacturer’s instructions.
- Finalize the Wiring: Take a moment to ensure all wires are neatly organized and properly secured. Use cable ties or adhesive clips to keep the wires in place and prevent any accidental disconnections.
- Test the Smart Door Lock: With everything assembled, test the functionality of the smart door lock. Use the commands or smartphone app you have developed to send signals to the Raspberry Pi, instructing it to lock or unlock the door. Verify that the servo motor operates smoothly and that the door responds accordingly.
Throughout the assembly process, pay attention to the positioning and alignment of the components. Ensure that the servo motor interacts correctly with the lock mechanism, and that any additional sensors, such as the door sensor, are functioning properly.
Once you have successfully assembled the smart door lock and tested its functionality, you are ready to move on to the final step: testing and troubleshooting. In the next step, we will explore how to ensure the smart door lock operates smoothly and address any issues that may arise. Let’s get started!
Step 7: Testing and Troubleshooting
Now that you have assembled the smart door lock, it’s crucial to thoroughly test its functionality and address any potential issues. Here are some steps to help you test and troubleshoot your smart door lock:
- Test Locking and Unlocking: Use the commands or smartphone app you have developed to test the locking and unlocking functionality of the smart door lock. Try different scenarios, such as locking and unlocking from a remote location, to ensure that all features are working as intended.
- Check Servo Motor Performance: Observe the performance of the servo motor as it operates the lock mechanism. Ensure that the movement is smooth, accurate, and consistent. If you notice any irregularities, such as jittering or jerky movements, examine the wiring and connections for any loose or incorrectly connected components.
- Validate Door Sensor Functionality (Optional): If you have incorporated a door sensor, verify that it accurately detects the status of the door (open or closed). Test the response time and make sure the Raspberry Pi receives the sensor’s signals correctly.
- Address Connectivity Issues: If you encounter any connectivity issues, such as the Raspberry Pi losing Wi-Fi connection or having trouble communicating with the servo motor, check the quality of your internet connection and make sure the wires and connections are secure. Also, verify that the correct IP addresses and credentials are used for proper communication.
- Debug and Refine Code: If you encounter any issues with the programming or automation logic, identify the source of the problem by checking the code. Debug and refine the code to address any bugs or unexpected behavior. Use debugging tools, print statements, and error handling techniques to pinpoint and resolve issues.
- Seek Community Support: If you are having trouble troubleshooting on your own, reach out to online communities and forums for assistance. The Raspberry Pi community is highly supportive, and you can find valuable insights and solutions from experienced DIY enthusiasts and developers.
Remember that testing and troubleshooting are ongoing processes. Continuous testing after each modification or upgrade will ensure the reliability and performance of your smart door lock. By addressing any issues that arise efficiently, you will achieve an optimal smart door lock experience.
Congratulations on completing the testing and troubleshooting stage! You have successfully built, tested, and refined your very own smart door lock using a Raspberry Pi. Enjoy the enhanced security and convenience that this technology brings to your home!
Conclusion
Building a smart door lock using a Raspberry Pi is an exciting and rewarding project that can enhance the security and convenience of your home. Throughout this guide, we have explored the step-by-step process of creating a smart door lock, from choosing the right hardware to programming the Raspberry Pi and assembling the components.
By following the instructions in this guide, you have learned how to select the appropriate hardware components, set up the Raspberry Pi, build the lock mechanism, wire the servo motor, program the Raspberry Pi, assemble the smart door lock, and test its functionality. You have gained valuable skills in hardware setup, wiring, programming, and troubleshooting.
A smart door lock offers numerous benefits, including keyless entry, remote access control, and real-time security alerts. With your newly created smart door lock, you can enjoy the convenience of unlocking your door using a personalized code or smartphone app, grant access to others remotely, and receive notifications about any lock or unlock activity.
Remember, as you continue to use your smart door lock, there may be opportunities to improve its functionality and add additional features. Be open to exploring new ideas and advancements in smart home technology to further enhance your smart door lock setup.
We hope this guide has inspired you to embark on your journey of creating a smart door lock and exploring the vast possibilities of home automation. With your newfound knowledge, continue to explore and experiment with new projects to expand your skills in the exciting field of DIY smart home technology.
Thank you for joining us on this adventure, and we wish you all the best in your future endeavors as you continue to explore the possibilities of smart home technology!