Introduction
Welcome to the world of smart home technology, where convenience and security go hand in hand. One of the most popular smart devices for your home is the smart door lock. With a smart door lock, you can say goodbye to traditional keys and effortlessly control access to your home from anywhere.
In this guide, we will walk you through the process of opening your smart door lock. Whether you’re a tech-savvy individual or new to the world of smart home devices, this step-by-step tutorial will help you navigate through the installation and setup process, ensuring that you can effortlessly unlock your door with just a few taps on your smartphone.
Before we dive into the steps, it’s important to note that different smart door locks may have slightly different installation and setup processes. Therefore, it’s always a good idea to consult the manufacturer’s manual for specific instructions related to your particular smart door lock model.
Are you ready to open up a new world of convenience and security? Let’s get started!
Step 1: Understanding Your Smart Door Lock
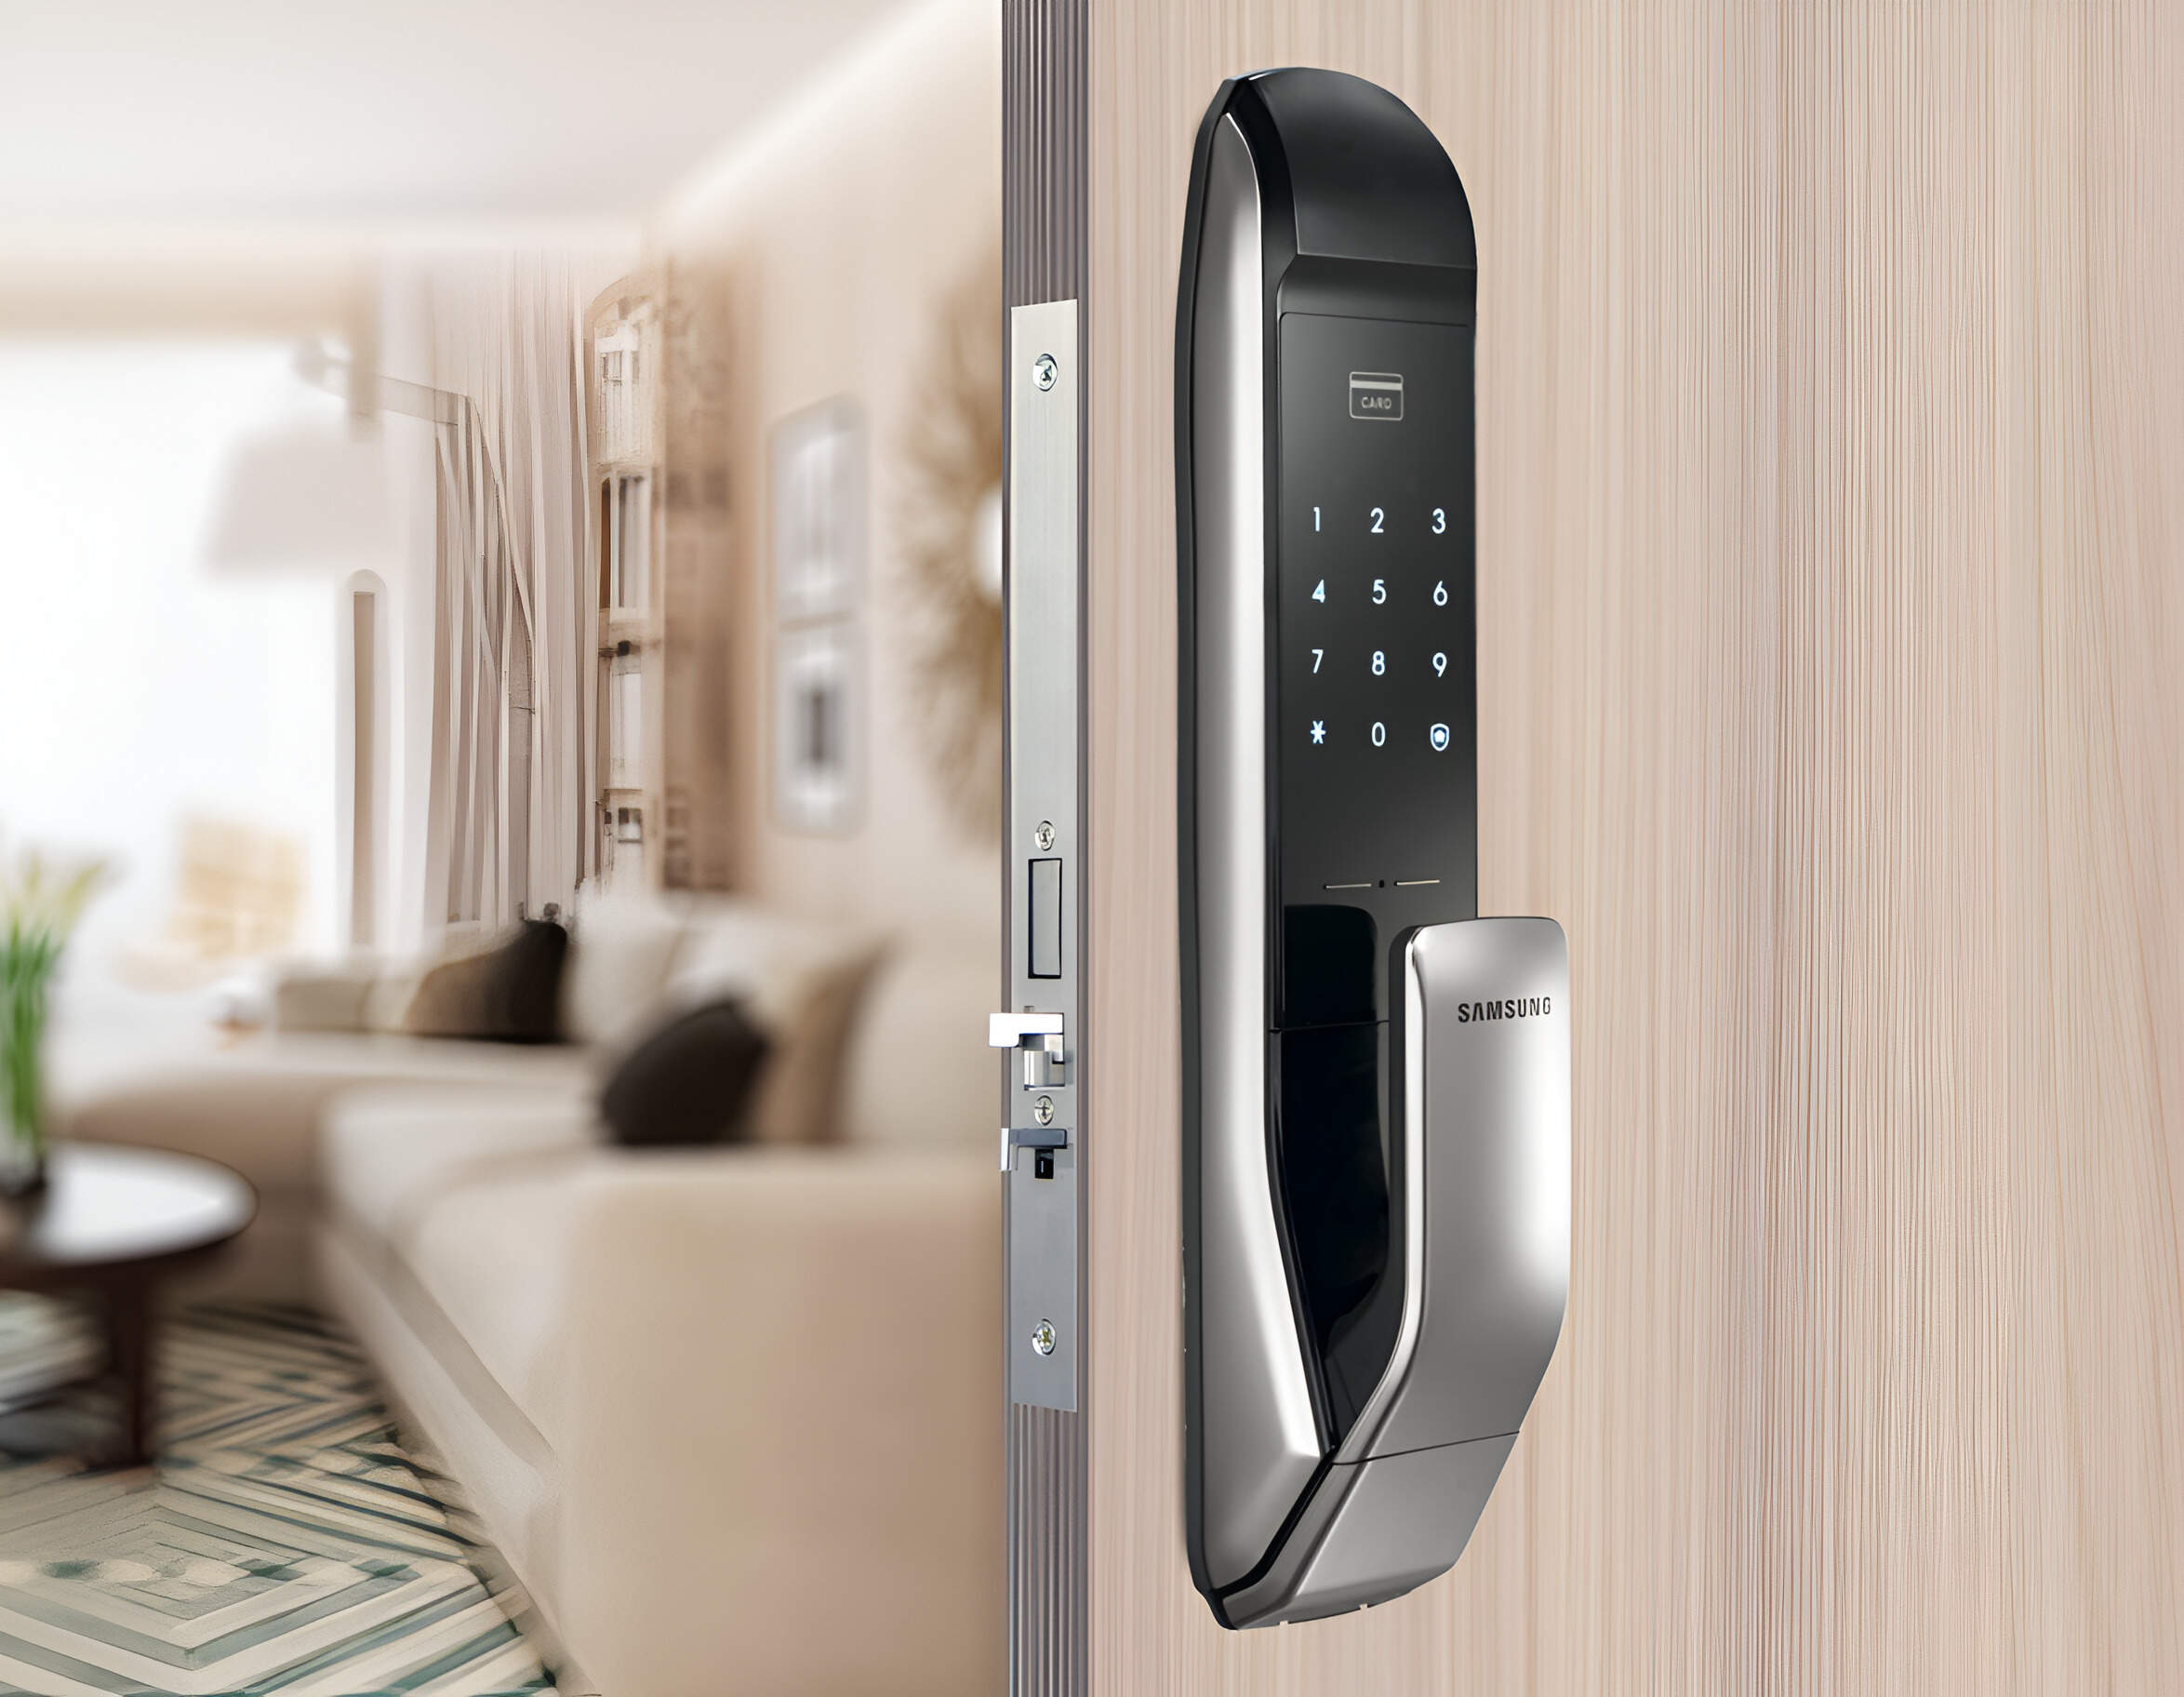
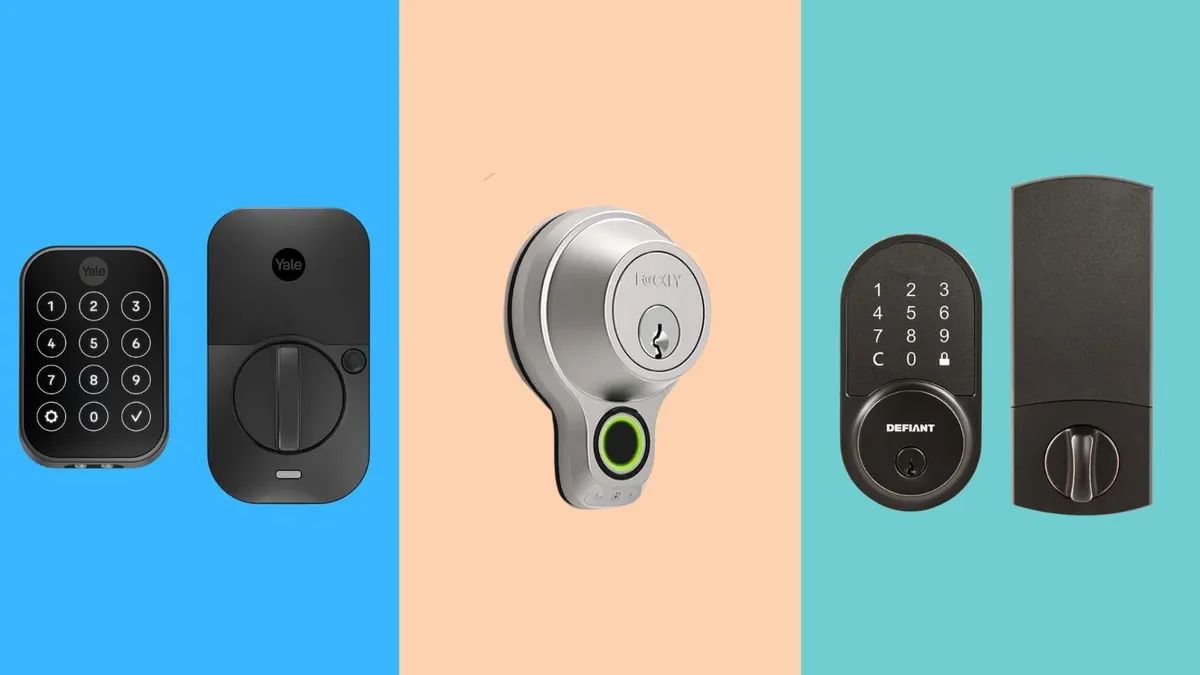
Before you can successfully open your smart door lock, it’s important to have a clear understanding of how it works and its unique features. Smart door locks come in different types, including keypad locks, fingerprint recognition locks, and Bluetooth-enabled locks. Familiarize yourself with the specific type of smart door lock you have to ensure a smooth installation process.
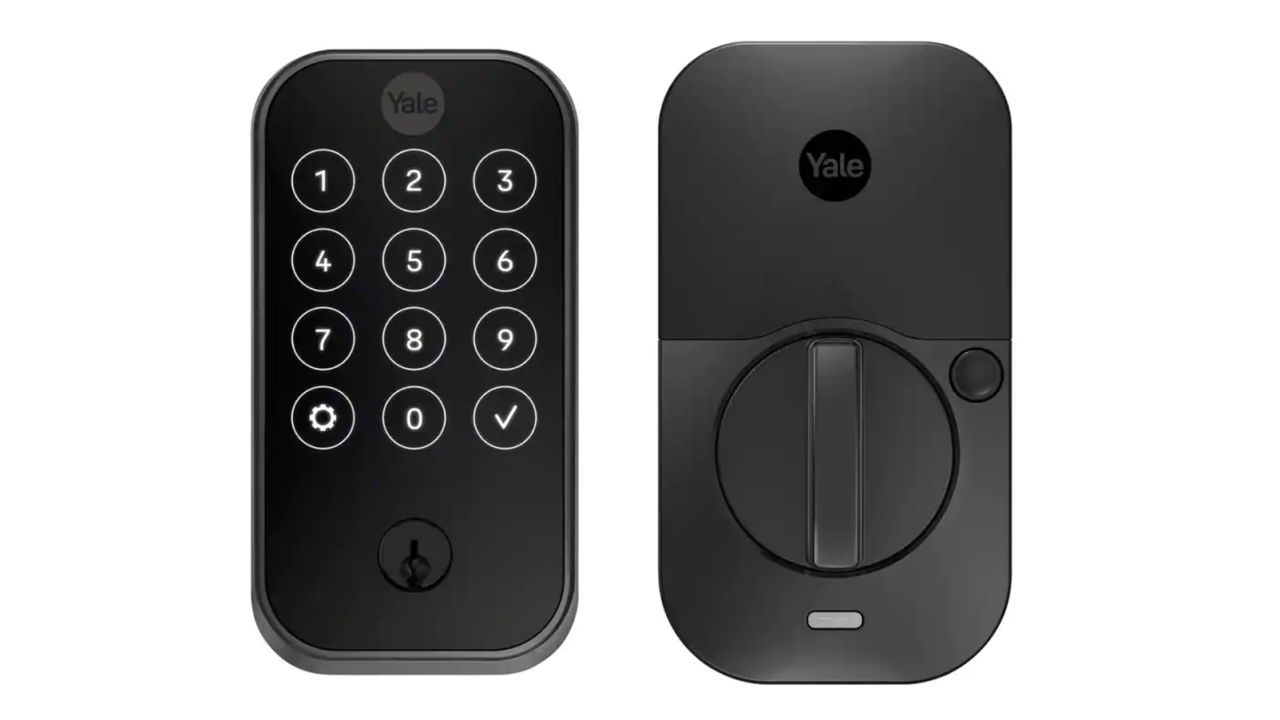
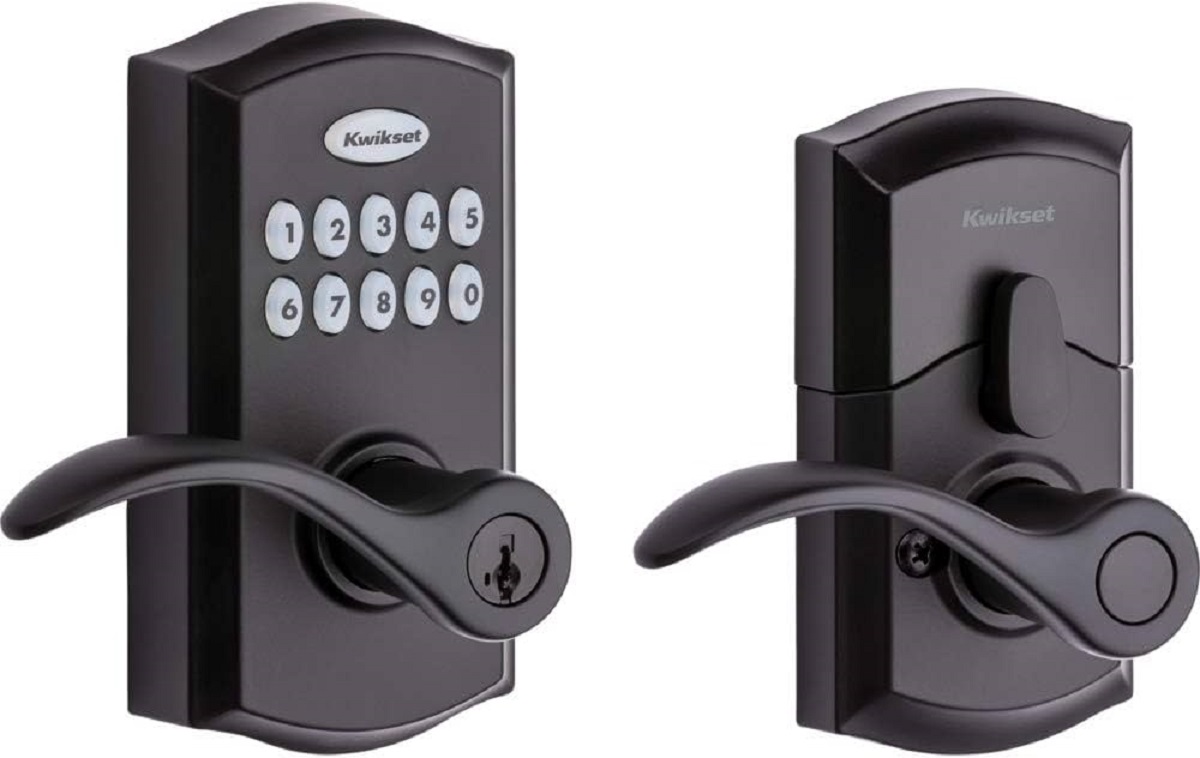
Keypad locks: These smart door locks require you to enter a passcode to unlock the door. Some models may have physical buttons, while others have touchpads for entering the code. Make sure you know how many digits are required for the passcode and whether it can be customized.
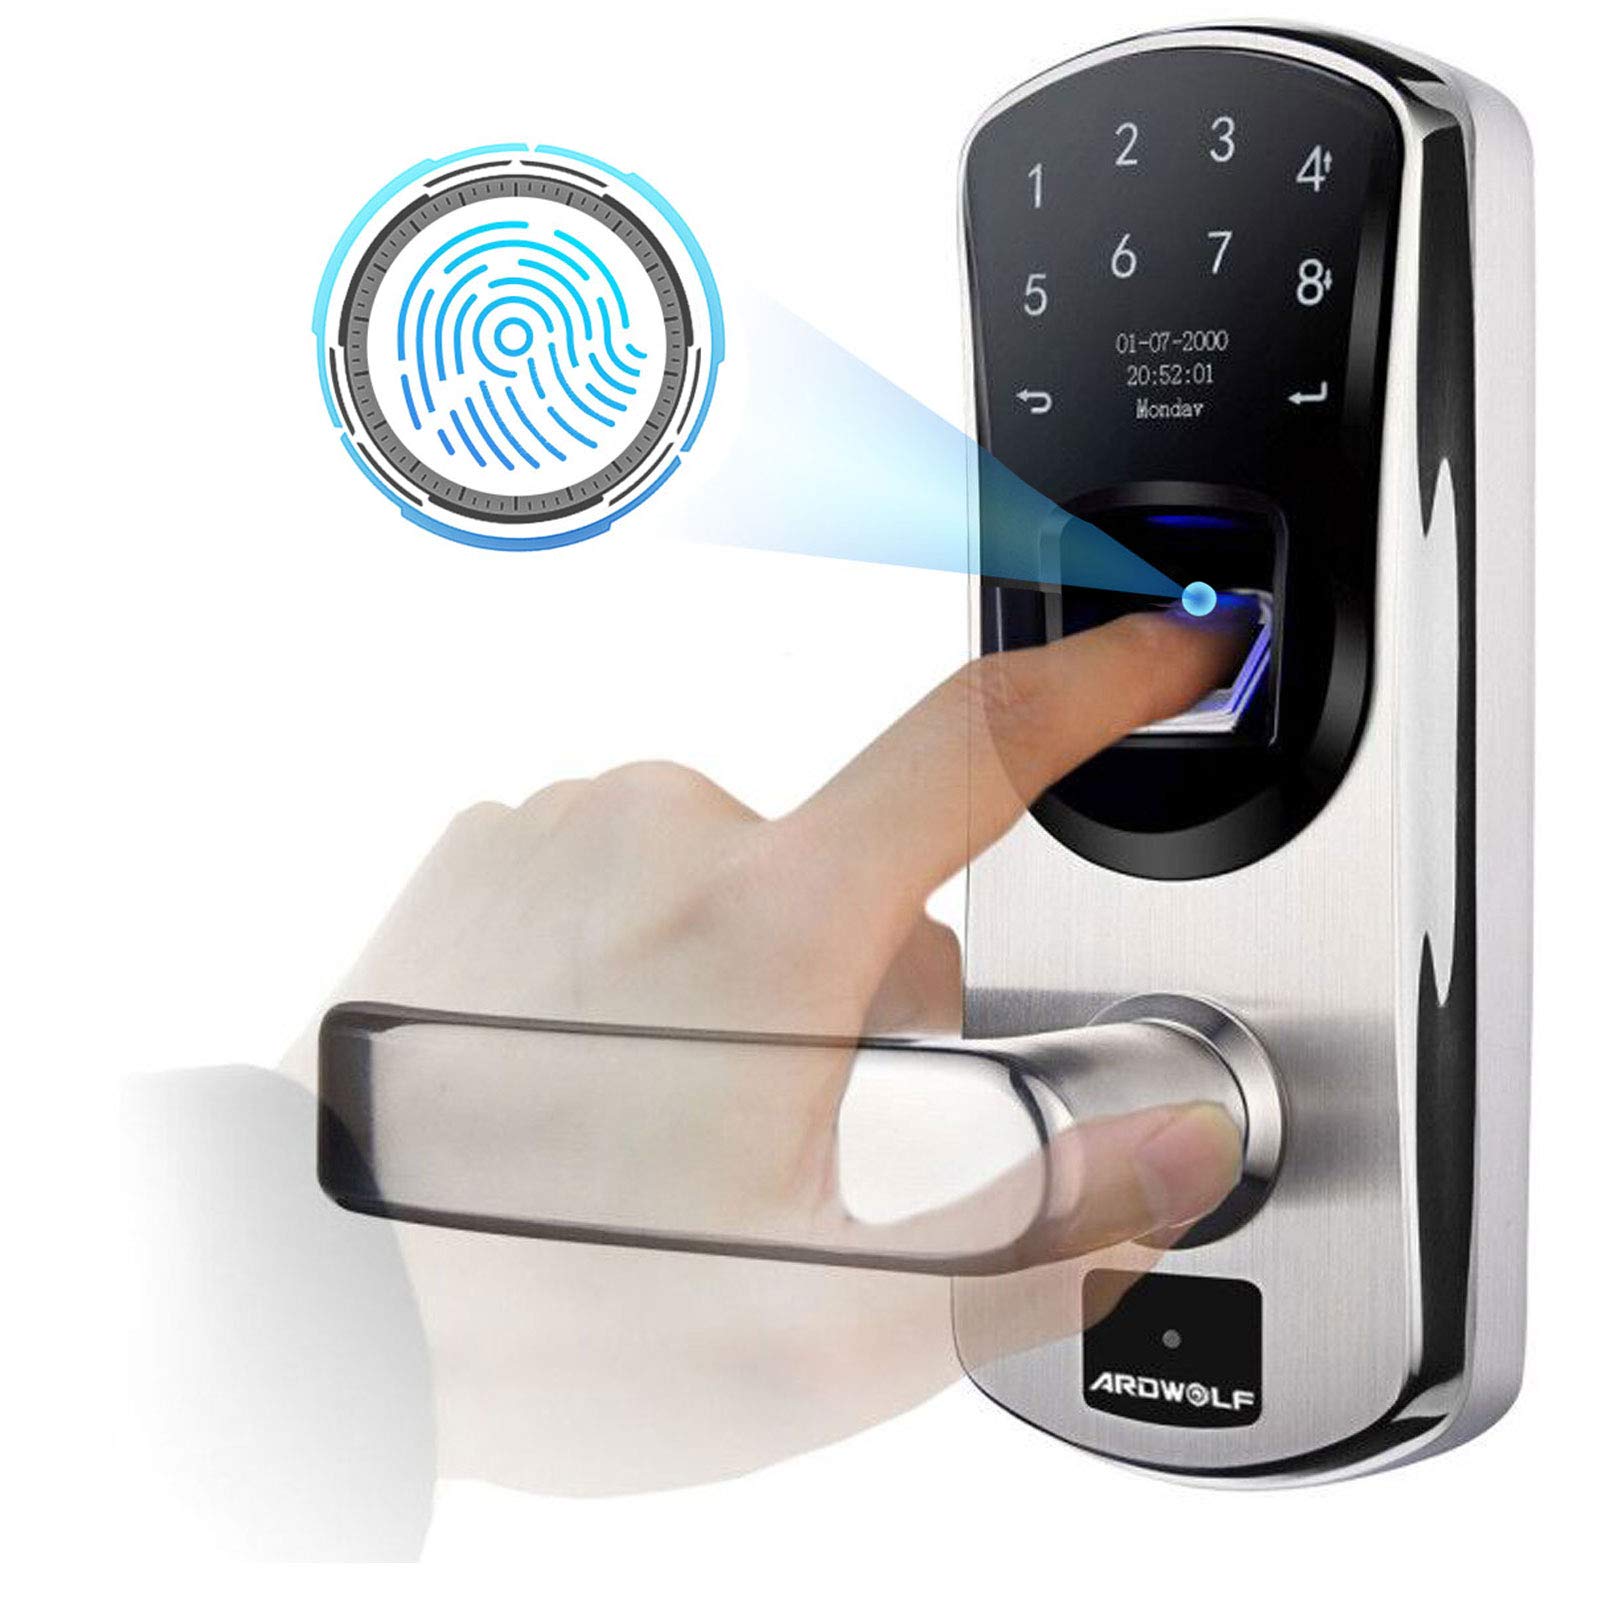
Fingerprint recognition locks: These locks use biometric technology to identify your fingerprint and grant access. Before using this type of smart lock, make sure to register your fingerprints using the manufacturer’s instructions, as this will be necessary for unlocking the door.
Bluetooth-enabled locks: These locks connect to your smartphone via Bluetooth technology. You will need to install an app provided by the lock’s manufacturer and pair your smartphone with the lock to control it remotely. Make sure your smartphone’s Bluetooth is turned on and that the lock is within range for a successful connection.
It’s also important to take note of any additional features your smart door lock may offer. Some models allow for temporary access codes to be created for guests or service providers. Others have built-in alarm systems or integration with smart home platforms like Amazon Alexa or Google Assistant.
By understanding the capabilities of your smart door lock, you will be better equipped to utilize its features and troubleshoot any issues that may arise during the setup process.
Step 2: Gathering Necessary Tools
Before you begin the installation process, it’s essential to gather all the necessary tools and materials to ensure a smooth and efficient setup of your smart door lock. While the specific tools required may vary depending on the type and model of your smart lock, here are some common tools that you may need:
- Screwdriver: Most smart door locks require screws for installation. Ensure you have the appropriate screwdrivers, such as a Phillips or flathead screwdriver, to securely fasten the lock to your door.
- Drill and drill bits: If your smart door lock requires additional holes to be drilled in your door, you will need a power drill and the appropriate drill bits. Check the manufacturer’s instructions for the correct drill bit size.
- Tape measure: To ensure accurate measurements for the placement of your smart lock, it’s recommended to have a tape measure on hand.
- Level: A level helps ensure that your smart door lock is properly aligned and straight.
- Batteries: If your smart lock operates on battery power, make sure to have the required batteries on hand. Refer to the manufacturer’s instructions for the correct battery type and quantity.
- Mobile device: Depending on the type of smart lock you have, you may need a smartphone or tablet to download the lock’s dedicated app and complete the setup process.
It’s always a good idea to double-check the manufacturer’s instructions or the accompanying manual for any specific tools or materials that may be required for your particular smart door lock model. Having all the necessary tools ready before you start will save you time and potential frustration during the installation process.
Step 3: Powering the Smart Door Lock
Before you can start using your smart door lock, you need to ensure it is properly powered. The power source may vary depending on the specific model and type of smart lock you have. Here are a few common power sources:
Battery-powered: Many smart door locks operate on battery power. In this case, you will need to open the lock’s battery compartment and insert the required batteries. Be sure to follow the manufacturer’s instructions regarding the correct battery type and placement. It’s also a good idea to keep spare batteries on hand in case the existing ones run out.
Hardwired: Some smart door locks can be connected directly to your home’s electrical wiring, eliminating the need for batteries. If your lock is hardwired, it is crucial to turn off the electrical power to the door’s lock mechanism before attempting any installation or wiring. Consult the manufacturer’s instructions for specific wiring and power requirements.
Solar-powered: Certain smart door locks are powered by solar energy. These locks come with a solar panel that captures sunlight and converts it into power. Ensure that the lock’s solar panel is properly positioned to receive adequate sunlight for reliable operation.
Once you have powered your smart door lock, it’s important to test its functionality and ensure that it is responding correctly. Follow the manufacturer’s instructions to perform any initial setup steps, such as activating the lock or configuring basic settings. This will vary depending on the make and model of your smart lock, so make sure to refer to the accompanying manual for detailed instructions.
By properly powering your smart door lock, you’ll be one step closer to enjoying the convenience and added security it brings to your home. With the lock powered up and ready to go, let’s move on to the next step: connecting your smart door lock to Wi-Fi.
Step 4: Connecting the Smart Door Lock to Wi-Fi
Connecting your smart door lock to Wi-Fi is essential for remote access and control using your smartphone or other connected devices. By establishing a Wi-Fi connection, you can unlock or lock your door from anywhere, receive real-time notifications, and manage access to your home.
Here’s how you can connect your smart door lock to Wi-Fi:
- Check compatibility: Ensure that your smart door lock is designed to connect to Wi-Fi and has the necessary capabilities. Refer to the manufacturer’s instructions or specifications to confirm Wi-Fi compatibility.
- Position your lock: Make sure that your smart lock is within range of your Wi-Fi router. Ideally, the lock should be placed within a reasonable distance to ensure strong and stable connectivity.
- Open the lock’s app: Download the dedicated app for your smart lock from the App Store or Google Play Store. Open the app on your smartphone or mobile device.
- Create an account: If you haven’t already, create a new account within the lock’s app. This will typically involve providing your email address, creating a password, and agreeing to any privacy or security terms.
- Select a Wi-Fi network: Within the app, find the section for Wi-Fi settings or connectivity. Choose your home Wi-Fi network from the list of available networks.
- Enter Wi-Fi credentials: Enter your Wi-Fi network password (also known as the Wi-Fi passphrase or security key) when prompted. Double-check that the password is entered correctly to avoid any connectivity issues.
- Connect the lock: Follow the on-screen instructions to establish a connection between the lock and your Wi-Fi network. This may involve pressing a specific button or performing a specific action on the lock itself.
- Wait for confirmation: Once the connection is established, the lock’s app should display a confirmation message or a status indicating that the lock is successfully connected to Wi-Fi.
Once your smart door lock is connected to Wi-Fi, you’ll be able to control it remotely, receive notifications, and manage user access through the lock’s app on your smartphone or other connected devices. This provides you with added convenience and peace of mind, knowing that you have full control over your home’s security, even when you’re not physically present.
Step 5: Downloading and Installing the Smart Lock App
To effectively control and manage your smart door lock, you will need to download and install the dedicated smart lock app onto your smartphone or mobile device. The app allows you to interact with your lock, customize settings, and access additional features. Here’s how you can do it:
- Identify the right app: Determine the specific app required for your smart lock model. Visit the App Store for iOS devices or the Google Play Store for Android devices and search for the app using the lock manufacturer’s name or the lock model.
- Verify compatibility: Check that the app is compatible with your smartphone’s operating system version. Some apps may require the latest operating system update to function properly.
- Download the app: Once you’ve found the correct app, tap the “Download” or “Get” button to initiate the installation process. Wait for the app to download and install on your device.
- Create an account: Depending on the smart lock app, you may need to create a new account or sign in with an existing one. Follow the on-screen prompts to provide the necessary information, such as your email address and password, to set up your account.
- Grant permissions: When prompted, allow the app to access necessary permissions, such as location or notifications. These permissions enable the app to function fully and provide you with the intended features.
- Launch the app: Once installed, locate the smart lock app on your device’s home screen and launch it. Sign in using the account details you provided during the account setup.
- Follow setup instructions: The app will guide you through the setup process, which may include connecting your smart lock to the app via Bluetooth or Wi-Fi. Make sure to follow the app’s instructions carefully to ensure proper synchronization between the lock and the app.
- Explore app features: Once your smart lock is successfully connected to the app, take some time to explore its features and settings. Familiarize yourself with functions like creating access codes, managing user permissions, and receiving notifications.
By downloading and installing the smart lock app, you gain full control over your smart door lock at your fingertips. This app will serve as your primary interface for managing the lock and customizing its settings to suit your preferences and security needs.
Step 6: Creating an Account and Registering the Smart Door Lock
In order to fully utilize the features and functionality of your smart door lock, you will need to create an account and register the lock within the dedicated smart lock app. This will enable you to personalize settings, manage user access, and receive important notifications and alerts. Follow these steps to get started:
- Open the smart lock app: Launch the app on your smartphone or mobile device. Sign in using your account credentials if you’ve already created an account, or follow the prompts to create a new account if you haven’t.
- Access account settings: Once you are logged into the app, locate the account settings or profile section. This is usually represented by an icon or a menu option within the app.
- Create a new account: If you are creating a new account, provide the required information, such as your name, email address, and a secure password. Make sure to follow any guidelines or requirements specified by the app.
- Verify your email: Some apps may require you to verify your email address. Check your email inbox for a verification email from the app and follow the instructions to complete the verification process.
- Register the smart door lock: Proceed to register your smart door lock within the app. This typically involves scanning a unique QR code or entering a registration key provided with the lock. Refer to the manufacturer’s instructions to locate and access the registration process in the app.
- Enter lock details: Provide any requested details or information about the smart door lock during the registration process. This may include the lock’s location, a name or nickname for the lock, or additional specifications.
- Synchronization: Follow the prompts in the app to synchronize the lock with your account. This will establish a secure connection between the lock and the app, allowing for seamless communication and control.
- Review and customize settings: Once the lock is registered, take the time to review and customize the settings within the app. This may include adjusting security levels, enabling or disabling specific features, and configuring user access permissions.
Creating an account and registering your smart door lock ensures that you can maximize its capabilities and tailor it to your specific needs. By personalizing the settings and managing user access, you can enhance the security and convenience that your smart door lock provides.
Step 7: Setting Up User Access and Permissions
One of the key benefits of a smart door lock is the ability to grant access to different individuals and manage their permissions. Whether it’s family members, friends, or service providers, setting up user access and permissions ensures that everyone has the appropriate level of access to your home. Follow these steps to configure user access:
- Open the smart lock app: Launch the app on your smartphone and sign in to your account.
- Locate user settings: Navigate to the user settings or access management section within the app. This area is where you can add or manage user accounts.
- Add user accounts: Depending on the app, you may have the option to add users via their email addresses or phone numbers. Add the necessary information for each user you want to grant access to.
- Assign permissions: For each user, specify the particular permissions they should have. This might include unlocking/locking the door, receiving alerts, or creating temporary access codes.
- Specify access schedules: Some smart lock apps allow for the creation of access schedules. For example, you can set specific days and times when a user’s access is active or limited.
- Send invitations: Once you’ve added users and assigned their permissions, send them invitations through the app. This will notify them and provide instructions on how to set up their own accounts and access the smart lock.
- Review and manage users: Regularly review your list of authorized users and their permissions. Update or remove user accounts as needed and adjust permissions based on changing circumstances.
By setting up user access and permissions, you have control over who can enter your home and under what circumstances. This feature allows you to grant temporary access to guests, monitor when service providers enter or exit, and revoke access for specific individuals when required.
Remember to communicate with those who have been granted access to ensure they understand the guidelines and responsibilities that come with using the smart door lock.
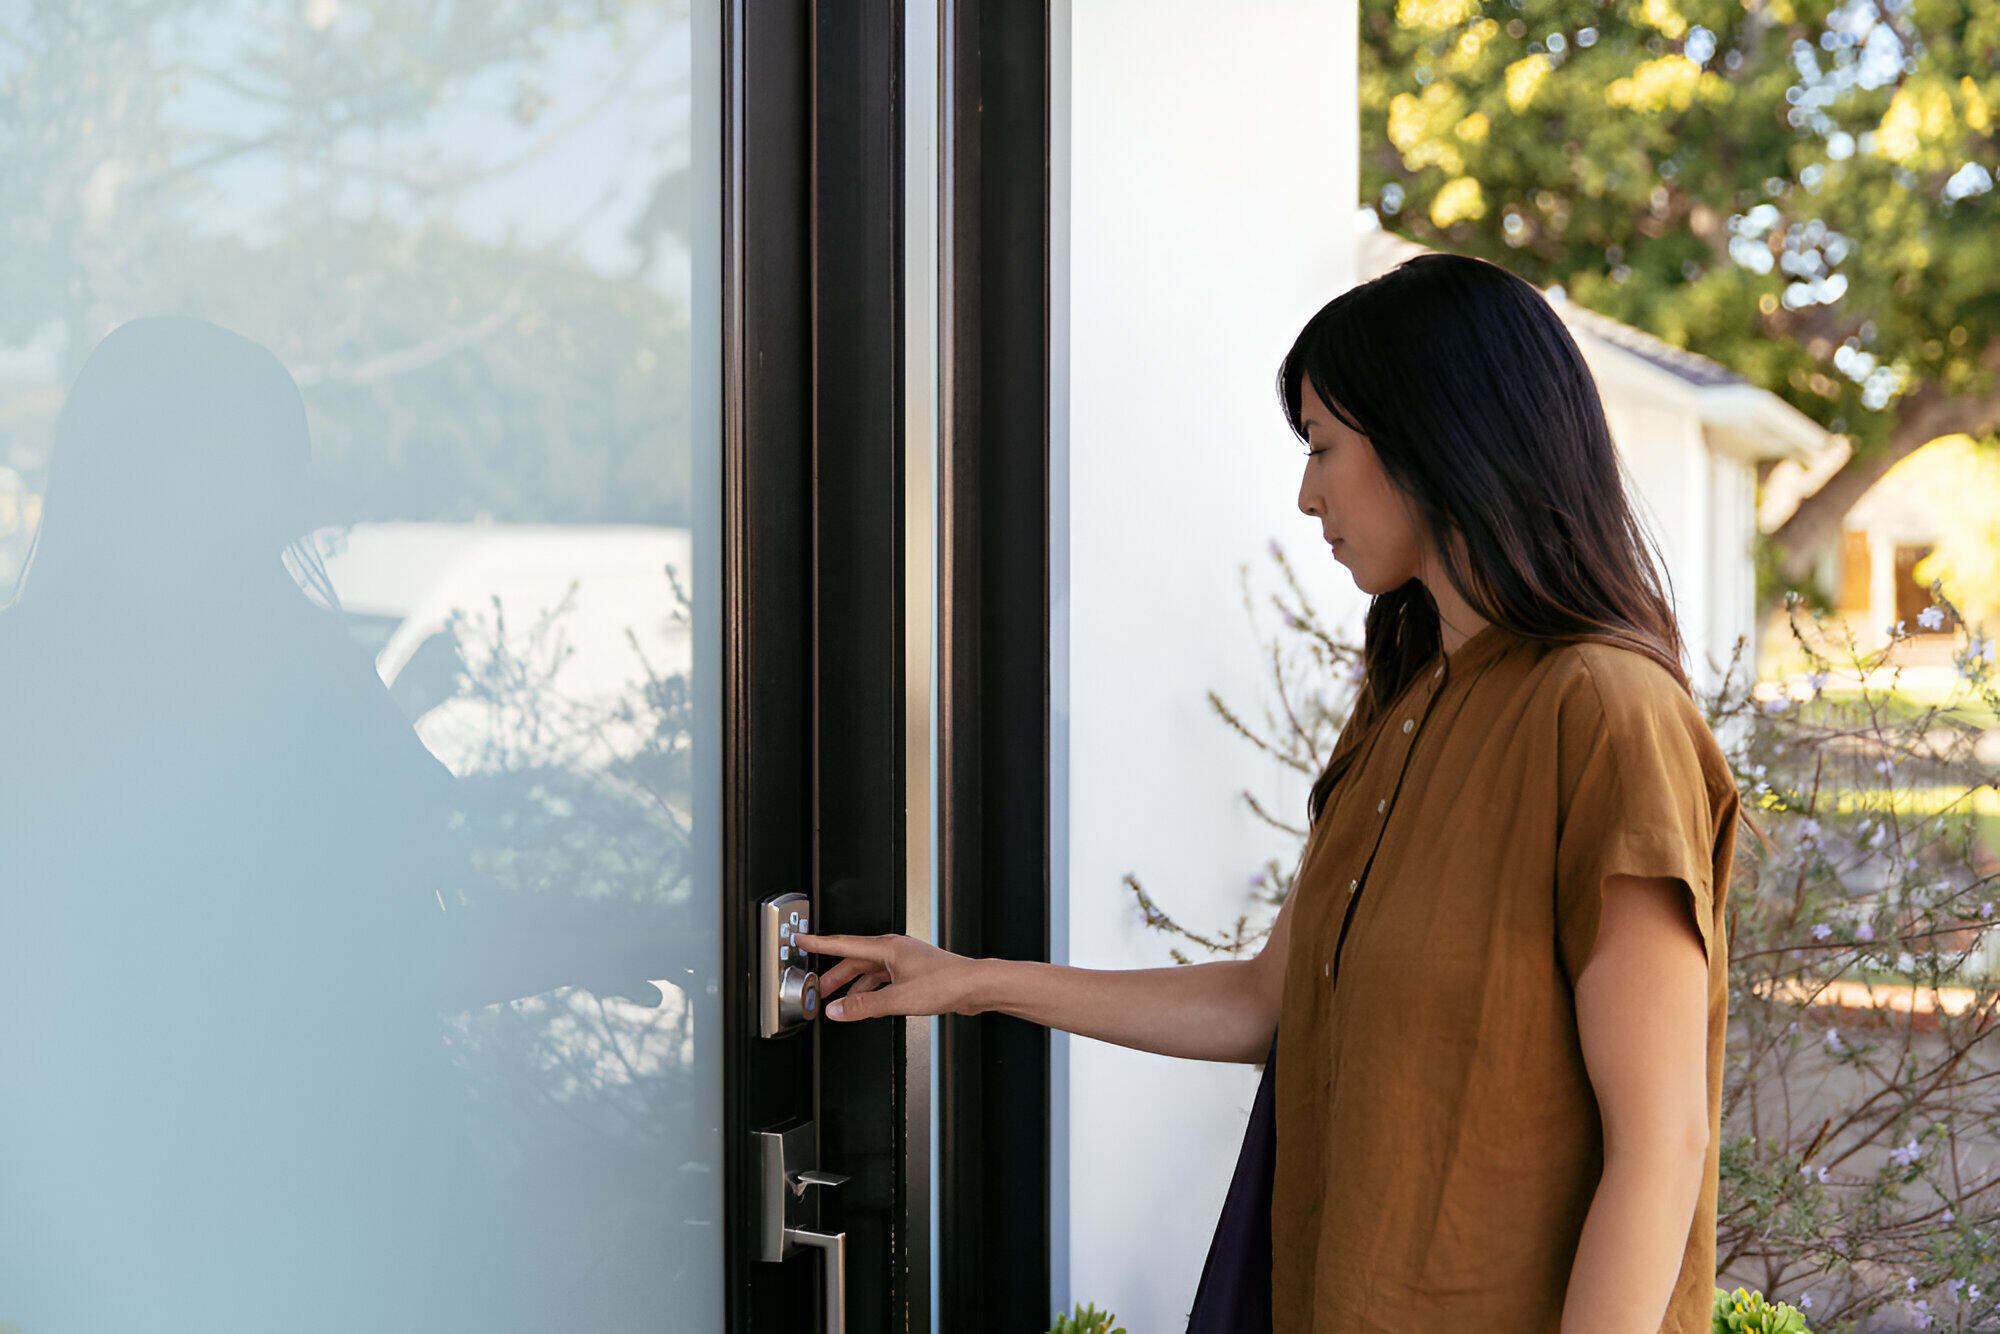
Step 8: Unlocking and Locking Your Smart Door Lock
Now that you have successfully installed and set up your smart door lock, it’s time to start enjoying the convenience of unlocking and locking your door with ease. Here’s how to control your smart door lock:
- Launch the smart lock app: Open the dedicated app on your smartphone or mobile device.
- Sign in to your account: Enter your login credentials to access your account within the app.
- Choose the lock you want to control: If you have multiple locks registered in the app, select the specific lock you wish to unlock or lock.
- Tap the unlock or lock button: Within the app, look for the corresponding unlock or lock button and tap it. This will send a signal to your smart door lock to perform the action.
- Wait for status confirmation: The app will display the status of the lock, indicating whether it is currently locked or unlocked. Make sure to wait until you receive confirmation on the app before proceeding.
For added convenience, many smart door lock apps also offer additional methods of control, such as voice commands through virtual assistants like Amazon Alexa or Google Assistant. If you have this functionality set up, you can simply say a command such as “Alexa, lock the front door” to control your smart door lock.
It’s important to note that some smart door locks also have physical key overrides in case of power outages or other emergencies. Familiarize yourself with the lock’s manual and keep the physical key in a secure and accessible location should you need it.
By mastering the process of unlocking and locking your smart door lock, you can conveniently manage access to your home and enhance your security measures.
Step 9: Troubleshooting Common Issues
While smart door locks are designed to be user-friendly and reliable, you may encounter some common issues during the setup or operation. Understanding how to troubleshoot these issues can help you quickly resolve them and ensure the smooth functioning of your smart door lock. Here are some common problems and their potential solutions:
1. Connectivity issues: If your smart door lock is not connecting to Wi-Fi or Bluetooth, ensure that it is within range of the network or device. Check your internet connection and make sure you have entered the correct network credentials. Restarting the lock and your smartphone may also help resolve connectivity issues.
2. Battery life: If your smart door lock is battery-powered, monitor the battery level and replace them when needed. If the lock is experiencing low battery life, try using high-quality batteries or consider switching to rechargeable batteries if supported by your lock model.
3. Firmware updates: Keep your smart door lock’s firmware up to date by checking for and installing any available updates. Firmware updates often include bug fixes and improvements that can address performance issues.
4. Mechanical malfunctions: If your lock isn’t working correctly, check for any mechanical malfunctions such as loose screws or misalignment. Refer to the lock’s manual for instructions on how to recalibrate or troubleshoot any mechanical issues.
5. App-related issues: If you’re experiencing difficulties with the smart lock app, try force-closing the app and reopening it. Clearing the app cache or reinstalling the app may also help resolve any app-related issues. Ensure that you have the latest version of the app installed on your device.
6. Forgotten codes or passwords: If you forget your passcode or app login credentials, consult the lock’s manual for instructions on how to reset them. This usually involves using a master code or following a specific procedure to regain access to the lock.
7. Environmental factors: Extreme temperatures, exposure to direct sunlight, or excessive moisture can affect your smart door lock’s performance. Ensure that the lock is installed in a suitable location and protected from harsh environmental conditions.
If you encounter persistent issues that you cannot resolve on your own, consult the lock manufacturer’s support resources or contact their customer service for further assistance. They will be able to provide specific troubleshooting steps or arrange for any necessary repairs or replacements.
By troubleshooting common issues, you can maintain the optimal performance of your smart door lock and ensure a seamless experience with your home automation system.
Conclusion
Congratulations! You have successfully learned how to open your smart door lock and harness the convenience and security it offers. By understanding the type of smart door lock you have, gathering the necessary tools, powering the lock, and connecting it to Wi-Fi, you have taken the first steps towards transforming your home into a smart home.
Downloading and installing the smart lock app, creating an account, and registering the lock have allowed you to personalize and manage your smart door lock according to your preferences. Setting up user access and permissions ensures that you have full control over who can enter your home.
With the ability to unlock and lock your smart door remotely, you can enjoy the convenience of controlling access from anywhere. Troubleshooting common issues and staying up to date with firmware updates will ensure the smooth operation of your smart door lock.
Remember to familiarize yourself with the lock’s manual and keep the physical key as a backup. Additionally, stay mindful of security measures and share access responsibly with trusted individuals.
By incorporating a smart door lock into your home, you have embraced the future of home security and convenience. Enjoy the peace of mind and added flexibility that comes with this advanced technology. Now, why not explore other ways to enhance your smart home ecosystem?