Introduction
Having a smart door lock installed in your home can provide added convenience and security. However, there may come a time when you need to remove the smart door lock, whether it’s because you’re moving out or simply want to replace it with a different lock. In this guide, we will walk you through the step-by-step process of removing a smart door lock from Vivint, a popular home automation company.
Vivint offers a range of smart home products, including smart door locks that can be easily controlled and monitored through their mobile app or control panel. Removing a Vivint smart door lock may seem intimidating at first, but with the right tools and instructions, it can be a straightforward task.
Before you begin the process, it’s important to note that removing a smart door lock from Vivint may require you to disconnect it from the Vivint system. If you are unsure about any steps or the compatibility of your smart door lock with the Vivint system, it’s always recommended to consult the user manual or reach out to Vivint customer support for assistance.
In the following sections, we will guide you through each step of removing a smart door lock from Vivint. From gathering the necessary tools to removing the lock from your door, we’ll ensure you have all the information you need to complete the task successfully. So, let’s get started on removing your Vivint smart door lock and preparing for the next chapter in your home automation journey!
Step 1: Gather the necessary tools
Before you begin removing a smart door lock from Vivint, it’s essential to gather all the necessary tools to ensure a smooth and hassle-free process. Here are the tools you will need:
- Screwdriver – Depending on your smart door lock model, you may require either a Phillips-head or flathead screwdriver. Check the user manual or inspect the lock to determine the type of screwdriver needed.
- Allen wrench – Some smart door locks, particularly deadbolt locks, may require an Allen wrench to remove the set screw securing the lock to the door.
- Tape – Having some tape on hand can be useful for labeling and organizing the screws and other small components that you’ll be removing during the process.
- Container – Find a small container or bag to hold the screws and other small parts you’ll be removing. This will prevent them from getting lost or misplaced.
- Optional: Replacement lock – If you plan on installing a new lock or replacing the existing one, make sure you have the new lock ready before removing the Vivint smart door lock.
Make sure to gather all the necessary tools and have them easily accessible before starting the removal process. This will save you time and prevent any frustrations of having to search for tools midway through the task.
Keep in mind that the specific tools required may vary depending on the Vivint smart door lock model and the type of door you have. It’s always a good idea to consult the user manual or Vivint’s customer support for any specific instructions or additional tools that may be needed for your particular lock.
Step 2: Prepare your door and lock
Before you begin the actual removal process, it’s important to prepare your door and lock to ensure a smooth and efficient removal. Here are the steps to follow:
- Ensure the door is closed and locked – Before removing the smart door lock, make sure the door is closed and securely locked. This will prevent any accidental damage or unauthorized access during the removal process.
- Turn off the power – If your smart door lock is connected to an electrical source, such as batteries or a power plug, it’s advisable to turn off the power before proceeding. This will prevent any electrical shocks or malfunctions.
- Locate the screws – Examine the smart door lock to identify the screws holding it in place. These screws are typically located on the interior side of the door.
- Inspect the doors and frame – Take a quick look at the door and the surrounding frame to ensure there are no loose or damaged components. If you notice any issues, it’s best to address them before proceeding with the removal.
- Label the wires (if applicable) – In some cases, smart door locks may have wired connections. If your lock has wires, it’s recommended to label them before disconnecting. This will help you reconnect the wires correctly when installing a new lock.
- Clear any obstructions – Remove any items or decorations near the lock that may obstruct the removal process. Clearing the area around the lock will give you better access and prevent any accidental damage.
Taking the time to prepare your door and lock will ensure a smoother and safer removal process. By following these steps, you’ll be ready to proceed with the next stages of removing your Vivint smart door lock effectively.
Step 3: Disconnect the lock from the Vivint system
In this step, you will disconnect the smart door lock from the Vivint system. Follow these instructions to ensure a proper disconnection:
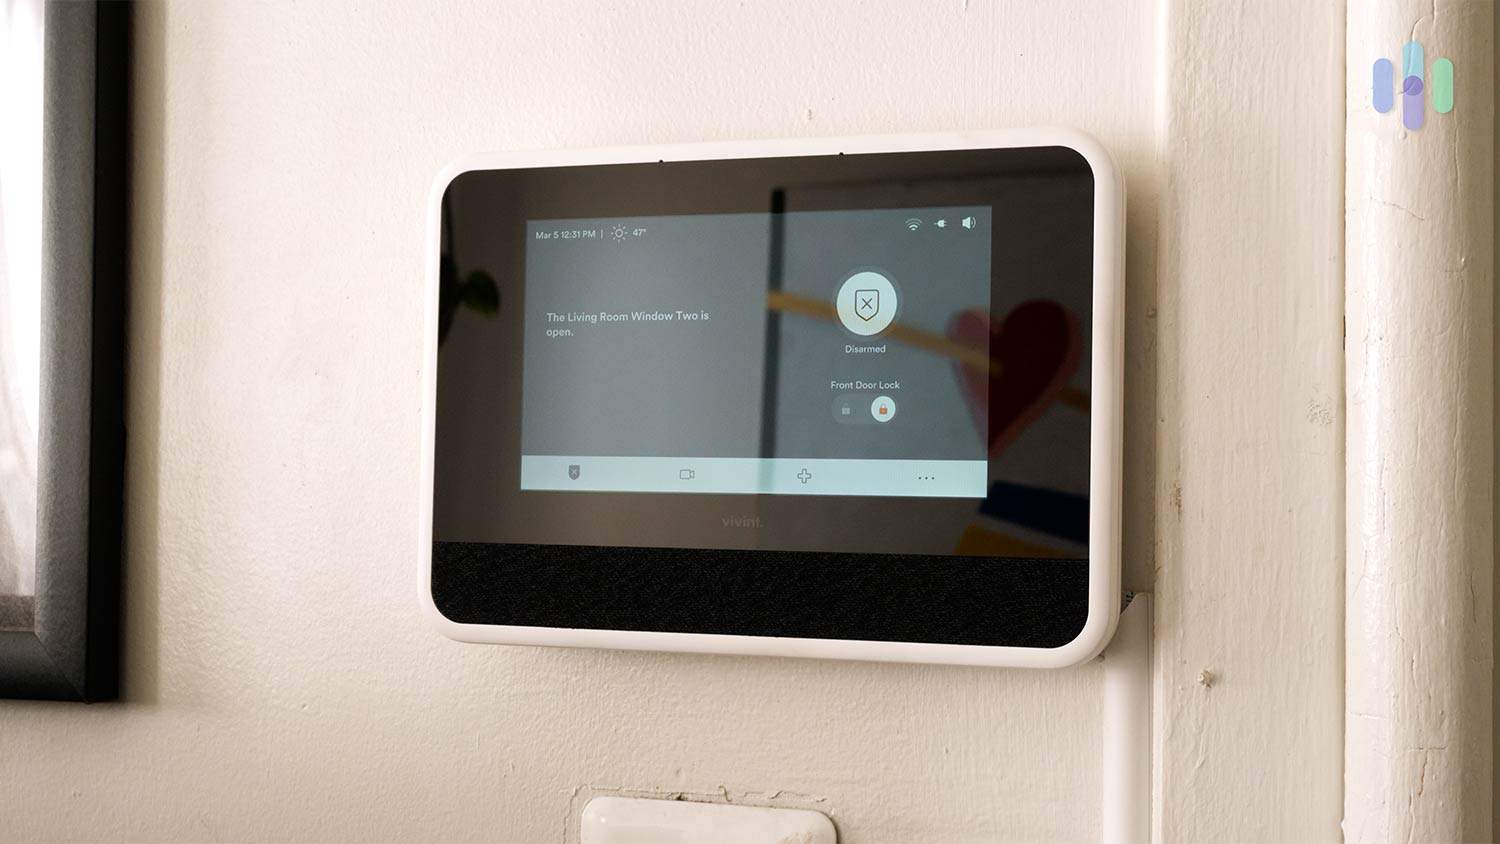
- Open the Vivint mobile app or access the control panel – To disconnect the smart lock, you will need to access the Vivint system control settings. The process may vary slightly depending on the Vivint system you have.
- Select the door lock settings – Navigate to the settings menu within the app or control panel and locate the section dedicated to door locks.
- Identify the smart lock – If you have multiple smart locks connected to your Vivint system, identify the specific lock you want to remove from the system. The lock will usually have a unique name or number assigned to it.
- Select “Remove” or “Disconnect” – Once you have identified the correct lock, select the option to remove or disconnect it from the Vivint system. Follow any prompts or on-screen instructions to complete the disconnection process.
- Confirm the disconnection – After selecting “Remove” or “Disconnect,” you may be prompted to confirm your decision. Confirm that you want to disconnect the lock from the Vivint system.
Once you have successfully disconnected the smart door lock from the Vivint system, it will no longer be linked to the control panel or mobile app. This step ensures that the lock is ready for physical removal from the door.
If you encounter any difficulties during the disconnection process or if you are unsure about any steps, refer to the Vivint user manual or reach out to their customer support for guidance. They will be able to assist you in properly disconnecting the lock from the Vivint system.
Step 4: Remove the batteries
Now that you have disconnected the smart door lock from the Vivint system, the next step is to remove the batteries. Follow these steps to safely remove the batteries from your Vivint smart door lock:
- Locate the battery compartment – Most smart door locks have a battery compartment located on the interior side of the lock. Look for a small panel or cover that can be easily removed.
- Open the battery compartment – Use a screwdriver or any other suitable tool to open the battery compartment. Apply gentle pressure and carefully lift the cover or panel.
- Remove the batteries – Once the battery compartment is exposed, remove the old batteries by gently pulling them out. Take note of their orientation and ensure you insert new batteries correctly when reinstalling the lock or if you’re replacing it with a new one.
- Dispose of old batteries properly – It’s important to dispose of used batteries responsibly. Check with local recycling centers or battery collection points for proper disposal methods in your area.
Removing the batteries not only ensures the safe disposal of old batteries but also prevents any potential power drain or malfunctions when handling the smart door lock during the removal process.
It’s worth noting that some smart door locks may have different battery placement or require additional steps for battery removal. Always refer to the user manual specific to your lock model for accurate instructions on removing the batteries.
By following these steps, you can safely remove the batteries from your Vivint smart door lock, preparing it for the next stage of complete removal from your door.
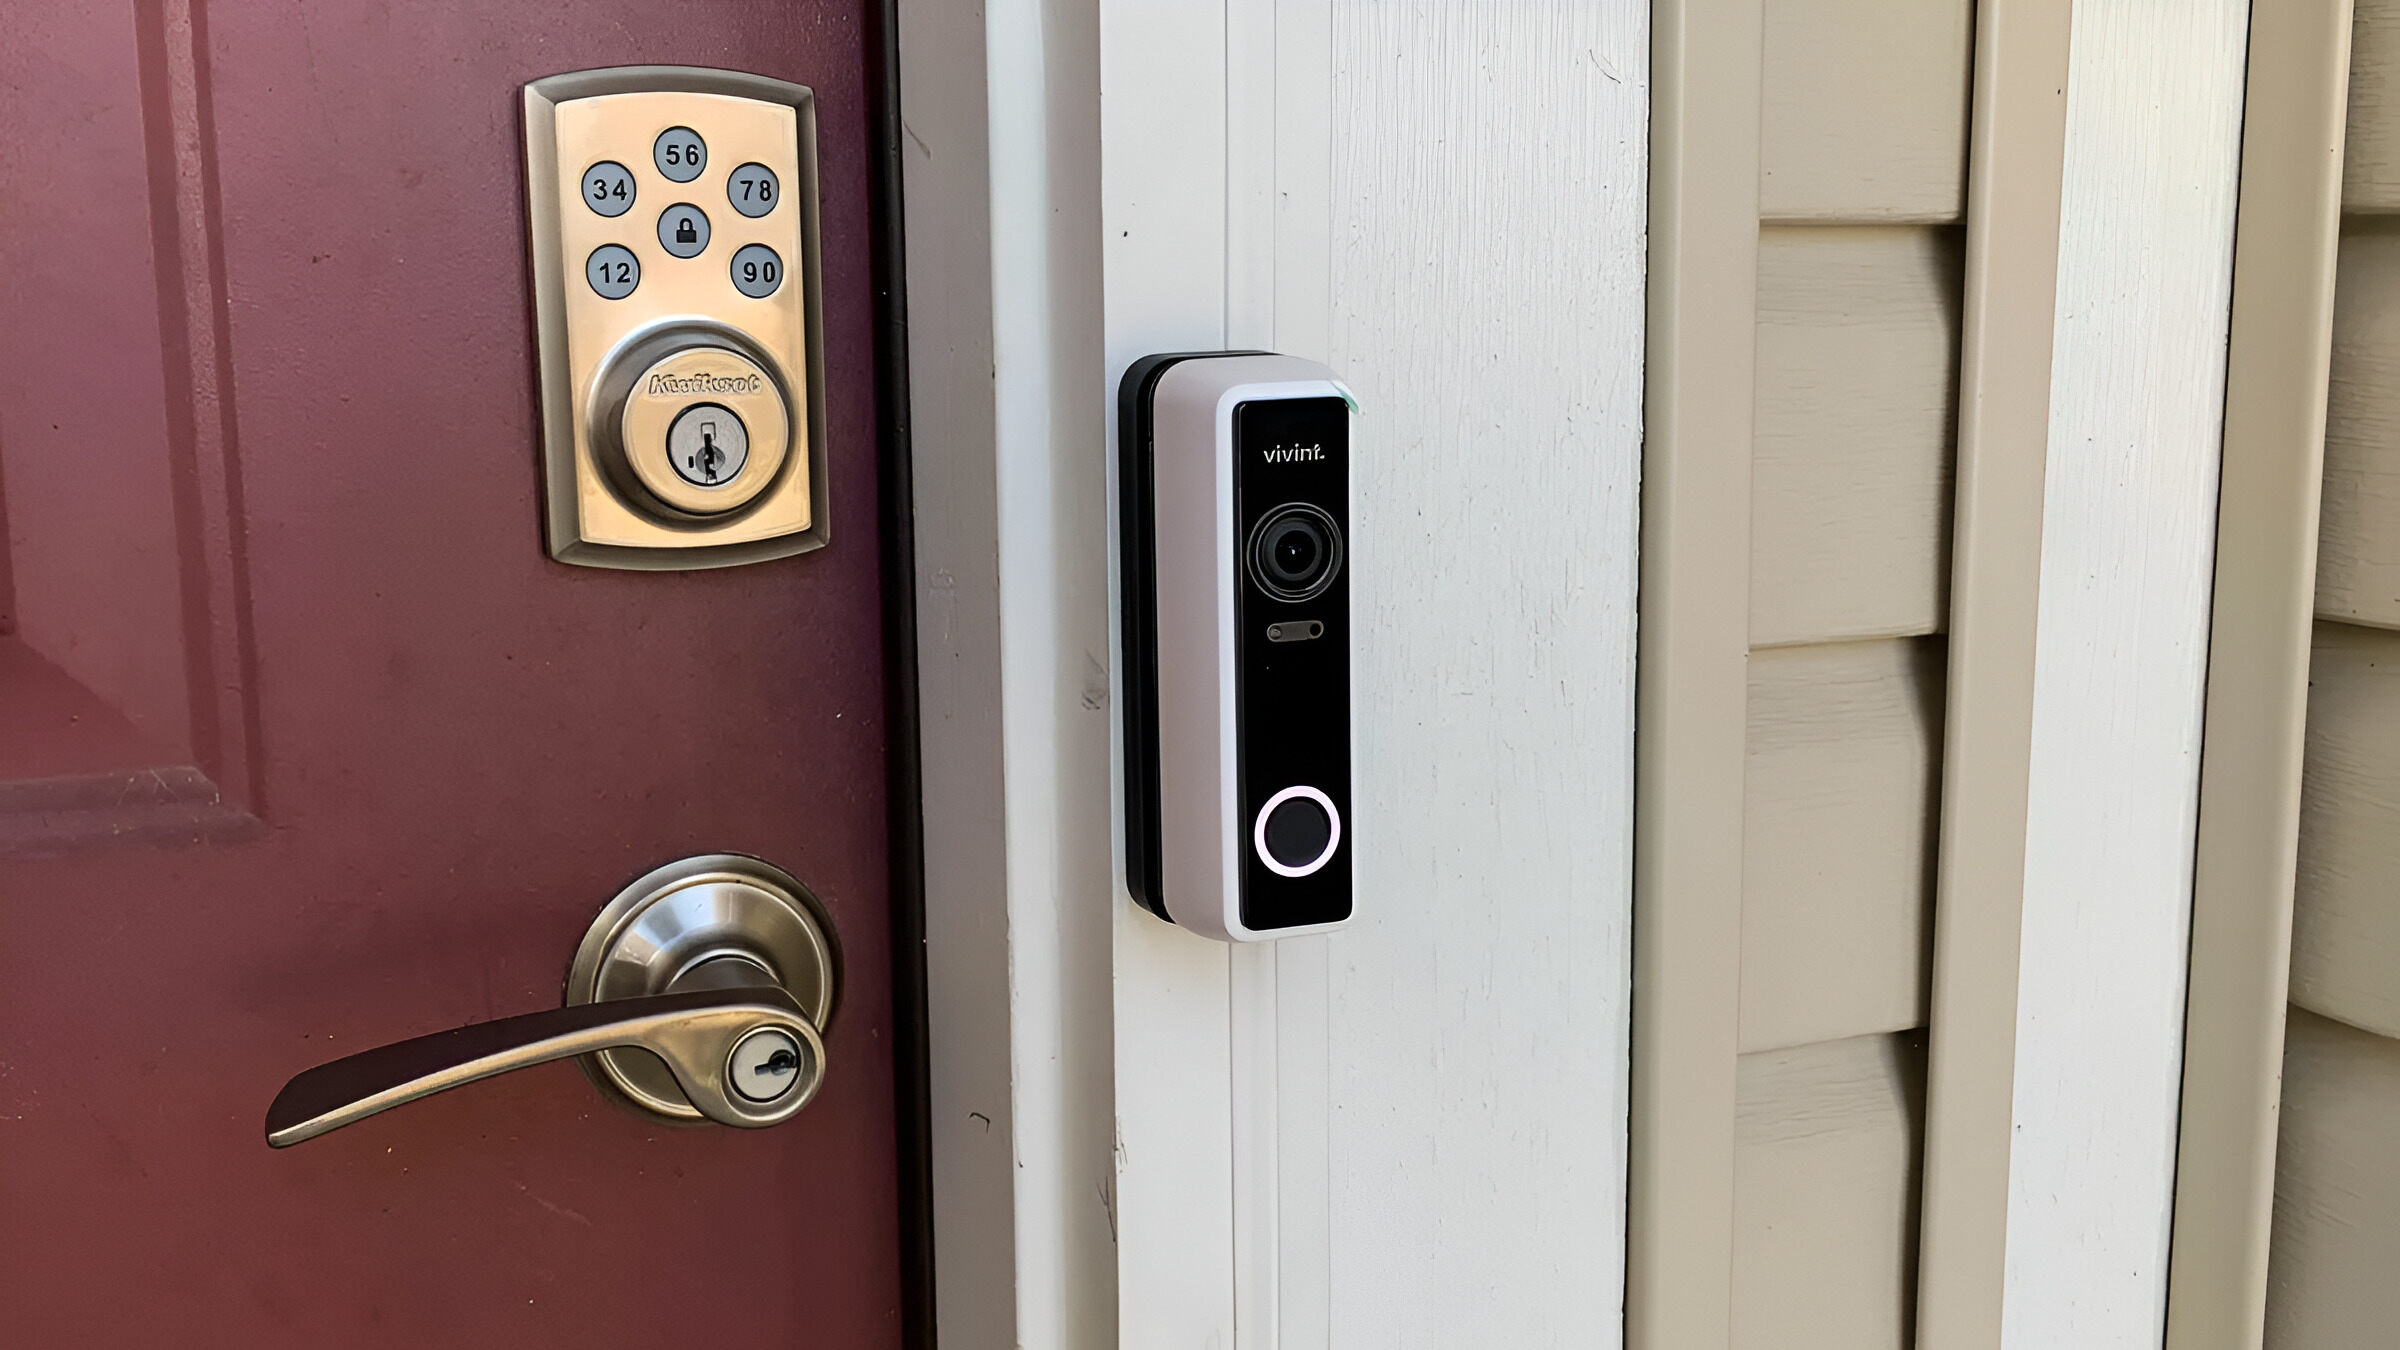
Step 5: Remove the door lock from the door
Now that you have disconnected the smart door lock from the Vivint system and removed the batteries, it’s time to physically remove the lock from the door. Follow these steps to ensure a successful removal:
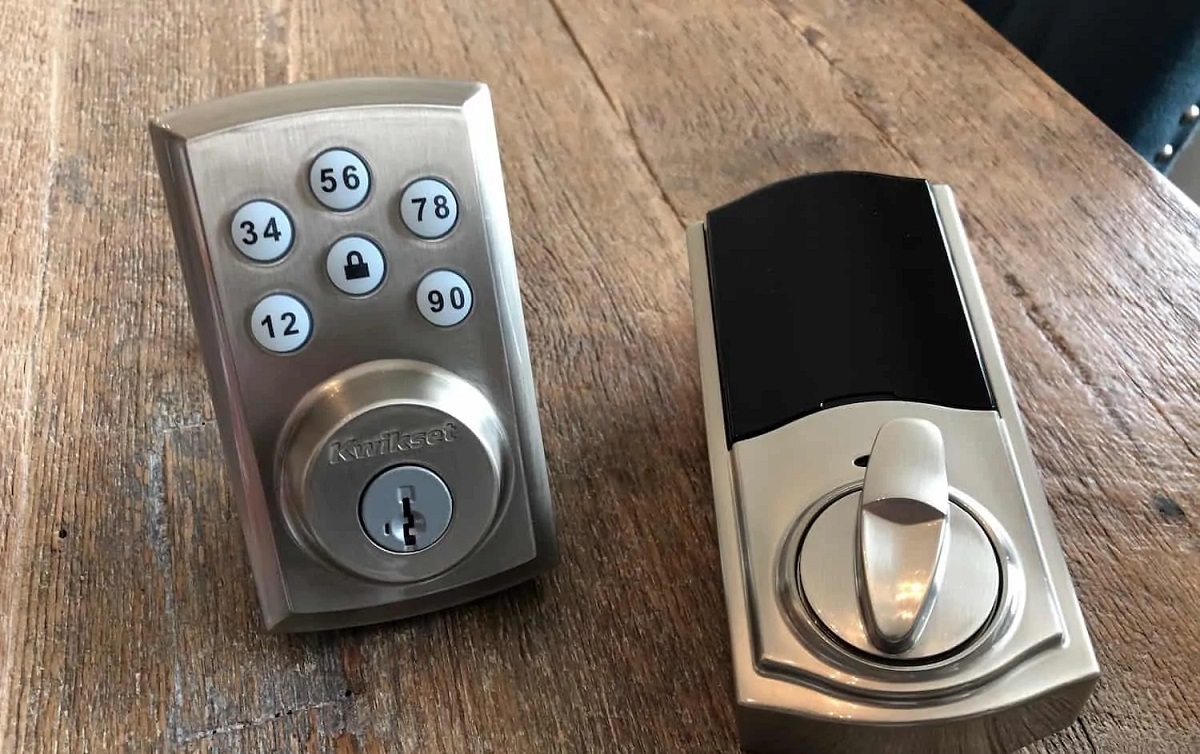
- Find the mounting screws – Examine the smart door lock and locate the mounting screws that secure it to the door. These screws are typically found on the interior side of the lock.
- Use the appropriate screwdriver – Depending on the type of screws used, use the appropriate screwdriver to remove them. Most smart door locks use either Phillips-head or flathead screws.
- Loosen and remove the screws – Turn the screws counterclockwise to loosen and remove them from the lock mechanism. Keep them in a safe place or label them to ensure they are not misplaced.
- Release the lock mechanism – Once the screws are removed, you may need to release any additional locking mechanisms or latches that hold the smart door lock in place. Refer to the lock’s user manual for specific instructions on releasing the lock mechanism.
- Gently pull the lock mechanism away from the door – With the screws removed and the lock mechanism released, carefully pull the smart door lock away from the door. Apply gentle and even pressure to avoid any damage to the door or surrounding area.
It’s important to handle the smart door lock with care during the removal process to prevent any accidental damage. Take your time and be mindful of any obstacles or obstructions that may hinder the smooth removal.
If you encounter any difficulties or are unsure about any steps, consult the user manual provided with your smart door lock or contact customer support for assistance. They will be able to guide you through the specific removal process for your lock model.
By following these steps, you can successfully remove the smart door lock from your door, completing the physical removal stage of the process.
Step 6: Clean up and store the lock components
After removing the smart door lock from your door, it’s important to clean up and properly store the components to ensure their longevity and reusability if needed in the future. Follow these steps for a thorough clean-up and organized storage:
- Inspect the components – Take a close look at the lock and its components to check for any dust, debris, or residue. Use a soft cloth or a brush to carefully clean off any dirt or grime.
- Wipe down the lock – Use a damp cloth to wipe down the lock and remove any remaining dirt. Avoid using harsh chemicals or abrasive materials that may damage the lock’s surface.
- Label and organize the screws – If you plan on reusing the screws or need to keep them for reference, label them individually using tape or small labels. Place them in a labeled container or bag to keep them organized and easily accessible.
- Store the lock components – Place the cleaned lock and its components, such as the lock mechanism and battery cover, in a suitable container or bag. This will prevent any damage or loss of components and keep them safe until needed.
- Store in a cool and dry place – Find a cool and dry storage location, such as a drawer or a cupboard, to keep the lock components. Avoid areas prone to moisture or extreme temperature changes, as these can potentially damage the components.
Properly cleaning and storing the lock components will ensure their longevity and make it easier to reinstall or reuse them in the future. It will also save you time and effort when you need to access the components again.
If you have replaced the smart door lock with a new one, consider checking the instructions provided with the new lock for any specific cleaning or storage recommendations. Different lock models may have unique requirements.
By following these steps, you can effectively clean up the removed lock components and store them safely until they are needed again in the future.
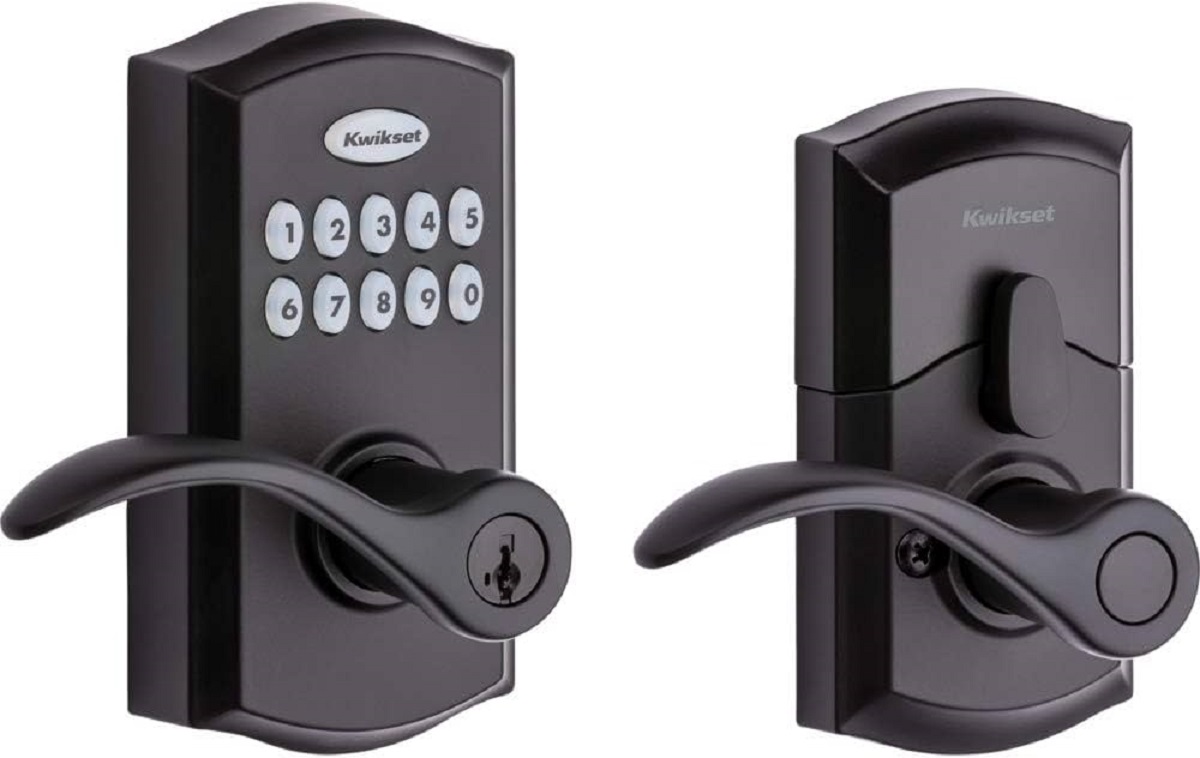
Step 7: Install a new lock or replace the existing one (optional)
In this final step, you have the option to install a new lock or replace the existing one. Whether you’re upgrading to a newer smart lock model or simply want a different type of lock, follow these steps to install a new lock or replace the existing one:
- Choose the new lock – If you have decided to install a new lock, choose a compatible smart lock that suits your needs and preferences. Consider factors such as security features, compatibility with your existing smart home system, and ease of use.
- Read the user manual – Before starting the installation process, thoroughly read the user manual provided with the new lock. Familiarize yourself with the specific installation instructions and any additional tools or components required.
- Align the new lock – Position the new lock on the door, aligning it with the existing holes or markings. Ensure that the lock is centered and level before proceeding with the installation.
- Follow the manufacturer’s instructions – Depending on the new lock model, the installation process may vary. Follow the manufacturer’s instructions step-by-step, including connecting any wires or cables, securing the lock with screws, and syncing it with your smart home system.
- Test the new lock – After installing the new lock, test it to ensure that it is functioning properly. Check the lock’s connectivity, responsiveness, and any additional features it offers.
- If replacing the existing lock – If you’re only replacing the existing lock with a similar model, follow the instructions provided by the manufacturer for removing the old lock and installing the new one. Be careful to align the new lock in the same position as the previous one.
It’s important to take your time during the installation process to ensure a proper and secure installation. If you encounter any difficulties or are unsure about any steps, consult the user manual or contact the manufacturer’s customer support for guidance.
Remember to dispose of the old lock responsibly if it is no longer required. Check local regulations for proper disposal methods or consider donating it if still in good condition.
By following these steps, you can successfully install a new lock or replace the existing one, completing the process of upgrading or updating your door’s security.
Conclusion
Removing a smart door lock from Vivint may seem like a daunting task at first, but by following the step-by-step process outlined in this guide, you can accomplish it with ease. From gathering the necessary tools to disconnecting the lock from the Vivint system, removing the batteries, taking off the lock from the door, and cleaning up and storing the components, each step plays a crucial role in ensuring a smooth removal process.
Remember to always consult the user manual specific to your Vivint smart door lock model for accurate instructions and any additional requirements. If you encounter any difficulties or are unsure about any steps, don’t hesitate to reach out to Vivint’s customer support for assistance.
Once the smart door lock is successfully removed, you have the option to install a new lock or replace the existing one. Whether you’re upgrading to a newer model or simply changing the type of lock, follow the manufacturer’s instructions carefully to ensure a secure and proper installation.
By following these guidelines, you can remove a smart door lock from Vivint and prepare for the next chapter in your home security and automation journey. Remember to prioritize safety, take your time, and seek professional help if needed for a seamless removal process.