Introduction
Welcome to this comprehensive guide on how to determine the amount of RAM (Random Access Memory) you have in your Windows 10 computer. Understanding your system’s RAM capacity is crucial for troubleshooting, optimizing performance, and ensuring compatibility with various software applications.
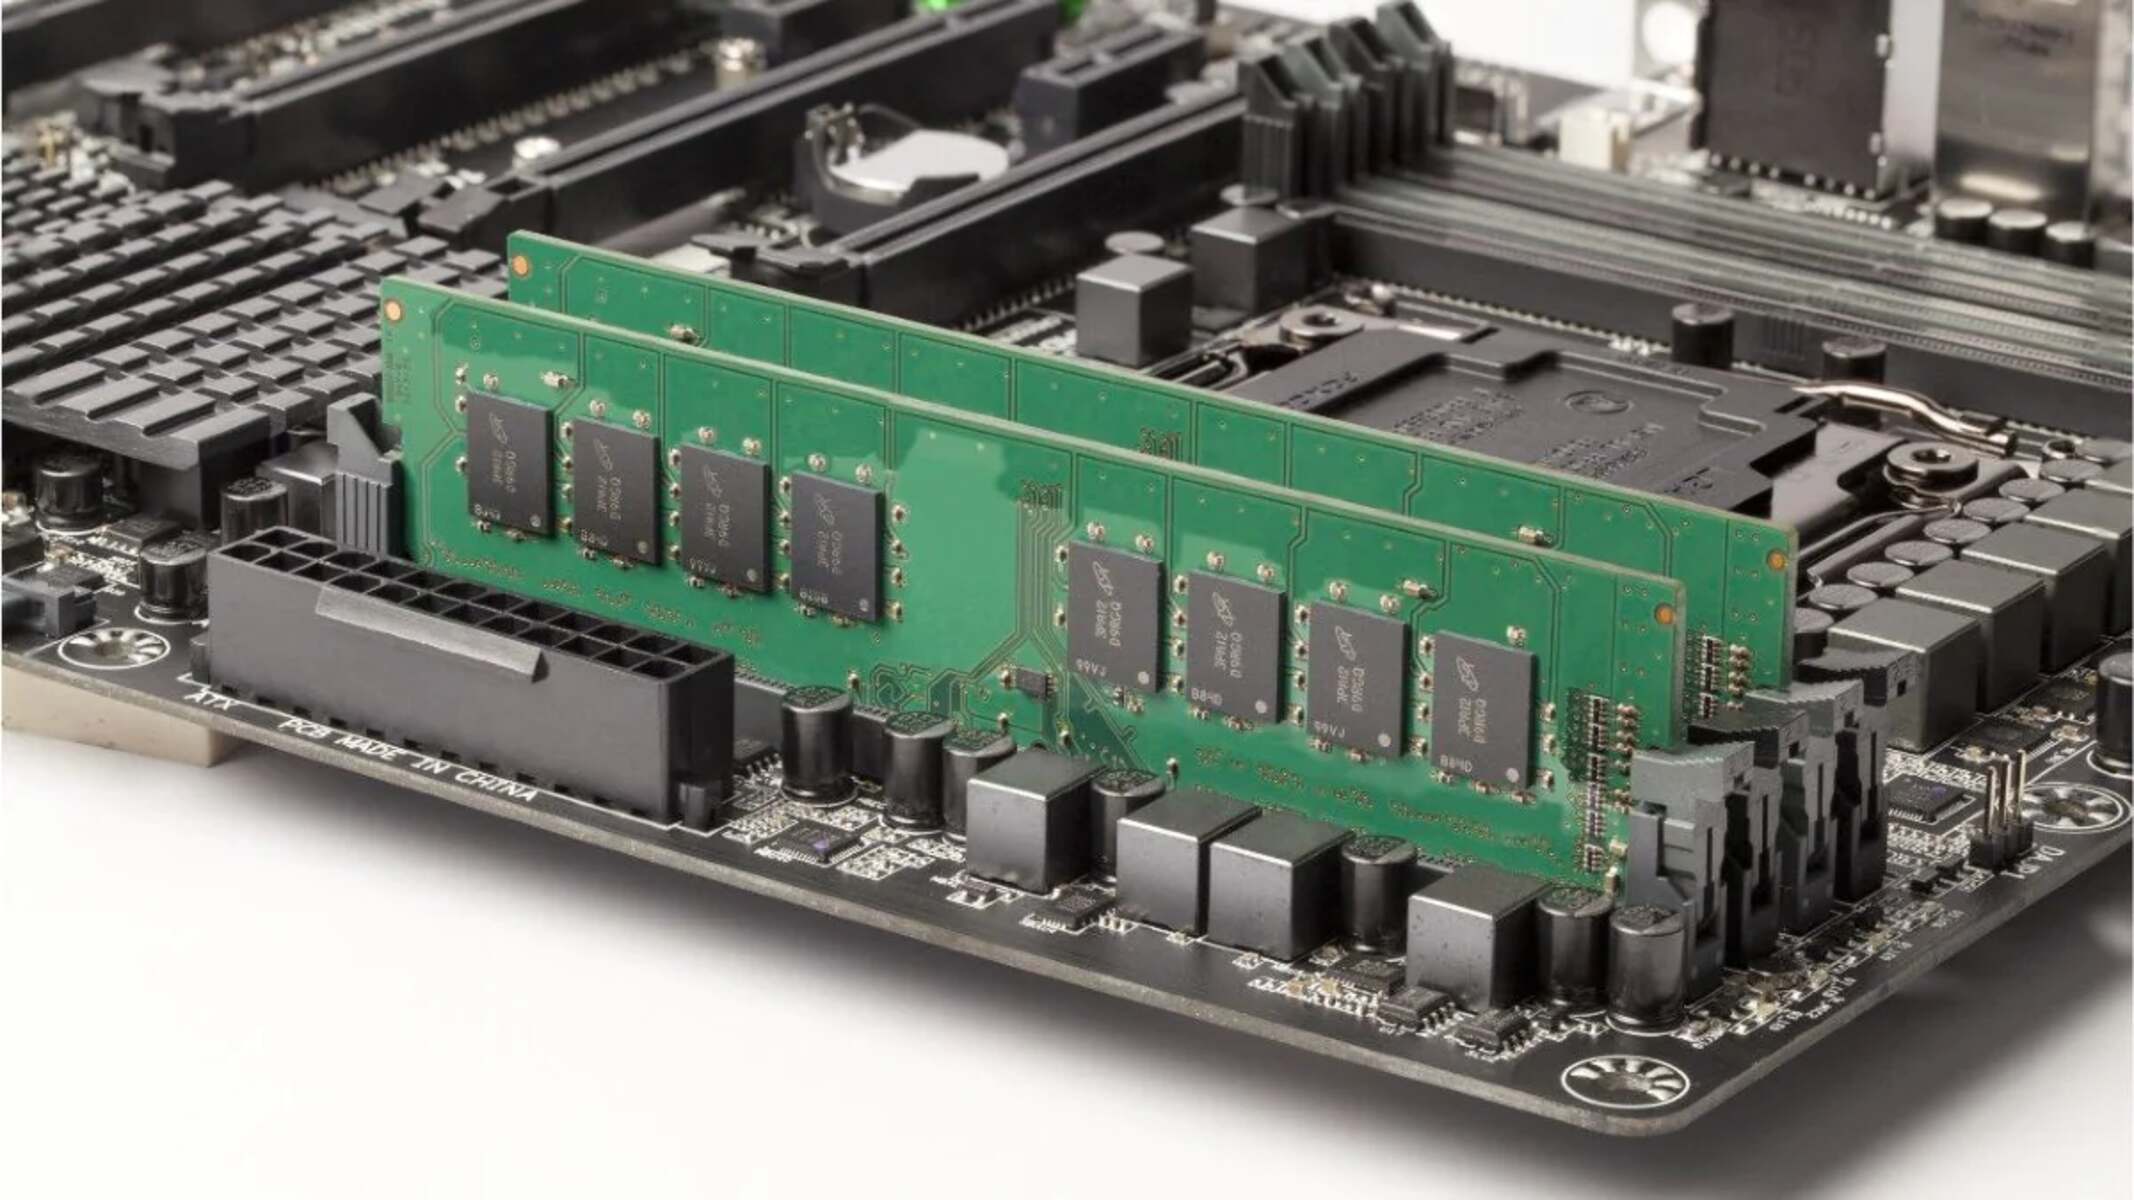
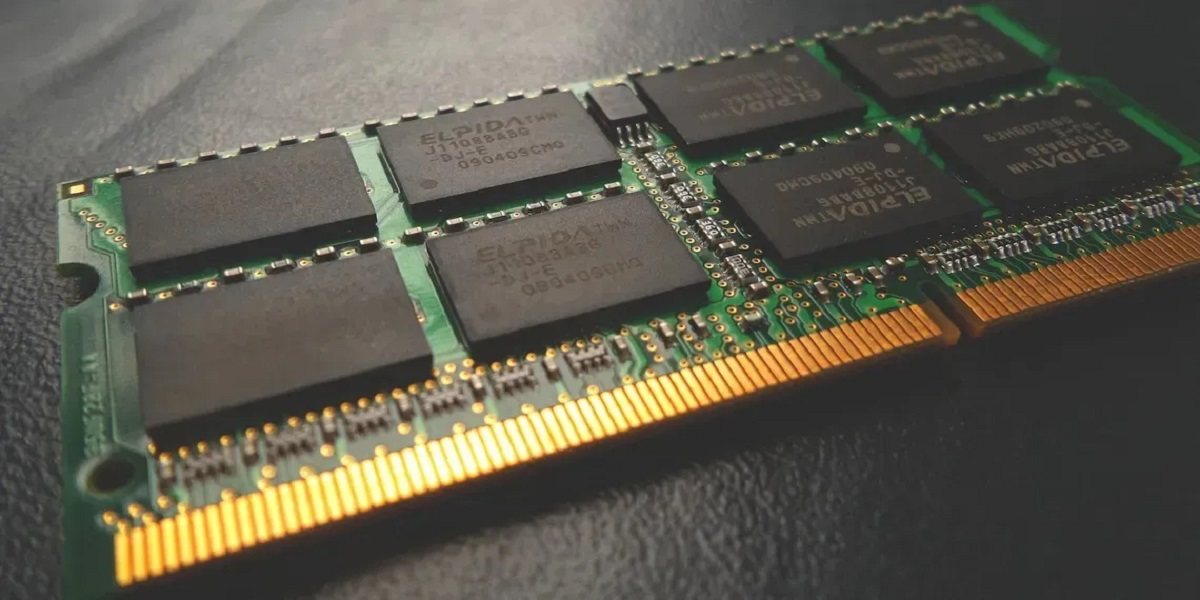
RAM is an essential component of your computer that plays a crucial role in its overall performance. It acts as a temporary storage space for data that your computer needs to access quickly. The more RAM your system has, the smoother and more efficient it will handle tasks, allowing you to run multiple programs simultaneously without experiencing lag or slowdowns.
Knowing the amount of RAM installed on your Windows 10 computer can help you determine if you need to upgrade for more demanding tasks, such as gaming, video editing, or running resource-intensive software.
In this guide, we will explore several methods to check the RAM capacity in Windows 10. Whether you prefer a graphical interface or a command-line approach, we have got you covered. Let’s dive in!
Method 1: Using System Information
Note: This method provides a detailed overview of your system specifications, including RAM capacity.
Windows 10 includes a built-in tool called System Information, which provides a comprehensive view of your hardware and software configurations. Here’s how to use it to determine your RAM capacity:
- Press the Windows key + R to open the Run dialog box.
- Type “msinfo32” (without quotes) and press Enter.
- The System Information window will open, displaying various categories on the left-hand side.
- Expand the “Components” category and click on “Memory”.
- On the right-hand side, you will find information about your RAM, including the total installed memory (e.g., 8 GB).
This method not only displays the total amount of RAM but also provides additional details such as the RAM type, speed, manufacturer, and even the number of memory slots used and available for expansion.
The System Information tool is simple and user-friendly, making it ideal for beginners or those who prefer a graphical interface to retrieve system information. However, if you want a quicker method, check out the next section.
Method 2: Using Task Manager
Note: This method provides a quick way to view your computer’s RAM usage and capacity using the Task Manager.
The Task Manager is a built-in utility in Windows that allows you to monitor and manage various aspects of your system’s performance. Here’s how to use it to check your RAM capacity:
- Right-click on the taskbar and select “Task Manager” from the context menu. Alternatively, you can press Ctrl + Shift + Esc to open the Task Manager directly.
- Once the Task Manager window opens, click on the “Performance” tab at the top.
- In the left-hand side panel, select “Memory” to see the current RAM usage and capacity.
- Under the “Memory” section, you will find information about the total physical memory (e.g., 8.0 GB), as well as the amount of memory currently in use.
Task Manager gives you a real-time view of your system’s performance, including RAM usage. However, it doesn’t provide as many details as the System Information tool from the previous method. If you need more specific information about your RAM, proceed to the next method.
Method 3: Using Command Prompt
Note: This method utilizes the Command Prompt, a powerful command-line tool in Windows, to retrieve information about your RAM.
Here’s how to check your RAM capacity using the Command Prompt:
- Press the Windows key + R to open the Run dialog box.
- Type “cmd” (without quotes) and press Enter to open the Command Prompt.
- In the Command Prompt window, type the following command:
- Press Enter and wait for the command to execute.
- The Command Prompt will display the capacity of each RAM module installed in your system in bytes (e.g., “4294967296” for 4 GB).
- To convert the capacity to a more readable format, you can divide the value by 1,073,741,824 (1024^3) to get the capacity in gigabytes (GB).
wmic memorychip get Capacity
This method provides a precise breakdown of each RAM module’s capacity in your system. If you have multiple RAM modules installed, it’s essential to add their capacities to determine the total RAM capacity.
The Command Prompt method is suitable for users who are comfortable with the command-line interface and prefer a quick way to access system information without navigating through graphical tools. If you want an alternative method that offers even more customization options, continue to the next section.
Method 4: Using PowerShell
Note: This method utilizes PowerShell, a command-line scripting tool in Windows, to retrieve information about your RAM.
Here’s how to check your RAM capacity using PowerShell:
- Press the Windows key + X and select “Windows PowerShell” from the Power User menu. Alternatively, you can press Windows key + R, type “powershell”, and press Enter to open PowerShell directly.
- In the PowerShell window, type the following command:
- Press Enter and wait for PowerShell to execute the command.
- PowerShell will display the total RAM capacity of your system in bytes (e.g., “8589934592” for 8 GB).
- If you prefer a more readable format, divide the value by 1,073,741,824 (1024^3) to convert it to gigabytes (GB).
Get-CimInstance -ClassName Win32_PhysicalMemory | Measure-Object -Property Capacity -Sum
Using PowerShell provides more flexibility and advanced capabilities than the previous methods. It allows you to perform complex operations and retrieve specific information about your RAM, such as speed, manufacturer, or form factor. You can explore various PowerShell cmdlets and scripts to customize your RAM data retrieval further.
This method is particularly useful for system administrators, power users, or those who want more control over their system’s information. However, it may require a basic understanding of PowerShell commands and syntax.
Conclusion
Knowing how much RAM you have in your Windows 10 computer is essential for optimizing performance, troubleshooting issues, and ensuring compatibility with software applications. Throughout this guide, we have explored four different methods to determine your RAM capacity.
In the first method, we used the System Information tool, which provides a detailed overview of your system specifications, including RAM capacity. This method is beginner-friendly and offers comprehensive information about your RAM.
The second method involved using the Task Manager, a built-in utility that gives you a quick view of your RAM usage and capacity. While it provides real-time information, it may not offer as many details as the System Information tool.
The third method utilized the Command Prompt, a powerful command-line tool, to retrieve RAM information using the “wmic memorychip” command. This method is ideal for users who prefer a command-line interface and a quick way to access system information.
The fourth method involved using PowerShell, a versatile command-line scripting tool, to retrieve RAM information using the “Get-CimInstance” command. This method provides advanced capabilities and customization options for retrieving specific RAM data.
In conclusion, determining your RAM capacity in Windows 10 is important for optimizing your system’s performance and ensuring compatibility with software applications. Whether you prefer a graphical interface or a command-line approach, these methods offer various options to retrieve information about your RAM. Choose the method that suits your preferences and technical expertise.


