Introduction
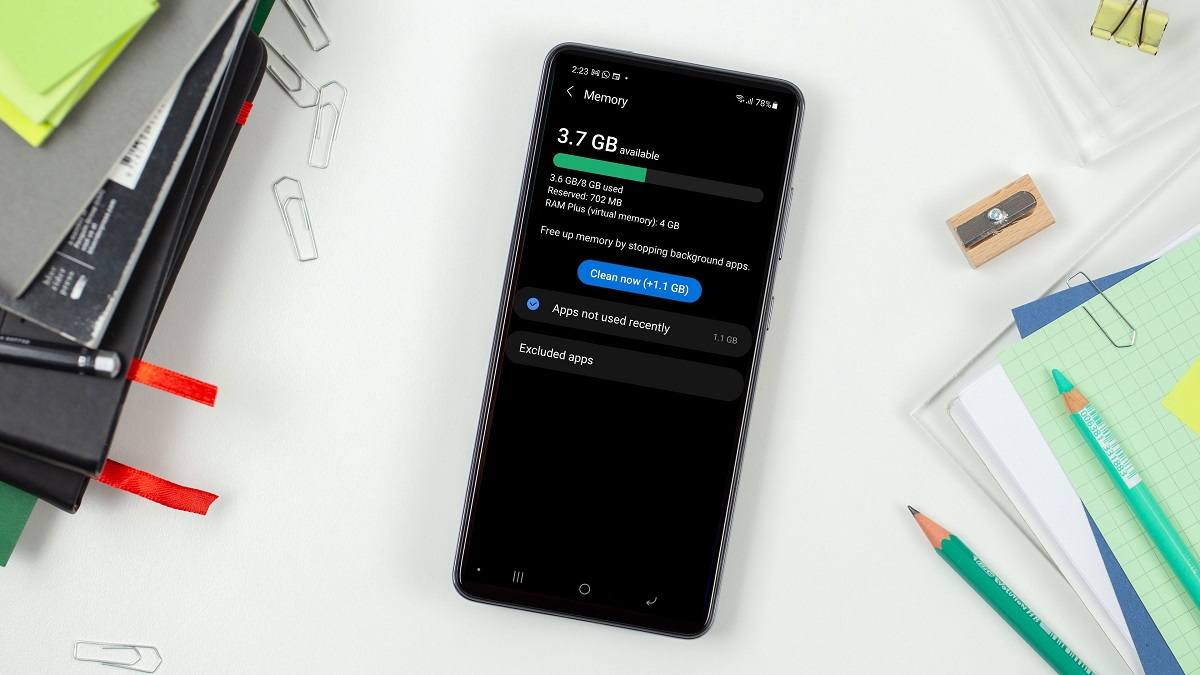
Welcome to the world of using an SD card as RAM! If you find your computer or device struggling with slow performance and lagging response times, fret not because there’s a solution at hand. By utilizing an SD card as additional RAM, you can significantly boost your device’s memory capacity and enhance its overall speed and efficiency.
An SD (Secure Digital) card is a small, portable storage device commonly used in cameras, smartphones, and other electronic devices. Traditionally, SD cards have been employed for storing files, photos, and videos. However, with advancements in technology, it’s now possible to harness the power of an SD card to supplement your device’s existing RAM.
In this article, we’ll guide you through the process of using an SD card as RAM on various operating systems, including Windows, Mac, and Linux. Whether you’re looking to optimize your computer’s gaming capabilities, improve multitasking abilities, or simply improve overall system performance, utilizing an SD card as additional RAM can be a game-changer.
By increasing your device’s RAM capacity with an SD card, you’ll experience reduced load times, faster data processing, and smoother application performance. This can be particularly beneficial for resource-intensive tasks such as video editing, gaming, and running multiple applications simultaneously.
However, it’s important to note that using an SD card as RAM is not a substitute for upgrading your device’s physical RAM. Rather, it’s an alternative solution for those who may not have the option to upgrade their hardware or are looking for a temporary boost in performance.
Throughout this article, we’ll walk you through the steps required to use an SD card as additional RAM on different operating systems. We’ll cover compatibility requirements, formatting the SD card, assigning it as ReadyBoost on Windows, using it as a swap file on Mac, and partitioning and formatting on Linux. Additionally, we’ll discuss monitoring and managing RAM usage to ensure optimal performance.
So, without further ado, let’s dive into the exciting world of using an SD card as RAM and turbocharge your device’s performance.
Understanding SD Cards
Before we delve into the process of using an SD card as RAM, it’s essential to have a basic understanding of what SD cards are and how they function. An SD card, short for Secure Digital card, is a non-volatile memory card commonly used in portable devices like digital cameras, smartphones, and tablets.
SD cards come in different variants, such as SDHC (Secure Digital High Capacity), SDXC (Secure Digital Extended Capacity), and microSD cards, offering varying storage capacities and data transfer speeds. These cards are a popular choice for expanding the storage capabilities of devices or transferring files between different devices.
The primary components of an SD card include flash memory, a controller chip, and contact pins. The flash memory stores the data, while the controller chip handles the card’s operations, including reading and writing data. The contact pins on the card allow it to make a connection with a compatible device.
SD cards are available in different storage capacities, ranging from a few gigabytes to several terabytes. The storage capacity you choose will depend on your specific needs and device compatibility.
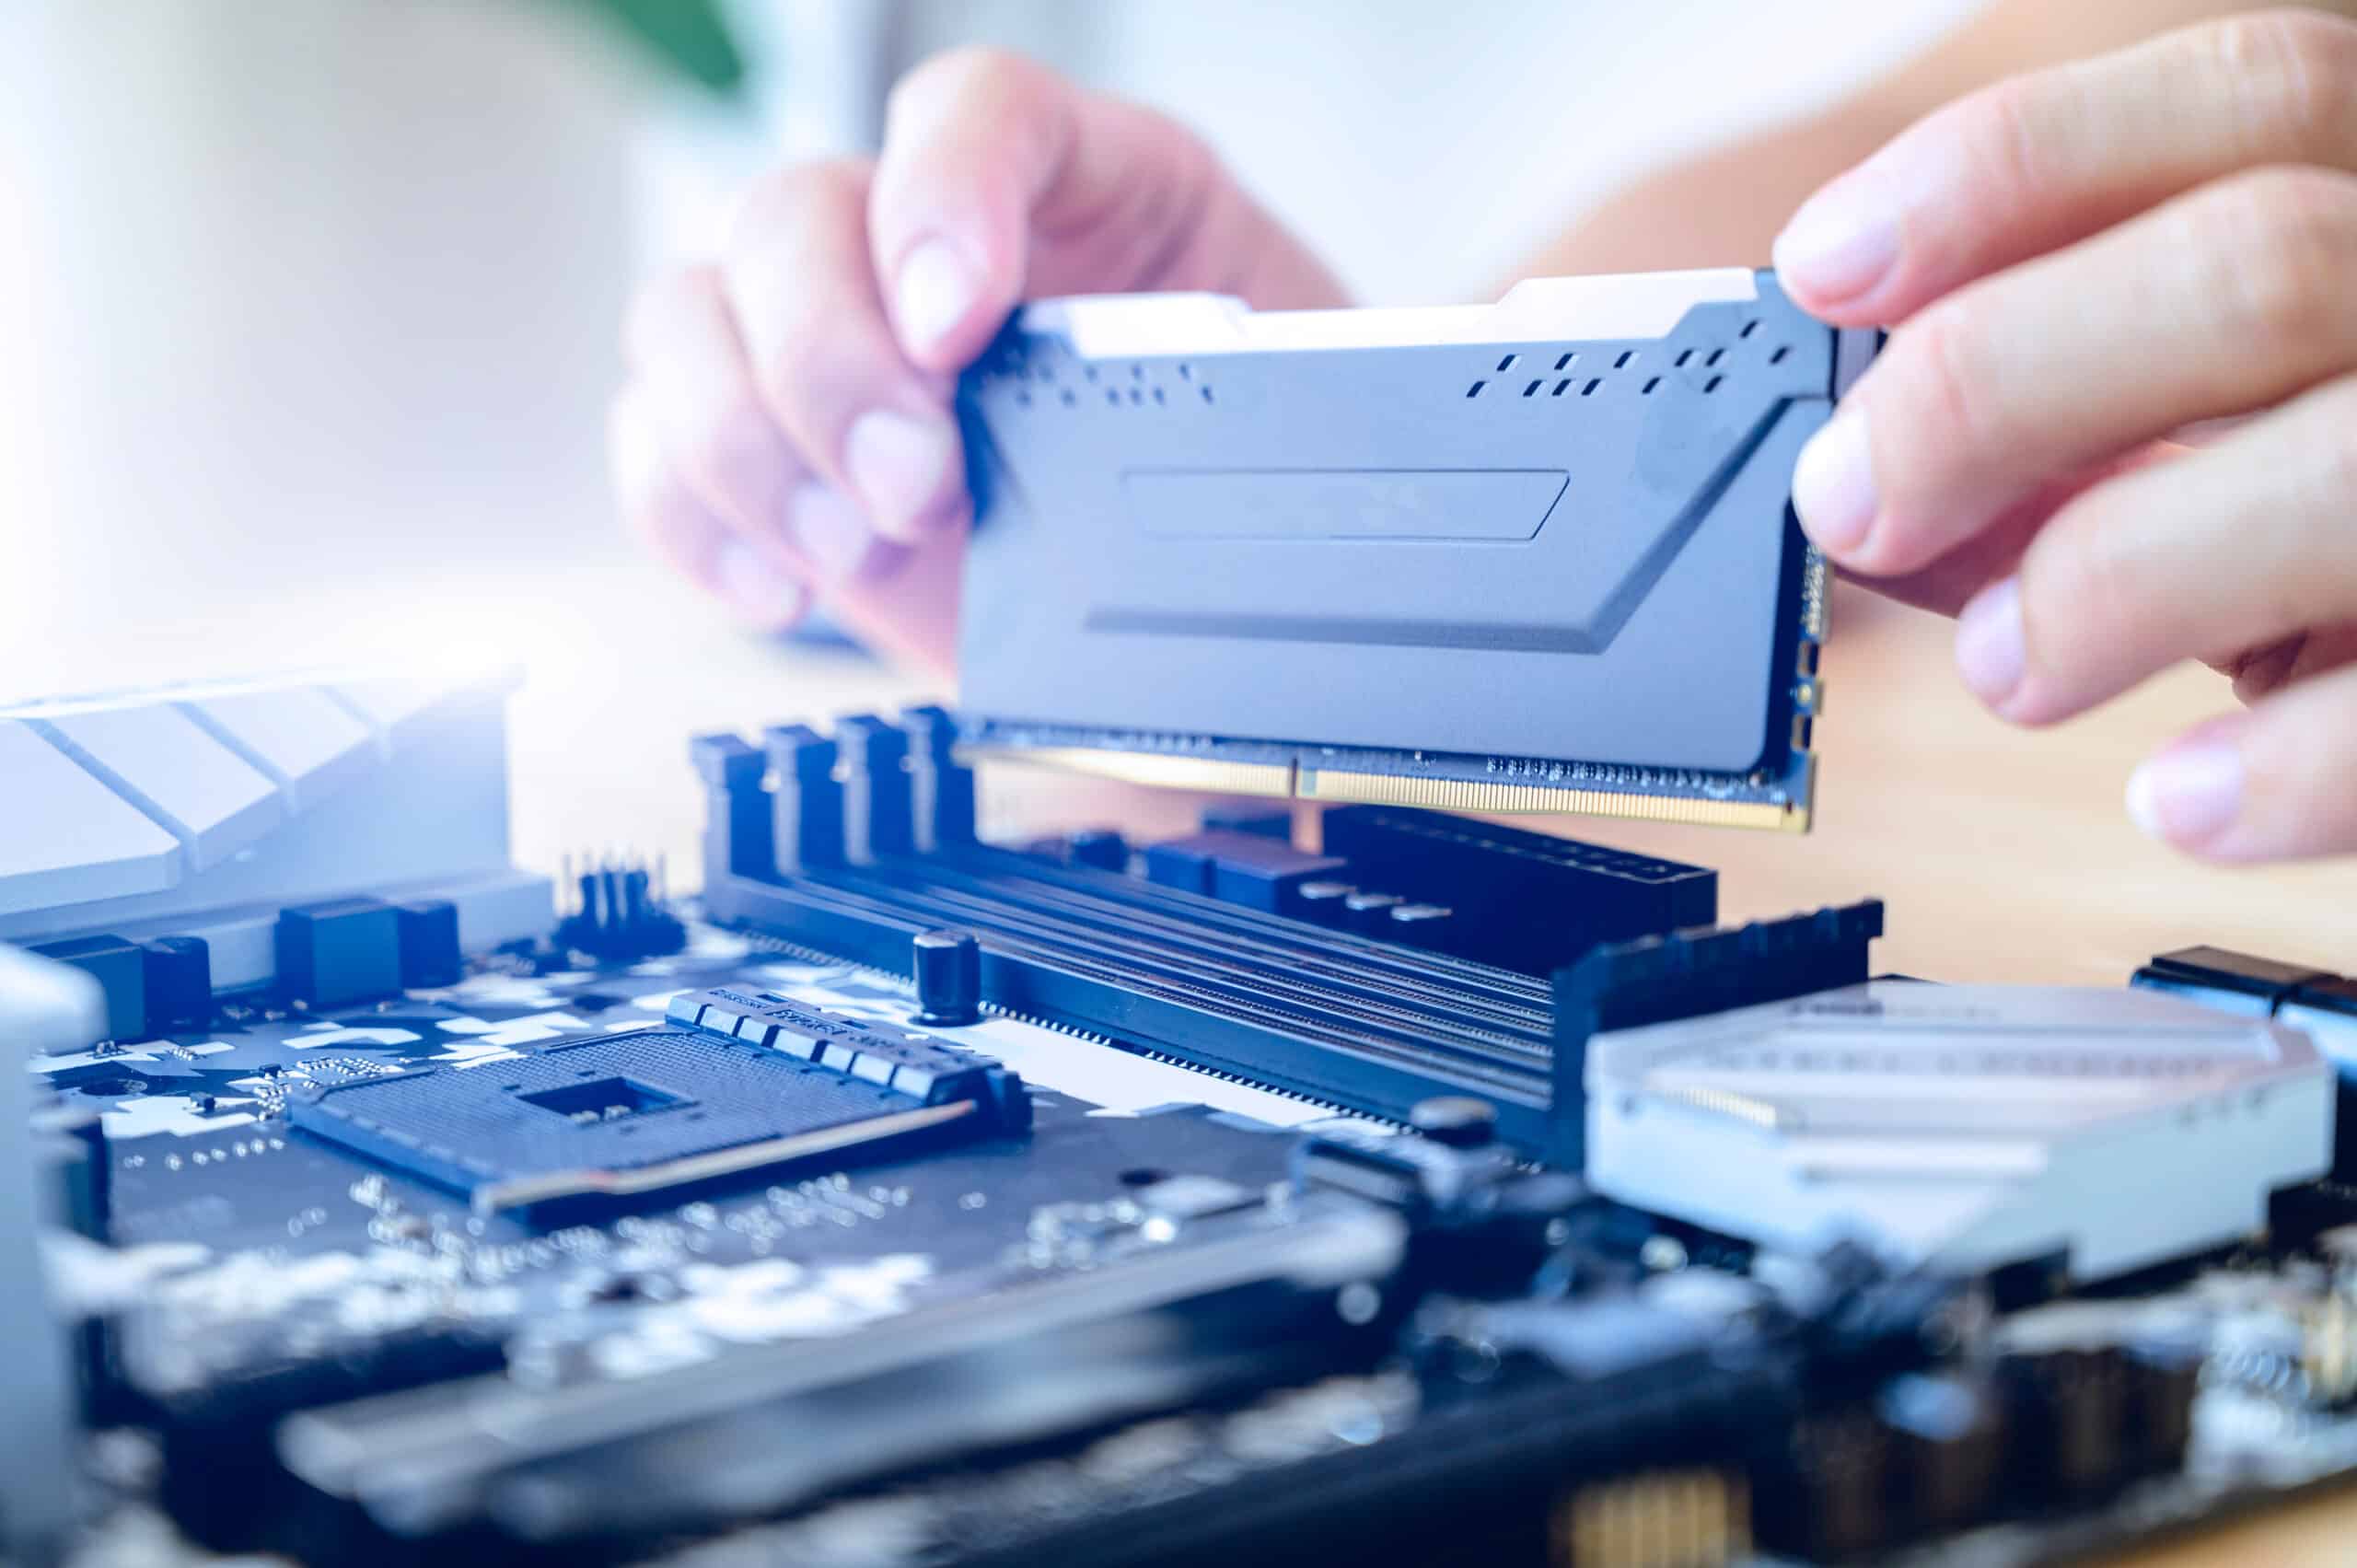
When using an SD card as RAM, it’s crucial to understand that it won’t function in the same way as physical RAM. RAM (Random Access Memory) consists of volatile memory chips that provide temporary storage for data that is actively being accessed by the device. It allows for quick and frequent data retrieval, leading to improved system performance.
On the other hand, SD cards are non-volatile storage devices designed for long-term data storage. They are not optimized for the swift and frequent data retrieval required for RAM operations. Therefore, the performance gain achieved by using an SD card as RAM may not be on par with physical RAM upgrades.
However, utilizing an SD card as additional RAM can still provide a noticeable improvement in system performance, especially for devices with limited RAM capacity. It can help alleviate memory-related bottlenecks and enhance multitasking capabilities.
It’s worth mentioning that using an SD card as RAM should be considered as a temporary solution or a stopgap measure. If your device regularly requires additional RAM beyond what a physical upgrade or the use of an SD card can provide, it may be more practical to invest in a hardware upgrade.
Now that we have a general understanding of SD cards and their limitations, let’s move on to the compatibility requirements for using an SD card as RAM on different operating systems.
Compatibility Requirements
Before you begin using an SD card as additional RAM, it’s essential to ensure that your computer or device meets the necessary compatibility requirements. While the process of using an SD card as RAM is relatively straightforward, there are a few key factors to consider.
Operating System: Different operating systems have various methods and requirements for utilizing an SD card as RAM. Make sure your device is running on a compatible operating system such as Windows, Mac, or Linux.
SD Card Class: The SD card class refers to the minimum sustained write speed of the card. To effectively use an SD card as RAM, it’s recommended to have a Class 10 SD card or higher. This ensures a fast and stable data transfer rate for optimal performance.
Available SD Card Slot: Most computers and devices, especially laptops, come equipped with built-in SD card slots. However, if your device doesn’t have an SD card slot, you may need to use an external SD card reader or adapter that connects via USB.
Supported File System: The SD card used as additional RAM needs to be formatted with a compatible file system. For Windows, FAT32 or NTFS file systems are commonly supported. For Mac, the HFS+ (Mac OS Extended) or APFS file systems are typically used. Linux systems often support various file systems such as ext4.
Available Space: Ensure that your SD card has sufficient free space to be used as RAM. The more available space on the card, the better, as it allows for more data to be stored and accessed faster.
It’s important to note that not all devices readily support using an SD card as additional RAM. Some older or lower-end devices may have limitations or lack the necessary software support for this functionality. Therefore, it’s advisable to check your device’s specifications or consult the manufacturer’s documentation to verify compatibility.
Now that you have a clear understanding of the compatibility requirements, let’s move on to the steps involved in checking the available space on your SD card.
Checking Available Space
Before utilizing an SD card as additional RAM, it’s crucial to ensure that there is enough available space on the card. This will determine how much virtual memory can be allocated to enhance your device’s performance.
To check the available space on your SD card, follow these steps:
- Insert the SD card into the appropriate slot on your device or connect it via an external SD card reader.
- Open the File Explorer (Windows), Finder (Mac), or File Manager (Linux) on your device.
- Navigate to the location where the SD card is displayed. It is typically labeled as a removable disk.
- Right-click (Windows) or control-click (Mac) on the SD card and select “Properties” or “Get Info” from the context menu.
- A new window or dialog box will appear, displaying information about the SD card.
- Look for the available space or free space value, which indicates the amount of storage that is not currently being used on the SD card.
By checking the available space on your SD card, you can determine whether it has sufficient capacity to be used as RAM effectively. It’s generally recommended to have a significant amount of free space available on the card to ensure optimal performance.
If you find that your SD card’s available space is limited, consider removing unnecessary files or transferring them to another storage device. This will free up space and allow for a larger allocation of virtual memory, resulting in better performance when using the SD card as RAM.
Now that you’re aware of the available space on your SD card, it’s time to move on to the next step: formatting the SD card in preparation for use as additional RAM. We’ll cover the formatting process for different operating systems in the following sections.
Formatting the SD Card
Before you can use an SD card as additional RAM, it’s necessary to format it with a compatible file system. Formatting ensures that the card is properly prepared for the task and can function seamlessly with your operating system.
Here are the steps to format the SD card on different operating systems:
Windows:
- Insert the SD card into the appropriate slot on your computer or connect it via an SD card reader.
- Open the File Explorer by pressing Windows key + E.
- Navigate to the location where the SD card is displayed, typically labeled as a removable disk.
- Right-click on the SD card and select “Format” from the context menu.
- In the Format window, select the desired file system (FAT32 or NTFS) and enter a name for the SD card (optional).
- Make sure the “Quick Format” option is checked to speed up the formatting process.
- Click “Start” to begin the formatting process.
- Wait for the formatting to complete, and then click “OK” to finish.
Mac:
- Insert the SD card into the appropriate slot on your Mac or connect it via an SD card reader.
- Open the Finder and navigate to the location where the SD card is displayed.
- Right-click (or control-click) on the SD card and select “Get Info” from the context menu.
- In the Info window, click on the “Erase” button.
- Choose the desired format (HFS+ or APFS) and enter a name for the SD card (optional).
- Click “Erase” to begin the formatting process.
- Wait for the formatting to complete, and then close the Info window.
Linux:
- Insert the SD card into the appropriate slot on your Linux device or connect it via an SD card reader.
- Open a terminal and execute the following command to list the available disks:
sudo fdisk -l - Identify the SD card from the list of disks based on its size and file system.
- Execute the following command to format the SD card as FAT32:
sudo mkfs.fat -F32 /dev/sdx(replace/dev/sdxwith the appropriate device label of your SD card) - Wait for the formatting to complete, and then close the terminal.
After formatting the SD card, it will be ready to be utilized as additional RAM on your computer or device. In the next sections, we’ll discuss the steps required for assigning the SD card as ReadyBoost on Windows, using it as a swap file on Mac, and partitioning and formatting on Linux.
Assigning the SD Card as ReadyBoost (Windows)
If you’re using a Windows operating system, one of the ways to use an SD card as additional RAM is by utilizing the ReadyBoost feature. ReadyBoost allows you to allocate a portion of the SD card’s storage as virtual memory to enhance your computer’s performance.
Follow these steps to assign the SD card as ReadyBoost:
- Insert the formatted SD card into the appropriate slot on your computer.
- Open File Explorer by pressing Windows key + E.
- Right-click on the SD card and select “Properties” from the context menu.
- In the Properties window, click on the “ReadyBoost” tab.
- Check the option that says “Use this device” to enable ReadyBoost on the SD card.
- Move the slider to specify the amount of space on the SD card you want to allocate for ReadyBoost. It’s recommended to allocate at least 1 to 2 times the size of your computer’s RAM.
- Click on “Apply” and then “OK” to save the changes.
- Windows will start configuring the SD card for ReadyBoost, which may take a few moments.
- Once the process is complete, the SD card will be ready to use as additional RAM.
By assigning the SD card as ReadyBoost, Windows will use the allocated space on the card to store frequently accessed data, improving your computer’s performance and reducing the need for accessing the slower hard drive.
It’s worth noting that the ReadyBoost feature may not provide significant performance gains on systems with ample physical RAM. However, if your computer has limited RAM capacity or is experiencing sluggish performance, utilizing an SD card as ReadyBoost can be a beneficial solution.
Now that you’ve assigned the SD card as ReadyBoost on Windows, let’s move on to the next section, where we’ll explore how to use the SD card as a swap file on Mac.
Using the SD Card as a Swap File (Mac)
If you’re using a Mac, you can use the SD card as additional RAM by utilizing it as a swap file. The swap file, also known as virtual memory, serves as an extension to your computer’s physical RAM and helps improve its performance when running memory-intensive tasks.
Follow these steps to use the SD card as a swap file on Mac:
- Insert the formatted SD card into the appropriate slot on your Mac or connect it via an SD card reader.
- Open a Finder window and navigate to the “Applications” folder.
- Open the “Utilities” folder and launch “Terminal”.
- In the Terminal window, type the following command and press Enter:
diskutil listThis will display a list of disks and their corresponding identifiers.
- Identify the SD card from the list based on its size and file system. Note the identifier (e.g., “/dev/disk2”).
- Type the following command in the Terminal window and press Enter:
diskutil eraseDisk JHFS+ "SD Card" /dev/diskXReplace “SD Card” with the desired name for the SD card and “diskX” with the appropriate identifier of the SD card. This command will format the SD card with the HFS+ file system.
- Enter your administrator password when prompted and press Enter.
- Once the formatting is complete, type the following command and press Enter:
sudo nano /etc/fstabThis will open a text editor to modify the “/etc/fstab” file.
- In the text editor, add the following line:
UUID=SD_CARD_UUID none hfs rw,autoReplace “SD_CARD_UUID” with the UUID of the SD card (obtained from the previous step). This line tells the system to mount the SD card as a swap file.
- Press Ctrl + X, then Y, and Enter to save the changes and exit the text editor.
- Restart your Mac for the changes to take effect.
After completing these steps, your Mac will have the SD card mounted as a swap file, effectively increasing its virtual memory. This can help enhance your computer’s performance and alleviate memory-related bottlenecks.
Remember, using an SD card as a swap file is not as efficient as upgrading your Mac’s physical RAM. However, when physical RAM is limited, utilizing the SD card as virtual memory can provide a noticeable boost in performance for resource-intensive tasks.
Now that you’ve learned how to use the SD card as a swap file on Mac, let’s move on to the next section, where we’ll explore partitioning and formatting the SD card on Linux.
Partitioning and Formatting the SD Card (Linux)
If you’re using a Linux operating system, you can utilize the SD card as additional RAM by partitioning and formatting it. Partitioning allows you to divide the SD card into separate sections, while formatting ensures that each partition is properly prepared for use.
Follow these steps to partition and format the SD card on Linux:
- Insert the formatted SD card into the appropriate slot on your Linux device or connect it via an SD card reader.
- Open a terminal on your Linux system.
- Execute the following command to list the available disks:
sudo fdisk -lThis will display a list of disks and their corresponding details.
- Identify the SD card from the list based on its size and file system. Note the device label (e.g., “/dev/sdb”).
- Execute the following command to launch the partitioning tool for the specified device:
sudo fdisk /dev/sdxReplace “sdx” with the appropriate device label of your SD card.
- In the fdisk command-line interface, use the following commands to create a new partition:
- Press “n” to create a new partition.
- Choose the partition type (primary or extended).
- Specify the start and end sectors (press Enter to use the default values to utilize the entire SD card).
- Press “w” to write the changes and exit fdisk.
- Execute the following command to format the newly created partition with a desired file system, such as ext4:
sudo mkfs.ext4 /dev/sdx1Replace “sdx1” with the appropriate partition label created on your SD card.
- Wait for the formatting process to complete.
- Once the formatting is finished, the SD card partition is ready for use.
By partitioning and formatting the SD card, you can make specific partitions ready for use as additional RAM. This allows you to allocate virtual memory to each partition, providing a performance boost for your Linux device, especially in memory-intensive tasks.
Remember to allocate enough space to each partition based on your system’s requirements and available storage on the SD card.
Now that you’ve partitioned and formatted the SD card on Linux, you’re ready to use it as additional RAM. In the next section, we’ll discuss monitoring and managing the usage of RAM to ensure optimal performance.
Monitoring and Managing RAM Usage
Once you’ve set up your SD card as additional RAM, it’s essential to monitor and manage your device’s RAM usage to ensure optimal performance. By keeping an eye on RAM usage, you can identify any bottlenecks or potential issues and take appropriate actions.
Here are some tips for monitoring and managing RAM usage:
Task Manager/Activity Monitor:
Use the built-in task manager or activity monitor on your operating system to monitor the RAM usage. These tools provide real-time information about the processes and applications consuming the most memory. You can identify memory-hungry programs and close them if necessary, freeing up RAM for other tasks.
Optimize Startup Programs:
Prevent unnecessary programs from launching at startup, as they consume valuable RAM. Review the startup items on your computer and disable any programs that you don’t use regularly. This can help reduce the initial RAM load and improve overall performance.
Avoid keeping multiple applications open simultaneously if you’re not actively using them. Each running application consumes a portion of your RAM. Closing unused apps can free up memory and enable your system to allocate more resources to the programs you’re actively using.
Browser extensions can also consume a significant amount of RAM. Periodically review and disable any unnecessary or resource-intensive extensions in your web browser. This can help optimize your browser’s performance and reduce memory usage.
If you consistently experience high RAM usage and performance limitations, consider upgrading your device’s physical RAM. Physical RAM provides faster and more efficient memory access compared to an SD card used as additional RAM. Upgrading your RAM capacity can significantly improve your device’s overall performance.
Maintain your SD card properly to avoid any potential performance issues. Regularly check for any physical damage or signs of wear and tear. It’s also a good practice to safely remove the SD card from your device when not in use to minimize the risk of data corruption.
By actively monitoring and managing your RAM usage, you can ensure that your device operates smoothly and efficiently, utilizing both physical RAM and the SD card as additional RAM effectively.
Now that you’re well-equipped to monitor and manage RAM usage, let’s conclude our journey of using an SD card as RAM and reap the benefits of improved performance!
Conclusion
Utilizing an SD card as additional RAM can be a viable solution for enhancing the performance of your computer or device, especially when physical RAM upgrades are not feasible or temporary performance boosts are needed. By following the steps outlined in this article, you can take advantage of the extra storage space on your SD card to improve multitasking capabilities, reduce lag, and enhance overall system responsiveness.
Throughout this article, we discussed the fundamentals of SD cards and their compatibility requirements. We explored the process of checking available space, formatting the SD card, and assigning it as ReadyBoost on Windows, using it as a swap file on Mac, and partitioning and formatting on Linux. Each operating system has its unique approach to utilizing an SD card as additional RAM, and with the provided instructions, you can adapt the process to your specific needs.
Remember, while using an SD card as RAM can provide a noticeable improvement in performance, it’s important to recognize its limitations. Virtual memory on an SD card may not perform as efficiently as physical RAM upgrades. Therefore, if your device consistently requires additional memory beyond what an SD card can provide, considering a physical RAM upgrade would be a more permanent solution.
Lastly, monitoring and managing your RAM usage is crucial for maintaining optimal performance. Regularly check your device’s RAM usage, close unnecessary applications, optimize startup programs, and consider upgrading physical RAM if necessary. By effectively managing your RAM, you can ensure smooth operation and avoid memory-related performance issues.
Now that you’re equipped with the knowledge and steps required to use an SD card as RAM, you can unleash the potential of your device and enjoy an enhanced computing experience. So go ahead, give it a try, and witness the boost in performance that an SD card can provide!


