Introduction
Welcome to the world of computers, where memory plays a crucial role in determining the performance of your system. One of the most important components of memory in a computer is RAM (Random Access Memory). Whether you’re a tech enthusiast or a casual computer user, checking your RAM can provide valuable information about your system’s capabilities.
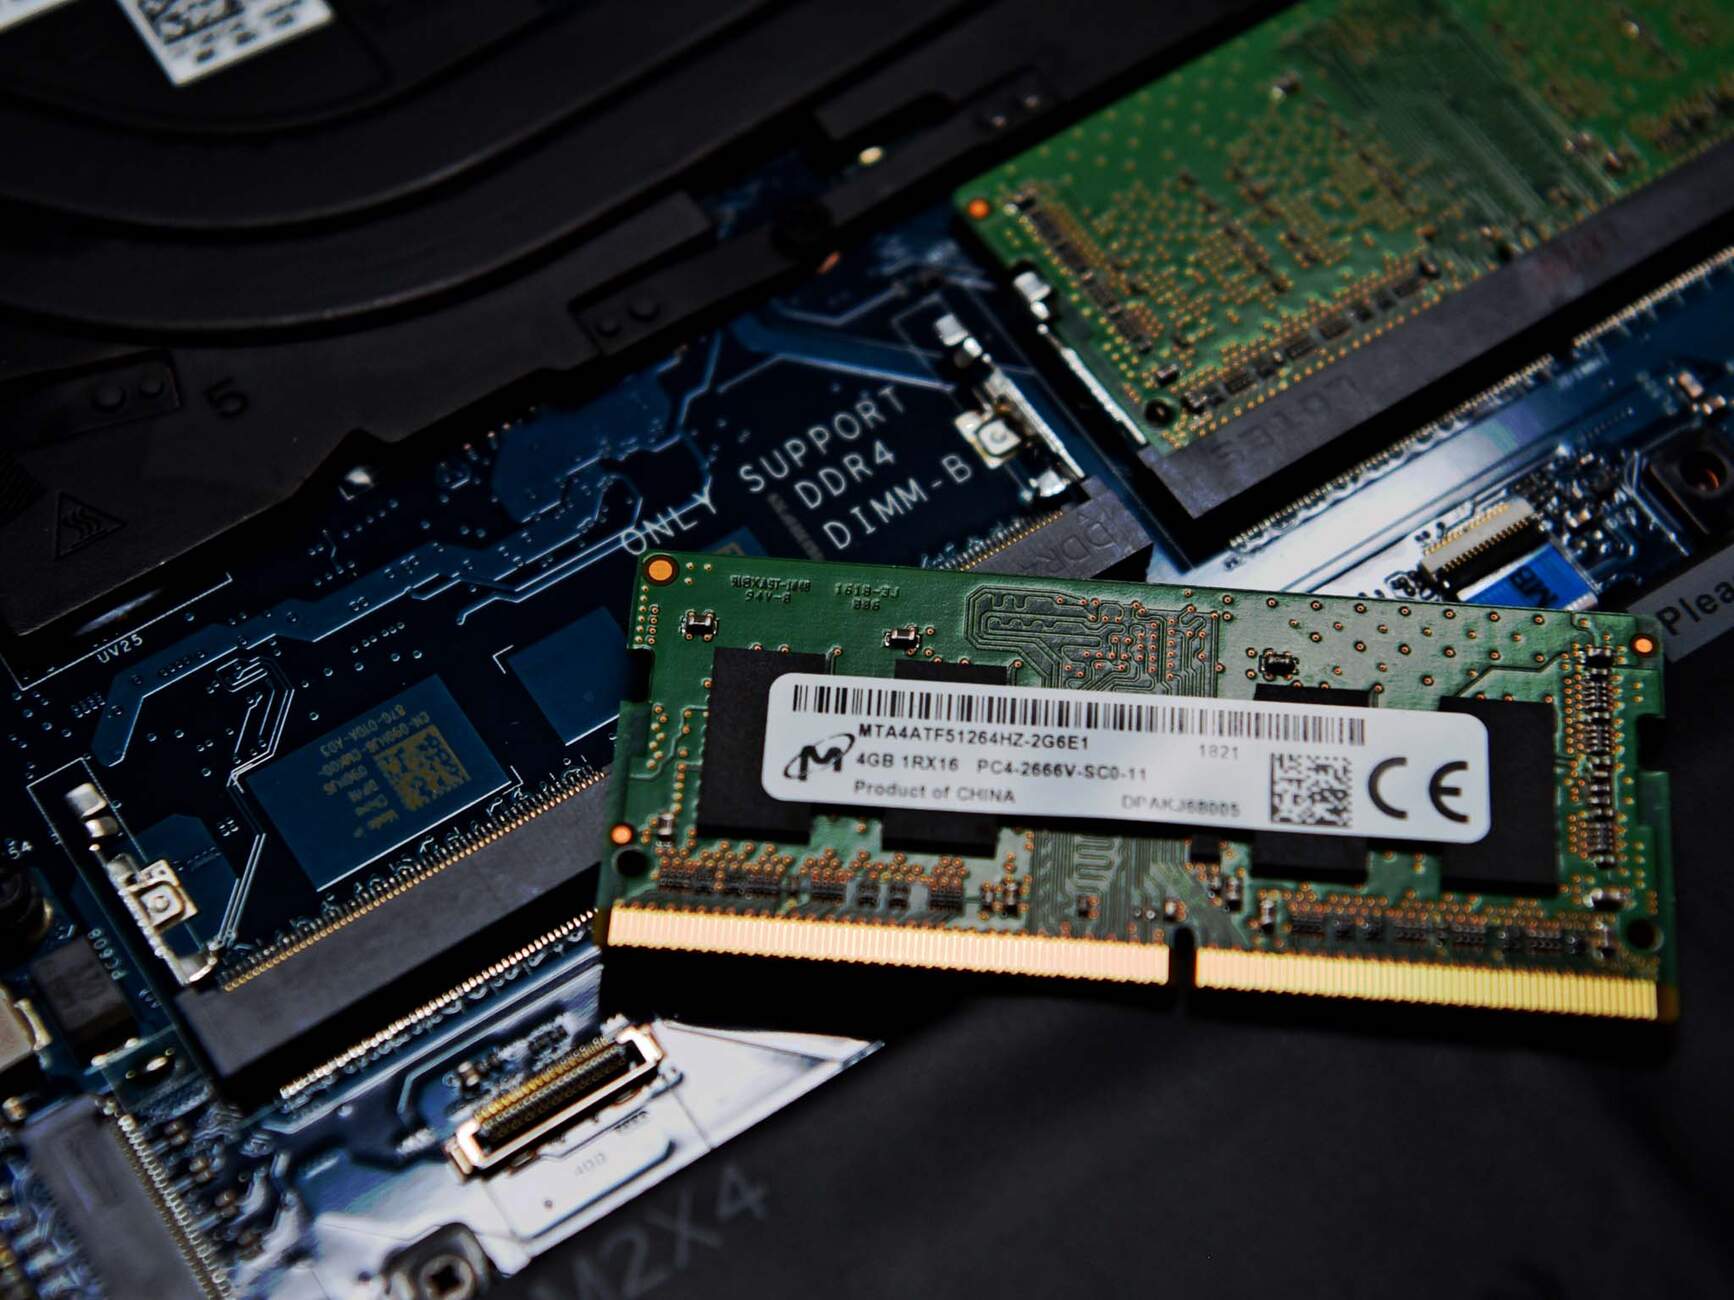
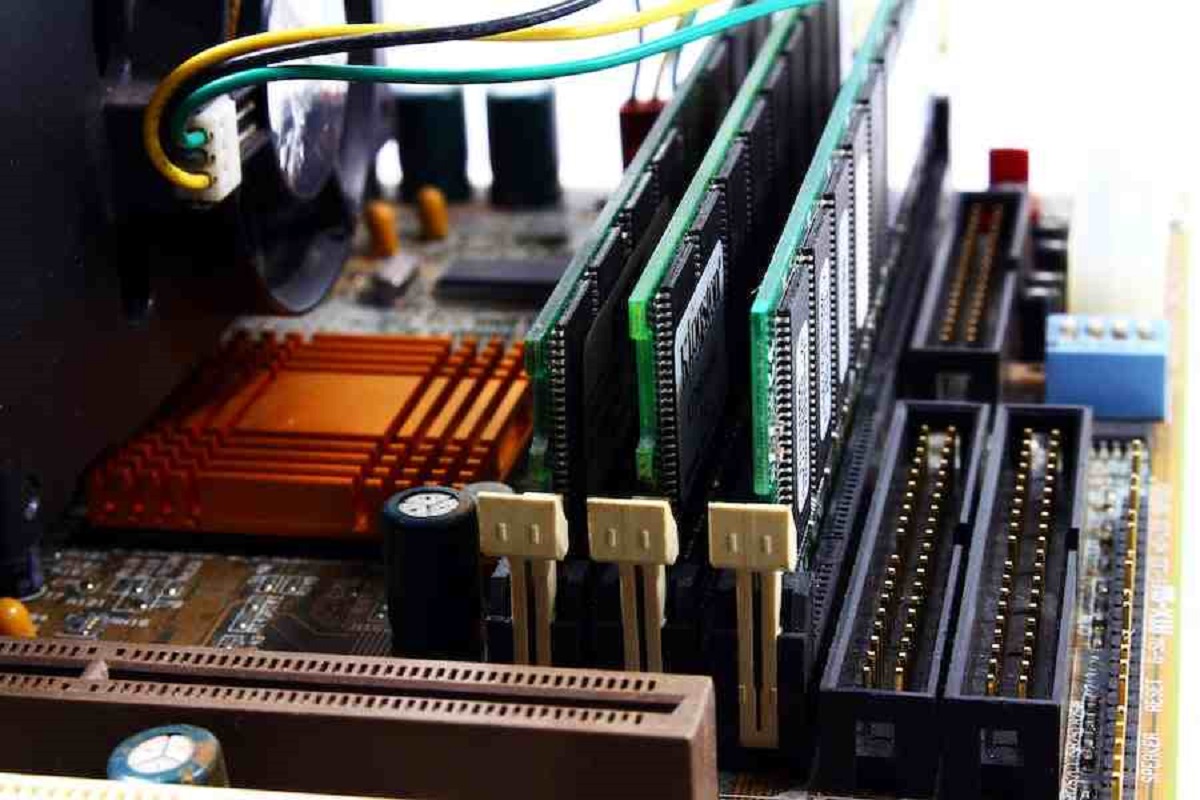
RAM is a type of computer memory that allows data to be accessed randomly, regardless of its storage location. It stores the data that the computer needs to process quickly and efficiently. In simple terms, RAM acts as a temporary workspace for your computer, allowing it to access and manipulate data faster than it would from other types of storage, such as hard drives or solid-state drives (SSDs).
Why is it important to check RAM? Well, knowing the amount of RAM installed on your computer can help you understand its limitations and make informed decisions regarding resource-intensive tasks such as gaming, video editing, or running complex software. Additionally, checking RAM can help identify any potential issues, such as insufficient memory, that may be causing your computer to run slowly or encounter performance problems.
In this guide, we will show you how to check your RAM using the Command Prompt on Windows. Command Prompt is a powerful tool built into Windows that allows you to execute commands and perform various tasks related to system administration. It provides a way to access and interact with your computer’s internal components and settings.
By following the steps outlined in this guide, you will be able to retrieve information about the total amount of physical memory (RAM) installed on your system. This information can be helpful in determining whether you need to upgrade your RAM to improve your computer’s performance or troubleshoot any potential memory-related issues.
What is RAM?
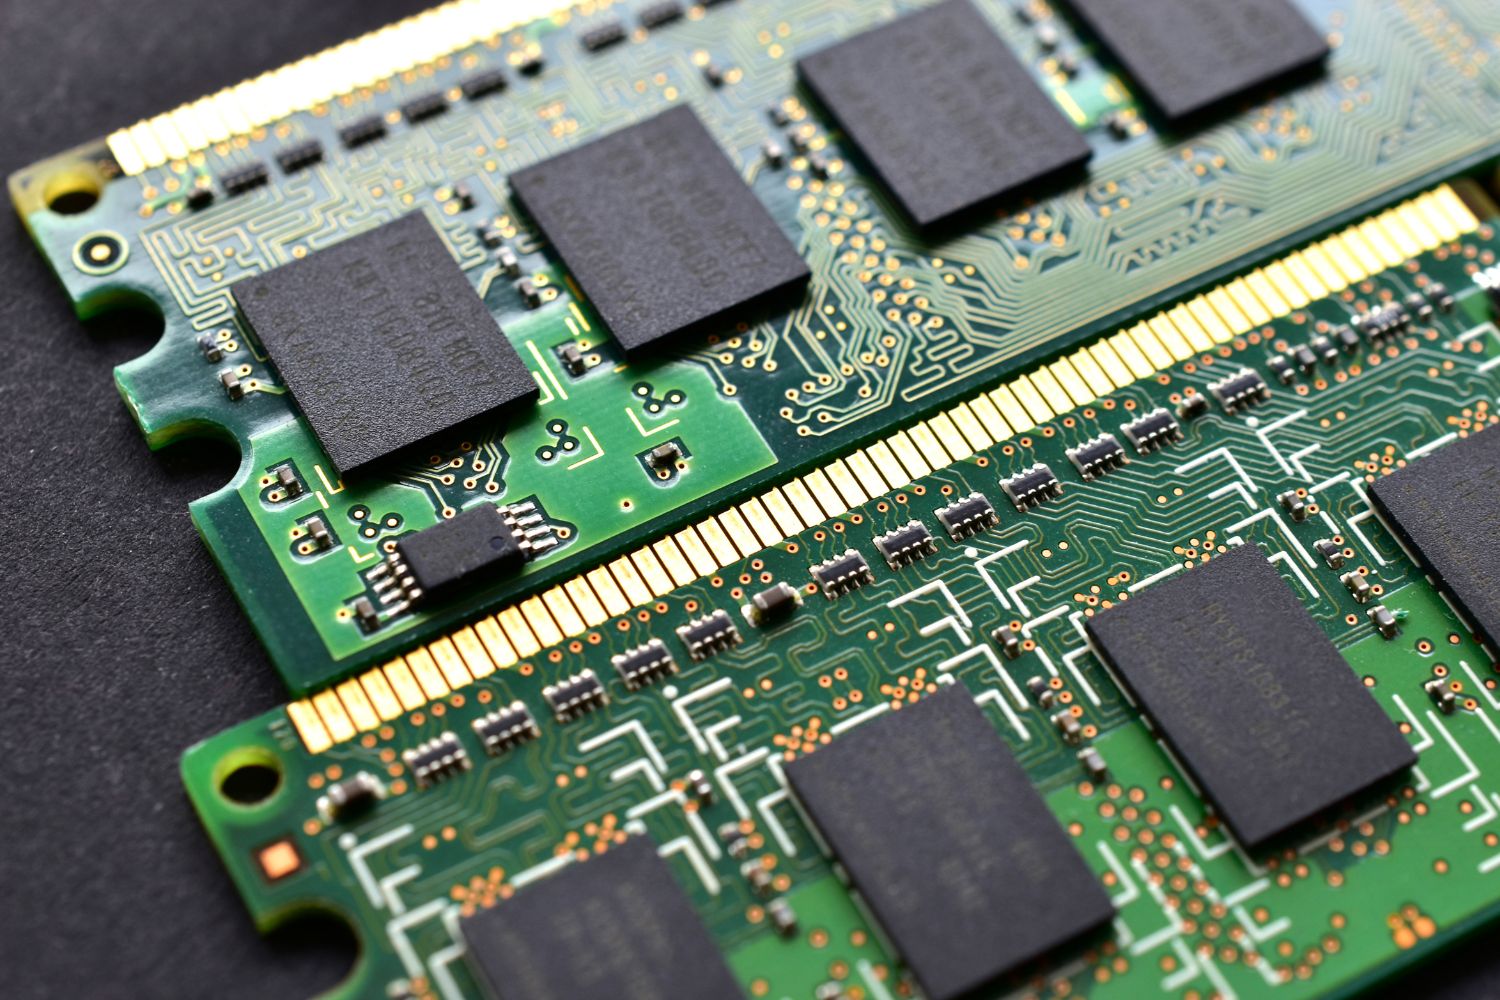
RAM, short for Random Access Memory, is a crucial component of any computer system. It is a type of temporary storage that allows the computer to access and manipulate data quickly. Unlike other forms of storage like hard drives or solid-state drives (SSDs) that provide long-term storage for files and applications, RAM provides fast and temporary storage for data that the computer is actively using.
Think of RAM as a workspace for your computer. When you open a program or file, it gets loaded into RAM, allowing the computer’s processor to access and process the data more rapidly. The more RAM your computer has, the more applications and data it can handle simultaneously without slowing down.
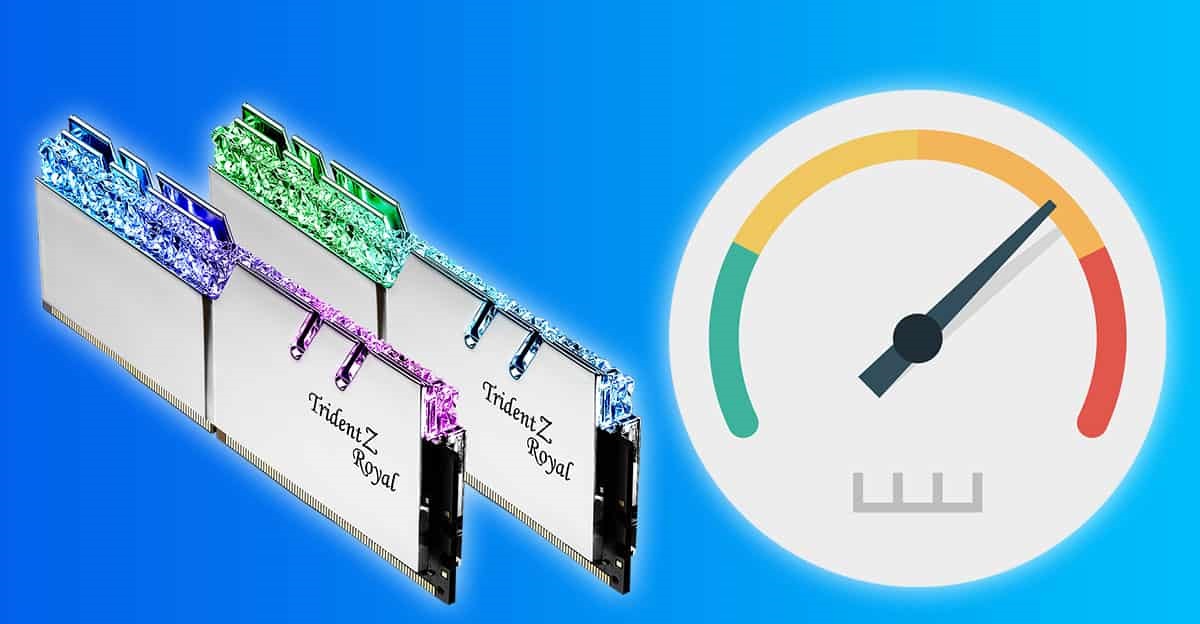
RAM operates at much higher speeds than other types of storage, allowing for faster data transfer rates and significantly reducing the time it takes for the system to retrieve or save information. It provides the computing power needed to perform tasks quickly and efficiently, making it a critical component for multitasking, running complex software, and handling resource-intensive tasks like gaming or video editing.
RAM is volatile memory, meaning it loses all data it holds when the computer is turned off or restarted. This is different from non-volatile storage like hard drives or SSDs, which retain data even when the power is disconnected. Therefore, the need for RAM to store and quickly access data is crucial for maintaining smooth and efficient system performance.
The amount of RAM installed on a computer can significantly impact its overall functionality and performance. While a minimum amount of RAM is required to run the operating system and basic applications, more RAM can provide a noticeable boost, allowing for faster program launches, smoother multitasking, and improved overall system responsiveness.
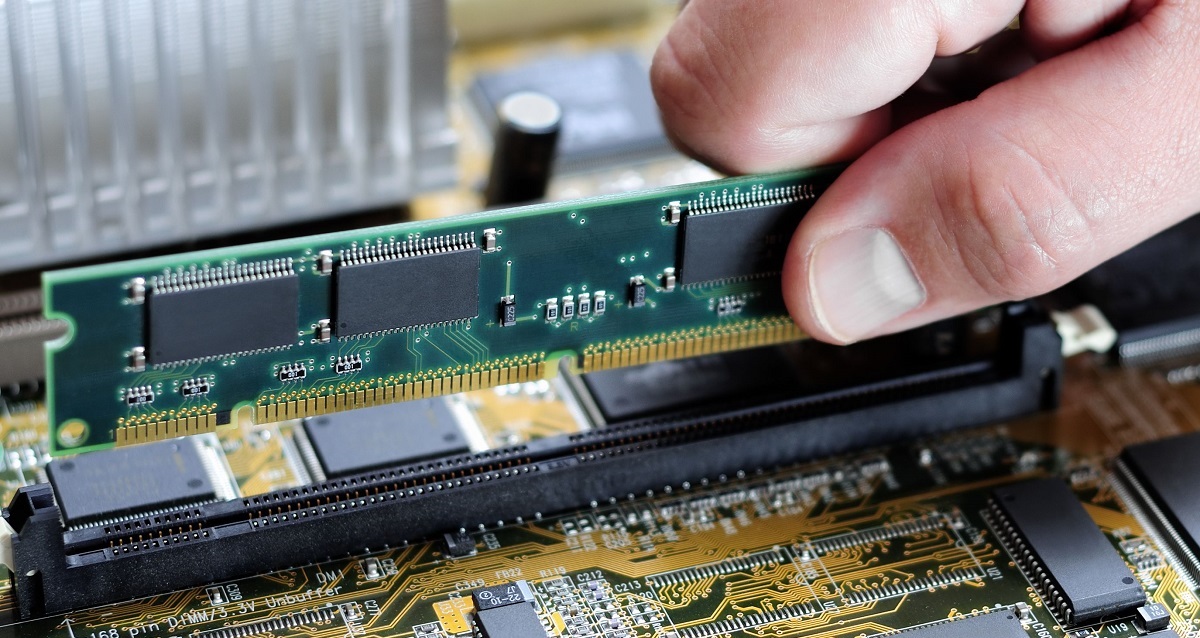
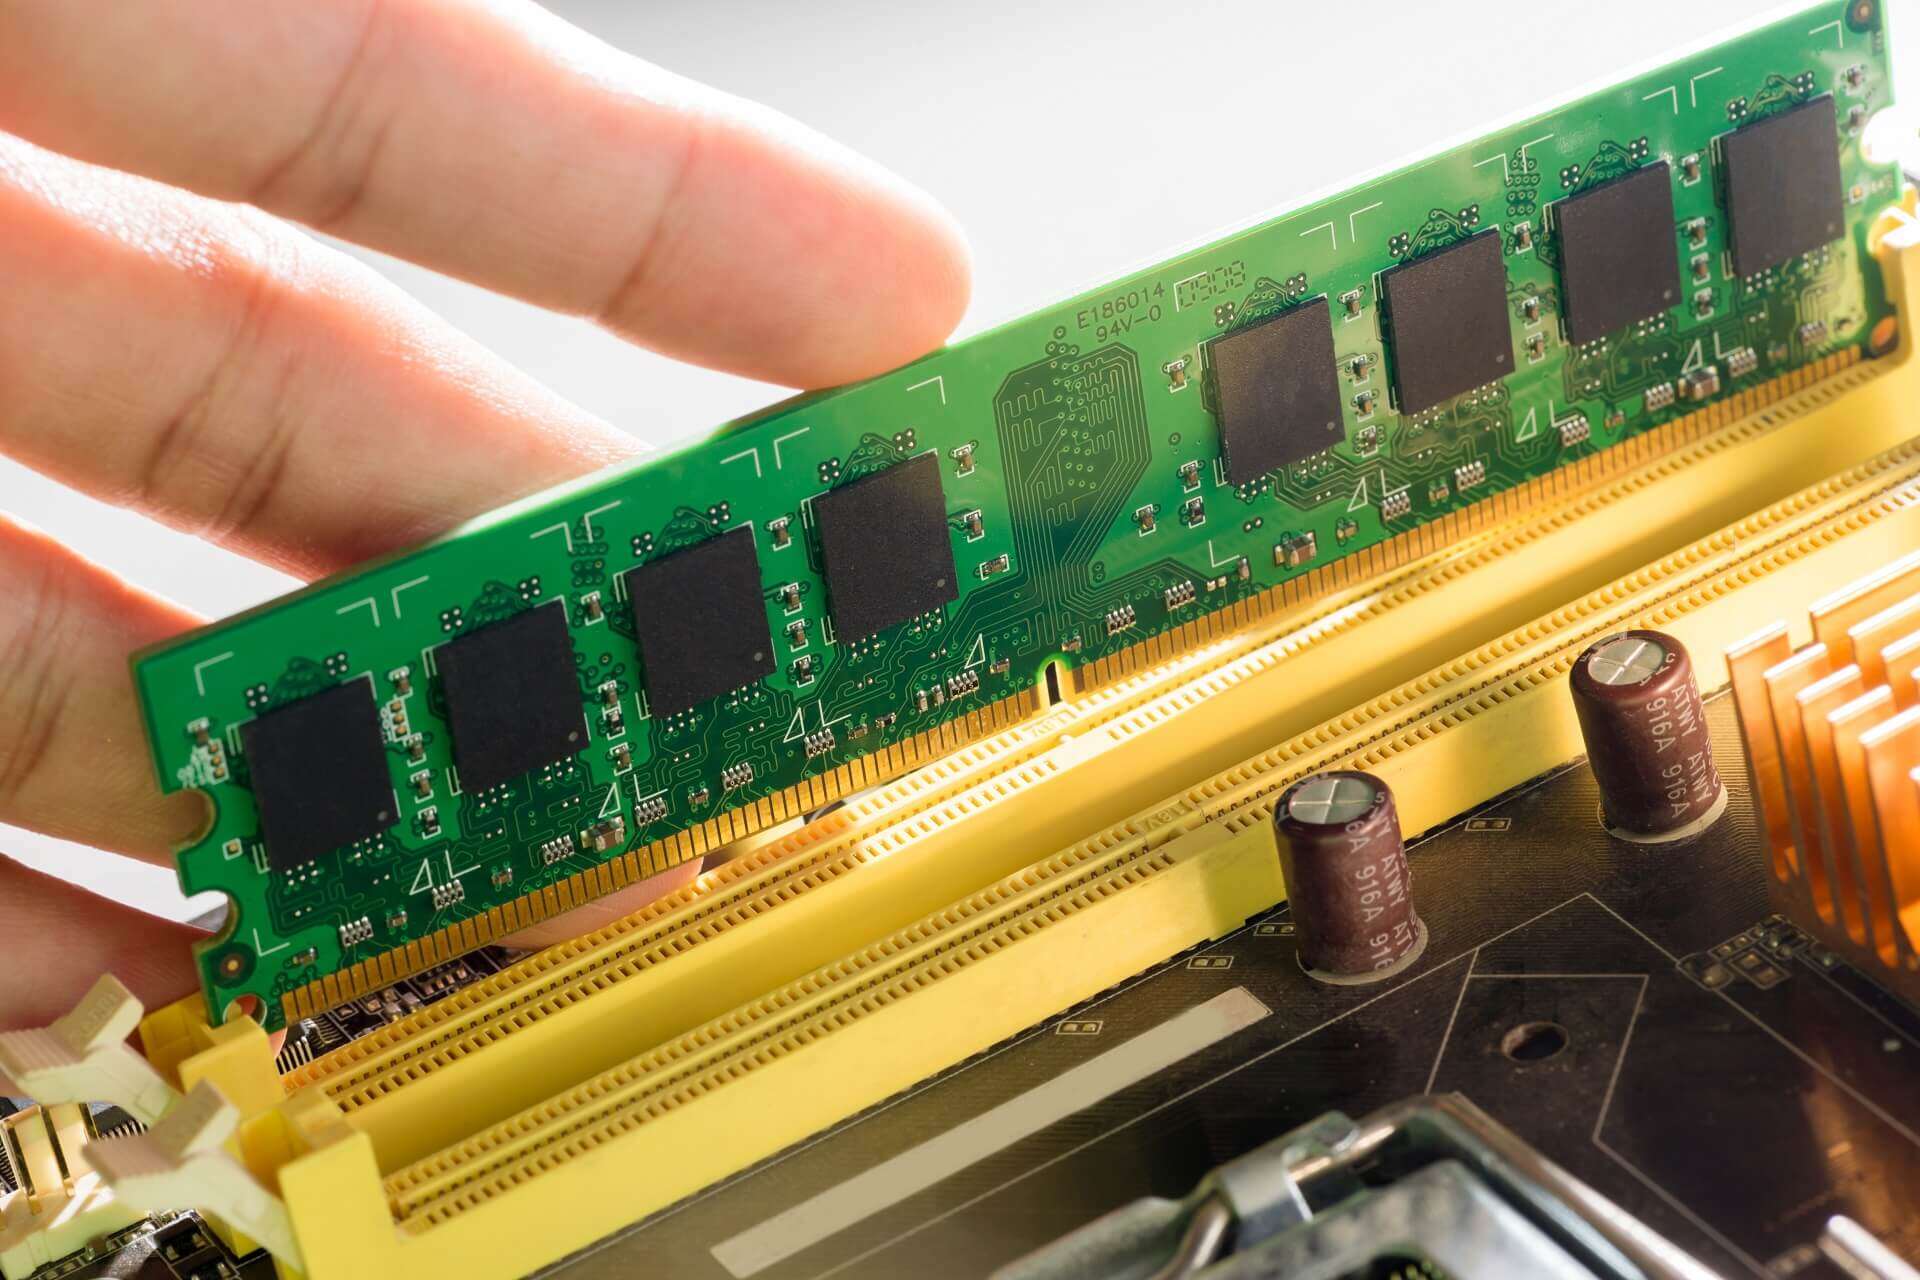
It’s important to note that the amount of RAM your computer can support depends on several factors, including the operating system, motherboard specifications, and the availability of RAM slots. Upgrading your RAM is a common way to improve the overall performance of your system, particularly if you frequently run memory-intensive applications or find your computer struggling to keep up with your demands.
Now that we have a better understanding of what RAM is, let’s explore how we can check the RAM installed on your computer using the Command Prompt.
Why is it important to check RAM?
Checking the RAM installed on your computer can provide valuable insights into its performance capabilities and help you troubleshoot any potential issues. Here are a few reasons why checking RAM is important:
- Understanding System Limitations: By checking your RAM, you can determine the amount of memory available for your computer to process data. This knowledge can help you understand the limitations of your system and make informed decisions about resource-intensive tasks. For example, if you plan to run memory-hungry programs or multitask heavily, knowing the available RAM can guide you in determining whether your system is capable of handling those activities efficiently.
- Identifying Performance Bottlenecks: RAM plays a vital role in the overall performance of your computer. If your computer is sluggish or experiences frequent slowdowns, it could be due to insufficient RAM. By checking the RAM, you can identify potential performance bottlenecks and determine if they are caused by insufficient memory. This knowledge can help you decide if upgrading the RAM is necessary to enhance system performance.
- Troubleshooting Memory Issues: Sometimes, system instability or crashes can be attributed to faulty RAM modules or compatibility issues. Checking the RAM can help you diagnose memory-related problems. If your computer experiences frequent crashes, freezing, or random reboots, it’s worth checking the RAM to ensure it is functioning properly and meets the system requirements.
- Planning for Upgrades: Checking the RAM can help you plan for future upgrades or expansions. If you anticipate needing more memory to run demanding applications or increase multitasking capabilities, knowing your current RAM configuration will guide you in selecting the right upgrade options. Additionally, checking RAM can help you determine if your system supports higher capacity modules or if you need to consider other hardware upgrades to achieve the desired performance.
Ultimately, understanding your computer’s RAM configuration through regular checks allows you to optimize your system’s performance, troubleshoot issues, and plan for future upgrades effectively. It empowers you to make informed decisions regarding software usage, hardware upgrades, and system maintenance, ensuring that your computer runs smoothly and efficiently for all your computing needs.
Checking RAM in Command Prompt
Now that we understand the importance of checking RAM, let’s dive into the process of checking it using the Command Prompt. Command Prompt is a powerful tool in Windows that allows you to execute commands and perform various administrative tasks, including retrieving system information.
Here are the steps to check your RAM using Command Prompt:
- Step 1: Opening Command Prompt: To open Command Prompt, click on the “Start” menu, type “Command Prompt” in the search bar, and select the “Command Prompt” application from the search results. Alternatively, you can use the keyboard shortcut by pressing the “Windows key + R” to open the Run dialog, then type “cmd” and press Enter. This will open the Command Prompt window.
- Step 2: Running the “Systeminfo” Command: In the Command Prompt window, type “systeminfo” (without quotes) and press Enter. This command retrieves various system information, including RAM details, and displays them in the command output.
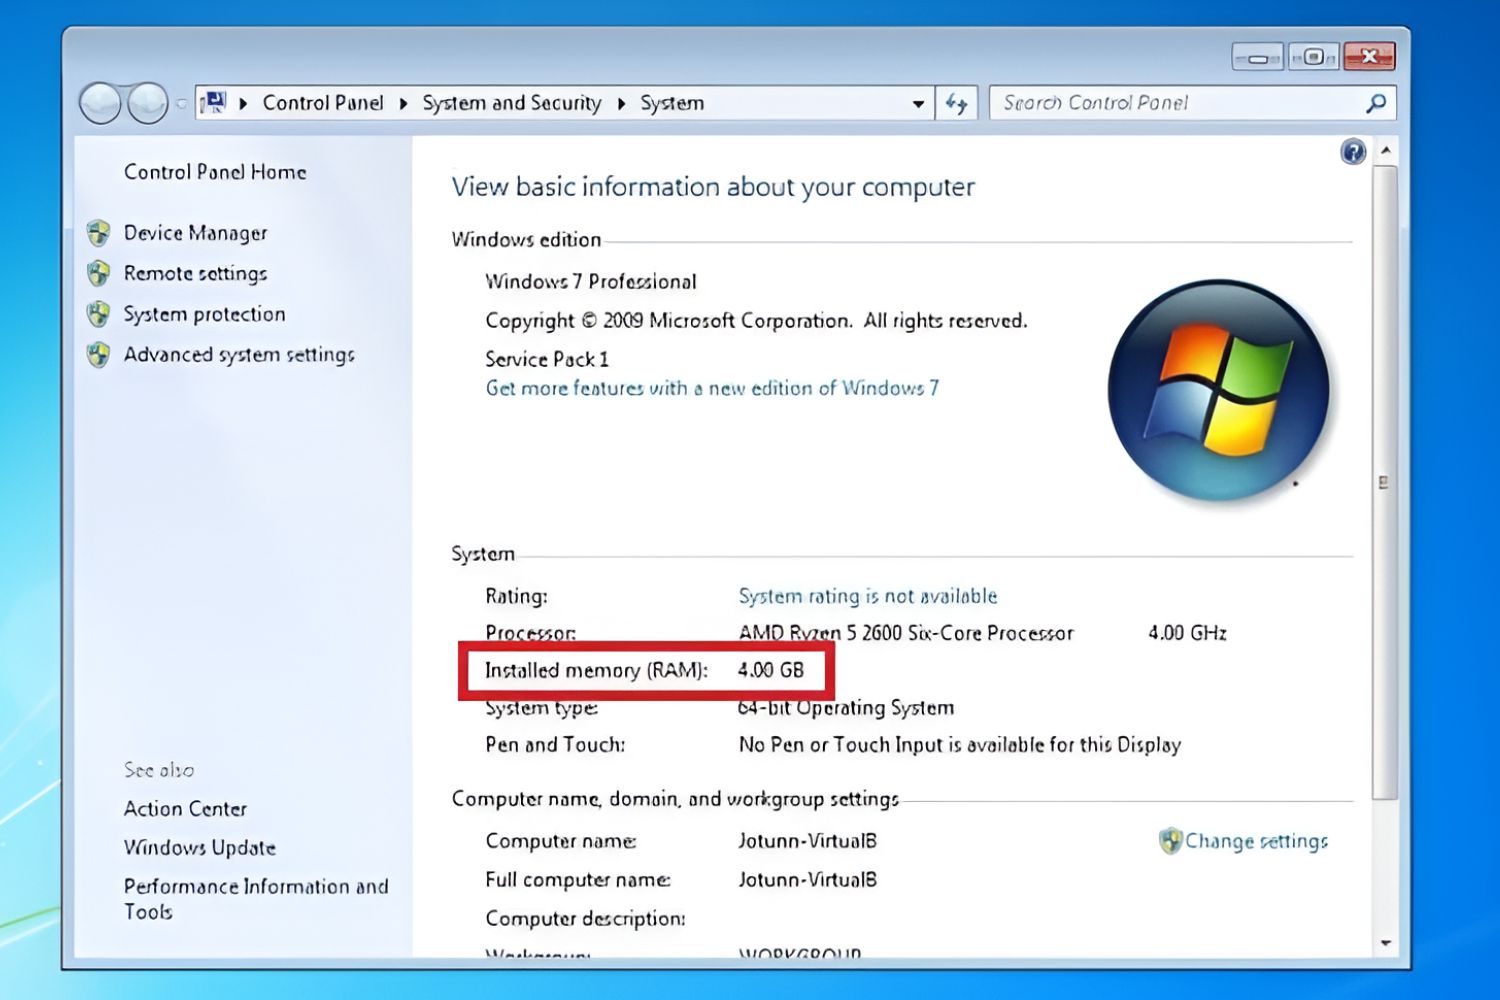
- Step 3: Finding the “Total Physical Memory” Value: Scroll through the command output until you find the line that starts with “Total Physical Memory.” This line contains the information about the total amount of RAM installed on your system. The value is typically displayed in kilobytes (KB).
- Step 4: Interpreting the RAM Information: Take note of the value next to “Total Physical Memory” and interpret it according to your system’s memory configuration. For example, if the value is displayed as “16,777,216 KB,” it means you have 16 gigabytes (GB) of RAM installed on your computer.
By following these steps, you can easily check the amount of RAM installed on your computer using the Command Prompt. This information will help you analyze your system’s memory capabilities, plan for upgrades if necessary, and troubleshoot any potential memory-related issues.
Remember that the method described here is specific to Windows operating systems, and the command syntax may vary slightly depending on the version of Windows you are using. Additionally, other tools and software may provide alternative ways to check RAM on your computer, but using Command Prompt gives you a quick and straightforward method built into the Windows operating system.
Step 1: Opening Command Prompt
To check your RAM using Command Prompt, the first step is to open the Command Prompt window. Command Prompt is a built-in tool in Windows that allows you to execute commands and perform various administrative tasks.
Here’s how you can open Command Prompt:
- Method 1: Using the Start menu: Click on the “Start” menu, located in the bottom-left corner of your screen. In the search bar, type “Command Prompt” and press Enter. From the search results, click on the “Command Prompt” application to open the Command Prompt window.
- Method 2: Using the Run dialog: Press the “Windows key + R” on your keyboard to open the Run dialog. In the Run dialog, type “cmd” (without quotes) and press Enter. This will open the Command Prompt window.
- Method 3: Using the Power User Menu: Press the “Windows key + X” on your keyboard to open the Power User Menu. From the menu, select “Command Prompt” or “Command Prompt (Admin)” to open the Command Prompt window.
- Method 4: Using the Cortana search: If you’re using Windows 10, you can use the Cortana search feature to open Command Prompt. Click on the Cortana icon in the taskbar and type “Command Prompt” in the search bar. From the search results, click on the “Command Prompt” application to open the Command Prompt window.
Whichever method you choose, you will be greeted with a black Command Prompt window that is ready to accept your commands.
Opening Command Prompt gives you access to the powerful command-line interface of Windows, allowing you to execute various commands and retrieve essential system information, such as the total amount of RAM installed on your computer.
Now that you have successfully opened the Command Prompt window, you are ready to proceed to the next step and run the command to check your RAM. In the following steps, we will guide you through the process of retrieving RAM information using the Command Prompt.
Step 2: Running the “Systeminfo” Command
Once you have opened the Command Prompt window, the next step is to run the “systeminfo” command. This command allows you to retrieve various system information, including details about your RAM.
Here’s how you can run the “systeminfo” command:
- In the Command Prompt window, type “systeminfo” (without quotes) and press Enter.
- Wait for a few moments as the command gathers all the necessary information about your system.
- You will see a list of system information displayed in the Command Prompt window. This includes details such as the operating system version, system model, and installed RAM.
The “systeminfo” command collects extensive information about your computer, so the output may be quite long. However, you can scroll through the information until you find the specific details about your RAM.
It’s important to note that the “systeminfo” command also provides other valuable information about your system’s hardware and software, including the processor, BIOS version, and network configuration. This can be useful when troubleshooting or gathering system specifications.
By running the “systeminfo” command, you gain access to a wealth of system information, including the total amount of RAM installed on your computer. This information will enable you to determine the capabilities of your system and make informed decisions regarding memory upgrades or troubleshooting potential memory-related issues.
Now that you have successfully obtained the system information using the “systeminfo” command, it’s time to move on to the next step, where we will find the “Total Physical Memory” value to determine the amount of RAM installed on your computer.
Step 3: Finding the “Total Physical Memory” Value
After running the “systeminfo” command in Command Prompt, you will be presented with a wealth of information about your system. The next step is to find the “Total Physical Memory” value, which indicates the amount of RAM installed on your computer.
To find the “Total Physical Memory” value, follow these steps:
- Scroll through the output of the “systeminfo” command in the Command Prompt window.
- Look for the line that starts with “Total Physical Memory”.
- The value next to “Total Physical Memory” represents the total amount of RAM installed on your system. This value is typically displayed in kilobytes (KB).
For example, the line might look something like this:
Total Physical Memory: 16,777,216 KB
In this example, the “Total Physical Memory” value is 16,777,216 KB, which translates to 16 gigabytes (GB) of RAM.
The value displayed may vary depending on your system’s configuration and the amount of RAM installed.
By identifying the “Total Physical Memory” value, you can determine the amount of RAM available on your computer. This information is essential for understanding your system’s memory capabilities and making informed decisions about upgrading or troubleshooting memory-related issues.
Remember to take note of the value next to “Total Physical Memory” or consider capturing a screenshot for future reference.
Now that you have successfully located the “Total Physical Memory” value, it’s time to move on to the final step, where we will interpret the RAM information to understand its significance for your computer system.
Step 4: Interpreting the RAM Information
Once you have found the “Total Physical Memory” value in the output of the “systeminfo” command, the next step is to interpret this information. Understanding the RAM information will allow you to gauge your system’s memory capacity and assess its capabilities.
To interpret the RAM information, follow these steps:
- Take note of the value next to “Total Physical Memory” that you located in the previous step.
- Interpret the value to determine the amount of RAM installed on your computer. The value is typically displayed in kilobytes (KB), but you can convert it to a more commonly used unit like megabytes (MB) or gigabytes (GB). For example, 1 kilobyte (KB) is equivalent to 0.001 megabytes (MB), and 1 megabyte (MB) is equivalent to 0.001 gigabytes (GB).
- Consider your system’s RAM capacity based on the interpreted value. This will give you an indication of how much memory your computer has available for use in various tasks and applications.
For example, if the “Total Physical Memory” value is 16,777,216 KB, this translates to 16 gigabytes (GB) of RAM. Having 16 GB of RAM provides ample memory for most tasks and applications, enabling smooth multitasking and efficient processing of resource-intensive programs.
Interpreting the RAM information allows you to evaluate your system’s memory capabilities and assess whether they meet your requirements. If you find that your system’s RAM is insufficient for your needs, you may consider upgrading to a higher capacity module or adding more RAM to enhance performance.
It’s important to remember that interpreting the RAM information is crucial in understanding your system’s memory resources. More RAM generally leads to better multitasking capabilities and improved overall system performance, especially when running memory-intensive applications such as video editing software or virtual machines.
By interpreting the RAM information obtained from the Command Prompt, you can gain valuable insights into your system’s memory capacity and make informed decisions regarding memory upgrades or system optimization.
Now that you have successfully interpreted the RAM information, you have completed all the steps necessary to check your RAM using Command Prompt. Congratulations!
Conclusion
Checking your RAM using the Command Prompt is a simple and effective way to gather valuable information about your computer’s memory. By following the steps outlined in this guide, you can easily retrieve details about the amount of RAM installed on your system and use this information to make informed decisions.
Understanding your computer’s RAM configuration is important for several reasons. It allows you to determine the limitations of your system and make informed choices regarding resource-intensive tasks. Additionally, checking RAM can help identify performance bottlenecks and troubleshoot memory-related issues that may be affecting your computer’s performance.
The Command Prompt is a powerful tool in Windows that provides a quick and straightforward method for checking RAM. By running the “systeminfo” command, you can retrieve a comprehensive list of system information, including the “Total Physical Memory” value, which indicates the amount of RAM installed on your computer.
Interpreting the RAM information obtained from the Command Prompt enables you to assess your system’s memory capabilities and make decisions accordingly. Whether it’s upgrading your RAM to enhance performance or troubleshooting potential issues, understanding your system’s RAM configuration is essential for optimizing its functionality.
Remember that RAM plays a crucial role in the performance and efficiency of your computer. Having sufficient RAM allows for smoother multitasking, faster program launches, and better overall system responsiveness.
By regularly checking your RAM and staying aware of its capacity and capabilities, you can ensure that your computer meets your needs and functions optimally. Whether you’re a casual user or a power user, having a good understanding of your computer’s RAM is key to a seamless computing experience.
So, take the time to check your RAM using the Command Prompt, and use this information to improve your system’s performance and make informed decisions about memory upgrades and troubleshooting.