Introduction
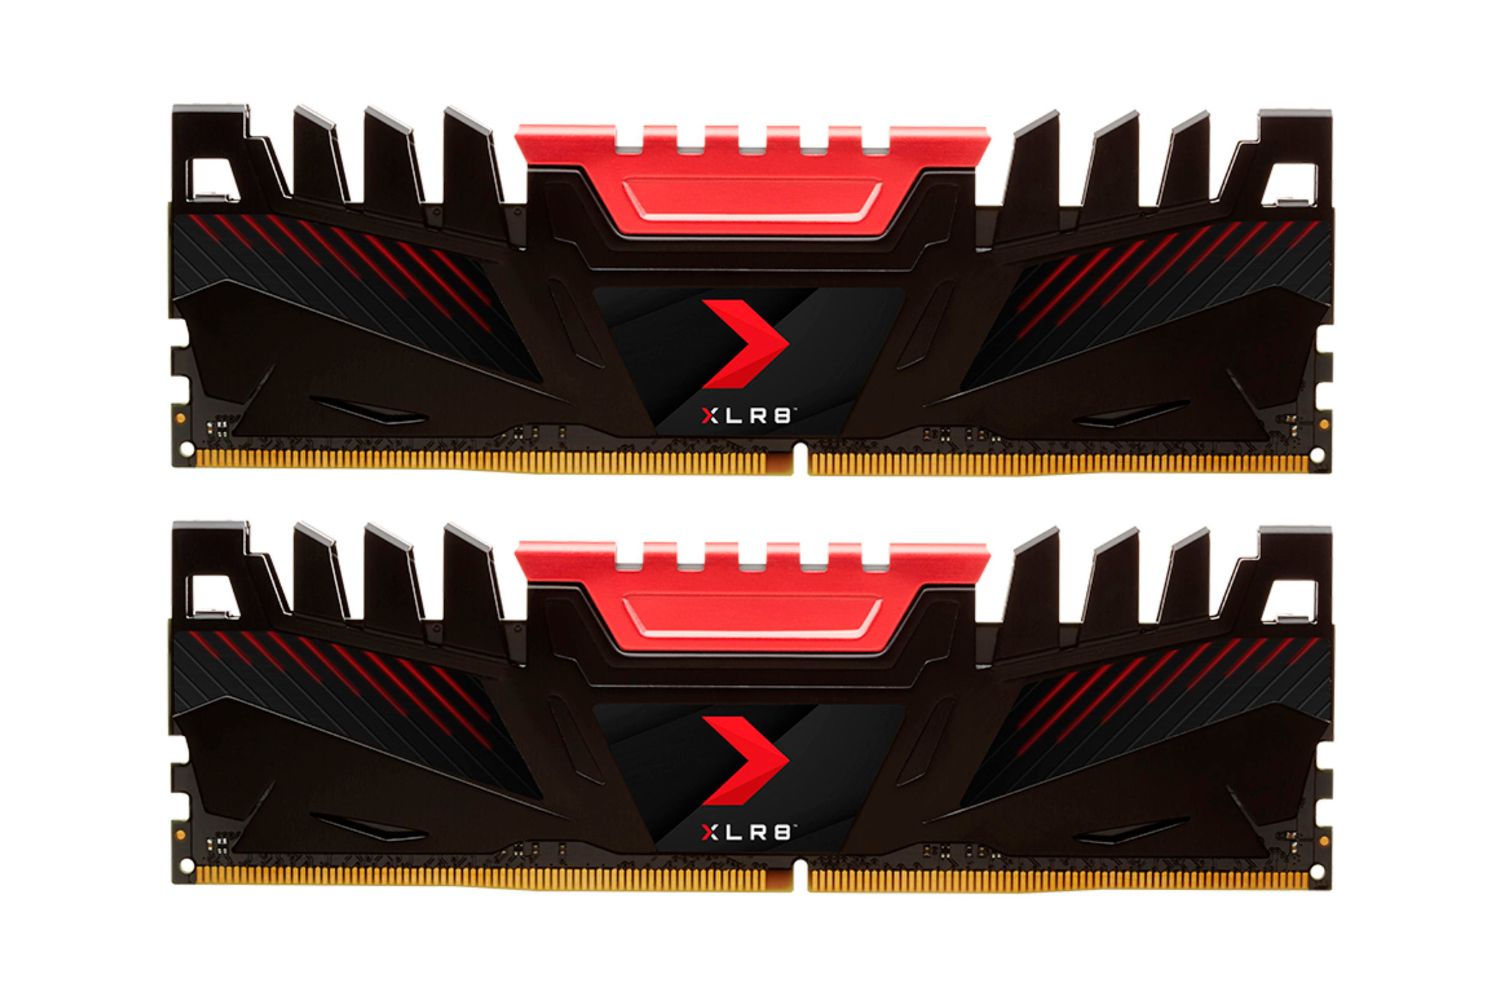
The RAM (Random Access Memory) of a computer is a critical component that plays a crucial role in its performance and functionality. Whether you are a casual user, a professional, or a gamer, checking your PC’s RAM is essential to ensure it is functioning optimally. By understanding how much RAM your computer has, you can determine if it meets the requirements for running specific programs, games, or tasks.
Checking the RAM of your PC allows you to monitor its usage and identify any potential issues that may be affecting system performance. It provides insight into how much memory is being utilized, helping you troubleshoot any slowdowns or crashes that commonly occur due to insufficient RAM.
In this guide, we will walk you through various methods of checking RAM on different operating systems, including Windows, Mac, and Linux. We will also explore how to access the Task Manager, System Information, and Command Prompt to obtain the RAM information you need.
Furthermore, we will discuss common RAM issues and offer troubleshooting tips to address them. By the end of this article, you will have a comprehensive understanding of checking RAM and be able to utilize this knowledge to ensure your computer is performing at its best.
Why is it important to check RAM?
Checking the RAM of your PC is crucial for several reasons. Here are some compelling reasons why it is important to regularly monitor your computer’s RAM:
- Performance Optimization: RAM is responsible for storing and accessing data that is actively used by the computer’s operating system and applications. By checking your RAM, you can ensure that your system has enough memory to handle the tasks at hand. Insufficient RAM can lead to slowdowns, freezes, and crashes, negatively impacting your productivity and user experience.
- Identifying Bottlenecks: RAM plays a pivotal role in multitasking. If you frequently run multiple applications simultaneously, checking your RAM can help you identify if there is enough memory available to handle the workload. Insufficient RAM can lead to sluggish performance when switching between applications or running resource-intensive tasks.
- Compatibility: Certain software applications and demanding games have minimum RAM requirements. By checking your RAM, you can ensure that your computer meets the necessary specifications to run these programs smoothly. If the system falls short, you may experience crashes, reduced performance, or even be unable to run the software altogether.
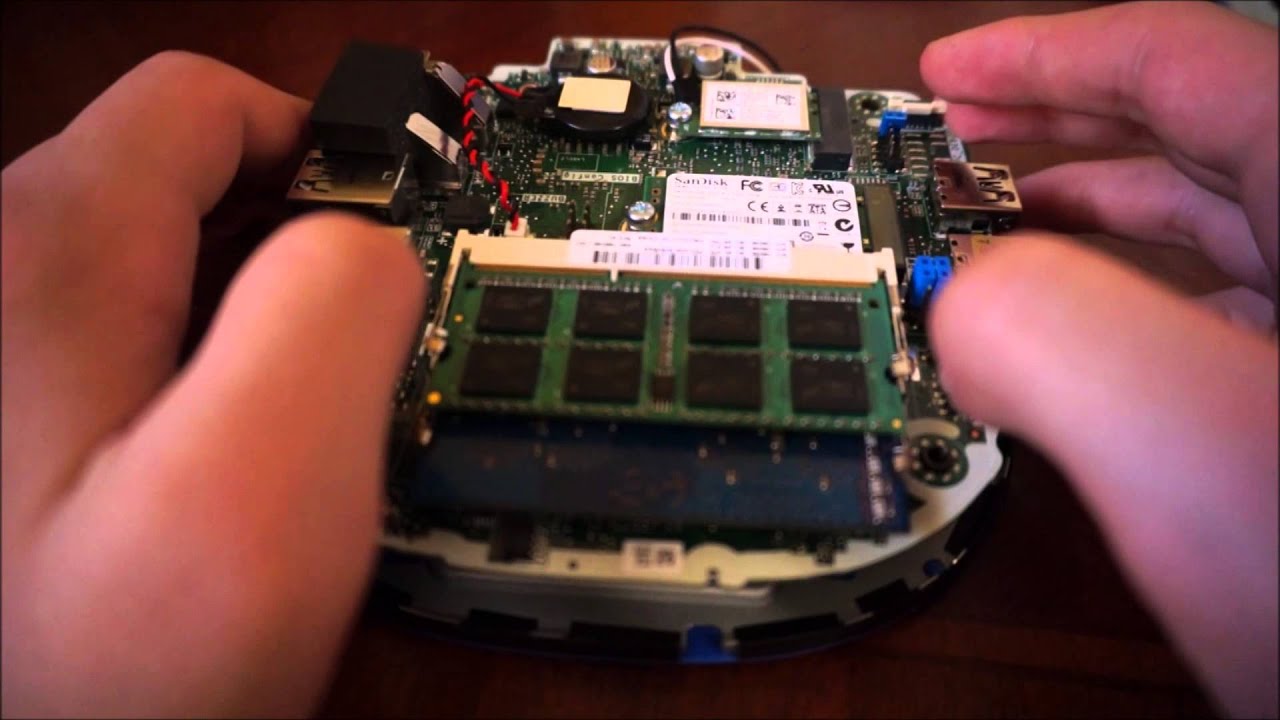
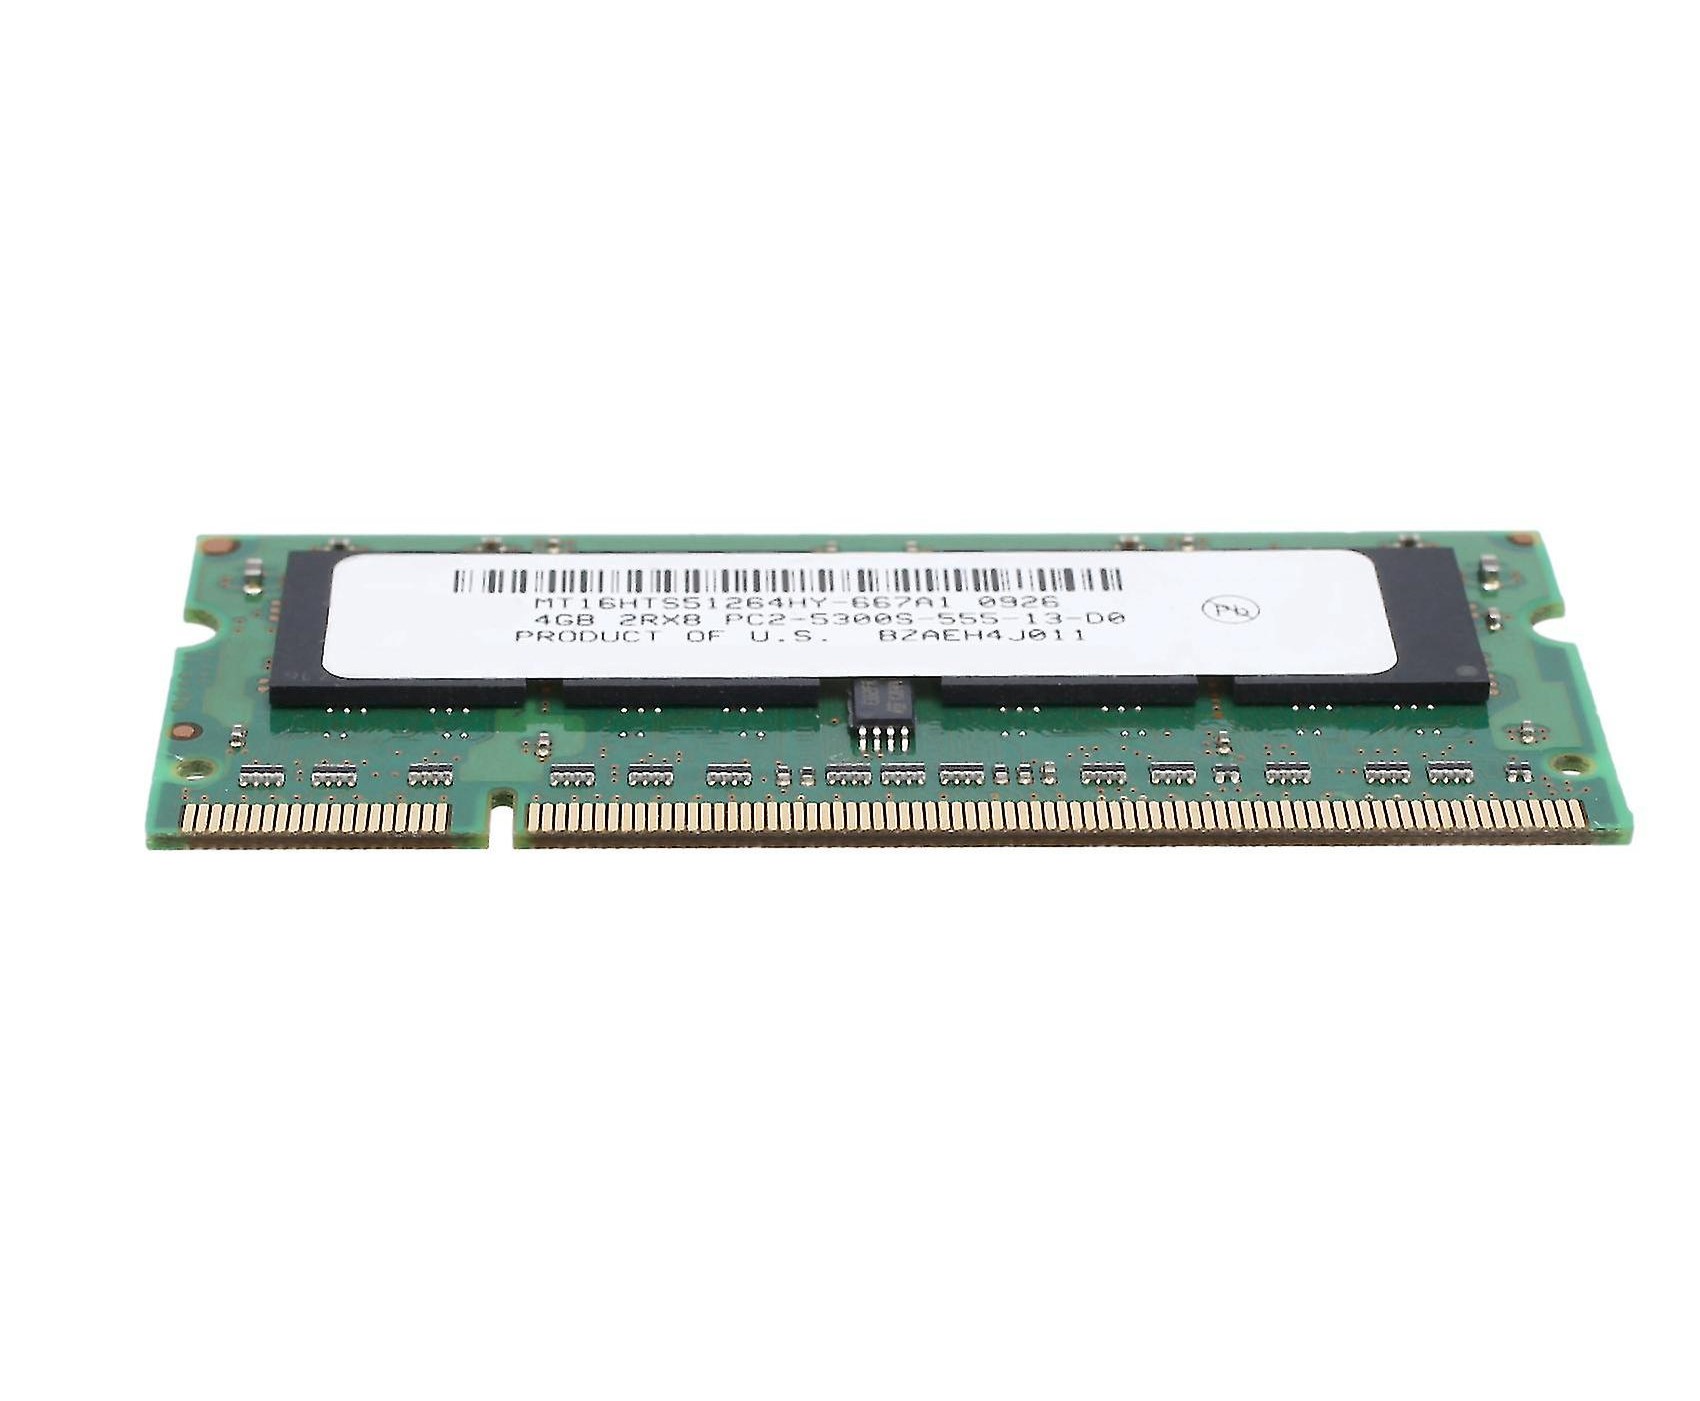
- Hardware Upgrades: If you are looking to upgrade your computer’s RAM, checking the existing memory can help you determine the type, speed, and capacity of the RAM modules already installed. This information is crucial when selecting compatible RAM upgrades to maximize your system’s performance.
- Troubleshooting Hardware Issues: RAM-related issues, such as faulty modules or incorrect configurations, can cause system instability and crashes. By checking the RAM, you can identify any potential problems and take appropriate measures, such as reseating or replacing the faulty modules.
Regularly checking your computer’s RAM allows you to stay informed about its capacity, usage, and overall health. It empowers you to optimize performance, ensure compatibility with resource-intensive applications, and troubleshoot any potential hardware issues related to memory. By understanding the importance of checking RAM, you can effectively maintain and enhance your computer’s performance.
How much RAM does your PC have?
Knowing the amount of RAM your PC has is essential for determining its capability to handle various tasks. The amount of RAM installed on your computer dictates how efficiently it can multitask, run resource-intensive applications, and handle heavy workloads. Here are a few methods to check the RAM capacity of your PC:
- Windows: On Windows, you can easily check your RAM capacity by accessing the System Information utility. To do this, press the Windows key + R to open the Run dialog box. Type “msinfo32” and hit Enter. In the System Information window, navigate to the “Installed Physical Memory (RAM)” section. Here, you will find details about the installed RAM modules, including the total installed capacity.
- Mac: On a Mac, checking the RAM capacity is a straightforward process. Click the Apple menu and select “About This Mac”. In the Overview tab, you will find information about the installed RAM capacity under the “Memory” section.
- Linux: Linux users can use the command line to check their RAM capacity. Open the Terminal and enter the following command: “free -h”. This command displays information about the total, used, and available memory, including the RAM capacity.
- Task Manager: Another way to check your PC’s RAM capacity is by using the Task Manager. On Windows, you can open the Task Manager by pressing Ctrl + Shift + Esc or by right-clicking on the Taskbar and selecting “Task Manager”. In the Task Manager window, navigate to the “Performance” tab. Here, you will find a graphical representation of the memory usage, including the total installed RAM capacity.
By utilizing these methods, you can quickly determine the amount of RAM installed on your PC. This information is essential for understanding your computer’s capabilities, ensuring that you have enough memory to handle your workload, and making informed decisions regarding software installations and upgrades.
Checking RAM on Windows
Windows provides several methods to check the RAM on your computer. Here are a few ways to do it:
- System Information: The System Information utility in Windows provides detailed information about your system, including the RAM capacity. To access it, press the Windows key + R to open the Run dialog box. Type “msinfo32” and hit Enter. In the System Information window, navigate to the “Installed Physical Memory (RAM)” section. Here, you will find details about the installed RAM modules, including the total installed capacity.
- Task Manager: The Task Manager is a built-in utility in Windows that allows you to monitor various aspects of your system, including memory usage. To open the Task Manager, press Ctrl + Shift + Esc or right-click on the Taskbar and select “Task Manager”. In the Task Manager window, navigate to the “Performance” tab. Here, you will find a graphical representation of the memory usage, including the total installed RAM capacity.
- Command Prompt: If you prefer using the command line, you can also check the RAM capacity using the Command Prompt. Open the Command Prompt by pressing the Windows key + R to open the Run dialog box. Type “cmd” and hit Enter. In the Command Prompt window, type “wmic MemoryChip get Capacity” and press Enter. This command will display the capacity of each installed RAM module, allowing you to calculate the total installed RAM capacity.
By utilizing these methods, you can easily check the RAM capacity on your Windows computer. Whether through the System Information utility, the Task Manager, or the Command Prompt, these options provide you with detailed information about your system’s memory. Monitoring the RAM capacity is crucial for ensuring your computer can handle various tasks and identifying if an upgrade is necessary to meet your computing needs.
Checking RAM on Mac
Mac users have straightforward methods to check their RAM capacity. Here are a few ways to do it:
- About This Mac: The simplest way to check the RAM on your Mac is by clicking the Apple menu in the top-left corner of your screen and selecting “About This Mac. In the Overview tab, you will find information about the installed RAM capacity under the “Memory” section. Here, you can view the total installed RAM and its type.
- Activity Monitor: Activity Monitor is a built-in utility on macOS that provides detailed information about system resources, including memory usage. To open the Activity Monitor, go to the Launchpad or use Spotlight search to find and open it. In the Activity Monitor window, click on the “Memory” tab. Here, you will find a graphical representation of the memory usage, including the total installed RAM capacity.
With these methods, Mac users can easily check their RAM capacity. Whether through the “About This Mac” option or the Activity Monitor, you can quickly gather information about the installed RAM on your Mac. Monitoring the RAM capacity is essential for understanding your computer’s capabilities and ensuring that you have enough memory to meet your computing needs.
Checking RAM on Linux
Linux provides various ways to check the RAM on your computer. Here are a few methods to do it:
- Command Line: Linux users can utilize the power of the command line to check their RAM capacity. Open the Terminal, and you can use the following command: “free -h”. This command displays information about the total, used, and available memory, including the RAM capacity. The output will show the total installed RAM capacity in a human-readable format.
- System Monitor: Many Linux distributions include a System Monitor utility that allows you to monitor system resources, including memory usage. You can typically find it in the Applications menu or by searching for “System Monitor”. Once launched, navigate to the “Memory” tab to view a graphical representation of the memory usage, including the total installed RAM capacity.
With these methods, Linux users can easily check their RAM capacity. Whether through the command line using the “free -h” command or by utilizing the System Monitor utility, you can quickly access information about your computer’s memory. Monitoring the RAM capacity is crucial for understanding your system’s capabilities and ensuring that you have enough memory to handle your workload effectively.
Checking RAM using Task Manager
Task Manager is a built-in utility on Windows that allows you to view and manage running processes, monitor system performance, and check the usage of various system resources, including RAM. Here is how you can check your RAM using Task Manager:
- Open Task Manager by pressing Ctrl + Shift + Esc or by right-clicking on the Taskbar and selecting “Task Manager”.
- In the Task Manager window, navigate to the “Performance” tab.
- Here, you will find a graphical representation of the memory usage in the form of a line graph, displaying the amount of RAM currently in use.
- Below the graph, you will see the details of the RAM usage, including the total RAM installed on your system, the amount of RAM in use, and the amount of available RAM.
Task Manager provides real-time data on the memory usage of your system, allowing you to monitor how much RAM is being utilized at any given moment. This information can be invaluable in identifying resource-hungry applications or processes that may be causing performance issues on your computer. If you notice that the RAM usage is consistently high, it may be an indication that you need to upgrade your RAM to ensure optimal performance.
By monitoring the RAM usage through Task Manager, you can have a clear understanding of how your system’s memory is being utilized. This knowledge empowers you to make informed decisions about running applications, managing system resources, and optimizing your computer’s performance.
Checking RAM using System Information
System Information is a utility available on Windows that provides detailed information about your computer’s hardware and software. You can use it to check the RAM capacity and other relevant details. Here is how you can check your RAM using System Information:
- Press the Windows key + R to open the Run dialog box.
- Type “msinfo32” and hit Enter.
- In the System Information window that opens, navigate to the “Installed Physical Memory (RAM)” section.
- Under this section, you will find information about the installed RAM modules, including the total installed RAM capacity.
System Information provides comprehensive details about your computer’s hardware configuration, including the RAM capacity. By accessing this utility, you can quickly determine the amount of RAM installed on your system. This information allows you to understand your computer’s capabilities, check compatibility with software applications, and determine if an upgrade is necessary to meet your computing needs.
Monitoring the RAM capacity using System Information ensures that you have the necessary memory to handle your workload efficiently. Whether you are a casual user or a professional working on resource-intensive tasks, having sufficient RAM is essential for optimal system performance.
By utilizing System Information, you can gain valuable insights into your computer’s hardware configuration, making it easier to make informed decisions regarding software installations, hardware upgrades, and system optimizations.
Checking RAM using Command Prompt
Command Prompt is a powerful command-line interface in Windows that allows advanced users to perform various system tasks. You can use Command Prompt to check the RAM capacity and obtain other information about your system’s memory. Here is how you can check your RAM using Command Prompt:
- Press the Windows key + R to open the Run dialog box.
- Type “cmd” and hit Enter to open the Command Prompt.
- In the Command Prompt window, type the following command: “wmic MemoryChip get Capacity” and press Enter.
- The Command Prompt will display the capacity of each installed RAM module, allowing you to calculate the total installed RAM capacity.
Using Command Prompt to check the RAM capacity provides a quick and efficient way to obtain information about your system’s memory. It is particularly useful for users who are comfortable working with the command line interface and prefer a text-based approach to gather system information.
By utilizing Command Prompt, you can gain rapid access to important details about your computer’s RAM. This information allows you to assess whether your system has adequate memory for smooth performance or if an upgrade might be necessary to meet the demands of resource-intensive applications or tasks.
Monitoring the RAM capacity using Command Prompt empowers you to make informed decisions about system optimizations, software installations, and hardware upgrades. By having a clear understanding of your computer’s memory, you can ensure optimal performance and productivity.
Troubleshooting Common RAM Issues
While RAM plays a vital role in system performance, it can sometimes be the source of problems. Here are some common RAM issues that users may encounter and troubleshooting steps to address them:
- Insufficient RAM: If you frequently experience sluggish performance or system crashes, it may indicate that you have insufficient RAM for your tasks. Consider upgrading your RAM to increase the capacity and improve system responsiveness.
- Incompatible RAM Modules: Mixing different types or speeds of RAM modules can lead to compatibility issues. Ensure that all installed RAM modules are of the same type, speed, and capacity to avoid potential conflicts. Remove any incompatible modules and replace them with compatible ones.
- Faulty RAM Modules: A faulty RAM module can cause system instability, random crashes, and data corruption. Test each RAM module individually using tools like MemTest86 or the built-in Windows Memory Diagnostic to identify and replace the faulty module.
- Inadequate RAM Configuration: If your RAM is properly installed but not being utilized effectively, check your system’s BIOS settings. Ensure that the RAM is configured correctly, set to the correct speed, and recognized by the system. Consult your motherboard’s user manual for specific instructions on RAM configuration.
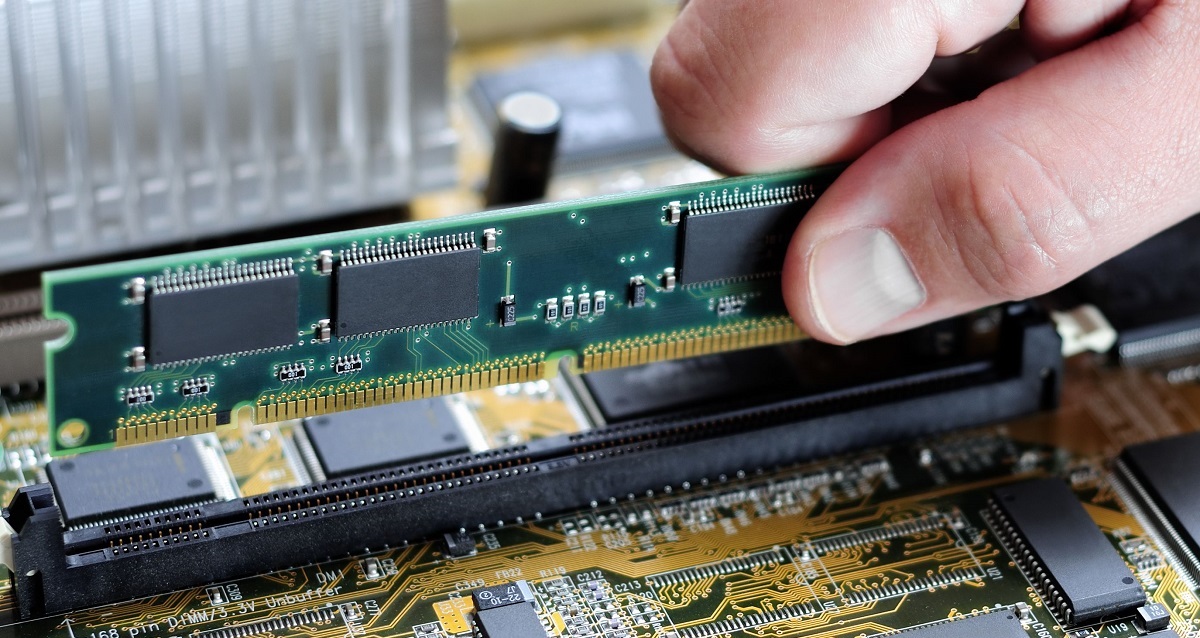
- Reseat and Clean RAM modules: Sometimes, RAM modules may become loose due to vibrations or inadequate connections. Power down your computer, unplug it, and carefully reseat the RAM modules to ensure they are securely in place. Additionally, use a can of compressed air to remove any dust or debris from the RAM slots and modules.
It is important to note that troubleshooting RAM issues requires caution and technical knowledge. If you are unsure or uncomfortable performing these steps, it is recommended to seek assistance from a professional computer technician.
By identifying and addressing common RAM issues, you can improve system stability, optimize performance, and ensure a smooth computing experience.
Conclusion
Checking the RAM of your PC is essential for optimizing performance, ensuring compatibility with software applications, and troubleshooting common issues. By monitoring your RAM capacity, you can determine if your computer has enough memory to handle your workload effectively.
On Windows, you can use utilities like System Information and Task Manager to quickly access RAM information. Mac users can utilize the “About This Mac” option or the Activity Monitor to check their RAM capacity. Linux users have the command line options and System Monitor utility to obtain RAM information.
System performance issues can often be attributed to insufficient or faulty RAM modules. Troubleshooting common RAM issues involves diagnosing problems such as insufficient RAM, incompatible modules, faulty modules, inadequate RAM configurations, and reseating and cleaning RAM modules.
Remember, each operating system provides several methods to check RAM, and understanding how to access this information is crucial for maintaining optimal system performance. Regularly checking and managing your RAM capacity allows you to make informed decisions regarding software installations, hardware upgrades, and system optimizations.
By following the methods and troubleshooting steps discussed in this guide, you can ensure that your computer has sufficient RAM to handle your tasks, identify and resolve common RAM issues, and enjoy a faster and more reliable computing experience.