Introduction
Are you experiencing slow performance and frequent crashes on your computer? If so, it may be time to upgrade your PC’s RAM. RAM, which stands for Random Access Memory, is a crucial component that determines the speed and efficiency of your computer’s operations. By installing new RAM, you can significantly improve your computer’s performance and enhance its multitasking capabilities.
Upgrading your PC’s RAM might sound like a complex task, but don’t worry – it’s easier than you think. In this guide, we will walk you through the step-by-step process of installing new RAM in your computer. Whether you’re a tech-savvy enthusiast or a beginner, you’ll be able to follow along and upgrade your RAM with confidence.
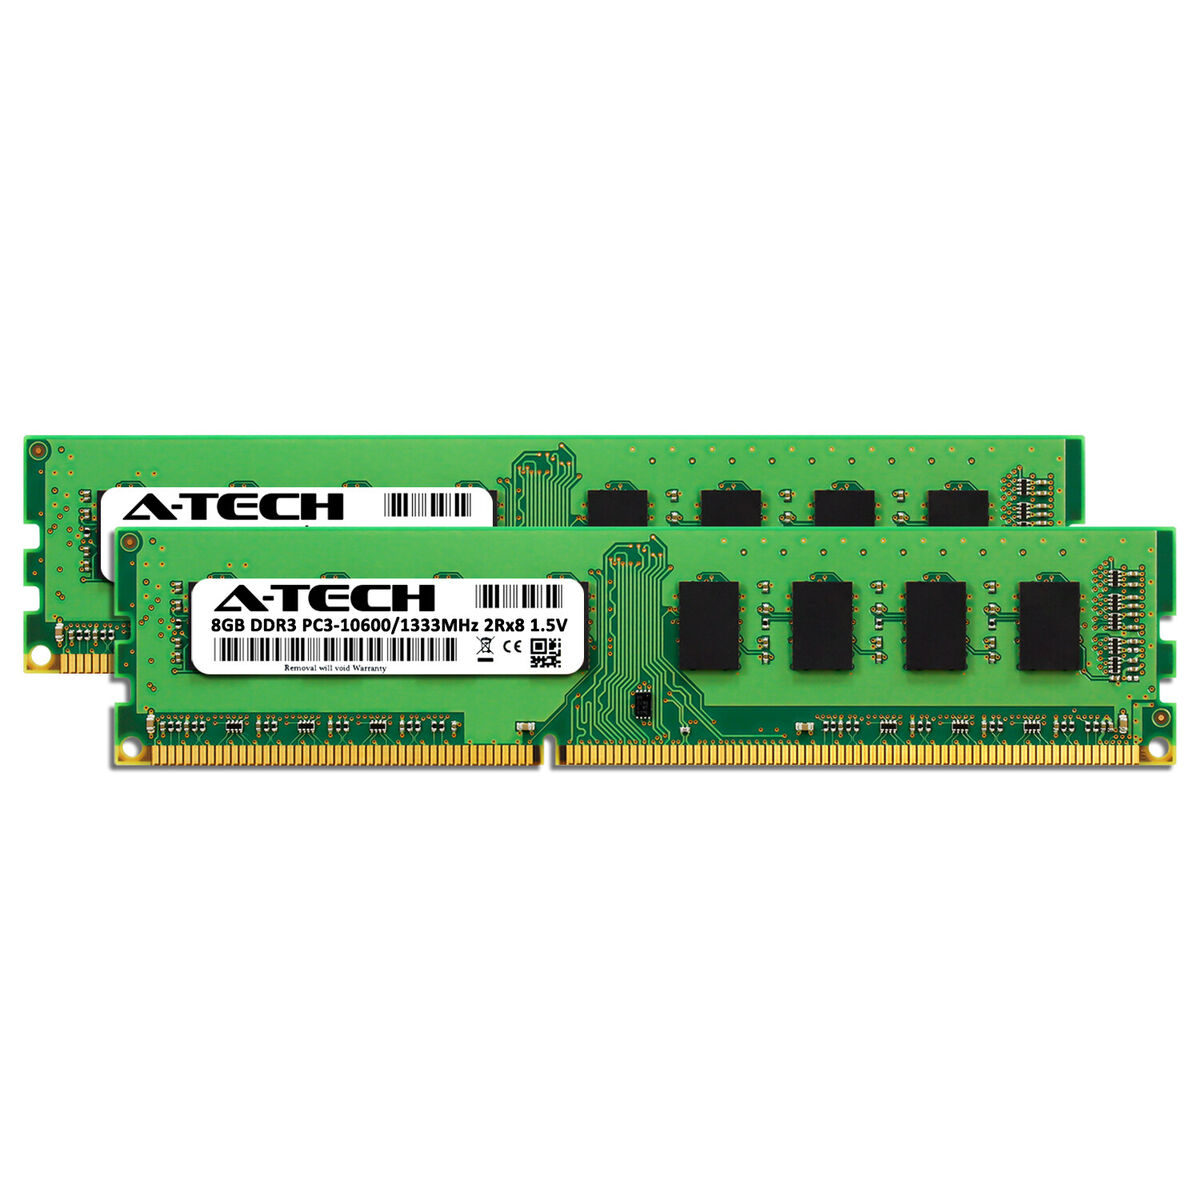
Before we dive into the installation process, it’s essential to understand that not all RAM modules are compatible with every computer. Each computer has specific requirements when it comes to RAM, such as the type, speed, and maximum capacity it can accommodate. Therefore, it is crucial to check your computer’s specifications and ensure that you purchase RAM modules that are compatible with your system.
Now that you have a general understanding, let’s move on to the preparations needed before installing the new RAM. By following the necessary steps and guidelines, you will be ready to enhance your computer’s performance by upgrading its RAM.
Preparing for the Installation
Before you begin the process of installing new RAM in your computer, it is essential to take a few preparatory steps to ensure a smooth and successful upgrade. These preparations will help you avoid any potential issues and ensure that the installation process goes without a hitch. Follow these guidelines to prepare for the installation:
- Gather the necessary tools: To install the new RAM, you will need a few basic tools. These include a screwdriver (typically a Phillips-head screwdriver) and an antistatic wrist strap. The antistatic wrist strap is crucial for protecting the sensitive electronic components of your computer from static electricity discharge.
- Power off your computer: Before you begin opening your computer’s case, make sure to power off your computer completely. Shutting down your computer properly ensures that you can safely work on its internal components without any risk of electrical shock or damage.
- Disconnect the power cord: Just turning off your computer is not enough. To be extra cautious, always unplug the power cord from the wall socket or surge protector. This step eliminates any possibility of electric power accidentally flowing through your computer during the installation process, reducing the risk of injury.
- Ground yourself: Static electricity can cause damage to the sensitive electronics inside your computer. To avoid this, it is important to ground yourself before touching any internal components. Use an antistatic wrist strap to connect yourself to the computer case or any other grounded metal surface. This will help discharge any built-up static electricity in your body and prevent damaging the RAM or other components.
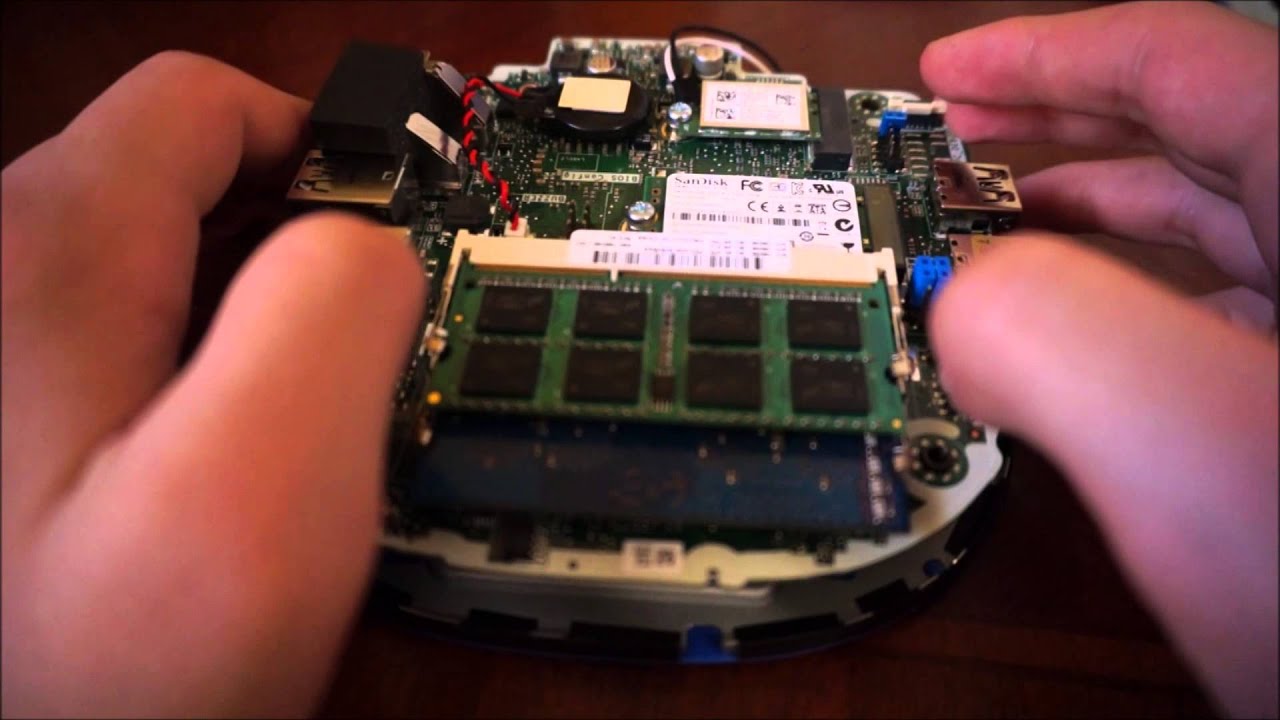
- Locate the RAM slots: Open your computer’s case to locate the RAM slots. The RAM slots are typically situated near the CPU and may be covered by a plastic or metal shield. Consult your computer’s user manual or the manufacturer’s website if you’re having trouble finding them. Take note of the number of available RAM slots and the maximum RAM capacity your computer can support.
By following these preparatory steps, you’ll ensure that you’re both physically and mentally ready to proceed with the installation. Now that you’ve gathered the necessary tools, powered off your computer, and familiarized yourself with the RAM slots, you’re ready to move on to the next step: removing the old RAM modules.
Removing the Old RAM
With the necessary preparations complete, it’s time to remove the old RAM modules from your computer. Follow these steps to ensure a proper removal:
- Identify the old RAM modules: Take a close look at the RAM modules currently installed in your computer. Note the number of modules and their respective capacities. This information will be useful when installing the new RAM later. If your computer has more than one RAM module, you may need to remove all of them.
- Press the release clips: On either side of the RAM module slots, you’ll find small plastic clips or levers. Gently press these clips away from the RAM module until they release the module from its socket. The module should pop up at a slight angle, allowing you to remove it easily.
- Handle the RAM module with care: RAM modules are delicate and can be easily damaged by static electricity or mishandling. When removing the module, hold it by its edges, avoiding touching the gold contacts or any exposed circuits. Take care not to apply excessive force or bend the module during removal.
- Remove the RAM module: Once the clips have been released, carefully pull the RAM module out of its slot, keeping it at the same slight angle as when it popped up. Make sure to remove it straight and avoid any unnecessary twisting or bending.
- Repeat for additional modules: If your computer has more than one RAM module, repeat the steps above to remove the remaining modules.
After removing the old RAM modules, take a moment to inspect them. Check for any signs of damage, such as bent pins or excessive dust accumulation. If you notice any issues, it is recommended to replace the old RAM modules with new ones before proceeding.
Now that you have successfully removed the old RAM modules, you’re ready to move on to the next step: inserting the new RAM into your computer. This exciting step will bring you closer to improving your computer’s performance and overall speed.
Inserting the New RAM
Now that you have removed the old RAM modules from your computer, it’s time to insert the new ones. Follow these steps to ensure a successful installation:
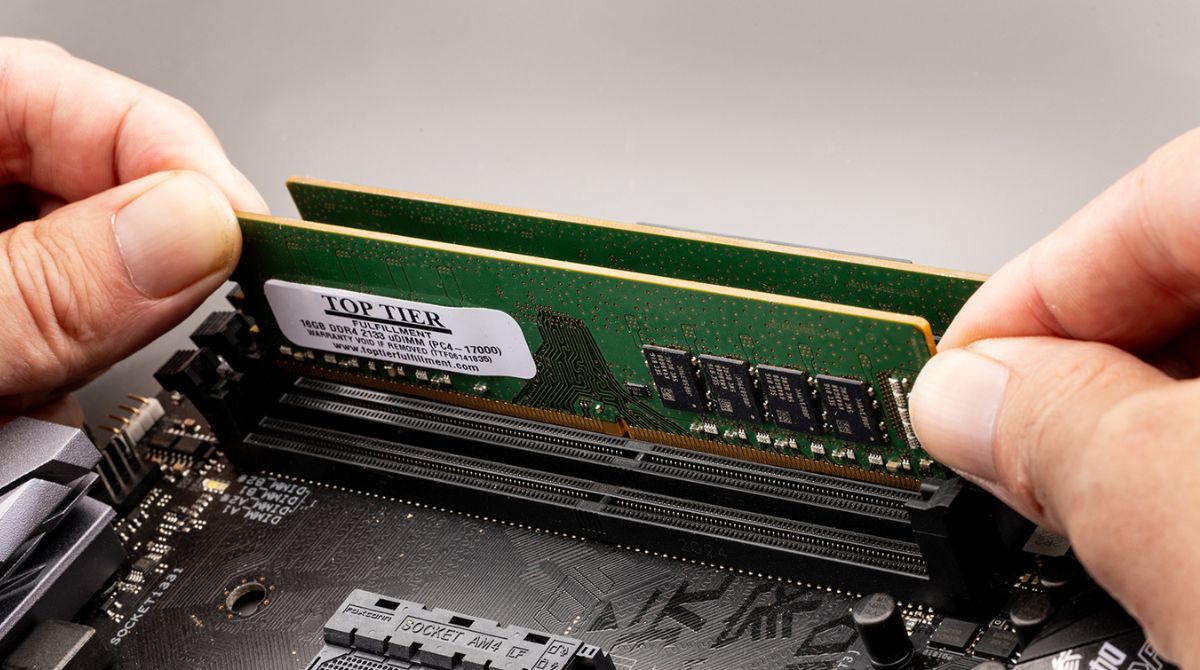
- Align the RAM module: Take the new RAM module in your hand and align it with the empty RAM slot. The notch on the RAM module should align with the key in the RAM slot. Be careful not to force the module into the slot if it doesn’t slide in smoothly; it should fit easily with minimal pressure.
- Insert the RAM module at an angle: Tilt the RAM module at a slight angle, similar to how you removed the old one. Insert the module into the RAM slot, making sure the gold contacts on the bottom of the module are fully inserted into the slot. Apply gentle and even pressure until the module is fully seated in the slot.
- Secure the module: Once the RAM module is inserted correctly, you’ll feel a slight spring-like resistance. Push the module down firmly until the clips on either side of the slot snap back into place, securing the RAM module in position. Check that the module is completely seated and level in the slot.
- Repeat for additional modules: If you have more than one RAM module to install, repeat the above steps for each module. Ensure you insert them into the respective slots and follow the same alignment and securing process as before.
It’s important to note that when installing multiple RAM modules, they should ideally be of the same capacity and speed to ensure optimal performance. However, it is possible to mix different capacity modules, as long as they are compatible with your computer’s specifications.
Once you have inserted all the new RAM modules into their respective slots, you’re one step away from completing the process. The final step involves securing the RAM in place to prevent any accidental dislodging or damage. Continue reading to learn how to secure the RAM and finalize the installation.
Securing the RAM in Place
After inserting the new RAM modules into the respective slots, it is important to secure them properly to ensure they stay in place. Follow these steps to secure the RAM and prevent any accidental dislodging or damage:
- Check for proper alignment: Ensure that all the RAM modules are correctly aligned and fully seated in their respective slots. Double-check that the notches on the modules align with the keys in the RAM slots.
- Push down on the RAM modules: Using even pressure on both ends of each RAM module, push them down firmly until they are fully seated and level in the slots. You should feel the clips on either side of the slots snap into place, securing the RAM modules.
- Ensure a snug fit: After securing the RAM modules, gently wiggle them from side to side to check for any play or movement. If they are properly secured, there should be minimal to no movement. If you notice any looseness or movement, remove the modules and reinsert them, ensuring a secure fit.
- Reconnect the power cord: Now that the RAM modules are installed and secured, reconnect the power cord to your computer. This will restore power to the system and allow you to verify the successful installation of the new RAM.
By properly securing the RAM modules, you minimize the risk of accidental dislodging or damage, ensuring optimal performance and stability for your computer.
With the RAM installation complete, it’s time to verify that everything is functioning as intended. The next section will guide you through the process of verifying the installation and ensuring that your computer recognizes the new RAM modules.
Verifying the Installation
Now that you have successfully installed and secured the new RAM in your computer, it’s important to verify that the installation was successful and that your computer recognizes the upgraded RAM modules. Follow these steps to verify the installation:
- Power on your computer: Turn on your computer and let it boot up as usual. Once your operating system has loaded, you can proceed to the next steps.
- Check system information: To verify that your computer recognizes the new RAM, go to the system information or system properties on your operating system. On Windows, you can access this information by right-clicking on the “My Computer” or “This PC” icon and selecting “Properties.” On macOS, you can find it under the “About This Mac” menu option. Look for the total installed RAM or memory information, and make sure it matches the capacity of the new RAM you installed.
- Run a diagnostic tool: Another way to verify the installation is by running a diagnostic tool that provides detailed information about your computer’s hardware. There are various reliable third-party software tools available, such as CPU-Z or Speccy, that can provide in-depth information about your computer’s hardware and confirm the installed RAM capacity. These tools can be downloaded and installed easily from their respective websites.
- Perform a stress test: To further ensure that the new RAM is functioning properly, you can run a stress test to put your computer under high memory load. Stress testing software, such as MemTest86 or Prime95, can help you identify any potential issues or inconsistencies with the newly installed RAM. These tests will help verify stability and performance, ensuring that your computer can handle the increased memory capacity without any problems.
If everything checks out and your computer recognizes the new RAM modules, congratulations! You have successfully installed and verified the new RAM upgrade. Your computer should now benefit from improved performance, faster multitasking, and smoother overall operation.
However, if you encounter any issues during verification, such as the system not recognizing the installed RAM or experiencing stability issues, double-check the installation steps, ensure compatibility with your computer, and make sure the RAM modules are properly seated and secured. If problems persist, it may be necessary to troubleshoot further or seek assistance from a professional.
With the RAM installation verified and functioning correctly, you can now enjoy the enhanced performance and increased capabilities of your computer. Whether you’re using your computer for work, gaming, or multimedia, the upgraded RAM will undoubtedly provide a noticeable improvement in speed and efficiency.
Conclusion
Congratulations on successfully upgrading the RAM in your computer! By following the step-by-step guide in this article, you have learned how to prepare for the installation, remove the old RAM modules, insert and secure the new RAM modules, and verify the installation. With the upgraded RAM, you can expect improved performance, faster multitasking, and smoother overall operation for your computer.
Remember, when upgrading your computer’s RAM, always check the compatibility with your system’s specifications and ensure that you purchase RAM modules that meet these requirements. Additionally, take proper precautions such as grounding yourself, disconnecting the power cord, and handling the RAM modules with care to prevent any potential damage to your computer’s components.
After completing the installation, it’s crucial to verify that your computer recognizes the new RAM and that it is functioning correctly. Check the system information, run diagnostic tools, and perform stress tests to ensure stability and optimal performance. If any issues arise, double-check your installation and seek further assistance if needed.
By upgrading your RAM, you have taken a significant step toward enhancing your computer’s capabilities and improving its overall performance. Your computer will now be better equipped to handle resource-intensive tasks, such as running demanding software applications, editing multimedia files, or playing the latest video games.
Keep in mind that upgrading your computer’s RAM is just one aspect of optimizing its performance. It’s always a good idea to regularly maintain your computer by updating your software, cleaning out unnecessary files, and keeping your operating system up to date.
Thank you for following this guide, and we hope that the RAM upgrade brings you a more efficient and enjoyable computing experience!