Introduction
Welcome to the world of faster computing! Installing new RAM (Random Access Memory) can greatly improve the performance of your computer. Whether you’re a casual user wanting to run multiple programs smoothly or a hardcore gamer craving lag-free gaming sessions, adding more RAM can provide a significant boost in speed and efficiency.
RAM acts as temporary storage for your computer’s operations, allowing it to access and manipulate data quickly. Adding more RAM allows your system to handle more tasks efficiently, resulting in faster response times and reduced lag.
However, it’s important to note that simply installing new RAM isn’t enough to unleash its full potential. To ensure a successful installation and optimal performance, it is essential to follow a few necessary steps and precautions. In this guide, we’ll walk you through the essential things you should do after installing new RAM.
Before we dive into the steps, it’s important to mention that this guide assumes you have already decided on the type and capacity of RAM you want to install, ensuring its compatibility with your computer’s motherboard.
Now, let’s get started on the post-installation tasks that will help you make the most of your new RAM upgrade.
Check the Compatibility of Your New RAM
Before you begin installing your new RAM, it’s crucial to ensure that it is compatible with your computer’s motherboard. RAM comes in various types, capacities, and speeds, so it’s essential to verify that the new RAM will work seamlessly with your system.
The first step is to check your computer’s documentation or manufacturer’s website to find the specific type of RAM supported by your motherboard. This information will typically include details such as the maximum capacity and speed of RAM that can be installed.
Once you have this information, compare it with the specifications of the RAM you have purchased. Make sure the type, capacity, and speed of the new RAM match or are within the recommended limits of your motherboard.
You can also use online tools and resources to check the compatibility of your RAM. Several websites offer compatibility checkers that allow you to input your computer’s model or specifications to determine the optimal RAM options.
Additionally, it’s crucial to consider the architecture of your computer, whether it’s a 32-bit or 64-bit system. The architecture determines the maximum amount of RAM your computer can utilize effectively.
Once you’ve confirmed that your new RAM is compatible with your computer, you’re ready to proceed with the installation process. It’s essential to follow the manufacturer’s instructions carefully to ensure a successful and hassle-free upgrade.
Power off Your Computer and Unplug It from the Wall
Before you start working inside your computer, it’s vital to ensure your safety and prevent any potential damage to your hardware. Here are the steps to power off your computer and safely disconnect it from the power source before installing your new RAM:
- Save your work and close any open applications to prevent data loss or corruption.
- Shut down your computer properly using the operating system’s shutdown option. Avoid using the power button or unplugging the computer while it’s still running, as this can lead to file corruption and hardware damage.
- Once your computer is fully shut down, take a moment to unplug any peripheral devices connected to it, such as the monitor, printer, speakers, etc.
- Locate the power cord connected to your computer and unplug it from the wall outlet. This step is essential to ensure your safety and prevent any electrical accidents while working inside the computer case.
- For added safety, press the computer’s power button once more to discharge any residual power remaining in the system. This step helps eliminate any potential static electricity that could damage the sensitive components.
By following these steps, you can ensure that your computer is completely powered off and disconnected from the power source, providing a safe environment for the RAM installation process.
Remove the Old RAM Sticks
Before installing your new RAM, you’ll need to remove the existing RAM sticks from your computer. Follow these steps to safely remove the old RAM:
- Open your computer case. The method for opening the case may vary depending on your computer model and case design. Refer to your computer’s manual or manufacturer’s website for specific instructions.
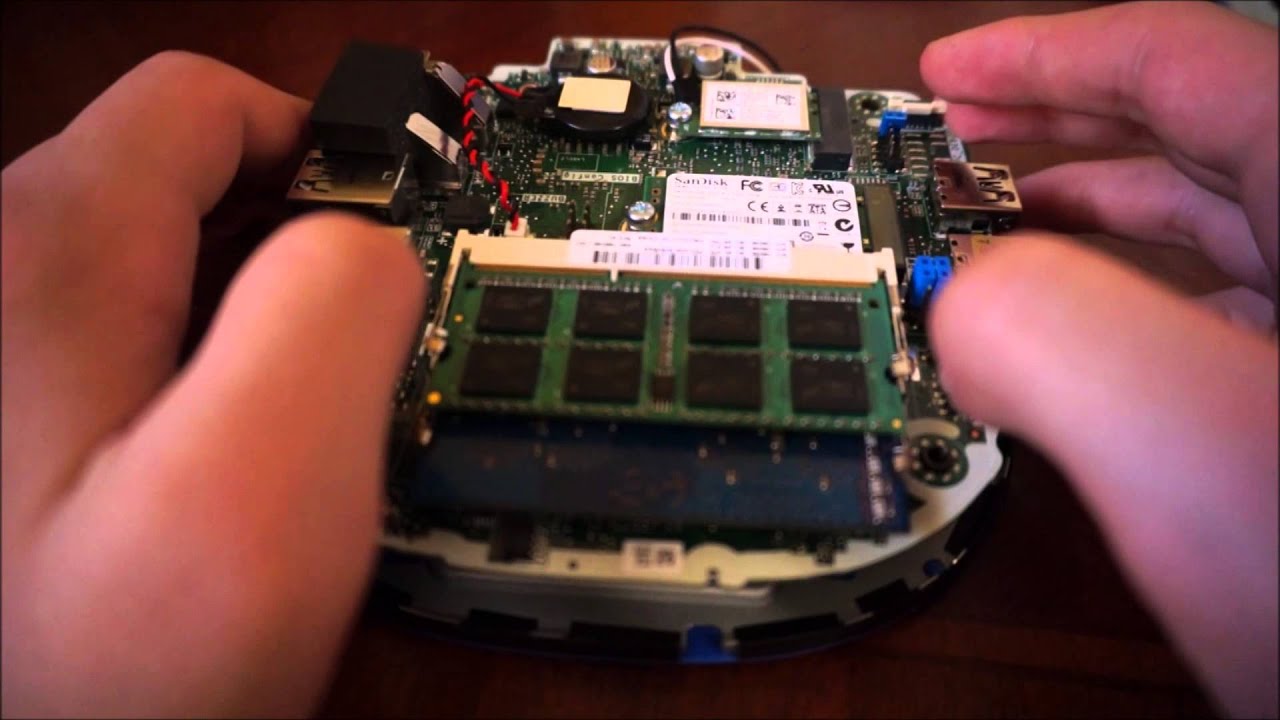
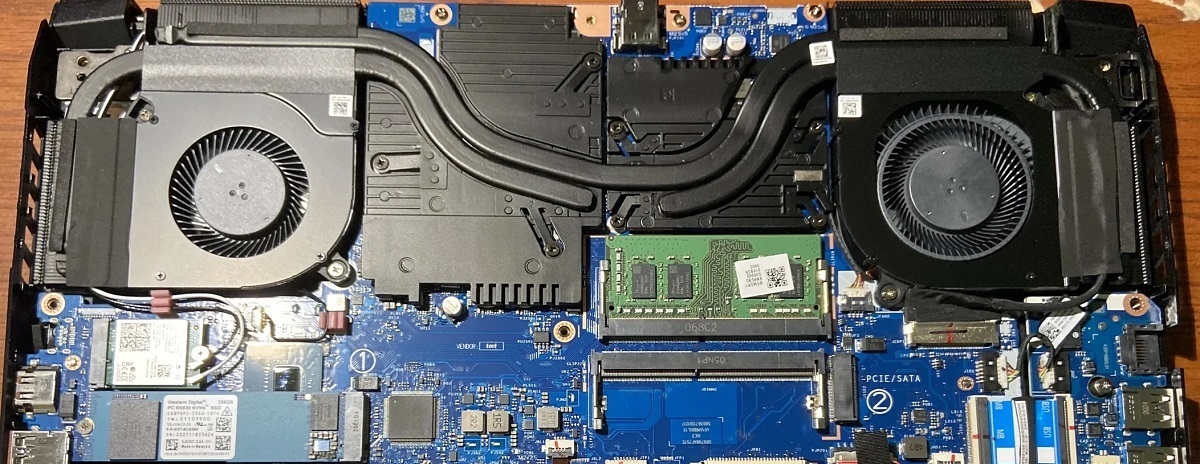
- Locate the existing RAM modules on your motherboard. They are typically installed in slots near the CPU. The number of slots and their location can vary based on your motherboard.
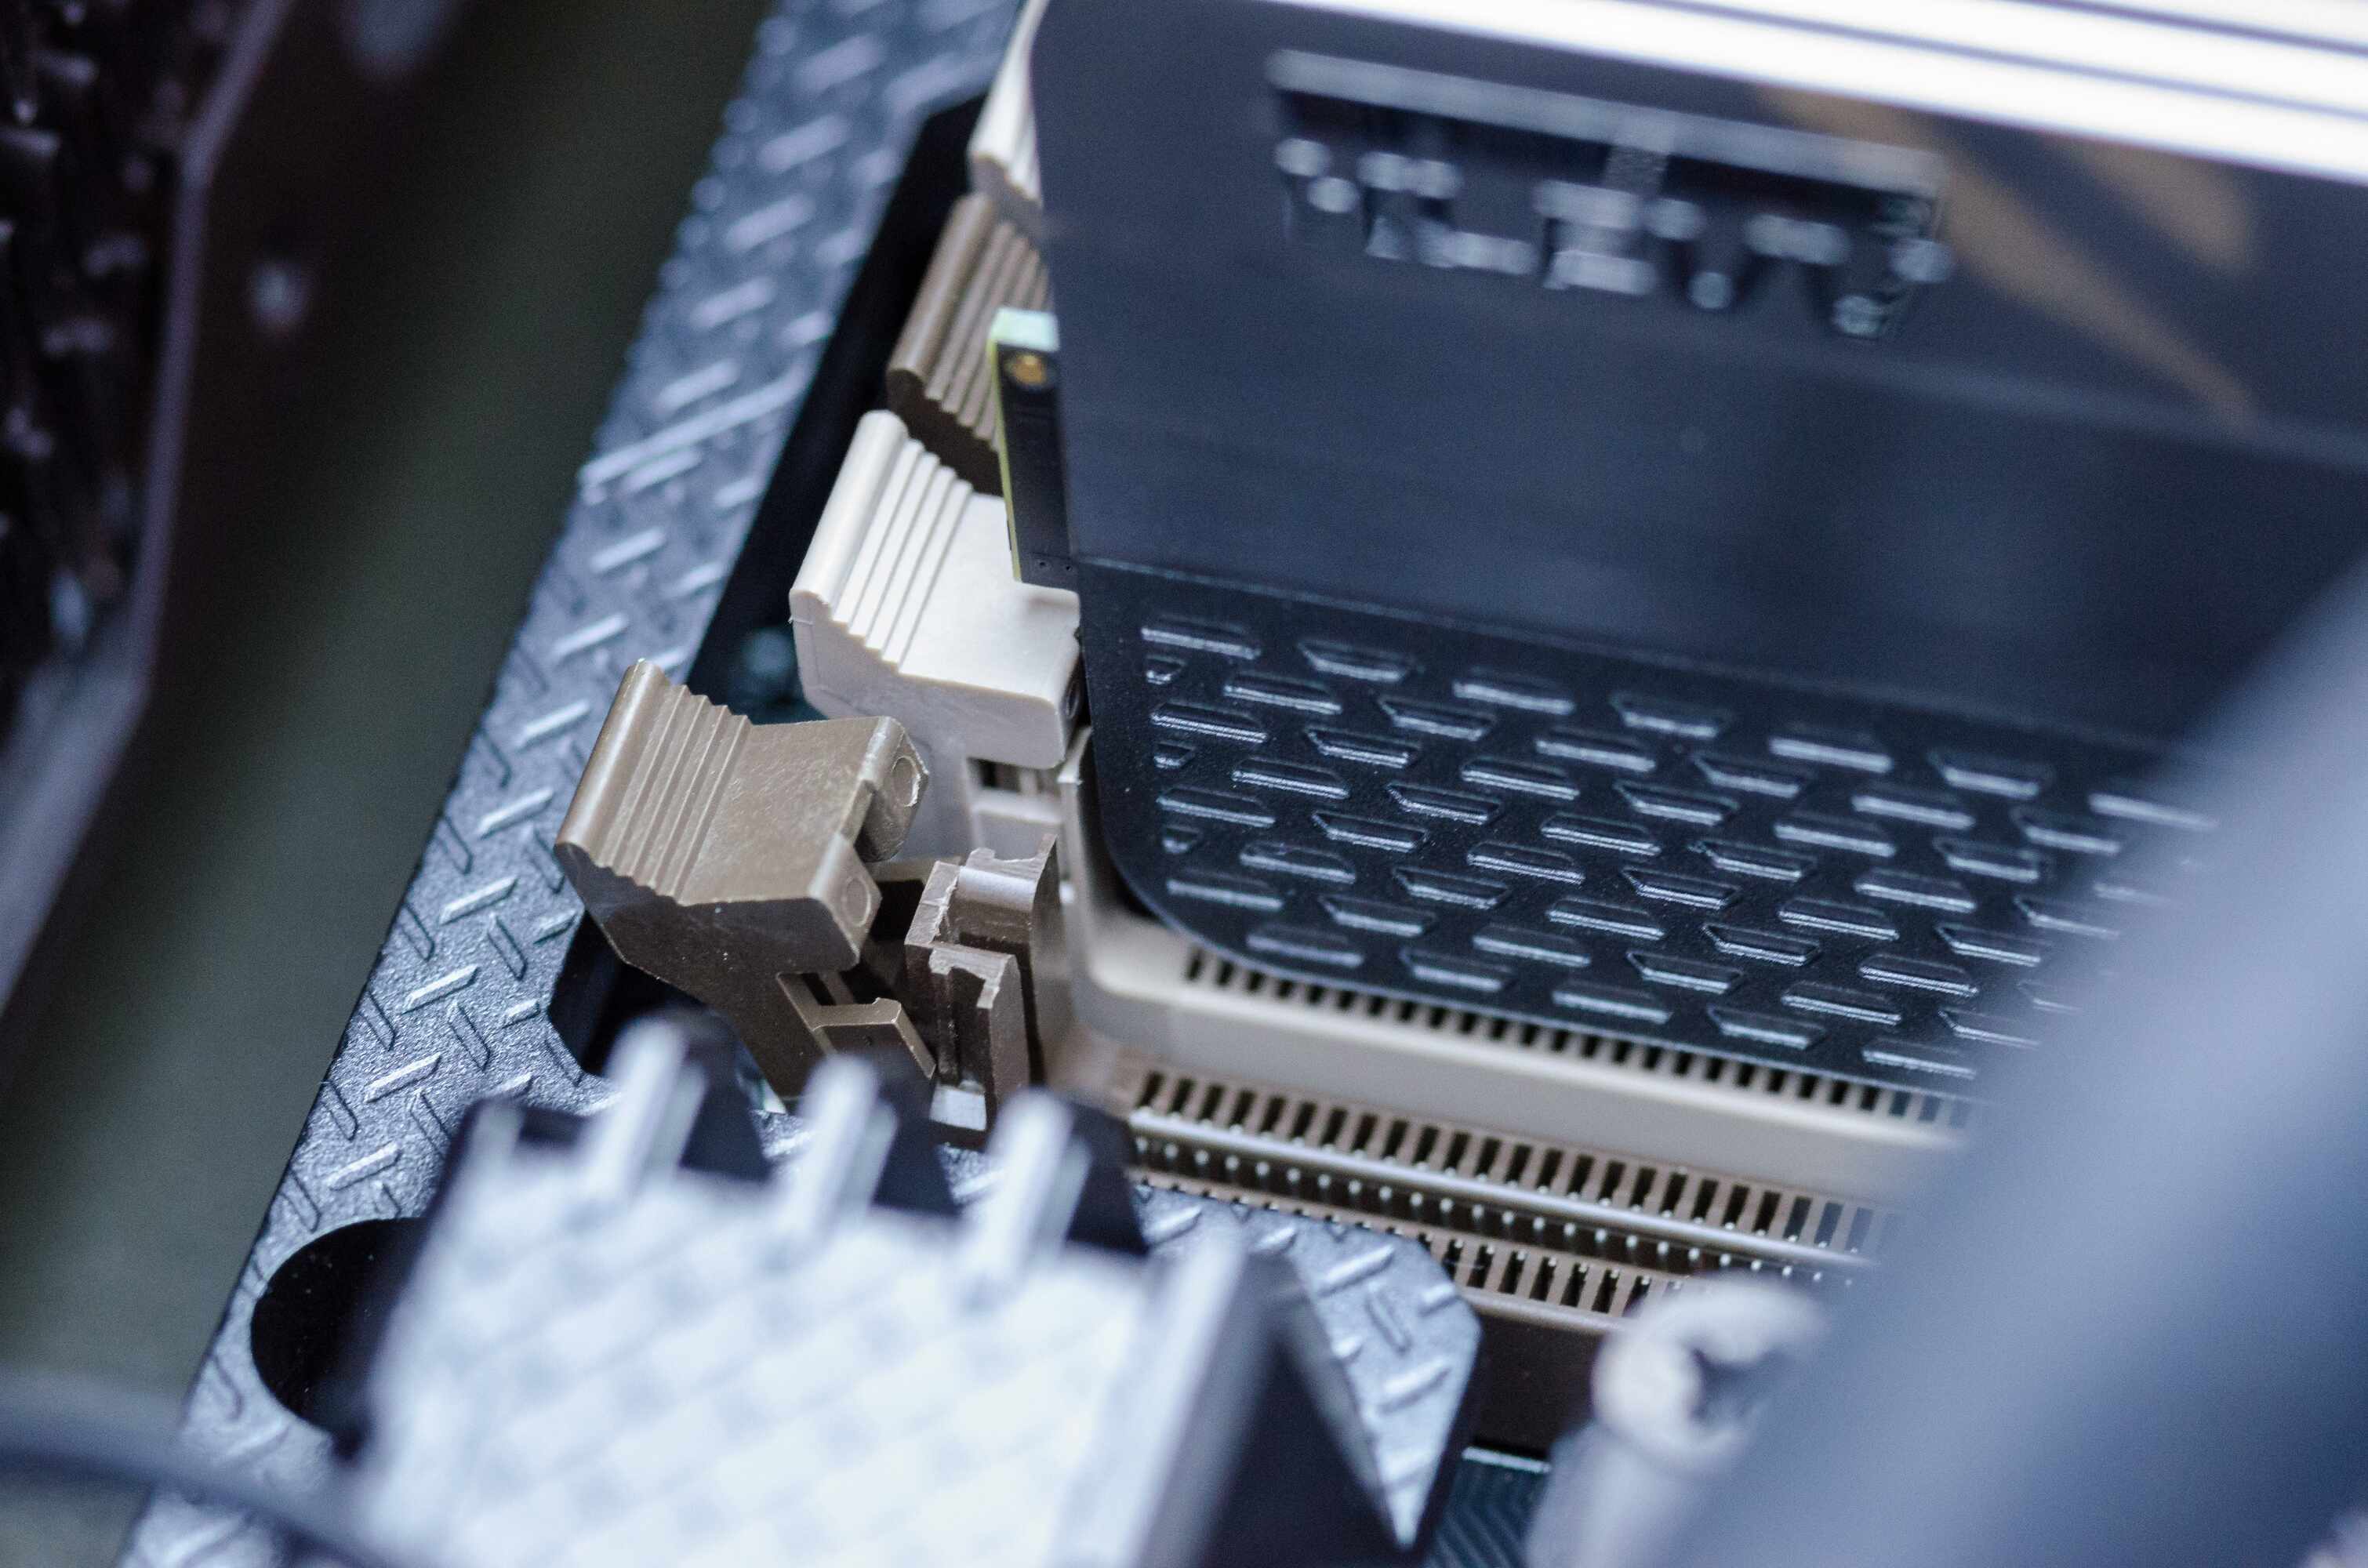
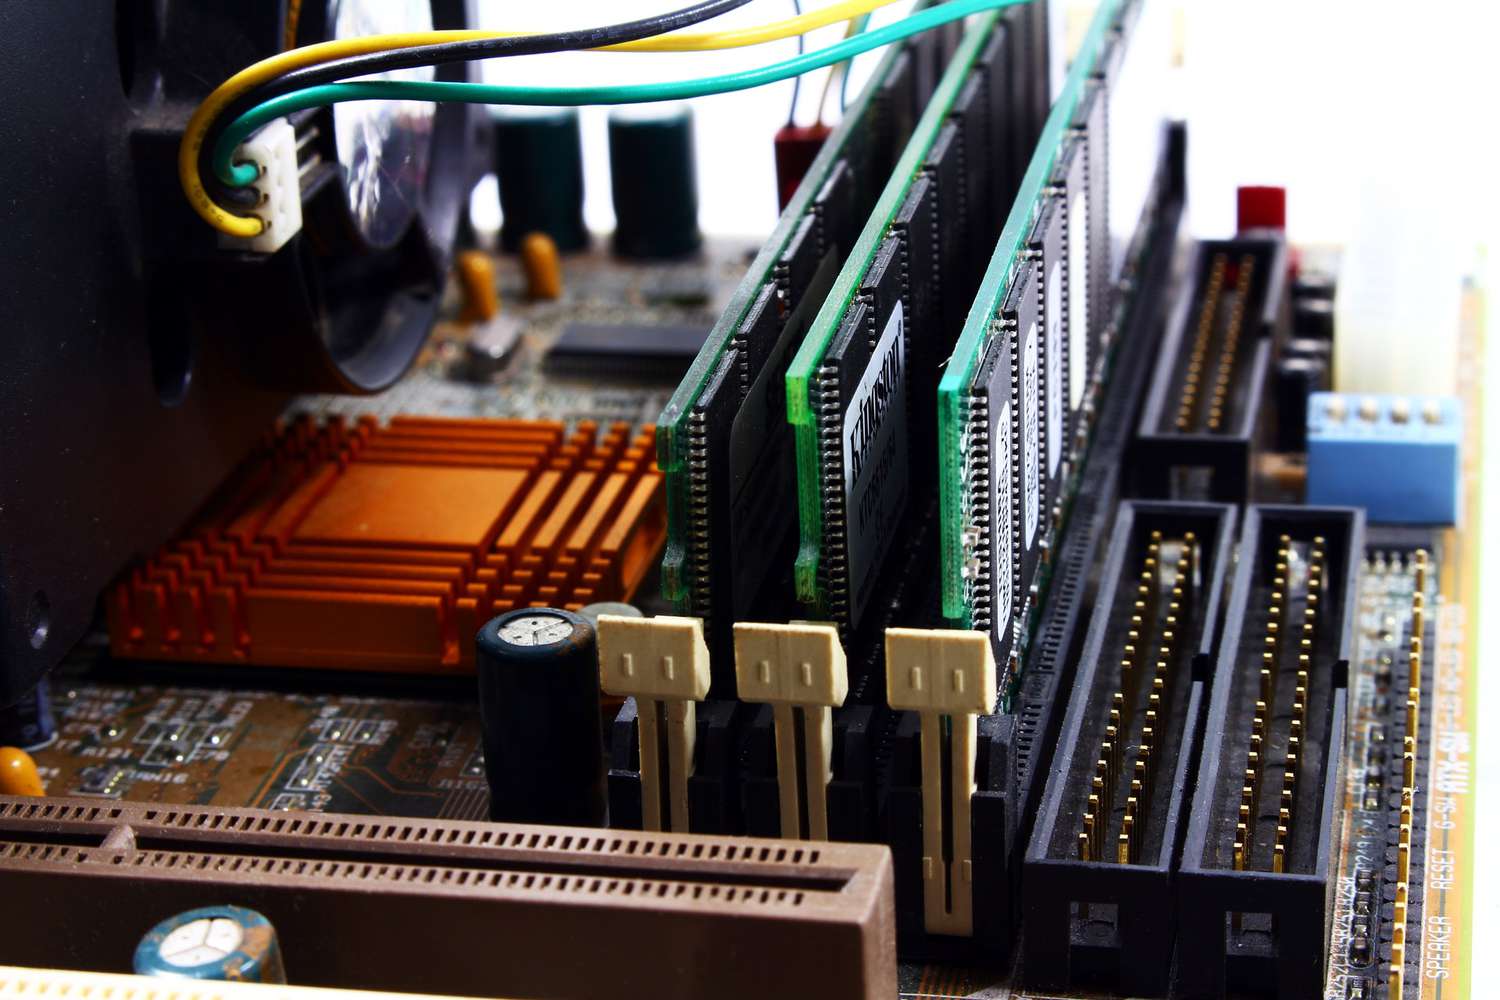
- Identify the retaining clips or latches on either side of the RAM module. These clips or latches hold the RAM securely in place.
- Gently push down on the retaining clips or latches to release the RAM module. The module should pop up at a slight angle.
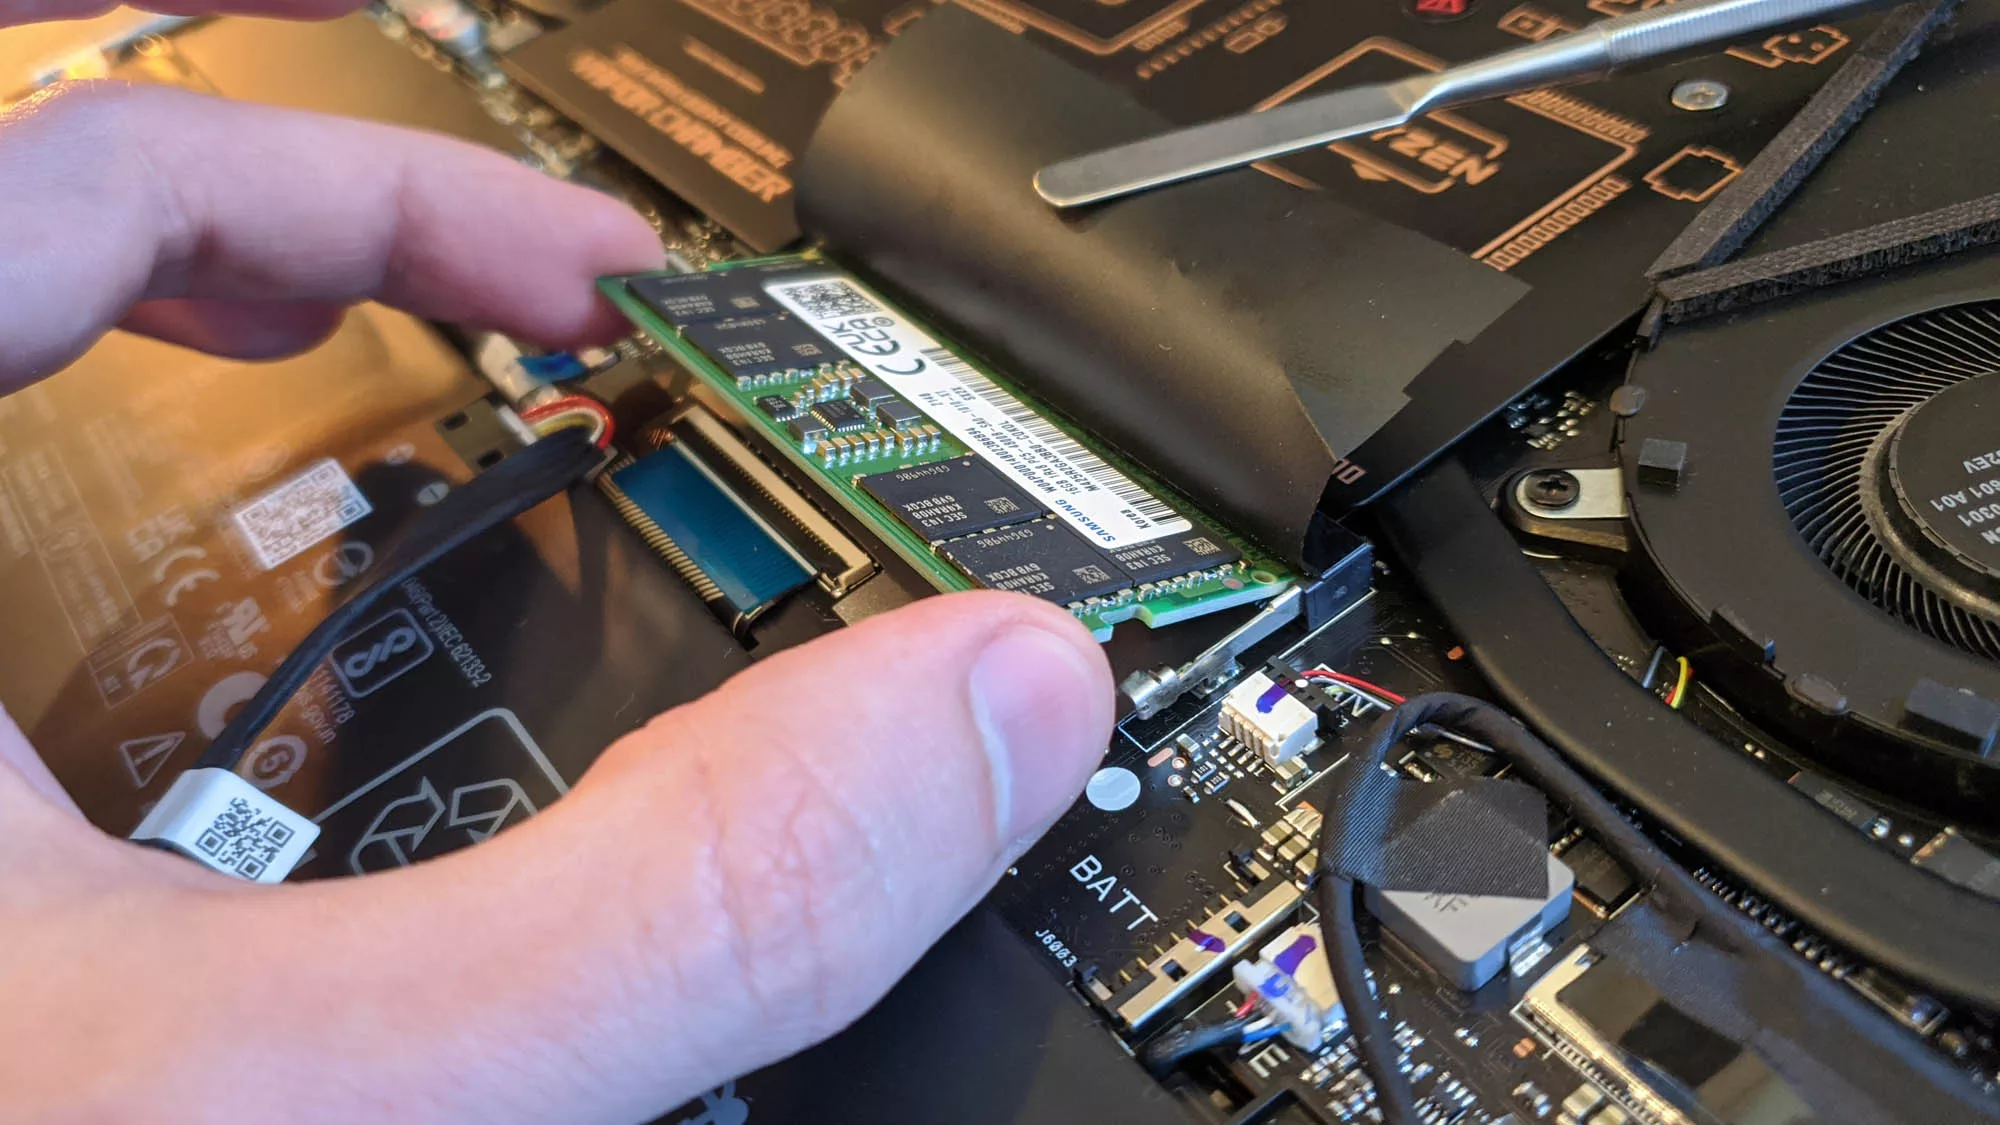
- Hold the RAM module by its edges and carefully pull it out of the slot. Avoid touching the gold contacts on the bottom of the RAM module as much as possible, as static electricity can damage the module.
- Set the old RAM module aside in a safe place. You may want to keep it as a backup or consider donating or recycling it if it’s no longer needed.
- If you have multiple RAM modules, repeat the process for each module, removing them one by one until all the old RAM modules are removed.
By following these steps, you can safely remove the old RAM modules from your computer, making way for the installation of the new RAM sticks. Take your time to avoid any accidental damage to the computer components and keep everything organized for the next steps.
Install the New RAM Sticks
Now that you have successfully removed the old RAM sticks from your computer, it’s time to install the new RAM modules. Follow these steps to ensure a smooth installation process:
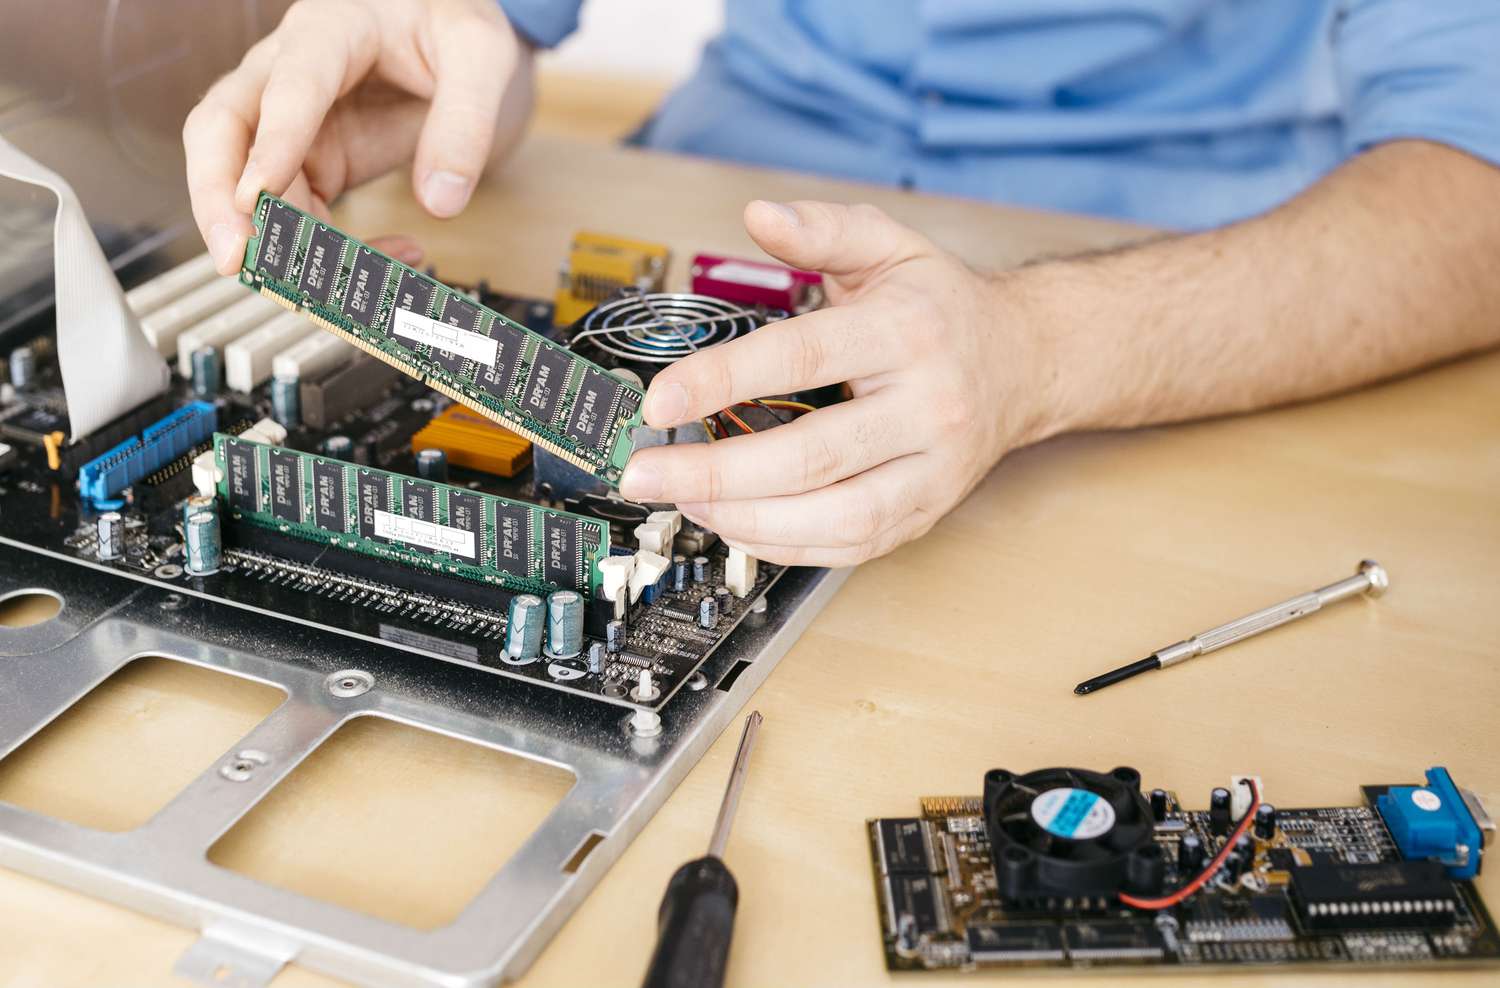
- Take the new RAM sticks out of their packaging, being careful not to touch the gold contacts on the bottom. Avoid placing the RAM modules on any static-prone surfaces.
- Align the notch on the RAM stick with the notch in the memory slot on the motherboard. This ensures that the RAM is inserted correctly.
- Hold the RAM stick by its edges and insert it into the slot at a slight angle. Make sure it is lined up correctly with the slot, and then gently press down until it clicks into place.
- Repeat the process for each RAM stick, inserting them one by one into the available memory slots. Most motherboards have multiple slots, allowing you to add more RAM modules.
- Ensure that the retaining clips or latches on each side of the slot click back into place. This confirms that the RAM is securely inserted and properly seated in the slot.
It’s important to note that some motherboards have specific guidelines or recommendations for RAM installation, such as using specific slots first or having certain memory configurations. Refer to your computer’s manual or the manufacturer’s website to understand any specific instructions for your motherboard.
Once you have installed all the new RAM sticks, you can move on to the next step of the process: replacing the computer case cover.
Replace the Computer Case Cover
After successfully installing the new RAM sticks into your computer, it’s time to put everything back together by replacing the computer case cover. Follow these steps to ensure the case is properly closed:
- Gently realign the computer case cover with the rest of the chassis. Ensure that all the edges and corners are properly aligned and match up with the screw holes.
- Using the screws that were initially removed or any additional screws provided with your computer case, begin screwing the case cover back into place. Start with one corner and gradually work your way around, tightening the screws until they are snug but not overly tight.
- Double-check that all the screws are securely tightened, but be cautious not to overtighten them, as this can cause damage to the screw holes or the case cover itself.
- Once all the screws are in place, give the case cover a gentle push to ensure it is firmly seated and aligned with the rest of the chassis.
It’s important to note that some computer cases may have unique designs or mechanisms for securing the case cover. Refer to your computer’s manual or the manufacturer’s website for specific instructions tailored to your case.
With the case cover securely in place, your computer is now ready for the next step: powering it back on and checking if the new RAM is recognized.
Power On Your Computer
After successfully replacing the computer case cover, it’s time to power on your computer and ensure that the new RAM is recognized. Follow these steps to power on your computer:
- Double-check that all peripheral devices (such as the monitor, keyboard, and mouse) are properly connected to your computer.
- Reconnect the power cord to the wall outlet and plug it back into your computer.
- Press the power button on your computer to turn it on.
- Pay attention to the initial screen that appears, often known as the POST (Power On Self Test) screen. This screen may display information about the computer’s hardware, including the new RAM modules.
- If the new RAM is recognized, you will typically see the increased memory capacity reflected in the system information or BIOS (Basic Input/Output System) settings. This indicates that the installation was successful.
- If the new RAM is not recognized, shut down your computer and double-check the installation. Make sure the RAM modules are securely seated in their slots and verify that they are compatible with your motherboard. You may need to repeat the installation process or seek assistance if the issue persists.
It’s important to note that some computers may automatically detect and configure the new RAM, while others may require manual adjustments in the BIOS settings. Refer to your computer’s manual or the manufacturer’s website for specific instructions on configuring the RAM settings, if necessary.
With your computer successfully powered on and the new RAM recognized, you can move on to the next step: monitoring your computer’s performance for any improvements.
Check if the New RAM is Recognized
Once you’ve powered on your computer after installing the new RAM, it’s important to check if the system recognizes the upgraded memory. Follow these steps to ensure that the new RAM is properly recognized:
- Access the system information on your computer. Depending on your operating system, you can typically find this by right-clicking on the “My Computer” or “This PC” icon and selecting “Properties” or “System.”
- Look for the “Installed Memory” or “Total Physical Memory” section. This will display the total amount of RAM that your computer recognizes.
- Verify that the displayed memory matches the expected capacity of the new RAM modules you installed. For example, if you installed 8GB of RAM, the system information should reflect this value.
- If the displayed memory matches your expectations, congratulations! Your computer has successfully recognized and installed the new RAM.
- If the displayed memory does not match the expected capacity, power off your computer and double-check the installation. Ensure that the RAM modules are correctly seated in their slots and that they are compatible with your motherboard.
- If you continue to experience issues with the new RAM not being recognized, consult the computer’s manual or contact technical support for further assistance.
In addition to checking the system information, you can also monitor your computer’s performance to determine if the new RAM is improving overall speed and responsiveness. Open multiple programs or tasks simultaneously and observe if there is a noticeable difference in performance compared to before the RAM upgrade.
By verifying that the new RAM is recognized, you can ensure that your computer is making the most of the upgraded memory and enjoying the benefits of improved performance.
Monitor Your Computer’s Performance
After installing new RAM, it’s important to monitor your computer’s performance to assess the impact of the upgrade. Here are some tips to help you evaluate the effectiveness of the new RAM:
- Run multiple applications simultaneously: Open several programs or tasks that you frequently use. This can include web browsers, video editing software, or resource-intensive games.
- Observe responsiveness: Pay attention to how quickly your computer responds when switching between applications or performing tasks. Improved RAM can enhance multitasking capability and reduce lag times.
- Monitor resource usage: Use the Task Manager (Windows) or Activity Monitor (Mac) to keep an eye on the system’s resource usage. Check if the RAM usage is more balanced and stable compared to before the upgrade.
- Perform benchmarks: Run benchmarking software to measure the performance of your computer before and after the RAM upgrade. This can provide objective data on the improvements achieved with the new RAM.
- Check load times: Monitor how quickly your computer boots up, as well as how long it takes for applications and files to load. Faster load times can indicate improved RAM performance.
- Test graphics-intense applications: If you’re a designer, video editor, or gamer, test graphics-intensive applications or games that heavily rely on system memory. Check if there is a noticeable improvement in rendering speeds and overall graphical performance.
- Record any noticeable changes: Keep a log or make notes of any significant differences you observe in your computer’s performance. This documentation can help you track and evaluate the impact of the RAM upgrade over time.
It’s important to remember that while RAM can significantly enhance performance, it may not be the sole factor affecting overall system speed. Other factors such as CPU, storage, and software optimization can also come into play.
By actively monitoring your computer’s performance, you can assess the effectiveness of the new RAM, identify any areas for improvement, and make informed decisions about further optimizations or upgrades if needed.
Conclusion
Congratulations! You have successfully installed new RAM in your computer and taken the necessary steps to ensure its compatibility, safety, and optimal performance. By following the guidelines outlined in this guide, you have made an important upgrade that can significantly enhance your computer’s speed and multitasking capabilities.
Checking the compatibility of your new RAM and powering off your computer before installation ensured a smooth and risk-free process. Removing the old RAM sticks and installing the new ones increased your system’s memory capacity, allowing for improved performance.
After replacing the computer case cover, you powered on your computer and checked if the new RAM was recognized. Monitoring your computer’s performance and observing any improvements in responsiveness, multitasking, load times, and resource usage provides valuable insights into the effectiveness of the RAM upgrade.
Remember to keep an eye on your computer’s performance over time and document any noticeable changes. This documentation will help you assess the long-term impact of the new RAM and make informed decisions about future upgrades or optimizations.
Keep in mind that while RAM is a crucial component for computer performance, it is just one piece of the puzzle. Other factors such as CPU, storage, and software optimization also play a role in the overall speed and efficiency of your system. Therefore, it’s important to consider a holistic approach when aiming to maximize your computer’s performance.
With your newly installed RAM, enjoy faster computing, smoother multitasking, and improved overall performance. Happy computing!