Introduction
Welcome to this guide on how to put in RAM. If your computer is running slow and you want to boost its performance, upgrading the RAM is a great way to achieve that. RAM, or Random Access Memory, is a crucial component that allows your computer to run multiple programs smoothly.
In this step-by-step tutorial, we will walk you through the process of installing new RAM modules into your computer. Whether you are a beginner or have some technical expertise, this guide will provide you with the necessary information to successfully upgrade your system’s RAM.
Before we get started, please make sure to gather the necessary tools and materials. You will need a screwdriver, an anti-static wrist strap (optional but highly recommended), and of course, the new RAM modules that you wish to install. It is important to handle the RAM modules with care, as they are susceptible to damage from static electricity.
Once you have everything prepared, we can proceed to the next step. No worries if this is your first time working on the internal components of a computer – we will guide you through each step, ensuring a hassle-free experience.
Now, let’s dive into the details of how to put in RAM and supercharge your computer’s performance!
Step 1: Gather the necessary tools and materials
Before you begin the process of installing new RAM, it is important to gather all the necessary tools and materials. By having everything prepared, you can ensure a smooth and efficient upgrade process. Here is a list of the items you will need:
- Screwdriver – You will need a screwdriver to open your computer’s case. Depending on the type of case, it may require a Phillips or a flat-head screwdriver.
- Anti-static wrist strap (optional but recommended) – This strap helps to discharge any static electricity from your body, minimizing the risk of damaging the sensitive components of your computer, such as the RAM modules.
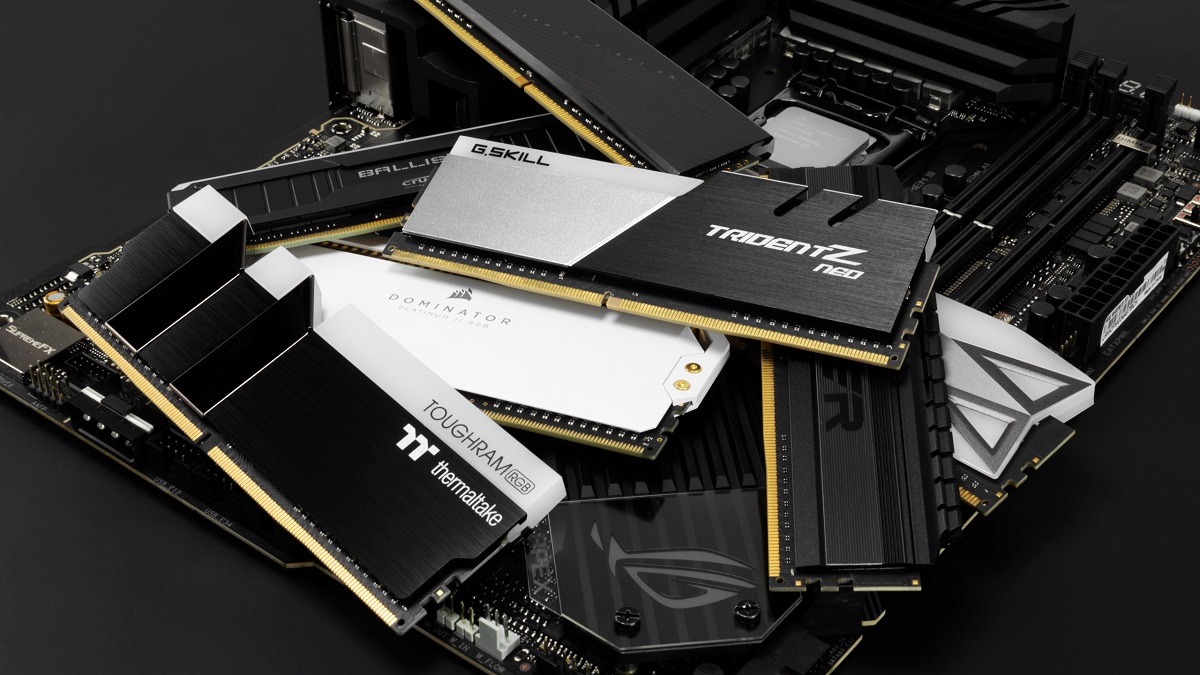
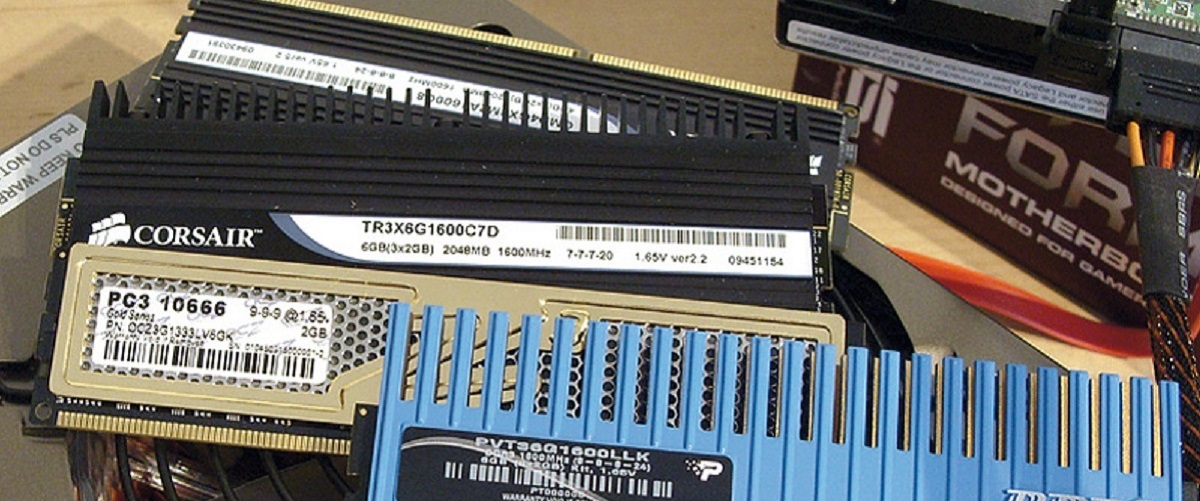
- New RAM modules – Of course, you will need the new RAM modules that you wish to install. Make sure to check the compatibility with your computer’s motherboard before purchasing them.
Once you have gathered these tools and materials, you are ready to proceed to the next step. It is essential to handle the RAM modules with care, as they are delicate and susceptible to damage from static electricity. Before touching the RAM or any other internal components, you may want to ground yourself by touching a metal surface or wearing an anti-static wrist strap.
Remember, the goal is to ensure the safety of both yourself and your computer during the upgrade process. By gathering the necessary tools and materials beforehand, you can avoid any last-minute frustrations and interruptions. Now that you have everything prepared, let’s move on to the next step – preparing your computer for the RAM installation.
Step 2: Prepare your computer
Before diving into the installation of new RAM, it is crucial to prepare your computer for the upgrade process. Taking the time to properly prepare your computer will ensure a smooth and successful installation. Here are the steps to follow:
- Turn off your computer and unplug it from the power source: Safety should always be your top priority when working on your computer’s internal components. Shut down your computer and unplug it from the power source to avoid any electrical shock or potential damage.
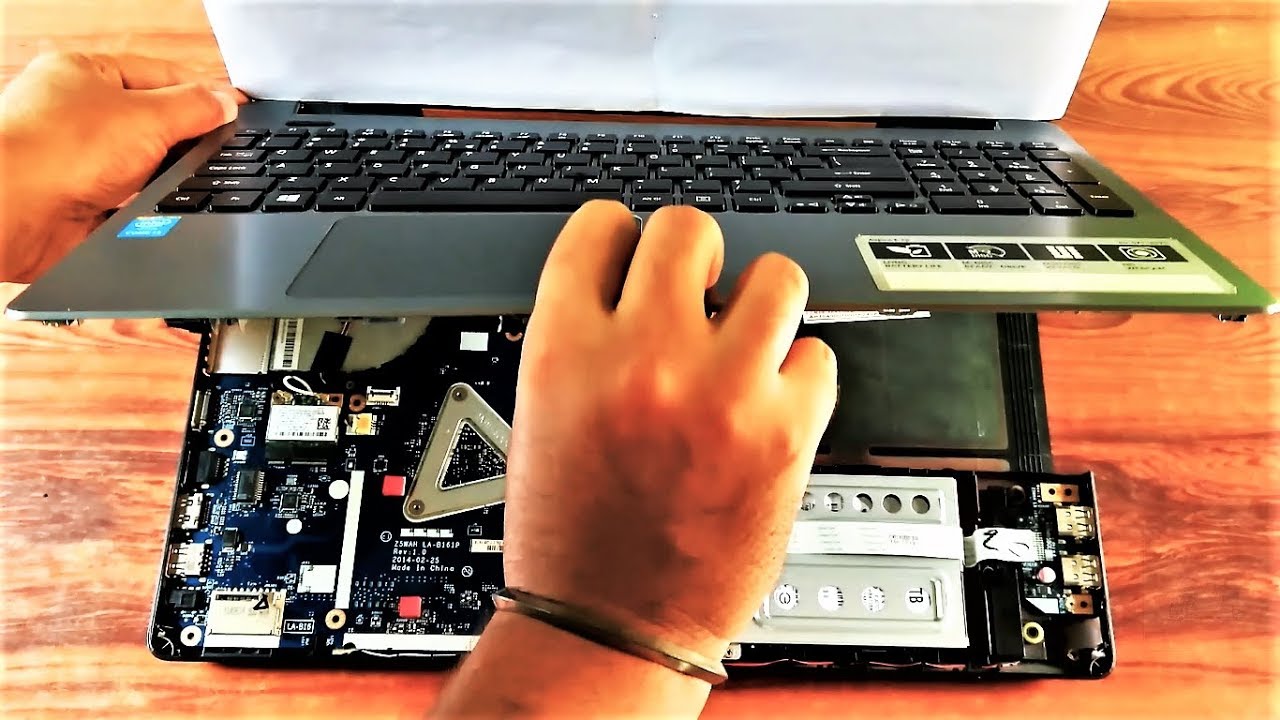
- Open the computer case: Depending on the brand and model of your computer, the process of opening the case may vary. Consult your computer’s manual or search for specific instructions online to locate the screws or latches that hold the case in place. Once you have identified them, carefully unscrew or unlock the case to gain access to the internals.
- Ground yourself: Reduce the risk of damaging sensitive electronic components by grounding yourself. You can do this by touching a metal surface or wearing an anti-static wrist strap. This will help to discharge any static electricity from your body.
- Locate the RAM slots: Inside your computer, you will find the RAM slots. These are usually long, narrow slots with clips on either end. Take a moment to familiarize yourself with their location before moving to the next step.
Preparing your computer properly will minimize the risk of accidents or damage while handling the internal components. By following these steps, you can ensure a safe and successful RAM installation process. Now that you have prepared your computer, it’s time to move on to the next step – locating the RAM slots.
Step 3: Locate the RAM slots
Locating the RAM slots is an essential step before proceeding with the installation of new RAM. The RAM slots are where the memory modules will be inserted, so it’s important to identify their exact location within your computer. Here’s what you need to do:
- Consult your computer’s manual: If you have the manual that came with your computer, it will provide you with valuable information about the internal components, including the location of the RAM slots. Take a moment to refer to the manual and locate the RAM slot diagram.
- Inspect the motherboard: If you don’t have the manual or can’t find the information you need, you can visually inspect the motherboard to locate the RAM slots. The motherboard is the main circuit board of your computer and houses various components, including the RAM slots. Look for rectangular slots with plastic clips on both ends.
- Check for labels or markings: Some motherboards may have labels or markings near the RAM slots indicating their location. These labels can be helpful in identifying the correct slots for your RAM installation.
It’s essential to identify the RAM slots accurately to ensure that you insert the new RAM modules into the correct slots. Installing RAM in the wrong slots can result in compatibility issues or your computer not recognizing the new memory. If you’re unsure about the location of the RAM slots, it’s always a good idea to consult the manufacturer’s website or reach out to their customer support for assistance.
Now that you’ve successfully located the RAM slots, you’re ready to move on to the next step – removing the old RAM (if applicable). Take your time and ensure you have a clear understanding of the RAM slot location before proceeding further.
Step 4: Remove the old RAM (if applicable)
If you are upgrading your RAM by replacing existing modules, it is necessary to remove the old RAM before installing the new one. This step is crucial to ensure a clean and proper installation process. Follow these guidelines to safely remove the old RAM:
- Power off your computer and unplug it from the power source: Before working on any internal components, it is essential to shut down your computer and disconnect it from the power source. This will ensure your safety and prevent any potential damage to the hardware.
- Ground yourself: Protect the sensitive electronic components of your computer by grounding yourself. You can do this by touching a metal surface or wearing an anti-static wrist strap. This helps to discharge any static electricity that could potentially damage the RAM or other delicate parts.
- Locate the retention clips: On either side of the RAM modules, you’ll find retention clips holding them in place. Gently push these clips outward to release the RAM sticks.
- Remove the old RAM modules: Once the retention clips are released, carefully pull the old RAM modules straight out of the slots. Handle them by their edges to avoid touching the gold contacts or any other sensitive components.
- Set aside the old RAM modules: If you plan to keep the old RAM modules as spares or for any other purpose, place them in an anti-static bag or a safe location. However, if you no longer need them, dispose of them responsibly according to your local regulations.
By following these steps, you can safely remove the old RAM modules from your computer. It’s important to handle the RAM sticks with care and not to apply excessive force when removing them. If you encounter any resistance or difficulty, double-check that you have properly released the retention clips before proceeding.
Now that you’ve successfully removed the old RAM, you’re one step closer to upgrading your computer’s memory. The next step will guide you through the process of inserting the new RAM modules. Take a moment to ensure you have a clear understanding of the RAM removal process before moving forward.
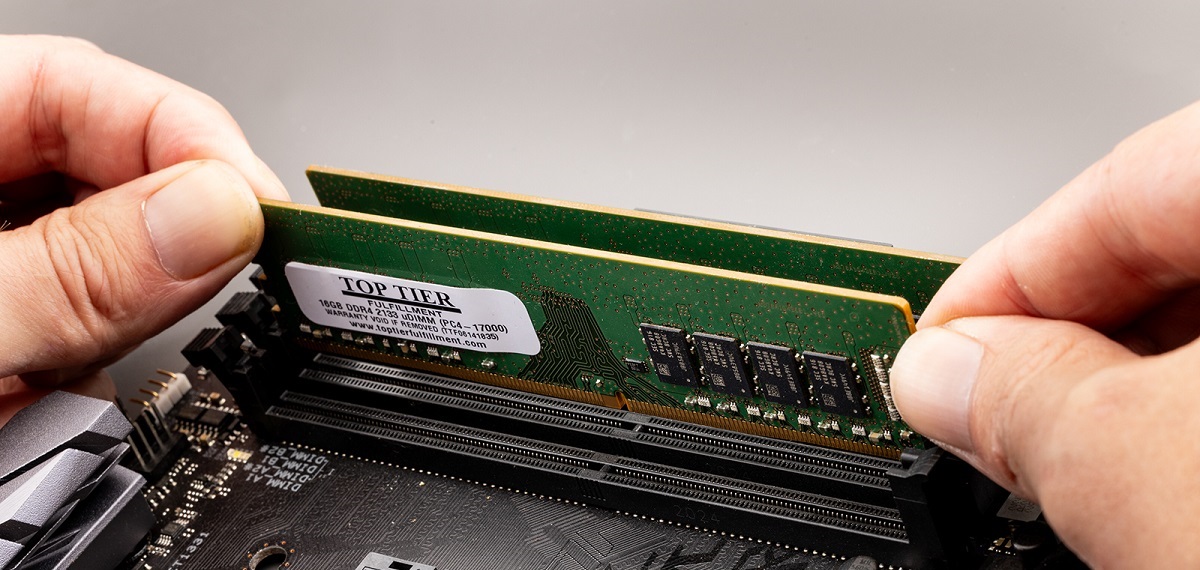
Step 5: Insert the new RAM
With the old RAM modules removed, it’s time to insert the new RAM into your computer. Follow these steps carefully to ensure a successful installation:
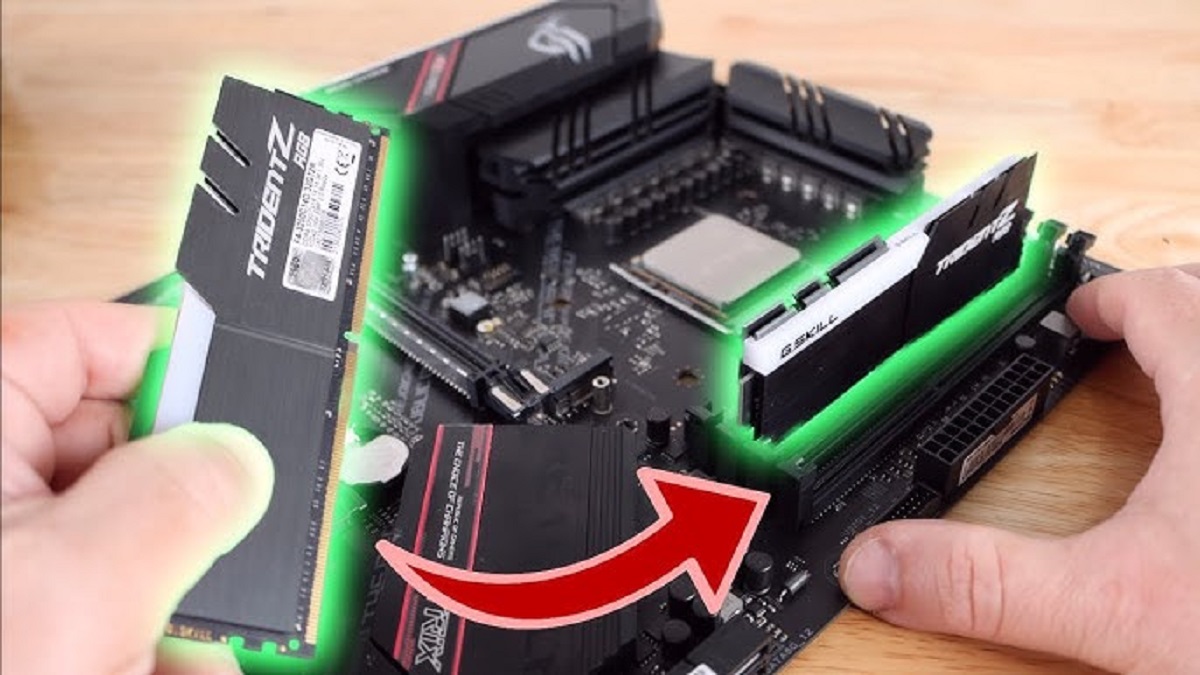
- Orient the RAM modules correctly: Align the notches on the RAM module with the slot and make sure they match. The notch ensures that the RAM can only be inserted in one direction, preventing any accidental damage.
- Hold the RAM module by its edges: Avoid touching the gold contacts or any other sensitive components. Handle the RAM module carefully and only touch the edges to prevent static shocks or damage.
- Insert the RAM module into the slot: Gently but firmly press the RAM module into the slot. Apply even pressure on both ends until you hear a click or feel the retention clips automatically snap into place. This confirms that the RAM module is securely inserted.
- Repeat the process for additional RAM modules: If you have more than one slot and multiple RAM modules to install, repeat the above steps for each module. Ensure that they are properly aligned and fully inserted into their respective slots.
It’s important to note that some computer systems require you to install RAM modules in specific slots or follow a particular order. Consult your computer’s manual or the manufacturer’s website to determine the recommended configuration.
Once you have inserted the new RAM modules, take a moment to visually inspect them to ensure they are securely seated in their respective slots. The retention clips should be holding the RAM modules firmly in place.
Now that you have successfully inserted the new RAM, you’re ready to move on to the next step – securing the RAM in place. Take your time and double-check that the RAM is properly aligned and fully inserted before proceeding further.
Step 6: Secure the RAM in place
After inserting the new RAM modules, it’s crucial to secure them properly to ensure their stability and prevent any potential issues. Follow these steps to secure the RAM in place:
- Push down on the RAM modules: Gently but firmly press down on the RAM modules to ensure they are seated securely in the slots. This action will help engage the retention clips and hold the RAM modules in place.
- Verify the retention clips: Take a moment to visually inspect the retention clips on both ends of the RAM modules. Check if they have automatically snapped back into their original position, firmly holding the RAM modules in place.
- Double-check the alignment: Ensure that the RAM modules are aligned correctly within the slots. They should be evenly inserted, with the gold contacts fully inserted into the slot’s connector.
- Secure the computer case: Once you are satisfied that the RAM modules are securely in place, it’s time to secure the computer case. Replace any screws you removed earlier, ensuring they are tight but not overly tightened.
Properly securing the RAM ensures that it stays in place and remains stable during normal computer operation. This reduces the risk of any accidental disconnections or interruptions in the RAM’s connectivity.
Remember, while securing the RAM modules, be careful not to apply excessive force or damage any other internal components. Take your time and ensure everything is aligned correctly before proceeding.
Now that you have successfully secured the RAM in place, the next crucial step is to test the new RAM and ensure its proper functioning.
Step 7: Test the new RAM
Testing the new RAM modules after installation is an important step to ensure they are functioning correctly and that your computer recognizes the increased memory capacity. Here’s how you can test the new RAM:
- Power on your computer: Once you have secured the RAM modules and closed the computer case, plug in the power cable and turn on your computer.
- Check the BIOS/UEFI screen: During the boot-up process, your computer may display a BIOS or UEFI screen. Look for a system information section that shows the installed memory. Verify that the new RAM modules are detected and the total memory capacity has increased.
- Run memory diagnostic tools: To further test the new RAM for any potential errors or issues, you can use built-in memory diagnostic tools in your operating system. These tools can help identify any potential problems with your RAM and ensure it is functioning properly.
- Perform stress tests (optional): For advanced users or if you want to thoroughly test the new RAM, you can run stress tests or benchmarking software. These tests put your computer’s memory under heavy load to identify any errors or instabilities.
By testing the new RAM, you can ensure that it is installed correctly and functioning as expected. In case the RAM is not recognized or you encounter any errors during testing, double-check the installation, including proper alignment and seating of the RAM modules.
If you encounter any issues with the new RAM, consult the troubleshooting section of your computer’s manual or seek assistance from a professional technician. They can provide guidance or support in resolving any RAM-related issues that you may encounter.
Congratulations! You have now successfully completed the process of installing and testing new RAM modules in your computer. Enjoy the improved performance and multitasking capabilities that come with the upgraded memory!
Conclusion
Upgrading the RAM in your computer can significantly improve its performance and allow for smoother multitasking. By following the step-by-step instructions outlined in this guide, you have learned how to put in RAM with ease.
Starting with gathering the necessary tools and materials, you ensured that you had everything you needed for the RAM installation process. The preparation of your computer, including powering it off and opening the case, allowed for a safe and efficient upgrade.
Locating the RAM slots was essential to ensure you inserted the new modules in the correct position. Removing the old RAM, if applicable, ensured a clean installation process. Then, carefully inserting the new RAM modules into their respective slots and securing them properly guaranteed their stability.
Finally, testing the new RAM confirmed its successful installation and proper functionality. Running diagnostic tools and stress tests provided an extra level of assurance that your computer’s memory is working as intended.
Now, equipped with this knowledge, you can confidently upgrade the RAM in your computer and enjoy improved performance, faster application launching, and smoother multitasking capabilities.
If you encounter any issues or require further assistance during the RAM installation process, it is always advisable to consult your computer’s manual or seek help from a professional technician.
Thank you for following along with this guide on how to put in RAM. We hope that this information has been helpful, and we wish you success in your RAM upgrade journey!