Introduction
Welcome to this guide on how to put RAM in Dual Channel Mode. If you’re looking to optimize the performance of your computer system, understanding and utilizing Dual Channel Mode can make a significant difference. By properly configuring your RAM in Dual Channel Mode, you can enhance data transfer speeds and overall system efficiency.
RAM, or Random Access Memory, is a crucial component in any computer system. It stores and provides quick access to frequently used data, allowing for faster processing speeds. When it comes to RAM, the way it is installed and utilized can have a significant impact on its performance. Dual Channel Mode is a feature that enables a computer system to simultaneously use two identical RAM modules, effectively doubling the data transfer rate.
In this guide, we will explore the benefits of Dual Channel Mode, discuss how to check compatibility, locate the RAM slots on your motherboard, and guide you through the process of inserting the RAM modules. We will also explain the steps to configure Dual Channel Mode in the BIOS/UEFI and show you how to verify if the system is running in Dual Channel Mode.
Whether you are a gamer, a content creator, or simply someone who wants to enhance the overall performance of your computer, understanding and utilizing Dual Channel Mode can be a game-changer. So, let’s dive into the world of Dual Channel Mode and learn how to put your RAM to work more efficiently!
What is Dual Channel Mode?
Dual Channel Mode is a memory configuration feature that allows a computer system to access and utilize two identical RAM modules simultaneously, effectively doubling the data transfer rate compared to a single module. In simple terms, it enables your computer to read and write data from two RAM modules at the same time, enhancing overall system performance.
When a computer operates in Dual Channel Mode, it can transfer and process data more efficiently, as it has access to a wider memory bandwidth. This can result in smoother multitasking, faster data access, and improved performance in resource-intensive tasks such as gaming, video editing, and 3D rendering.
In Dual Channel Mode, the RAM modules should be of the same size, speed, and timings. This allows them to work in synchronization, ensuring a balanced data transfer and reducing potential bottlenecks. It’s important to note that both RAM slots need to be populated with identical modules for Dual Channel Mode to be activated.
While Dual Channel Mode provides a noticeable performance boost, it’s worth mentioning that it might not have a significant impact on all computer operations. Some tasks, such as web browsing and basic office applications, may not fully utilize the benefits of Dual Channel Mode. However, for tasks that involve large data transfers and heavy memory usage, the impact can be quite substantial.
It’s important to check your motherboard’s specifications to ensure it supports Dual Channel Mode. Most modern motherboards do support Dual Channel Mode, but it’s always a good idea to double-check in the user manual or on the manufacturer’s website.
Now that we have a basic understanding of what Dual Channel Mode is and its benefits, let’s explore how to verify compatibility and find the RAM slots on your motherboard.
Benefits of Dual Channel Mode
Dual Channel Mode offers several significant benefits that can enhance the overall performance of your computer system. By utilizing two identical RAM modules in synchronization, you can experience the following advantages:
1. Increased Memory Bandwidth: Dual Channel Mode doubles the memory bandwidth by allowing simultaneous access to two RAM modules. This results in faster data transfer between the RAM and other components, such as the CPU and storage devices. As a result, you’ll experience improved responsiveness and faster application loading times.
2. Improved System Performance: With the increased memory bandwidth, your computer system can handle data-intensive tasks more efficiently. Whether you’re gaming, editing videos, or running multiple applications simultaneously, Dual Channel Mode can provide smoother performance and reduce lag or stuttering.
3. Enhanced Multitasking Capability: Dual Channel Mode enables your system to handle multiple tasks at once with greater efficiency. You can switch between applications seamlessly, open large files more quickly, and work on resource-intensive projects without experiencing significant slowdowns.
4. Better Gaming Experience: Gamers can benefit greatly from Dual Channel Mode, especially in graphically demanding games. The increased memory bandwidth allows for faster loading of game assets, reduces frame drops, and enhances overall gameplay smoothness. This is particularly important in online multiplayer games where every second counts.
5. Optimal Performance for Content Creation: Professionals in fields such as video editing, 3D modeling, and graphic design can benefit from Dual Channel Mode. It enables faster rendering and processing of multimedia files, resulting in shorter wait times and improved productivity.
6. Cost-Effective Performance Boost: Dual Channel Mode provides a significant performance boost without requiring additional hardware investments. By simply pairing two identical RAM modules, you can maximize your computer’s memory performance without breaking the bank.
Overall, Dual Channel Mode can greatly enhance the overall performance and responsiveness of your computer system. It is particularly beneficial for tasks that involve large data transfers, multitasking, gaming, and content creation. Now that we understand the benefits of Dual Channel Mode, let’s move on to checking the compatibility of your system.
Checking Compatibility
Before diving into setting up Dual Channel Mode, it’s important to ensure that your computer system is compatible. Here are the key factors to consider when checking compatibility:
1. Motherboard Support: Check your motherboard’s specifications to confirm if it supports Dual Channel Mode. Most modern motherboards support this feature, but it’s always crucial to double-check the documentation or the manufacturer’s website.
2. RAM Compatibility: Ensure that your RAM modules are compatible with Dual Channel Mode. Both modules should be of the same speed, timings, and capacity. It’s recommended to purchase a RAM kit that is specifically labeled for Dual Channel or comes as a matched pair.
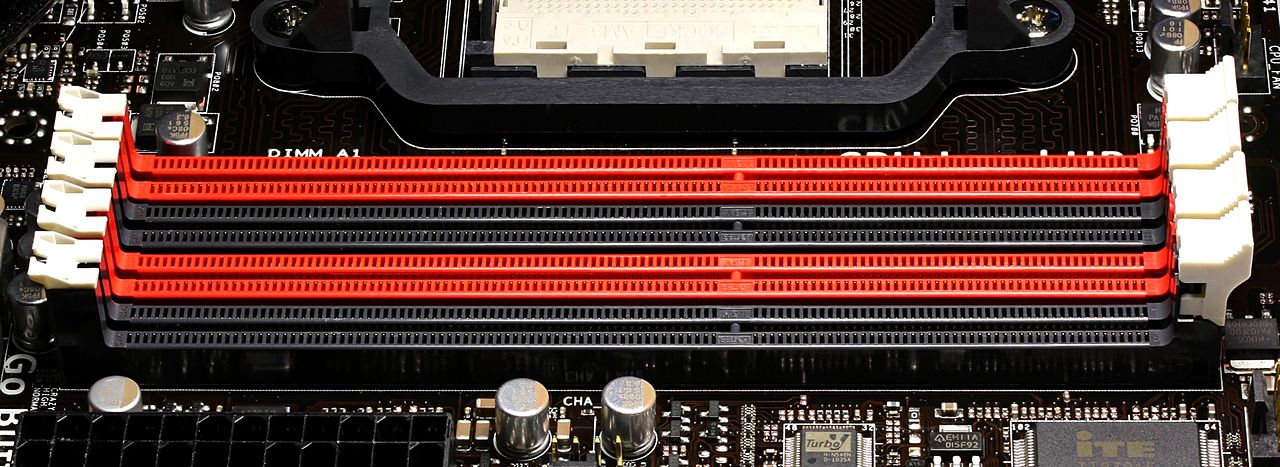
3. RAM Slot Configuration: Check how many RAM slots your motherboard has and the recommended configuration for Dual Channel Mode. Typically, the slots are color-coded to indicate the proper installation order. Refer to your motherboard manual for the recommended slot pairing.
4. Operating System Support: Dual Channel Mode is supported by most modern operating systems, including Windows, macOS, and Linux. Ensure that your operating system is up to date to fully benefit from the Dual Channel configuration.
5. Maximum Memory Capacity: Some older motherboards may have limitations on the maximum memory capacity supported in Dual Channel Mode. Check your motherboard’s specifications to ensure that you don’t exceed the supported limit.
By checking these compatibility factors before proceeding, you can ensure a smooth setup process and avoid any potential issues. Once you’re certain that your system is compatible with Dual Channel Mode, the next step is to locate the RAM slots on your motherboard.
Finding the RAM Slots
Locating the RAM slots on your motherboard is a crucial step in setting up Dual Channel Mode. Here’s how you can find the RAM slots:
1. Power Off Your Computer: Before working inside your computer, it’s important to shut it down completely and unplug it from the power source. This will ensure your safety and prevent any damage to the components.
2. Open Your Computer Case: Depending on your computer case, you may need to remove screws or use a latch to open the side panel. Consult the manufacturer’s manual or check for guides specific to your computer model if you’re unsure how to open the case.
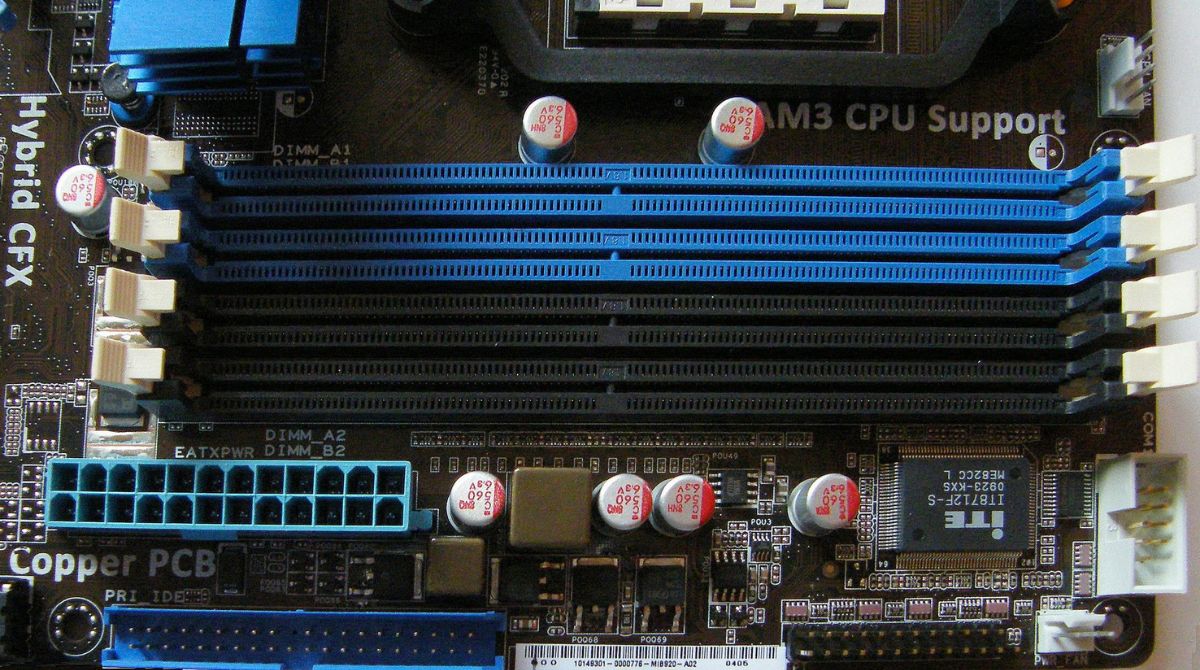
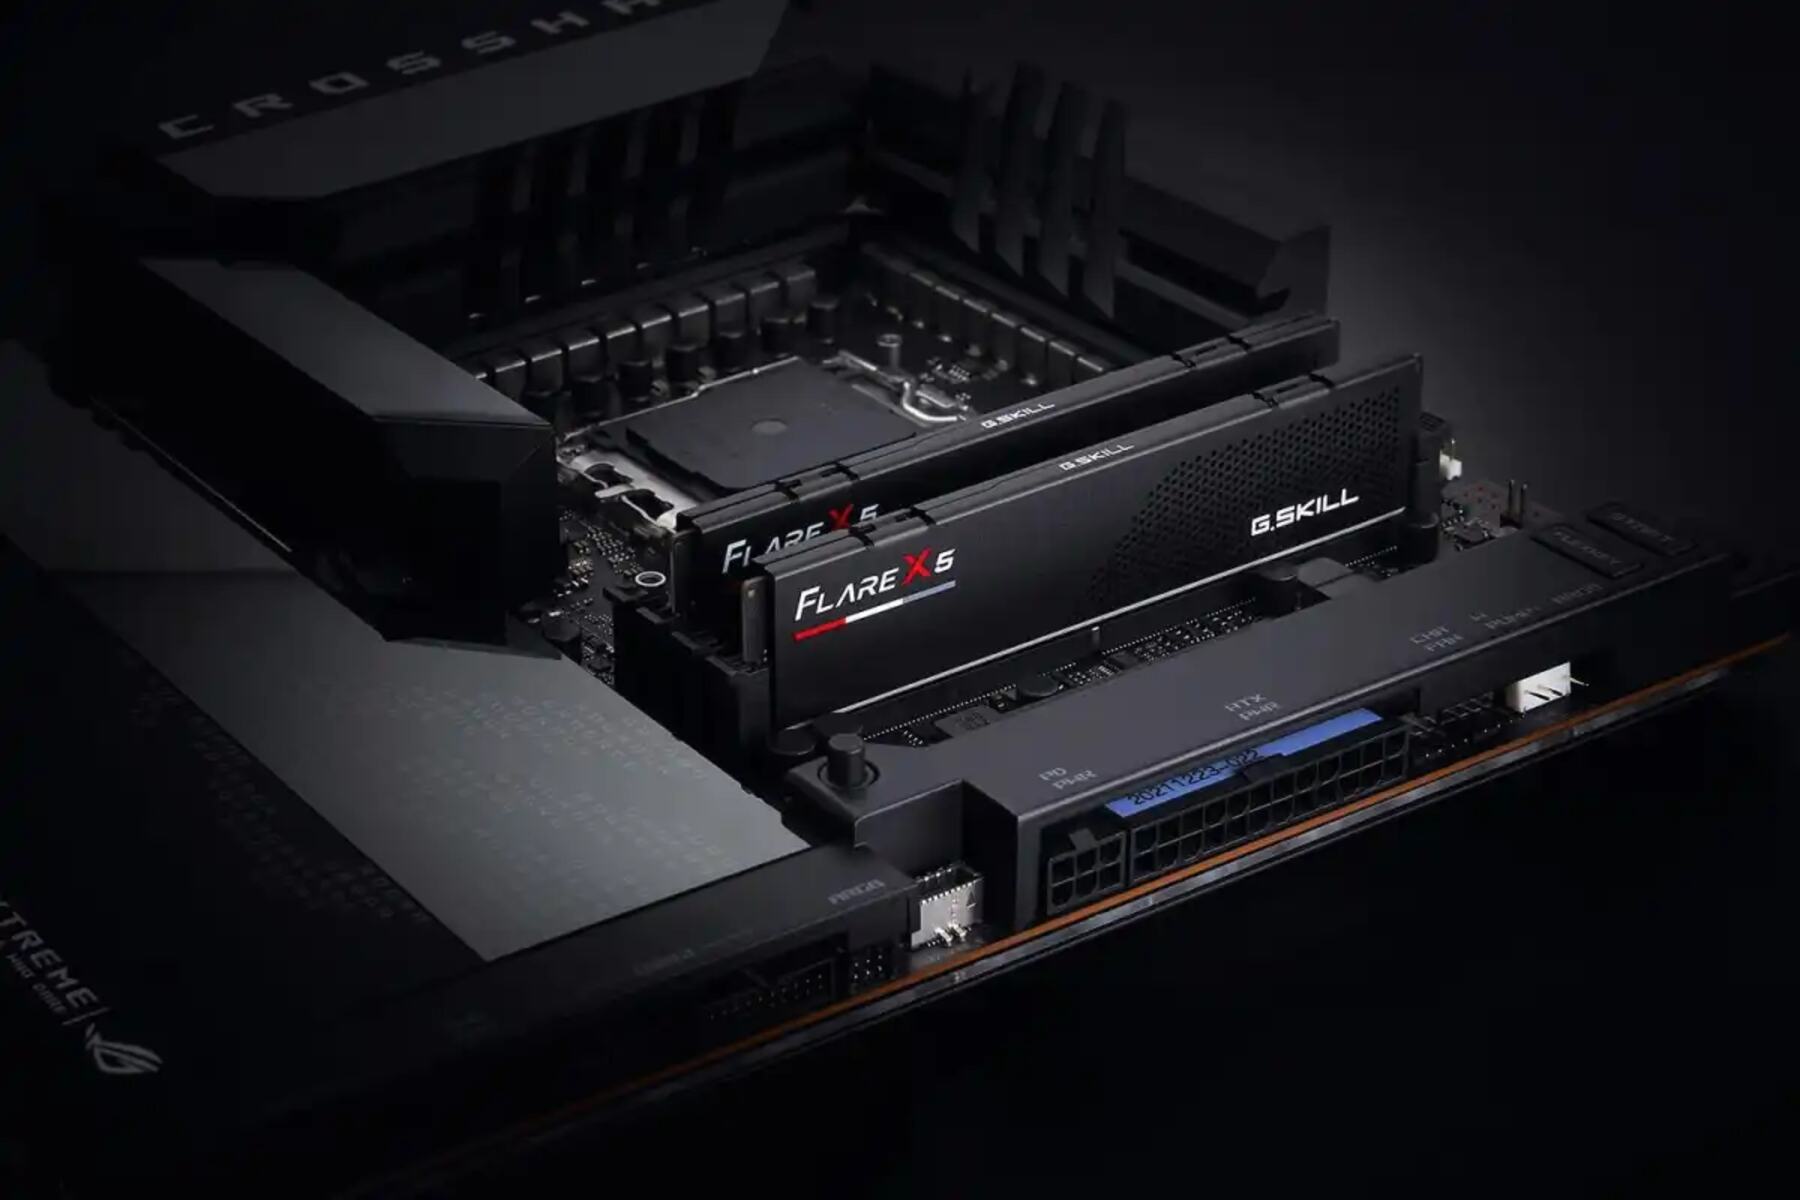
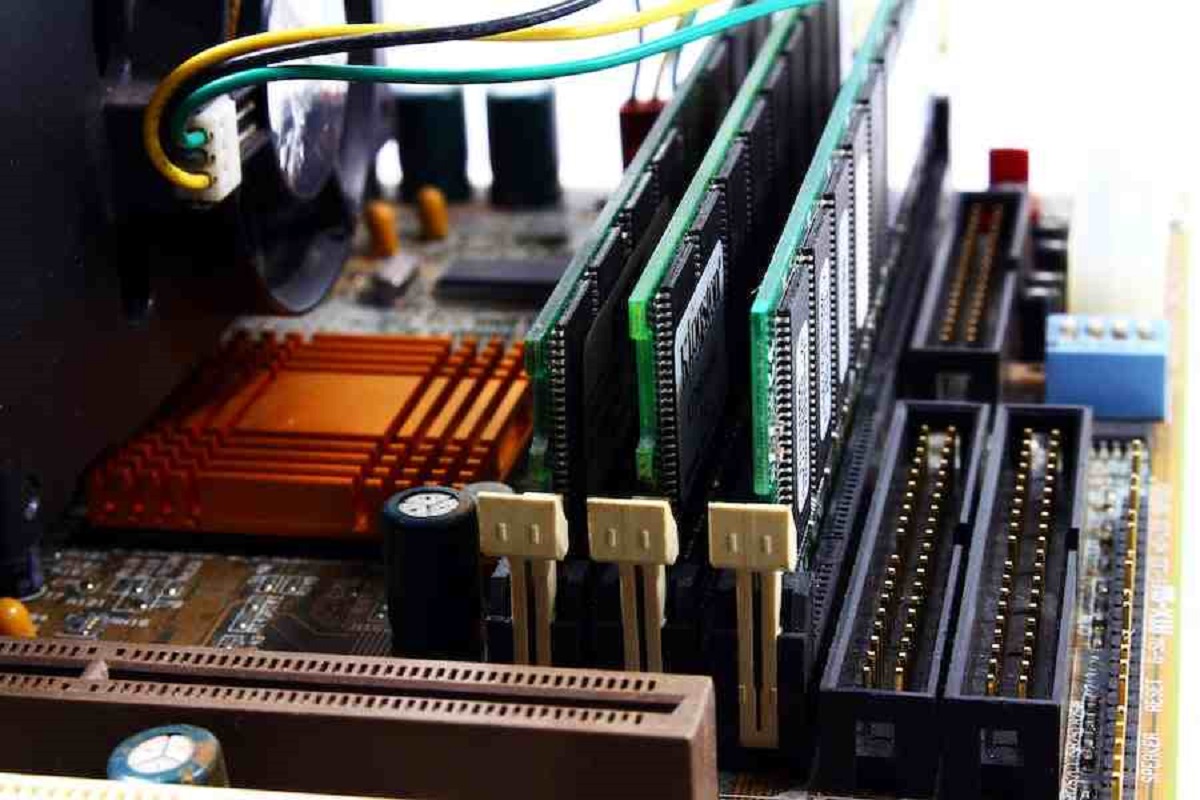
3. Identify the RAM slots: The RAM slots are typically located near the CPU socket on the motherboard. They are long, thin slots with plastic clips on each end. Most motherboards have two or four RAM slots, but this can vary depending on the model.
4. Note the Slot Configuration: Take note of the slot configuration and any color-coding present on your motherboard. The colors indicate the proper pairing for Dual Channel Mode. Typically, the slots are labeled, such as DIMM 1, DIMM 2, DIMM 3, and DIMM 4. Refer to your motherboard’s manual for the recommended pairing order.
5. Ground Yourself: Before touching any components inside your computer, it’s important to ground yourself to discharge any static electricity. You can do this by touching a metal surface or wearing an anti-static wristband.
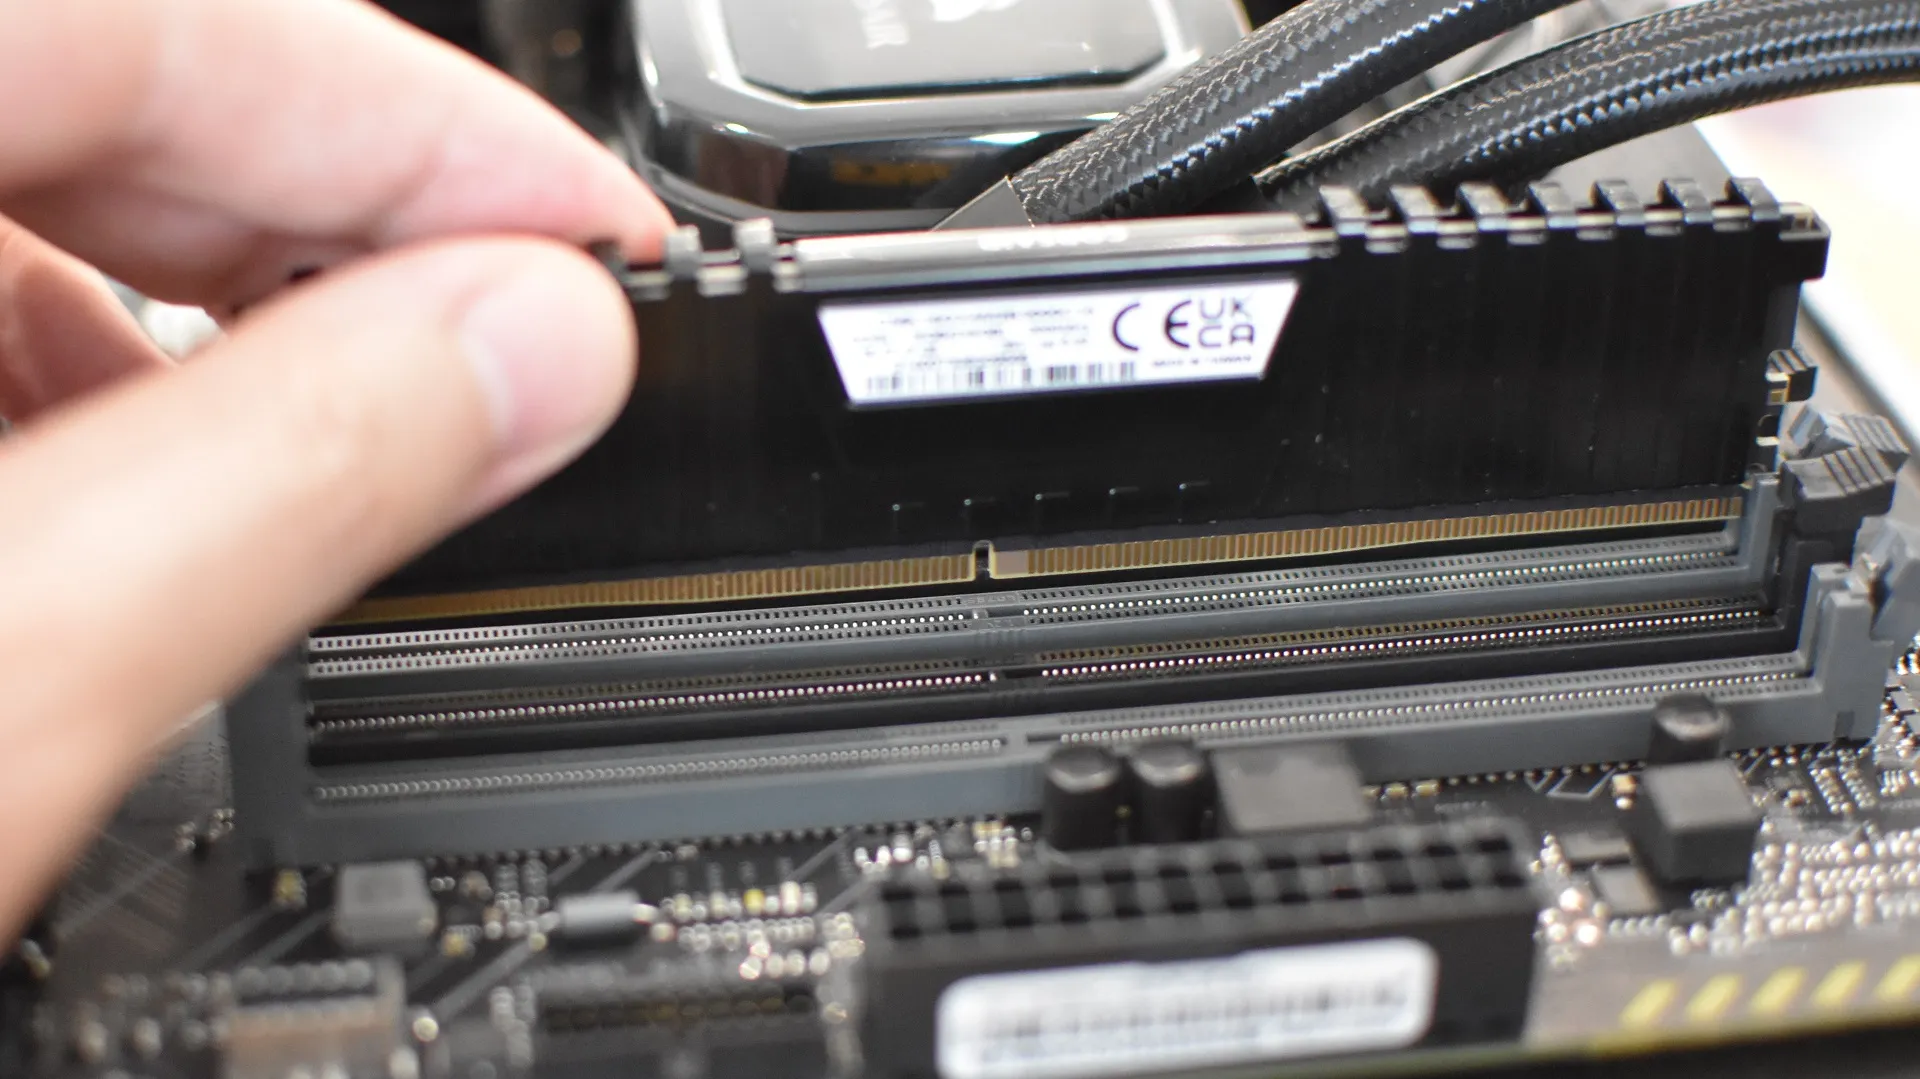
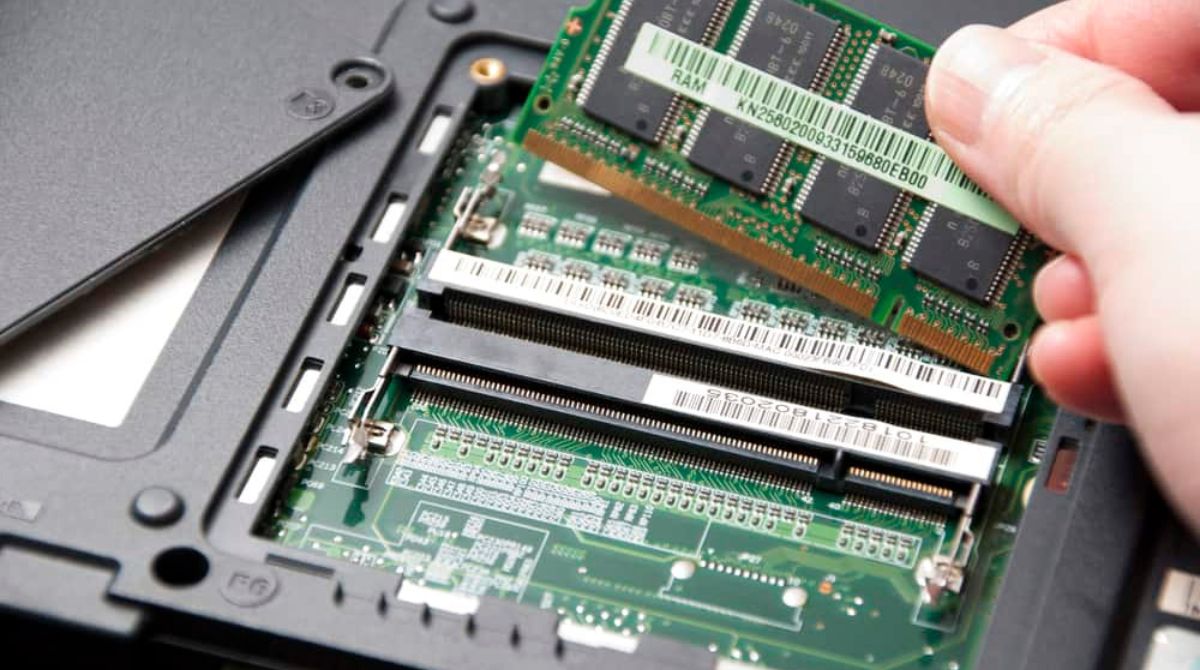
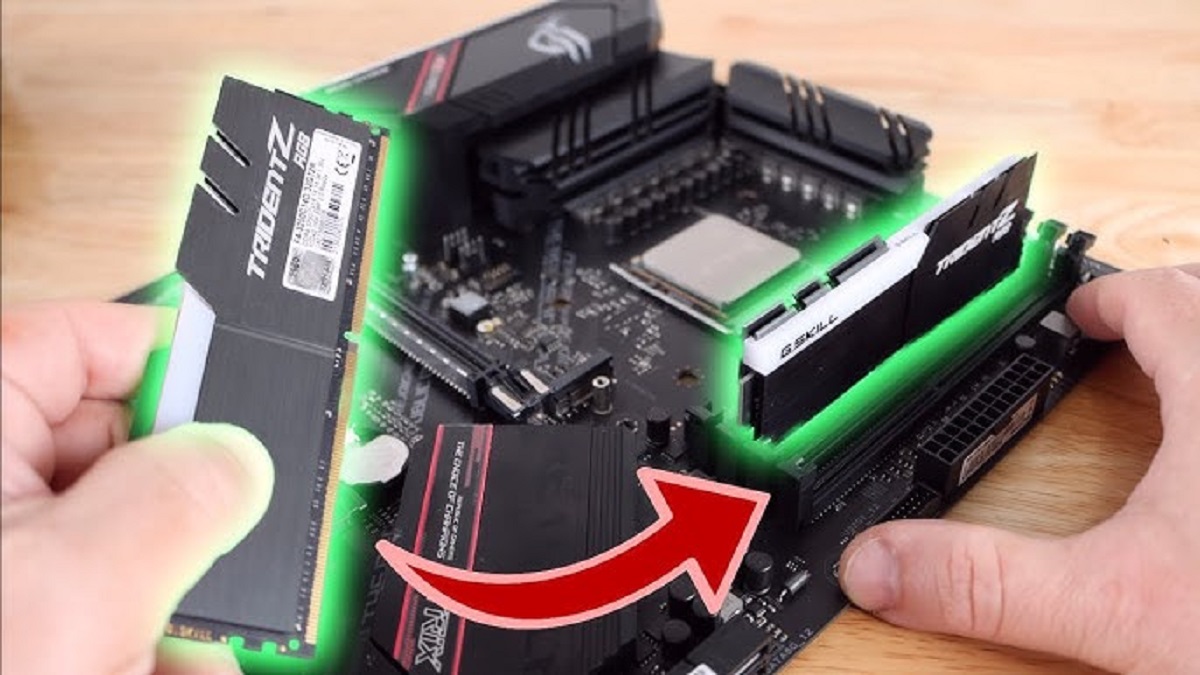
6. Insert the RAM modules: Place the RAM module in the slot at a slight angle, aligning the notches on the module with the slot on the motherboard. Gently press down until the clips on each end snap into place, securing the RAM module in position.
7. Repeat for the Second Module: If you have two RAM modules to configure Dual Channel Mode, repeat the process for the second module, ensuring it is inserted into the recommended slot for pairing with the first module.
8. Close the Computer Case: Once the RAM modules are securely installed, close the computer case by replacing the side panel and tightening any screws if necessary.
With the RAM modules properly inserted into the RAM slots, you’re now ready to configure Dual Channel Mode in the BIOS/UEFI settings of your computer. We’ll cover this process in the next section.
Inserting the RAM Modules
Now that you have located the RAM slots on your motherboard, it’s time to insert the RAM modules correctly. Follow these steps to ensure proper installation:
1. Power Off Your Computer: Prior to working inside the computer, shut it down completely and disconnect it from the power source to prevent any electrical mishaps.
2. Ground Yourself: Ground yourself by touching a grounded metal surface or wearing an anti-static wristband to discharge any static electricity that may damage sensitive computer components.
3. Identify the RAM Slots: Locate the RAM slots on your motherboard. These are long, thin slots typically positioned near the CPU socket. Most motherboards have two or four RAM slots, but the layout may vary depending on the model.
4. Release the Retention Clips: On each side of the RAM slot, there are small plastic clips or levers. Gently push them outward to release and unlock the slot.
5. Align the Notches: Align the notch on the bottom edge of the RAM module with the corresponding notch in the RAM slot. This ensures that the RAM module is inserted in the correct orientation.
6. Insert the RAM Module: Holding the RAM module by its edges, carefully insert it into the slot at a slight angle. Firmly press down until the module is fully seated in the slot and the retention clips automatically lock into place.
7. Repeat the Process: If you have multiple RAM modules, repeat steps 4 to 6 for each module. Refer to your motherboard’s manual for the recommended slot configuration to enable Dual Channel Mode.
8. Verify Installation: Once all the RAM modules are inserted, double-check that they are securely seated in the RAM slots. The modules should be level and evenly inserted, with the retention clips completely locked.
9. Close the Computer Case: After ensuring the RAM modules are properly installed, close the computer case and secure it with any screws or latches to protect the internal components.
Now that you have successfully inserted the RAM modules, you can proceed to configure Dual Channel Mode in the BIOS/UEFI settings of your computer. This will allow your system to utilize the installed RAM modules for optimal performance.
Configuring Dual Channel Mode in BIOS/UEFI
After physically installing the RAM modules, you’ll need to configure the Dual Channel Mode in the BIOS/UEFI settings of your computer. Here’s how to do it:
1. Restart Your Computer: Save any open files and restart your computer to access the BIOS/UEFI settings. This is typically done by pressing a specific key (such as F2, Delete, or Esc) during the boot-up process. Consult your motherboard’s manual for the specific key to access the BIOS/UEFI.
2. Enter the BIOS/UEFI: Once you’ve identified the correct key, press it repeatedly until the BIOS/UEFI screen is displayed. It may take a few attempts, so be patient.
3. Navigate to the Memory Settings: Look for the memory settings in the BIOS/UEFI menu. The exact location and name of this option may vary depending on your motherboard’s manufacturer. It is often found under the “Advanced” or “DRAM Configuration” section.
4. Enable Dual Channel Mode: Within the memory settings, locate the option to enable Dual Channel Mode. It may be referred to as “Channel Interleaving,” “Dual Channel,” or a similar term. Enable this option to activate Dual Channel Mode.
5. Save and Exit: After enabling Dual Channel Mode, save the changes made in the BIOS/UEFI settings. Look for the option to “Save and Exit,” “Exit and Save Changes,” or similar. Your computer will restart to apply the new settings.
Note: Some motherboards may automatically detect and configure Dual Channel Mode when identical RAM modules are installed in the correct slots. In such cases, you may not encounter a specific option to enable Dual Channel Mode in the BIOS/UEFI settings.
Once your computer restarts, it will recognize the RAM modules in Dual Channel Mode. You can then verify if the system is running in Dual Channel Mode to ensure the configuration was successful.
Now that you’ve configured Dual Channel Mode in the BIOS/UEFI, it’s time to check if it is working correctly. We will cover the verification process in the next section.
Verifying Dual Channel Mode
After configuring Dual Channel Mode in the BIOS/UEFI settings, it’s important to verify whether your computer system is running in Dual Channel Mode. Here are a few methods to check and confirm:
1. Task Manager (Windows): On Windows, you can use the Task Manager to check if your RAM is running in Dual Channel Mode. Right-click the taskbar and select “Task Manager.” Then, go to the “Performance” tab and click on “Memory.” Look for the “Channels” field. If it displays “Dual,” then your RAM is operating in Dual Channel Mode.
2. System Profiler (macOS): macOS provides a system profiler to check your computer’s hardware configuration. Go to the “Apple” menu, select “About This Mac,” and click on “System Report.” Under the “Hardware” section, choose “Memory.” You’ll find the “Interleaved” field. If it says “Yes,” then your RAM is running in Dual Channel Mode.
3. CPU-Z: CPU-Z is a free software tool that provides detailed information about your computer’s hardware. Download and install CPU-Z, then open the program. Go to the “Memory” tab, and under the “Channel #” section, it will display “Dual” if your RAM is in Dual Channel Mode.
4. BIOS/UEFI Settings: You can also revisit the BIOS/UEFI settings to double-check if Dual Channel Mode is enabled. Go back to the memory settings and verify that the Dual Channel Mode option is still enabled.
5. MemTest86: For a more comprehensive verification, you can use MemTest86, a reliable memory testing tool. Create a bootable USB drive with MemTest86, restart your computer, and boot from the USB drive. Run the memory test, and it will provide detailed information about your RAM configuration, including whether it is running in Dual Channel Mode.
By using these methods, you can confirm whether or not your RAM is running in Dual Channel Mode. If the verification indicates that Dual Channel Mode is active, congratulations! You have successfully optimized your system’s memory performance. If not, double-check the RAM installation and BIOS/UEFI settings to ensure everything is configured correctly.
Remember, Dual Channel Mode requires identical RAM modules and proper configuration to function correctly. If you’re not seeing the expected results, consider consulting the motherboard’s manual or seeking assistance from a knowledgeable technician to troubleshoot and resolve any issues.
Now that you’ve verified your computer’s Dual Channel Mode status, you can enjoy the improved performance and efficiency that come with optimized memory configuration.
Conclusion
Congratulations! You’ve successfully learned how to put your RAM in Dual Channel Mode, unlocking the potential for improved system performance. By configuring and utilizing Dual Channel Mode, you can experience increased memory bandwidth, enhanced multitasking capabilities, and smoother performance in various tasks.
We began by understanding what Dual Channel Mode is and its benefits. We then explored how to check compatibility, locate the RAM slots, insert the RAM modules, configure Dual Channel Mode in the BIOS/UEFI settings, and verify the activation of Dual Channel Mode.
Remember to ensure that your motherboard supports Dual Channel Mode, use identical RAM modules, follow the recommended slot configuration, and enable Dual Channel Mode in the BIOS/UEFI settings. Proper installation and configuration are crucial for optimal performance.
Whether you’re a gamer looking for smoother gameplay, a content creator seeking faster rendering times, or a general computer user desiring improved system responsiveness, utilizing Dual Channel Mode can make a noticeable difference.
By taking advantage of the increased memory bandwidth and efficient data transfer that Dual Channel Mode offers, you can maximize the performance of your computer system without the need for additional hardware investments.
If you encounter any issues during the process or need further assistance, consult your motherboard’s manual or seek the help of a knowledgeable technician. They can provide specific guidance and troubleshooting tailored to your system’s configuration.
Now that you have successfully configured Dual Channel Mode, enjoy the benefits of an optimized memory configuration and take your computing experience to the next level!