Introduction
Upgrading your computer’s RAM (Random Access Memory) can greatly enhance its performance and speed. RAM is an essential component of your system that allows it to access and store data quickly. Over time, as software becomes more demanding and resource-intensive, your computer’s RAM may start to struggle to keep up with the demands.
In this article, we will discuss the process of upgrading your RAM and provide you with step-by-step instructions to ensure a smooth and successful upgrade. Whether you’re a gamer looking to improve your computer’s performance or a professional working with resource-intensive applications, upgrading your RAM can help to boost your productivity and improve your overall user experience.
By increasing your RAM capacity, your computer will have more available memory to handle multiple tasks simultaneously, resulting in faster loading times and smoother operation. This can be particularly beneficial when running memory-hungry applications such as video editing software or playing the latest games that require a high level of system resources.
Before you begin upgrading your RAM, it’s important to note that not all computers are upgradable, as some devices have RAM soldered directly onto the motherboard. Therefore, it’s crucial to check your computer’s compatibility and ensure that you have an available RAM slot for installation.
In the following sections, we will guide you through the necessary steps to upgrade your RAM. We will help you determine the appropriate RAM type and capacity for your computer, provide tips on preparing the necessary tools, and guide you through the installation process.
By the end of this article, you will have a clear understanding of how to upgrade your RAM, allowing you to optimize your computer’s performance and enjoy a more efficient computing experience. So let’s dive in and get started on upgrading your RAM!
Why Upgrade Your RAM?
Upgrading your RAM can have a significant impact on the overall performance of your computer. Here are a few reasons why you might consider upgrading your RAM:
1. Improved Speed and Responsiveness: RAM plays a crucial role in storing and accessing data that your computer needs to perform tasks. By upgrading your RAM, you allow your computer to handle more data at once, resulting in faster response times and a generally smoother user experience.
2. Enhanced multitasking: If you often find yourself running multiple applications simultaneously, upgrading your RAM can significantly improve your multitasking capabilities. With more RAM, your computer can efficiently handle tasks from various applications without slowing down.
3. Better Performance in Resource-Intensive Applications: Memory-intensive applications like video editing software, graphic design tools, and gaming platforms require a substantial amount of RAM to run smoothly. By upgrading your RAM, you can provide your computer with the necessary resources to handle these demanding applications more effectively, reducing lags and improving overall performance.
4. Future-Proofing: As technology advances, new software and applications tend to become more resource-intensive. By upgrading your RAM, you can ensure that your computer is prepared for future updates and new software releases, allowing you to stay up to date without experiencing performance issues.
5. Cost-Effective Upgrade: In comparison to other hardware upgrades, upgrading your RAM is generally more affordable. It can provide a significant boost in performance for a relatively low cost, making it an excellent investment to extend the lifespan of your computer before considering a full system upgrade.
6. Compatibility with Operating System Upgrades: Upgrading your operating system often requires more RAM to run efficiently. By increasing your computer’s RAM capacity, you can ensure compatibility with the latest operating system updates and enjoy improved performance and stability on your system.
Upgrading your computer’s RAM is a cost-effective and relatively simple way to enhance its performance. Whether you’re a casual computer user or a power user who frequently works with resource-intensive applications, upgrading your RAM can bring a myriad of benefits, including improved speed, multitasking capabilities, and overall system performance. So, let’s move on to the next section and check if your computer is compatible with a RAM upgrade.
Check Your Computer’s Compatibility
Before proceeding with a RAM upgrade, it is crucial to check your computer’s compatibility to ensure that it can support the new RAM modules. Here are a few steps to confirm compatibility:
1. Check the Maximum RAM Capacity: Find out the maximum amount of RAM that your computer’s motherboard can support. You can typically find this information in the user manual or by visiting the manufacturer’s website. Take note of this maximum capacity as it will determine the upper limit of RAM you can install.
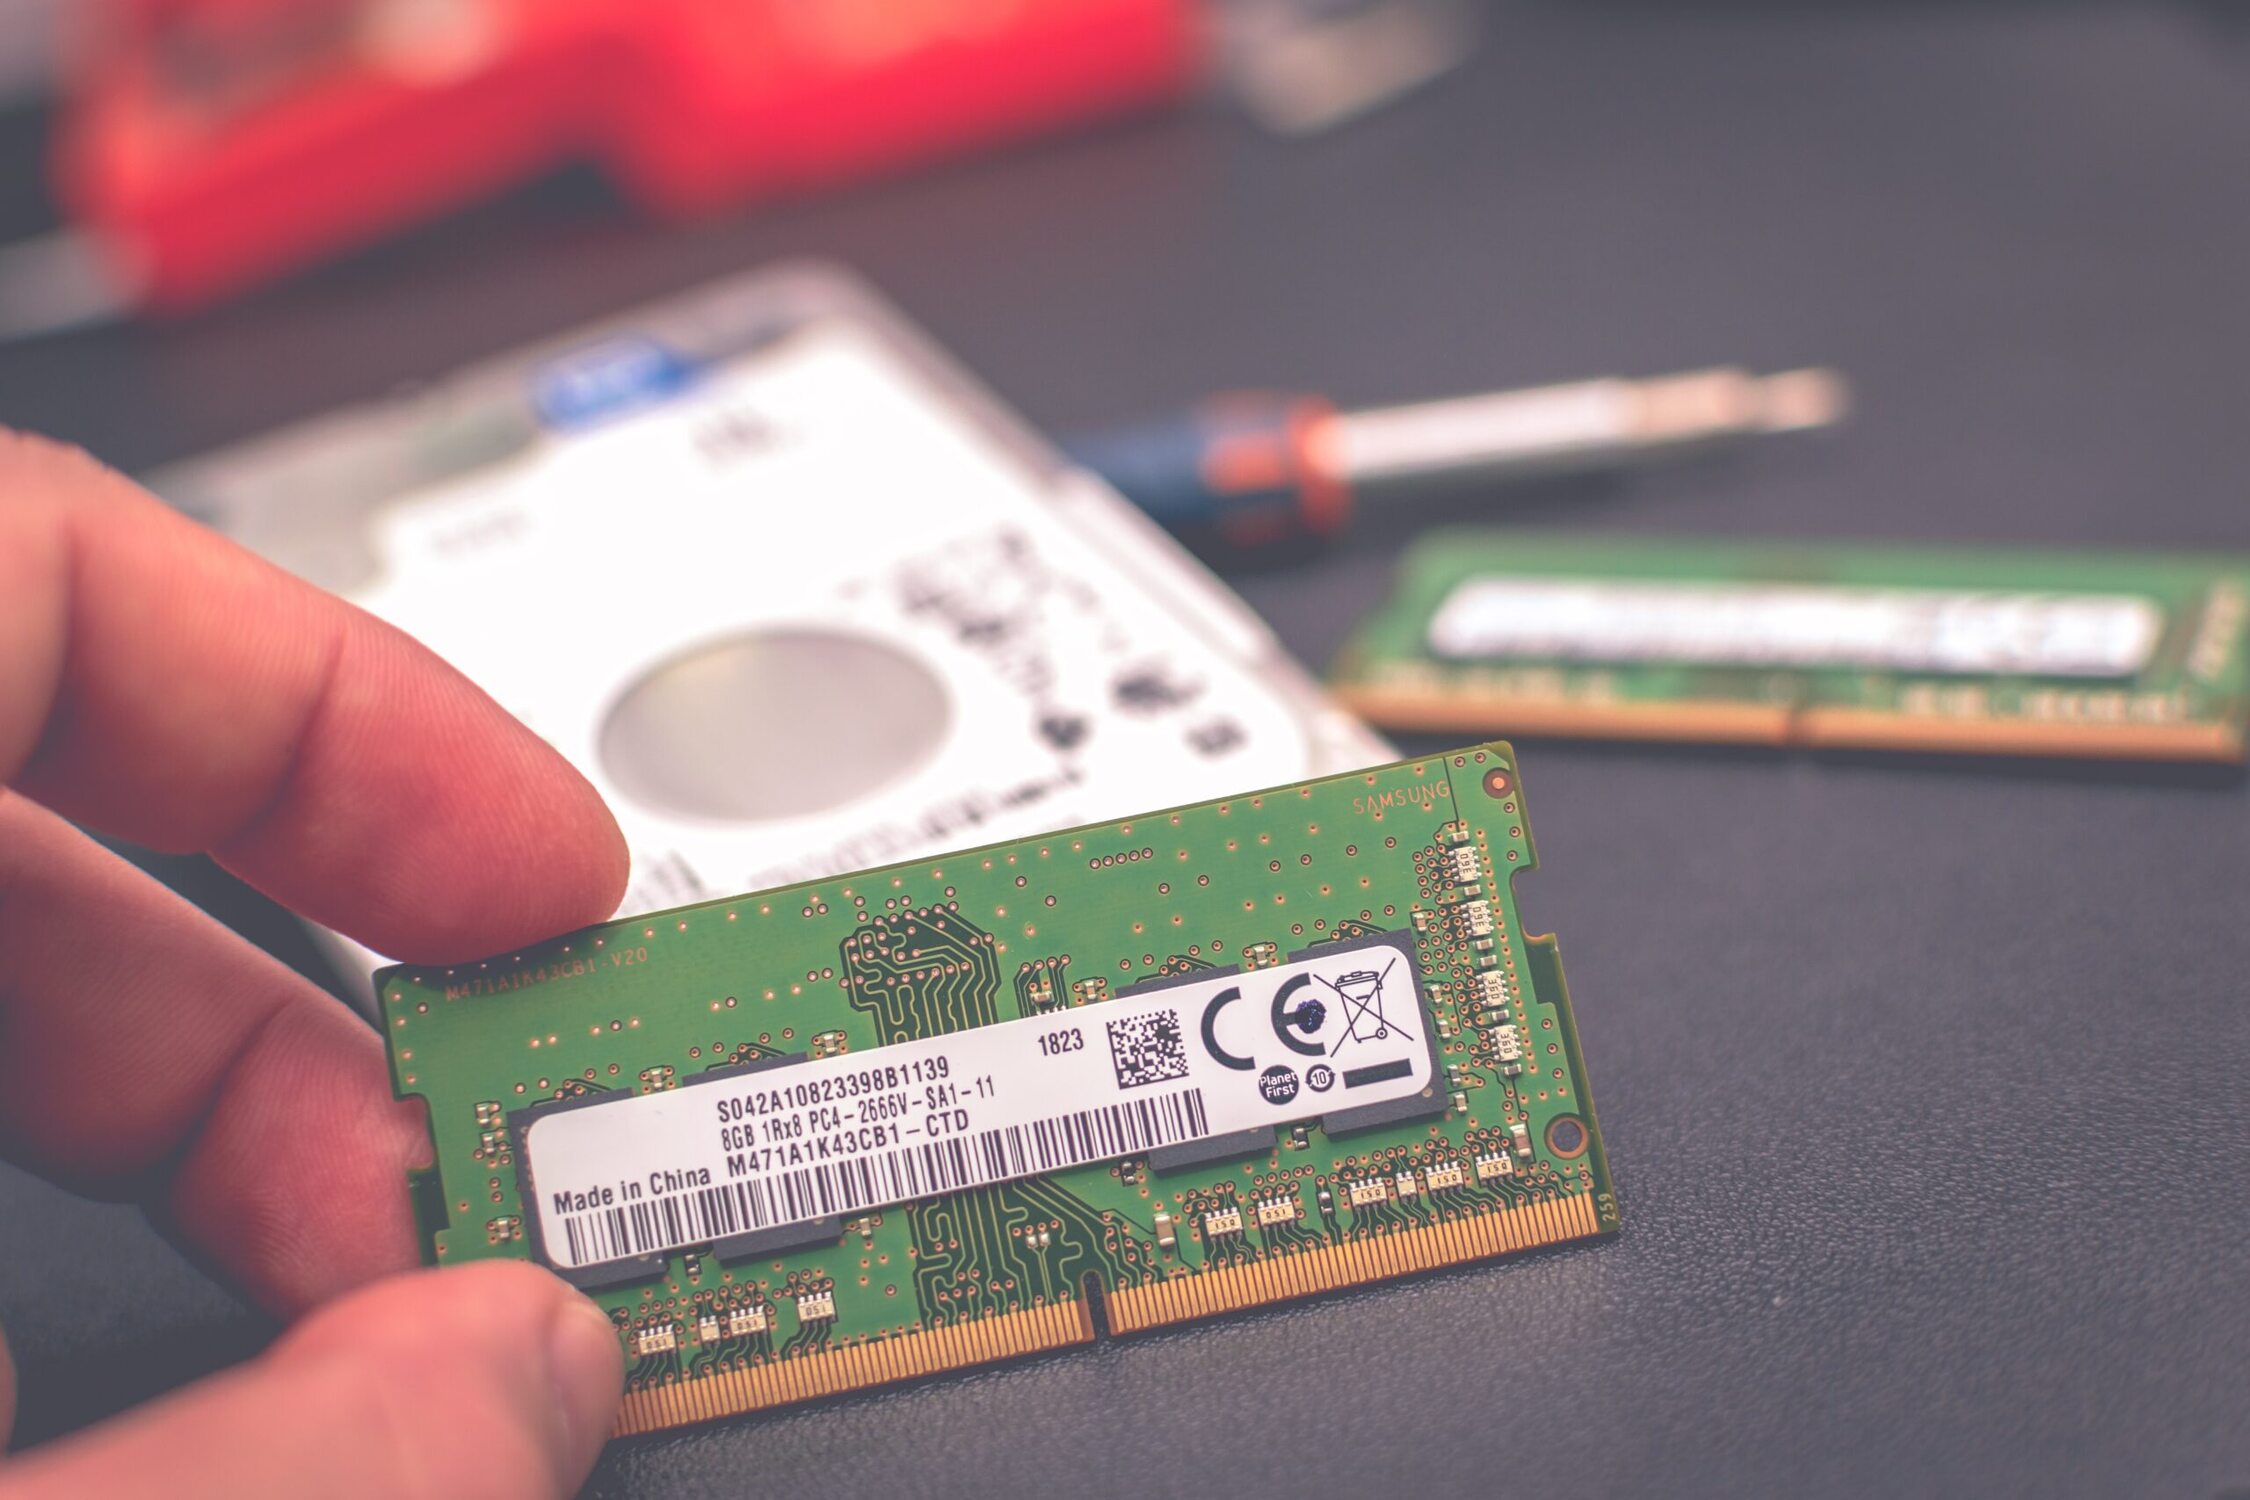
2. Check the RAM Type: Identify the type of RAM that your computer requires. This can be DDR3, DDR4, or another variant. The RAM type is determined by the motherboard, so refer to the documentation mentioned earlier or use system information tools to identify the current RAM type.
3. Check the RAM Speed: Determine the current speed of your installed RAM modules. RAM speeds are measured in MHz and are usually listed on the RAM module itself. It is essential to match the speed of the new RAM modules with the existing ones to ensure compatibility. If you are replacing all the RAM modules, make sure the new ones are compatible with the motherboard’s supported RAM speed.
4. Check the Number of RAM Slots: Identify the number of available RAM slots on your motherboard. This information can be found in the motherboard manual or by researching the model number online. Knowing the number of slots will help determine the maximum configuration and capacity you can achieve.
5. Check for BIOS Compatibility: Depending on the age of your computer, it’s important to ensure that its BIOS (Basic Input/Output System) is compatible with the new RAM modules. Update your BIOS to the latest version provided by the manufacturer before proceeding with the upgrade.
By confirming these compatibility factors, you can ensure a successful RAM upgrade without any compatibility issues. It’s crucial to gather this information before purchasing new RAM modules to avoid any potential disappointments.
If your computer is compatible with an RAM upgrade, the next step is to select the appropriate type and capacity of RAM. We will discuss this in detail in the following section.
Choose the Right RAM Type
Selecting the correct RAM type is essential to ensure compatibility and optimal performance for your computer. Here are some steps to help you choose the right RAM type for your system:
1. Check the Existing RAM Type: Determine the current RAM type installed in your computer. This can be DDR3, DDR4, or an older version. You can check this information in the system settings or refer to the labels on the RAM modules themselves.
2. Match the Existing RAM Type: It’s generally recommended to match the existing RAM modules to maintain compatibility and avoid potential issues. If your computer already has DDR3 RAM, for example, it’s best to stick with DDR3 when upgrading.
3. Consider Future Compatibility: If you plan to keep your computer for a few more years, it may be worth considering future compatibility. Opting for the latest RAM type (e.g., DDR4) ensures that you can easily upgrade or replace RAM modules in the future without compatibility concerns.
4. Check the Maximum RAM Capacity: Review the maximum RAM capacity supported by your computer as determined in the compatibility check section. Ensure that the RAM modules you choose do not exceed this maximum limit.
5. Consider Speed and Latency: RAM speed and latency can impact performance, especially in tasks that require quick access to data. If you’re using RAM-intensive applications or aiming for optimal performance, consider selecting RAM modules with higher speeds and lower latency.
6. Research for Compatible RAM: Once you have identified the required RAM type and specifications, research reputable manufacturers and models that offer compatible RAM modules. Read reviews and check compatibility lists provided by manufacturers to ensure a seamless upgrade process.
7. Choose the Right Capacity: Determine the appropriate RAM capacity based on your needs and budget. For standard computer usage and multitasking, 8GB to 16GB of RAM is generally sufficient. However, if you’re a power user, gamer, or professional working with resource-intensive applications, consider upgrading to 16GB or more for optimal performance.
By following these steps, you can confidently choose the right RAM type for your computer. Remember to consider compatibility, future-proofing, and your specific requirements when making your selection. In the next section, we will discuss how to determine the right RAM capacity for your system.
Determine the Right RAM Capacity
Determining the appropriate RAM capacity for your computer is crucial to ensure optimal performance and meet your specific needs. Here are some factors to consider when determining the right RAM capacity:
1. Current RAM Usage: Check your computer’s resource usage while running your typical workload. Use the task manager or system monitoring tools to monitor the RAM usage. If you frequently find your system running out of available memory, upgrading to a higher RAM capacity may be necessary.
2. Type of Applications: Consider the type of applications you use regularly. Memory-intensive tasks such as video editing, graphic design, and gaming require more RAM to perform smoothly. If you engage in these activities, it’s advisable to upgrade to a higher RAM capacity to ensure optimal performance.
3. Future Workload and Expansion: Anticipate any changes in your workload or potential future requirements. If you plan to run new software or games, or if you foresee an increase in resource-intensive tasks, it’s wise to choose a higher RAM capacity to accommodate future needs.
4. Budget Considerations: Assess your budget and determine how much you can allocate for the RAM upgrade. RAM prices can vary depending on the capacity, so it’s essential to strike a balance between your requirements and budget.
5. Operating System Requirements: Check the recommended RAM capacity for your operating system. Some newer operating systems, such as Windows 10, often require more RAM to run smoothly. Ensure that your chosen RAM capacity meets or exceeds the recommended requirements.
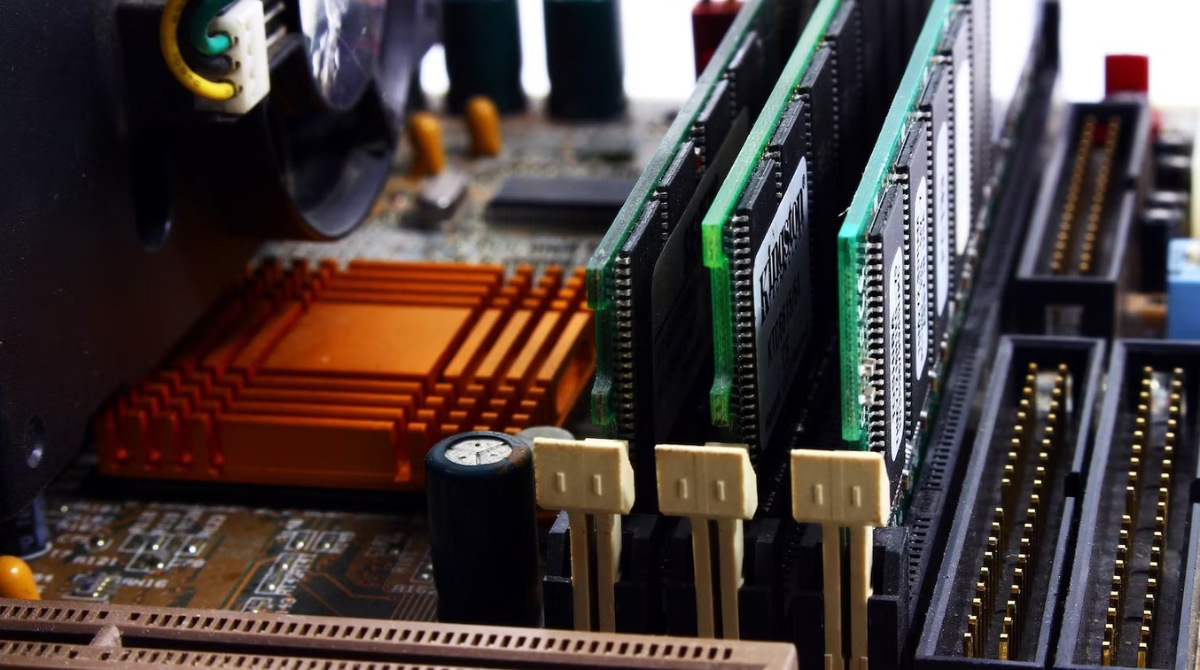
6. Consideration for Dual-Channel or Quad-Channel Memory: If your computer supports dual-channel or quad-channel memory, it’s advisable to install RAM modules in pairs or multiples of four. This configuration allows for increased memory bandwidth and can further enhance memory performance.
Based on these factors, you can determine the right RAM capacity for your computer. As a general rule of thumb, 8GB to 16GB of RAM is suitable for most standard computer use and multitasking. However, power users, gamers, and professionals may benefit from upgrading to 16GB or even higher capacities for a smoother and more efficient experience.
Now that you have determined the appropriate RAM capacity, it’s time to prepare the necessary tools for the RAM upgrade. We will discuss this in the next section.
Prepare the Necessary Tools
Before diving into the RAM upgrade process, it’s essential to gather the necessary tools to ensure a smooth installation. Here are the tools you will need:
1. Correct RAM Modules: Make sure you have the new RAM modules that are compatible with your computer. Double-check that you have the correct type, capacity, and speed. If you’re unsure, consult the manufacturer’s specifications or seek guidance from a knowledgeable source.
2. Anti-static Wrist Strap: An anti-static wrist strap is used to ground yourself and prevent any static electricity from damaging sensitive computer components. This tool is highly recommended to ensure the safety of your computer and the new RAM modules during installation.
3. Phillips Screwdriver: Most computer cases use Phillips screws, so having a Phillips screwdriver is essential for opening and closing the case. Make sure you have the appropriate size to fit the screws on your particular case.
4. Clean Cloth or Compressed Air: Dust and debris can accumulate inside your computer, affecting its performance. Before upgrading your RAM, use a clean cloth or compressed air to gently clean the interior of your computer. This step can help prevent any dust from entering the RAM slots during installation.
5. Portable ESD Mat: An ESD (Electrostatic Discharge) mat provides an additional layer of protection against static electricity. It creates a static-free work surface, preventing any potential damage to your computer components. If you have access to an ESD mat, using it during the RAM installation process is highly recommended.
6. Access to a Stable Work Surface: Find a sturdy and stable work surface where you can comfortably work on your computer. Ensure that the surface is clean and free of any potential hazards that could cause damage to your computer or RAM modules.
7. Paper and Pen: It’s always a good idea to have a pen and paper handy to take notes during the process. This could include recording any steps you take, noting any settings you change, or simply jotting down the order of the RAM modules.
By gathering these tools before starting the RAM upgrade, you can streamline the installation process and minimize the risk of any damage or errors. Having everything at hand will make the upgrade process more efficient and ensure a successful RAM installation.
Once you have the necessary tools ready, it’s time to shut down and unplug your computer before proceeding with the installation. We will guide you through the shutdown process in the next section.
Shut Down and Unplug Your Computer
Before you begin the RAM upgrade process, it’s essential to shut down your computer and disconnect it from any power sources to ensure your safety and prevent any potential damage. Follow these steps to safely shut down and unplug your computer:
1. Save your Work: Save any open files and close all running applications. Make sure you have properly saved any unsaved work to avoid losing any data during the shutdown process.
2. Exit any Running Applications: If there are any applications running in the background, exit them before shutting down your computer. This prevents any potential conflicts or issues that could arise during the installation process.
3. Shut Down Windows: If you’re using a Windows operating system, click on the “Start” button in the bottom left corner of your screen. From the menu, select “Shut Down” or “Restart”. Wait for the computer to fully shut down.
4. Shut Down macOS: If you’re using a macOS, click on the Apple menu in the top left corner of the screen. From the drop-down menu, select “Shut Down” or “Restart”. Wait for the computer to completely shut down.
5. Unplug Power Cables: Once your computer is fully shut down, unplug the power cable from the wall socket or power strip. This ensures that there is no electricity running through your system while you perform the RAM upgrade.
It’s essential to follow these steps in the correct order to avoid any potential damage to your computer or RAM modules. By shutting down and unplugging your computer, you ensure that it is in a safe state for hardware upgrades.
Now that you have successfully shut down and disconnected your computer, the next step is to locate and open the RAM slot. We will guide you through this process in the following section.
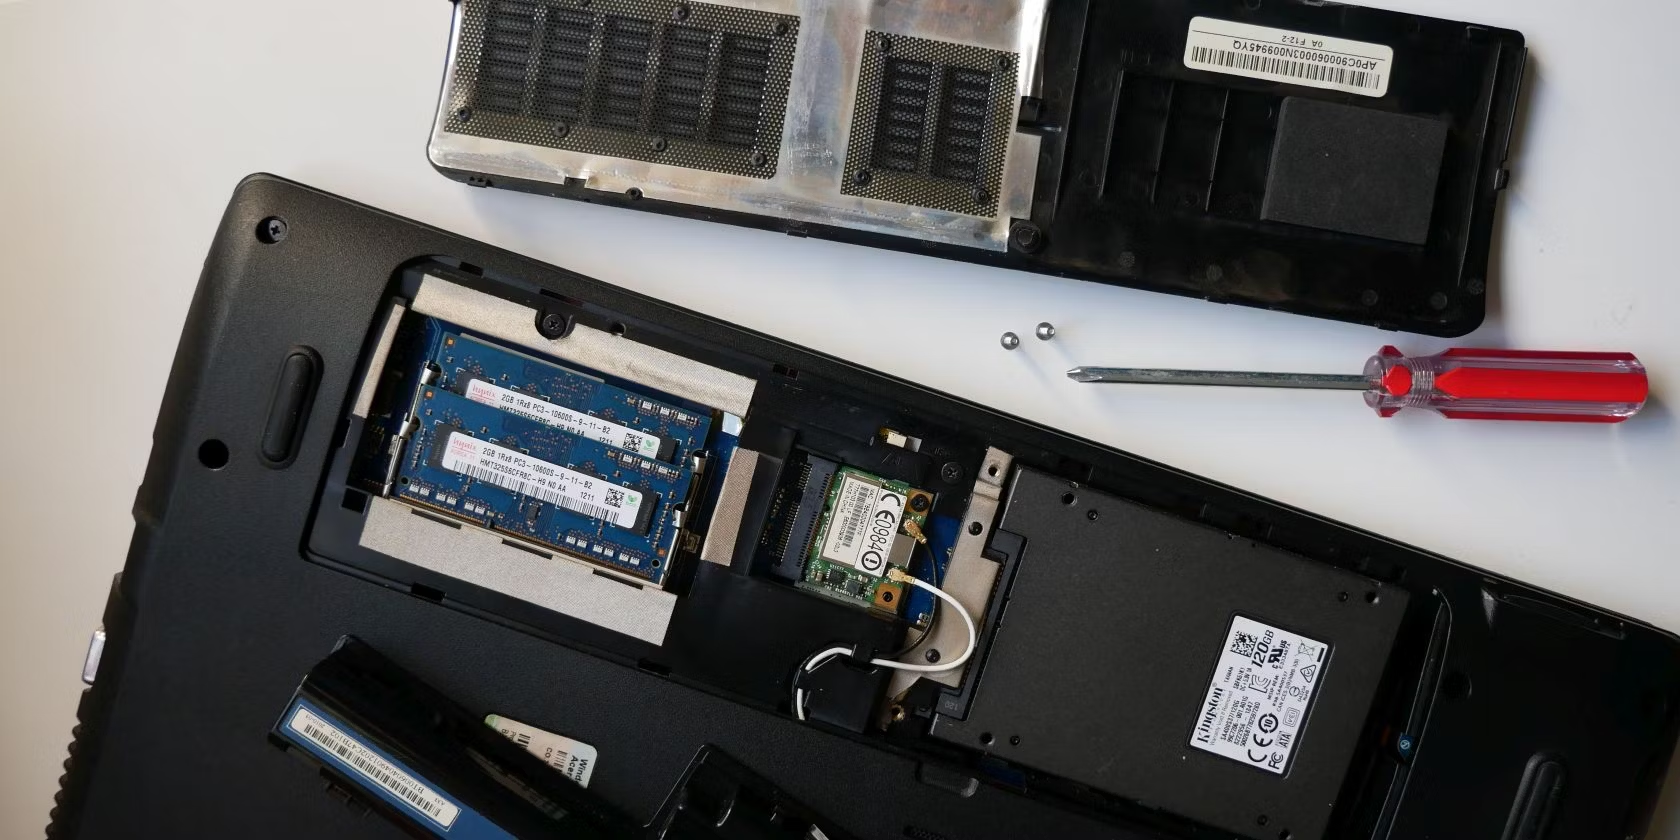
Find and Open Your Computer’s RAM Slot
In order to upgrade your RAM, you need to locate and access the RAM slot on your computer. Here are the steps to find and open the RAM slot:
1. Refer to the User Manual: If you have the user manual that came with your computer, it will provide detailed instructions on how to open the case and locate the RAM slot. Refer to the manual for specific information related to your computer model.
2. Identify the Case Type: The process of opening your computer’s case may vary depending on the type of case you have. Most desktop computers have either a tower-style case or a small form factor case. Identify which type of case you have before proceeding.
3. Tower-Style Case: If you have a tower-style case, start by laying the computer on its side with the motherboard facing up. Depending on your case, you may need to remove screws or use a latch to open the side panel. Consult the user manual or search for specific instructions online if needed.
4. Small Form Factor Case: For small form factor cases, look for release buttons or levers that allow you to open the case. These cases are often designed to be opened easily, so locating the RAM slot should be relatively straightforward.
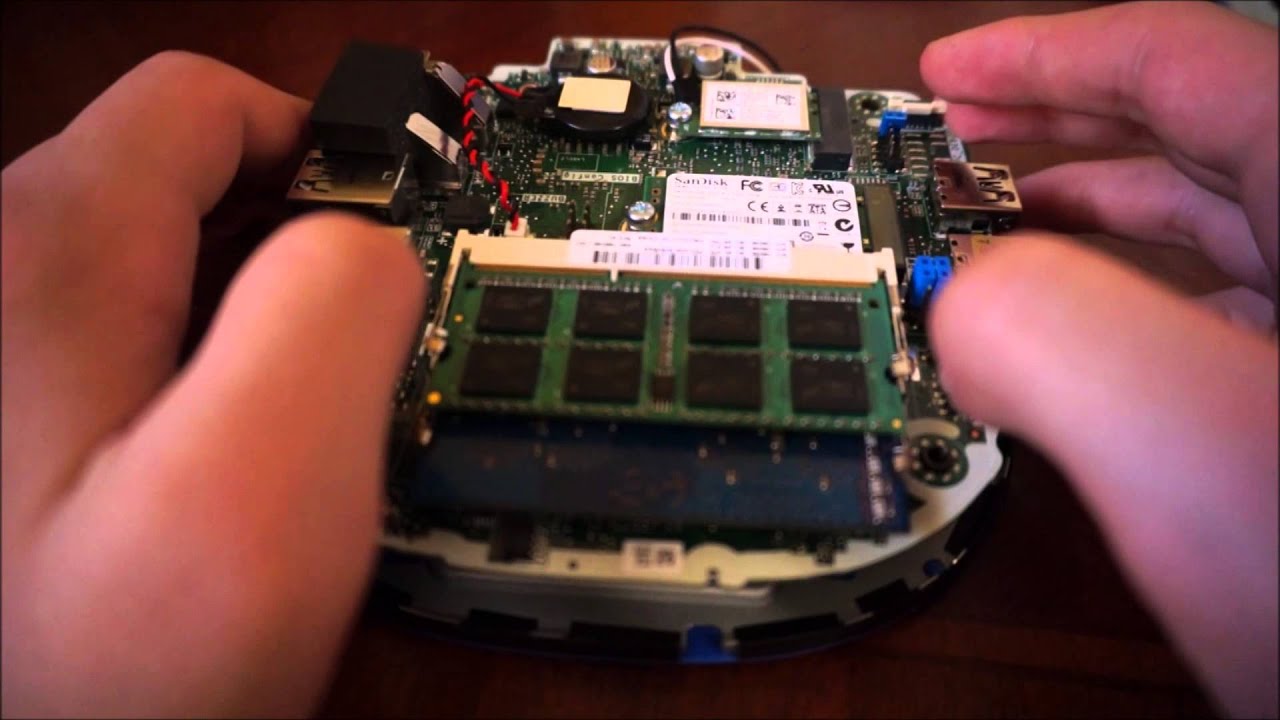
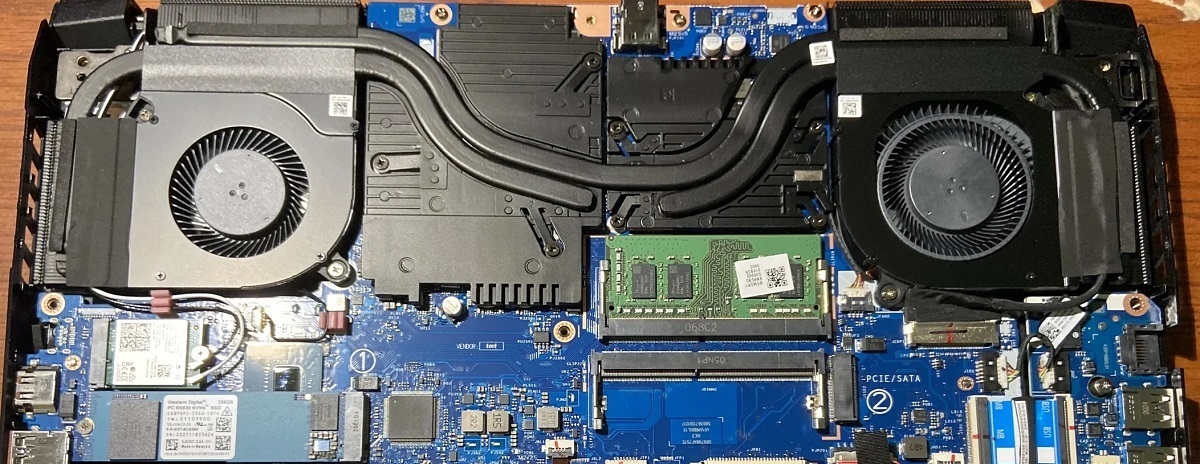
5. Locate the RAM Slots: Once the case is open, locate the RAM slots on the motherboard. The RAM slots are long, narrow slots typically located near the CPU. They may be labeled as “DIMM” slots or have color-coded indicators.
6. Open the RAM Slot Clips: Each RAM slot will have clips or latches on the sides or ends to hold the RAM modules in place. Gently push these clips away from the RAM module to release it. The clips should pop up, allowing you to remove the existing RAM module.
It’s important to handle the RAM slots and modules with care. Avoid touching the gold connectors and try not to exert too much force when removing or inserting the RAM modules. If you encounter any difficulties, refer to the user manual or consult a professional for assistance.
Once you have successfully located and opened the RAM slot, you’re ready to remove the existing RAM sticks. We will guide you through this process in the next section.
Remove the Existing RAM Sticks
Before installing new RAM modules, you need to remove the existing RAM sticks from the RAM slots. Here are the steps to safely remove the existing RAM sticks:
1. Discharge Static Electricity: To avoid any potential damage from static electricity, make sure to ground yourself by touching a metal surface or wearing an anti-static wrist strap.
2. Locate the Existing RAM Sticks: Identify the RAM sticks that are currently installed in the RAM slots. Each stick is held in place by the clips or latches on the sides or ends of the RAM slots.
3. Release the Retention Clips: Gently push the retention clips away from the RAM stick. Once the clips are fully released, the RAM stick will pop up slightly at a diagonal angle.
4. Remove the RAM Stick: Carefully grasp the RAM stick by its edges and pull it out at the same angle it popped up. Be gentle and avoid excessive force to prevent any damage to the RAM stick or the motherboard.
5. Repeat if Necessary: If you have multiple RAM sticks installed, repeat the same process for each stick. Release the retention clips and remove the RAM sticks one by one.
6. Keep the RAM Sticks Safe: After removing the RAM sticks, set them aside in a safe place. Avoid touching the gold connectors or exposing them to static electricity or physical damage.
It’s crucial to handle the RAM sticks with care and avoid touching the delicate gold connectors. By following these steps, you can safely remove the existing RAM sticks from the RAM slots in your computer.
Now that you have removed the existing RAM sticks, it’s time to install the new RAM modules. We will guide you through this process in the next section.
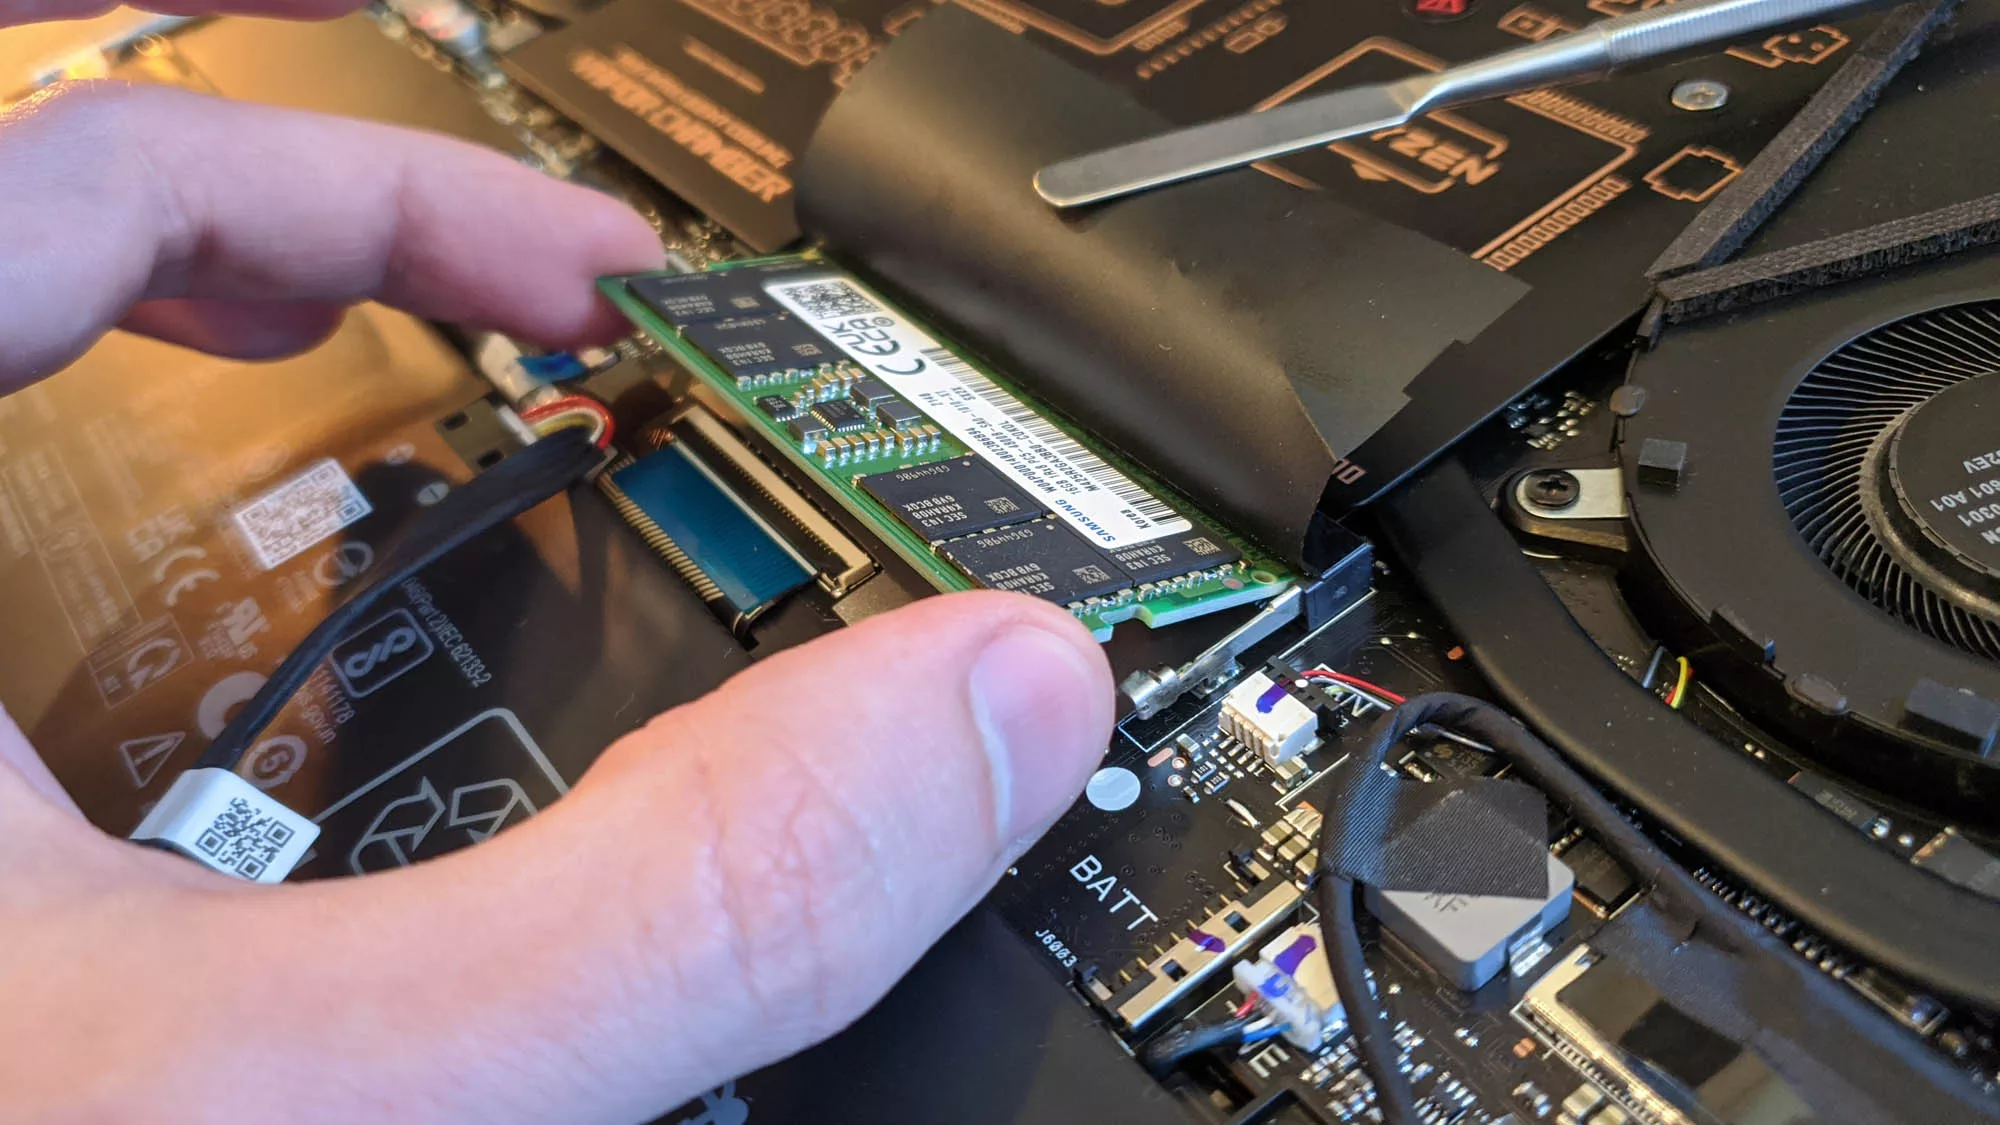
Insert the New RAM Sticks
Now that you have removed the existing RAM sticks, it’s time to insert the new RAM modules into the RAM slots. Here are the steps to properly insert the new RAM sticks:
1. Match the Notch: Ensure that you have the correct orientation of the new RAM module by aligning the notch on the module with the notch in the RAM slot. This ensures that the module will only fit in the slot in one direction.
2. Insert at an Angle: Hold the RAM stick at a slight angle, aligning the gold connectors with the slot. Insert the module into the slot, making sure the gold connectors are fully inserted.
3. Apply Even Pressure: Push down gently and evenly on both sides of the RAM module until it clicks into place. You should feel the retention clips on the sides or ends of the RAM slot snap back into position and secure the RAM module.
4. Double-Check the Installation: Once the RAM module is installed, give it a light tug to ensure that it is securely seated. You should not be able to remove the RAM module without releasing the retention clips.
5. Repeat for Additional Modules: If you have multiple RAM modules, repeat the same process for each module, ensuring that they are correctly inserted and securely snapped into place.
It’s important to note that the RAM modules should be fully inserted and secured in the RAM slots. An incorrectly inserted RAM module will not function properly and could cause stability issues or errors.
Once you have successfully inserted the new RAM sticks, close the RAM slot and reassemble your computer following the steps provided in your computer’s user manual or specific case instructions.
In the next section, we will discuss the final steps of reassembling your computer and testing the new RAM modules to ensure they are functioning correctly.
Close the RAM Slot and Reassemble Your Computer
After successfully inserting the new RAM sticks, it’s time to close the RAM slot and reassemble your computer. Here are the steps to follow:
1. Check RAM Placement: Ensure that all the new RAM sticks are properly inserted and secured in the RAM slots. Take a moment to visually inspect each module to confirm that they are seated correctly and the retention clips are engaged.
2. Follow Case Instructions: Consult your computer’s user manual or specific case instructions for the correct procedure to close the case. Secure all screws or latches according to the provided instructions.
3. Check All Connections: Ensure that all connections inside your computer are secure. This includes cables, wires, and any other components you may have had to disconnect during the RAM upgrade process.
4. Reconnect Power Cables: Reconnect the power cable to your computer. Verify that the cable is securely plugged into the power outlet or power strip, and then check that the other end is firmly connected to the appropriate port on your computer.
5. Power On Your Computer: Press the power button to turn on your computer. The system should boot up as usual, and you should be able to access the operating system without encountering any errors or issues.
6. Check System Recognizes New RAM: Once your computer is powered on, check if the system recognizes the new RAM modules. You can do this by opening the task manager or system information tool and verifying that the correct amount of RAM is displayed.
7. Perform a Test Run: To ensure that the new RAM modules are functioning properly, run some tests or perform tasks that previously required more system resources. Monitor your computer’s performance and check for any improvements in speed and responsiveness.
By following these steps, you can safely close the RAM slot and reassemble your computer after installing the new RAM sticks. It’s important to double-check all connections and ensure that the RAM modules are recognized by the system. If any issues arise, refer to troubleshooting resources or seek professional assistance.
In the next section, we will discuss the final step: testing your computer’s new RAM to ensure optimal performance.
Power On and Test Your Computer’s New RAM
Now that you have successfully reassembled your computer, it’s time to power it on and test the new RAM modules. Here are the steps to ensure that your computer is running smoothly with the upgraded RAM:
1. Power On your Computer: Press the power button to turn on your computer. Allow the system to fully boot up, and wait for your operating system to load.
2. Confirm RAM Recognized: Once your computer is powered on, check if the system recognizes the new RAM modules. You can do this by opening the task manager or system information tool and verifying that the correct amount of RAM is displayed.
3. Perform System Stability Tests: To ensure that the new RAM modules are functioning properly, it’s recommended to run system stability tests. These tests stress the system and verify that the RAM is stable under heavy load. There are various software tools available, such as MemTest86 or Windows Memory Diagnostic, that can assist in running these tests.
4. Monitor System Performance: During regular computer usage, monitor your system’s performance and observe any improvements in speed and responsiveness. Tasks that previously took longer to complete should now run smoother and faster with the enhanced RAM capacity.
5. Test Resource-Intensive Applications: If you frequently use resource-intensive applications, such as video editing software or graphic design tools, test their performance with the upgraded RAM. Run these applications and take note of any improvements in speed and efficiency.
6. Address any Issues: If you encounter any issues or errors during the testing, it may indicate a problem with the RAM installation. Double-check that the RAM modules are securely seated in the RAM slots and that they meet compatibility requirements. If the issues persist, consider seeking professional assistance.
By systematically testing your computer and monitoring its performance with the new RAM modules, you can ensure that the upgrade has been successful. Enjoy the improved speed, multitasking capabilities, and overall performance that the upgraded RAM provides.
With the RAM upgrade complete, your computer is now equipped to handle more demanding tasks and provide a smoother user experience. Remember to periodically clean and maintain your computer’s hardware to ensure optimal performance in the long run.
Congratulations on successfully upgrading your RAM and maximizing your computer’s potential!