Introduction
Welcome to the world of RAM, where your computer’s performance is greatly influenced by the amount and type of memory it has. RAM, or Random Access Memory, plays a crucial role in allowing your computer to process and store data quickly. It acts as a temporary storage space for the information that your computer needs to perform different tasks. Understanding how many RAM slots your computer has can help you determine the upgrade options available to enhance its performance.
In this article, we will provide you with insights into RAM slots, their importance, and how to determine the number of RAM slots your computer has. Whether you are a tech enthusiast looking to upgrade your system or a casual user curious about the inner workings of your computer, this article will serve as a helpful guide.
We will also explore the concept of single-channel vs. dual-channel RAM and discuss the benefits of filling all RAM slots. Furthermore, we will touch upon the maximum RAM capacity supported by your motherboard and the process of upgrading RAM slots. By the end of this article, you will have a better understanding of RAM slots and their role in optimizing your computer’s performance.
So, let’s dive deeper into the world of RAM and discover the secrets behind those little slots that can make all the difference in your computer’s speed and efficiency.
RAM Slots Explained
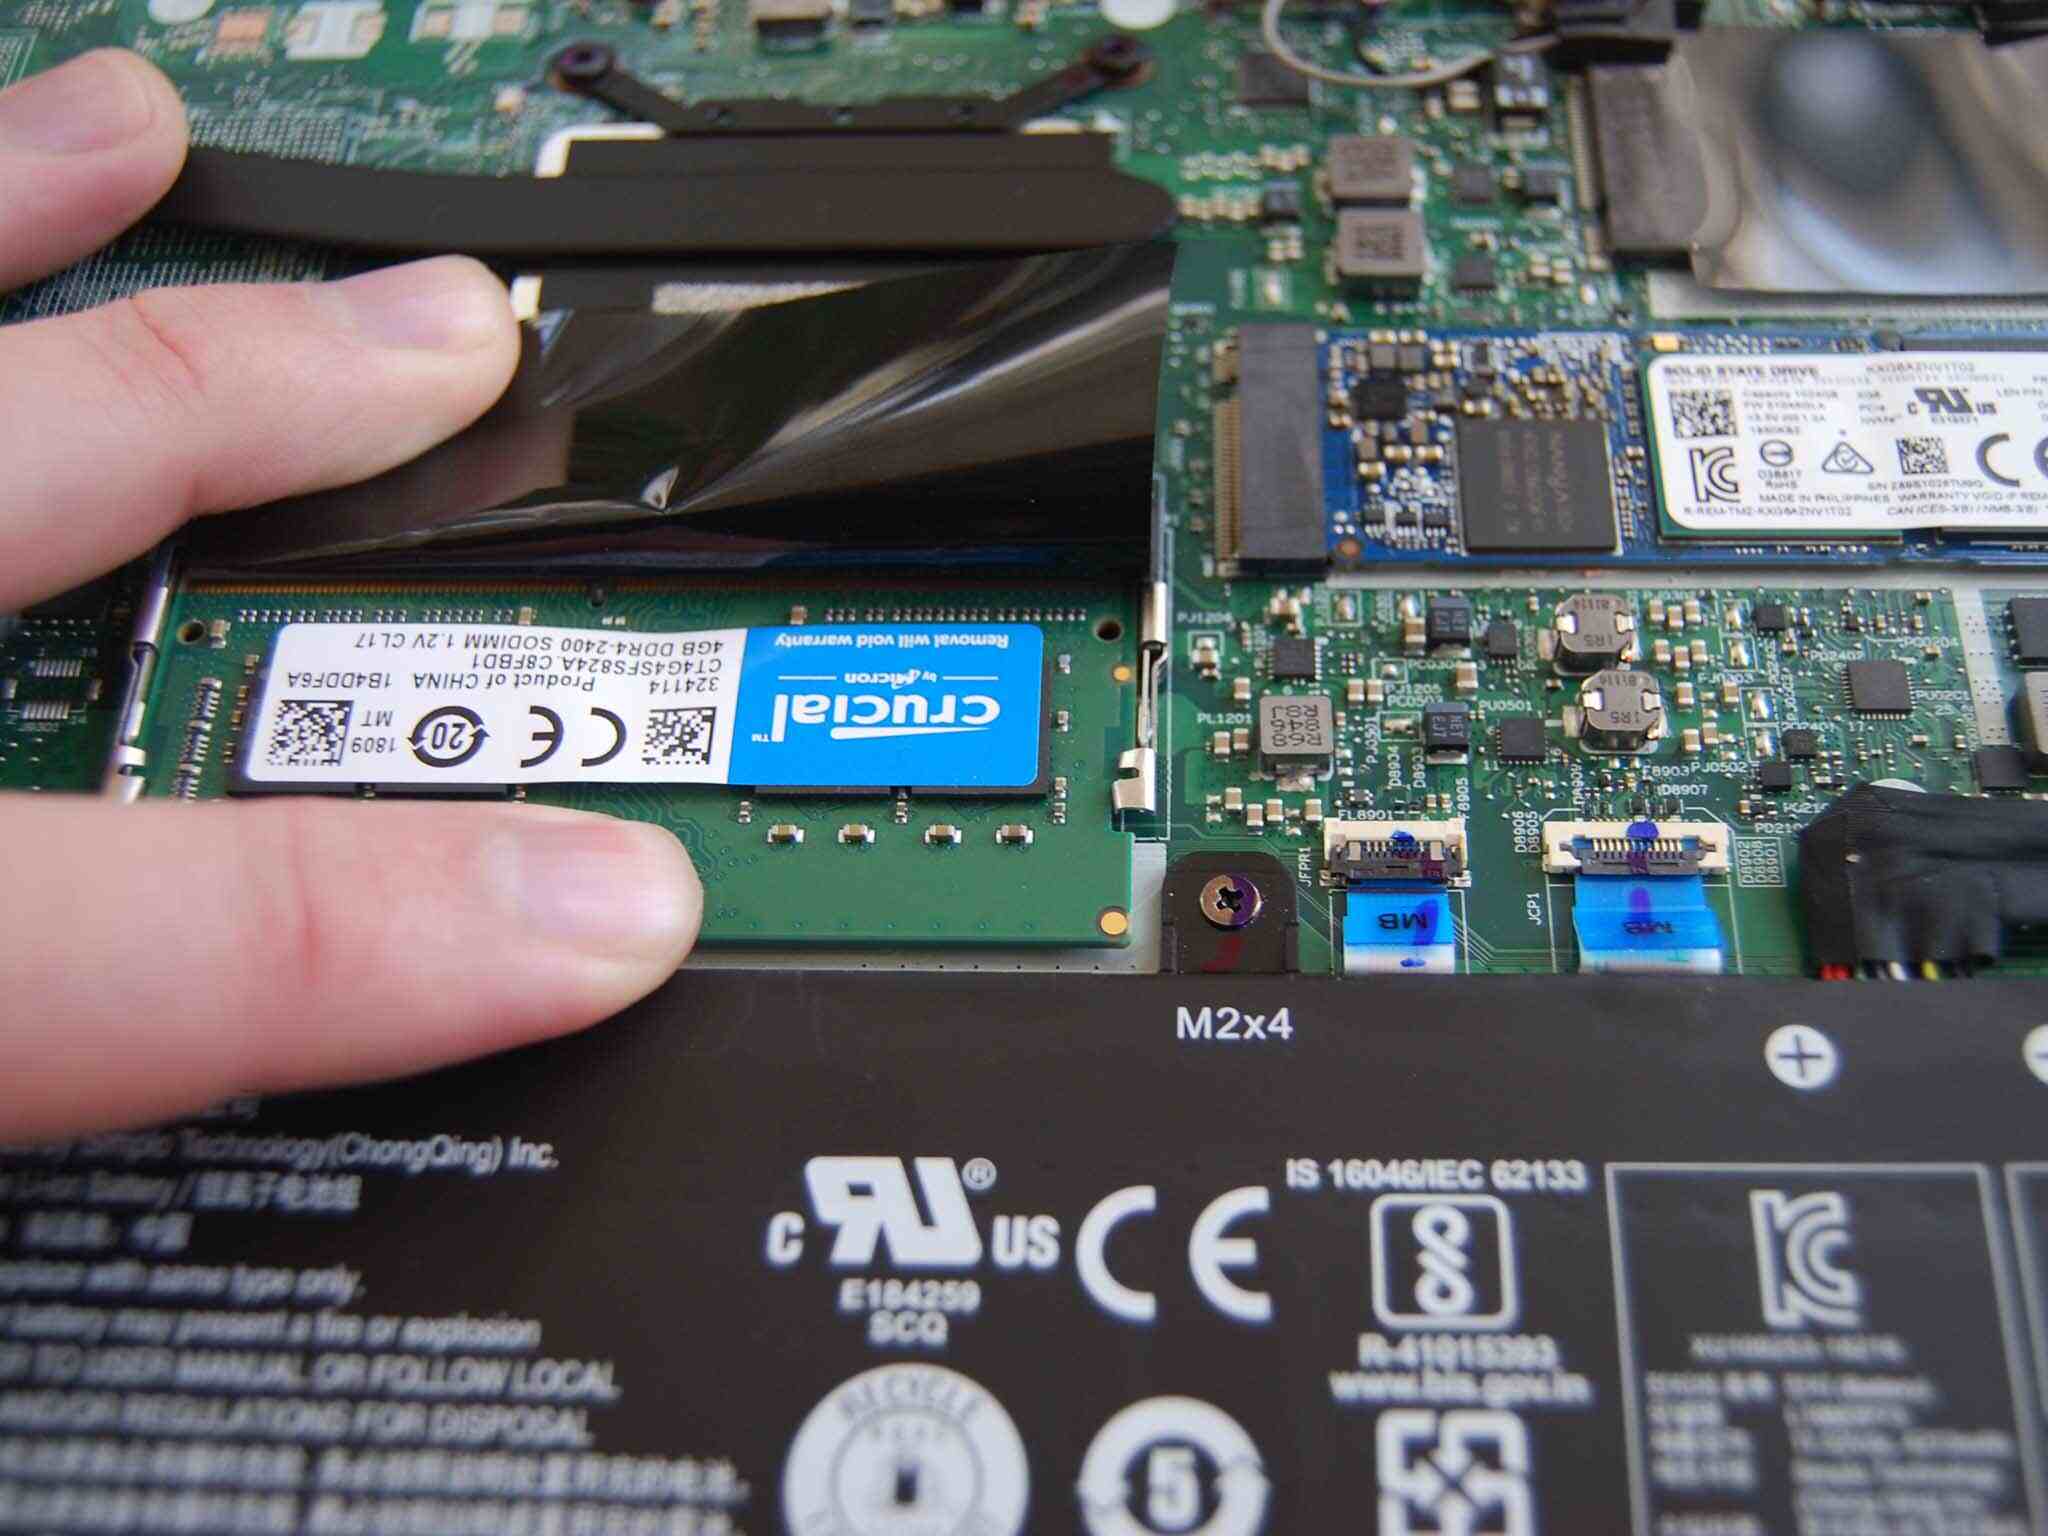
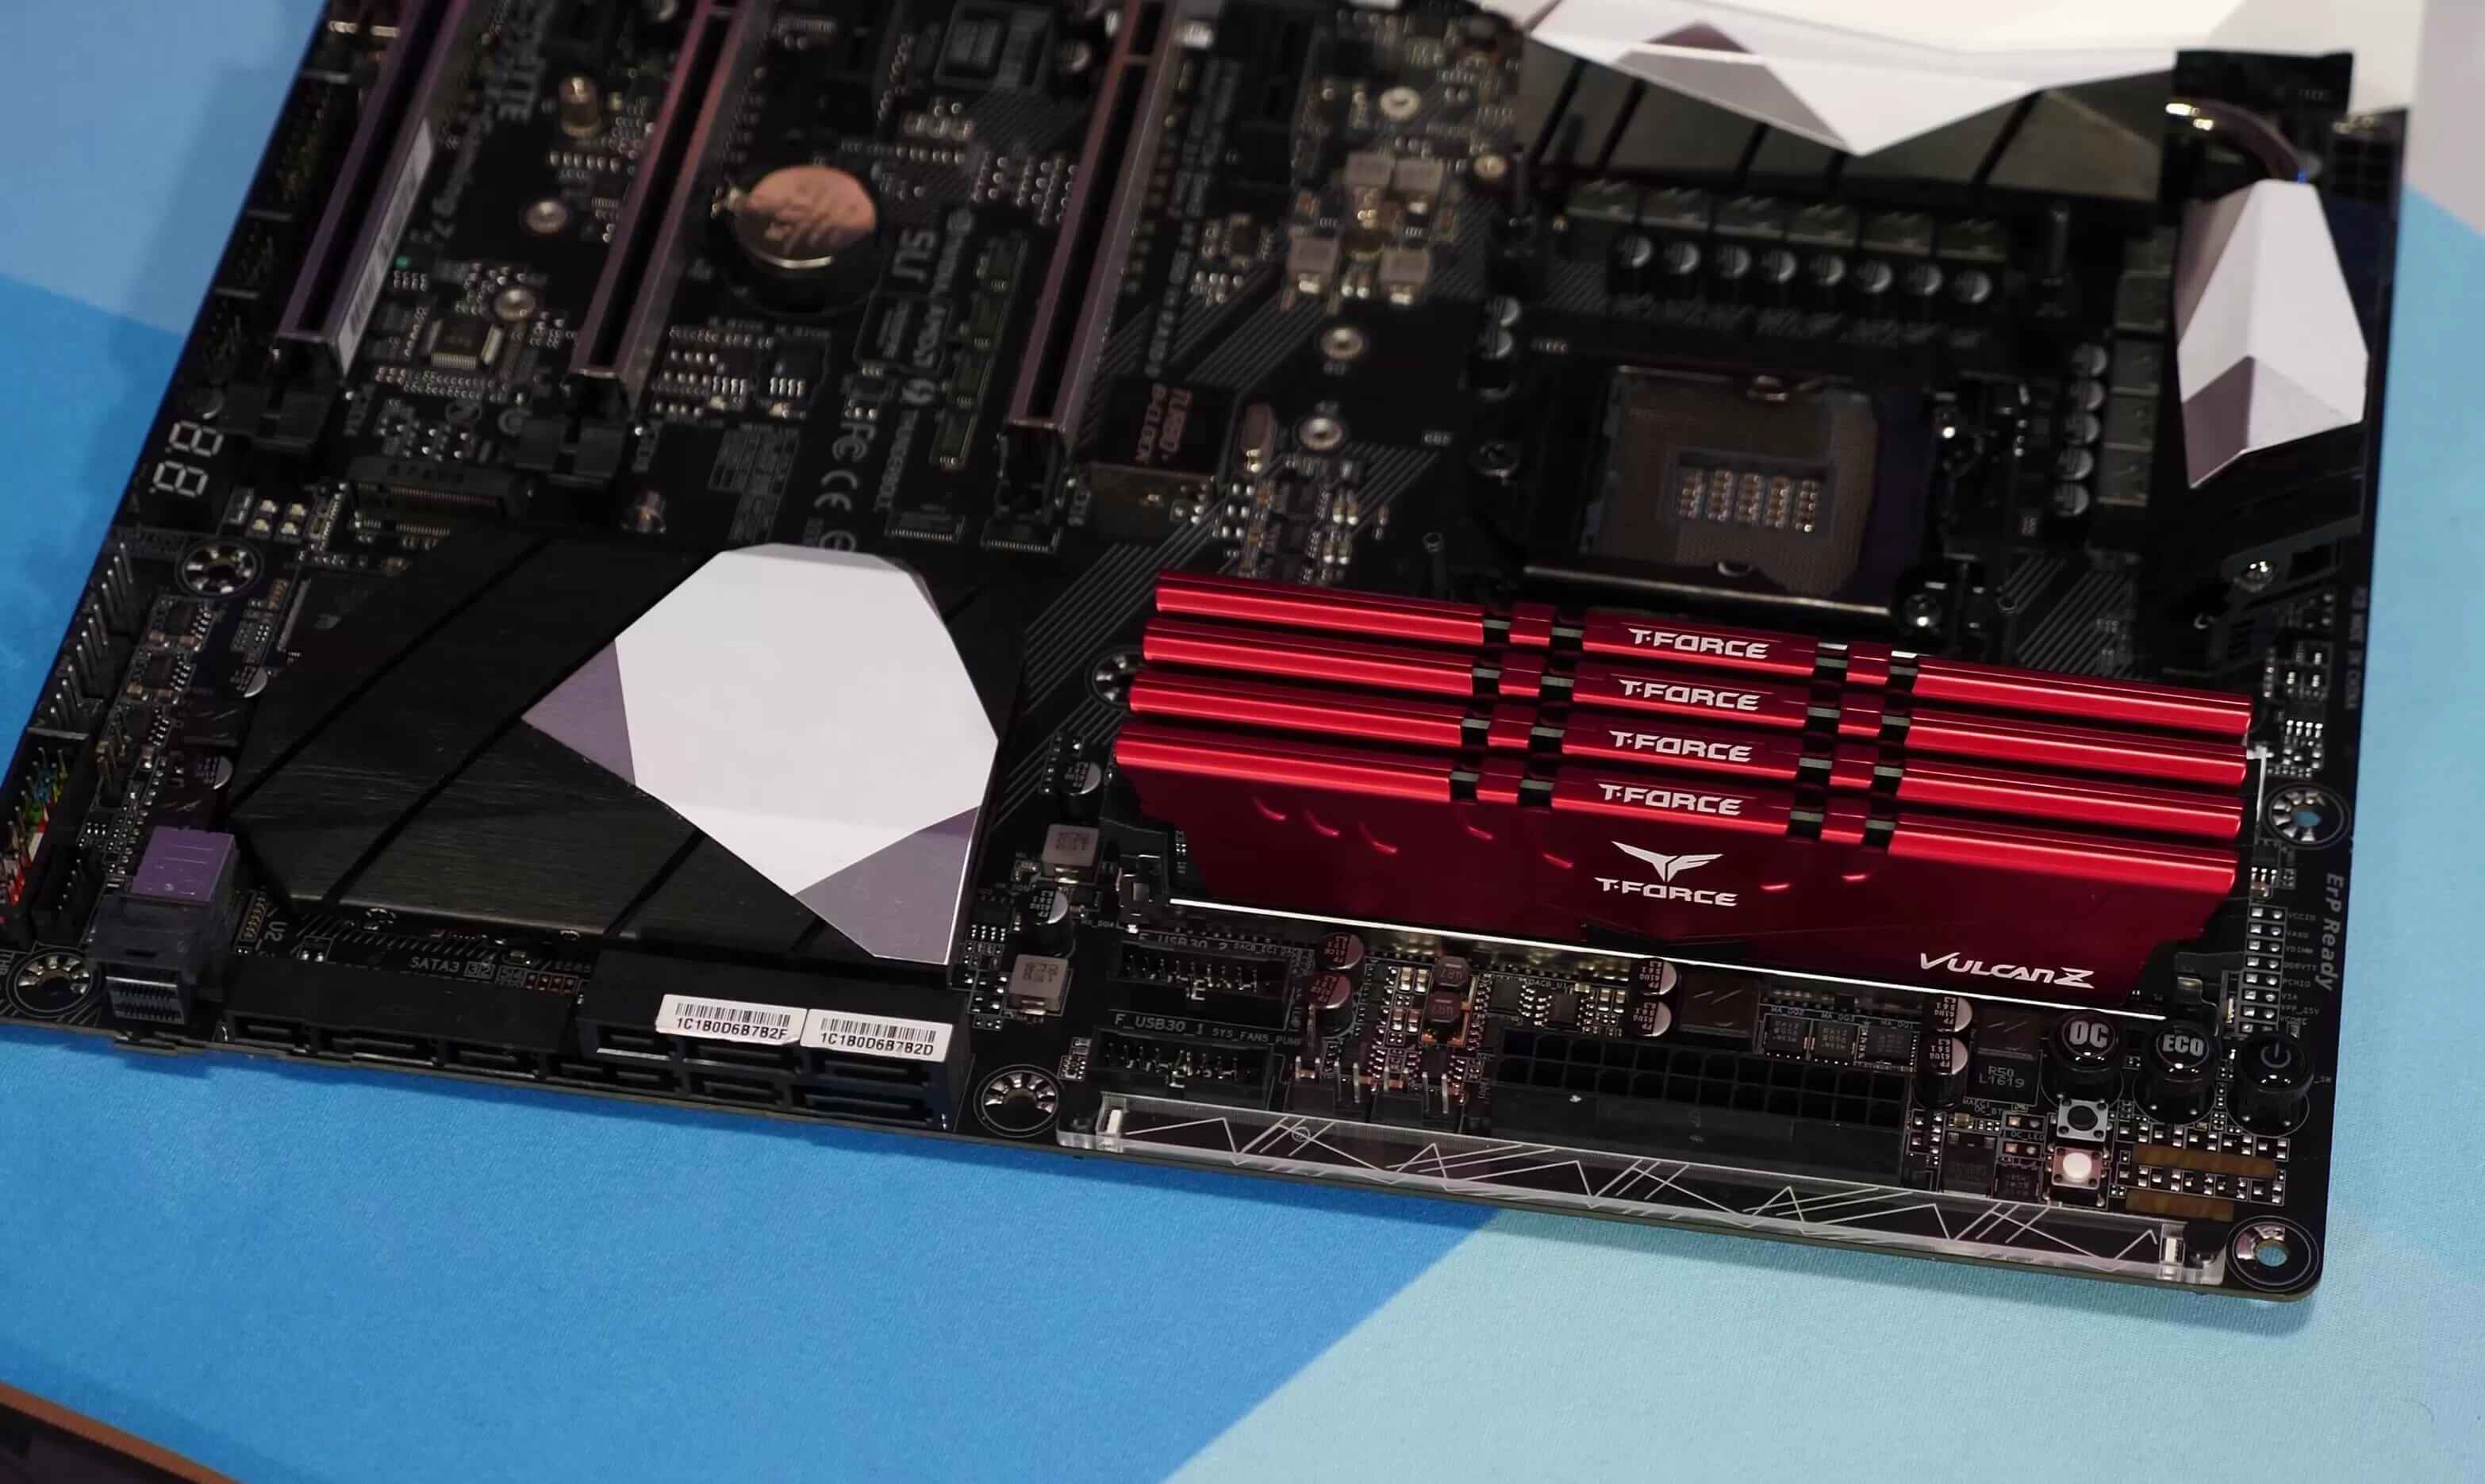
RAM slots, also known as memory slots or DIMM slots, are physical components on your motherboard where you can insert memory modules. These modules are commonly referred to as RAM sticks or RAM modules. The number of RAM slots present on a motherboard can vary depending on the model and manufacturer.
RAM slots are designed to hold the memory modules securely in place and provide a direct connection to the system’s memory controller. This allows the processor to access data stored in the RAM quickly. The RAM slots are typically located near the CPU socket and are easily identifiable by their distinct shape and placement.
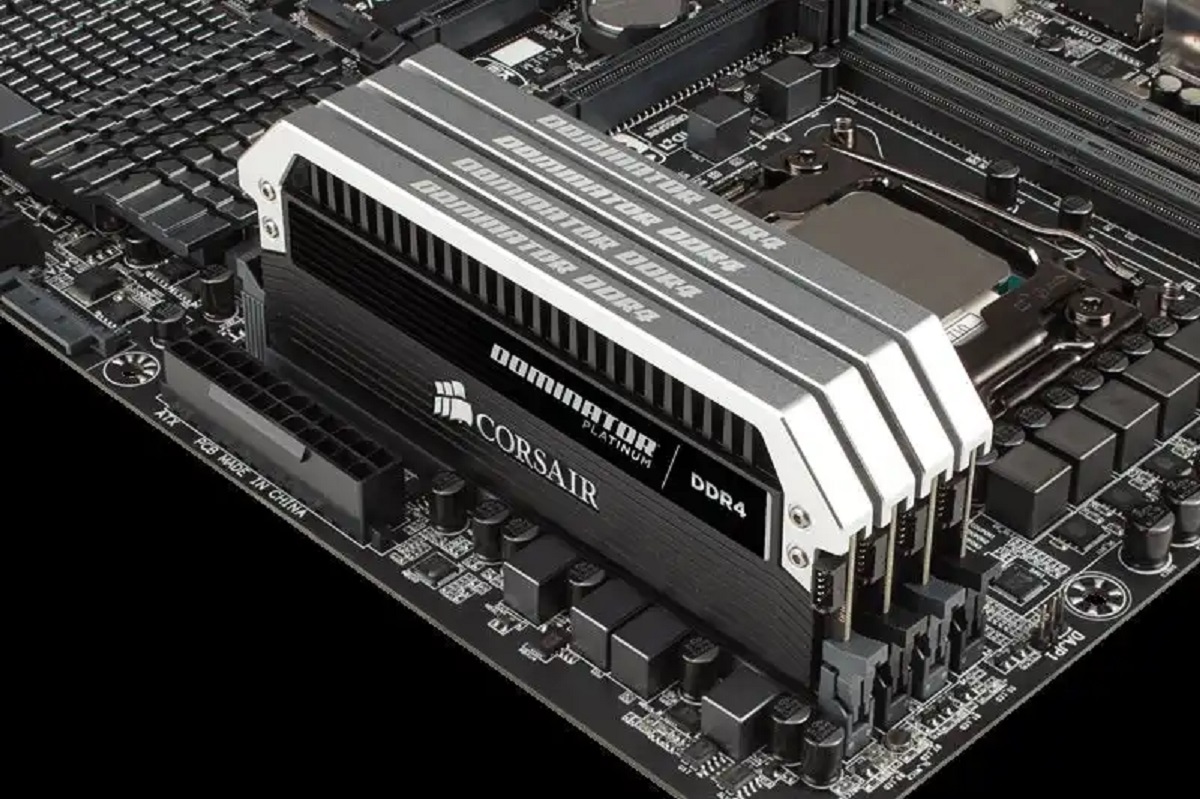
It’s important to note that RAM slots come in different types, such as DDR3, DDR4, and DDR5, which correspond to the different generations of RAM. It’s crucial to select the correct RAM type that is compatible with your motherboard to ensure optimal performance.
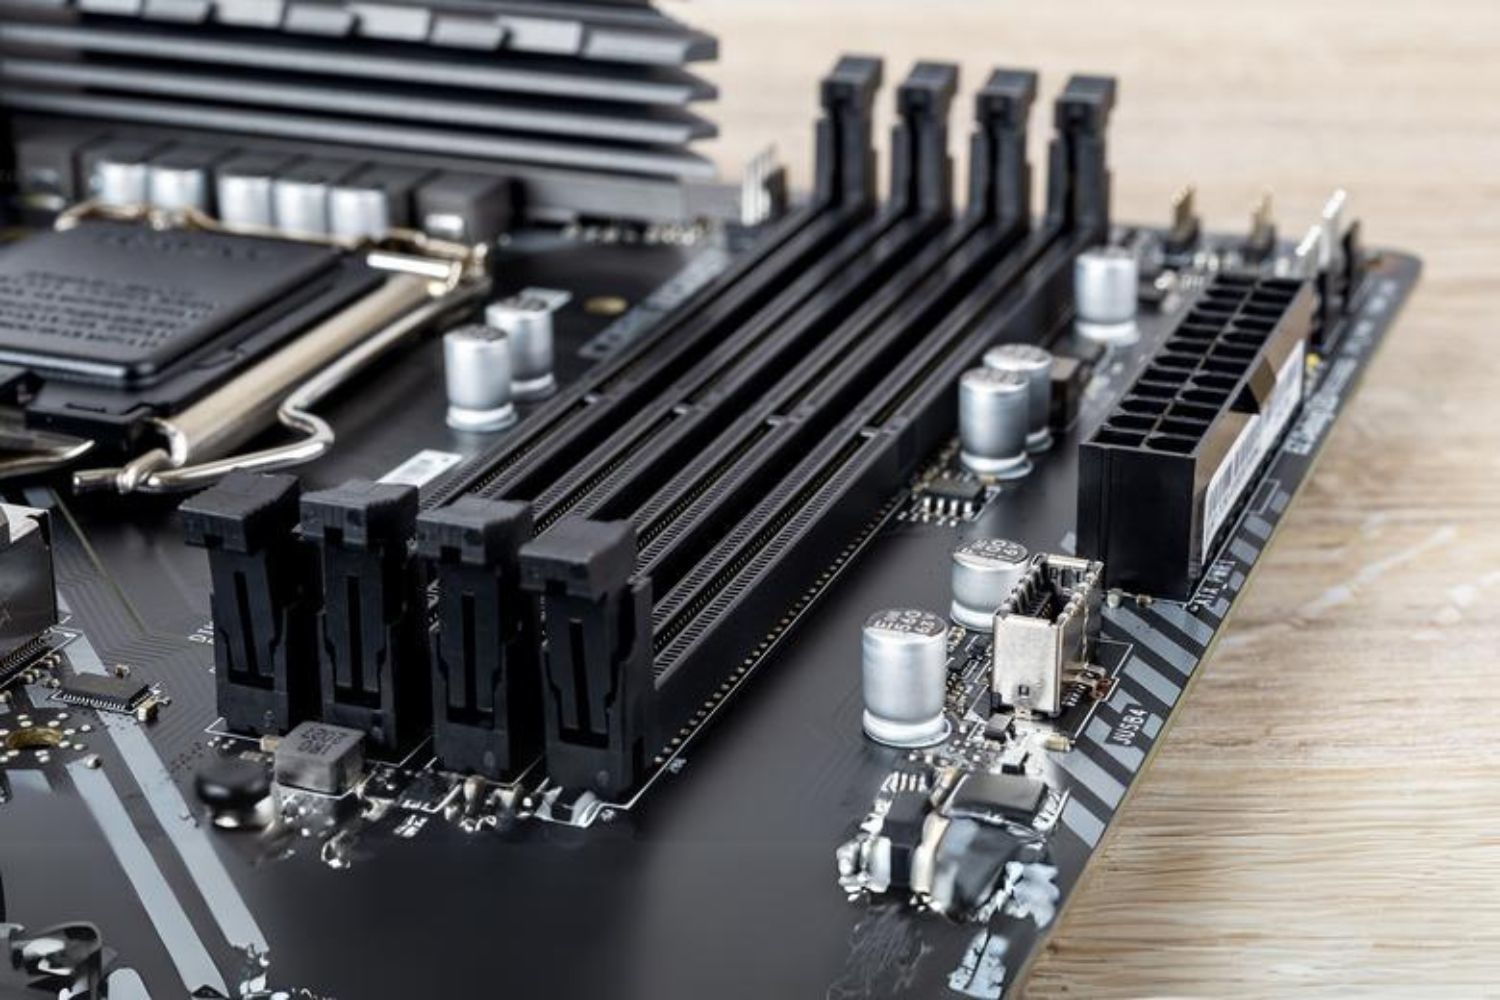
The number of RAM slots your computer has can greatly impact the maximum amount of memory you can install. If your computer has four RAM slots, for example, you can potentially install up to four RAM modules, allowing for a higher memory capacity. On the other hand, if your computer has only two RAM slots, you will have a limited capacity for memory expansion.
Additionally, RAM slots are often labeled to indicate their configuration. For example, if you have two slots labeled as “A1” and “A2,” it means that these slots form a single channel. Similarly, two slots labeled “A1” and “B1” indicate a dual-channel configuration. Understanding the configuration of your RAM slots is crucial for optimizing memory performance.
Now that we have a basic understanding of RAM slots, let’s delve deeper into the differences between single-channel and dual-channel RAM configurations in the next section.
Single Channel vs Dual Channel RAM
When it comes to maximizing the performance of your computer’s memory, the configuration of your RAM slots plays a significant role. This brings us to the concept of single-channel and dual-channel RAM configurations.
In a single-channel RAM configuration, both RAM modules are installed in the same channel, typically labeled as “A1” and “A2” on the motherboard. This configuration allows the computer to access the memory in a linear manner. While single-channel RAM is suitable for most basic computing tasks, it may not offer the same level of performance as dual-channel RAM.
On the other hand, dual-channel RAM configuration utilizes two separate channels, typically labeled as “A1” and “B1” on the motherboard. Each channel contains one RAM module, allowing the computer to access data simultaneously across both channels. This parallel processing improves memory bandwidth and can lead to faster data transfers and improved overall system performance.
It’s important to note that in order to take advantage of dual-channel RAM benefits, both RAM modules must be of the same capacity, frequency, and timing. Mismatched modules can hinder the performance of the dual-channel configuration and may even prevent the system from booting up.
Choosing the right configuration largely depends on your specific needs and budget. If you require optimal performance for demanding tasks such as video editing, 3D rendering, or gaming, a dual-channel RAM configuration is recommended. However, for everyday tasks such as web browsing, word processing, and casual gaming, a single-channel configuration may suffice.
Now that you understand the difference between single-channel and dual-channel RAM configurations, let’s move on to the next section, where we will explore how to determine the number of RAM slots your computer has.
How Many RAM Slots Do I Have?
Knowing the number of RAM slots your computer has is essential for several reasons, including planning for RAM upgrades and troubleshooting memory issues. Here are a few ways to determine the number of RAM slots in your computer:
- Consult the motherboard manual: The most accurate and reliable method is to refer to the documentation that came with your motherboard. The manual should provide detailed information about the number and location of RAM slots.
- Check the manufacturer’s website: If you don’t have the physical manual or have misplaced it, you can visit the manufacturer’s website and search for your motherboard model. The product page or the support section should have detailed specifications that include the number of RAM slots.
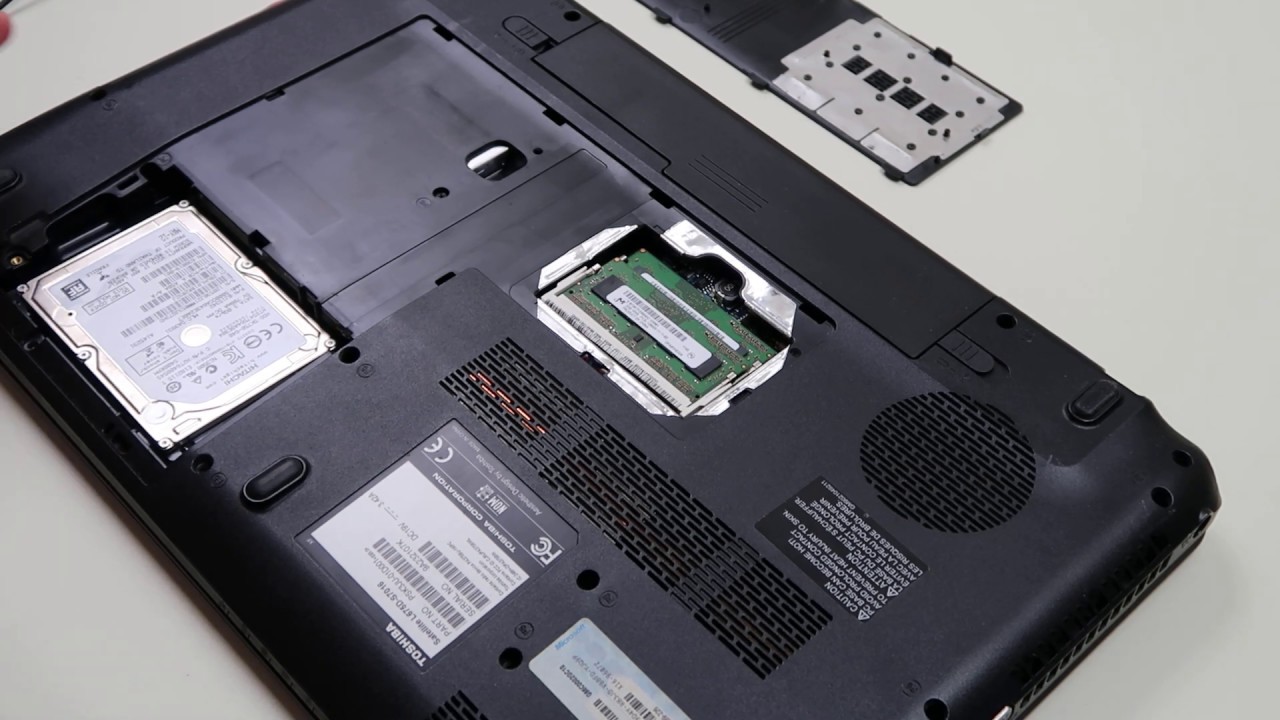
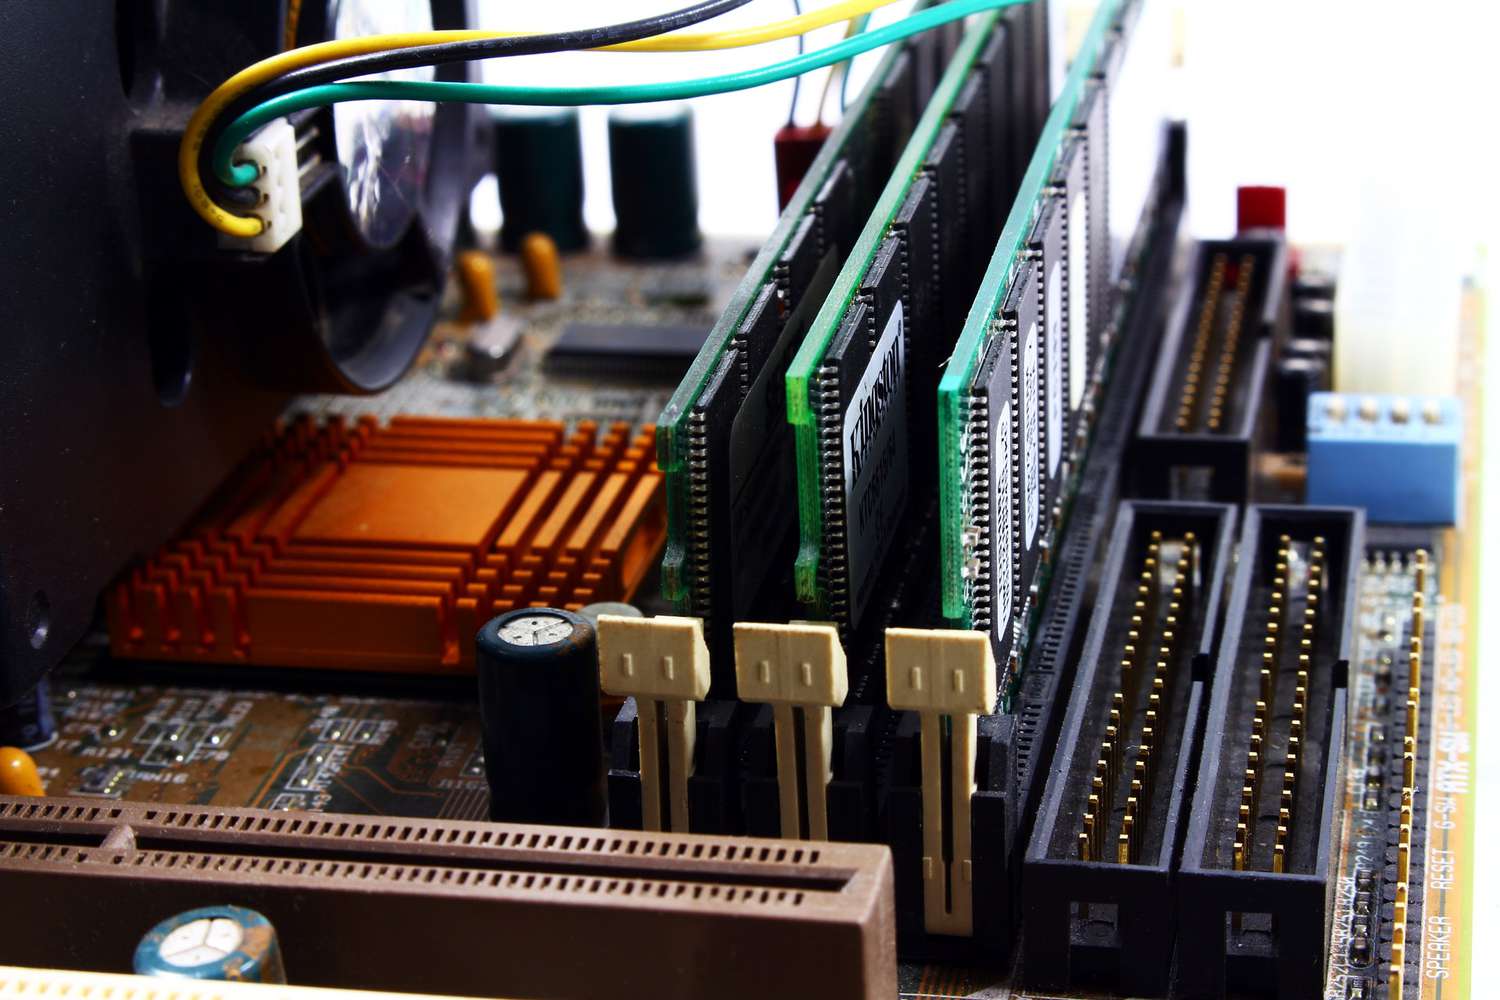
- Inspect the physical motherboard: Carefully open your computer case and visually inspect the motherboard. Look for the RAM slots near the CPU socket. The number of slots should be visible, and they are usually labeled with letters and numbers.
- Use system information software: You can utilize system information tools such as CPU-Z or Speccy to gather detailed information about your computer’s hardware components, including the number of RAM slots. These software applications provide comprehensive details about your system’s specifications.
By following these methods, you should be able to determine the number of RAM slots in your computer. Once you have this information, you can better understand the upgrade possibilities available to you or troubleshoot any memory-related issues that you may encounter.
Now that we know how to determine the number of RAM slots, let’s move on to the next section, where we will explore how to check the capacity of your RAM slots.
Checking RAM Slot Capacity
After determining the number of RAM slots in your computer, the next step is to check the capacity of each slot. This information is crucial when upgrading your RAM or troubleshooting memory-related issues. Here are a few methods to check the RAM slot capacity:
- Consult the motherboard manual: Refer to the documentation that came with your motherboard or visit the manufacturer’s website and look for detailed specifications. The manual or product page should provide information about the maximum capacity supported by each RAM slot.
- Use system information software: System information tools like CPU-Z, Speccy, or HWiNFO can provide detailed information about your computer’s hardware components, including the maximum capacity supported by each RAM slot. These applications display the slot capacity in terms of the maximum memory module size that can be installed.
- Check the BIOS settings: Restart your computer and access the BIOS settings by pressing a specific key (usually Del, F2, or F10) during the boot process. Navigate to the system information or memory settings section in the BIOS. Look for details about the maximum capacity supported by each RAM slot.
- Inspect the physical motherboard: While it may not provide the specific capacity information, examining the physical motherboard can give you an idea of the slot’s physical size and shape. Different types of slots (such as DDR3 or DDR4) have variations in the number of pins and notches, which can indicate the maximum capacity it supports.
By utilizing these methods, you can determine the capacity of each RAM slot in your computer. Remember that the capacity is an important factor when upgrading your RAM or troubleshooting memory-related issues. It ensures compatibility with the memory modules you plan to install.
Now that you know how to check the capacity of your RAM slots, let’s move on to explore the benefits of filling all the RAM slots in the next section.
Benefits of Filling All RAM Slots
Filling all available RAM slots in your computer can have several benefits, especially when it comes to maximizing system performance and multitasking capabilities. Here are some advantages of fully populating your RAM slots:
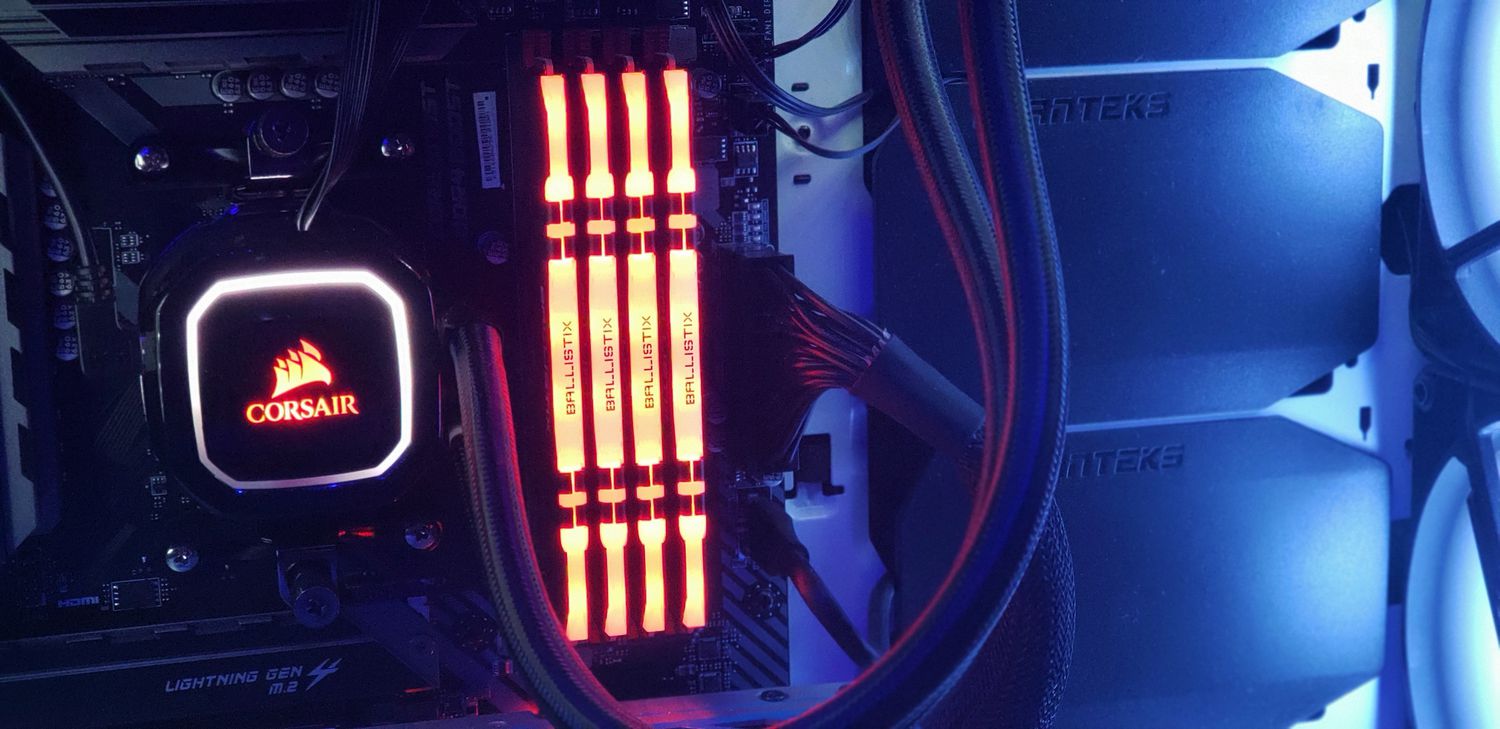
- Increased memory capacity: By filling all RAM slots, you maximize the total amount of memory that your computer can utilize. This allows you to run more memory-intensive applications simultaneously and handle larger datasets with ease. Whether you’re a content creator, gamer, or power user, having more memory can significantly enhance your computer’s performance.
- Better multitasking: When all RAM slots are occupied, your computer can distribute the workload across multiple modules, reducing the chances of memory bottlenecks and improving multitasking capabilities. This means you can smoothly switch between various applications, tabs, or programs without experiencing lag or slowdowns.
- Improved memory bandwidth: Filling all RAM slots in a dual-channel configuration can provide a higher memory bandwidth. This results in faster data transfer rates between the CPU and RAM, improving overall system responsiveness and reducing latency. It’s important to remember that for dual-channel configuration, matching RAM modules should be installed.
- Future-proofing your system: Fully populating your RAM slots allows for greater flexibility and future upgrades. As software and applications become more memory-intensive over time, having additional slots available provides room for expansion without the need to replace existing modules. This future-proofing can save you money and ensure your system remains capable of running the latest software efficiently.
- Redundancy and fault tolerance: In certain scenarios where you rely on critical applications or require high system uptime, having additional RAM modules can act as a failsafe. If one module fails, the system can continue to operate using the remaining modules, reducing the risk of data loss or system crashes.
It’s important to note that while filling all RAM slots can offer these benefits, it’s advisable to adhere to the motherboard’s maximum supported memory specifications. Exceeding the recommended capacity may result in compatibility issues or even system instability.
Now that you understand the advantages of filling all RAM slots, let’s move on to discussing the maximum RAM capacity of your motherboard in the next section.
Maximum RAM Capacity of Your Motherboard
The maximum RAM capacity of your motherboard determines the upper limit of memory that can be installed and utilized by your computer. It’s crucial to be aware of this limit when considering a RAM upgrade. Here’s how you can determine the maximum RAM capacity of your motherboard:
- Consult the motherboard manual: The most reliable and accurate source of information is the documentation that came with your motherboard. The manual should provide detailed specifications, including the maximum supported RAM capacity. It may also outline any limitations or specific RAM module configurations required.
- Visit the manufacturer’s website: If you don’t have access to the physical manual or have misplaced it, you can visit the manufacturer’s website and search for your motherboard model. The product page or support section should have comprehensive specifications that include the maximum RAM capacity supported.
- Check the BIOS settings: Restart your computer and access the BIOS settings by pressing a specific key (usually Del, F2, or F10) during the boot process. Navigate to the system information or memory settings section in the BIOS. Look for details about the maximum RAM capacity supported.
- Use system information software: System information tools like CPU-Z, Speccy, or HWiNFO can display the maximum RAM capacity supported by your motherboard. These applications provide detailed information about your computer’s hardware components, making it easy to check the maximum RAM limit.
Remember that the maximum RAM capacity of your motherboard is determined by various factors, including the chipset, architecture, and version. These factors can influence the type, speed, and density of RAM modules that your motherboard can support. It’s important to ensure the RAM modules you install comply with the specifications set by your motherboard.
By knowing the maximum RAM capacity of your motherboard, you can make informed decisions when upgrading your system’s memory. Understanding this limit can help you avoid compatibility issues and ensure optimal performance.
Now that we have explored the maximum RAM capacity of your motherboard, let’s move on to discussing the process of upgrading RAM slots in the next section.
Upgrading RAM Slots
Upgrading the RAM slots in your computer can be an effective way to improve overall system performance and responsiveness. Here are the steps involved in upgrading your RAM slots:
- Determine compatibility: Before purchasing new RAM modules, ensure they are compatible with your motherboard. Check the maximum RAM capacity and supported RAM type (DDR3, DDR4, etc.) as specified by your motherboard’s documentation or manufacturer’s website.
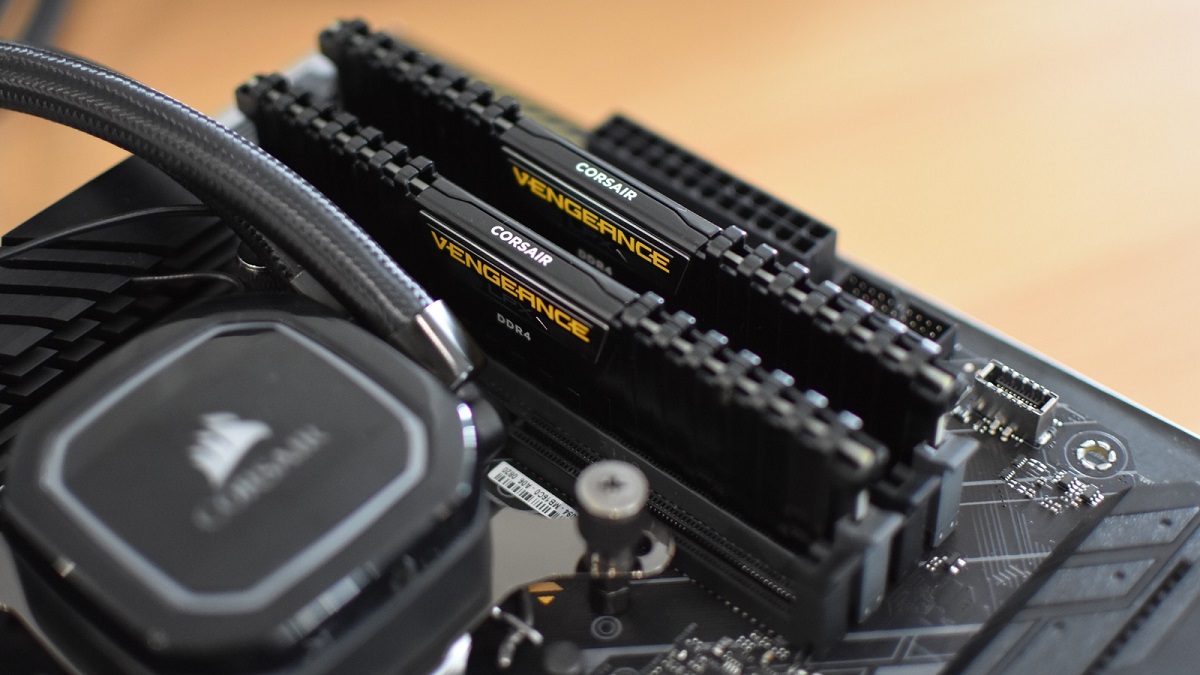
- Choose the right RAM modules: Select RAM modules with the desired capacity, speed, and latency that meet your specific requirements. If possible, opt for modules of the same brand and model for proper compatibility and optimal performance.
- Power off and unplug your computer: Before proceeding with the upgrade, power off your computer and unplug all cables. Make sure to ground yourself to discharge any static electricity before handling the RAM modules.
- Open your computer case: Remove the side panel of your computer case to gain access to the internal components. Some cases may require the use of screws or latches to open.
- Locate the RAM slots: Identify the RAM slots on your motherboard. They are usually located near the CPU socket and are easily distinguishable by their shape and placement.
- Remove existing RAM modules: Gently press down on the retention clips at each end of the RAM module until it pops out of the slot. Carefully remove the module from the slot, holding it by the edges and avoiding contact with the gold contacts.
- Install the new RAM modules: Align the notch on the bottom of the new RAM module with the key in the RAM slot and firmly press down until the module clicks into place. Ensure both retention clips on the sides of the slot engage with the module to secure it in place.
- Close the computer case: Once the new RAM modules are installed, close the computer case by securing the side panel with screws or latches. Make sure all cables are properly connected.
- Power on and verify the upgrade: Plug in all cables and power on your computer. Check the system information or use software like CPU-Z or Speccy to verify that the new RAM modules are recognized and functioning properly.
Upgrading your RAM slots can significantly boost your computer’s performance, allowing for smoother multitasking and enhanced overall speed. However, keep in mind that the benefits will vary depending on your specific needs and the requirements of the applications you use.
Now that you know the process of upgrading RAM slots, let’s conclude this article with a summary of the key points discussed.
Conclusion
Understanding the number and capacity of RAM slots in your computer is crucial for maximizing performance, multitasking capabilities, and future upgrades. By knowing how many RAM slots your computer has, you can determine the upgrade options available and troubleshoot any memory-related issues that may arise.
In this article, we explored the concept of RAM slots and their importance in storing and accessing data quickly. We discussed the differences between single-channel and dual-channel RAM configurations, highlighting the benefits of filling all RAM slots in a dual-channel setup.
We also provided various methods for determining the number of RAM slots your computer has, such as consulting the motherboard manual, checking the manufacturer’s website, inspecting the physical motherboard, and using system information software.
Additionally, we emphasized the significance of checking the capacity of each RAM slot and understanding the maximum RAM capacity supported by your motherboard. This information is vital for planning RAM upgrades and ensuring compatibility with the modules you intend to install.
We covered the advantages of filling all RAM slots, including increased memory capacity, improved multitasking capabilities, enhanced memory bandwidth, future-proofing, and added redundancy. These benefits can significantly enhance your computer’s performance and provide a smoother user experience.
Lastly, we discussed the process of upgrading RAM slots, which involves determining compatibility, selecting the right RAM modules, powering off your computer, opening the case, removing existing modules, installing new modules, closing the case, and verifying the upgrade.
By following these guidelines, you can make informed decisions when it comes to RAM upgrades and optimize your computer’s performance to meet your specific needs.
We hope this article has provided you with valuable insights into RAM slots and their role in improving your computer’s memory performance. Remember to consult the documentation or manufacturer’s website for accurate information regarding your specific motherboard and always handle RAM modules with care during the upgrade process.