Introduction
Welcome to our guide on how many sticks of RAM you can have on a motherboard. If you’re a computer enthusiast or someone who wants to upgrade their system’s memory, understanding the limitations and possibilities of RAM configurations is essential.
Random Access Memory, commonly known as RAM, plays a vital role in a computer’s performance. It temporarily stores data that the processor needs to access quickly, allowing for faster data retrieval and smoother multitasking.
When it comes to RAM installations, the motherboard acts as the foundation. It is the main circuit board that connects all the essential components of a computer, including the processor, memory, storage, and expansion slots.
In this guide, we will explore how RAM is integrated into a motherboard and examine the restrictions on the number of sticks of RAM that can be installed. We will also explore the various factors that affect the RAM limit on a motherboard and provide information on how to check the maximum RAM capacity of your specific motherboard.
Whether you’re a gamer looking for a performance boost or a professional requiring more memory for resource-intensive tasks, understanding the limitations and possibilities of RAM configurations will help you make informed decisions when it comes to computer upgrades.
So, without further ado, let’s dive into the fascinating world of RAM and motherboards to discover how many sticks of RAM you can have on your system!
What is RAM?
RAM, short for Random Access Memory, is a critical component of a computer’s hardware. It serves as a high-speed temporary storage for data that the processor needs to access quickly. Unlike permanent storage devices like hard drives or solid-state drives, RAM is volatile, meaning it loses its data when the computer is powered off.
When you launch a program or open a file, it gets loaded into RAM, allowing the processor to access it swiftly for instructions and data retrieval. This fast and temporary nature of RAM enables smooth multitasking and responsive computing experiences.
RAM is measured in gigabytes (GB) and is available in various speeds, commonly referred to as RAM frequency. The higher the RAM frequency, the faster data can be transferred between the RAM and the processor.
In addition to speed, another important aspect of RAM is its capacity. The more RAM you have, the more data your system can handle simultaneously. This is particularly important for resource-intensive tasks, such as gaming, video editing, or running multiple virtual machines.
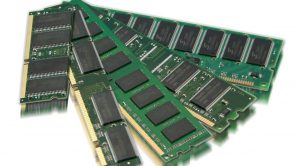
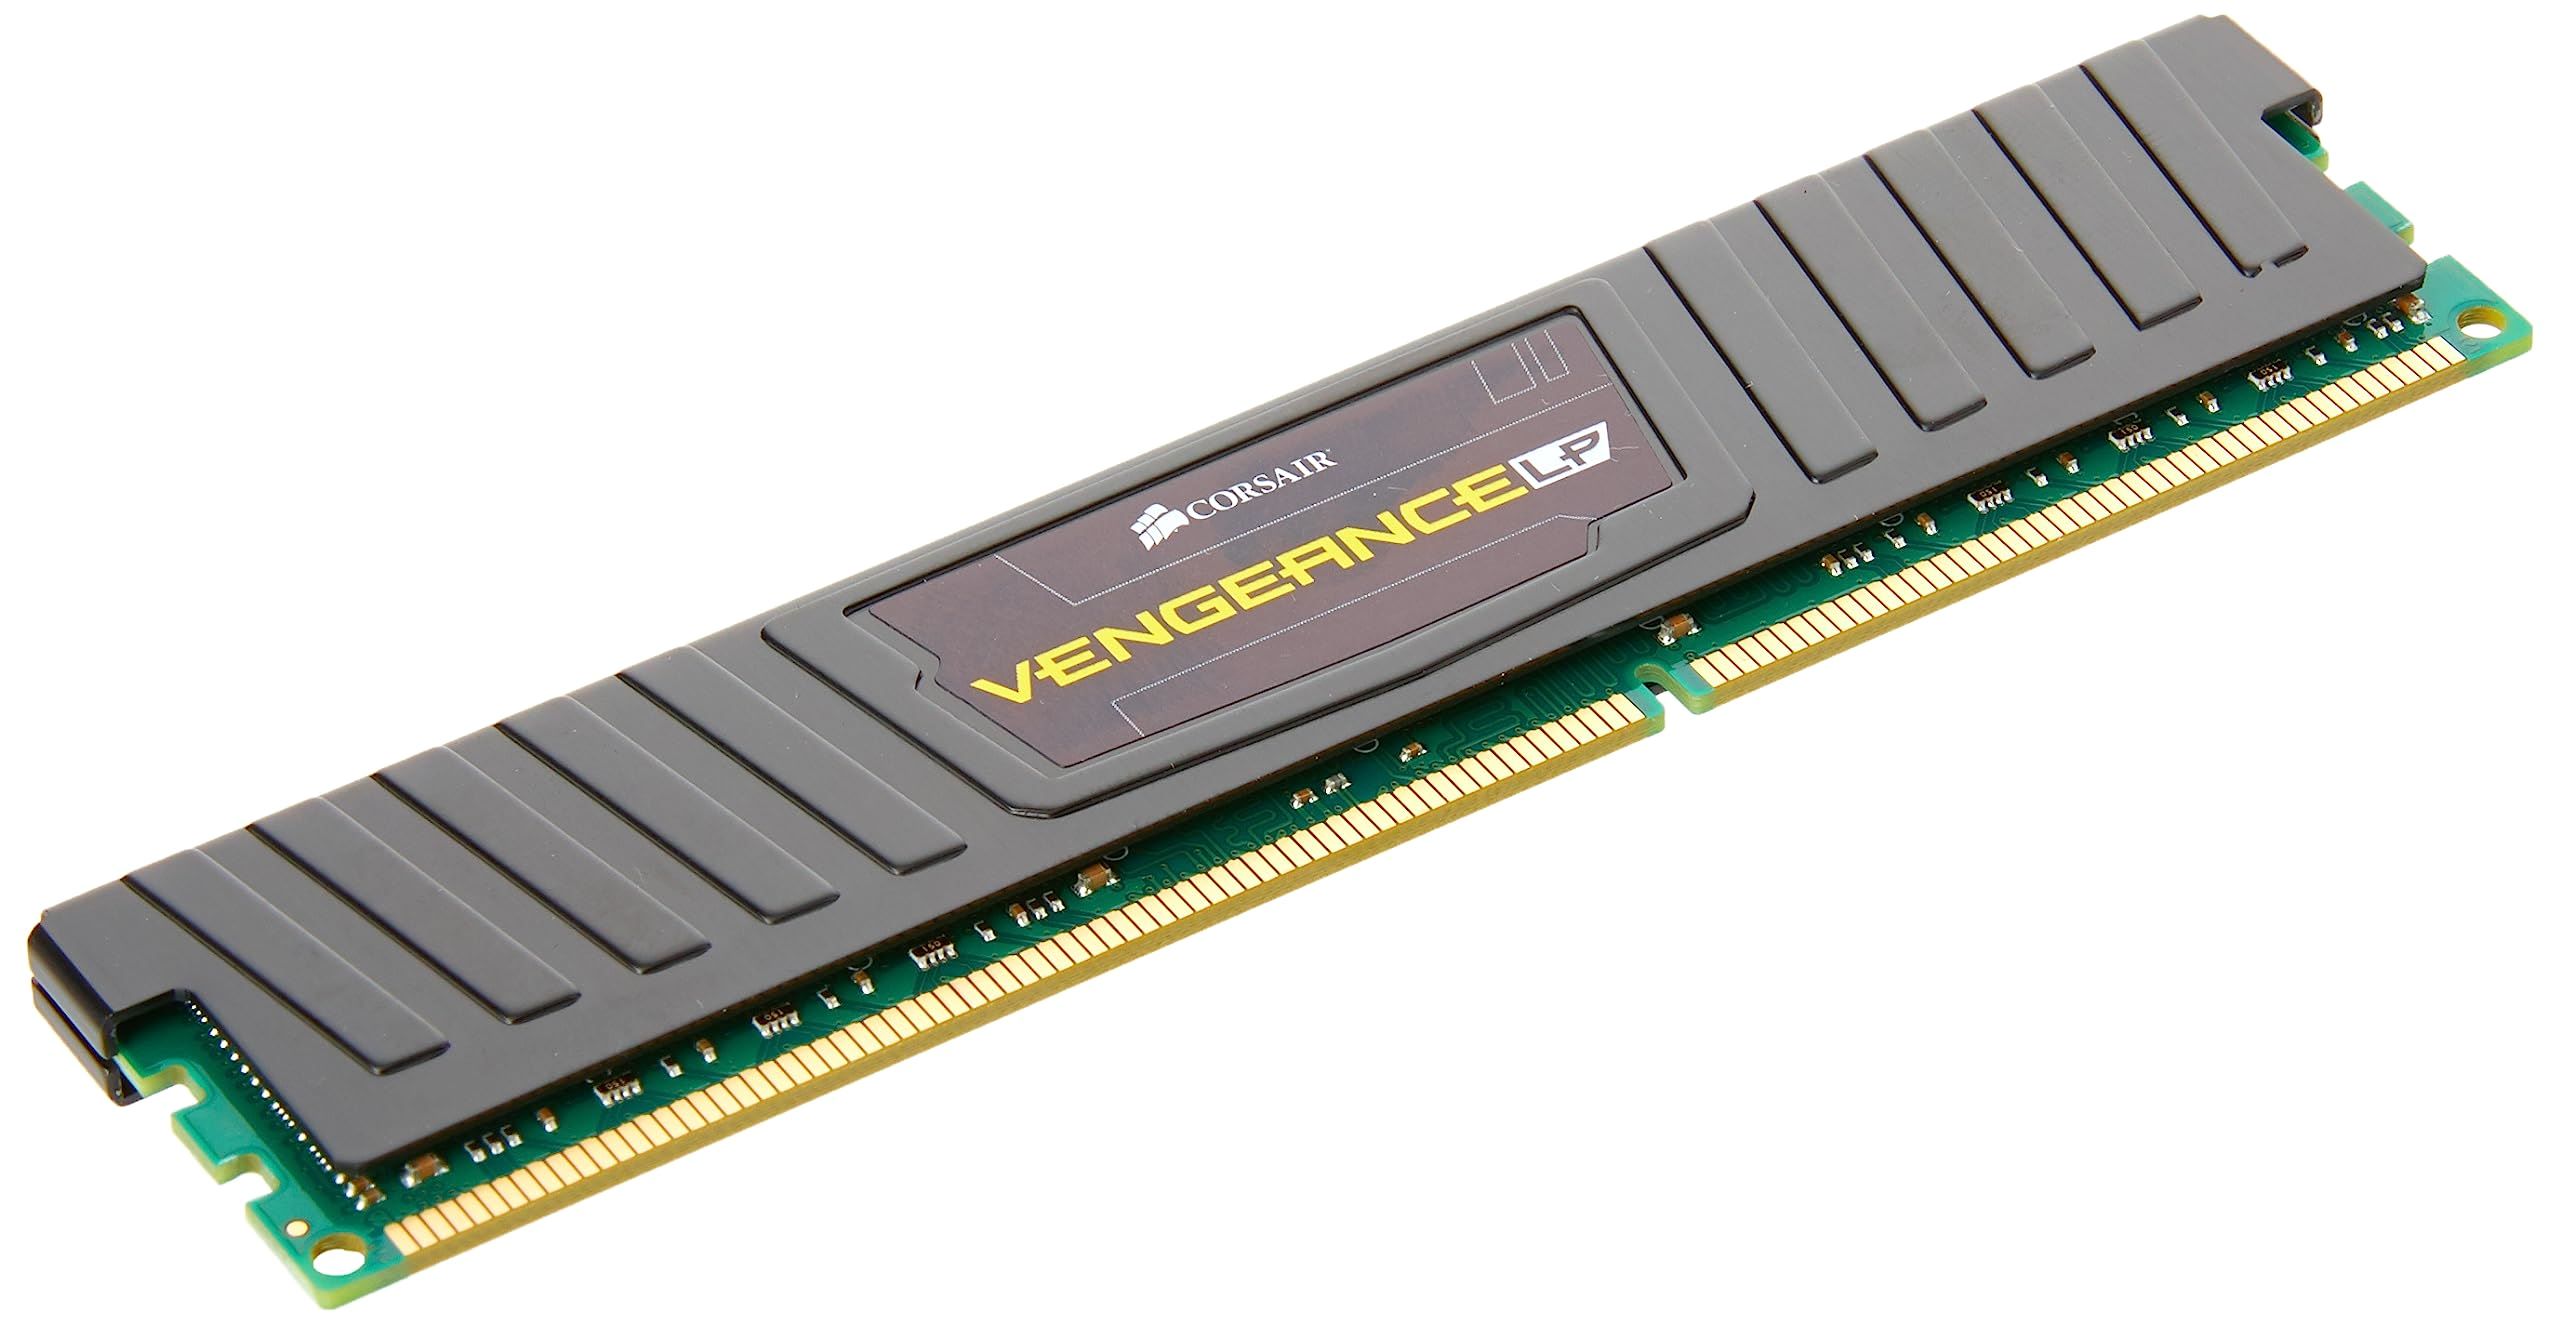
RAM modules come in different physical formats, with the most common being DIMM (Dual In-Line Memory Module) and SO-DIMM (Small Outline Dual In-Line Memory Module). DIMMs are used in desktop computers, while SO-DIMMs are commonly found in laptops and smaller form factor systems.
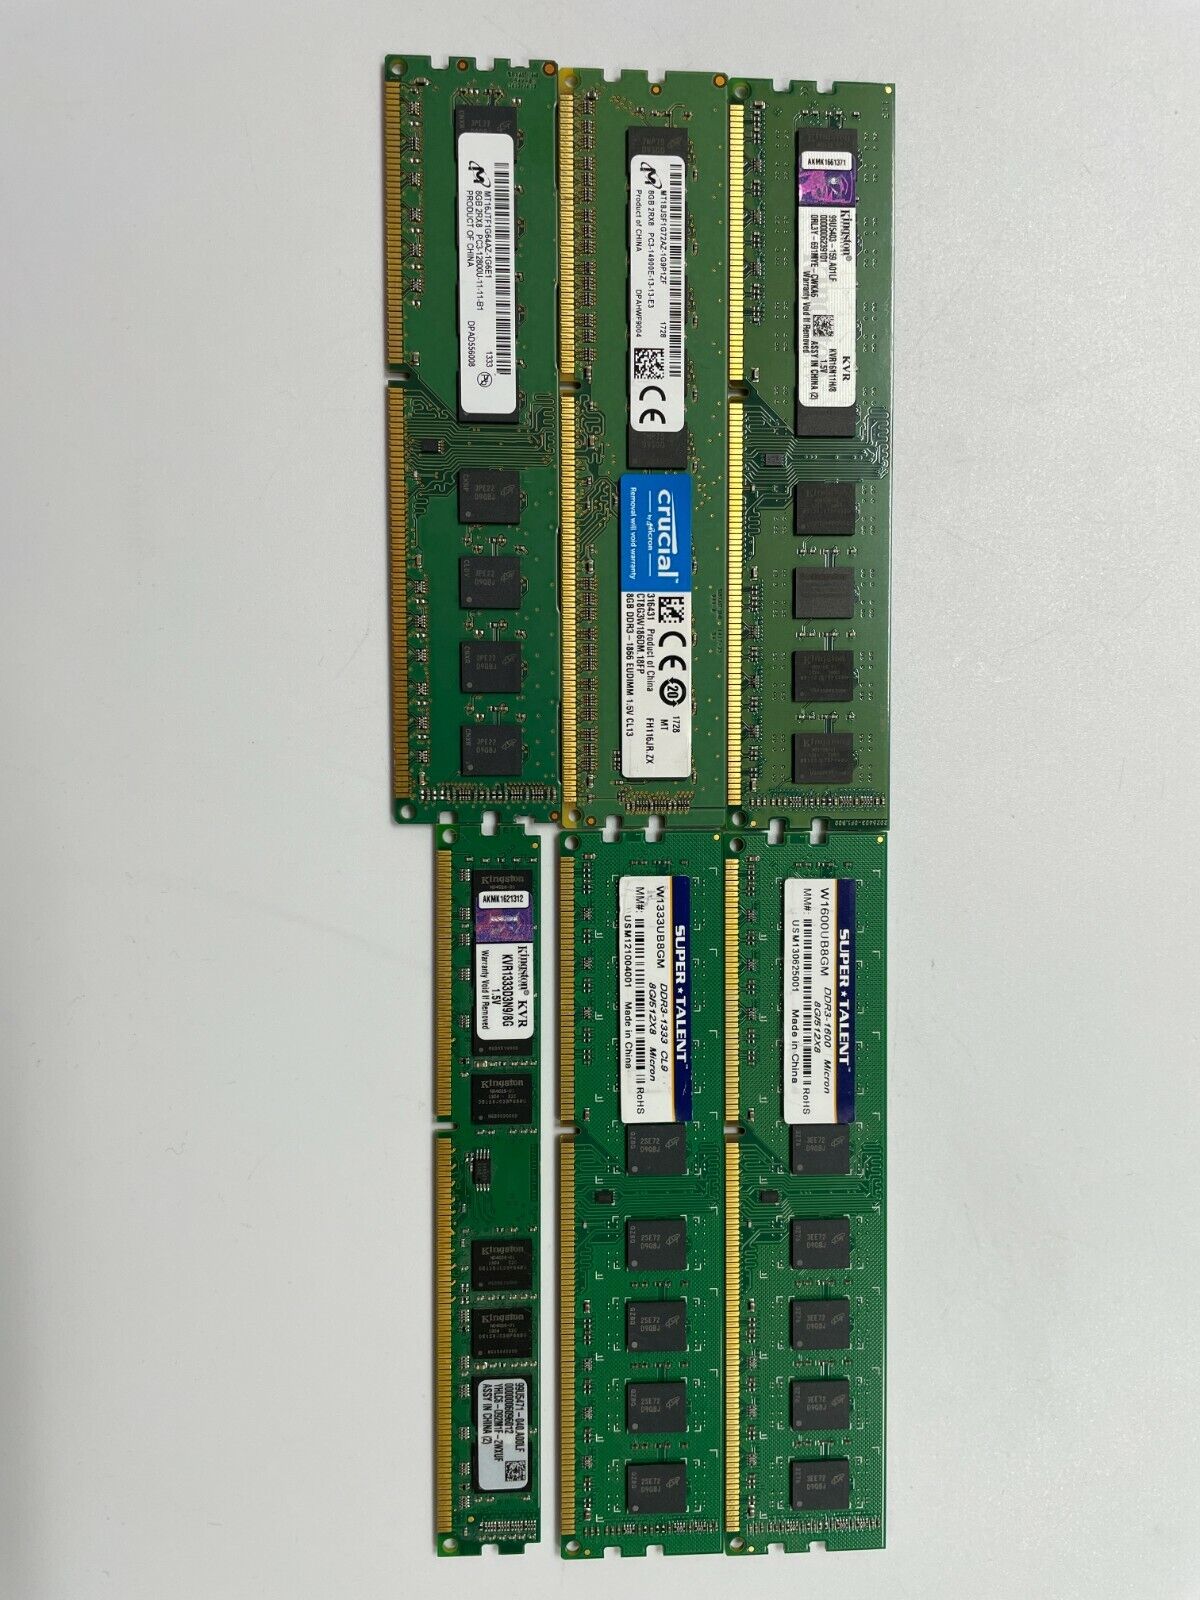
It’s worth noting that different generations of RAM, such as DDR3 and DDR4, are not compatible with each other due to variations in physical design and electrical specifications. Therefore, it’s essential to check your motherboard’s compatibility before upgrading or adding RAM modules.
In the next section, we will explore the motherboard and how it interacts with RAM to determine how many sticks of RAM can be used.
What is a Motherboard?
A motherboard, sometimes referred to as the mainboard or system board, is the central hub that connects and coordinates all the hardware components of a computer system. It provides a platform for essential components such as the processor, RAM, storage devices, graphics cards, and other expansion cards to interact with each other.
The motherboard serves as a connector, facilitator, and controller for all the internal and external devices of a computer. It houses various slots, sockets, and connectors that enable communication and data transfer between different components.
Commonly, a motherboard is a flat, rectangular, green-colored circuit board with various printed circuits and electronic components. It is designed to fit inside the computer case and is secured in place using screws or other fastening mechanisms.
Every motherboard has a specific chipset, which determines its compatibility, features, and performance capabilities. The chipset acts as the brain of the motherboard, managing data flow and controlling communication between the different components attached to it.
The motherboard also contains the BIOS (Basic Input/Output System) or UEFI (Unified Extensible Firmware Interface), which is integrated firmware responsible for initializing and configuring the hardware during the computer’s startup process.
Additionally, the motherboard provides connectors and ports for external devices such as USB, audio, networking, and display interfaces. These connectors allow you to connect peripherals like keyboards, mice, printers, monitors, and network cables to your computer.
It’s important to choose a motherboard that matches your specific requirements and is compatible with the other components you plan to use. Different motherboards support different processors, RAM types and capacities, and have varying numbers and types of expansion slots.
Now that we have a better understanding of what a motherboard is and its role in a computer system, let’s explore how RAM is integrated into a motherboard and how many sticks of RAM can be installed.
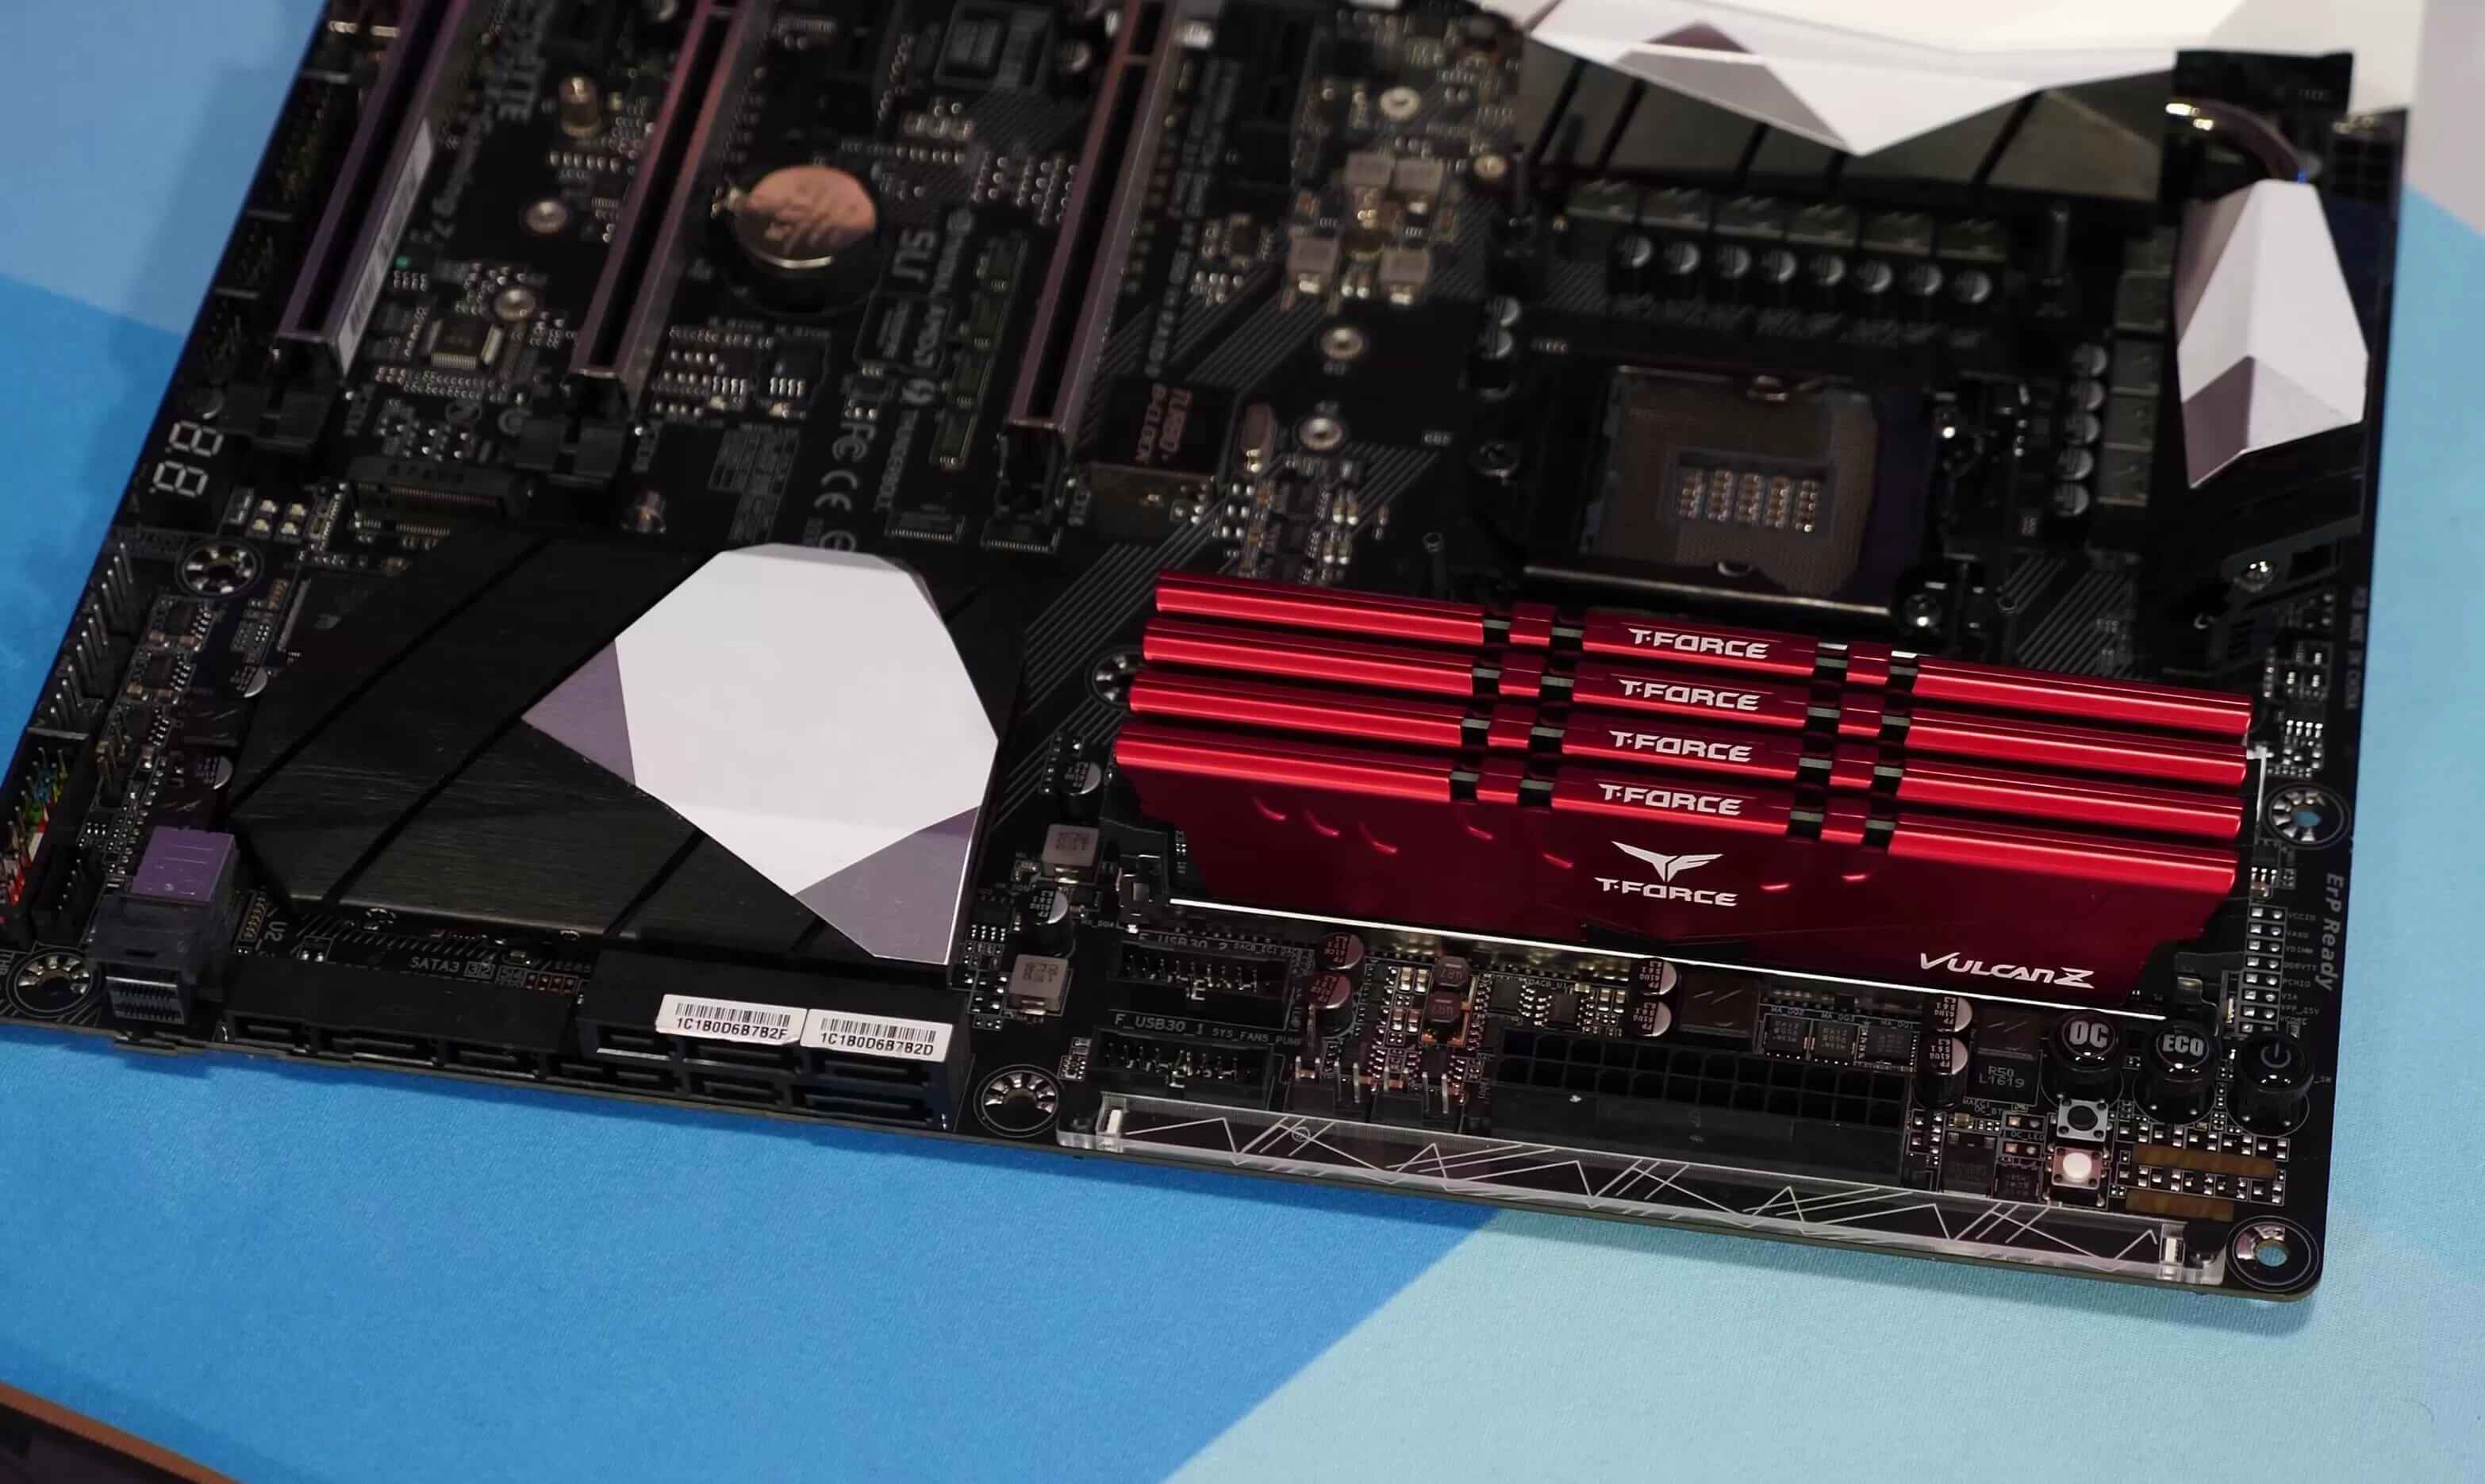
RAM Slots on a Motherboard
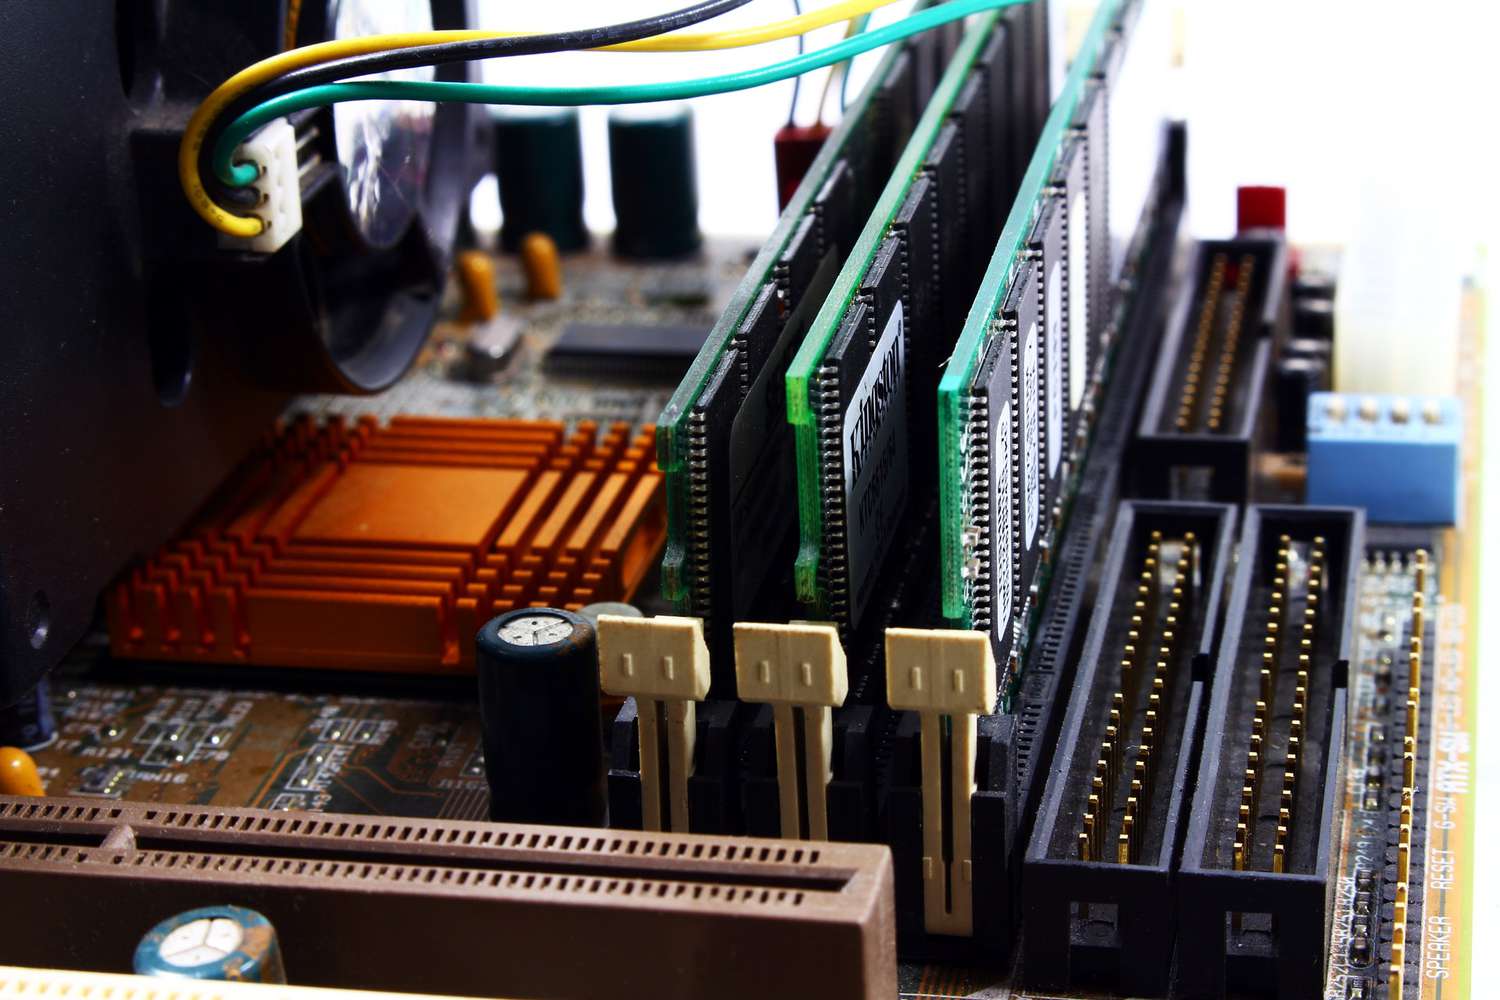
RAM slots, also known as memory slots or DIMM slots, are the physical slots on a motherboard where RAM modules are inserted. These slots are specifically designed to accommodate and provide power to the RAM modules, allowing them to communicate with the rest of the system.
The number of RAM slots on a motherboard can vary depending on the specific model and form factor. Commonly, desktop motherboards have four RAM slots, while smaller form factor motherboards found in laptops or mini PCs may have only two slots or even soldered RAM that cannot be replaced or upgraded.
RAM slots are typically color-coded to indicate the recommended installation order, especially when using multiple RAM modules. This color-coding helps ensure that the modules are inserted in the correct slots, maintaining optimal performance and compatibility.
It’s important to note that the number of RAM slots on a motherboard determines the maximum number of RAM modules that can be installed. For example, if a motherboard has four RAM slots, you can potentially install up to four RAM modules.
Furthermore, different motherboard models have limitations on the maximum amount of RAM they can support. For instance, a particular motherboard may have four RAM slots but can only support a maximum total of 32GB or 64GB of RAM.
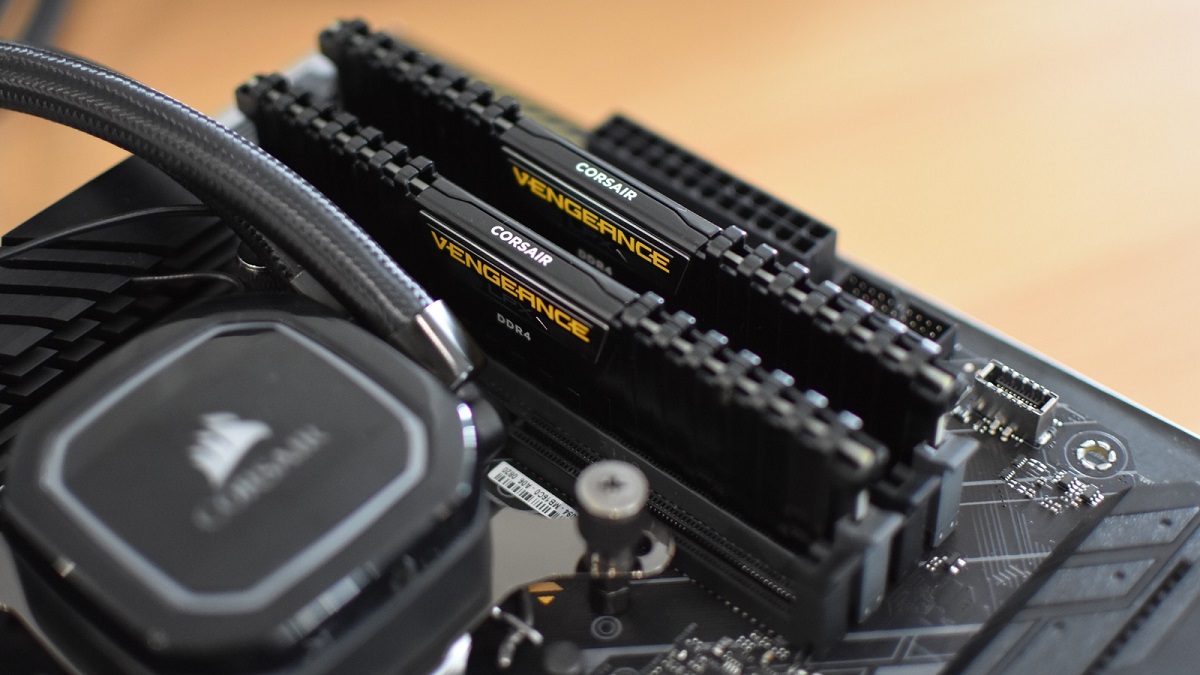
The specific configuration of RAM modules installed in the slots can also impact the system’s memory performance. For optimal performance, it is recommended to install RAM modules in matching pairs or sets, such as two modules of the same size and speed in dual-channel or quad-channel configurations, depending on the motherboard’s capabilities.
Understanding the number of RAM slots on your motherboard and their limitations is crucial when upgrading or adding more memory to your computer system. It helps you determine the maximum RAM capacity and the optimal configuration for improved performance.
In the next section, we will explore how many sticks of RAM you can have on a motherboard and the factors that can affect this limit.
How Many Sticks of RAM Can You Have?
The number of sticks of RAM you can have on a motherboard depends on the motherboard’s design and the number of RAM slots available. As previously mentioned, most desktop motherboards typically have four RAM slots, while smaller form factor motherboards may have fewer slots.
In general, the number of RAM sticks you can install is equal to the number of RAM slots on the motherboard. For example, if your motherboard has four RAM slots, you can have up to four sticks of RAM.
However, it’s important to consider the memory limitations set by the motherboard manufacturer. Each motherboard model has a maximum supported memory capacity, which determines the overall amount of RAM you can have installed.
For instance, if your motherboard supports a maximum of 32GB of RAM and you have four RAM slots, you could install four 8GB sticks of RAM for a total capacity of 32GB. Alternatively, you could install two 16GB sticks of RAM for the same total capacity.
It’s crucial to check your motherboard’s documentation or specifications to determine the maximum supported memory capacity and the compatible RAM types and configurations.
Additionally, the operating system you are using can also affect the amount of RAM you can utilize. For example, a 32-bit operating system can only address a maximum of 4GB of RAM, regardless of how much RAM is physically installed on the motherboard.
On the other hand, a 64-bit operating system can support significantly higher memory capacities, ranging from 128GB to several terabytes, depending on the specific version and edition.
So, when considering how many sticks of RAM you can have on a motherboard, make sure to consider the number of RAM slots, the maximum supported memory capacity of the motherboard, and the capabilities of your operating system.
Next, let’s explore some of the factors that can affect the RAM limit on a motherboard.
Factors Affecting RAM Limit on Motherboard
The maximum RAM limit on a motherboard is influenced by several factors that can vary from one motherboard model to another. Understanding these factors is crucial when planning to upgrade or expand your system’s memory capacity. Here are the key factors to consider:
- Motherboard Chipset: The motherboard chipset plays a significant role in determining the RAM limit. Different chipsets have different memory controllers that may support varying amounts of RAM. It’s essential to check the specifications of your motherboard’s chipset to understand its maximum supported RAM capacity.
- Operating System: The operating system you are using also plays a role in the RAM limit. As mentioned earlier, a 32-bit operating system has inherent limitations and can only address a maximum of 4GB of RAM. To fully utilize larger amounts of RAM, a 64-bit operating system is required.
- BIOS/UEFI: The BIOS or UEFI firmware on your motherboard can impact the RAM limit. It is recommended to keep your motherboard’s firmware updated to ensure compatibility with higher RAM capacities.
- Memory Channel Configuration: The motherboard’s memory channel configuration affects the RAM limit. Some motherboards support dual-channel or quad-channel memory configurations, allowing for increased memory bandwidth. It is advisable to consult your motherboard’s documentation to understand the supported memory channel configurations and their impact on the RAM limit.
- Physical Limitations: The physical design of the motherboard can impose limitations on RAM capacity. For instance, smaller form factor motherboards have limited space for RAM slots, resulting in fewer slots and potentially lower maximum RAM capacity.
- RAM Type and Density: The type and density of RAM modules can also influence the RAM limit. Some motherboards may have compatibility limitations with specific RAM types or higher-density modules. It is crucial to ensure that the RAM modules you plan to install are supported by your motherboard.
By considering these factors, you can determine the maximum RAM capacity and configuration that your motherboard supports. This information will guide you in selecting the right RAM modules and making informed decisions when upgrading your system’s memory.
Next, we will discuss how to check the maximum RAM capacity of your motherboard.
How to Check the Maximum RAM Capacity of Your Motherboard
If you’re planning to upgrade your computer’s RAM, it’s crucial to know the maximum capacity supported by your motherboard. Here are a few ways to check the maximum RAM capacity of your motherboard:
- Check the Motherboard Manual or Manufacturer’s Website: The motherboard’s manual or the manufacturer’s website is the most reliable source of information regarding its specifications. Look for a section that provides details about RAM support, including the maximum supported capacity and recommended configurations.
- Use System Information Tools: Windows operating system provides built-in tools that display detailed system information, including motherboard specifications. You can access these tools by typing “System Information” in the Start menu search bar and selecting the corresponding application. Look for information related to the motherboard model and check the manufacturer’s website for detailed specifications.
- Third-Party System Information Software: There are various third-party software programs available that can provide detailed information about your system’s hardware. Some popular ones include CPU-Z, Speccy, and HWiNFO. These tools can provide comprehensive information about your motherboard, including its model, chipset, and maximum supported RAM capacity.
- Consult Online Forums and Communities: Online forums and communities dedicated to computer hardware enthusiasts are excellent resources for finding information about specific motherboard models. You can post questions or search previous discussions to gather insights from experienced users who may have the same or similar motherboard models.
It’s important to cross-reference the information obtained from these sources to ensure accuracy and reliability. By checking the maximum RAM capacity of your motherboard, you can make informed decisions on the type and quantity of RAM modules to purchase for your system upgrade.
Now that you have an idea of how to check your motherboard’s RAM capacity, let’s move on to discussing the process of upgrading RAM on a motherboard.
Upgrading RAM on a Motherboard
Upgrading the RAM on your motherboard is a straightforward process that can significantly improve your computer’s performance and multitasking capabilities. Here’s a step-by-step guide on how to upgrade the RAM:
- Identify RAM Compatibility: Before purchasing new RAM modules, ensure they are compatible with your motherboard. Check the motherboard’s documentation or manufacturer’s website for the supported RAM types, capacities, and configurations.
- Power Off and Unplug Your Computer: To avoid electrostatic discharge and protect the components, turn off and unplug your computer from the power source.
- Open the Computer Case: Depending on your computer’s case design, you may need to remove screws or use latch mechanisms to open the case. Refer to the computer or case manual for specific instructions.
- Locate the RAM Slots: Identify the RAM slots on your motherboard. They are typically long, rectangular slots usually situated near the CPU socket. Check your motherboard’s manual for the precise location.
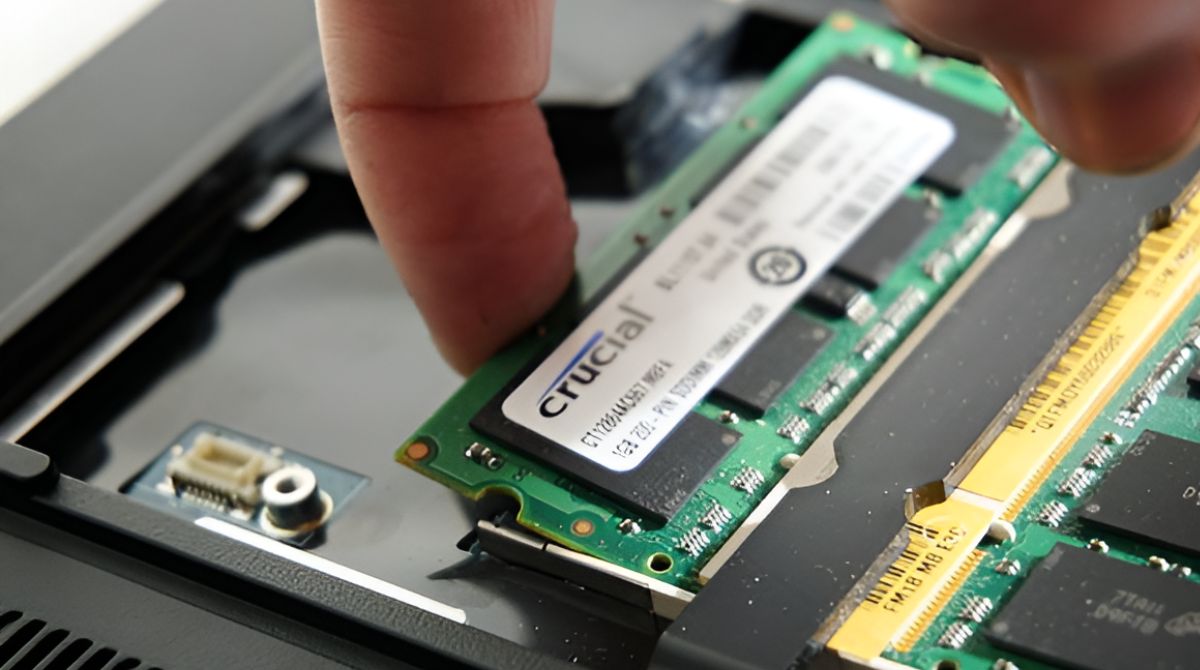
- Remove Existing RAM (if necessary): If there are existing RAM modules installed, gently push apart the retention clips on each side of the module. The module will slightly pop up, and you can then carefully pull it out from the slot.
- Insert the New RAM Modules: Take the new RAM modules and align the notch on the module’s gold pins with the ridge within the RAM slot. Gently press the module down until the retention clips snap into place on both ends of the module.
- Confirm RAM Installation: Double-check that the RAM modules are securely inserted into the slots and the retention clips are fully locked.
- Close the Computer Case: Once the RAM upgrade is complete, close the computer case and secure it with screws or latches.
- Power On and Verify: Plug in and power on your computer. The system BIOS or UEFI will detect the new RAM modules during the boot process. Verify that the system recognizes and reports the correct amount of RAM in the BIOS/UEFI settings or through system information tools.
It’s important to note that when adding new RAM modules, it’s generally recommended to install modules of the same speed, capacity, and preferably the same brand. This helps avoid compatibility issues and ensures optimal performance by utilizing dual-channel or quad-channel memory configurations, if supported by the motherboard.
Now that you know the process of upgrading RAM on your motherboard, you can confidently proceed with enhancing your system’s memory capacity for improved performance.
Conclusion
Understanding the intricacies of RAM and the limitations of your motherboard when it comes to RAM upgrades is essential for maximizing the performance of your computer system. In this guide, we explored the various aspects of RAM and motherboards, including the number of RAM slots, factors affecting the RAM limit, checking the maximum RAM capacity, and upgrading RAM on a motherboard.
RAM plays a crucial role in the overall performance and multitasking capabilities of your computer. The number of sticks of RAM you can have on a motherboard depends on the number of RAM slots available. Additionally, the maximum RAM capacity is determined by factors such as the motherboard chipset, operating system, memory channel configuration, and physical limitations.
When planning to upgrade the memory on your computer, it’s important to check the maximum RAM capacity supported by your motherboard through the manufacturer’s documentation, system information tools, or online resources. This information ensures that you select the appropriate RAM modules that are compatible with your motherboard.
Upgrading your RAM involves a simple process of opening the computer case, identifying the RAM slots, removing existing RAM modules (if necessary), inserting the new RAM modules, and confirming proper installation. It’s essential to follow the specific instructions provided by your motherboard and ensure that the RAM modules are securely inserted.
By upgrading the RAM on your motherboard, you can enjoy improved system performance, faster data access, and enhanced multitasking capabilities. Whether you’re a gamer, content creator, or professional requiring high-performance computing, understanding the possibilities and limitations of RAM configurations on your motherboard is crucial.
Remember to consult your motherboard’s documentation or the manufacturer’s website for accurate and up-to-date information regarding RAM support. Additionally, ensure compatibility between the RAM modules and your motherboard and consider factors such as operating system limitations and memory channel configurations.
Now that you have the knowledge to make informed decisions about RAM upgrades on your motherboard, you can confidently enhance your computer system’s memory capacity and enjoy a smoother, more efficient computing experience.