Your computer’s random-access memory, or RAM for short, is a vital component of your computer that helps it to run your processes smoothly. But as with every kind of hardware, it’ll wear down with time, and that’s when you need to install a new one. Not sure how to install RAM on your own? Fret not, as we have put together a handy guide for you to follow below:
Reminders: Before You Learn How to Install RAM
Before you get round to tinkering away at your computer’s RAM, there are a few important things you have to watch out for. This is especially true if you’re a beginner.
Firstly, RAM support isn’t universal. It is hence important for you to check your motherboard’s manual before you begin. Doing this will ensure that you purchase only the approved memory modules that are compatible with your motherboard. You should find your motherboard’s manual in the box that your motherboard came in. Alternatively, you can also find the manual online with the motherboard’s model number.
Secondly, motherboards have a limit when it comes to capacity and speed. Hence, you want to make sure you’re only purchasing RAM with a speed that your motherboard can handle. Modern motherboards usually support DDR4 with a minimum of 2,133MHz and a maximum 4,700MHz. However, it all depends on the model, whether it’s top-of-the-line or in the lower-end range.
Lastly, be mindful of static electricity when installing your new RAM module. Wear an antistatic wristband just to be safe. You can also ground yourself with bare metal before and during installation.
How to Install RAM on Desktop PC
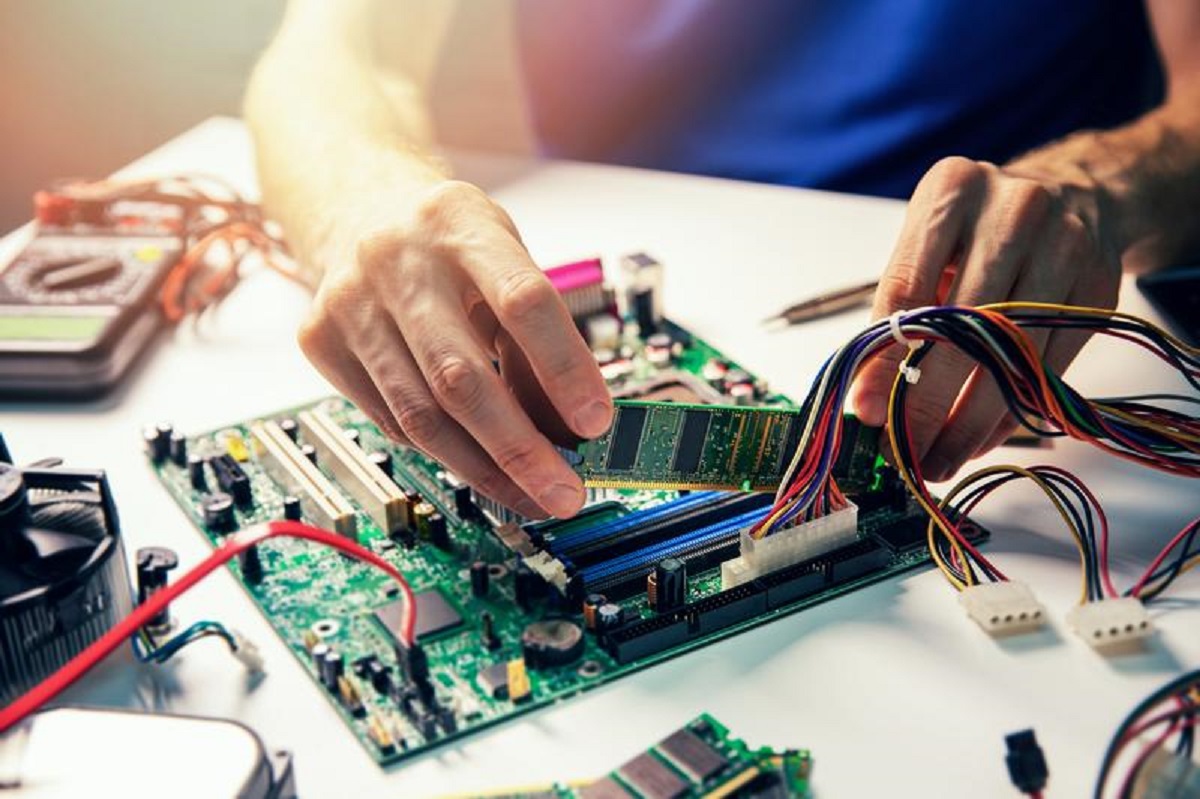
Once you’ve taken all the necessary precautions, it’s time to learn how to install DDR RAM. Just follow these step-by-step instructions to begin the installation process.
Step 1: Preparing Your CPU

Ideally, you want to work with your CPU on its side. Before you do this, make sure that it’s completely unplugged from the power source. It is also beneficial to unplug any other cables attached to your PC to avoid any accidents.
Step 2: Removing the Side Panel
The side panel on your system is the gateway to your computer’s internals. Take a screwdriver or use any mechanism your system employs to remove the side panel.
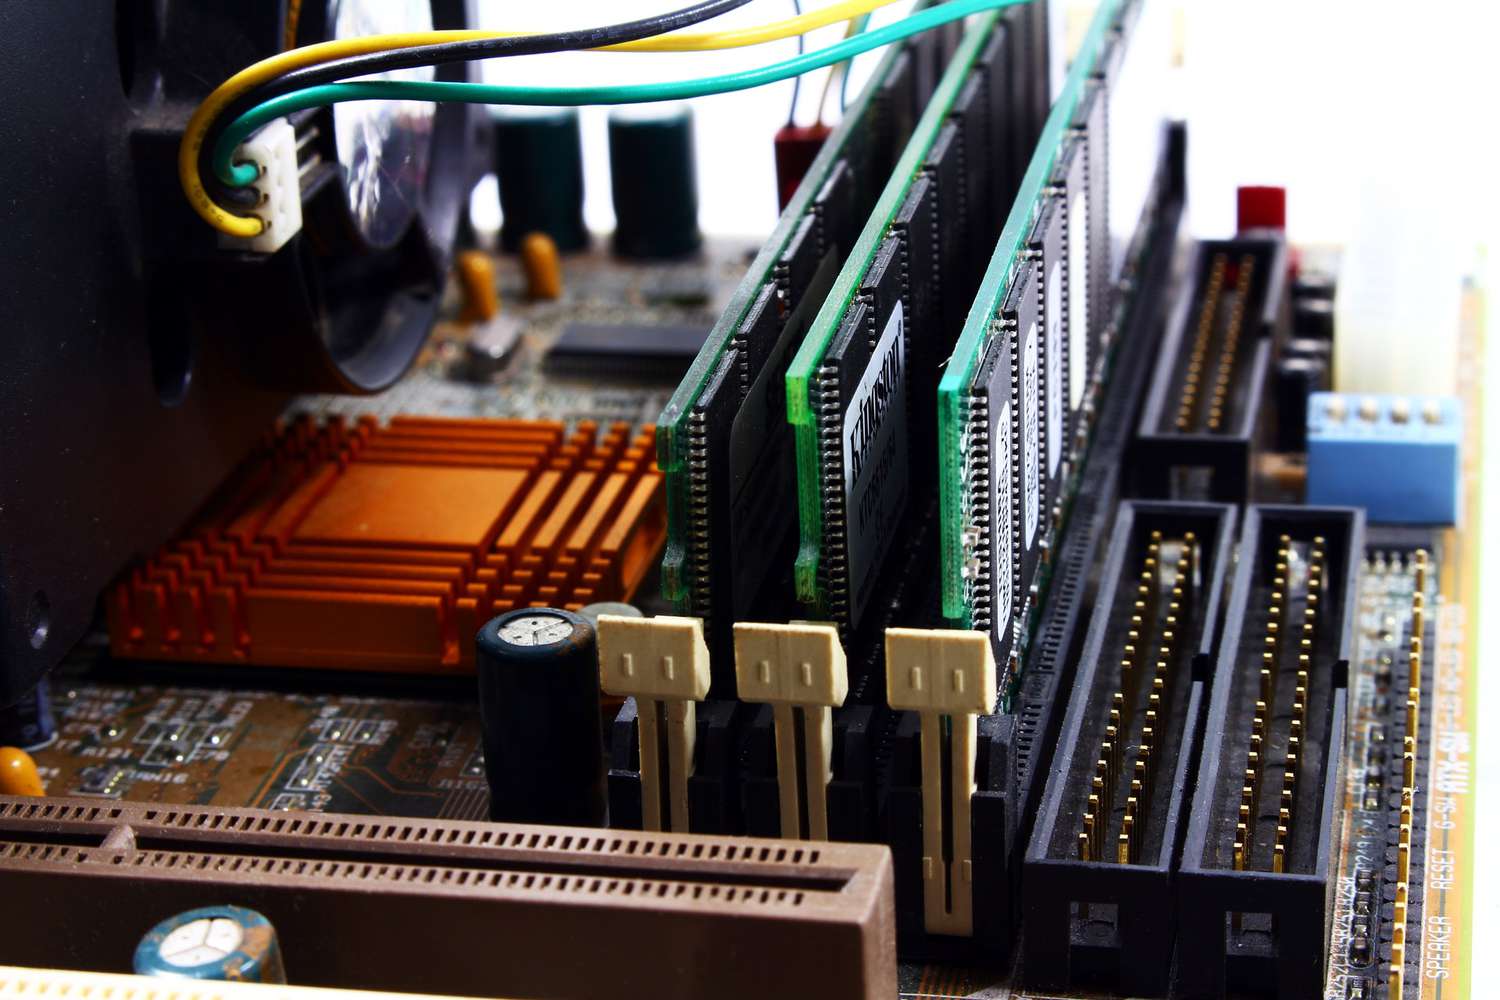
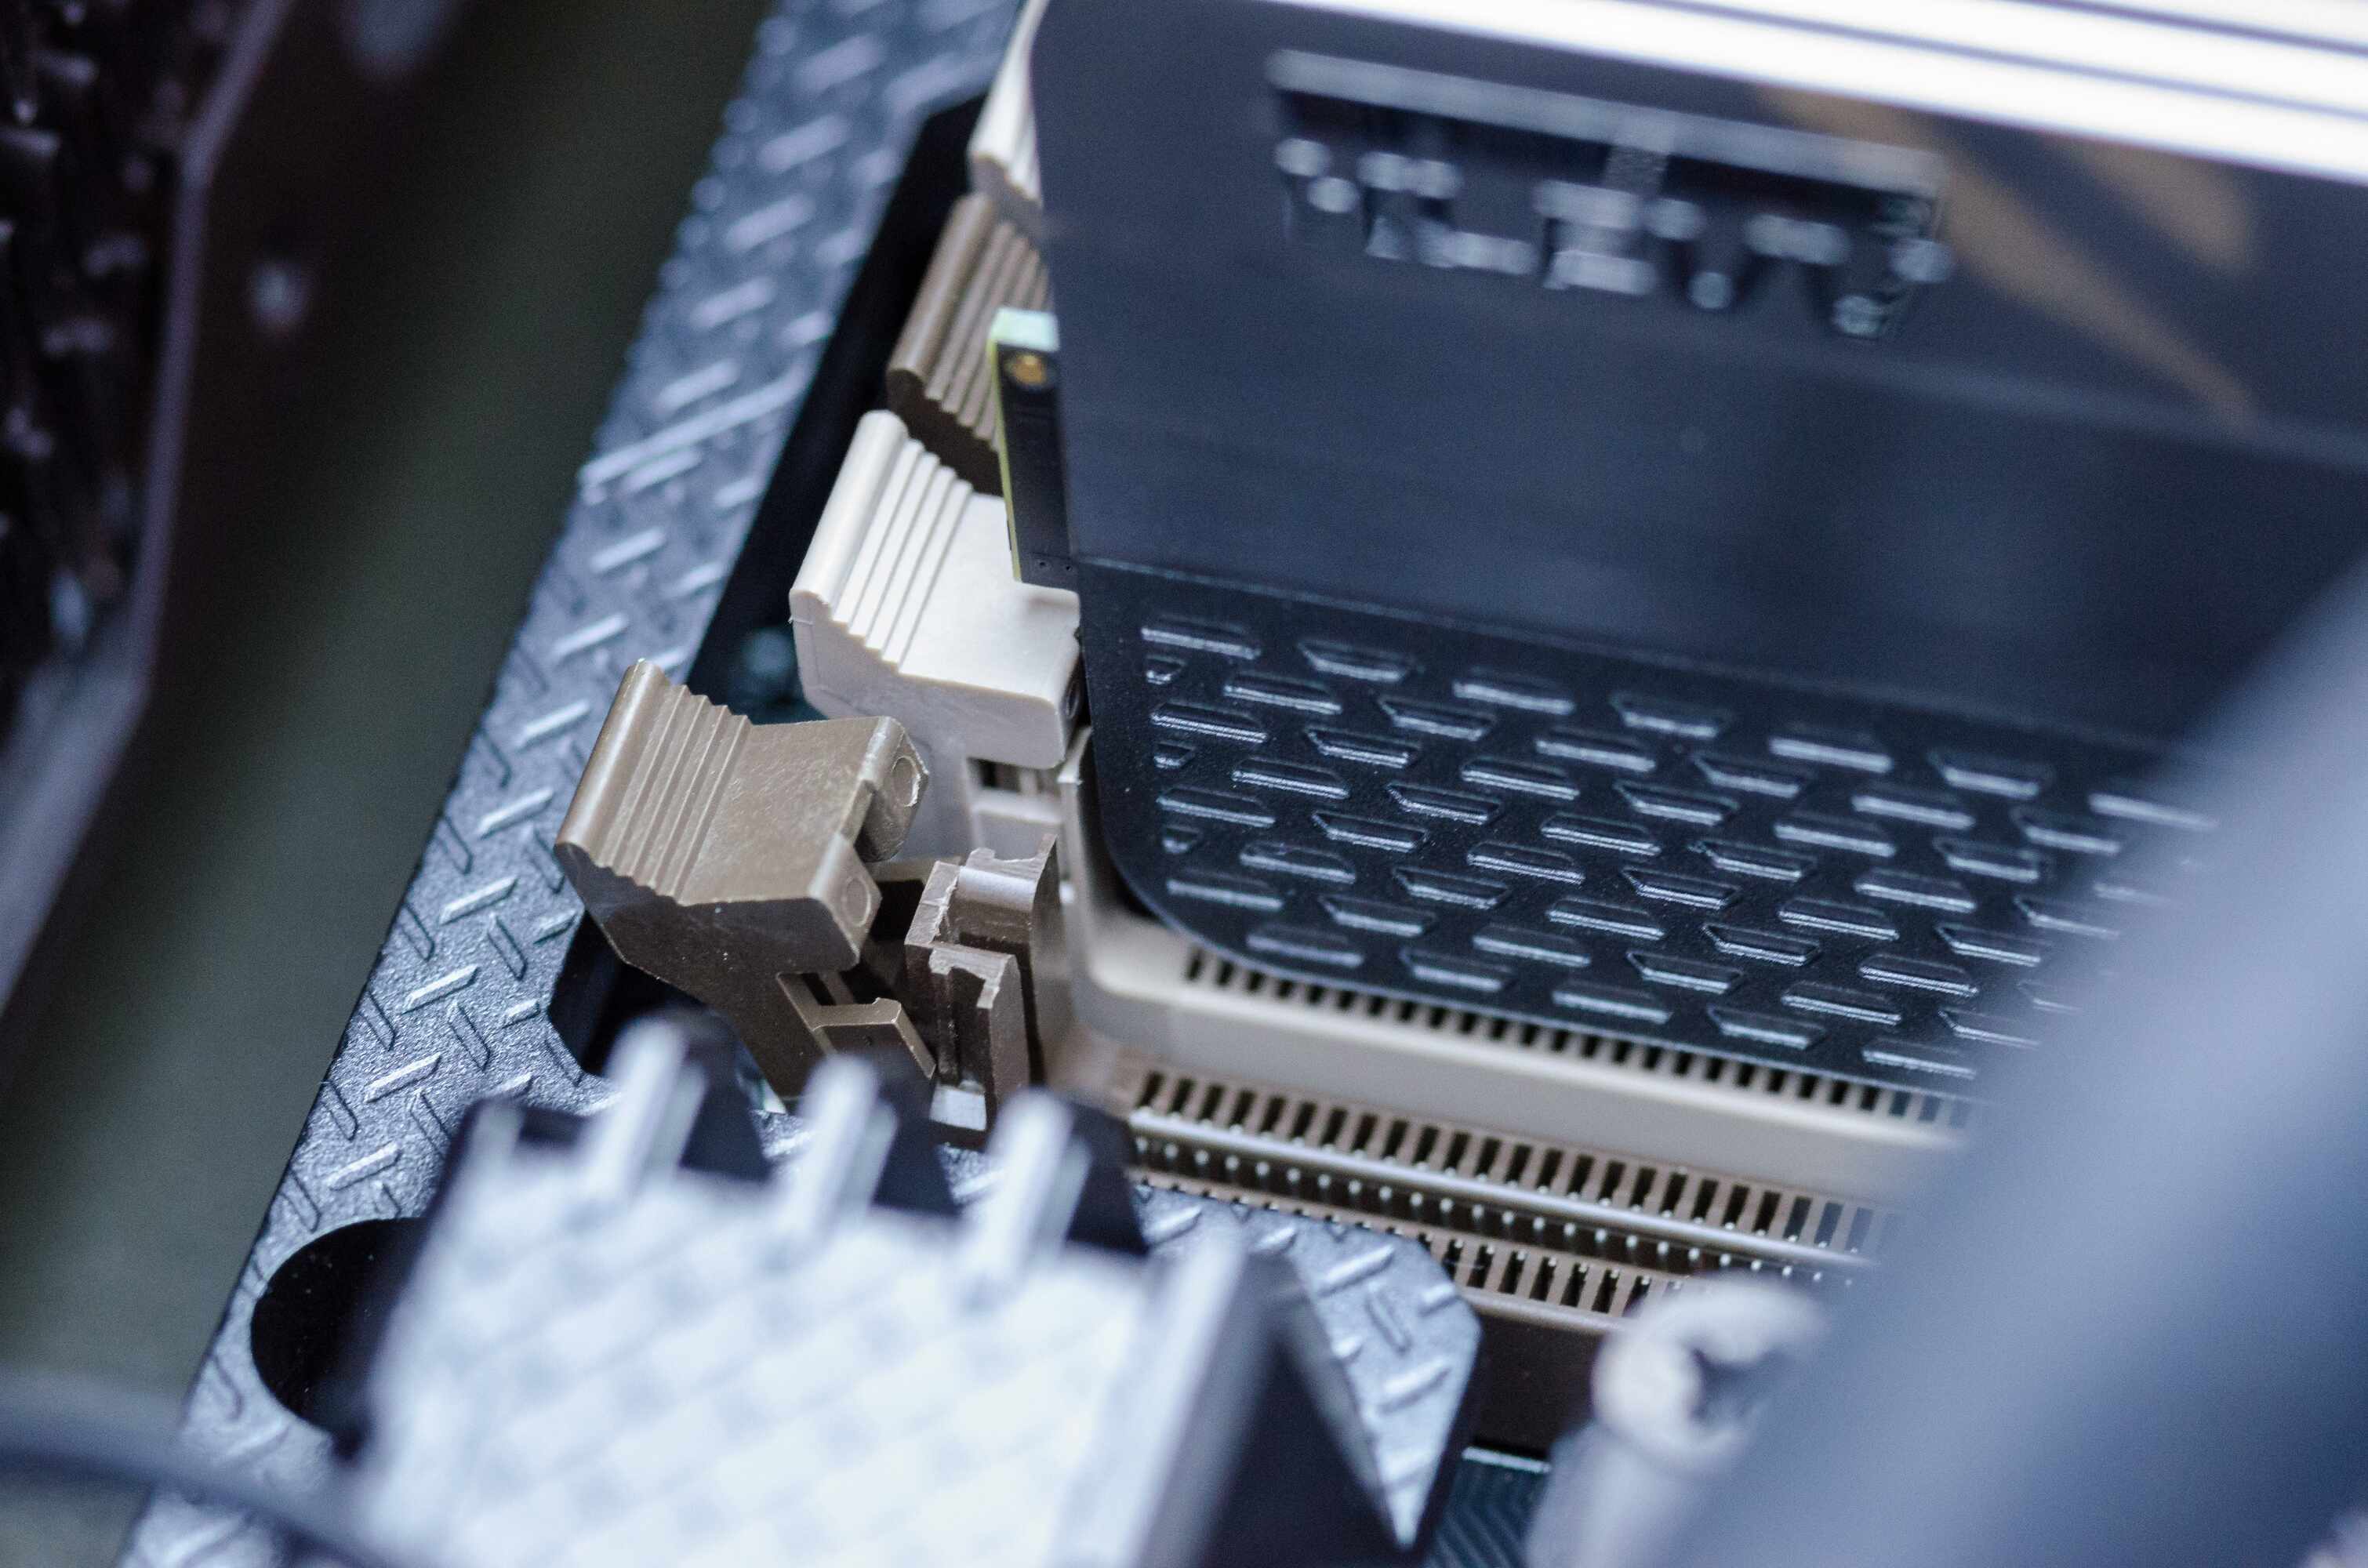
Step 3: Locate the RAM Slots
Locate the RAM slots on your motherboard. Many motherboards have more than one RAM slot (usually two to eight) available. However, some motherboards only have a single slot, so keep an eye out for it.
Regardless, these RAM slots should be located to the right of the processor and cooling system. They should have tabs or wings on either end that act as the RAM’s locking mechanism. Once you locate them, press down on the tabs/locks toward the motherboard. This will eject and remove the old RAM modules you have installed.
Step 4: Consult the Manual
Learning how to install RAM isn’t just about sticking the RAM module into a RAM slot. That’s because it’s also important to know which slot is ideal for your new RAM module. Motherboard manuals typically tell you which slots new memory should be placed in. Moreover, each slot might have different bandwidth, so it’s important to stick your RAM in the right place.
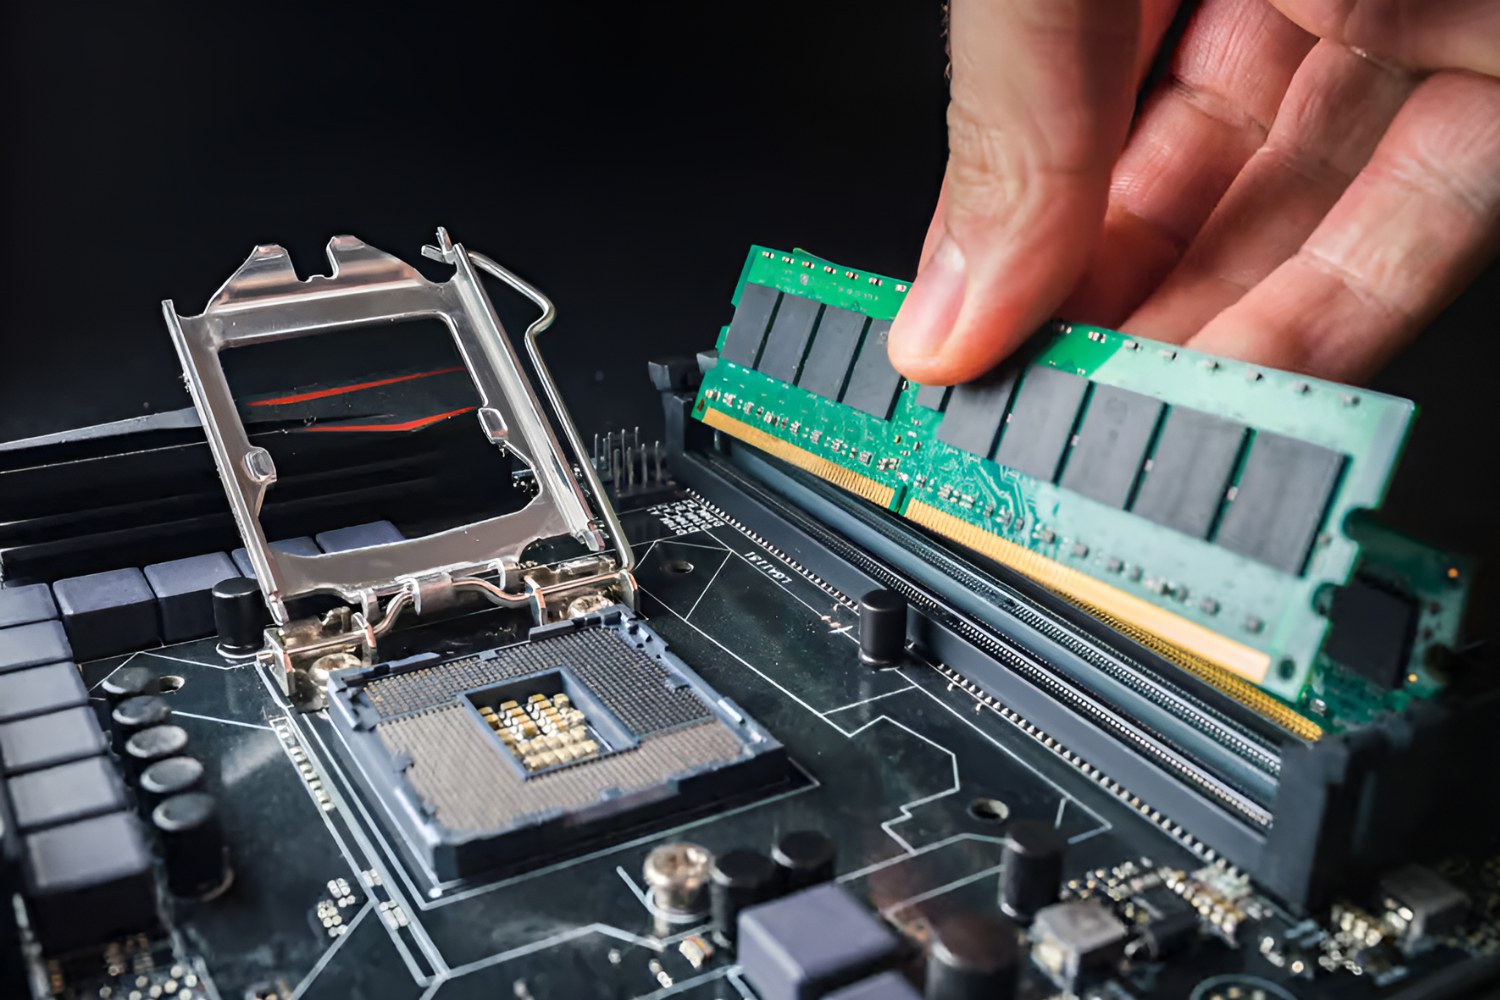
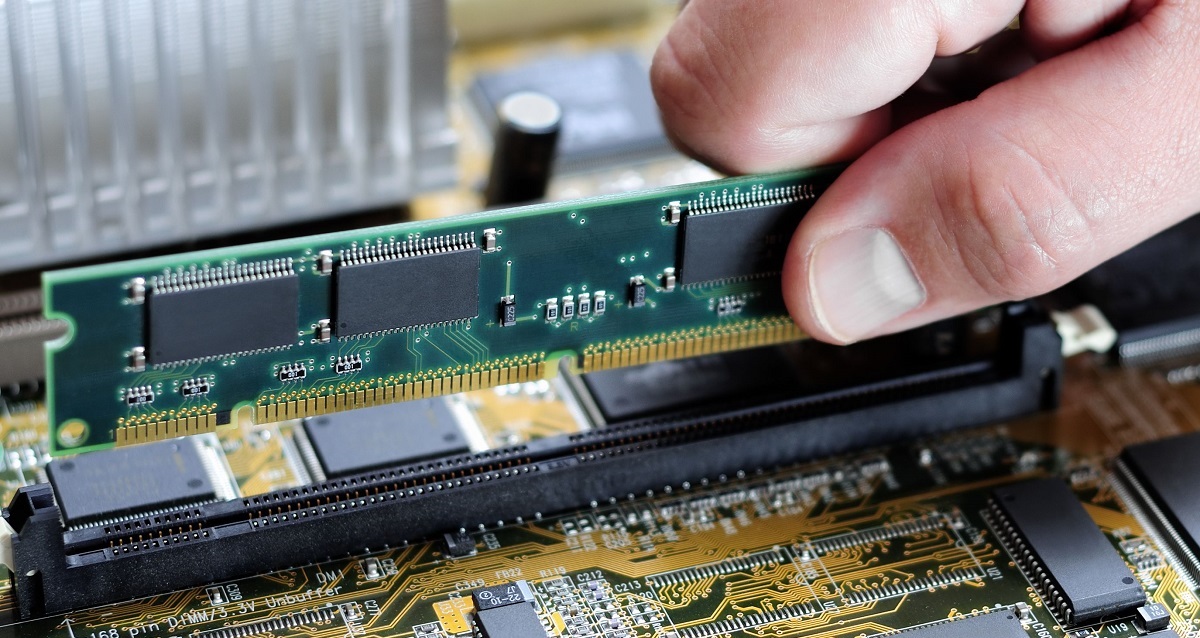
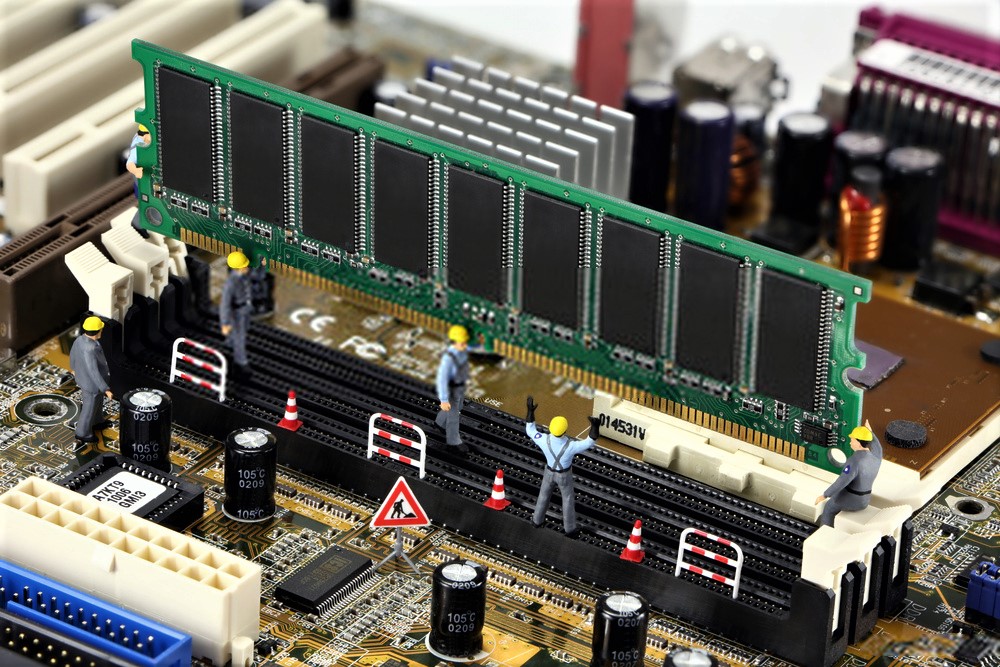
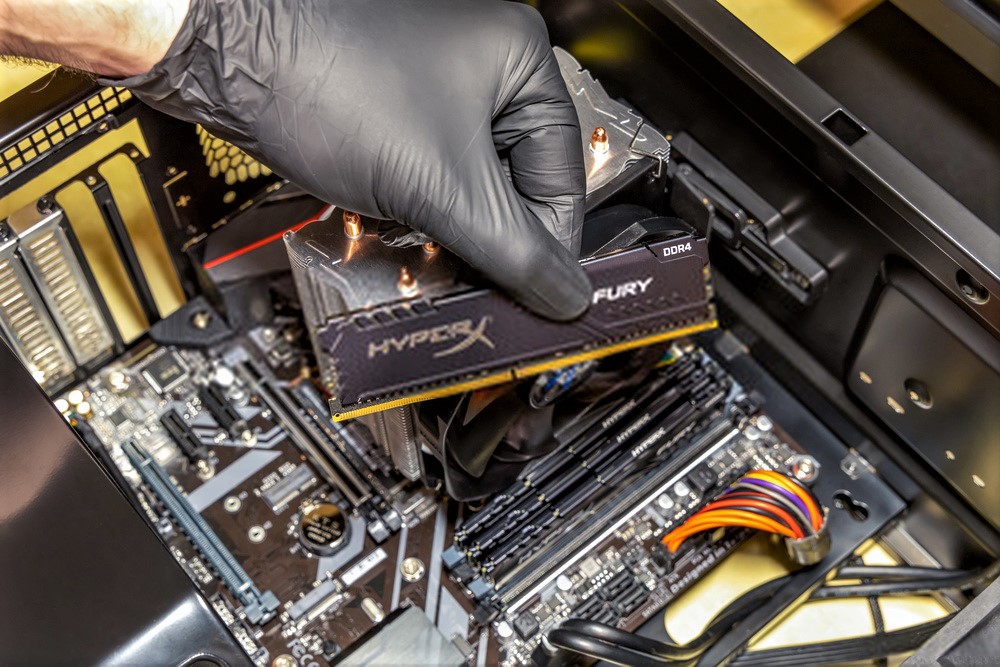
Step 5: Install the RAM
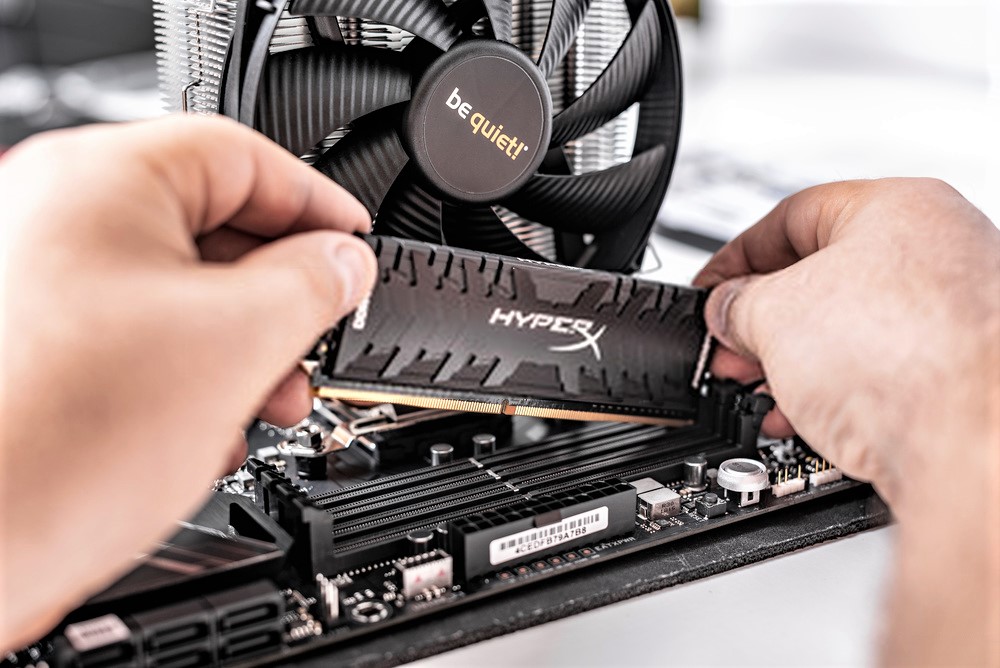
It’s finally time to install the RAM modules themselves. To do this, push back the wings on either end of the RAM slot. Then, take your RAM stick and align its metal contacts and notch to the ones on the slot. When it’s properly aligned, press down with ample pressure on the RAM’s edges to lock it in place. The wings should clamp inward to secure and lock the RAM stick.
Note that if the RAM stick isn’t lined up properly, it won’t be affixed in place. Make sure not to force it in and check if it’s properly lined up first. If you force the RAM stick in with improper orientation, you risk damaging your motherboard.
Step 6: Confirmation & Testing
With the new RAM installed, you will now have to do final checks before closing your PC. Make sure the wing clips on either end are securely locked in place. If everything looks good, then you can close the side panel and reorient your PC. Plug it into a power source and reconnect all the unplugged cables.
Afterward, boot the system to test whether you’ve properly installed the RAM or not. If your computer doesn’t boot up, then that means something’s wrong with the RAM installation. Don’t panic if that does happen. Just stay calm and reopen the side panel and check the RAM slots again. You can also restick the RAM modules to make sure it boots properly.
How to Install RAM on Mac: What You Need to Know
Installing RAM on a PC is slightly different from a Mac. That’s because the internal architecture differs, especially if you’re using a MacBook. Moreover, the majority of recently released Macs don’t allow for user-upgradeable RAMs. Hence, it’s not always possible to upgrade the RAM yourself while using a Mac.
Fortunately, there are ways if you want to learn how to install RAM on Macs. However, you’ll have to keep in mind that it’s only possible for compatible units. Users of other models will have to resort to buying brand new Macs just to get a boost in performance.
RAM-Upgradable Mac Devices
Before you learn how to install RAM MacBook Pro, it’s important to know if you have a compatible Mac. Here’s a list of all the Mac models that have user-upgradeable RAM:
- iMac
- All models until 2020 except for 21.5-inch Macs released on the following dates:
- Late 2012
- Late 2013
- Mid 2014
- Late 2015
- Late 2015 (Retina 4K)
- 2017
- 2017 (Retina 4K)
- 2019 (Retina 4K)
- All models until 2020 except for 21.5-inch Macs released on the following dates:
- Mac Pro (all models)
- 2010 to 2012 Mac Mini models
- 2008 to 2011 MacBooks
- 2009 to mid-2012, 13-inch MacBook Pros
- 2008 to mid-2012, 15-inch MacBook Pros
- 17-inch MacBook Pro (all models)
Meanwhile, the following models do not have user-upgradeable RAM:
- iMac Pro (all models)
- M1 iMac
- 2014 and later Mac Mini models
- MacBook Air (all models)
- 12-inch MacBook (all models)
- MacBook Pro w/ Retina Display (all models)
- Touch Bar MacBook Pros (all models)
- 16-inch MacBook Pros (all models)
How to Find Your Mac Model
If you’ve had your Mac computer for years, then you might not remember which exact model you have. Thankfully, there’s an easy way to determine which Mac model you have through the software.
To find out your Mac model, head over to the Apple menu in the upper-left corner. Select About this Mac and navigate to the Overview tab. Here, you should find your Mac’s model name at the top with its release year. This page will also display how much memory you have currently installed.
In addition, you should also check the model identifier for your Mac. To do this, just click on System Report and then look for the Hardware Overview section. Here, look for the Model Identifier and note it down somewhere. Remember to keep it handy as you purchase a new RAM module.
Which RAM to Buy for Your Mac
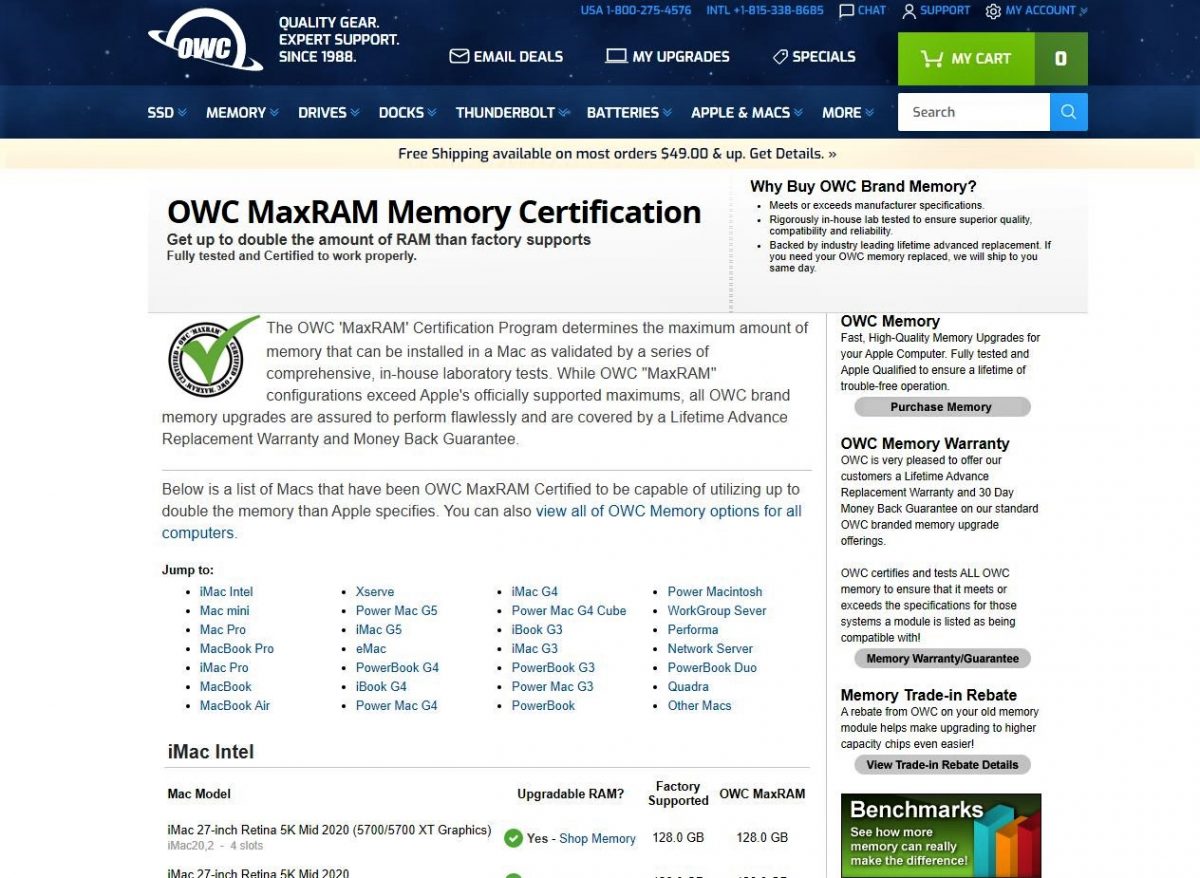
Apple has produced many Mac computers and laptops over the years. As a result, it can be difficult to check every model and scour the internet for which RAM to buy. Thankfully, there’s a handy webpage from Other World Computing with a list of Macs and compatible RAM modules. It also contains videos on how to install RAM in each Mac model.
Apart from looking for compatible RAM, you should also keep in mind your Mac model’s RAM capacity. Some Macs can only handle so much RAM because Apple builds in a maximum capacity for each unit.
You can check out how much RAM your specific unit can take by checking out this page. This page should also provide you details on how many RAM slots your specific model should have. Most Macs house two RAM slots so you can buy two sticks to boost performance.
How to Install RAM on Mac
It would be too difficult to go over how to install RAM on every single compatible Mac model. Hence, we’ve created a general guide for most Mac models with user-upgradeable RAM. This tutorial is based on a mid-2010 MacBook. The process may differ a little bit from Mac to Mac. However, the same basic principles should apply regardless of your Mac model.
Like on a Windows PC, make sure to prepare yourself before starting the installation process. More specifically, keep static discharges in mind and wear an antistatic accessory. You can also ground yourself with a piece of metal before and during the installation. Also, ensure you wear static-free footwear and clothes while you follow these instructions.
Step 1: Remove the Cover
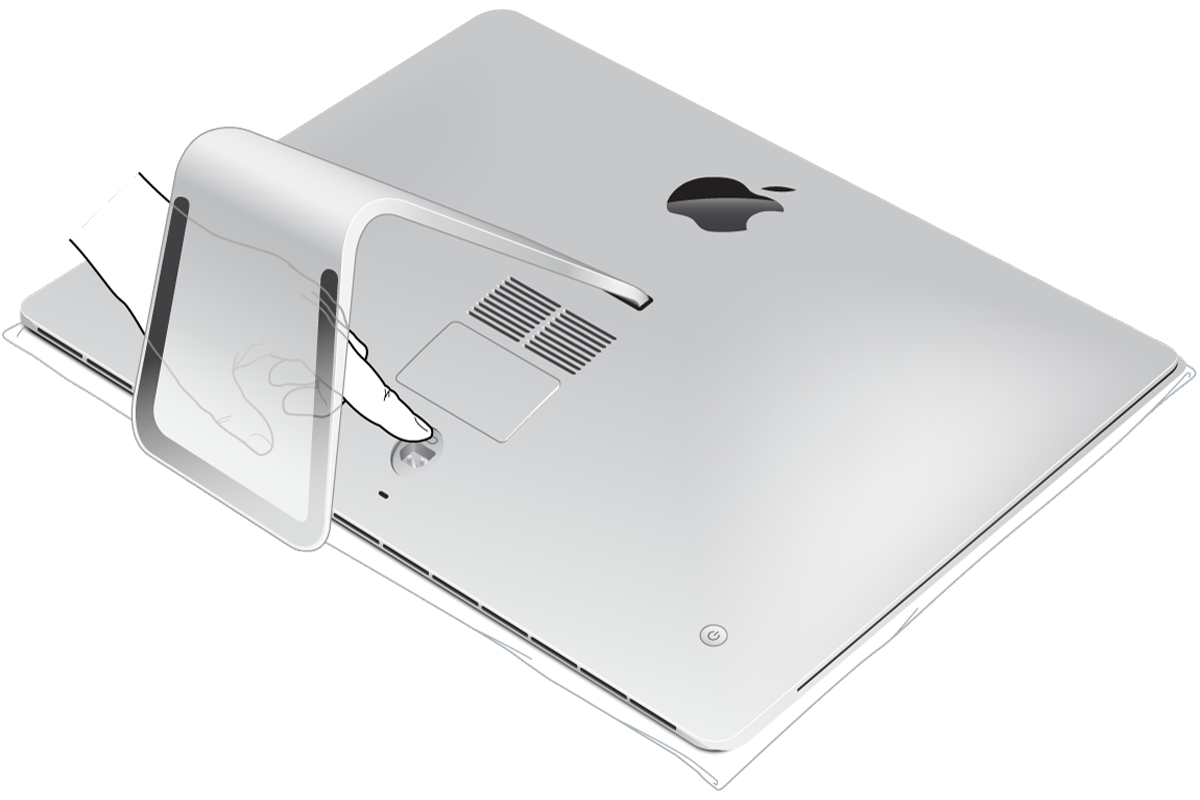
Similar to a PC, the first thing you have to do is remove the cover encasing the components. Remove all the connected accessories and flip your MacBook over then gently place it on a flat surface.
Unscrew the bottom cover with a standard Phillips head screwdriver. Afterward, set the screws aside in a safe place where you won’t lose them.
Step 2: Remove the Old RAM

Find and remove your device’s old RAM stick(s). Find the connected RAM in your unit and remove it. On the mid-2010 MacBook, you can do this by using the clips located on either side of the RAM. Just gently push them outwards away from the RAM. Then, the RAM stick should pop up, available for you to pull out. Repeat these steps with the second RAM stick and then set both aside in a safe place.
Step 3: Install New RAM
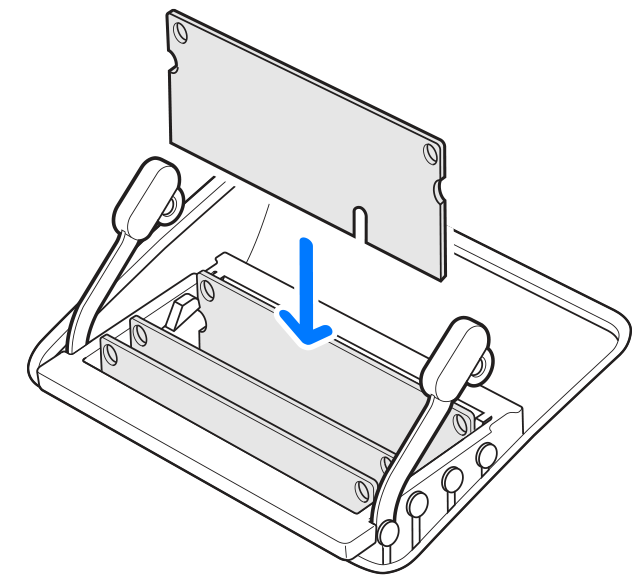
Once you’ve removed the old RAM, it’s time to install the new RAM module. Like on a PC, line up the RAM stick’s notches and connector pins with the ones on the slot. There’s only one orientation for this so make sure to line the connectors correctly. Afterward, gently push the RAM stick down into the slot. It should snap into place if it’s in the proper orientation.
Do the same thing for the second RAM stick you want to install into the MacBook. Afterward, just place the cover back onto your MacBook and screw it in place.
Step 4: Testing
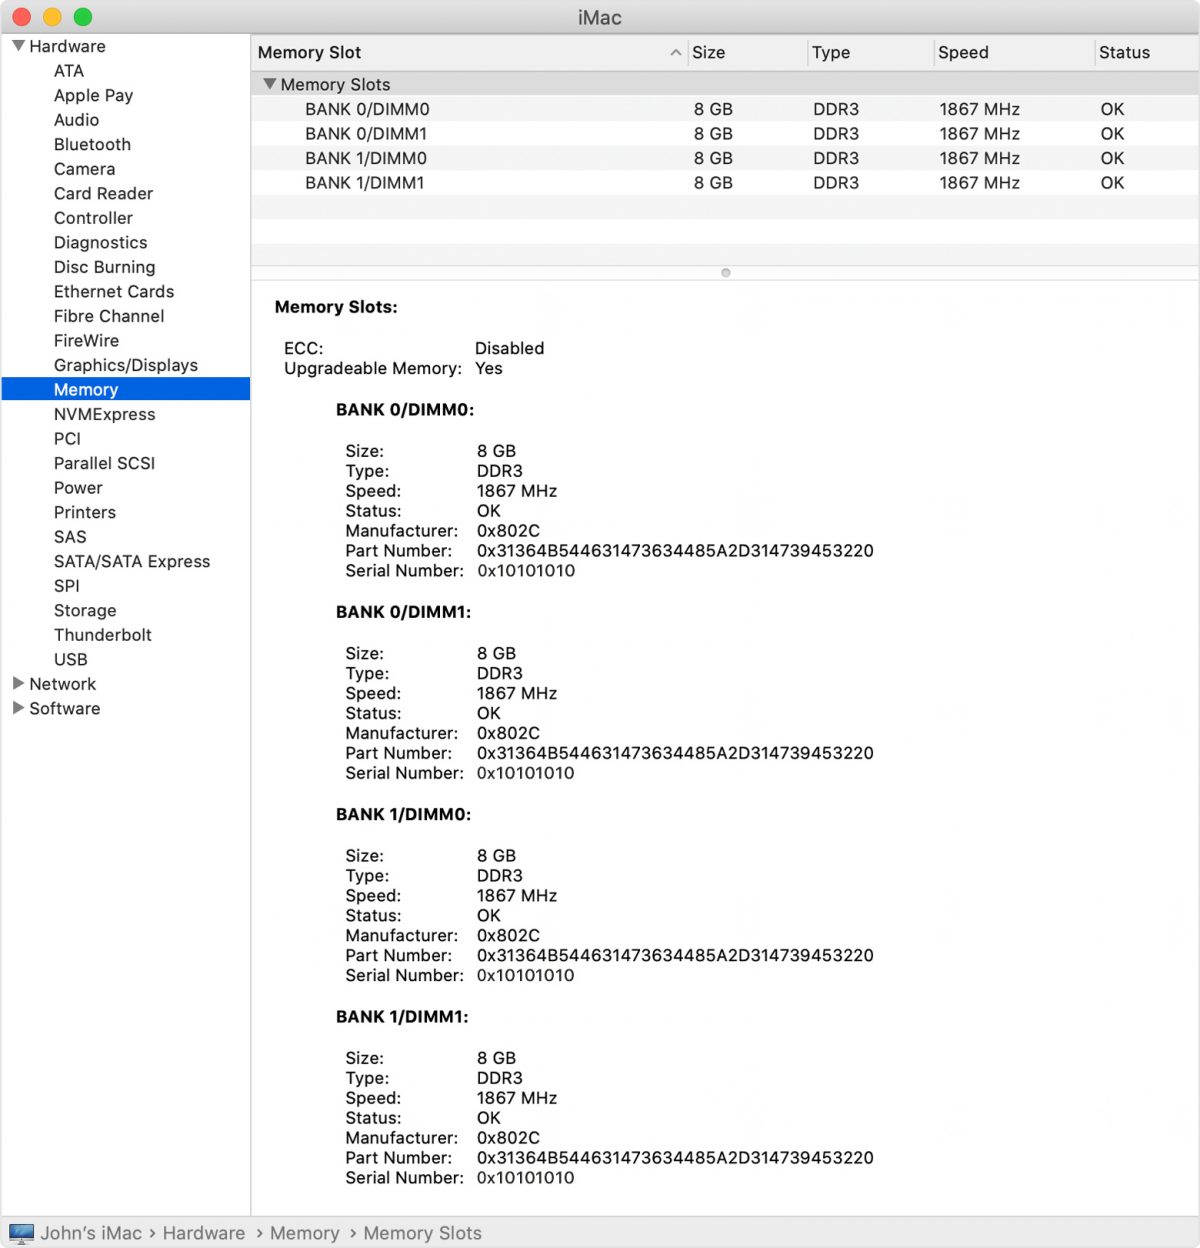
Afterward, it’s time to boot up your MacBook and see if it recognizes the new RAM. Once it’s turned on, click on the Apple menu on the top-left edge of the screen. Then, choose About This Mac and locate Memory. Here, you’ll find the amount of RAM that it recognizes. If you’ve done it correctly, then your MacBook should recognize the correct amount of RAM. You can also check for more information under the Memory tab in System Report.
A Simple Method For All
Learning how to install RAM can be fairly easy if you know what you’re doing. As long as you have the right RAM and tools on hand, it’s the easiest way to upgrade your PC. Once you do, you’ll find that it performs much faster, especially for gaming. With that, we hope this guide helped you learn how to install RAM so you can enjoy better performance.