Introduction
When it comes to upgrading the performance of your computer, one of the most effective ways is to install additional RAM. Random Access Memory, or RAM, plays a crucial role in the speed and efficiency of your computer’s operations. By increasing the amount of RAM in your system, you can improve multitasking capabilities, enhance overall performance, and reduce lag.
There are different types of RAM available in the market, and in this article, we will discuss how to install two popular types of RAM: DDR3 and DDR4. DDR3, which stands for Double Data Rate 3, is an older generation of RAM widely used in computers that were manufactured before 2015. On the other hand, DDR4, or Double Data Rate 4, is a newer and faster type of RAM commonly found in modern computer systems.
By understanding the differences between DDR3 and DDR4 RAM and following the step-by-step installation instructions provided in this guide, you will be able to upgrade your computer’s RAM and experience a significant boost in performance. Whether you are a tech-savvy enthusiast or a beginner, this article will walk you through the process of installing both DDR3 and DDR4 RAM modules, ensuring that you can easily and confidently upgrade your computer’s memory.
Differences Between RAM Types
DDR3 and DDR4 are two different types of RAM, each with its own set of specifications and characteristics. Understanding the differences between these two types will help you make an informed decision when upgrading your computer’s memory.
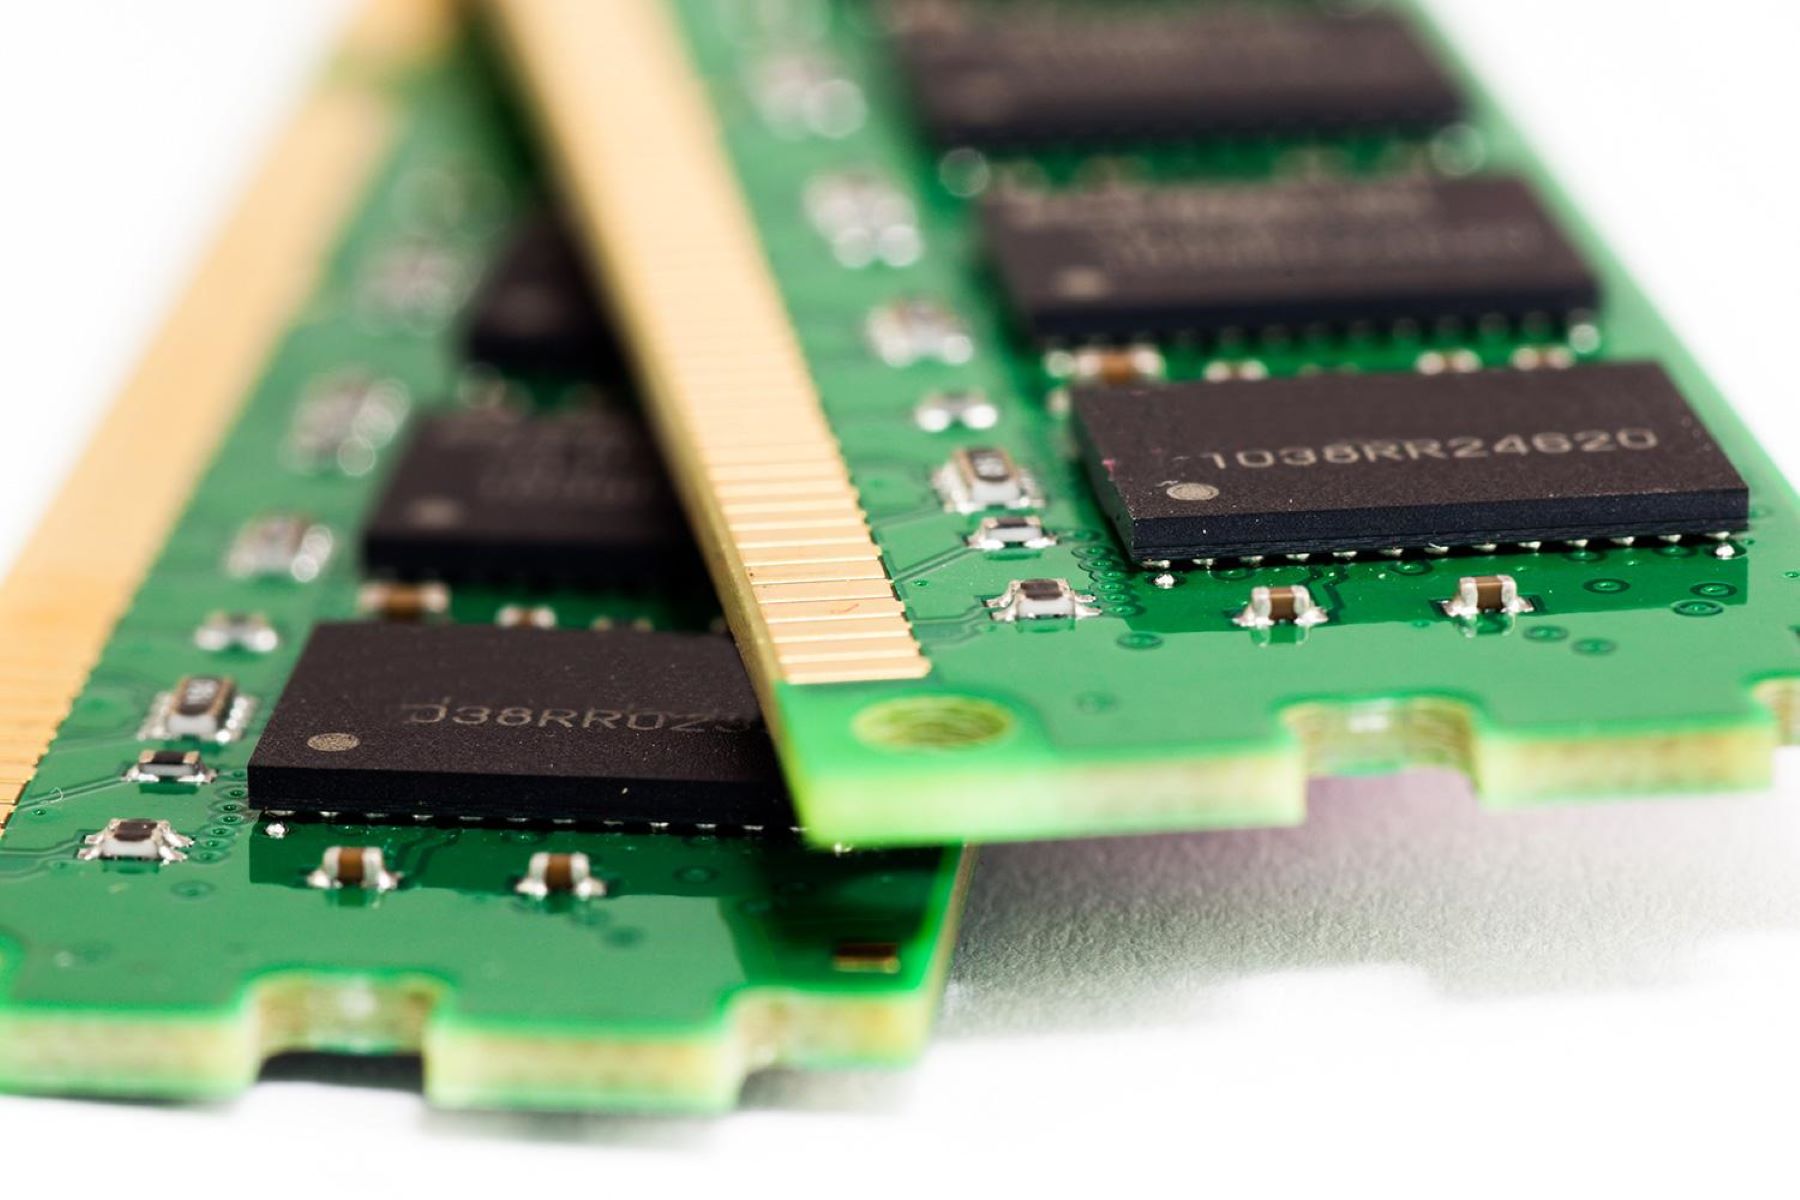
DDR3 RAM is an older technology that has been widely used in computer systems for many years. It operates at a lower frequency compared to DDR4, typically ranging from 800 MHz to 2133 MHz. DDR3 RAM modules have 240 pins and are not compatible with DDR4 slots on motherboards.
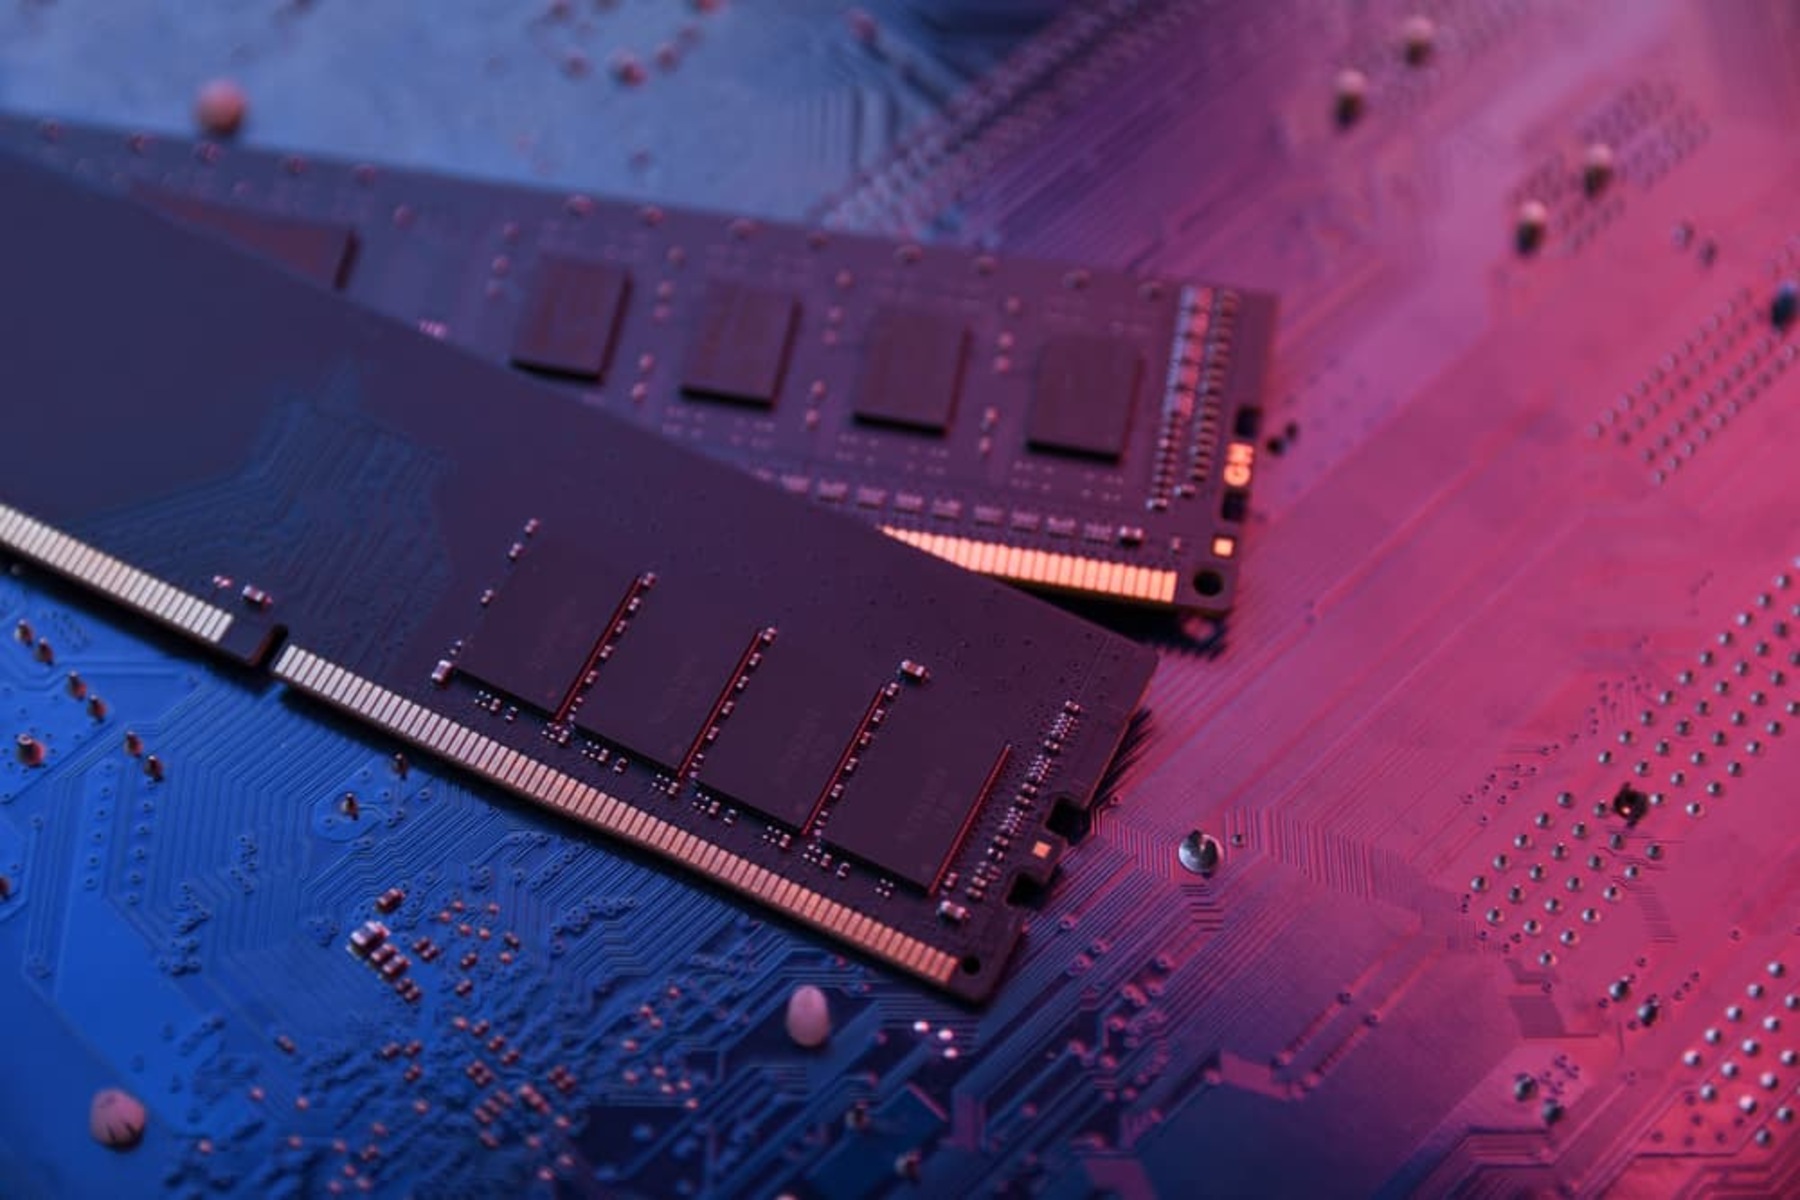
On the other hand, DDR4 RAM is the newer and more advanced type of memory. It operates at higher frequencies, starting from 2133 MHz and going up to 3200 MHz or even higher. DDR4 RAM modules have 288 pins and are not compatible with DDR3 slots.
One of the key differences between DDR3 and DDR4 RAM is the voltage requirement. DDR3 RAM usually operates at 1.5V, while DDR4 RAM operates at a lower voltage of 1.2V. This lower voltage not only reduces power consumption but also generates less heat, contributing to improved energy efficiency and overall system performance.
Another notable difference is the data transfer rate. DDR4 RAM has a higher bandwidth, allowing for faster data transfer between the RAM modules and the processor. This results in improved overall system performance, especially in tasks that require a lot of memory bandwidth, such as gaming, video editing, and graphic design.
DDR4 RAM also offers higher memory capacities compared to DDR3. While DDR3 RAM modules typically range from 2GB to 16GB, DDR4 RAM modules can go up to 128GB, providing more headroom for memory-intensive applications and future-proofing your system.
In terms of cost, DDR4 RAM is generally more expensive than DDR3 due to the newer technology and higher performance. However, as DDR4 becomes more mainstream and its production costs decrease, the price difference between the two types of RAM is gradually decreasing.
Overall, DDR4 offers significant advantages over DDR3 in terms of performance, energy efficiency, and capacity. When upgrading your computer’s RAM, it is recommended to go for DDR4 if your motherboard supports it, as it provides a better and more future-proofed solution for your computing needs.
Installing DDR3 RAM
Installing DDR3 RAM is a straightforward process that can be accomplished with just a few steps. Before you begin, gather the necessary tools and equipment, including a screwdriver and an anti-static wrist strap to protect the components from any potential damage caused by electrostatic discharge.
Here is a step-by-step guide on how to install DDR3 RAM:
- Step 1: Gather the Necessary Tools and Equipment
- Step 2: Shut Down Your Computer and Unplug It
- Step 3: Open the Computer Case
- Step 4: Locate the RAM Slots on the Motherboard
- Step 5: Insert the DDR3 RAM Modules
- Step 6: Secure the RAM Modules in Place
- Step 7: Close the Computer Case and Plug It Back In
- Step 8: Power On Your Computer and Verify the Installation
Ensure you have a screwdriver and an anti-static wrist strap. These tools will help you handle the RAM modules and prevent any static-electricity-related damage.
Before working with any computer components, make sure the computer is turned off and unplugged from the power source. This will prevent any accidents or damage to the components.
Remove the screws or unlatch the mechanisms that hold the computer case together. Gently remove the side panel to gain access to the internal components of the computer.
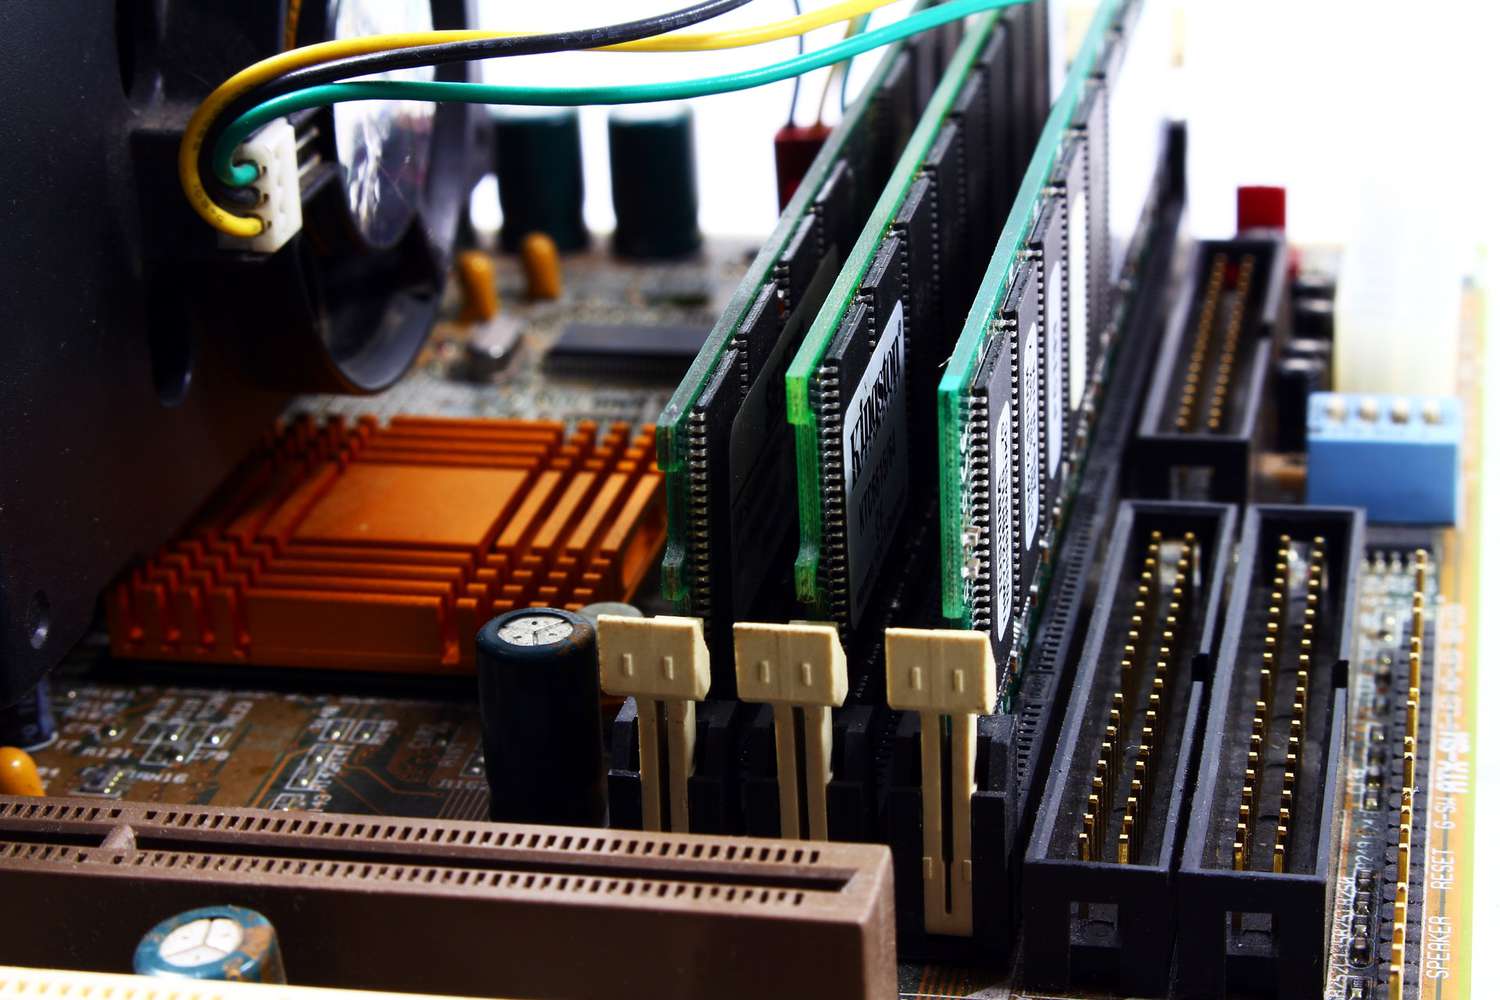
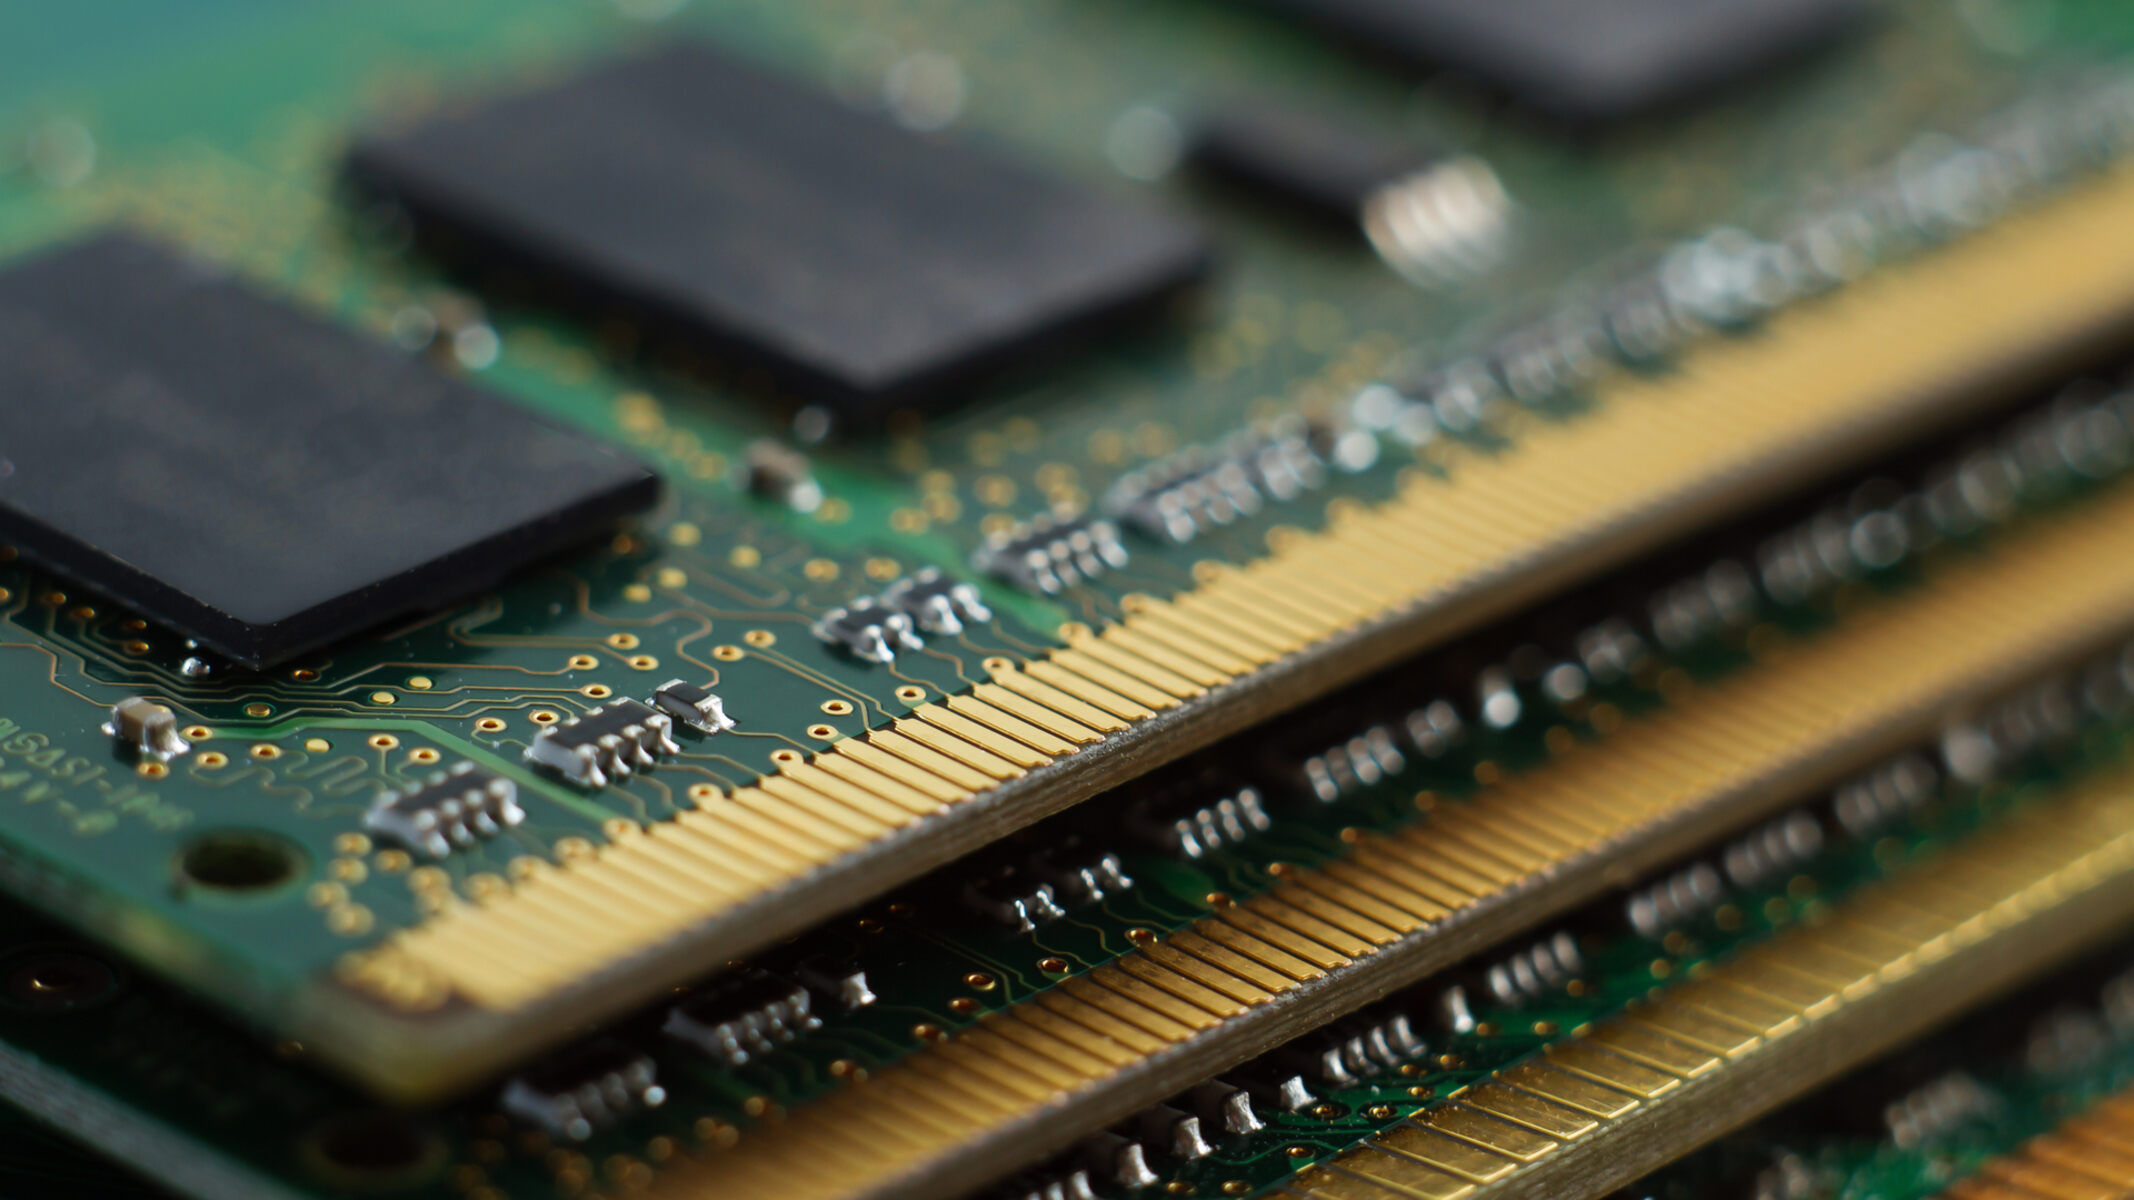
Identify the RAM slots on the motherboard. These slots are typically located near the CPU and are easily recognizable by their rectangular shape and the presence of retaining clips on each side.
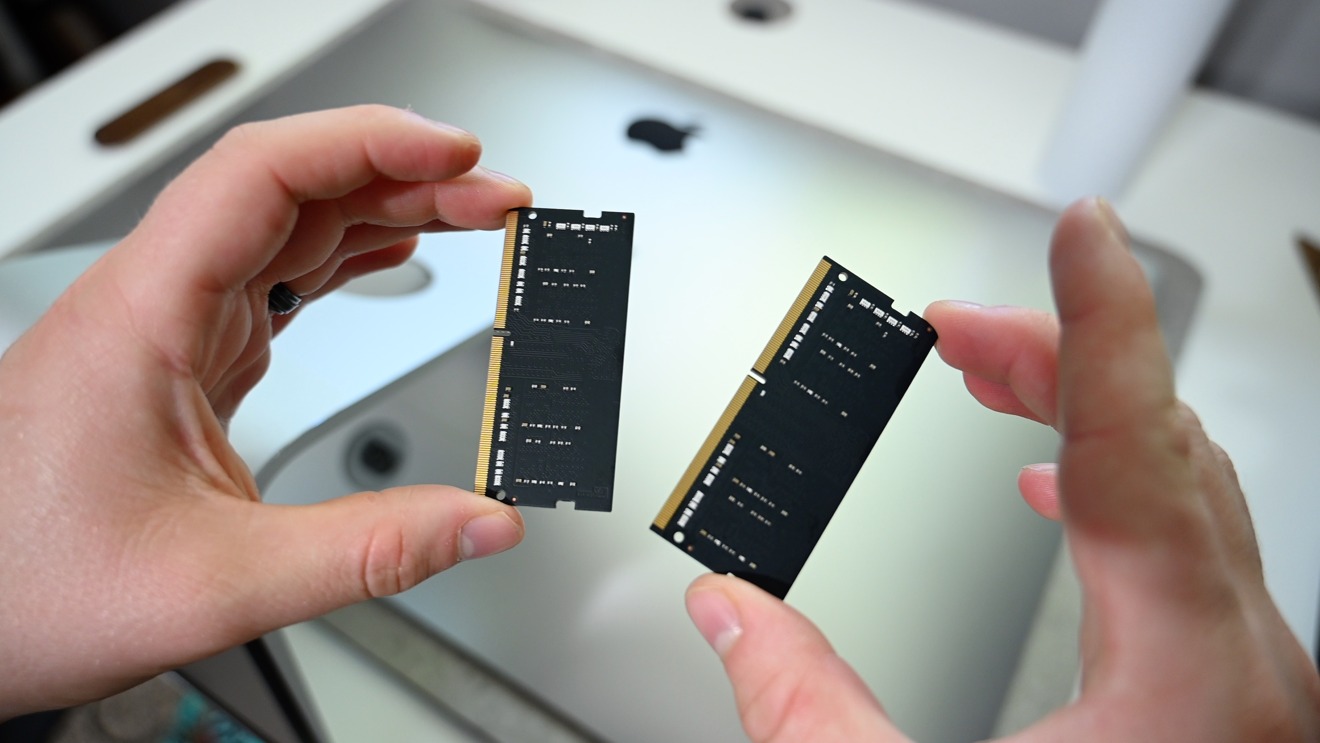
Hold the DDR3 RAM module by its edges, making sure not to touch the gold contacts. Align the notch on the RAM module with the notch on the RAM slot and gently insert the module at a slight angle. Press down firmly until the module clicks into place.
Once the RAM module is properly inserted, push down on both sides of the module until the retaining clips snap into place. This will ensure that the module is firmly secured in the RAM slot.
Put the side panel back onto the computer case and secure it with the screws or latches. Reconnect all the necessary cables and plug the computer back into the power source.
Turn on your computer and wait for it to boot up. Once the computer has started, you can check if the new RAM is recognized by going into the system settings or using software tools to confirm the installed RAM capacity.
By following these steps, you can successfully install DDR3 RAM into your computer and enjoy the benefits of increased memory capacity and improved performance.
Step 1: Gather the Necessary Tools and Equipment
Before you begin the process of installing DDR3 RAM in your computer, it’s important to gather the necessary tools and equipment. Having these items on hand will ensure a smooth and successful installation:
- Screwdriver: A small or medium-sized screwdriver will be required to open the computer case. Make sure to use the appropriate size and type of screwdriver for your specific case.
- Anti-Static Wrist Strap: An anti-static wrist strap is an essential tool to protect the components from electrostatic discharge (ESD). It helps to prevent any static electricity from damaging the delicate electronic components.
Using an anti-static wrist strap is crucial when working with computer components, as even a small amount of static electricity can cause irreparable damage.
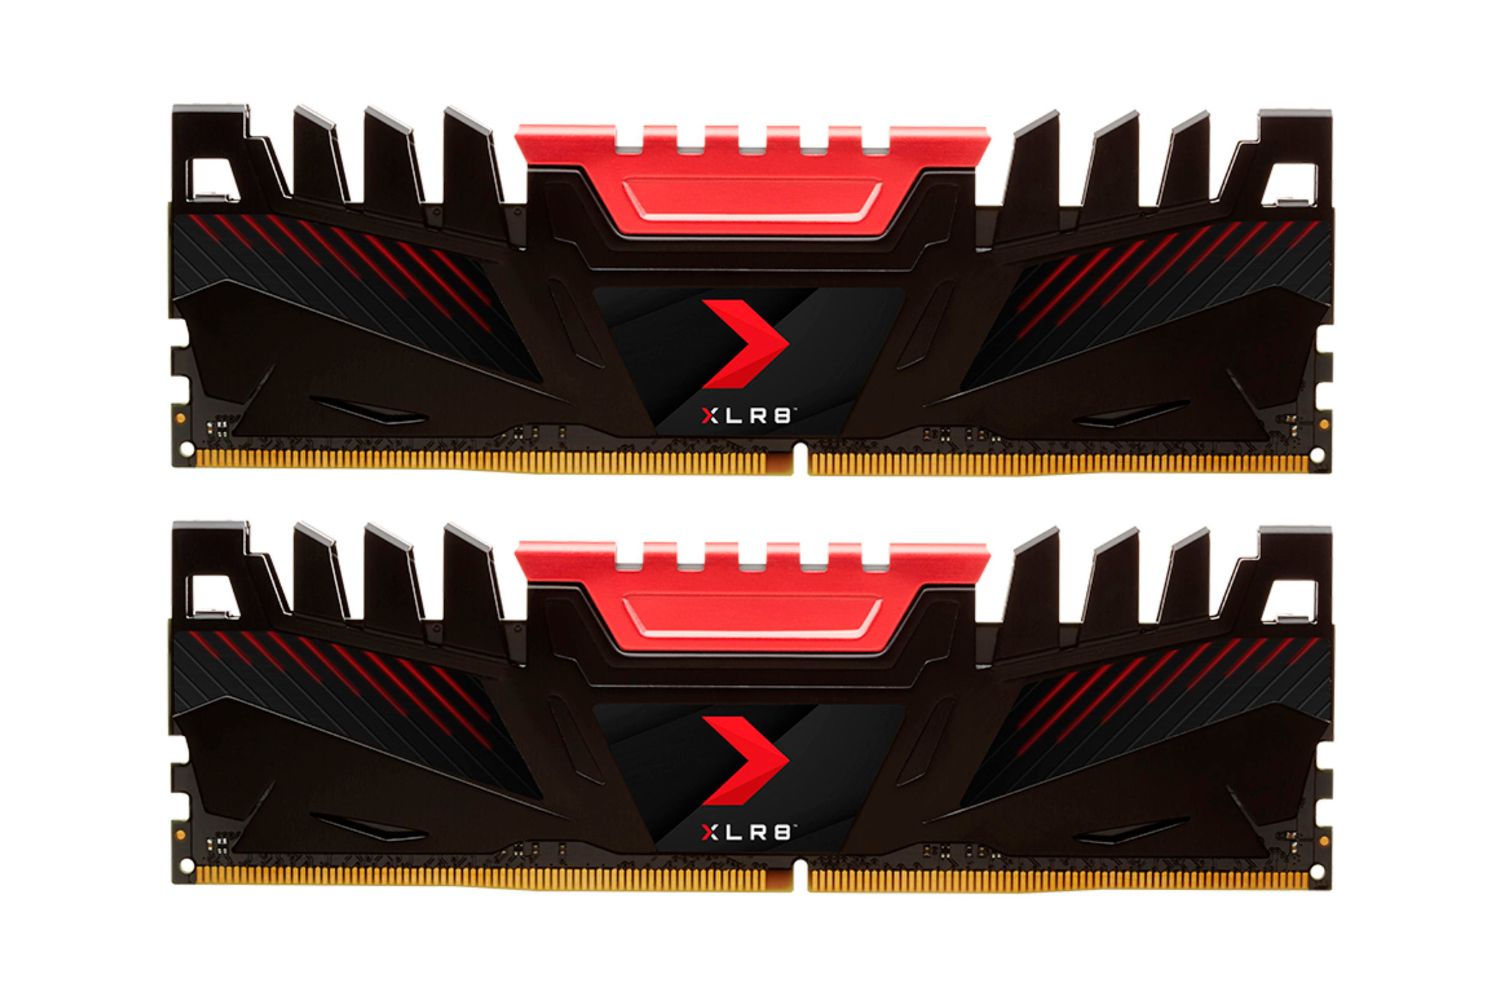
It’s important to note that some RAM modules may come with heat spreaders or additional cooling solutions. While these can provide better heat dissipation and potentially enhance the performance of the RAM, they are not essential for the installation process.
By gathering these necessary tools and equipment before you start, you can ensure a smooth installation process and reduce the risk of damaging any components due to static discharge. This step sets the foundation for a successful and hassle-free RAM installation.
Step 2: Shut Down Your Computer and Unplug It
Before you start installing DDR3 RAM in your computer, it’s important to shut down your computer properly and disconnect it from the power source. This will ensure your safety and prevent any potential damage to the components during the installation process.
Follow these steps to shut down your computer and unplug it:
- Save Your Work: Before shutting down your computer, make sure to save any open documents or files you are working on. Close any running applications to avoid data loss.
- Shut Down the Operating System: Click on the “Start” or “Apple” menu and select the “Shut Down” option. Wait for your computer to completely shut down before proceeding.
- Unplug External Devices: Disconnect any external devices that are connected to your computer, such as printers, scanners, USB drives, or external hard drives.
- Turn Off the Power Supply: Locate the power button on your computer or the power supply unit (PSU) at the back of the case. Press the power button or switch off the PSU to turn off the power completely.
- Unplug the Power Cord: Once the power is turned off, unplug the power cord from the electrical outlet. This will ensure that there is no residual power running through the computer.
- Ground Yourself: To prevent electrostatic discharge (ESD) and protect the sensitive computer components, it’s important to ground yourself. Use an anti-static wrist strap and connect it to a grounded metal object, such as the computer case, or touch a grounded metal surface before handling any internal components.
By shutting down your computer properly and disconnecting it from the power source, you will minimize the risk of electrical shock and protect your computer from any power-related issues during the installation process. Remember to always follow these safety precautions to ensure a safe and successful RAM installation.
Step 3: Open the Computer Case
In order to install DDR3 RAM in your computer, you’ll need to gain access to the internal components by opening the computer case. This step may vary slightly depending on the type of computer case you have, but the general process remains the same.
Follow these steps to open the computer case:
- Turn Off and Unplug Your Computer: Before proceeding, make sure your computer is completely shut down and unplugged from the power source. This will ensure your safety and prevent any electrical accidents.
- Locate the Screws or Latches: Examine the exterior of your computer case to identify the screws or latches that hold the side panel in place. The common positions for these screws or latches are along the backside or beneath the case. Refer to your computer’s manual if you’re unsure about the specific locations.
- Remove the Screws or Release the Latches: Using a screwdriver, unscrew the screws securing the side panel to the case. If your computer case has latches, press or lever them to release the side panel. Typically, you’ll only need to remove one side panel.
- Slide Off the Side Panel: Once the screws are removed or the latches are released, gently slide the side panel away from the case. Be careful not to force it or damage any internal components.
After following these steps, you should have successfully opened the computer case, providing access to the internal components, including the motherboard and RAM slots. Take a moment to familiarize yourself with the interior of the case, noting the location of the RAM slots and any other components you may need to work with.
It’s important to handle the computer case and the side panel with care to prevent any accidental damage. Keep the screws and side panel in a safe place to reassemble the case once the DDR3 RAM installation is complete.
Now that you have opened the computer case, you are ready to move on to the next step of installing the DDR3 RAM modules into the RAM slots on the motherboard.
Step 4: Locate the RAM Slots on the Motherboard
Before you can install DDR3 RAM in your computer, you need to locate the RAM slots on the motherboard. The RAM slots are where the DDR3 modules will be inserted, allowing the computer to access and utilize the additional memory.
Follow these steps to locate the RAM slots on the motherboard:
- Identify the Motherboard: Take a look at the motherboard inside your computer case. The motherboard is the main circuit board that connects various components, including the CPU, RAM, and expansion cards.
- Find the RAM Slot Area: Look for a rectangular-shaped area on the motherboard that is specifically designated for the RAM slots. This area is typically located near the CPU socket, but it may vary depending on the motherboard model.
- Count the Number of RAM Slots: Take note of the number of RAM slots available on the motherboard. Most standard motherboards have two to four RAM slots, although high-end motherboards may have more.
- Observe the Retaining Clips: Examine the RAM slot area and note the presence of retaining clips. These small plastic or metal clips are designed to hold the RAM modules firmly in place once inserted.
- Note the Orientation: Pay attention to the orientation of the RAM slots. Typically, the RAM slots are parallel to each other and perpendicular to the longer side of the motherboard.
By taking the time to locate the RAM slots on the motherboard, you will have a clear understanding of where the DDR3 RAM modules will be inserted. This knowledge is essential for a successful installation and ensures that you are working with the correct components.
Remember to refer to your computer’s manual or the manufacturer’s documentation if you need assistance in identifying the exact location of the RAM slots on your specific motherboard model.
With the RAM slots identified, you are now ready to proceed to the next step, which involves inserting the DDR3 RAM modules into the appropriate slots on the motherboard.
Step 5: Insert the DDR3 RAM Modules
Now that you’ve located the RAM slots on the motherboard, it’s time to insert the DDR3 RAM modules. These modules contain the memory chips that will provide your computer with additional RAM capacity, enhancing its performance and multitasking capabilities.
Follow these steps to properly insert the DDR3 RAM modules:
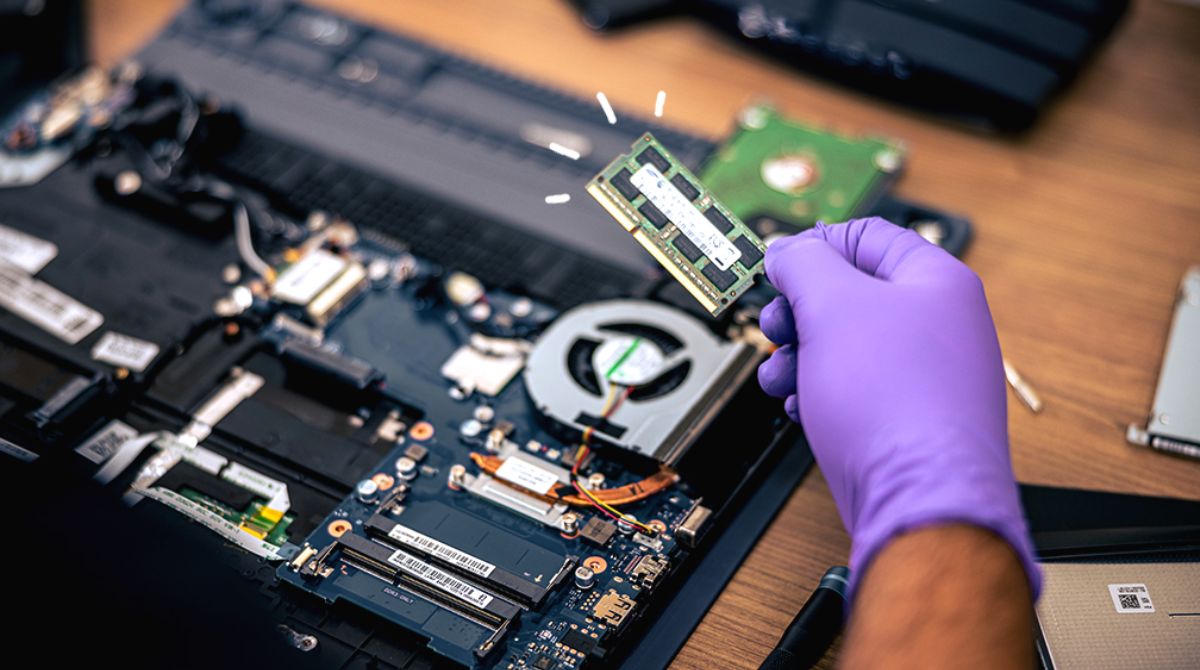
- Prepare the RAM Modules: Before handling the DDR3 RAM modules, make sure to ground yourself by using an anti-static wrist strap or touching a grounded metal surface. Handle the RAM modules by their edges, avoiding contact with the gold contacts or any sensitive components.
- Align the Notch: Orient the DDR3 RAM module correctly by aligning the notch on the module’s connector with the notch on the RAM slot. This ensures that the module is inserted in the correct orientation.
- Insert the RAM Module: Holding the DDR3 RAM module at a slight angle, gently insert it into the RAM slot. Apply enough pressure to seat the module firmly into the slot, while ensuring that it is aligned with the retaining clips on each side.
- Push Down Firmly: Once the DDR3 RAM module is fully inserted into the slot, push down firmly on both ends of the module until the retaining clips snap into place. This indicates that the module is securely installed and properly seated.
- Repeat the Process: If you have multiple DDR3 RAM modules to install, repeat the above steps for each module, inserting them into the available RAM slots one by one.
It’s important to note that DDR3 RAM modules can only be inserted in one orientation. Trying to force the module or inserting it the wrong way can damage both the RAM module and the motherboard’s RAM slot.
By following these steps, you will ensure that the DDR3 RAM modules are correctly inserted into the RAM slots. Proper alignment and firm seating are crucial for a reliable connection and optimal performance.
Now that the DDR3 RAM modules are securely installed, you are ready to move on to the next step, which involves securing the modules in place for added stability.
Step 6: Secure the RAM Modules in Place
After inserting the DDR3 RAM modules into the RAM slots on the motherboard, it’s important to secure them in place to ensure a stable and reliable connection. This step will help prevent the modules from accidentally dislodging or coming loose during use.
Follow these steps to properly secure the DDR3 RAM modules:
- Verify Proper Insertion: Before proceeding to secure the RAM modules, double-check that they are correctly inserted and fully seated in their respective RAM slots. Ensure that the retaining clips on both sides of the modules have snapped into place.
- Push Down the Retaining Clips: Carefully press down on both ends of the RAM modules to engage the retaining clips. The retaining clips will latch onto the indentations on the sides of the RAM modules, holding them securely in place.
- Ensure Even Pressure: Apply an equal amount of pressure on both ends of the RAM modules while securing the retaining clips. This ensures that the modules are evenly pressed against the motherboard, promoting optimal contact and stability.
- Gently Wiggle the RAM Modules: After securing the RAM modules, give them a gentle wiggle to ensure they are securely fastened. If there is any movement, carefully reseat the module and reengage the retaining clips until the modules are snug and immobile.
It’s crucial not to apply excessive force when securing the RAM modules, as this can lead to damage. Be gentle and ensure that the retaining clips engage smoothly without any resistance.
Securing the DDR3 RAM modules in place is an essential step to prevent loose connections or accidental dislodging. Properly secured RAM modules contribute to stable performance and eliminate potential instabilities caused by movement or vibrations.
With the RAM modules securely fastened, you can now proceed to the next step, which involves closing the computer case and reconnecting the necessary components.
Step 7: Close the Computer Case and Plug It Back In
Once you have completed the installation of the DDR3 RAM and secured the modules in place, the next step is to close the computer case and reconnect any necessary components. This ensures the protection and proper functioning of the internal components.
Follow these steps to close the computer case and plug it back in:
- Check Internal Connections: Before closing the computer case, make sure all internal cables and connectors are properly connected. Check that the power cables, data cables, and any other necessary connections are securely in place.
- Align and Secure the Side Panel: Align the side panel of the computer case with the corresponding slots or hinges. Gently slide it back into position, making sure it fits snugly. If your case uses screws to secure the side panel, fasten them securely using a screwdriver. For cases with latches, engage them to lock the panel in place.
- Reconnect External Devices: Once the side panel is secured, reconnect any external devices that were disconnected earlier, such as the keyboard, mouse, monitor, and any USB peripherals.
- Plug in the Power Cord: Plug the power cord back into the electrical outlet, ensuring it is securely connected. Double-check that the cord is free of any damage or fraying before plugging it in.
- Power On Your Computer: Press the power button on your computer to turn it on. Listen for any startup sounds and observe the fans and lights to ensure proper initialization.
- Verify the RAM Installation: Once your computer has successfully powered on, you can verify the installation of the DDR3 RAM by checking the system settings or using diagnostic tools. Confirm that the installed RAM capacity matches the expected amount.
By carefully closing the computer case and reconnecting the necessary components, you are ensuring the protection of the internal hardware and creating a stable operating environment.
With the computer case closed and the necessary components reconnected, you can move on to the final step: powering on your computer and confirming a successful DDR3 RAM installation.
Step 8: Power On Your Computer and Verify the Installation
After completing the installation of DDR3 RAM and closing the computer case, the final step is to power on your computer and verify that the RAM installation was successful. This step will ensure that the computer recognizes and utilizes the newly installed RAM modules.
Follow these steps to power on your computer and verify the DDR3 RAM installation:
- Ensure all connections are secure: Before powering on your computer, double-check that all cables and components are properly connected. This includes the power cord, monitor, keyboard, mouse, and any other peripherals.
- Press the Power Button: Locate the power button on your computer case or keyboard and press it to turn on the computer. Listen for startup sounds, such as fans spinning or beeps, which indicate that the system is initializing.
- Observe the RAM Capacity: Once your computer has booted up, go to the system settings or use diagnostic tools to verify the installed RAM capacity. This will confirm that the DDR3 RAM modules are recognized and functioning properly.
- Check System Performance: Test the overall performance of your computer and evaluate any improvements. Run memory-intensive tasks or applications to gauge the impact of the additional RAM on performance and multitasking capabilities.
If the computer does not recognize the newly installed DDR3 RAM or if there are any issues with system stability or performance, double-check the installation by ensuring the RAM modules are properly seated and secured in their slots. It may also be helpful to consult the computer or motherboard manual for troubleshooting steps specific to your system.
With the computer powered on and the DDR3 RAM installation verified, you can now enjoy the benefits of increased memory capacity and improved performance in your computer.
Installing DDR4 RAM
Installing DDR4 RAM is a similar process to installing DDR3 RAM, with a few key differences. DDR4 RAM is a newer and faster type of memory that offers improved performance and higher capacity compared to DDR3 RAM. Follow this step-by-step guide to install DDR4 RAM in your computer:
- Step 1: Gather the Necessary Tools and Equipment
- Step 2: Shut Down Your Computer and Unplug It
- Step 3: Open the Computer Case
- Step 4: Locate the RAM Slots on the Motherboard
- Step 5: Insert the DDR4 RAM Modules
- Step 6: Secure the RAM Modules in Place
- Step 7: Close the Computer Case and Plug It Back In
- Step 8: Power On Your Computer and Verify the Installation
Make sure you have a screwdriver and an anti-static wrist strap. These tools will help you handle the RAM modules and protect them from any potential electrostatic damage.
Before working with any computer components, turn off your computer and disconnect it from the power source to avoid any accidents or damage.
Remove the screws or unlatch the mechanisms that hold the computer case together. Gently remove the side panel to gain access to the internal components.
Identify the RAM slots on your motherboard. They are typically located near the CPU, and you can recognize them by their rectangular shape and retaining clips on each side.
Hold the DDR4 RAM module by its edges, being careful not to touch the gold contacts. Align the notch on the module with the notch on the RAM slot and insert it at a slight angle. Apply firm pressure until the module clicks into place.
After inserting the DDR4 RAM module, gently push down on both ends until the retaining clips snap into place. This ensures that the module is securely seated in the RAM slot.
Put the side panel back onto the computer case and secure it with the screws or latches. Reconnect all necessary cables, including the power cord.
Turn on your computer and wait for it to boot up. Check the system settings or use diagnostic tools to confirm that the DDR4 RAM modules are recognized and functioning correctly.
By following these steps, you can successfully install DDR4 RAM in your computer. Enjoy the benefits of increased performance, faster data transfer, and greater memory capacity that DDR4 RAM offers.
Step 1: Gather the Necessary Tools and Equipment
Before you start the installation process of DDR4 RAM in your computer, it’s important to gather the necessary tools and equipment. Having these items readily available will ensure a smooth and successful installation:
- Screwdriver: You’ll need a screwdriver to open the computer case. Make sure to use the appropriate size and type of screwdriver for your specific case.
- Anti-Static Wrist Strap: An anti-static wrist strap is essential to protect the components from electrostatic discharge (ESD). It helps to prevent any static electricity buildup and potential damage to sensitive electronic parts.
Using an anti-static wrist strap is crucial when working with computer components, as even a small amount of static electricity can harm the delicate internals of your computer.
It’s important to note that some DDR4 RAM modules come with heat spreaders or additional cooling solutions. While these are not necessary for the installation process, they can help dissipate heat and potentially improve RAM performance.
Prior to starting the RAM installation, ensure you have all the required tools and equipment at your disposal. This step sets the foundation for a hassle-free and successful DDR4 RAM upgrade.
Step 2: Shut Down Your Computer and Unplug It
Prior to starting the installation of DDR4 RAM in your computer, it is essential to shut down your computer correctly and disconnect it from the power source. This step ensures your safety and prevents any potential damage to the computer components during the installation process.
Follow these steps to shut down your computer and unplug it:
- Save Your Work: Before shutting down your computer, save any open documents or files you are working on. Close any running applications to prevent data loss.
- Shut Down the Operating System: Depending on your operating system, click on the “Start” or “Apple” menu and select the “Shut Down” option. Allow your computer enough time to shut down completely before proceeding to unplug it.
- Unplug External Devices: Disconnect any external devices such as printers, scanners, USB drives, or external hard drives before proceeding to unplug your computer. This will prevent any accidental damage to these devices during the installation process.
- Turn Off the Power Supply: Locate the power button on your computer or the power supply unit (PSU) at the back of the case. Press the power button or switch off the PSU to ensure that the computer is completely powered off.
- Unplug the Power Cord: Once the power is turned off, unplug the power cord from the electrical outlet. This step ensures that there is no residual power running through the computer, reducing the risk of electrical shock.
- Ground Yourself: To prevent electrostatic discharge (ESD) and protect the sensitive computer components, it’s essential to ground yourself. Use an anti-static wrist strap and connect it to a grounded metal object, like the computer case, or touch a grounded metal surface before handling any internal components.
By shutting down your computer correctly and disconnecting it from the power source, you minimize the risk of electrical shock and protect your computer from any power-related issues during the DDR4 RAM installation process. Following these safety precautions ensures a safe and successful RAM upgrade.
Step 3: Open the Computer Case
To install DDR4 RAM in your computer, you’ll need to open the computer case to gain access to the internal components. Opening the case allows you to locate the RAM slots on the motherboard where the DDR4 RAM modules will be installed.
Here’s a step-by-step guide on how to open the computer case:
- Ensure Safety: Before you start, ensure that your computer is turned off and unplugged from the power source. This will minimize the risk of electrical shock and protect you and the components.
- Locate the Case Screws or Latches: Examine the computer case to identify the screws or latches that secure the side panel. These are usually located at the back of the case. Some cases may have thumbscrews or latch mechanisms that are easy to identify.
- Remove the Screws or Release the Latches: If your case has screws, use a screwdriver to unscrew them counterclockwise. If it has latches, push or unclip them to release the side panel. In some cases, you may need to slide the panel towards the back of the case before removing it.
- Slide Off the Side Panel: Gently slide the side panel away from the case until it detaches completely. Be cautious not to damage any internal components or cables as you remove the side panel. Set the panel aside in a safe place.
Keep in mind that the steps for opening the computer case may vary slightly depending on the case design. Some cases may have a hinged design or may require additional screws or mechanisms to remove the side panel. Consulting the case manual or the manufacturer’s website can provide specific instructions for your case model.
With the case open, you will have a clear view of the internal components, including the motherboard and the RAM slots. Take a moment to familiarize yourself with the layout, noting the location of the RAM slots where you will insert the DDR4 RAM modules.
Now that you have successfully opened the computer case, you are ready to proceed to the next step, which involves locating the RAM slots on the motherboard.
Step 4: Locate the RAM Slots on the Motherboard
Before you can install the DDR4 RAM modules, it’s important to locate the RAM slots on the motherboard. The RAM slots are where the DDR4 modules will be inserted, allowing your computer to access and utilize the additional memory.
Here are the steps to locate the RAM slots on the motherboard:
- Identify the Motherboard: Take a look at your motherboard, which is the main circuit board that houses various components of your computer system. The motherboard is typically the largest circuit board inside the computer case.
- Look for the RAM Slot Area: Locate the RAM slot area on the motherboard. It is generally located near the center of the motherboard or close to the CPU socket. The RAM slots are rectangular in shape and have retaining clips on both ends.
- Count the Number of RAM Slots: Take note of the number of RAM slots on your motherboard. Most standard motherboards have two to four RAM slots, while higher-end or specialized motherboards may have more.
- Observe the Layout and Orientation: Pay attention to the layout and orientation of the RAM slots. The slots are usually aligned horizontally or vertically in a row. The orientation may vary depending on the motherboard model, so refer to the motherboard’s manual for guidance if needed.
Take precautionary measures such as wearing an anti-static wrist strap or touching a grounded metal object to discharge any static electricity before handling the RAM modules or touching the motherboard.
By familiarizing yourself with the RAM slot area on the motherboard, you will have a clear understanding of where the DDR4 RAM modules need to be inserted. This knowledge is vital for a successful installation and ensures that you are working with the correct components.
Now that you have located the RAM slots on the motherboard, you are ready to proceed to the next step, which involves inserting the DDR4 RAM modules into the slots.
Step 5: Insert the DDR4 RAM Modules
Now that you have located the RAM slots on the motherboard, it’s time to insert the DDR4 RAM modules. These modules contain the memory chips that will provide your computer with additional RAM capacity, improving its performance and multitasking capabilities.
Follow these steps to properly insert the DDR4 RAM modules:
- Handle the RAM Modules with Care: Before handling the DDR4 RAM modules, ensure you are grounded by using an anti-static wrist strap or by touching a grounded metal surface. Handle the RAM modules by their edges, avoiding contact with the gold contacts or any sensitive components.
- Align the Notch: Orient the DDR4 RAM module correctly by aligning the notch on the module’s connector with the notch on the RAM slot. This ensures that the module is inserted in the correct orientation.
- Insert the RAM Module: Hold the DDR4 RAM module at a slight angle with your fingers on both ends. Gently insert the module into the RAM slot, applying even pressure. The module should slide in smoothly, and the notches should align with the retaining clips on both sides of the slot.
- Seat the RAM Module Firmly: Once the DDR4 RAM module is fully inserted into the slot, push down firmly on both ends until you hear a click or feel the retaining clips snap into place. This indicates that the module is securely locked into the RAM slot.
- Repeat the Process (if applicable): If you have additional DDR4 RAM modules to install, repeat the above steps for each module. Insert the modules into the remaining RAM slots, ensuring alignment and firm seating for each one.
It’s crucial to avoid excessive force when inserting the DDR4 RAM modules. Applying gentle and even pressure is enough to seat the modules correctly. If the modules don’t slide in smoothly, double-check the alignment and make sure they are not inserted in the wrong orientation.
By following these steps, you will ensure that the DDR4 RAM modules are properly inserted into the RAM slots. Confirm that the retaining clips are securely engaged to maintain a stable and reliable connection.
Now that the DDR4 RAM modules are successfully installed into the RAM slots, you’re ready to proceed to the next step, which involves securing the modules in place for added stability.
Step 6: Secure the RAM Modules in Place
After inserting the DDR4 RAM modules into the RAM slots on the motherboard, it’s important to secure them in place to ensure a stable and reliable connection. This step helps prevent the modules from accidentally dislodging or coming loose during use.
Follow these steps to properly secure the DDR4 RAM modules:
- Verify Proper Insertion: Before securing the RAM modules, double-check that they are properly inserted and fully seated in their respective RAM slots. Ensure that the retaining clips on both sides of the modules have snapped into place.
- Push Down the Retaining Clips: Using gentle pressure, push down on both ends of the RAM modules to engage the retaining clips. The retaining clips will latch onto the indentations on the sides of the RAM modules, holding them securely in place.
- Ensure Even Pressure: Apply equal pressure on both ends of the RAM modules while securing the retaining clips. This ensures that the modules are evenly pressed against the motherboard, promoting optimal contact and stability.
- Gently Wiggle the RAM Modules: After securing the RAM modules, give them a gentle wiggle to ensure they are securely fastened. If there is any movement, carefully reseat the module and reengage the retaining clips until the modules are snug and immobile.
It’s crucial to avoid applying excessive force when securing the RAM modules, as this can cause damage. The retaining clips should engage smoothly without any resistance. Ensure that the modules are seated evenly and securely to maintain a reliable connection.
Securing the DDR4 RAM modules in place is an important step in preventing any accidental dislodging or movement that could affect performance or stability. Properly securing the modules ensures optimal contact and helps maintain a stable connection between the RAM modules and the motherboard.
With the DDR4 RAM modules securely fastened in place, you can now proceed to the next step, which involves closing the computer case and reconnecting any necessary components.
Step 7: Close the Computer Case and Plug It Back In
After successfully installing the DDR4 RAM modules and securing them in place, the next step is to close the computer case and reconnect any necessary components. This ensures the protection and proper functioning of the internal components of your computer.
Follow these steps to close the computer case and plug it back in:
- Check Internal Connections: Before closing the computer case, verify that all internal cables and connectors are properly connected. Check that the power cables, data cables, and any other necessary connections are securely in place.
- Align and Secure the Side Panel: Align the side panel of the computer case with the corresponding slots or hinges. Gently slide it back into position, ensuring that it fits snugly. If your case uses screws to secure the side panel, use a screwdriver to fasten them securely. If your case has latches, engage them to lock the panel in place.
- Reconnect External Devices: Once the side panel is secure, reconnect any external devices that were disconnected earlier, such as the keyboard, mouse, monitor, and any USB peripherals.
- Plug in the Power Cord: Plug the power cord back into the electrical outlet, ensuring that it is securely connected. Double-check that the cord is free of any damage or fraying before plugging it in.
- Power On Your Computer: Press the power button on your computer to turn it on. Listen for any startup sounds and observe the fans and lights to ensure the computer is initializing properly.
- Verify the RAM Installation: Once your computer has successfully powered on, you can verify the installation of the DDR4 RAM by checking the system settings or using diagnostic tools. Confirm that the installed RAM capacity matches the expected amount.
By carefully closing the computer case and reconnecting the necessary components, you ensure the protection of the internal hardware and create a stable operating environment for your computer.
With the computer case closed and the necessary components reconnected, you can now proceed with confidence, knowing that the DDR4 RAM installation is complete. Enjoy the increased memory capacity and improved performance that your computer now offers.
Step 8: Power On Your Computer and Verify the Installation
After completing the installation of the DDR4 RAM and closing the computer case, the final step is to power on your computer and verify that the RAM installation was successful. This step ensures that the computer recognizes and utilizes the newly installed DDR4 RAM modules.
Follow these steps to power on your computer and verify the DDR4 RAM installation:
- Ensure all connections are secure: Before powering on your computer, double-check that all cables and components are properly connected. This includes the power cord, monitor, keyboard, mouse, and any other peripherals.
- Press the power button: Locate the power button on your computer case or keyboard and press it to turn on the computer. Listen for startup sounds, such as fans spinning, and observe the lights on the computer to ensure that the system is initializing.
- Check the BIOS or UEFI: During the startup process, you may have the option to access the BIOS or UEFI settings by pressing a specific key, such as Del or F2. Enter the BIOS or UEFI and navigate to the system information or hardware configuration section to verify that the DDR4 RAM modules are recognized and listed with the correct capacity.
- Check the Operating System: Once the computer has fully started, log in to your operating system. Open the System Information or similar utility to confirm that the installed RAM capacity matches the expected amount of the DDR4 RAM modules.
- Perform RAM Stress Test (optional): If you want to further verify the performance and stability of the DDR4 RAM modules, you can consider running a RAM stress test using third-party diagnostic software. These tests help identify any errors or issues with the RAM modules.
If the computer fails to recognize the newly installed DDR4 RAM or if there are any issues with system stability or performance, double-check the RAM installation. Ensure that the modules are firmly seated in their slots and that the retaining clips are engaged correctly. It may be necessary to consult the computer or motherboard manual for any troubleshooting steps specific to your system.
With the computer powered on and the DDR4 RAM installation verified, you can now enjoy the benefits of increased memory capacity and improved performance in your computer.
Conclusion
Installing DDR3 or DDR4 RAM is a valuable upgrade that can significantly enhance the performance of your computer. By following the proper steps and guidelines outlined in this guide, you can successfully install and upgrade your computer’s memory.
From gathering the necessary tools and equipment to opening the computer case, locating the RAM slots on the motherboard, inserting the RAM modules, and securing them in place, each step is important in ensuring a smooth and successful installation process.
After closing the computer case and reconnecting any necessary components, powering on your computer allows you to verify the RAM installation and confirm that the computer recognizes and utilizes the newly installed RAM modules.
Whether you choose to install DDR3 or DDR4 RAM, the benefits of increased memory capacity and improved performance are significant. Additional RAM allows for smoother multitasking, faster data transfer, and improved overall system responsiveness.
As always, it’s important to handle computer components with care, ground yourself properly to prevent static discharge, and take necessary precautions to protect your computer from any potential damage during the installation process.
Now that you have successfully installed your DDR3 or DDR4 RAM, take a moment to appreciate the improved performance and enjoy the enhanced capabilities of your computer. With the additional memory at your disposal, you can tackle more demanding tasks and experience smoother computing for years to come.