Introduction
Welcome to this article discussing the perplexing issue of only one RAM stick being detected in your computer. If you’re experiencing this problem, you’re not alone. Many users have encountered similar issues when it comes to their computer’s memory. In this article, we’ll explore the possible causes and provide troubleshooting steps to help you resolve this frustrating situation.
The RAM (Random Access Memory) in your computer plays a crucial role in the overall performance and speed of your system. It allows your computer to quickly access and store data that is actively being used. Ideally, all the RAM sticks installed in your computer should be recognized and utilized to maximize its capabilities. However, when only one RAM stick is detected, it can severely impact the performance of your computer and lead to sluggishness and instability.
There are several reasons why your computer may fail to recognize all the RAM sticks installed. It could be due to improper installation, compatibility issues, failing RAM slots, BIOS configuration problems, or even a faulty motherboard. Identifying the exact cause will require careful troubleshooting and investigation.
In the following sections, we will dive into the possible causes of this issue and provide step-by-step troubleshooting methods to help you resolve it. It is important to note that these methods should be followed in order and only applied if you have the necessary technical knowledge. If you are unsure, it is advisable to seek assistance from a certified technician or contact the manufacturer’s support for further guidance.
Possible Causes
When only one RAM stick is detected in your computer, there can be several underlying causes. Let’s explore the most common ones:
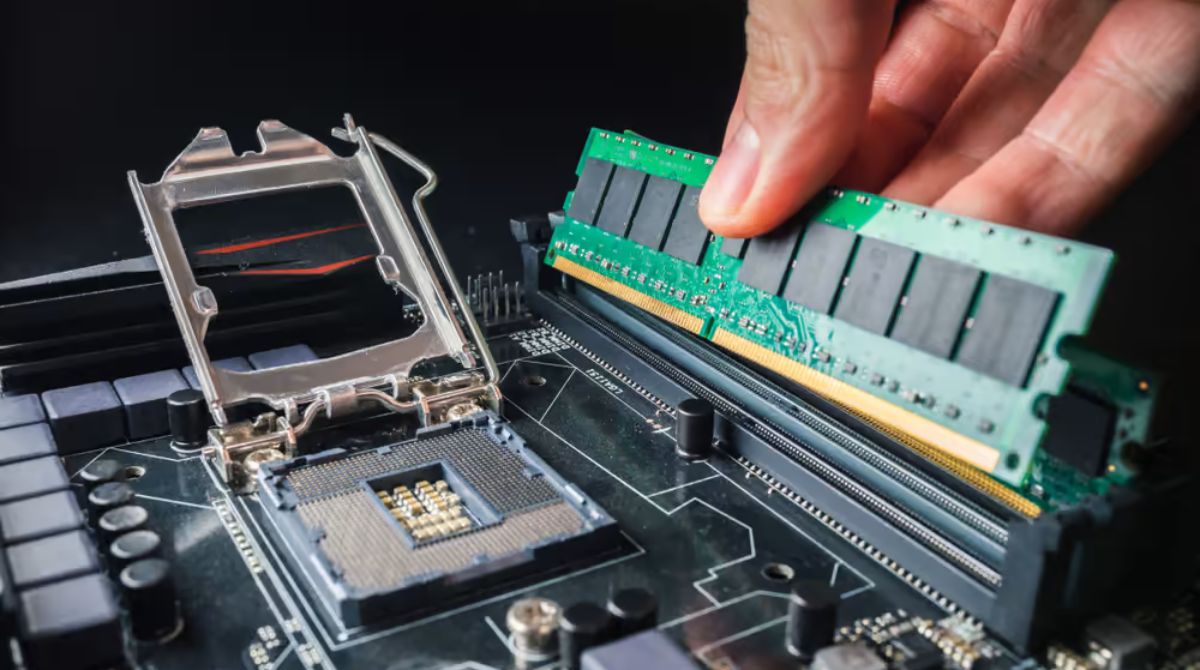
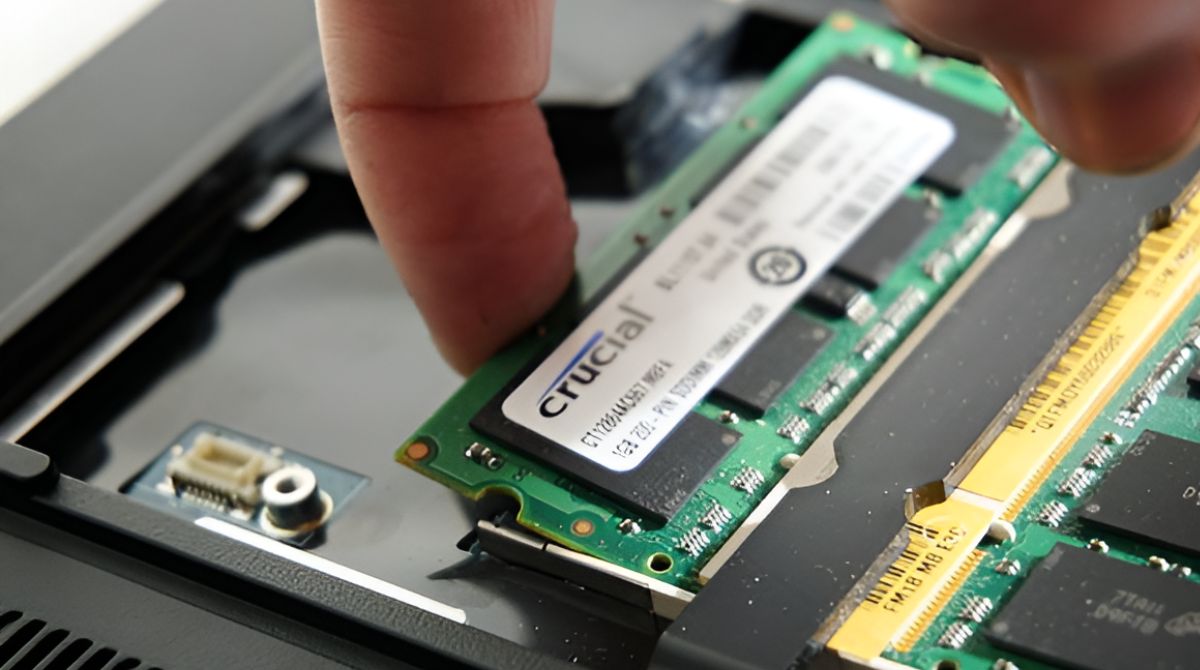
- Improper installation: One of the primary reasons for a single RAM stick being detected could be improper installation. It’s possible that the RAM stick is not fully inserted into the slot or is not making proper contact. Even a slight misalignment can prevent the computer from recognizing the RAM stick.
- Incompatible memory module: Another possible cause is using an incompatible memory module. Not all RAM sticks are compatible with every computer. There could be compatibility issues in terms of speed, capacity, or even the type of RAM module being used. It’s important to check the specifications of your computer and ensure you’re using compatible RAM sticks.
- Failing RAM slot: A failing RAM slot can also lead to only one RAM stick being detected. Over time, the slots on your motherboard can become worn out or damaged, preventing proper detection and functionality. If other troubleshooting steps fail to resolve the issue, it’s worth considering that one or more RAM slots might be faulty.
- BIOS configuration issues: The BIOS (Basic Input/Output System) settings of your computer play a crucial role in recognizing and utilizing RAM. If the BIOS settings are not configured correctly, it can result in only one RAM stick being detected. This could be due to incorrect memory settings, outdated BIOS firmware, or conflicts with other hardware components.
- Faulty motherboard: In rare cases, the issue may lie with a faulty motherboard. If other troubleshooting steps do not yield any results and you’ve ruled out other possible causes, it’s possible that the motherboard itself is faulty. This could be due to manufacturing defects, damage from power surges, or other internal issues.
These are the main causes that can result in only one RAM stick being detected in your computer. Now let’s move on to the troubleshooting steps to help you resolve this issue and get your system back to its optimal performance.
Improper Installation
One of the most common causes for only one RAM stick being detected is improper installation. Even a slight misalignment or incomplete insertion can prevent the computer from recognizing the RAM stick. To address this issue, follow these steps:
- Power off and unplug your computer: Before working on the internals of your computer, it’s essential to turn it off and unplug the power cord. This ensures your safety and prevents any potential damage to the hardware.
- Open your computer case: Remove the screws holding the side panel of your computer case and carefully slide off or open the panel to gain access to the motherboard and RAM slots.
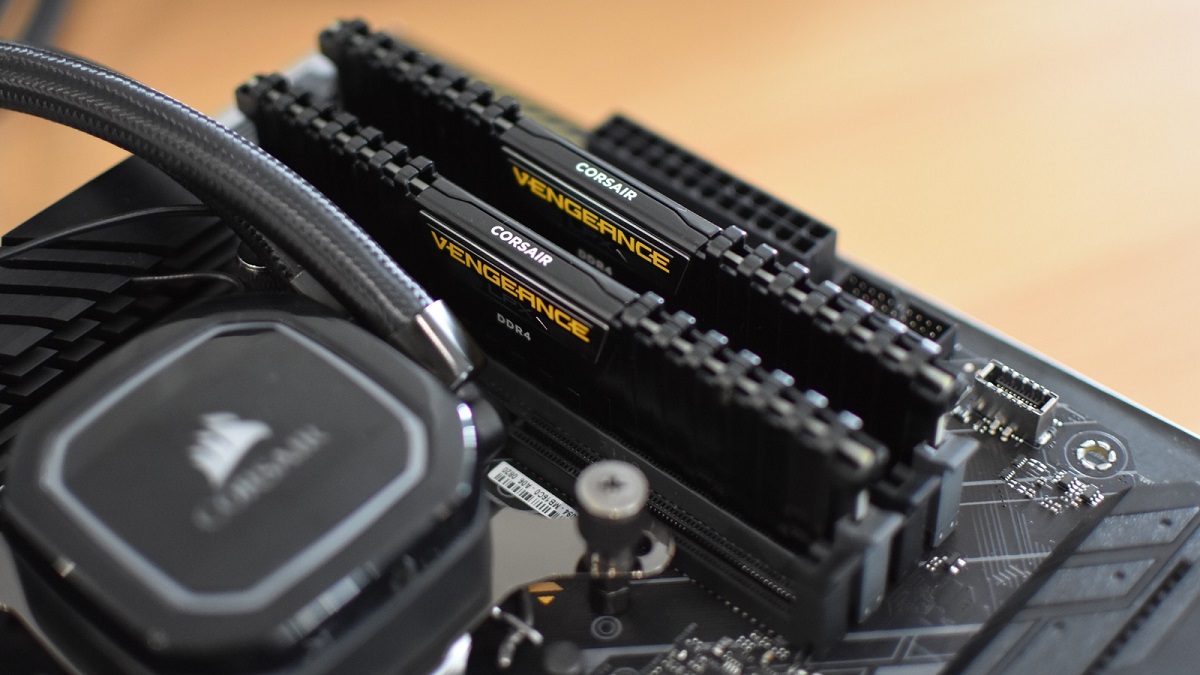
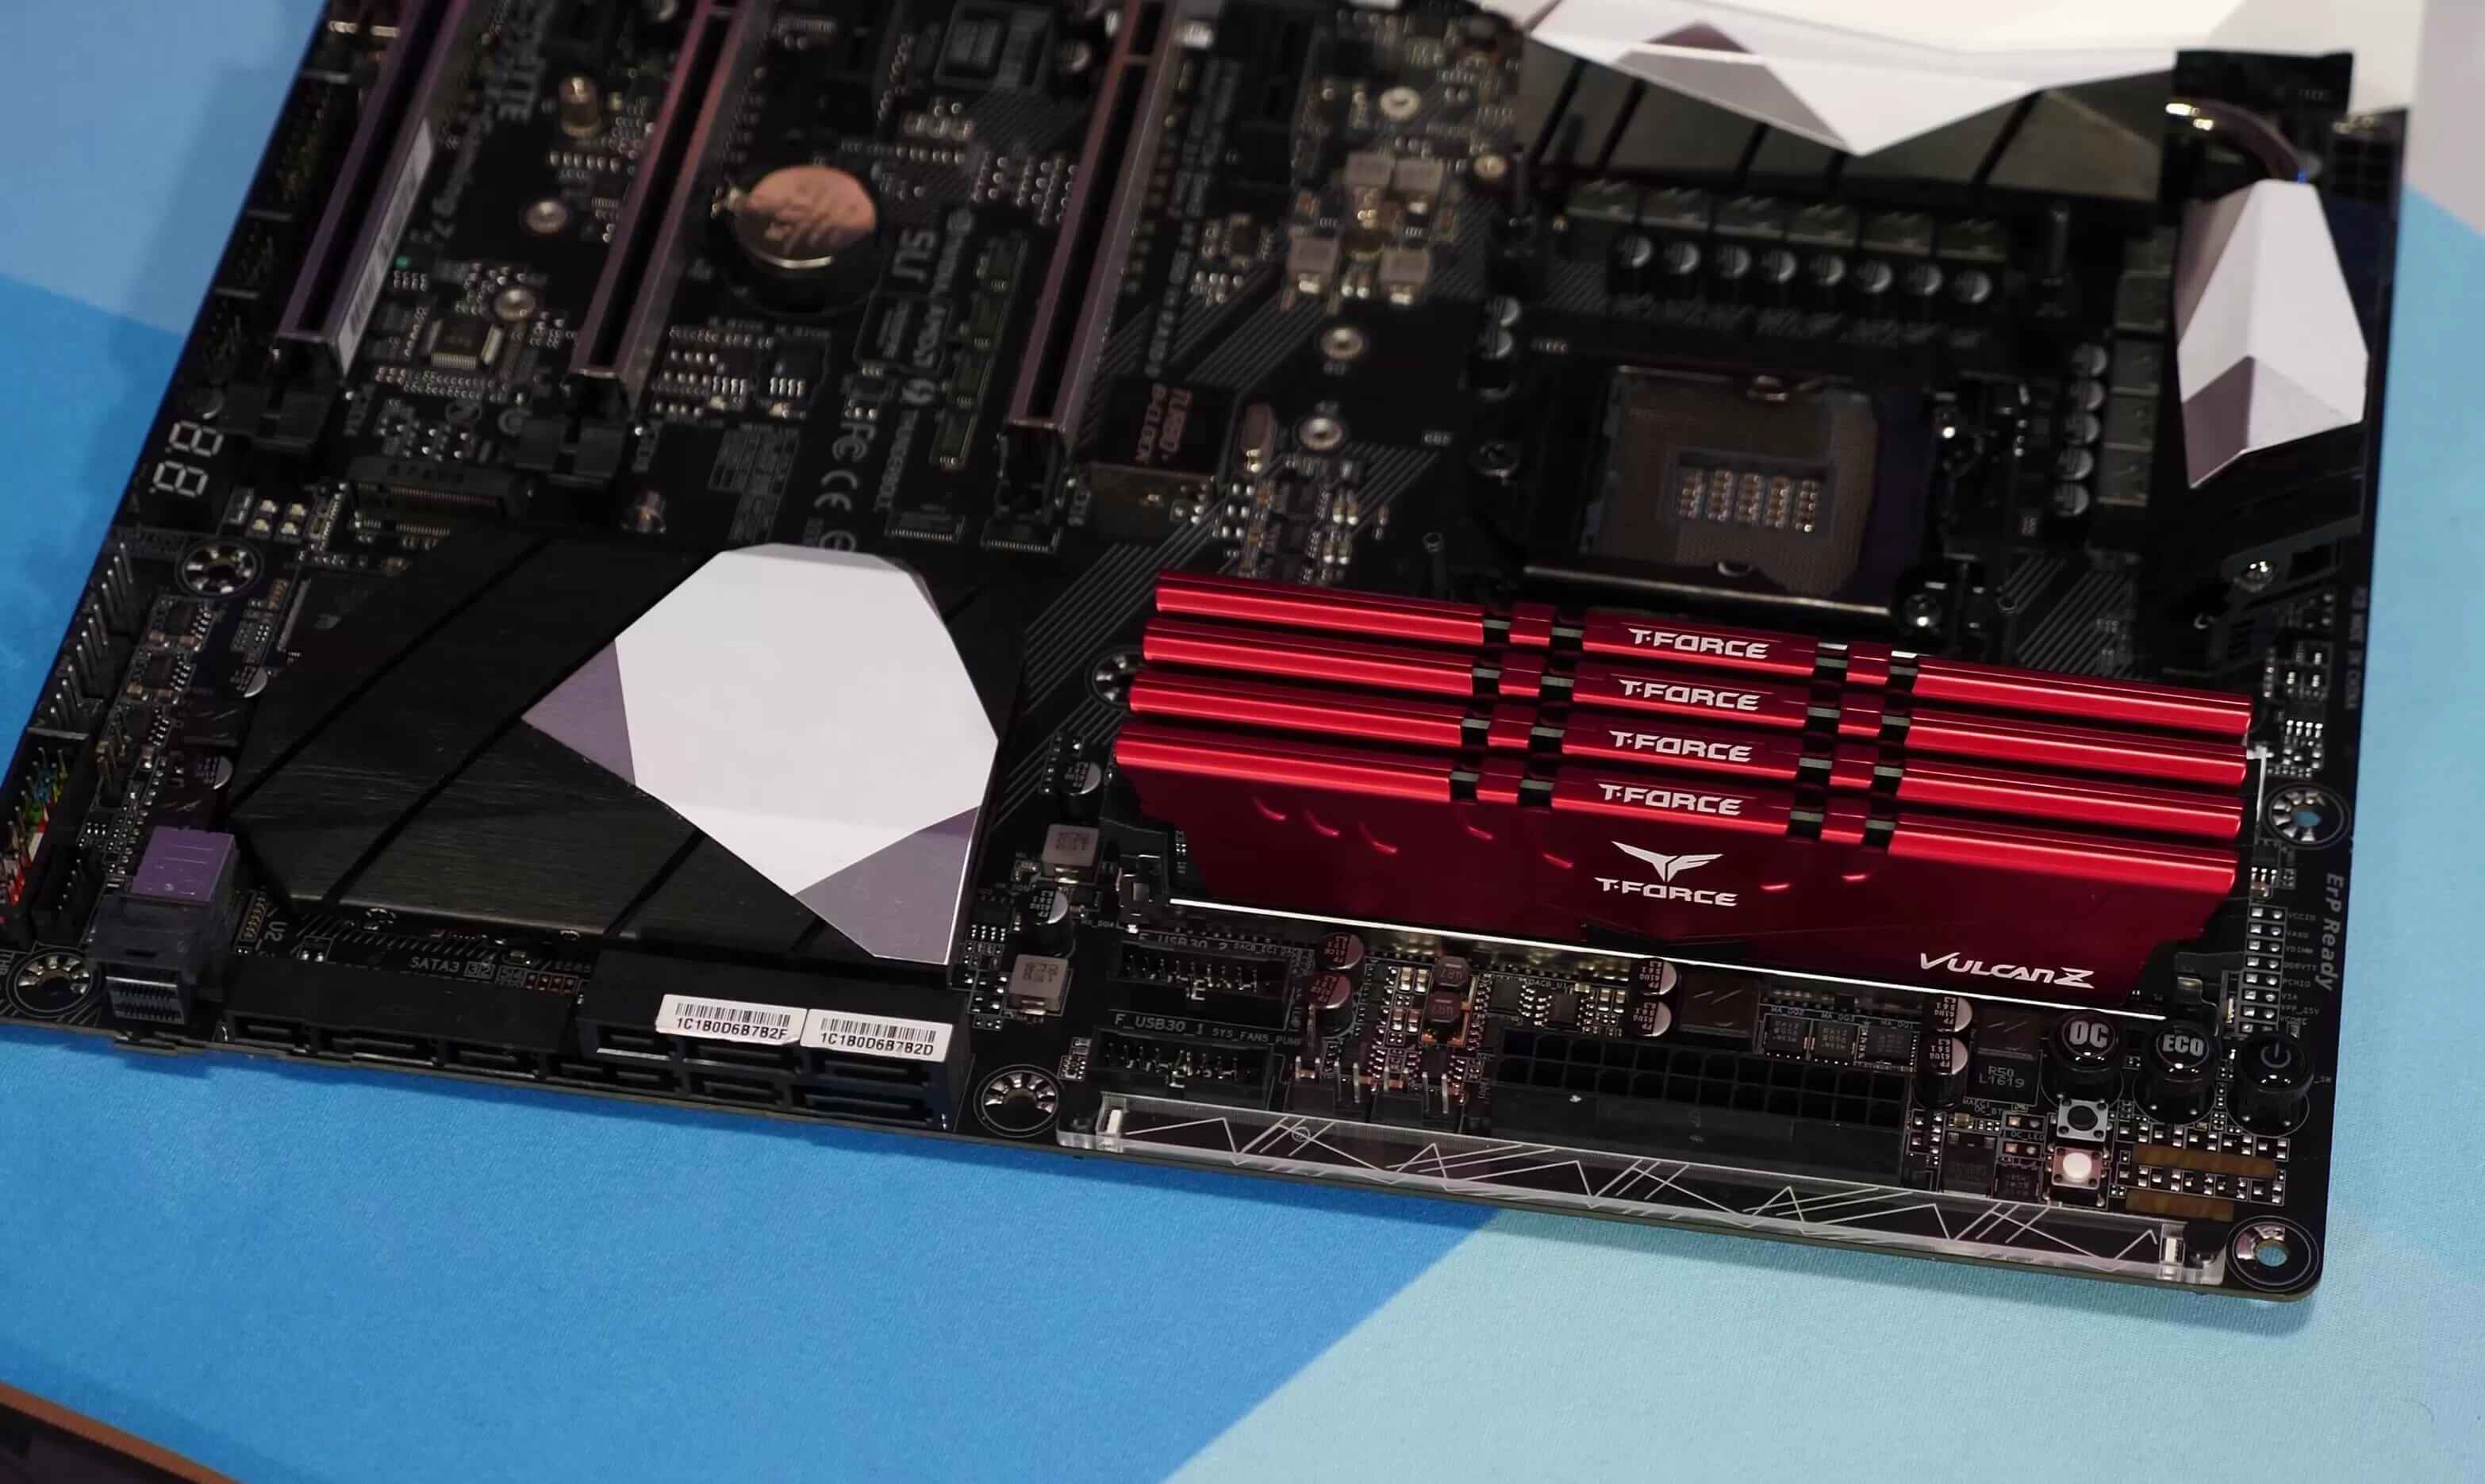
- Locate the RAM slots: Identify the RAM slots on your motherboard. They are long and narrow slots typically colored white or black. Refer to your motherboard manual if you’re unsure about the exact location.
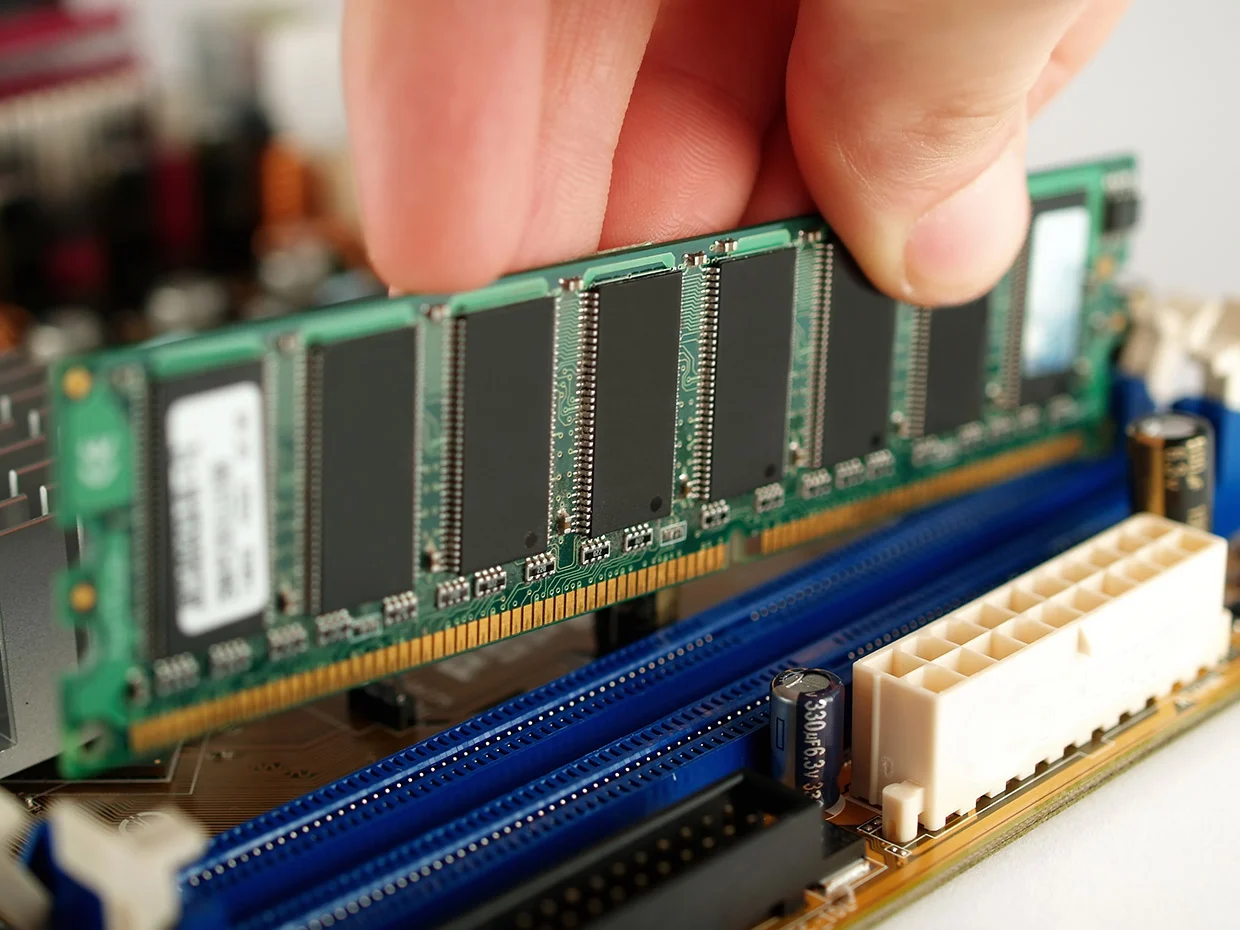
- Remove the RAM stick: Gently press down on the retaining clips at each end of the RAM stick to release it. Once the clips are released, the RAM stick should pop up at an angle. Carefully remove it from the slot.
- Clean the RAM stick and slot: Use a clean, lint-free cloth or an alcohol-based cleaning wipe to wipe the gold contacts on the RAM stick. This ensures that there is no dirt or residue interfering with the connection. Also, inspect the RAM slot for any debris and clean it if necessary.
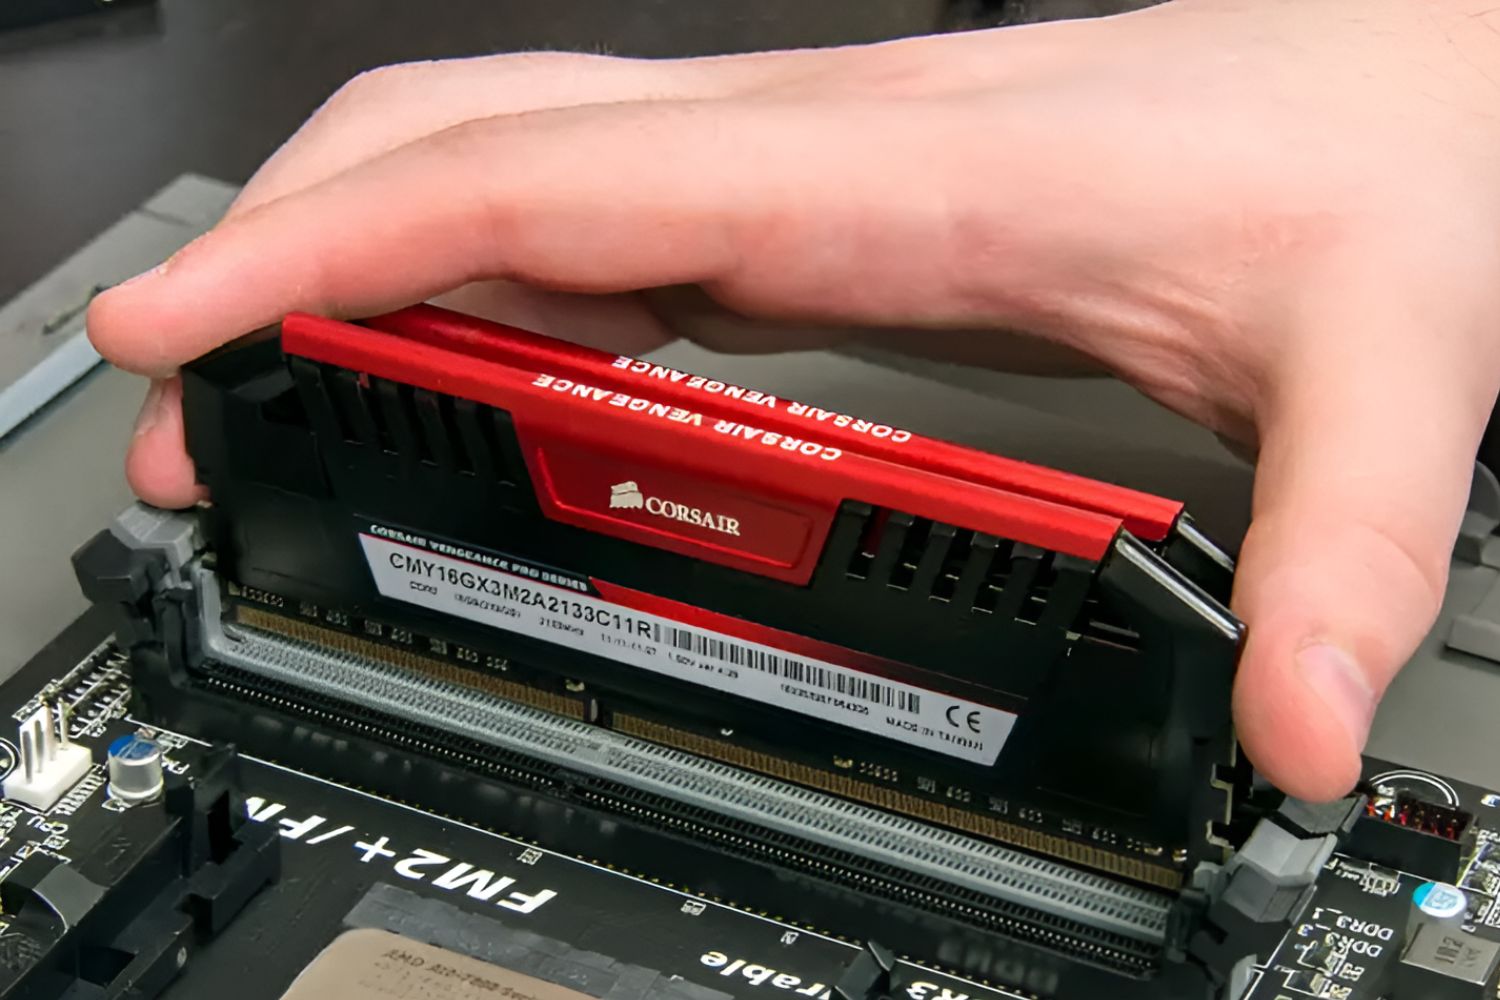
- Reinsert the RAM stick: Hold the RAM stick at a slight angle, aligning the notch on the stick with the corresponding notch in the slot. Firmly and evenly press the RAM stick into the slot until you hear a click, indicating that it is securely in place.
- Secure the RAM stick: Gently push down on the RAM stick until the retaining clips on both ends snap into place. This ensures that the RAM stick is properly seated and will be detected by the computer.
- Close the computer case: Once the RAM sticks are securely installed, carefully close the computer case and tighten the screws to secure the side panel.
- Power on your computer: Plug in your computer and turn it on. Check if all the RAM sticks are now being detected by the computer. You can verify this through the BIOS or using system monitoring software.
If the issue persists, proceed to the next troubleshooting step to further investigate the cause.
Incompatible Memory Module
An incompatible memory module can be another reason for only one RAM stick being detected in your computer. Different computers have specific requirements regarding the type, capacity, and speed of RAM they can support. If the installed RAM stick does not meet these requirements, it might not be recognized by the system. Here’s how you can address this issue:
- Check the compatibility: Review the documentation or specifications of your computer or motherboard to determine the compatible RAM types and configurations. Pay attention to factors such as capacity, speed, and type (e.g., DDR3, DDR4) of RAM modules that are supported.
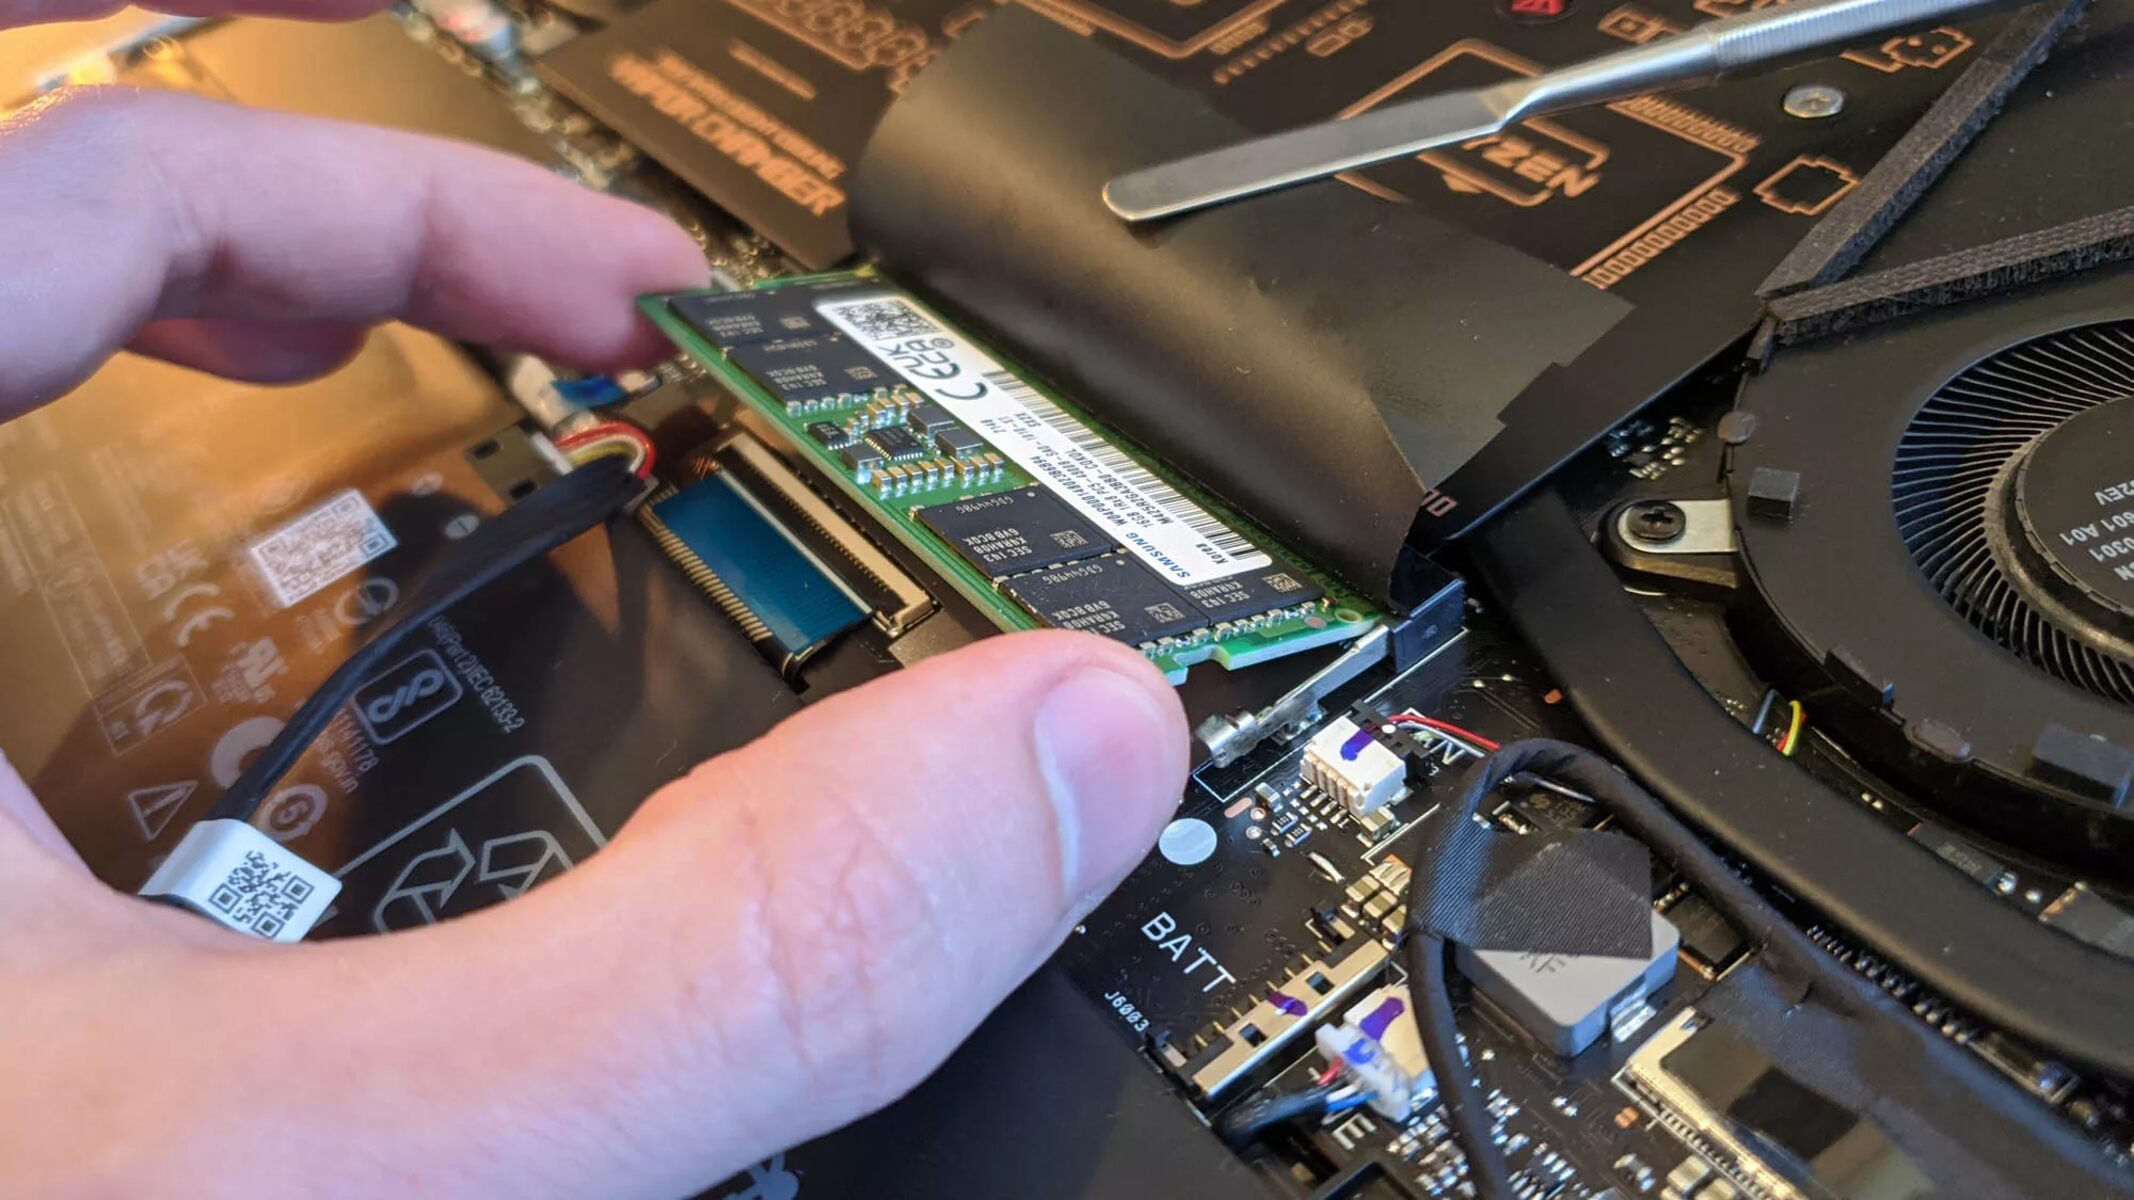
- Identify the installed RAM: Remove the computer case cover and locate the installed RAM stick(s). Check the label on the RAM module to find information about its capacity, speed, and type.
- Compare with compatibility requirements: Compare the specifications of the installed RAM stick with the compatibility requirements of your computer. Ensure that they match or are within the allowable limits mentioned in the documentation.
- Replace or upgrade the RAM module: If the installed RAM stick is incompatible or does not meet the requirements, you may need to replace it with a compatible one. Consider purchasing a new RAM stick that matches the specifications mentioned in the compatibility requirements.
- Install the compatible RAM stick: Power off your computer and unplug the power cord. Follow the installation steps mentioned in the “Improper Installation” section to safely remove the incompatible RAM stick and install the compatible one. Ensure that the RAM stick is properly seated and secured in the slot.
- Power on your computer: Once the compatible RAM stick is installed, close the computer case, plug in the power cord, and turn on the computer. Verify if all the RAM sticks are now being detected. You can do this by checking the BIOS settings or using system monitoring software.
If the issue persists even after installing a compatible RAM stick, move on to the next troubleshooting step to investigate further.
Failing RAM Slot
If you’ve ruled out improper installation and incompatible RAM module as the causes of only one RAM stick being detected, it’s possible that one or more RAM slots on your motherboard are failing. Over time, these slots can become worn out, damaged, or develop connectivity issues, leading to the failure of RAM stick detection. Here’s what you can do to troubleshoot this problem:
- Identify the failing RAM slot: Power off your computer, unplug the power cord, and open the computer case. Locate the RAM slots on your motherboard and make a note of which slot(s) is currently failing to detect the RAM stick. You can try switching the RAM stick to different slots to test if the problem persists.
- Inspect the failing RAM slot: Carefully examine the failing RAM slot for any physical damage, bent pins, or obstructions that may be preventing proper contact with the RAM stick. Use a flashlight if necessary to get a clear view of the slot.
- Clean the RAM slot: If you notice any dirt, dust, or debris in the RAM slot, gently remove them using compressed air or a soft brush. Ensure that the slot is clean and free from any obstructions that could hinder the connection.
- Test with a different RAM stick: To determine if the failing RAM slot is the root cause, try inserting a different working RAM stick into the suspected slot. If the new RAM stick is also not detected, it confirms that the slot itself is likely faulty and needs to be addressed.
- Move the RAM stick to a different slot: If you have multiple RAM slots and only one of them is failing, try moving the RAM stick to a different slot that is known to be working. This will help determine if the issue is specifically with the failing slot or if there is a broader problem with the system’s memory management.
- Consider professional assistance or motherboard replacement: If the failing RAM slot is confirmed, and other troubleshooting steps are unsuccessful in resolving the issue, it may be necessary to seek professional assistance or consider replacing the motherboard. A qualified technician can evaluate the fault and provide further guidance on the best course of action.
Remember to power off your computer, unplug the power cord, and take necessary precautions when working with the internals of your system. If the issue persists or you’re uncertain about performing these troubleshooting steps, it is advisable to seek help from a professional technician or contact the manufacturer’s support for assistance.
BIOS Configuration Issues
Incorrect BIOS settings can lead to only one RAM stick being detected in your computer. The BIOS (Basic Input/Output System) is responsible for controlling various hardware components, including RAM. If the memory settings or configurations are not properly configured, it can result in unrecognized RAM sticks. Here’s how you can troubleshoot BIOS configuration issues:
- Access the BIOS: Restart your computer and enter the BIOS settings. The method to access the BIOS may vary depending on your computer’s manufacturer. Typically, you need to press a specific key (e.g., Del, F2, F10) during the initial boot-up process. Consult your computer’s manual or look for instructions on the screen to determine the correct key.
- Navigate to the memory settings: Once in the BIOS, locate the section related to memory or RAM settings. The exact location and terminology may differ depending on the BIOS version and motherboard manufacturer. Look for options such as “Memory Configuration,” “Memory Settings,” or “DRAM Configuration.”
- Check memory detection settings: Verify that the memory detection settings are correctly configured. Ensure that the “Memory Detection” or “Memory Remapping” option is enabled. This option allows the BIOS to detect and utilize all installed RAM sticks. Make any necessary changes and save the settings.
- Update the BIOS firmware: Outdated BIOS firmware can also cause issues with RAM detection. Visit your motherboard manufacturer’s website and check for any available BIOS updates for your specific model. Follow the instructions provided by the manufacturer to update the BIOS firmware to the latest version. Be cautious while updating the BIOS as it is a sensitive procedure that, if not done correctly, can cause irreversible damage to your computer.
- Reset the BIOS settings: If you suspect that the BIOS settings have become corrupted or misconfigured, you can try resetting the BIOS to its default settings. Look for an option such as “Load Default Settings” or “Reset to Defaults” in the BIOS menu. Select this option and save the changes. Afterward, reconfigure any necessary settings, including those related to RAM.
- Restart your computer: Exit the BIOS and restart your computer. Check if all the RAM sticks are now being detected by the system. You can verify this through the BIOS or using system monitoring software.
If the issue persists or you’re unsure about making changes to the BIOS settings, it is recommended to seek assistance from a professional technician or contact the manufacturer’s support for further guidance. Improper changes to the BIOS settings can lead to system instability and other potential issues.
Faulty Motherboard
In rare cases, a faulty motherboard could be the underlying cause of only one RAM stick being detected in your computer. Motherboards can experience various issues over time, including damage to the memory slots, manufacturing defects, or internal hardware problems. To troubleshoot this possibility, follow these steps:
- Perform a visual inspection: Power off your computer, unplug the power cord, and open the computer case. Carefully inspect the motherboard for any visible signs of physical damage, such as bulging or leaking capacitors, burnt areas, or corrosion. These signs may indicate a faulty motherboard.
- Check for loose connections: Ensure that all connections on the motherboard are secure, including the power cables and data cables. Loose connections can sometimes cause problems with RAM detection. Gently push on each connection to ensure it is properly seated.
- Test with a different motherboard: If you have access to a spare or replacement motherboard that is compatible with your computer’s components, consider swapping it out to see if the RAM stick(s) get detected. This test can help determine if the issue lies with your current motherboard and not other factors.
- Seek professional assistance: If you suspect a faulty motherboard and are unable to troubleshoot it yourself, it is highly recommended to seek professional assistance from a qualified technician. They can perform advanced diagnostics and provide a more accurate evaluation of the motherboard’s condition.
Faulty motherboards can be challenging to diagnose and resolve without specialized knowledge and equipment. If the issue persists despite trying the above steps, it is advisable to consult a professional technician or contact the manufacturer’s support for further assistance. They will be able to guide you through additional troubleshooting or recommend repair or replacement options.
Troubleshooting Steps
Now that we have covered the possible causes of only one RAM stick being detected, let’s walk through some troubleshooting steps to help you resolve this issue. Follow these steps in order and proceed to the next step if the previous one does not solve the problem:
- Reseat the RAM stick: Start by ensuring that the RAM stick is properly seated in the slot. Power off your computer, unplug the power cord, open the computer case, and reseat the RAM stick by carefully removing it from the slot and then firmly inserting it back in. Make sure it is properly secured with the retaining clips on both ends.
- Check for compatibility: Verify that the RAM stick is compatible with your computer. Check the specifications of your motherboard or consult the documentation to ensure that the RAM stick’s capacity, speed, and type are supported. If it is not compatible, consider replacing it with a compatible RAM stick.
- Test different RAM slots: If you have multiple RAM slots on your motherboard, try inserting the RAM stick into different slots. This helps determine if the issue lies with the specific slot or the RAM stick itself. It is also advisable to test each RAM stick individually to identify any faulty ones.
- Update BIOS: Check if there are any available updates for your motherboard’s BIOS firmware. Outdated BIOS firmware can cause compatibility and detection issues with RAM. Visit the manufacturer’s website, download the latest BIOS update, and carefully follow the instructions to update your system’s BIOS.
- Test with a different motherboard: If possible, test the RAM stick(s) on a different motherboard that is known to be working. This helps determine if the issue lies with the RAM stick(s) or the current motherboard. If the RAM stick is detected on the different motherboard, it indicates a problem with your original motherboard.
Remember, troubleshooting steps require caution and technical knowledge. If you are not confident in performing these steps or the issue persists after following them, it is highly recommended to seek assistance from a professional technician or contact the manufacturer’s support for further guidance. They will be able to provide specialized advice and assistance to help resolve the issue with only one RAM stick being detected.
Reseat the RAM Stick
One of the initial troubleshooting steps to take when only one RAM stick is being detected is to reseat the RAM stick. Sometimes, improper seating can prevent proper detection of the RAM stick by the computer. Follow these steps to reseat the RAM stick:
- Power off your computer: Before working on the internals of your computer, make sure to shut it down properly. Also, unplug the power cord to ensure safety and prevent any potential damage.
- Open the computer case: Remove the screws holding the side panel of the computer case and gently slide or open the panel to access the internals.
- Locate the RAM slots: Identify the RAM slots on your motherboard. They are usually long and narrow slots, colored white or black. Consult your motherboard manual if unsure about their location.
- Remove the RAM stick: Gently press down on the retaining clips at each end of the RAM stick to release it. The RAM stick will pop up at an angle. Carefully pull it out of the slot.
- Clean the RAM stick and slot: Check the gold contacts on the RAM stick for any dirt or residue. Wipe them clean using a lint-free cloth or an alcohol-based wipe. Also, inspect the RAM slot for any debris and clean it if necessary.
- Reinsert the RAM stick: Hold the RAM stick at a slight angle, aligning the notch on the stick with the corresponding notch in the slot. Firmly and evenly press the RAM stick into the slot until it is fully inserted. You should hear a click sound indicating that it is securely in place.
- Secure the RAM stick: Gently push down on the RAM stick until the retaining clips on both ends snap into place. This ensures that the RAM stick is properly seated and will be detected by the computer.
- Close the computer case: Once the RAM stick is reseated, carefully close the computer case and secure it with the screws.
- Power on your computer: Plug in the power cord and turn on your computer. Check if the RAM stick is now being detected by the system. You can verify this through the BIOS or using system monitoring software.
If the issue persists even after reseating the RAM stick, proceed to the next troubleshooting step to further investigate possible causes.
Check for Compatibility
One of the possible reasons for only one RAM stick being detected is incompatibility with your computer’s memory configuration. Different computers have specific requirements in terms of RAM type, capacity, and speed. If the installed RAM stick does not meet these requirements, it may not be recognized by the system. Here’s what you can do to check for compatibility:
- Review the specifications: Consult the documentation or specifications for your computer or motherboard to determine the compatible RAM types and configurations. Look for information regarding the supported capacity, speed, and type (e.g., DDR3, DDR4) of the RAM modules.
- Identify the installed RAM stick: Open your computer case and locate the installed RAM stick. Check the label on the RAM module to find out its capacity, speed, and type.
- Compare with compatibility requirements: Compare the specifications of the installed RAM stick with the compatibility requirements of your computer. Ensure that they match or fall within the allowable limits mentioned in the documentation. Pay special attention to factors like speed, capacity, and voltage compatibility.
- Replace or upgrade the RAM module: If the installed RAM stick is incompatible or doesn’t meet the requirements, you may need to replace it with a compatible one. Consider purchasing a new RAM stick that matches the specifications mentioned in the compatibility requirements.
- Install the compatible RAM stick: Power off your computer and unplug the power cord. Follow the steps outlined in the “Reseat the RAM Stick” section to safely remove the incompatible RAM stick and install the compatible one. Ensure that the RAM stick is properly seated and secured in the slot.
- Power on your computer: Once the compatible RAM stick is installed, close the computer case, plug in the power cord, and turn on the computer. Verify if all the RAM sticks are now being detected by the system. You can do this by checking the BIOS settings or using system monitoring software.
Ensuring compatibility between your RAM modules and computer system is vital to proper operation and performance. If the issue persists or you’re unsure about performing these steps, it is recommended to seek help from a professional technician or contact the manufacturer’s support for further guidance.
Test Different RAM Slots
If you’re experiencing the issue of only one RAM stick being detected, it’s possible that the problem lies with a specific RAM slot on your motherboard. To troubleshoot this, you can test different RAM slots to identify if the issue is with the slot itself. Here are the steps to follow:
- Power off your computer: Before proceeding, ensure that your computer is powered off and unplugged from the power source.
- Open the computer case: Remove the screws securing the side panel of your computer case. Gently slide or open the panel to access the motherboard.
- Identify the RAM slots: Locate the RAM slots on your motherboard. They are typically long and narrow, often colored white or black. Refer to your motherboard manual for assistance if needed.
- Remove the RAM stick: Starting with the RAM stick that is currently not being detected, gently push down on the retaining clips at each end of the RAM stick. This will release it from the slot. Carefully pull the RAM stick out at an angle.
- Test the RAM stick in a different slot: Take the RAM stick that was not being detected and insert it into a different RAM slot on the motherboard. Make sure it is properly aligned with the slot and firmly press it in until you hear a click indicating it is secure.
- Power on your computer: Plug in the power cord and turn on your computer. Check if the computer now detects the RAM stick in the different slot. This can be verified through the system BIOS or using system monitoring software.
- Repeat the process: If the RAM stick is still not detected, power off your computer, unplug the power cord, and try the same RAM stick in another slot. Repeat this process for all available RAM slots on your motherboard.
- Test with other RAM sticks: After testing all the slots with the initial RAM stick, repeat the process using the other RAM sticks one by one. This will help identify if the issue is specific to a particular RAM stick or if it persists across all RAM sticks.
By testing different RAM slots, you can determine if a particular slot is malfunctioning. If a specific slot consistently fails to detect RAM sticks, it suggests a possible issue with the slot itself. If the issue persists after testing all available slots, proceed to the next troubleshooting step.
Update BIOS
Updating the BIOS (Basic Input/Output System) on your computer can be an effective solution to address the issue of only one RAM stick being detected. Outdated BIOS firmware can sometimes cause compatibility and recognition problems with your RAM. Follow these steps to update your BIOS:
- Find your motherboard model: Identify the make and model of your motherboard. You can usually find this information printed on the motherboard itself or in your computer’s documentation.
- Visit the manufacturer’s website: Go to the website of your motherboard manufacturer. Look for a support or downloads section where you can find BIOS updates. Make sure to download the correct BIOS file for your specific motherboard model.
- Create a BIOS update media: Depending on your motherboard manufacturer, the BIOS update may require creating a bootable USB drive or burning a CD/DVD. Follow the instructions provided by the manufacturer to create the necessary media for the BIOS update.
- Backup your data: Before proceeding with the BIOS update, it’s always a good practice to back up your important data. While the risk of data loss during a BIOS update is low, it’s better to be safe than sorry.
- Perform the BIOS update: Restart your computer and boot from the BIOS update media you created earlier. Follow the on-screen instructions provided by the manufacturer to update your BIOS. It is crucial to follow the instructions carefully and not interrupt the update process to avoid any potential issues.
- Restart your computer: Once the BIOS update is complete, restart your computer. Enter the BIOS settings to verify that the update has been successfully applied. Check if all the RAM sticks are now being detected by the system.
- Reconfigure BIOS settings: After the BIOS update, it is advisable to review and configure the BIOS settings to ensure optimal performance. Pay specific attention to memory-related settings and ensure they are correctly configured, such as memory timings and voltages.
- Check RAM detection: Power off your computer, unplug the power cord, and reseat the RAM sticks one more time. Power on your computer and check if the BIOS detects all the RAM sticks. Use system monitoring software or the BIOS settings to verify the detection.
Updating the BIOS is an advanced procedure, and any mistake can cause serious issues. If you are unsure or uncomfortable performing the update yourself, it is recommended to seek assistance from a professional technician or contact the manufacturer’s support for guidance.
Test with a Different Motherboard
If you have exhausted all other troubleshooting steps and the issue of only one RAM stick being detected persists, it is worth considering testing the RAM sticks with a different motherboard. This step can help determine if the problem lies with your current motherboard. Follow these steps to test with a different motherboard:
- Obtain a compatible motherboard: Identify a spare or replacement motherboard that is compatible with your RAM sticks and other system components. This could be a motherboard from another computer or one borrowed from a friend or family member.
- Prepare the new motherboard: Ensure that the new motherboard is in working condition and that it has the necessary power connections, CPU socket compatibility, and RAM slot compatibility to support your RAM sticks.
- Remove the current motherboard: Power off your computer, unplug the power cord, and open the computer case. Carefully disconnect all cables and components connected to the motherboard, including the CPU, RAM, power connectors, data cables, and any expansion cards. Remove the screws securing the motherboard and gently lift it out of the case.
- Install the new motherboard: Place the new motherboard into the computer case, aligning it with the pre-existing standoffs or screw holes. Secure the motherboard by replacing the screws that hold it in place. Reconnect all cables and components, ensuring they are properly seated and securely connected.
- Power on your computer: Once the new motherboard is installed and all components are reconnected, plug in the power cord and power on your computer. Enter the BIOS settings to verify that the RAM sticks are being detected. Use system monitoring software or the BIOS settings to check for RAM recognition.
- Test different RAM slots: If the RAM sticks are still not being detected, try inserting them into different RAM slots on the new motherboard. This will help determine if the issue is specific to the RAM sticks or if it persists across different motherboards.
- Consider professional assistance: If the RAM sticks are still not being detected with the alternative motherboard, it is recommended to seek professional assistance from a qualified technician. They can perform advanced diagnostics and provide further guidance on resolving the issue.
Testing the RAM sticks with a different motherboard can help pinpoint whether the problem lies with your current motherboard or elsewhere in your system. If the RAM sticks are detected and functioning properly with the alternative motherboard, it indicates a potential issue with your original motherboard. In such cases, it may be necessary to seek professional assistance or consider replacing the faulty motherboard.
Conclusion
Experiencing the issue of only one RAM stick being detected in your computer can be frustrating, but it is not an uncommon problem. By following the troubleshooting steps outlined in this article, you have taken significant strides toward identifying and resolving the issue.
Throughout this guide, we explored various possible causes for this problem, including improper installation, incompatible memory modules, failing RAM slots, BIOS configuration issues, and faulty motherboards. By systematically examining and addressing each potential cause, you can narrow down the root cause and apply the appropriate solution.
Remember, it is essential to approach every troubleshooting step with caution, taking care to power off your computer and follow proper safety protocols. If you are unsure about performing any of the steps, it is always advisable to seek assistance from a professional technician or contact the manufacturer’s support for guidance.
If you have successfully resolved the issue and all RAM sticks are being detected by your computer, you can now enjoy optimal system performance and improved multitasking capabilities. Your computer will be able to utilize the full potential of its memory, resulting in smoother operations and enhanced overall efficiency.
However, if you have tried all the troubleshooting steps outlined in this guide and the issue persists, it may suggest a more complex underlying problem that requires professional assistance. In such cases, reach out to a qualified technician who can perform advanced diagnostics and provide specialized support.
By taking the time to troubleshoot and resolve the issue of only one RAM stick being detected, you have not only improved the functionality of your computer but also gained valuable knowledge about troubleshooting hardware-related problems. Remember to maintain regular system maintenance, keep your BIOS and drivers updated, and handle your computer’s hardware with care to ensure optimal performance in the long run.