Introduction
Welcome to the world of computer hardware! If you’ve recently purchased or plan to upgrade your computer’s memory, you may be wondering where to install your RAM sticks. Don’t worry, you’re not alone! Many beginners and even some experienced computer users find themselves unsure about the proper placement of RAM sticks in their PCs. In this article, we will guide you through the process, helping you make the most of your computer’s memory.
But before we dive into the specifics, let’s start with the basics. RAM, which stands for Random Access Memory, is a crucial component of any computer system. It is designed to store data that your computer’s processor needs to access quickly. In simpler terms, RAM acts as a temporary workspace for your computer, allowing it to handle multiple tasks simultaneously and improving overall system performance.
RAM sticks, also known as memory modules, are the physical devices that hold the memory chips. These sticks need to be correctly installed in the motherboard’s RAM slots to ensure optimal performance. However, the placement of RAM sticks can vary depending on your motherboard’s configuration and the number of RAM modules you are using.
In this article, we will cover the different types of RAM slots, how they work, and the number of RAM sticks your motherboard can support. We will also explore the various RAM configurations, including single-channel, dual-channel, and quad-channel setups, and provide guidance on where to place your RAM sticks in each configuration. Additionally, we will offer some valuable tips for properly installing RAM sticks in your system to avoid any potential issues.
So, whether you’re a computer enthusiast building your own rig or a casual user looking to upgrade your existing system, this article will help you understand where to place your RAM sticks to maximize their performance. Let’s dive in!
What is RAM?
RAM, or Random Access Memory, is an integral part of a computer’s hardware. It is a type of volatile memory that temporarily stores data that the computer’s processor needs to access quickly. Think of RAM as a workspace for your computer – the more RAM you have, the more tasks and data your computer can handle at once.
RAM is different from the computer’s storage devices, such as the hard drive or solid-state drive (SSD). While storage devices provide long-term storage for files and programs, RAM offers temporary storage for data that is actively being used by the computer’s processor. RAM allows your computer to quickly retrieve and write data, significantly improving overall system performance.
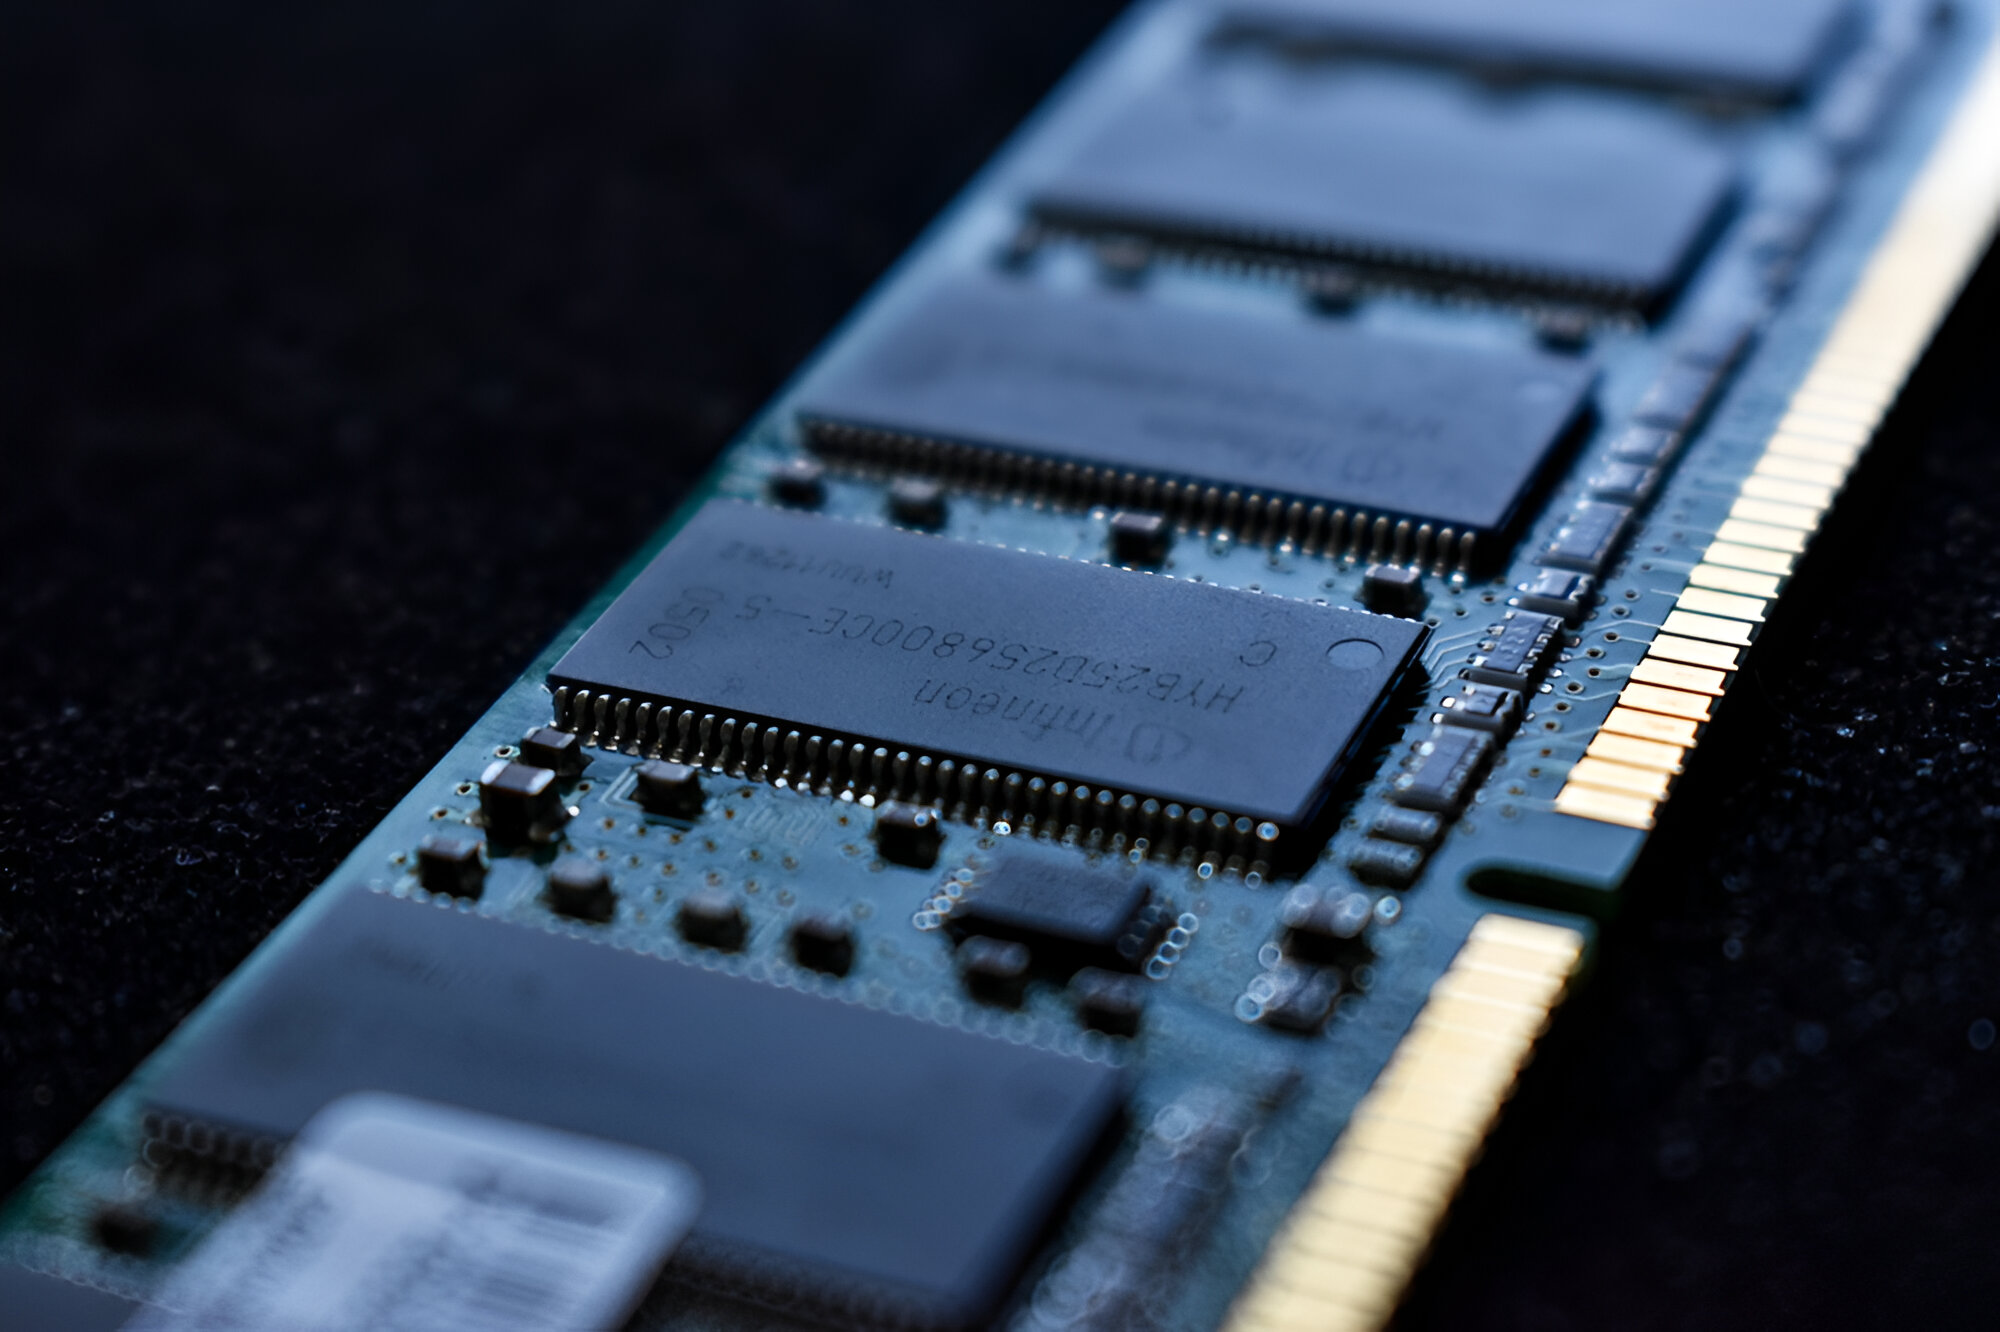
RAM consists of memory modules, commonly referred to as RAM sticks, which are inserted into slots on the computer’s motherboard. These sticks contain integrated circuits that store data in the form of binary code (0s and 1s). The data stored in RAM is organized into small, addressable units called bytes.
One of the key features of RAM is its speed. RAM operates at much faster speeds compared to storage devices like hard drives or SSDs. This speed allows the computer’s processor to access and manipulate data quickly, resulting in smoother multitasking and faster program execution.
Another important aspect of RAM is its capacity. RAM is typically measured in gigabytes (GB) or terabytes (TB). The amount of RAM your computer has directly affects its multitasking capabilities and the number of programs it can run simultaneously. With more RAM, your computer can handle larger amounts of data and perform complex tasks more efficiently.
It’s important to note that RAM is a volatile memory. This means that the data stored in RAM is lost when the computer is shut down or restarted. To ensure that your data is not lost, it must be saved to a non-volatile storage device, such as a hard drive or SSD.
In summary, RAM is a crucial component of any computer system, providing temporary storage for data that the computer’s processor needs to access quickly. With its fast speeds and capacity, RAM plays a vital role in improving overall system performance, allowing for smoother multitasking and faster program execution. Understanding the basics of RAM is essential when considering upgrades or building a new computer system.
How does RAM work?
To understand how RAM works, we need to delve into its architecture and functionality. RAM operates on a principle known as random access, which means that any byte of data can be accessed directly, regardless of its physical location within the memory module.
RAM is made up of millions of small, electronic components called capacitors and transistors. Each capacitor represents a single bit of data, which can be a 0 or a 1. These bits are organized into groupings, called bytes, which are typically 8 bits in size. Each byte has a unique address, allowing the computer’s processor to locate and retrieve the data it needs.
When your computer is turned on, the operating system and various programs are loaded from the storage devices into RAM. This process, known as booting, ensures that the necessary data and instructions are readily available for the processor to execute. As you launch applications and perform tasks, additional data is loaded into RAM to facilitate their execution.
RAM operates at high speeds, allowing the processor to quickly retrieve and store data. The speed of RAM is measured in megahertz (MHz) or gigahertz (GHz), indicating the number of cycles it can perform in one second. Higher clock speeds result in faster data transfer rates and improved overall system performance.
When the processor needs to read or write data, it sends a request to the memory controller. The memory controller is responsible for managing access to the different memory modules and directing data flow. Once the request is received, the memory controller activates the necessary circuitry to access and manipulate the data stored in the specified memory location.
One important aspect of RAM is its volatility. As a volatile memory, RAM requires a constant supply of electricity to retain data. When the computer is powered off or restarted, the data stored in RAM is lost. That’s why it’s crucial to save your work and files to non-volatile storage devices, such as hard drives or SSDs, to prevent data loss.
In summary, RAM works by providing the computer’s processor with a fast and temporary storage area for data and instructions. It uses a random access architecture, allowing for direct access and manipulation of data at high speeds. Understanding how RAM works is essential for optimizing system performance and making informed decisions when it comes to upgrading or purchasing new RAM modules.
Types of RAM slots
Motherboards have different types of RAM slots to accommodate various generations and types of RAM modules. Understanding the different types of RAM slots will help you determine the compatibility of RAM modules with your motherboard.
Here are some common types of RAM slots:
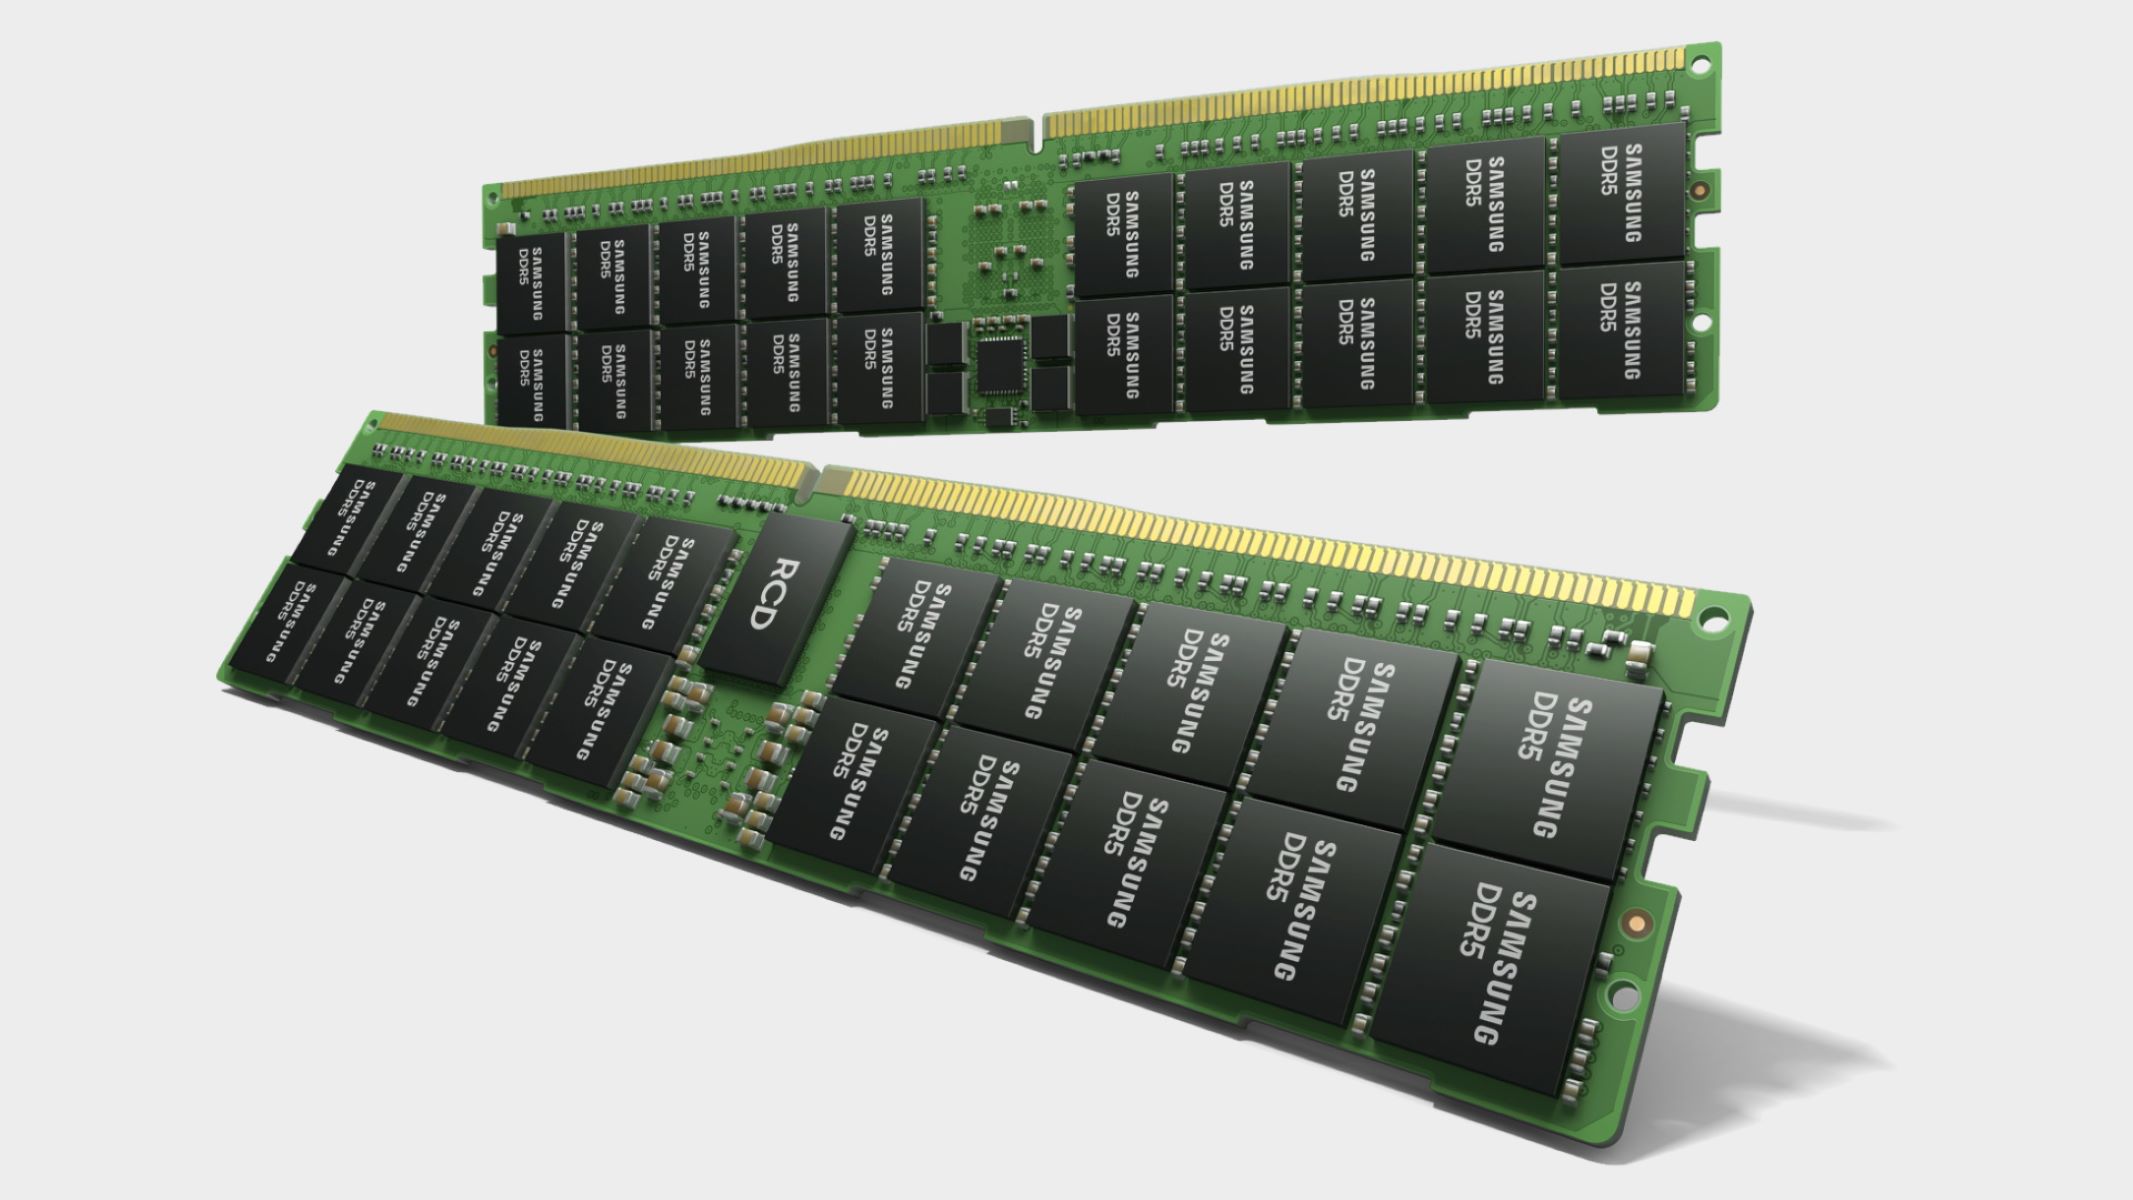
- DDR DIMM Slots: DDR, which stands for Double Data Rate, is a type of RAM that offers improved performance over the older SDRAM (Synchronous Dynamic RAM). DIMM, or Dual Inline Memory Module, refers to the physical form factor of the RAM module. DDR DIMM slots are typically found in older motherboards.
- DDR2 DIMM Slots: DDR2 is an improved version of DDR RAM, offering faster data transfer rates and higher capacities. DDR2 DIMM slots have a different physical configuration compared to DDR DIMM slots and are commonly found in motherboards from the mid-2000s.
- DDR3 DIMM Slots: DDR3 RAM is another advancement in memory technology, providing even higher speeds and larger capacities than DDR2. DDR3 DIMM slots are commonly found in motherboards from around 2007 to 2015.
- DDR4 DIMM Slots: DDR4 is the current generation of RAM, offering faster speeds, higher capacities, and better power efficiency compared to its predecessors. DDR4 DIMM slots are found in modern motherboards released after 2015.
- DDR5 DIMM Slots: DDR5 is the upcoming generation of RAM, expected to offer significant performance improvements over DDR4. While DDR5 DIMM slots are not yet widely available, they will likely become more common in future motherboard releases.
It’s important to note that RAM modules are not cross-compatible between different RAM slot types. For example, you cannot install DDR3 RAM in a motherboard with DDR4 DIMM slots, as they have different physical configurations and electrical specifications. Similarly, DDR4 RAM modules are not compatible with DDR2 or DDR3 slots.
When purchasing RAM modules, it is essential to check the compatibility with your motherboard’s RAM slot type. Most motherboard manufacturers provide compatibility lists or documentation that specify the supported RAM types and capacities for each RAM slot.
In summary, there are various types of RAM slots, such as DDR DIMM, DDR2 DIMM, DDR3 DIMM, DDR4 DIMM, and soon-to-be-released DDR5 DIMM slots. Each type of RAM slot is designed to accommodate specific generations and types of RAM modules. Checking the compatibility of RAM modules with your motherboard’s RAM slot type is crucial to ensure proper installation and optimal performance.
How many RAM sticks can my motherboard support?
The number of RAM sticks that a motherboard can support depends on several factors, including the motherboard’s chipset, the number of RAM slots it has, and the maximum memory capacity supported by the motherboard.
Most motherboards come with two to four RAM slots, although some high-end motherboards may have more. Each RAM slot can typically accommodate one RAM stick. However, there are motherboards that support multiple RAM sticks in a single slot, known as dual inline memory module (DIMM) stacking. DIMM stacking allows for increased memory density, but it is less common and may require specific RAM modules designed for this purpose.
When determining the maximum number of RAM sticks your motherboard can support, consider the following:
- Number of RAM slots: Check the physical layout of your motherboard and count the number of RAM slots available. Most standard desktop motherboards come with four RAM slots, but some compact or specialized motherboards may have fewer.
- Maximum memory capacity: Refer to your motherboard’s specifications or user manual to find the maximum memory capacity it supports. This information is usually listed as the maximum amount of RAM that can be installed on your motherboard.
- Chipset limitations: Different motherboard chipsets have varying limitations on the maximum amount of RAM and the configuration supported. For example, some chipsets may only support a maximum of 32GB of RAM, while others can handle 128GB or more.
It’s important to note that the number of RAM sticks you can install may also be affected by the size or capacity of the RAM modules themselves. For example, if your motherboard supports a maximum of 32GB of RAM and you have 8GB RAM sticks, you can install a maximum of four 8GB RAM sticks to reach the full capacity.
Lastly, pay attention to the memory configuration guidelines in your motherboard’s user manual. Depending on the chipset and memory controller, certain memory configurations may provide better performance. For example, some motherboards support dual-channel or quad-channel memory configurations, which require pairs or sets of RAM sticks to be installed in specific slots for optimal performance.
In summary, the number of RAM sticks your motherboard can support depends on factors such as the number of RAM slots, the maximum memory capacity supported by the motherboard, and any chipset limitations. Consult your motherboard’s specifications and user manual to determine the maximum memory capacity and any recommended memory configurations for optimal performance.
Single-channel vs Dual-channel vs Quad-channel RAM configurations
RAM configurations play a significant role in the overall performance of your computer system. Understanding the differences between single-channel, dual-channel, and quad-channel RAM configurations can help you make informed decisions when installing RAM sticks in your system.
Single-channel RAM configuration: In a single-channel configuration, RAM sticks are installed in one channel, or memory bank, of the motherboard. This means that all the data is accessed and transferred through a single pathway. While single-channel RAM configurations are the simplest and most common, they offer the lowest bandwidth and may not provide optimal performance for memory-intensive tasks.
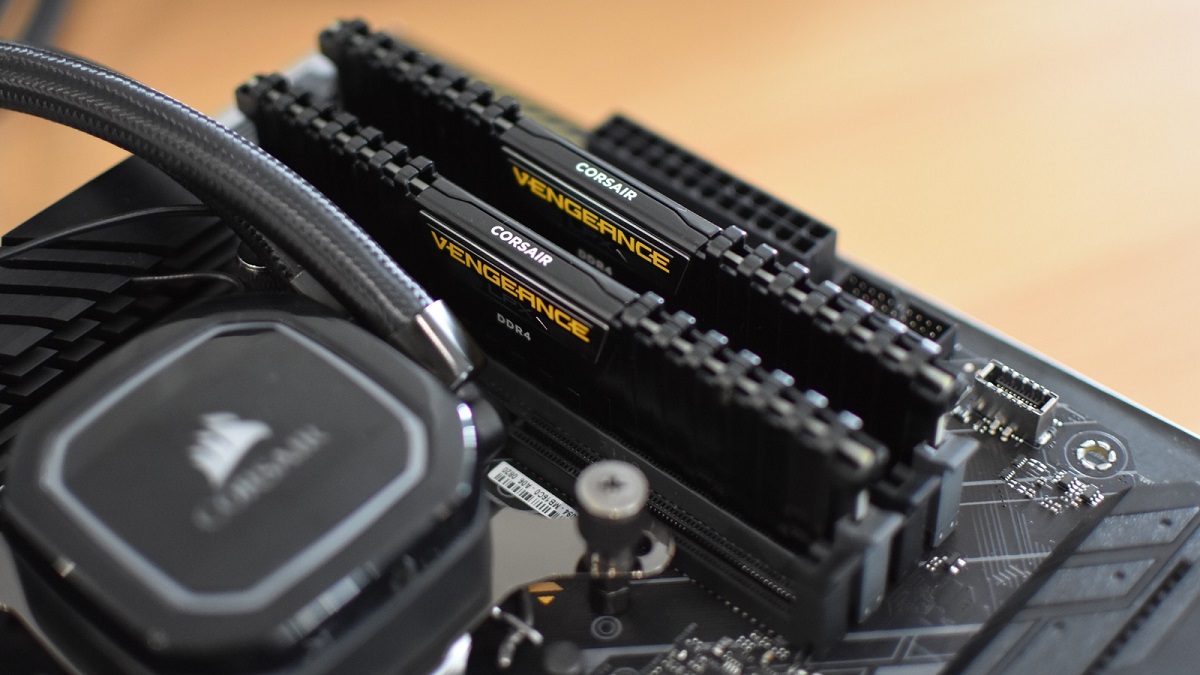
Dual-channel RAM configuration: Dual-channel configurations require two identical RAM sticks to be installed in matching slots or channels on the motherboard. This configuration allows for two pathways or channels for data to be accessed simultaneously. Dual-channel configurations provide improved memory bandwidth and can result in better performance for tasks that require high memory usage, such as gaming, video editing, and content creation.
Quad-channel RAM configuration: Quad-channel configurations, as the name suggests, require four identical RAM sticks to be installed in matching slots or channels on the motherboard. This configuration provides even higher memory bandwidth compared to dual-channel setups. Quad-channel configurations are typically found in high-end systems and workstation motherboards. They offer increased performance for memory-intensive tasks, such as 3D rendering, professional video editing, and data analysis.
It’s important to note that not all motherboards support dual-channel or quad-channel configurations. Check your motherboard’s specifications and user manual to determine if it supports these configurations. Additionally, to take full advantage of dual-channel or quad-channel configurations, ensure that the RAM sticks being used are identical in terms of capacity, speed, and timings.
When installing RAM sticks in a dual-channel or quad-channel configuration, it is essential to follow the recommended slot or channel placement specified in your motherboard’s user manual. Incorrect placement may result in the system operating in single-channel mode, limiting the memory bandwidth and potentially impacting performance.
Although dual-channel and quad-channel configurations can offer performance benefits, it’s worth noting that the real-world impact may vary depending on the specific tasks and applications being used. In some cases, the performance gains may be minimal, while in others, the difference can be noticeable, especially in memory-intensive scenarios.
In summary, RAM configurations can significantly impact the performance of your computer system. Single-channel, dual-channel, and quad-channel configurations offer varying levels of memory bandwidth and performance. Understanding the differences between these configurations can help you select the appropriate RAM setup for your specific needs and maximize the performance of your system.
Where to place RAM sticks in single-channel configurations
In a single-channel RAM configuration, the placement of RAM sticks is relatively straightforward. Since there is only one memory channel available, the RAM sticks should be installed in the corresponding RAM slots on the motherboard.
Most motherboards have two to four RAM slots, typically designated with different colors or labeled with numbers. In a single-channel configuration, you should place the RAM sticks in the same-colored or sequentially numbered slots. This ensures that the RAM sticks are accessing the single memory channel effectively.
For example, if your motherboard has two RAM slots colored in black and blue, you should install your RAM sticks in either both black slots or both blue slots to achieve the single-channel configuration. Placing one RAM stick in the black slot and another in the blue slot would result in the system operating in a dual-channel configuration, which is not recommended for a single-channel setup.
It’s important to note that the specific slot numbering and color-coded scheme may vary depending on the motherboard manufacturer. Always consult your motherboard’s user manual for the correct slot placement guidelines.
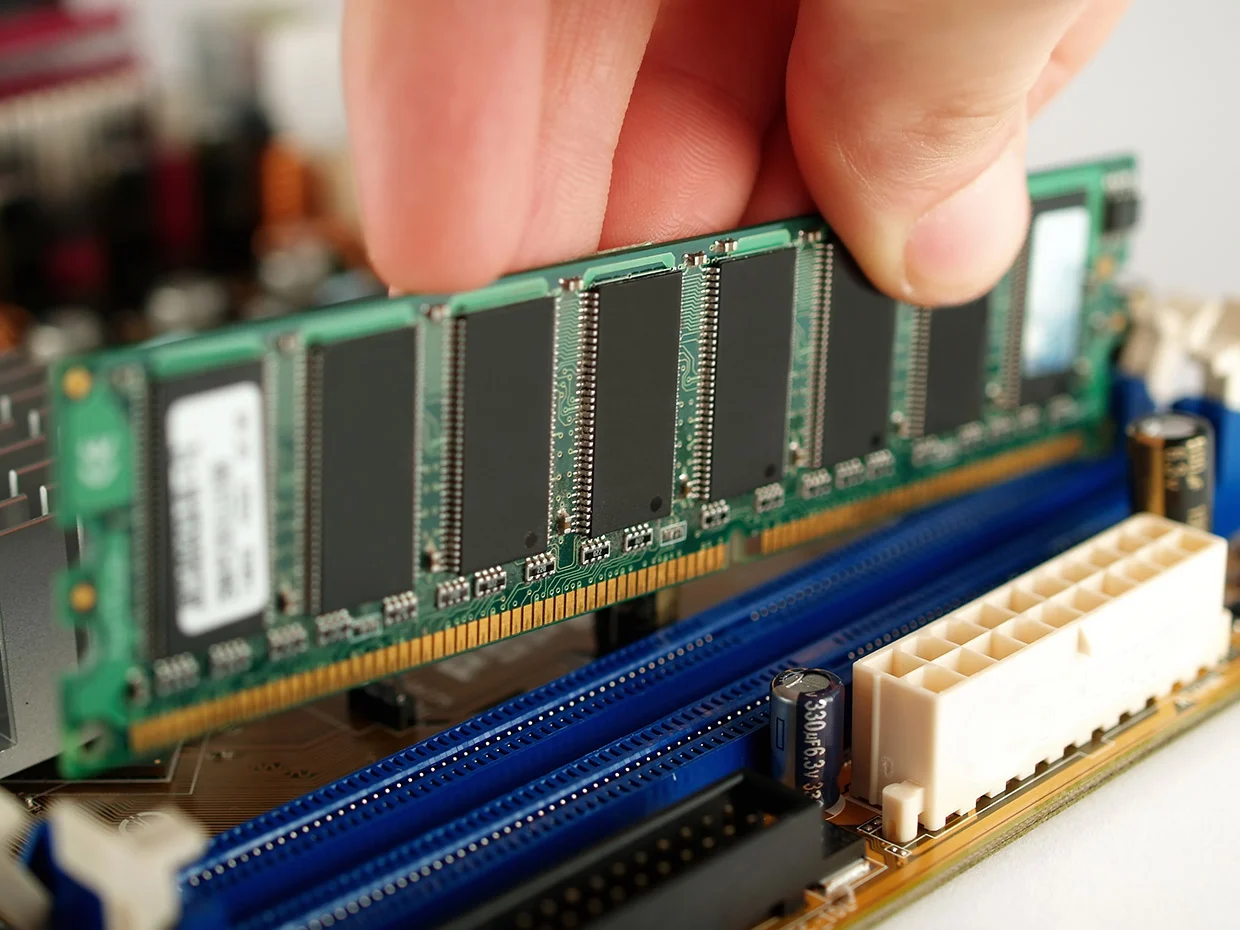
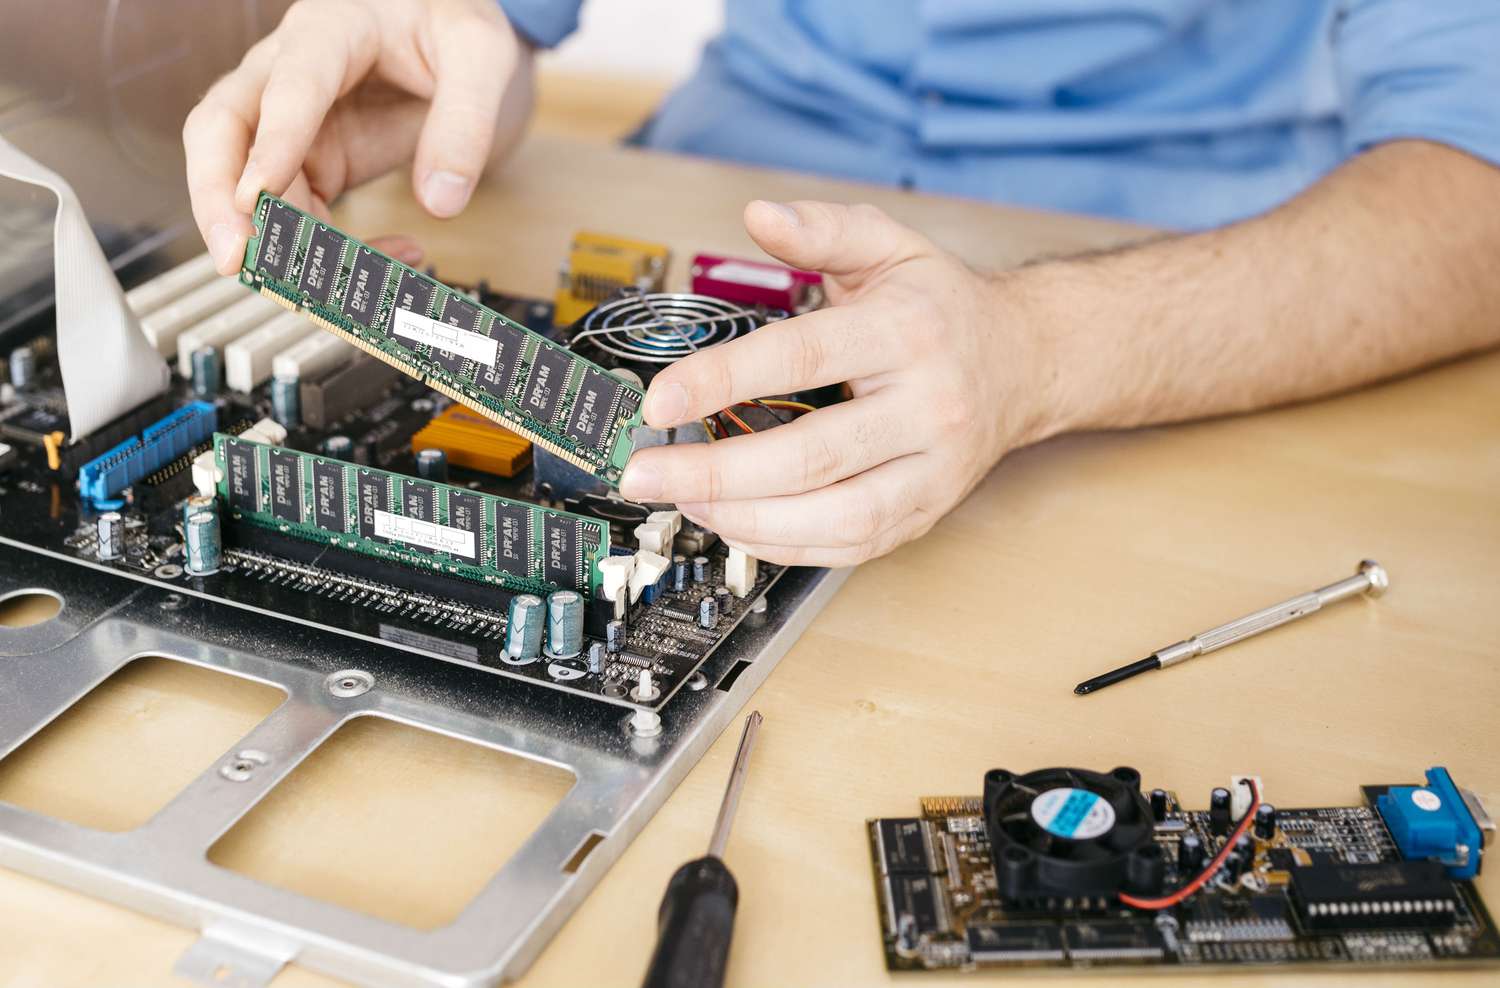
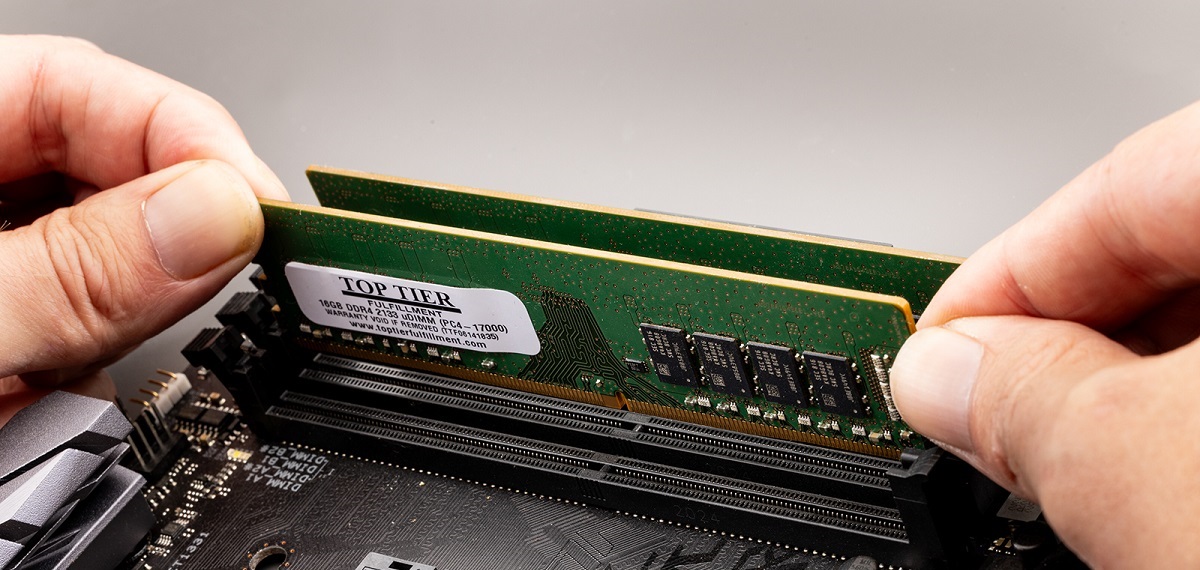
When inserting the RAM sticks into the slots, make sure they are firmly seated in the slots and properly aligned with the notches on the RAM module and the slot itself. Apply gentle and even pressure on both sides of the RAM stick until it clicks into place. Ensure that the retention clips on the side of the RAM slot lock securely onto the RAM stick to hold it in place.
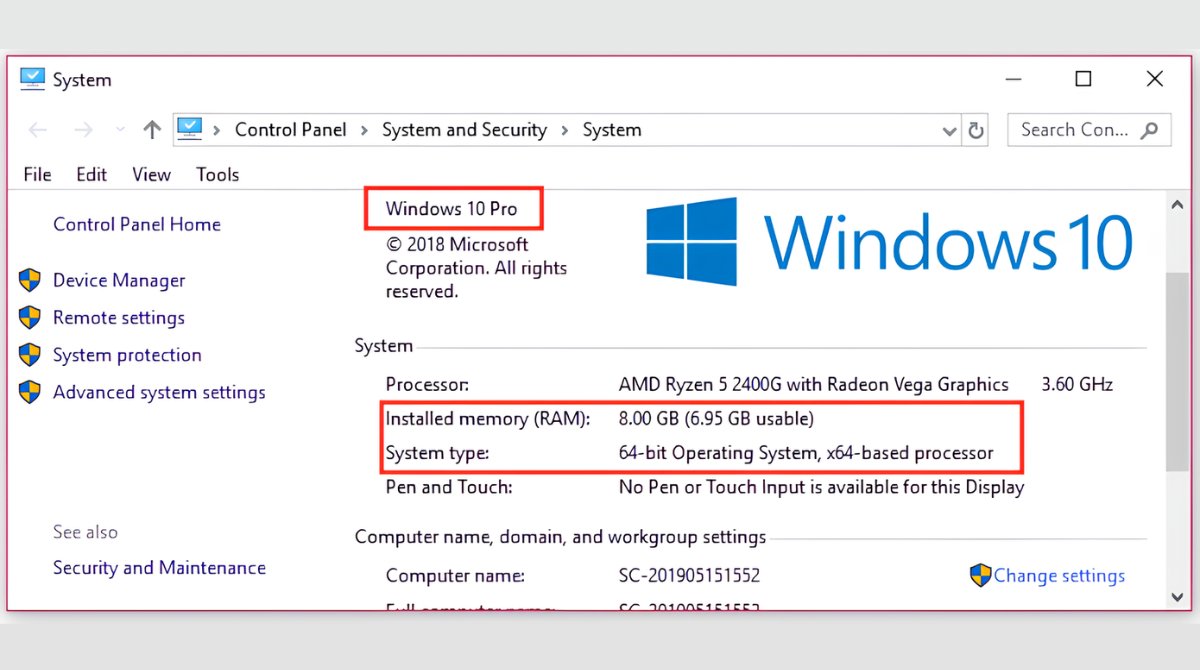
Once the RAM sticks are properly installed, power on your computer and check the system BIOS or UEFI to verify that the correct amount of RAM is being detected. If the RAM is not recognized or is showing an incorrect capacity, double-check that the RAM sticks are inserted fully and correctly seated in the slots.
In summary, in a single-channel RAM configuration, you should install the RAM sticks in the same-colored or sequentially numbered RAM slots on your motherboard. This ensures that the RAM sticks are accessing the single memory channel effectively. Always consult your motherboard’s user manual for the correct slot placement guidelines specific to your motherboard model. Properly align and firmly seat the RAM sticks in the slots, and verify in the system BIOS or UEFI that the correct amount of RAM is being detected.
Where to place RAM sticks in dual-channel configurations
In a dual-channel RAM configuration, the placement of RAM sticks is crucial for optimal performance. Dual-channel configurations require two identical RAM sticks to be installed in matching slots or channels on the motherboard.
Most motherboards with dual-channel support have four RAM slots, labeled or color-coded in pairs. To achieve a dual-channel configuration, you should place one RAM stick in each of the matching slots from the same pair. The slot pairs are usually designated with the same color or labeled with numbers.
For example, if your motherboard has four RAM slots, color-coded in black, blue, black, and blue, you should insert one RAM stick into one of the black slots and the other RAM stick into one of the blue slots. This configuration ensures that the RAM sticks are accessing two memory channels simultaneously, allowing for improved memory bandwidth and better system performance.
When inserting the RAM sticks into the slots, make sure they are firmly seated in the slots and properly aligned with the notches on the RAM module and the slot itself. Apply gentle and even pressure on both sides of the RAM stick until it clicks into place. Ensure that the retention clips on the side of the RAM slot lock securely onto the RAM stick to hold it in place.
It’s important to note that some motherboards may have a different slot arrangement or color-coding scheme. Always consult your motherboard’s user manual for the correct slot placement guidelines specific to your motherboard model.
Once the RAM sticks are properly installed, power on your computer and check the system BIOS or UEFI to verify that the dual-channel configuration is detected. The system should recognize the total amount of RAM installed and indicate that it is operating in dual-channel mode.
It’s worth mentioning that if you have a mismatched pair of RAM sticks, such as one stick with a higher capacity or different speed, the system will operate in single-channel mode instead of dual-channel. To achieve optimal dual-channel performance, it’s crucial to use identical RAM sticks in terms of capacity, speed, and timings.
In summary, in a dual-channel RAM configuration, you should insert two identical RAM sticks into the matching slots or channels on your motherboard. These slots are typically labeled or color-coded in pairs. Always consult your motherboard’s user manual for the correct slot placement guidelines specific to your motherboard model. Properly align and firmly seat the RAM sticks in the slots, and verify in the system BIOS or UEFI that the dual-channel configuration is being detected.
Where to place RAM sticks in quad-channel configurations
In a quad-channel RAM configuration, the placement of RAM sticks is crucial to ensure optimal performance and take full advantage of the increased memory bandwidth. Quad-channel configurations require four identical RAM sticks to be installed in matching slots or channels on the motherboard.
Most motherboards with quad-channel support have eight RAM slots, labeled or color-coded in sets of four. To achieve a quad-channel configuration, you should place one RAM stick in each of the matching slots from each set. The slot sets are usually designated with the same color or labeled with numbers.
For example, if your motherboard has eight RAM slots, color-coded as black, blue, black, blue, black, blue, black, and blue, you should insert one RAM stick into each set of corresponding slots. This means placing one RAM stick in the black slot, one in the blue slot, one in the second black slot, and one in the second blue slot. This configuration ensures that the RAM sticks are accessing all four memory channels simultaneously, maximizing memory bandwidth and system performance.
When inserting the RAM sticks into the slots, make sure they are firmly seated in the slots and properly aligned with the notches on the RAM module and the slot itself. Apply gentle and even pressure on both sides of the RAM stick until it clicks into place. Ensure that the retention clips on the side of the RAM slot lock securely onto the RAM stick to hold it in place.
It’s crucial to note that not all motherboards support quad-channel configurations. Ensure that your motherboard specifically states quad-channel support or consult the manufacturer’s documentation. Additionally, use identical RAM sticks in terms of capacity, speed, and timings to achieve optimal quad-channel performance.
Once the RAM sticks are properly installed, power on your computer and check the system BIOS or UEFI to verify that the quad-channel configuration is detected. The system should recognize the total amount of RAM installed and confirm that it is operating in quad-channel mode.
It’s worth mentioning that quad-channel configurations are typically found in high-end systems and workstation motherboards. The benefits of quad-channel compared to dual-channel or single-channel configurations may vary depending on the specific tasks and applications being used, particularly those that require extensive memory usage like 3D rendering, professional video editing, and data analysis.
In summary, in a quad-channel RAM configuration, you should insert four identical RAM sticks into the matching slots or channels on your motherboard. These slots are typically labeled or color-coded in sets of four. Always consult your motherboard’s user manual for the correct slot placement guidelines specific to your motherboard model. Properly align and firmly seat the RAM sticks in the slots, and verify in the system BIOS or UEFI that the quad-channel configuration is being detected.
Tips for installing RAM sticks properly
Installing RAM sticks may seem like a simple task, but it’s essential to follow the proper procedures to ensure a successful installation and optimal performance. Here are some tips to help you install your RAM sticks properly:
- Consult your motherboard’s user manual: Always refer to your motherboard’s user manual to understand the specific requirements and guidelines for installing RAM sticks. The manual will provide information on the number of RAM slots, compatible RAM types, and slot placement for different memory configurations.
- Handle RAM sticks with care: RAM sticks are sensitive electronic components. When handling RAM sticks, avoid touching the gold contacts or any other exposed circuitry. Hold the RAM stick by its sides to prevent damage from static electricity or physical mishandling.
- Insert the RAM stick fully: Ensure that the RAM stick is fully inserted into the RAM slot. Apply even pressure on both sides of the stick until it clicks into place. The retention clips on the sides of the RAM slot should lock securely onto the RAM stick, ensuring it is seated correctly.
- Install identical RAM sticks: In configurations that require multiple RAM sticks, such as dual-channel or quad-channel setups, it’s crucial to use identical RAM sticks. Match the capacity, speed, and timings of the RAM sticks for optimal performance. Mismatched RAM sticks may result in reduced performance or compatibility issues.
- Check for proper slot placement: Depending on the memory configuration, ensure that the RAM sticks are placed in the correct slots. Refer to your motherboard’s user manual for the recommended slot placement. Verify in the system BIOS or UEFI that the RAM sticks are recognized and operating in the desired configuration.
- Avoid installing RAM sticks near heat sources: RAM sticks can generate heat during operation. To prevent overheating, avoid installing RAM sticks near heat sources such as CPU heatsinks or graphics cards. This will help maintain optimal operating temperatures for your RAM modules.
- Update your motherboard’s BIOS: Sometimes, newer RAM modules may require a BIOS update to ensure compatibility and stability. Check your motherboard manufacturer’s website for any BIOS updates and follow the instructions provided to update the BIOS before installing the new RAM sticks.
- Perform a RAM test: After installing the RAM sticks, it’s a good practice to run a RAM test to ensure stability and proper functioning. There are various software programs available, such as MemTest86, that can help you thoroughly test your RAM for any errors or issues.
- Keep spare RAM sticks for troubleshooting: If you have spare RAM sticks, keep them handy for troubleshooting purposes. If you encounter any issues with your installed RAM, you can swap them out with the spare sticks to identify whether the problem lies with the RAM modules or elsewhere in the system.
By following these tips, you can ensure a successful RAM installation and optimize the performance of your computer system. Remember to take appropriate precautions, refer to your motherboard’s user manual, and double-check the compatibility and configuration requirements before proceeding with the installation.
Conclusion
Properly installing RAM sticks is crucial for maximizing the performance of your computer system. Whether you’re setting up a single-channel, dual-channel, or quad-channel configuration, following the recommended guidelines will ensure that your RAM operates at its full potential.
Understanding the types of RAM slots available on your motherboard and the number of RAM sticks your motherboard can support is the first step in correctly installing RAM. Single-channel configurations require placing RAM sticks in the designated slot, while dual-channel and quad-channel configurations involve installing RAM sticks in matching slots to take advantage of increased memory bandwidth.
Throughout the installation process, it’s important to handle RAM sticks with care, fully insert them into the slots, and verify that the retention clips lock securely. Install identical RAM sticks in terms of capacity, speed, and timings for optimal performance in dual-channel and quad-channel configurations.
Consulting your motherboard’s user manual and checking the system BIOS or UEFI for proper RAM recognition and configuration are essential to ensure that your computer system is running in the desired setup.
Additionally, it’s helpful to keep in mind tips such as avoiding installing RAM sticks near heat sources and performing a RAM test after installation to ensure stability and functionality. Keeping spare RAM sticks for troubleshooting purposes can also be beneficial in case of any issues with the installed RAM.
By following these tips and guidelines, you can enhance your computer’s memory performance and ensure that your installed RAM is functioning optimally.
Remember, the proper installation of RAM sticks contributes to an efficient and responsive computer system. Take the time to understand your motherboard’s specifications, user manual, and any specific recommendations from the manufacturer to ensure a successful RAM installation.