Introduction
Welcome to this guide on how to change RAM RGB! If you’re looking to add a touch of personalization and style to your computer, changing the RGB lighting on your RAM sticks is a great way to do it. RGB RAM sticks not only enhance the aesthetics of your computer setup, but they also provide an opportunity to showcase your unique style and creativity.
RAM, or Random Access Memory, is a crucial component in any computer system. It stores data that the computer’s CPU needs to access quickly, and modern RAM sticks come equipped with RGB lighting, allowing you to customize the colors and effects to match your preferences. Whether you’re a gamer looking to create a dramatic light show to accompany your gaming sessions or simply want to add a subtle glow to your workstation, changing the RAM RGB can elevate your computer’s appearance.
In this guide, we will walk you through the step-by-step process of changing the RGB lighting on your RAM sticks to help you achieve the desired look. We’ll cover everything from gathering the necessary tools and materials to installing the new RGB RAM sticks and connecting the cables.
Before we begin, it’s essential to note that the specific steps may vary slightly depending on the brand and model of your RAM sticks. Be sure to consult the user manual provided by the manufacturer for any specific guidelines or precautions.
Now, let’s dive into the exciting world of changing RAM RGB and embark on a journey to transform your computer into a visually stunning masterpiece!
Step 1: Gathering the necessary tools and materials
Before you can dive into changing the RGB lighting on your RAM sticks, it’s essential to gather all the necessary tools and materials. Here’s a list of what you’ll need to get started:
1. Screwdriver: Depending on your computer case, you may need a Phillips or flathead screwdriver for opening the case and accessing the RAM slots.
2. Anti-static precautions: To protect your computer components from being damaged by static electricity, it’s advisable to use an anti-static wrist strap or work on an anti-static mat.
3. Replacement RGB RAM sticks: Choose the RGB RAM sticks that best suit your preferences and are compatible with your computer’s specifications. Ensure that the RAM sticks have the correct form factor (e.g., DDR4) and capacity.
4. User manual: Although not a physical tool, having the user manual for your computer and RAM sticks handy can be helpful for reference during the installation process.
5. Cable management tools (optional): If you’re particular about keeping your computer’s cables organized, you may want to have cable ties or Velcro straps on hand to tidy up the RGB cables once you’ve connected them.
6. A clean, well-lit workspace: Ensure that you have a clear and well-lit area to work in. It’s always best to work on a non-static surface, such as a wooden table or an anti-static mat, to avoid any accidental electrical discharge.
By gathering these tools and materials beforehand, you’ll have everything you need to proceed smoothly with the RGB RAM replacement process. Remember to refer to the user manual for your computer and RAM sticks to ensure that you’re following any specific guidelines or precautions provided by the manufacturer.
In the next step, we’ll guide you through shutting down your computer and opening the case, so you can access the RAM sticks and RGB connectors. Let’s move on to step 2 together!
Step 2: Shutting down and opening the computer case
To begin the process of changing the RGB lighting on your RAM sticks, you’ll first need to shut down your computer and safely open the computer case. Follow these steps:
1. Save your work and shut down the computer: Close any open programs and save your work to prevent data loss. Once you’ve done this, click on the Start menu, then select “Shut Down” to power off the system.
2. Unplug the power cable: To ensure your safety and prevent any accidental electrical discharge, unplug the power cable from the back of your computer. It’s important to disconnect the power to avoid any damage to the components and to minimize the risk of electrical shock.
3. Ground yourself: Before opening the computer case, it’s crucial to ground yourself to prevent any electrostatic discharge that could damage sensitive computer components. You can do this by wearing an anti-static wrist strap or by touching a grounded metal object, such as a doorknob or radiator.
4. Remove the computer case cover: Depending on the type of computer case you have, there may be screws or clips holding the cover in place. Use a screwdriver or release the clips, and carefully remove the case cover. Set it aside in a safe place where it won’t get damaged.
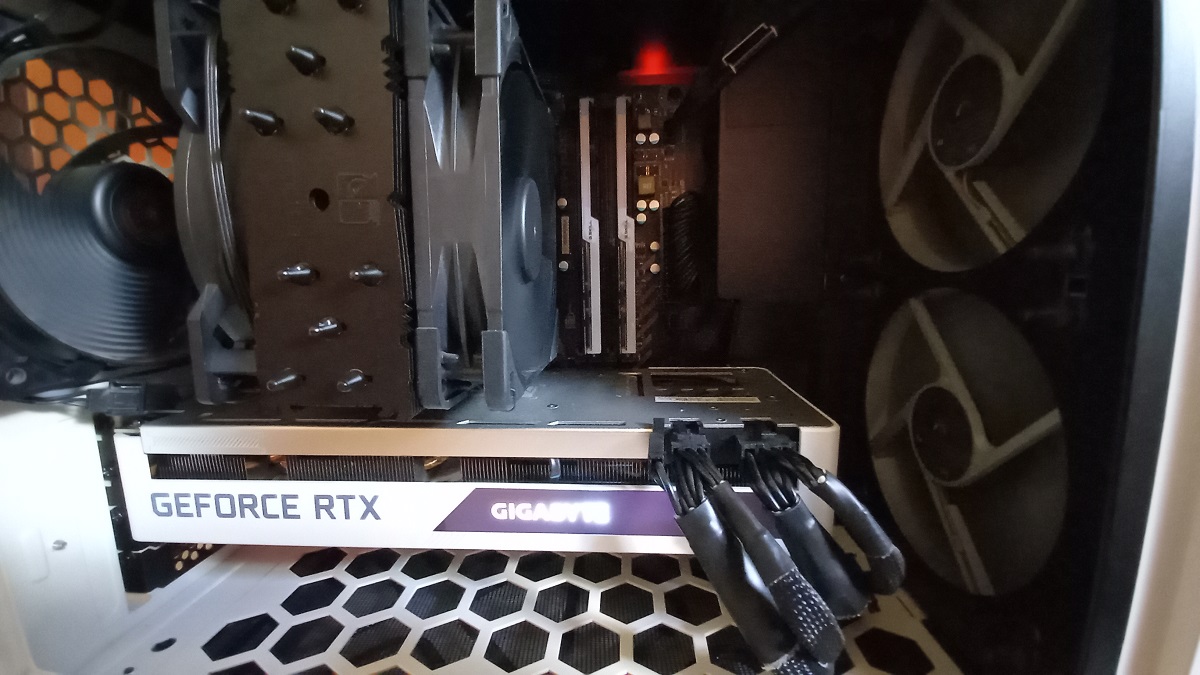
5. Locate the RAM slots: Once the computer case is open, locate the RAM slots on the motherboard. These slots are usually long and thin and may be labeled with numbers or colors corresponding to specific RAM channels. Refer to your motherboard’s user manual if you’re unsure about the exact location of the RAM slots.
By following these steps, you’ll have safely shut down your computer and opened the case, ready to access the RAM slots and RGB connectors. In the next step, we’ll guide you through locating the RAM sticks and RGB connectors within the computer case. Let’s move on to step 3!
Step 3: Locating the RAM sticks and RGB connectors
Now that you have opened the computer case, it’s time to locate the RAM sticks and RGB connectors within your system. Follow these steps to find them:
1. Identify the RAM slots: Look for the long, thin slots on the motherboard where the RAM sticks are inserted. Depending on your motherboard, there may be multiple slots arranged in pairs or groups. Take note of the number or color coding associated with each slot, as it may be important when installing the new RGB RAM sticks later.
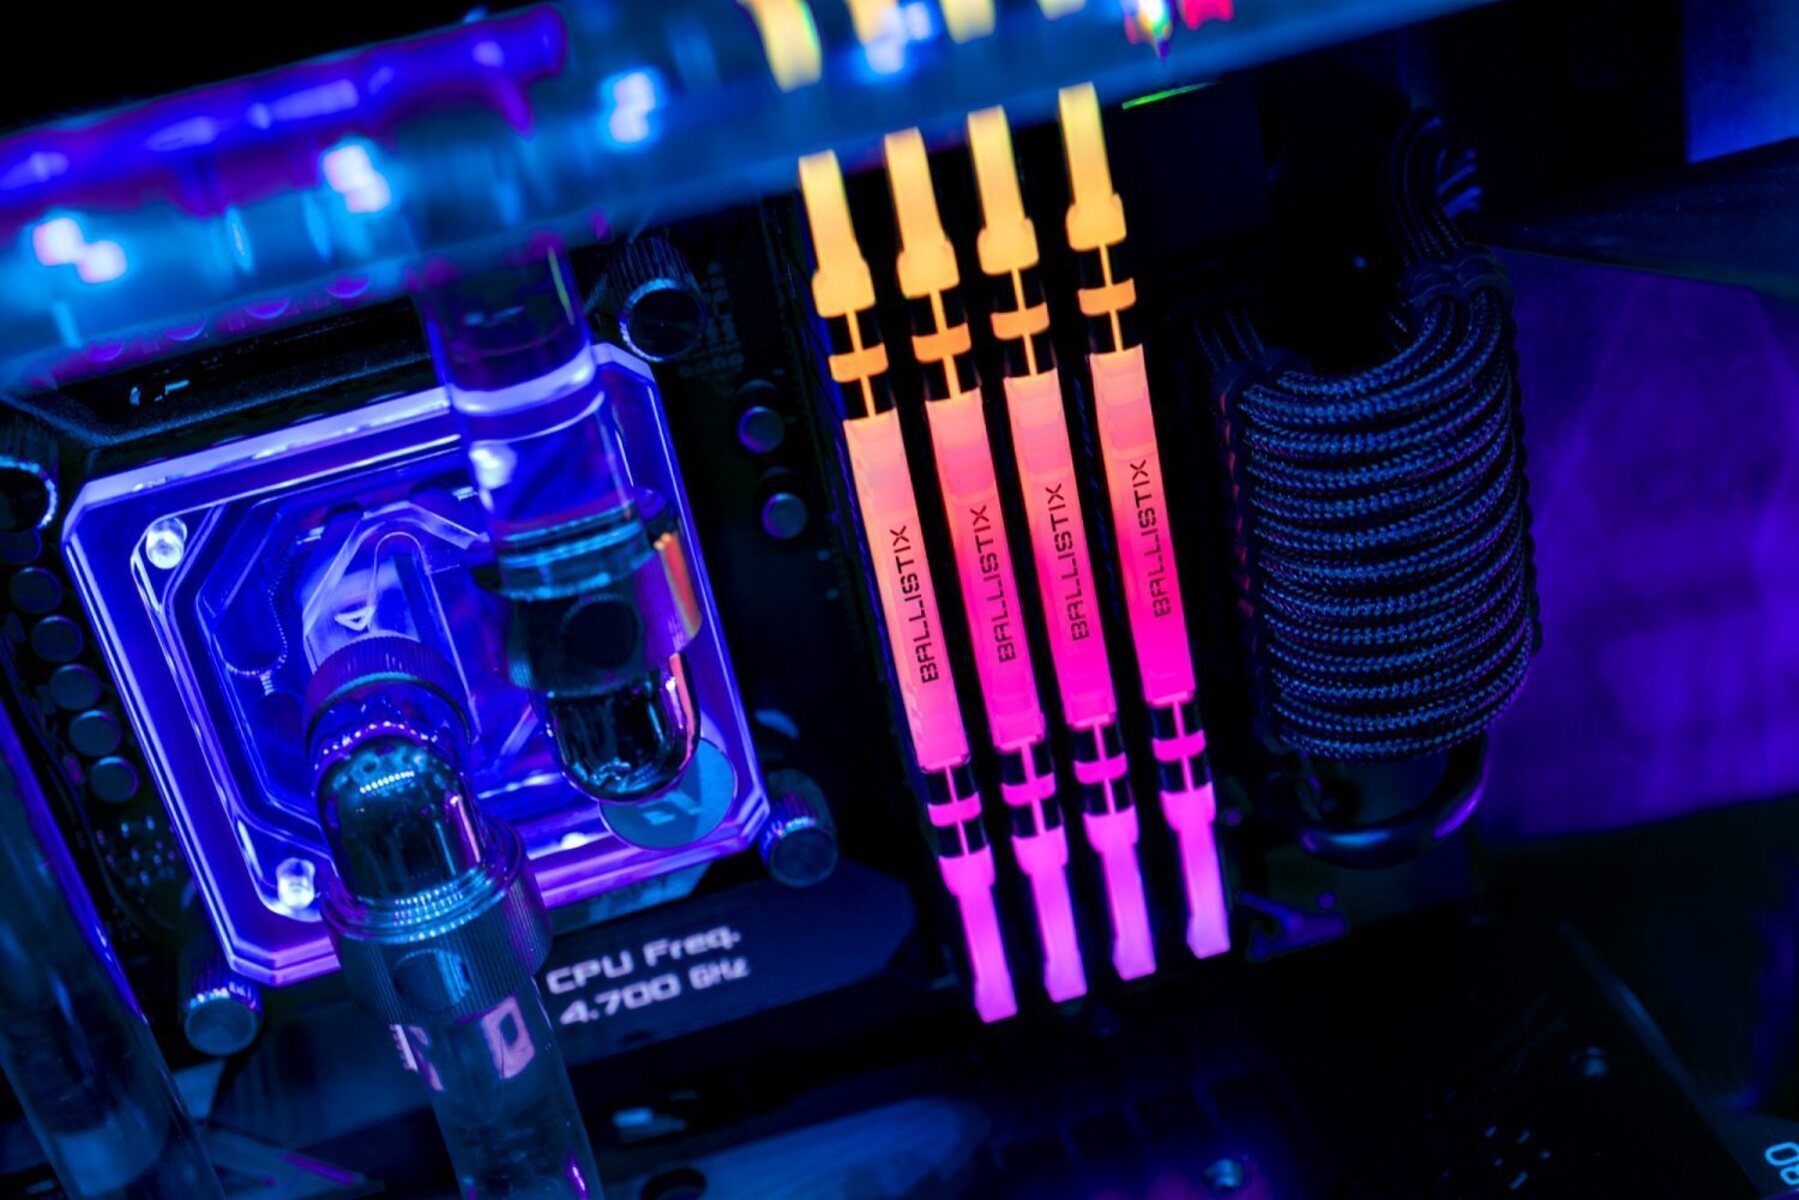
2. Locate the RGB connectors: On the RAM sticks themselves, you will find RGB connectors. These connectors are usually small, rectangular ports that allow the RGB cables to be connected. The number and location of these connectors can vary depending on the brand and model of your RAM sticks. Refer to the user manual or the manufacturer’s instructions for specific guidance on finding the RGB connectors.
3. Take a moment to observe the existing RGB setup: Before proceeding further, take a moment to observe how the current RGB cables are connected and positioned. This will help you understand the wiring setup and guide you when it comes time to connect the new RGB cables later on. It’s a good idea to take a picture or make a note of how the cables are connected so that you can replicate the setup with the new RAM sticks.
4. Plan the positioning of the new RAM sticks and RGB cables: If you’re changing the RGB lighting on all your RAM sticks, think about the desired positioning of the new sticks and plan how the RGB cables will be routed. Consider factors such as cable length, clearance inside the case, and creating an aesthetically pleasing arrangement. Remember to avoid placing the cables near any moving parts or in areas that could obstruct airflow.
By following these steps, you’ll gain a clear understanding of where the RAM sticks and RGB connectors are located within your computer system. In the next step, we’ll guide you through disconnecting the existing RGB cables. Let’s move on to step 4 together!
Step 4: Disconnecting the RGB cables
Now that you’ve located the RGB connectors on your RAM sticks, it’s time to disconnect the existing RGB cables. Follow these steps to safely disconnect the cables:
1. Identify the RGB cables: Look for the RGB cables connected to the RAM sticks. These cables will typically be thin and have connectors that match the RGB connectors on the RAM sticks.
2. Gently remove the connectors: Carefully grip the plastic housing of the RGB connector and gently wiggle it side-to-side while pulling it away from the RAM stick. Be cautious not to pull on the cables themselves, as this could damage the connectors or cables.
3. Repeat for all RGB cables: If you have multiple RAM sticks with RGB lighting, repeat the process for each individual RGB cable. Take note of the order in which the cables were connected, as this will be important when it comes time to reconnect the new RGB cables.
4. Securely store the removed RGB cables: Once the cables have been disconnected, it’s essential to keep them in a safe place where they won’t get tangled or damaged. You can use cable ties or small plastic bags to keep the cables organized and prevent them from getting lost.
Remember, when handling the RGB cables, be gentle and avoid putting excessive force on the connectors or cables. Taking your time and being careful will help prevent any accidental damage during this step.
Congratulations! You have successfully disconnected the existing RGB cables from your RAM sticks. In the next step, we’ll guide you through removing the RAM sticks from their slots. Let’s move on to step 5 to continue the process!
Step 5: Removing the RAM sticks from their slots
With the RGB cables disconnected, it’s time to remove the RAM sticks from their slots. Follow these steps to safely remove the RAM sticks:
1. Locate the retention clips: On both sides of each RAM slot, you’ll find small retention clips. These clips hold the RAM sticks in place, securing them in the slots.
2. Release the retention clips: Gently push the retention clips outward to release them from the sides of the RAM sticks. The clips should move easily without requiring excessive force. Keep hold of the RAM stick when releasing the clips to prevent it from popping out of the slot unexpectedly.
3. Remove the RAM stick: Once the retention clips are released, carefully lift the RAM stick straight up from the slot. Avoid twisting or tilting the stick, as this could cause damage to the contacts on the RAM stick or the slot itself.
4. Repeat for each RAM stick: If you have multiple RAM sticks installed, repeat the process for each stick, one at a time. Take note of the order in which the RAM sticks are removed, as this will be important when installing the new RGB RAM sticks.
5. Place the removed RAM sticks in an anti-static bag or container: To protect the removed RAM sticks from damage, place them in an anti-static bag or container. This will minimize the risk of static electricity damaging the sensitive components.
Remember, RAM sticks are delicate components, so handle them with care. Avoid touching the gold contacts on the bottom of the RAM sticks, as the oils from your fingers could interfere with their performance.
Fantastic! You have successfully removed the RAM sticks from their slots. In the next step, we’ll guide you through the process of installing the new RGB RAM sticks. Let’s move on to step 6 to continue the process!
Step 6: Installing the new RGB RAM sticks
Now that you have removed the old RAM sticks, it’s time to install the new RGB RAM sticks. Follow these steps to safely install the new RAM sticks:
1. Orient the new RAM stick correctly: Take note of the notch or groove on the bottom of the RAM stick and align it with the corresponding tab in the RAM slot. Ensure that the orientation of the new RAM stick matches that of the slot to avoid forcing it in the wrong way.
2. Insert the new RAM stick: Hold the new RAM stick by its edges, align it with the slot, and gently but firmly push it straight down into the slot. Apply even pressure on both ends until the retention clips on the sides of the slot automatically engage and secure the RAM stick in place.
3. Confirm a secure installation: After inserting the new RAM stick, visually inspect the retention clips to ensure they are fully engaged and holding the RAM stick in position. Give the RAM stick a gentle wiggle to verify that it is properly seated and not loose.
4. Repeat for remaining RAM sticks: If you have multiple new RAM sticks to install, repeat the process for each stick, one at a time. Make sure to install them in the correct order to match the configuration you noted when removing the old RAM sticks.
5. Double-check the installation: Take a moment to ensure that all the new RAM sticks are correctly installed and secured in their slots. Verify that the retention clips are fully engaged for each RAM stick.
By following these steps carefully, you will successfully install the new RGB RAM sticks in your computer. Next, we will guide you through connecting the RGB cables to enhance the lighting effects. Let’s move on to step 7 to continue the process!
Step 7: Connecting the new RGB cables
With the new RGB RAM sticks installed, it’s time to connect the new RGB cables to activate their lighting effects. Follow these steps to properly connect the cables:
1. Identify the RGB connectors on the new RAM sticks: Locate the RGB connectors on the new RAM sticks. These connectors are usually rectangular in shape, matching the RGB cables’ connectors.
2. Retrieve the disconnected RGB cables: Take out the RGB cables that you disconnected earlier. Refer to any notes or pictures you took during the disconnection process to ensure you connect the cables in the same order.
3. Connect the RGB cables to the new RAM sticks: Align the RGB cable connector with the corresponding RGB connector on the new RAM stick. Gently guide the connector into the slot and ensure a secure connection. Avoid forcing the connection or bending the pins.
4. Repeat for all RGB cables: If you have multiple RAM sticks with RGB lighting, repeat the process for each RAM stick, connecting the RGB cables one by one.
5. Route and organize the RGB cables: Once the RGB cables are connected, carefully route them within the computer case, ensuring they are not blocking any fans or obstructing airflow. Use cable ties or Velcro straps to secure the cables and keep them organized. This step helps maintain a clean and tidy appearance while ensuring the cables do not interfere with the computer’s functionality.
6. Close the computer case: After connecting the RGB cables and organizing them, gently close the computer case. Replace any screws or clips that were removed earlier to secure the case properly.
Fantastic job! You have successfully connected the new RGB cables to the installed RAM sticks. In the next step, we will guide you through closing the computer case and powering on the system. Let’s move on to step 8 to continue the process!
Step 8: Closing the computer case and powering on the system
Now that you have completed the installation and connection of the new RGB RAM sticks, it’s time to close the computer case and power on the system. Follow these steps to finish the process:
1. Align the case cover: Place the computer case cover back on, aligning it with the screw holes or clips on the case. Ensure the cover is positioned correctly and sits flush with the rest of the case.
2. Secure the case: If your case requires screws, use the appropriate screwdriver to tighten them gently but securely. If your case uses clips, push them or snap them into place until they are secure.
3. Plug in the power cable: Reconnect the power cable to the back of your computer, ensuring that it is firmly inserted. This will provide power to the system when you turn it on.
4. Power on the system: Press the power button on your computer to boot it up. You should see the motherboard lights come on, indicating that power is flowing through the system.
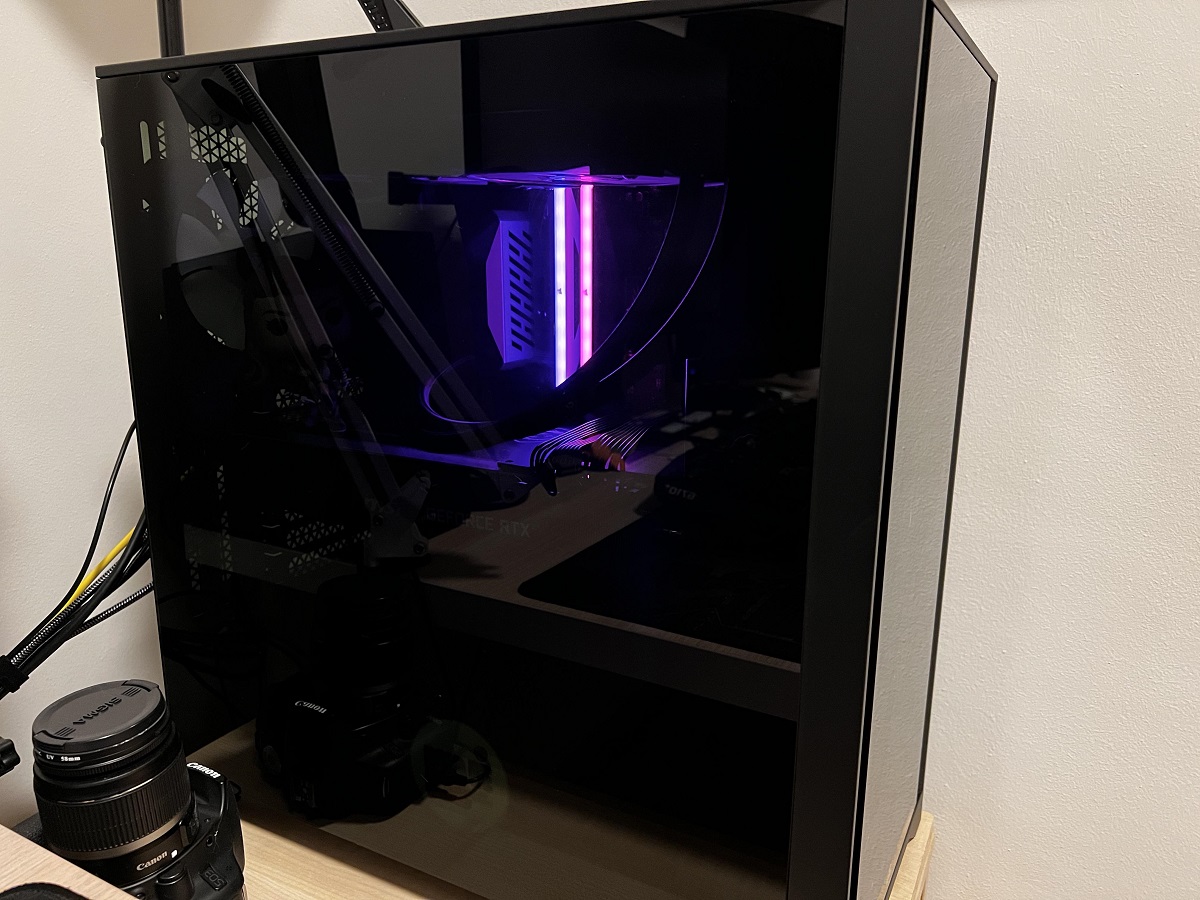
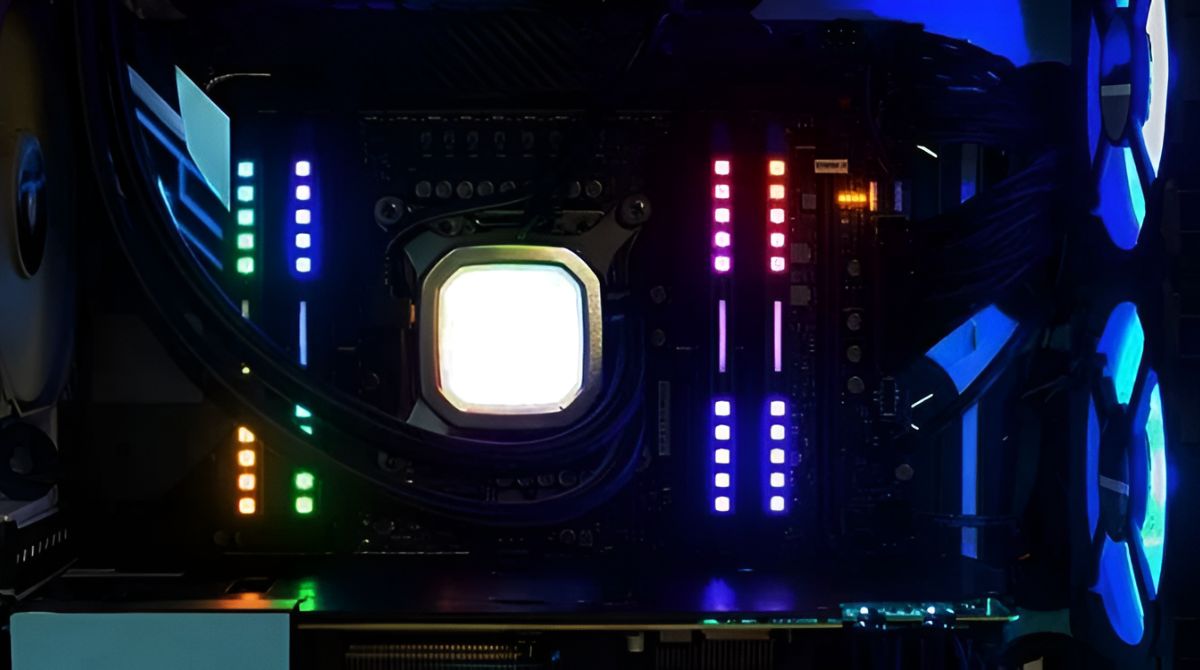
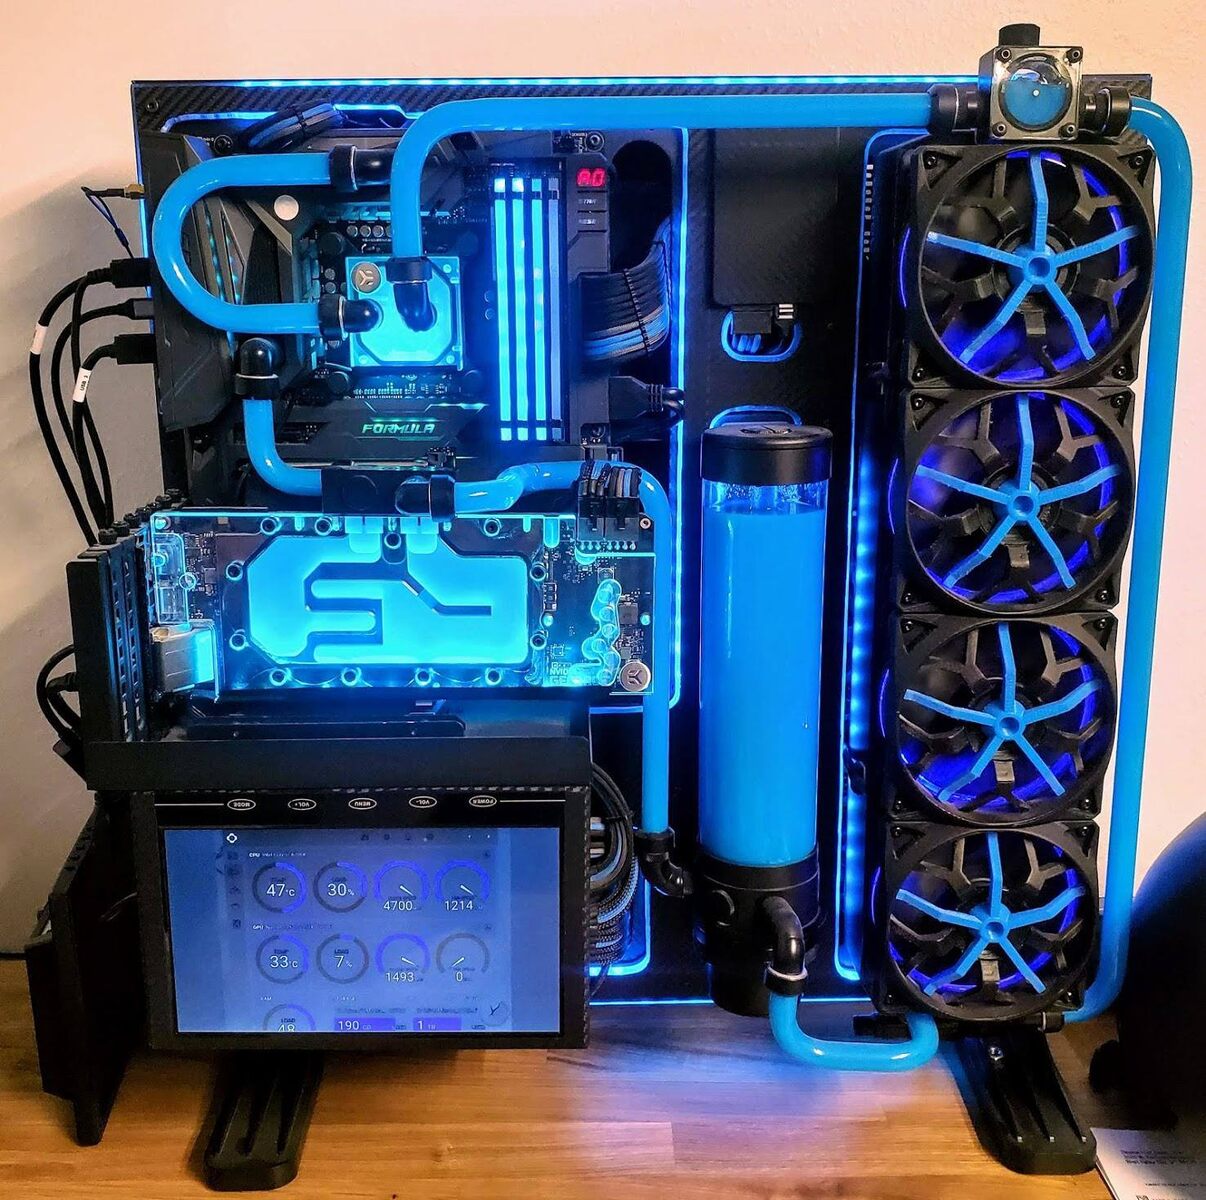
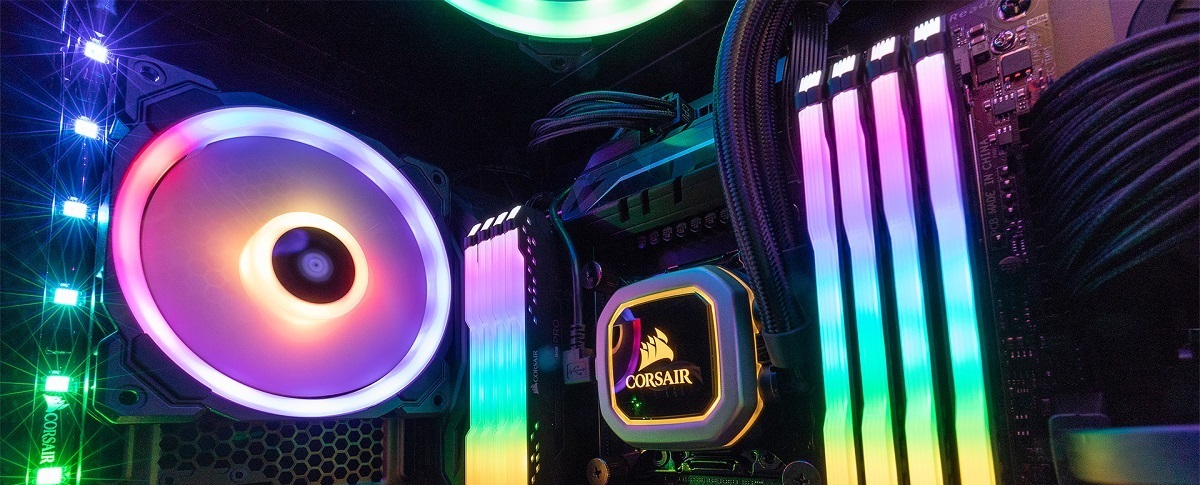
5. Verify the new RGB lighting: Once the system boots up, observe the new RGB lighting on your RAM sticks. It should glow with the colors or effects you have set if the software or motherboard controls the RGB lighting. If not, consult the user manual or the manufacturer’s instructions to ensure the RGB lighting is properly configured.
6. Test the system stability: After confirming the RGB lighting, it’s a good practice to run some tests or use the computer normally to check if the system is stable and functioning properly. Monitor for any abnormal behavior or errors that may indicate a problem.
Congratulations! You have successfully closed the computer case and powered on the system with the new RGB RAM sticks installed. Enjoy the enhanced aesthetics and personalized lighting effects!
Remember, if you encounter any issues or have any questions during the process, consult the user manual or seek assistance from the manufacturer’s support. Enjoy your newly upgraded RGB RAM lighting and have a fantastic computing experience!
Conclusion
Congratulations on successfully changing the RGB lighting on your RAM sticks! By following the step-by-step process outlined in this guide, you have transformed the aesthetics of your computer and added a personalized touch to your setup.
Throughout the journey, you learned how to gather the necessary tools and materials, shut down and open the computer case, locate the RAM sticks and RGB connectors, disconnect the existing RGB cables, remove the old RAM sticks, install the new RGB RAM sticks, connect the new RGB cables, and close the computer case. Finally, you powered on the system and verified the new RGB lighting.
Remember, every computer and RAM configuration may vary slightly, so always refer to the user manual or manufacturer’s instructions for specific guidance. Taking your time, being careful, and paying attention to details will ensure a successful and hassle-free process.
Changing the RGB lighting on your RAM sticks not only enhances the visual appeal of your computer but also allows you to express your creativity and personal style. Whether it’s for gaming, productivity, or purely for aesthetic pleasure, the vibrant and customizable RGB lighting adds an extra level of excitement to your computer experience.
Now, sit back, appreciate the vibrant light show, and enjoy the enhanced aesthetics of your computer. Don’t forget to explore the software or motherboard controls to experiment with different lighting effects and colors to truly make it your own.
We hope this guide has been helpful and that you have enjoyed the process of changing RAM RGB. Happy computing!