Introduction
Welcome to the world of RAM (Random Access Memory), the backbone of your computer’s performance. RAM plays a crucial role in how efficiently your computer executes tasks and runs programs. Understanding how to make the most of your available RAM can greatly enhance your system’s speed and overall performance.
In this article, we will explore different methods to make your RAM more usable, diagnosing and resolving common RAM issues, and optimizing your computer’s memory management. Whether you’re experiencing sluggish performance or simply looking to improve your system’s efficiency, this guide will provide you with practical tips to maximize your RAM’s potential.
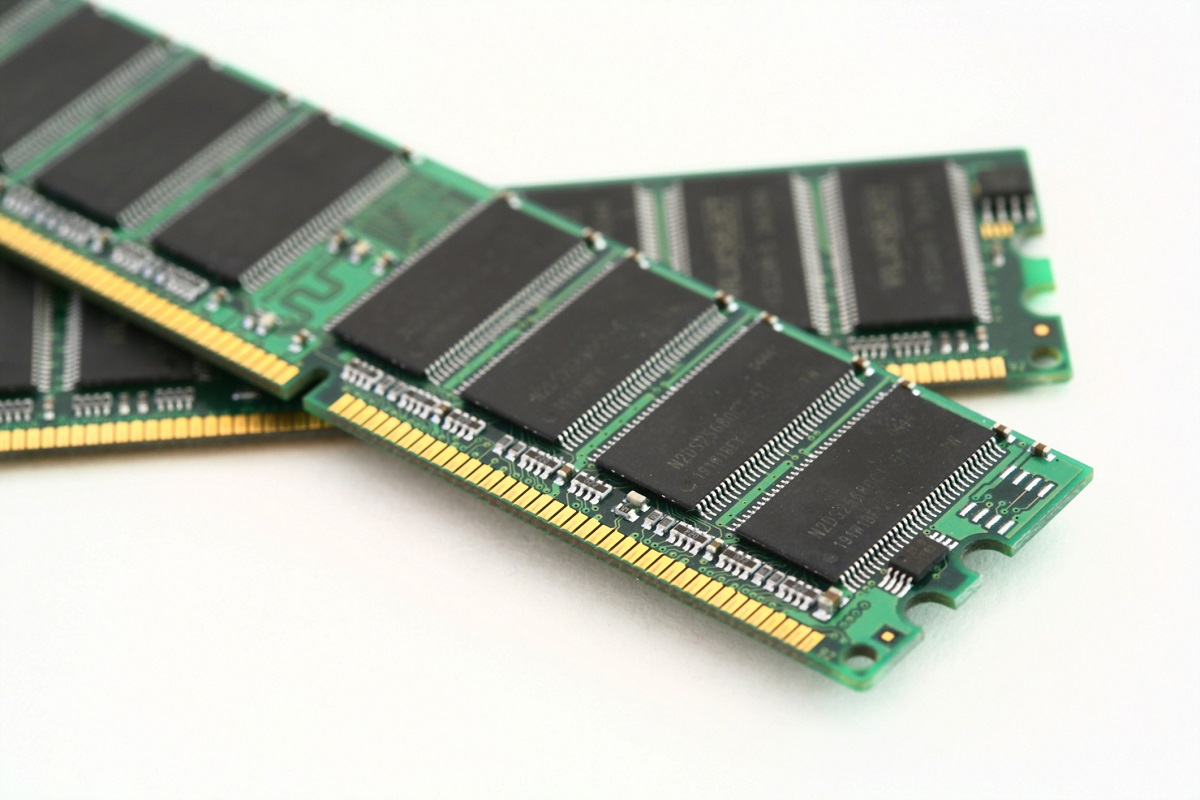
Before we delve into the different techniques, it’s essential to have a basic understanding of what RAM actually is. RAM serves as temporary storage for data and instructions that are actively being used by your computer’s processor. Unlike a hard drive or solid-state drive (SSD) which stores data long-term, RAM is volatile and is emptied every time your computer is powered off. The more RAM your computer has, the more data it can store for quick access, reducing the need for your computer to constantly read and write data to your hard drive.
Insufficient RAM can lead to a sluggish system, frequent freezing or crashing of programs, and slow multitasking. By optimizing your RAM usage, you can improve your computer’s responsiveness and overall performance. Let’s dig deeper into different techniques and strategies to make your RAM more usable.
Understanding RAM
Before we explore how to make RAM more usable, it’s crucial to have a solid understanding of what RAM is and how it functions. RAM, or Random Access Memory, is a type of computer memory that stores data and instructions that are actively being used by your computer’s processor. It serves as temporary storage for quick access, allowing your system to perform tasks efficiently.
Unlike a hard drive or solid-state drive (SSD), which store data for long-term storage, RAM is volatile and loses its data when the power is turned off. This is why it’s essential to have enough RAM to accommodate the demands of your system. Insufficient RAM can cause your computer to slow down, struggle with multitasking, and experience frequent freezes or crashes.
The size of your RAM determines how much data and instructions your computer can handle at any given time. The more RAM you have, the more programs and tasks your system can handle simultaneously without slowing down. It’s important to note that increasing the amount of RAM will not necessarily make your computer faster, but rather allow it to handle more processes without a drop in performance.
RAM operates on a read-write process, meaning it can both read data from and write data to the memory cells. These memory cells are organized into units called bytes, which are further divided into kilobytes (KB), megabytes (MB), gigabytes (GB), and even terabytes (TB).
RAM speed, often referred to as memory clock speed, is another factor to consider. It determines how quickly the RAM can read and write data. Higher clock speeds result in faster data transfer, which can improve overall system performance.
It’s important to note that RAM is not a storage device for files or documents. Instead, it works in conjunction with your computer’s storage devices, such as the hard drive or SSD, to provide quick access to data and instructions currently in use by the processor.
Now that we have a basic understanding of RAM and its role in computer performance, let’s move on to diagnosing and resolving common RAM issues to optimize your system’s memory usage.
Diagnosing RAM Issues
When your computer starts to exhibit signs of sluggishness, freezing, or crashing, it’s essential to determine whether your RAM is causing the issue. Diagnosing RAM problems can help identify the root cause and take appropriate actions to resolve them. Here are a few steps you can follow to diagnose RAM issues:
- Check for error messages: Keep an eye out for any error messages or system notifications that specifically mention memory-related issues. These messages can provide valuable insights into the type of problem you may be facing.
- Perform a RAM test: There are various software tools available that can help you perform a thorough memory test. Tools like MemTest86 or Windows Memory Diagnostic can be used to scan your RAM for errors or faults.
- Monitor system resources: Pay attention to your computer’s resource usage while performing tasks. If your RAM usage consistently reaches close to its maximum capacity, it may indicate that you need more RAM to handle your workload.
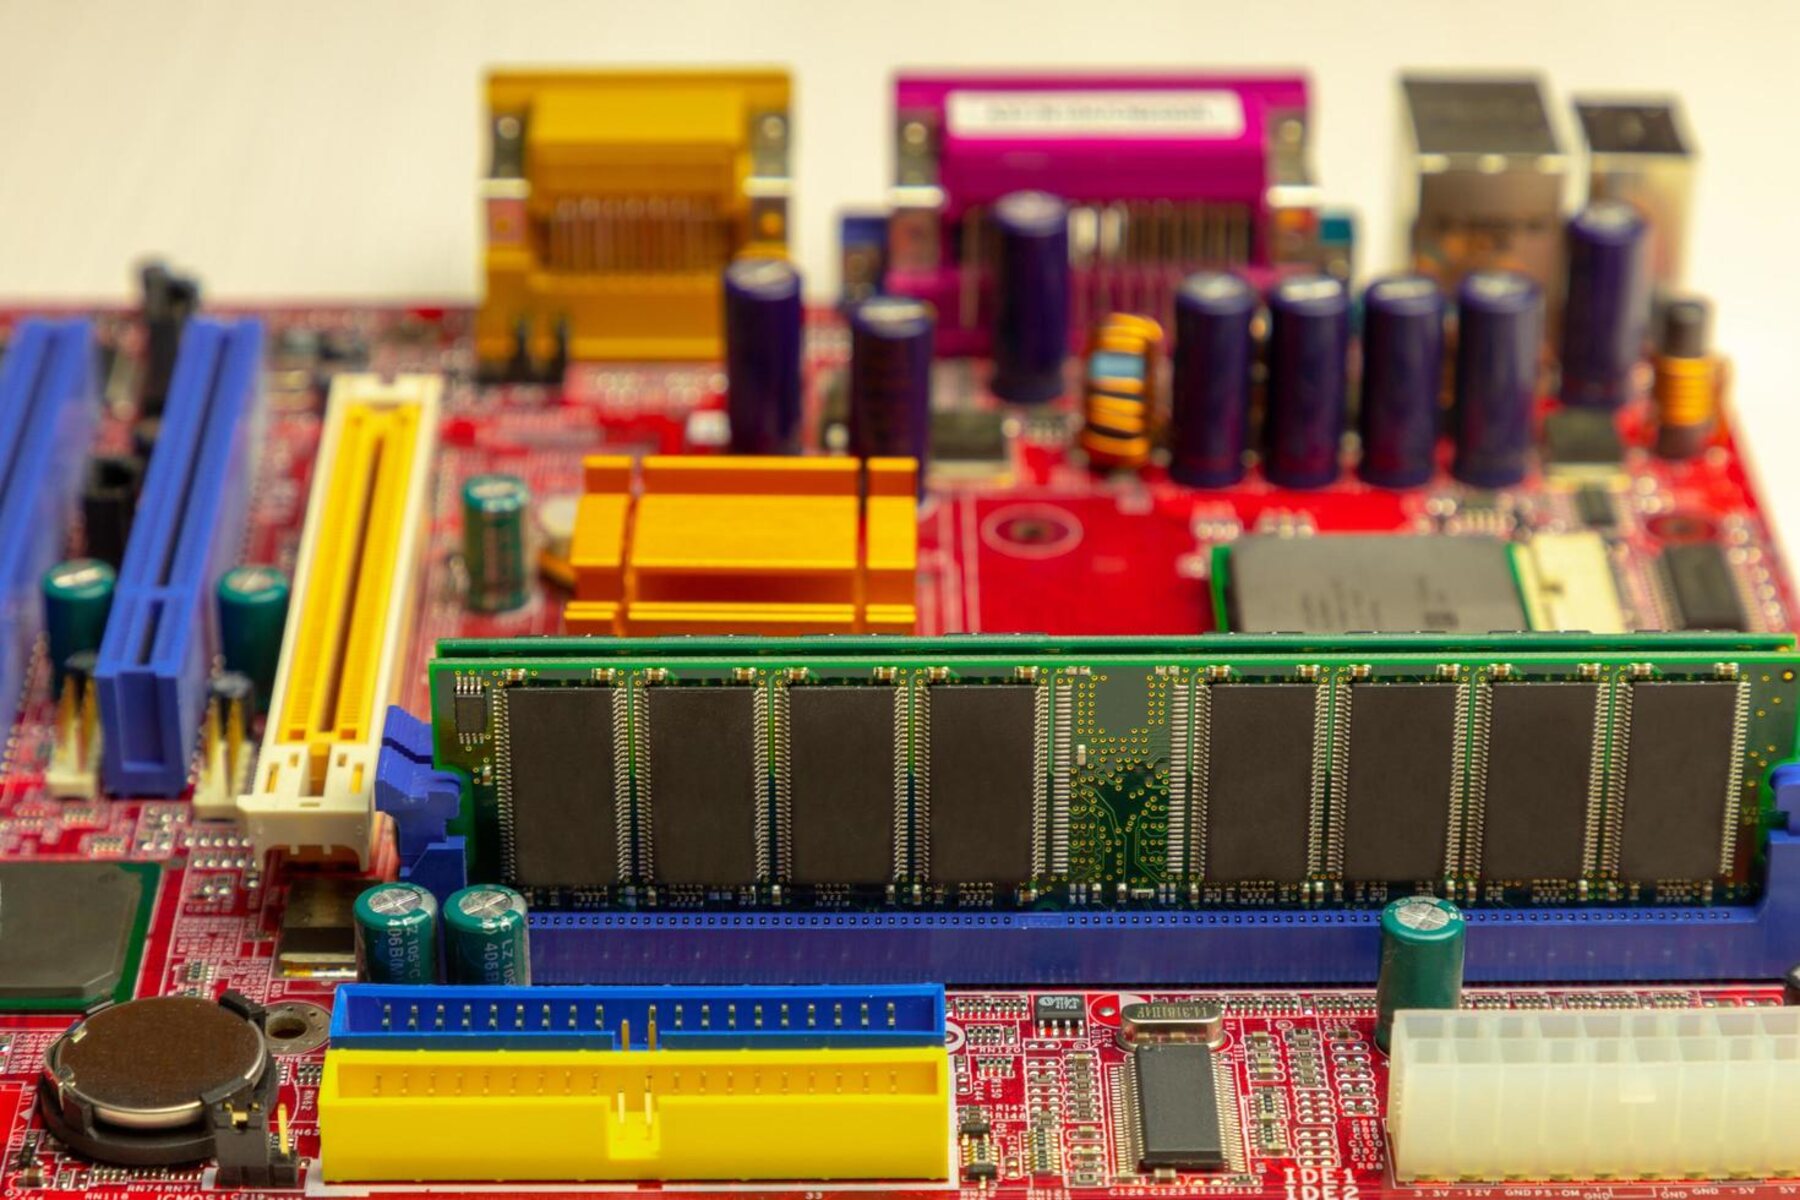
- Check physical connections: Ensure that your RAM modules are properly seated in their slots on the motherboard. Loose connections or improperly inserted modules can lead to malfunctions or inadequate performance.
- Swap RAM modules: If you have multiple RAM modules installed, try removing one at a time and see if the issue persists. A faulty RAM module can cause system instability, so swapping them out can help isolate the problematic module.
- Update drivers and BIOS: Outdated drivers or a outdated BIOS can sometimes cause compatibility issues with your RAM. Make sure to keep your system’s drivers and BIOS up to date to avoid any potential conflicts.
By following these steps, you can effectively diagnose any potential RAM issues and determine whether your system’s memory is causing the performance problems you’re experiencing. Once you’ve identified the problem, it’s time to take the necessary steps to resolve it and improve your system’s overall RAM usage.
Clearing Unnecessary Programs and Processes
One of the most effective ways to make your RAM more usable is by clearing unnecessary programs and processes that are running in the background. These programs consume valuable memory resources, leaving less available RAM for the tasks you want to prioritize. Here are some steps to clear unnecessary programs and processes:
- Close unused applications: Start by closing any applications that you’re not actively using. Many programs continue to run in the background even when you’re not actively using them, consuming valuable RAM. Close these applications to free up memory for other tasks.
- Disable startup programs: Some programs are configured to start automatically when your computer boots up. These programs can consume a significant amount of RAM, even if you don’t need them right away. Use the Task Manager (Windows) or Activity Monitor (Mac) to disable unnecessary startup programs.
- Manage background processes: In addition to open programs, there may be background processes running that you’re not aware of. Use the Task Manager or Activity Monitor to identify and close any unnecessary background processes that are consuming RAM.
- Remove unused browser tabs and extensions: If you’re someone who keeps multiple browser tabs open or has many browser extensions installed, they can consume a significant amount of memory. Close unused tabs and remove any unnecessary extensions to free up RAM.
- Terminate resource-intensive tasks: Some programs or tasks can be more demanding on your system’s resources than others. If you notice a specific task hogging your RAM, consider terminating or limiting its resource usage to free up memory.
By regularly clearing unnecessary programs and processes, you can ensure that your RAM is dedicated to the tasks that require it the most. This optimization can greatly improve your computer’s overall performance and responsiveness.
Checking for Malware or Viruses
Malware and viruses can significantly impact your computer’s performance, including the utilization of your RAM. These malicious programs can run in the background, consuming valuable memory resources and slowing down your system. To ensure optimal RAM usage, it’s crucial to regularly check for malware or viruses on your computer. Here are some steps you can take:
- Install reliable antivirus software: A robust antivirus software is essential for effectively detecting and removing malware or viruses. Choose a reputable antivirus program and regularly update it to ensure the latest malware definitions are being used.
- Run a full system scan: Initiate a full system scan using your antivirus software. This will thoroughly examine your computer’s files, identify any malicious software or viruses, and eliminate them from your system.
- Update your operating system and applications: Keeping your operating system and applications up to date is crucial in maintaining a secure system. Software updates often include security patches that address vulnerabilities exploited by malware or viruses.
- Be cautious of suspicious emails and downloads: Avoid opening suspicious email attachments or downloading files from untrusted sources. These can be gateways for malware or viruses to enter your system. Exercise caution and use common sense when interacting with unknown or unexpected files.
- Enable firewall protection: A firewall acts as an additional layer of security, monitoring and controlling incoming and outgoing network traffic. Enable your computer’s built-in firewall or consider using a third-party firewall to protect against unauthorized access and malware infiltration.
Regularly checking for malware or viruses and taking appropriate actions to remove them can significantly improve your RAM’s usability. By keeping your system free from malicious software, you can ensure that your RAM is utilized for the tasks you want to prioritize, optimizing your computer’s performance.
Upgrading RAM Capacity
If you find that your computer’s performance is consistently hindered by insufficient RAM, upgrading your RAM capacity can significantly improve its usability. Adding more RAM allows your computer to handle more tasks simultaneously without experiencing slowdowns or freezing. Here are the steps to upgrade your RAM capacity:
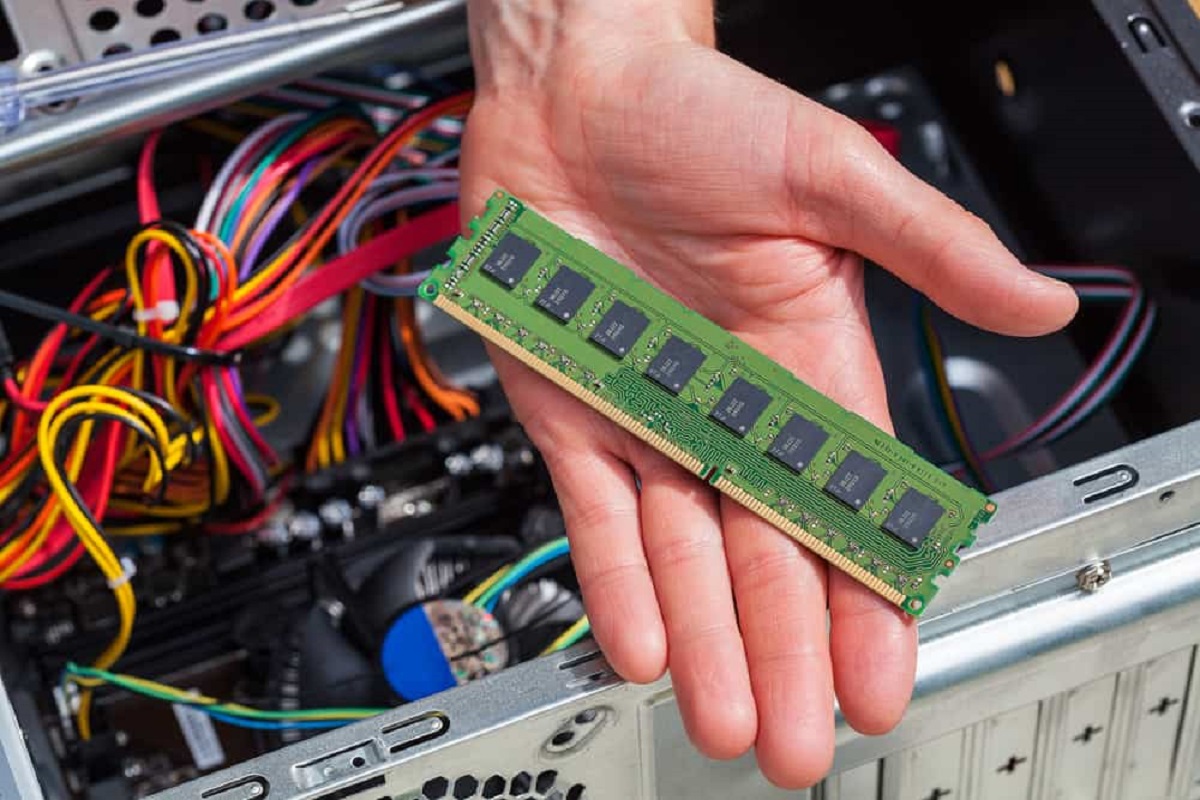
- Check your computer’s specifications: Before upgrading your RAM, ensure that your computer is compatible with the new RAM modules. Check your computer’s documentation or the manufacturer’s website to determine the type and maximum capacity of RAM your system supports.
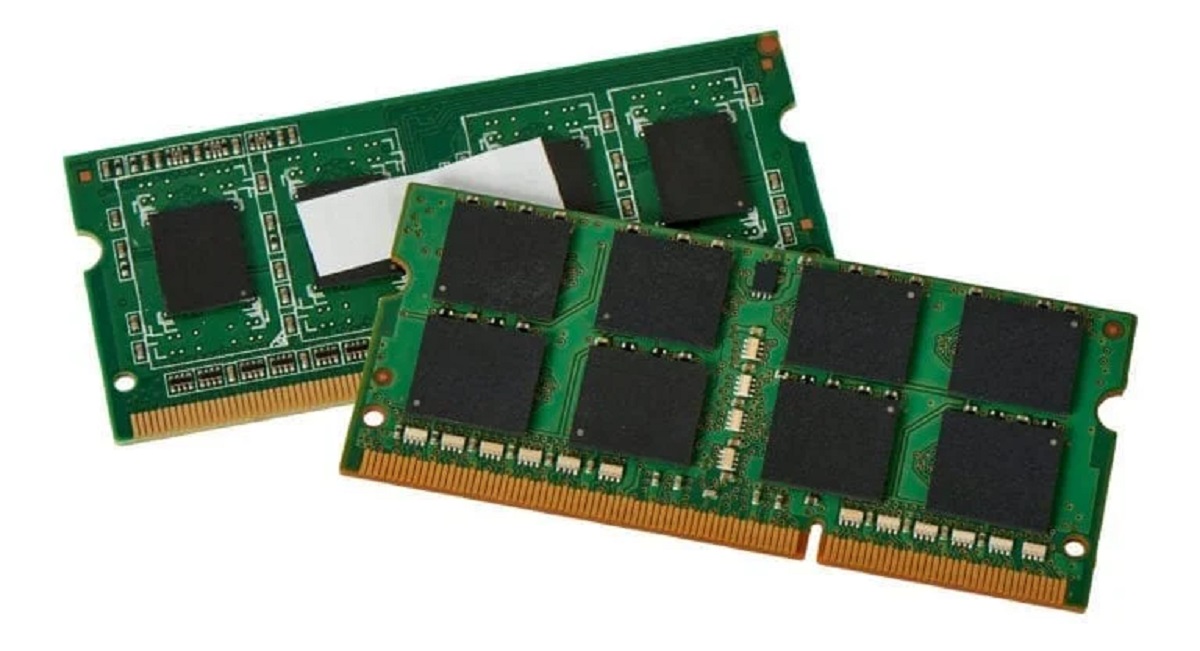
- Choose the right RAM modules: RAM modules come in different types (e.g., DDR3, DDR4) and speeds (e.g., 2400 MHz, 3200 MHz). Select the RAM modules that are compatible with your computer and match the specifications required by your motherboard.
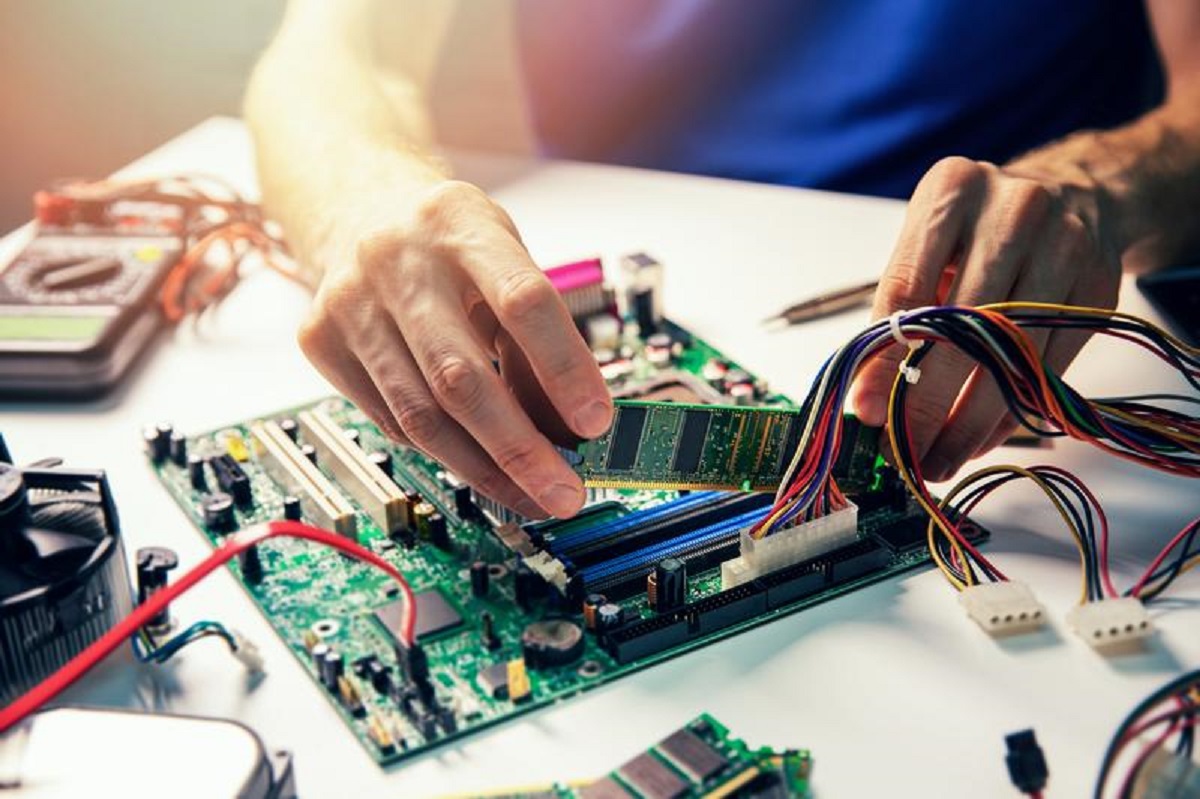
- Power off your computer and unplug it: Before installing or removing RAM modules, make sure to shut down your computer and unplug it from the power source. This ensures your safety and prevents any potential damage to your computer’s components.
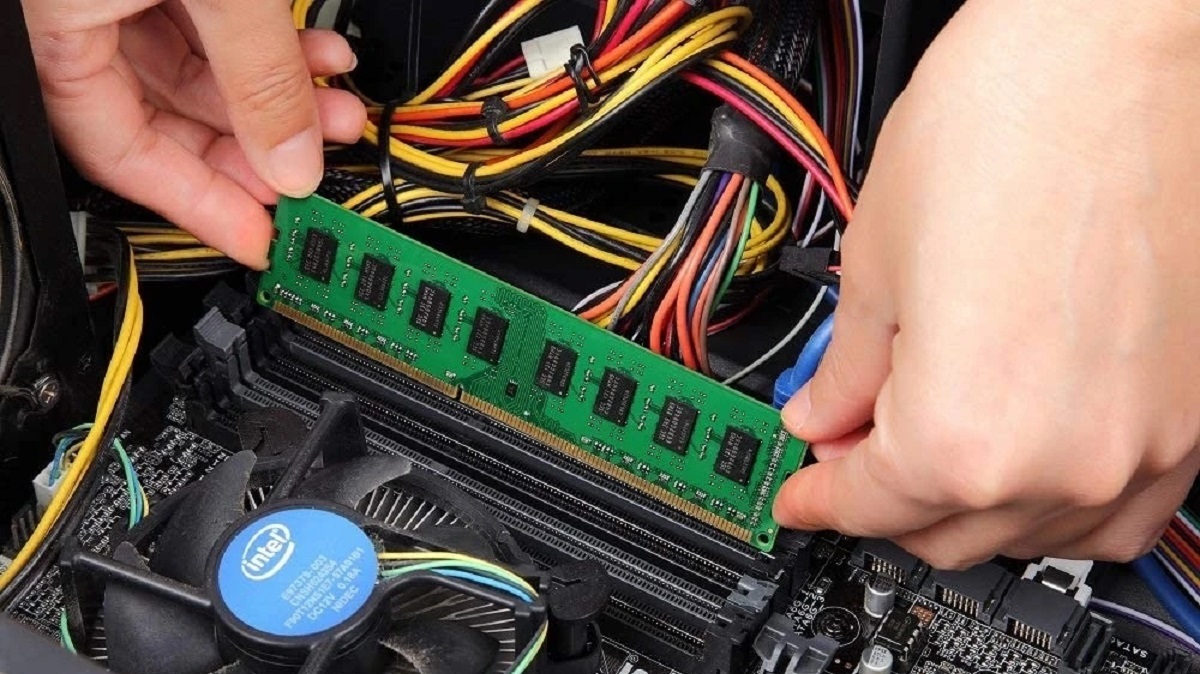
- Locate the RAM slots: Open your computer’s case and locate the RAM slots on the motherboard. Depending on your motherboard, you may have two or more slots available for RAM installation.
- Insert the new RAM modules: Align the notch on the RAM module with the corresponding notch in the slot and gently slide the RAM module into place. Apply firm, even pressure until the module clicks into place.
- Power on your computer: Once the RAM modules are securely installed, close the computer’s case and plug it back into the power source. Power on your computer and ensure that the new RAM is recognized by your system.
- Verify RAM installation: Check your computer’s system information or Task Manager (Windows) to confirm that the new RAM capacity is detected by your system. If the new RAM is not recognized, double-check the installation and compatibility.
Upgrading your RAM capacity can provide a significant boost to your computer’s performance, allowing it to handle more demanding tasks and run multiple programs simultaneously. It’s a cost-effective way to optimize your system’s memory capabilities and improve overall usability.
Adjusting Virtual Memory Settings
If you’re experiencing low RAM issues on your computer, adjusting the virtual memory settings can help alleviate the strain on your physical memory. Virtual memory is a space on your computer’s hard drive that acts as an extension of your RAM, allowing the operating system to use it when your physical RAM is running low. Here are the steps to adjust virtual memory settings:
- Open the System Properties: Right-click on the “This PC” or “My Computer” icon on your desktop and select “Properties.” Alternatively, you can press the Windows key + Pause/Break key to open the System Properties.
- Access the Advanced system settings: In the System Properties window, click on the “Advanced system settings” option on the left side of the window. This will open the System Properties dialog box with the “Advanced” tab selected.
- Open the Performance Options: In the System Properties dialog box, click on the “Settings” button under the Performance section. This will open the Performance Options dialog box.
- Navigate to the Virtual Memory settings: In the Performance Options dialog box, go to the “Advanced” tab and click on the “Change…” button under the Virtual Memory section.
- Adjust the virtual memory settings: In the Virtual Memory dialog box, uncheck the “Automatically manage paging file size for all drives” option. Select the “Custom size” option and enter the desired initial size and maximum size for the virtual memory.
- Set the virtual memory values: The initial size is the initial amount of virtual memory assigned, and the maximum size is the maximum amount of virtual memory that can be used. It’s recommended to set the initial size to the same value as the recommended size listed at the bottom of the dialog box and set the maximum size higher based on your system’s available disk space.
- Apply the changes: Click on the “Set” button to save the changes. You may be prompted to restart your computer for the changes to take effect.
By adjusting the virtual memory settings, you provide additional space for your computer to utilize when physical RAM is limited. This can help prevent excessive paging and minimize performance issues caused by insufficient memory.
Optimizing Startup Programs
When your computer starts up, several programs might automatically launch and run in the background. These startup programs consume valuable system resources, including RAM. Optimizing your startup programs can help improve your computer’s boot time and reduce memory usage. Here are some steps to optimize startup programs:
- Identify startup programs: Use the Task Manager (Windows) or Activity Monitor (Mac) to identify the programs that launch at startup. Look for programs that you don’t need immediately after booting up your computer.
- Disable unnecessary startup programs: In the Task Manager or Activity Monitor, navigate to the “Startup” tab or section. From there, disable the programs that you don’t want to launch automatically. This prevents them from consuming memory and resources during startup.
- Remove unwanted programs from startup: Some programs may have their own settings for automatically launching at startup. Open these programs and find the options related to startup behavior. Disable the automatic startup feature for programs that you don’t need running in the background all the time.
- Use a startup manager tool: If you find it challenging to manually manage your startup programs, consider using a startup manager tool. These tools provide a more user-friendly interface for enabling or disabling startup programs, making the process easier and more efficient.
- Regularly review and update startup programs: Periodically review your startup programs to ensure they still provide value. Uninstall or disable programs that you no longer use or need. This helps prevent unnecessary memory usage and keeps your startup process lean and efficient.
Optimizing your startup programs can significantly improve your computer’s performance by reducing the memory usage during boot time. By selectively enabling only the necessary programs to launch at startup, you can free up valuable resources, including RAM, for the tasks you need to accomplish.
Closing Unused Applications and Tabs
Having an excessive number of open applications and browser tabs can consume a significant amount of RAM and slow down your computer. Closing unused applications and tabs is a simple but effective way to optimize your RAM usage. Here are the steps to close unused applications and tabs:
- Identify and prioritize open applications: Take a moment to assess which applications you’re actively using and which ones can be closed. Prioritize closing applications that are resource-intensive or running in the background.
- Save your work: Before closing any applications, make sure to save any unsaved work to avoid losing important data.
- Close individual applications: For each application you want to close, locate the application window and look for the close button (usually an “X” or “Close” option). Click on it to close the application.
- Close browser tabs: If you have multiple tabs open in your web browser, consider closing those that are no longer needed. Simply click on the “X” button next to each tab to close it.
- Use task manager or activity monitor: If you’re unsure which applications are using the most memory, you can use the Task Manager (Windows) or Activity Monitor (Mac) to identify resource-intensive processes. From there, you can selectively close those applications or processes.
- Consider using browser extensions: Some browser extensions can help manage and reduce memory usage by suspending inactive tabs or automatically closing unused tabs after a certain period of time. Explore available extensions that can assist in optimizing your browser’s memory usage.
By actively closing unused applications and tabs, you can free up valuable RAM for the tasks and applications that require it the most. This optimization can not only enhance your computer’s performance but also contribute to a smoother and more efficient user experience.
Defragmenting RAM
Although RAM is different from traditional storage devices like hard drives, it can still become fragmented over time. When RAM becomes fragmented, it can lead to slower performance and decreased efficiency. Defragmenting your RAM can help optimize its usage and improve your computer’s overall performance. Here are the steps to defragment your RAM:
- Close all applications: Before defragmenting your RAM, ensure that you save your work and close all open applications. This will prevent any data loss or interference during the defragmentation process.
- Restart your computer: Restarting your computer can help clear any temporary data stored in RAM and prepare it for defragmentation.
- Access the Task Manager: Open the Task Manager (Ctrl + Shift + Esc on Windows) to access the processes running on your computer.
- Identify memory-intensive processes: In the Task Manager, go to the “Processes” or “Details” tab and identify processes that are consuming a large amount of memory.
- Close memory-intensive processes: Right-click on the memory-intensive processes and select “End task” to close them. This will free up memory for the defragmentation process.
- Perform a system reboot: After closing memory-intensive processes, reboot your computer again. This will help ensure that any lingering memory fragments are cleared before you begin the defragmentation process.
- Defragment your RAM: There are several third-party software options available that specialize in defragmenting RAM. Research and select a suitable tool, then follow its instructions to defragment your RAM.
Defragmenting your RAM can help consolidate memory fragments and improve its efficiency, resulting in better performance and responsiveness. However, it’s important to note that defragmenting RAM is not always necessary or recommended. Some modern operating systems have built-in memory management techniques that automatically optimize RAM usage without the need for manual intervention.
If you decide to defragment your RAM, consider doing it on a periodic basis or when you notice a significant decrease in your computer’s performance. Additionally, regular computer maintenance, such as updating your operating system and drivers and running malware scans, can help maintain optimal RAM performance.
Conclusion
Understanding how to make RAM more usable is essential for optimizing computer performance and ensuring a smooth user experience. By implementing the strategies and techniques discussed in this article, you can effectively manage your RAM and improve your system’s overall efficiency.
Diagnosing RAM issues, clearing unnecessary programs and processes, checking for malware or viruses, upgrading RAM capacity, adjusting virtual memory settings, optimizing startup programs, closing unused applications and tabs, and defragmenting RAM are all effective methods to enhance RAM usage.
Regularly assessing your computer’s RAM usage, identifying and resolving RAM-related issues, and implementing best practices for RAM optimization will help ensure that your system operates smoothly and efficiently.
Remember, while these techniques can improve your RAM’s usability and overall performance, it’s important to have a balanced approach. Adding more RAM or tweaking settings is not always the best solution if other underlying issues exist, such as outdated hardware or software conflicts.
To maintain optimal RAM performance, it’s crucial to keep your system up to date with the latest software updates, drivers, and security patches. Additionally, adopting good browsing habits, regularly clearing temporary files, and practicing proper computer maintenance will all contribute to a well-performing system.
By implementing these strategies and staying proactive in managing your RAM usage, you can optimize your computer’s performance, enhance multitasking capabilities, and ensure a smooth and efficient computing experience.