Introduction
When using Windows 10, you may encounter an issue where the amount of usable RAM, or Random Access Memory, is significantly less than the installed capacity. This can cause sluggish performance, frequent crashes, and overall frustration. However, there are various steps you can take to fix this problem and optimize your system’s memory usage. In this article, we will explore some effective solutions to help you regain the full potential of your RAM in Windows 10.
Before we delve into the troubleshooting steps, it’s important to understand the role of RAM in a computer system. RAM is a vital component that provides quick access to data and instructions that the CPU (Central Processing Unit) requires to perform tasks. Insufficient usable RAM can limit your system’s ability to run multiple programs simultaneously or handle resource-intensive tasks such as gaming or video editing.
Now, let’s explore some potential causes and solutions for the issue of reduced usable RAM in Windows 10.
Check for Hardware Issues
One of the first steps to take when faced with reduced usable RAM in Windows 10 is to check for any hardware issues that may be affecting your system’s memory. Here are a few key checks you can perform:
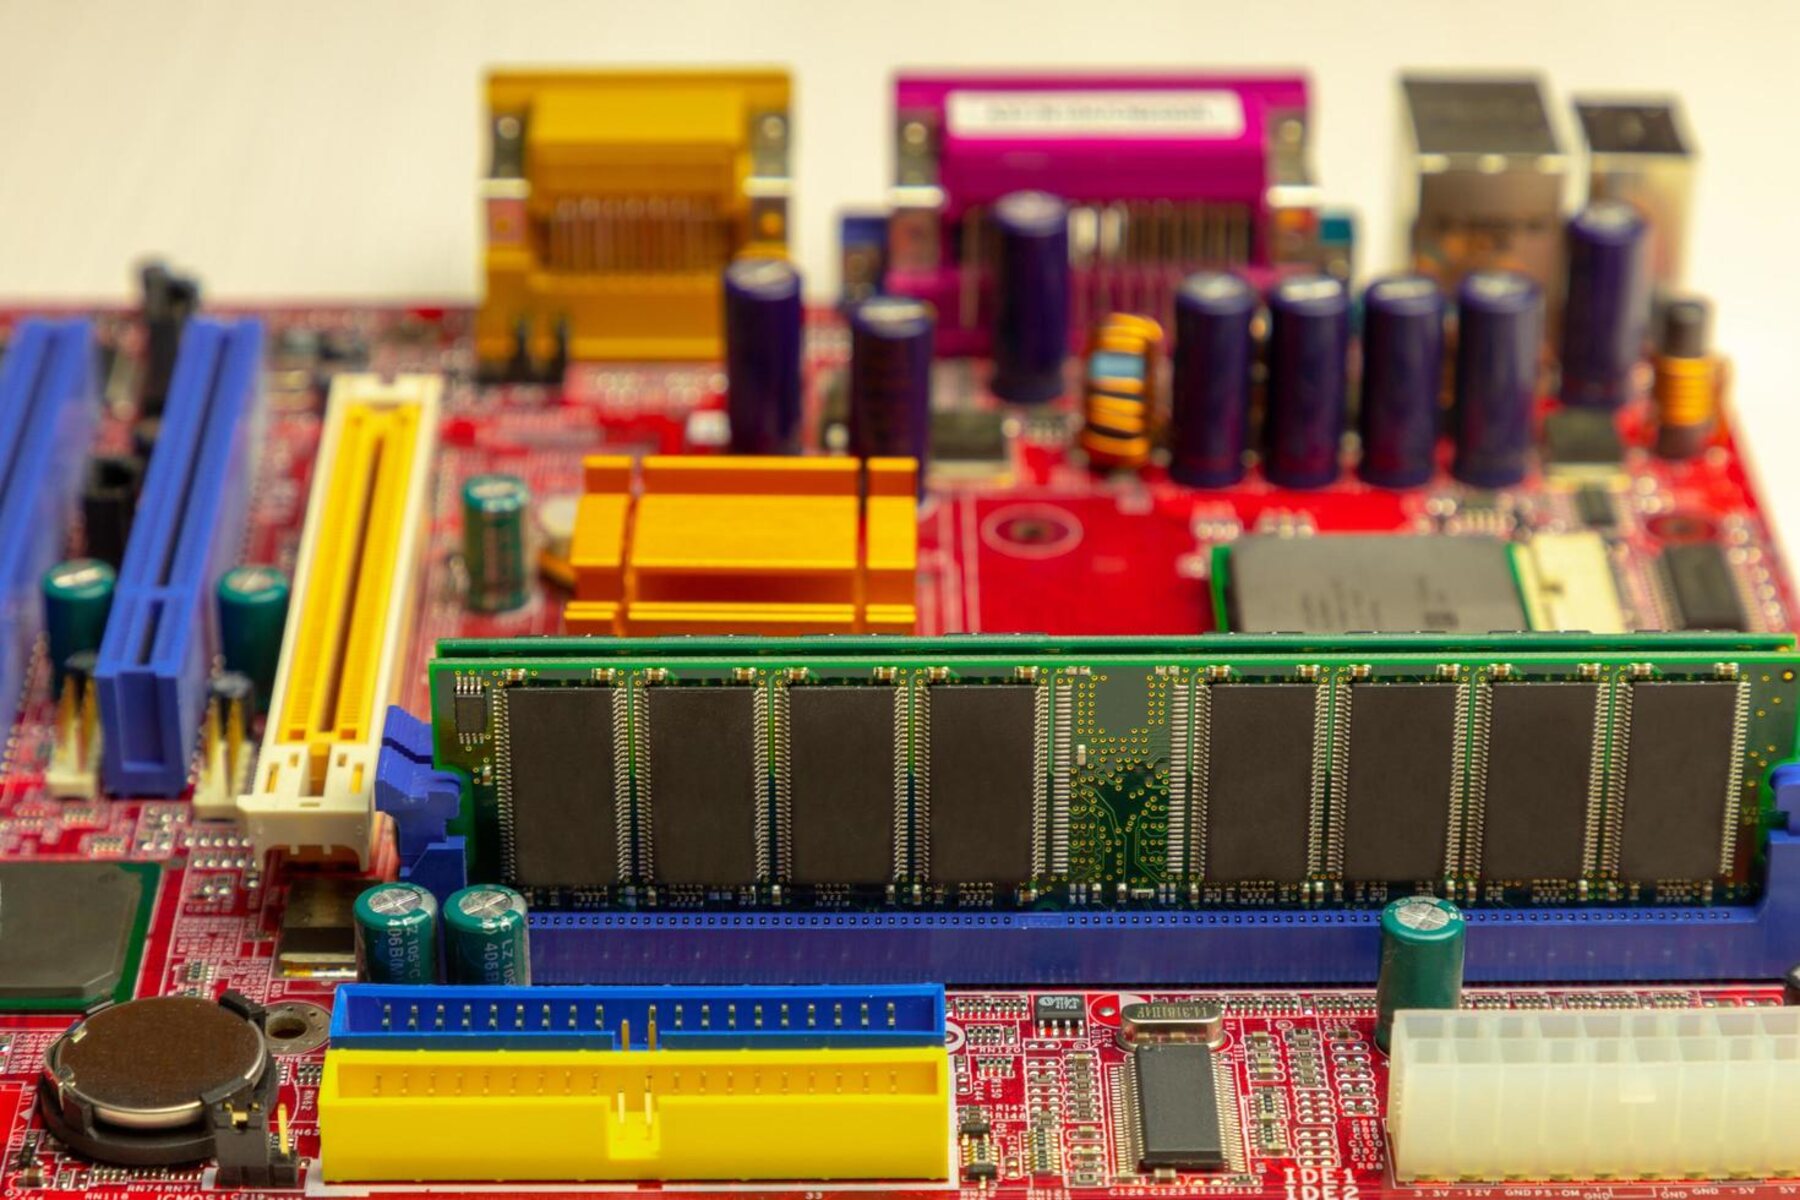
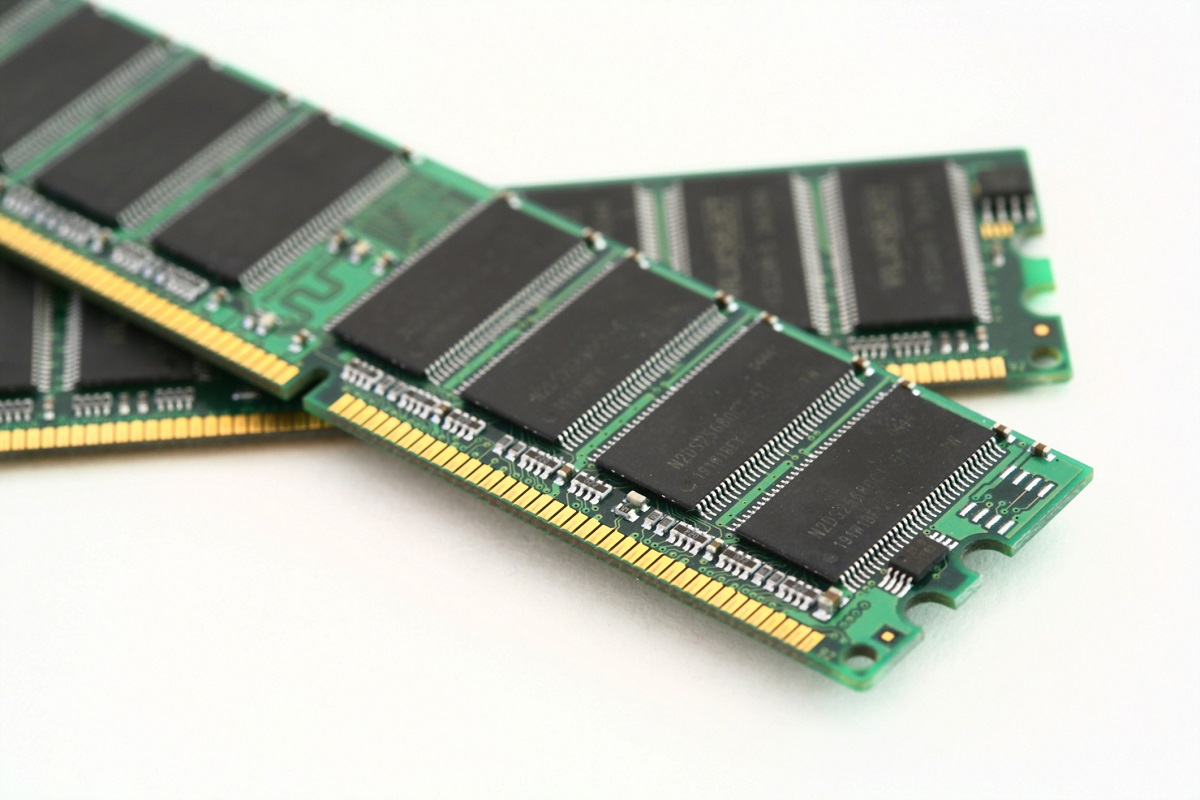
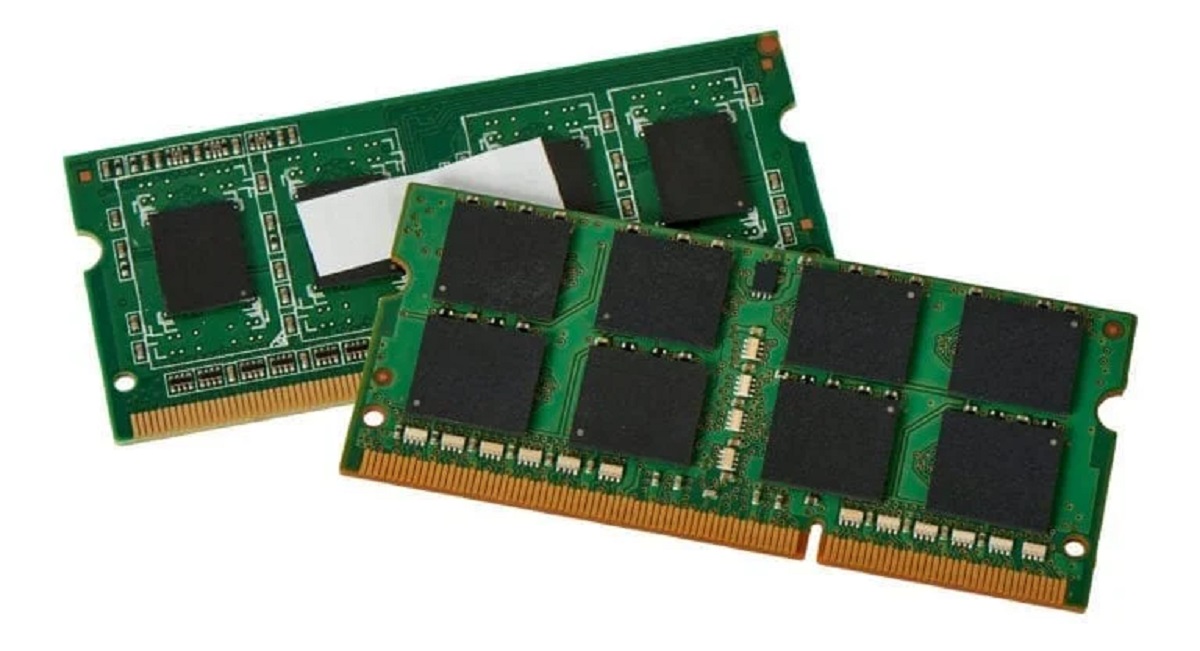
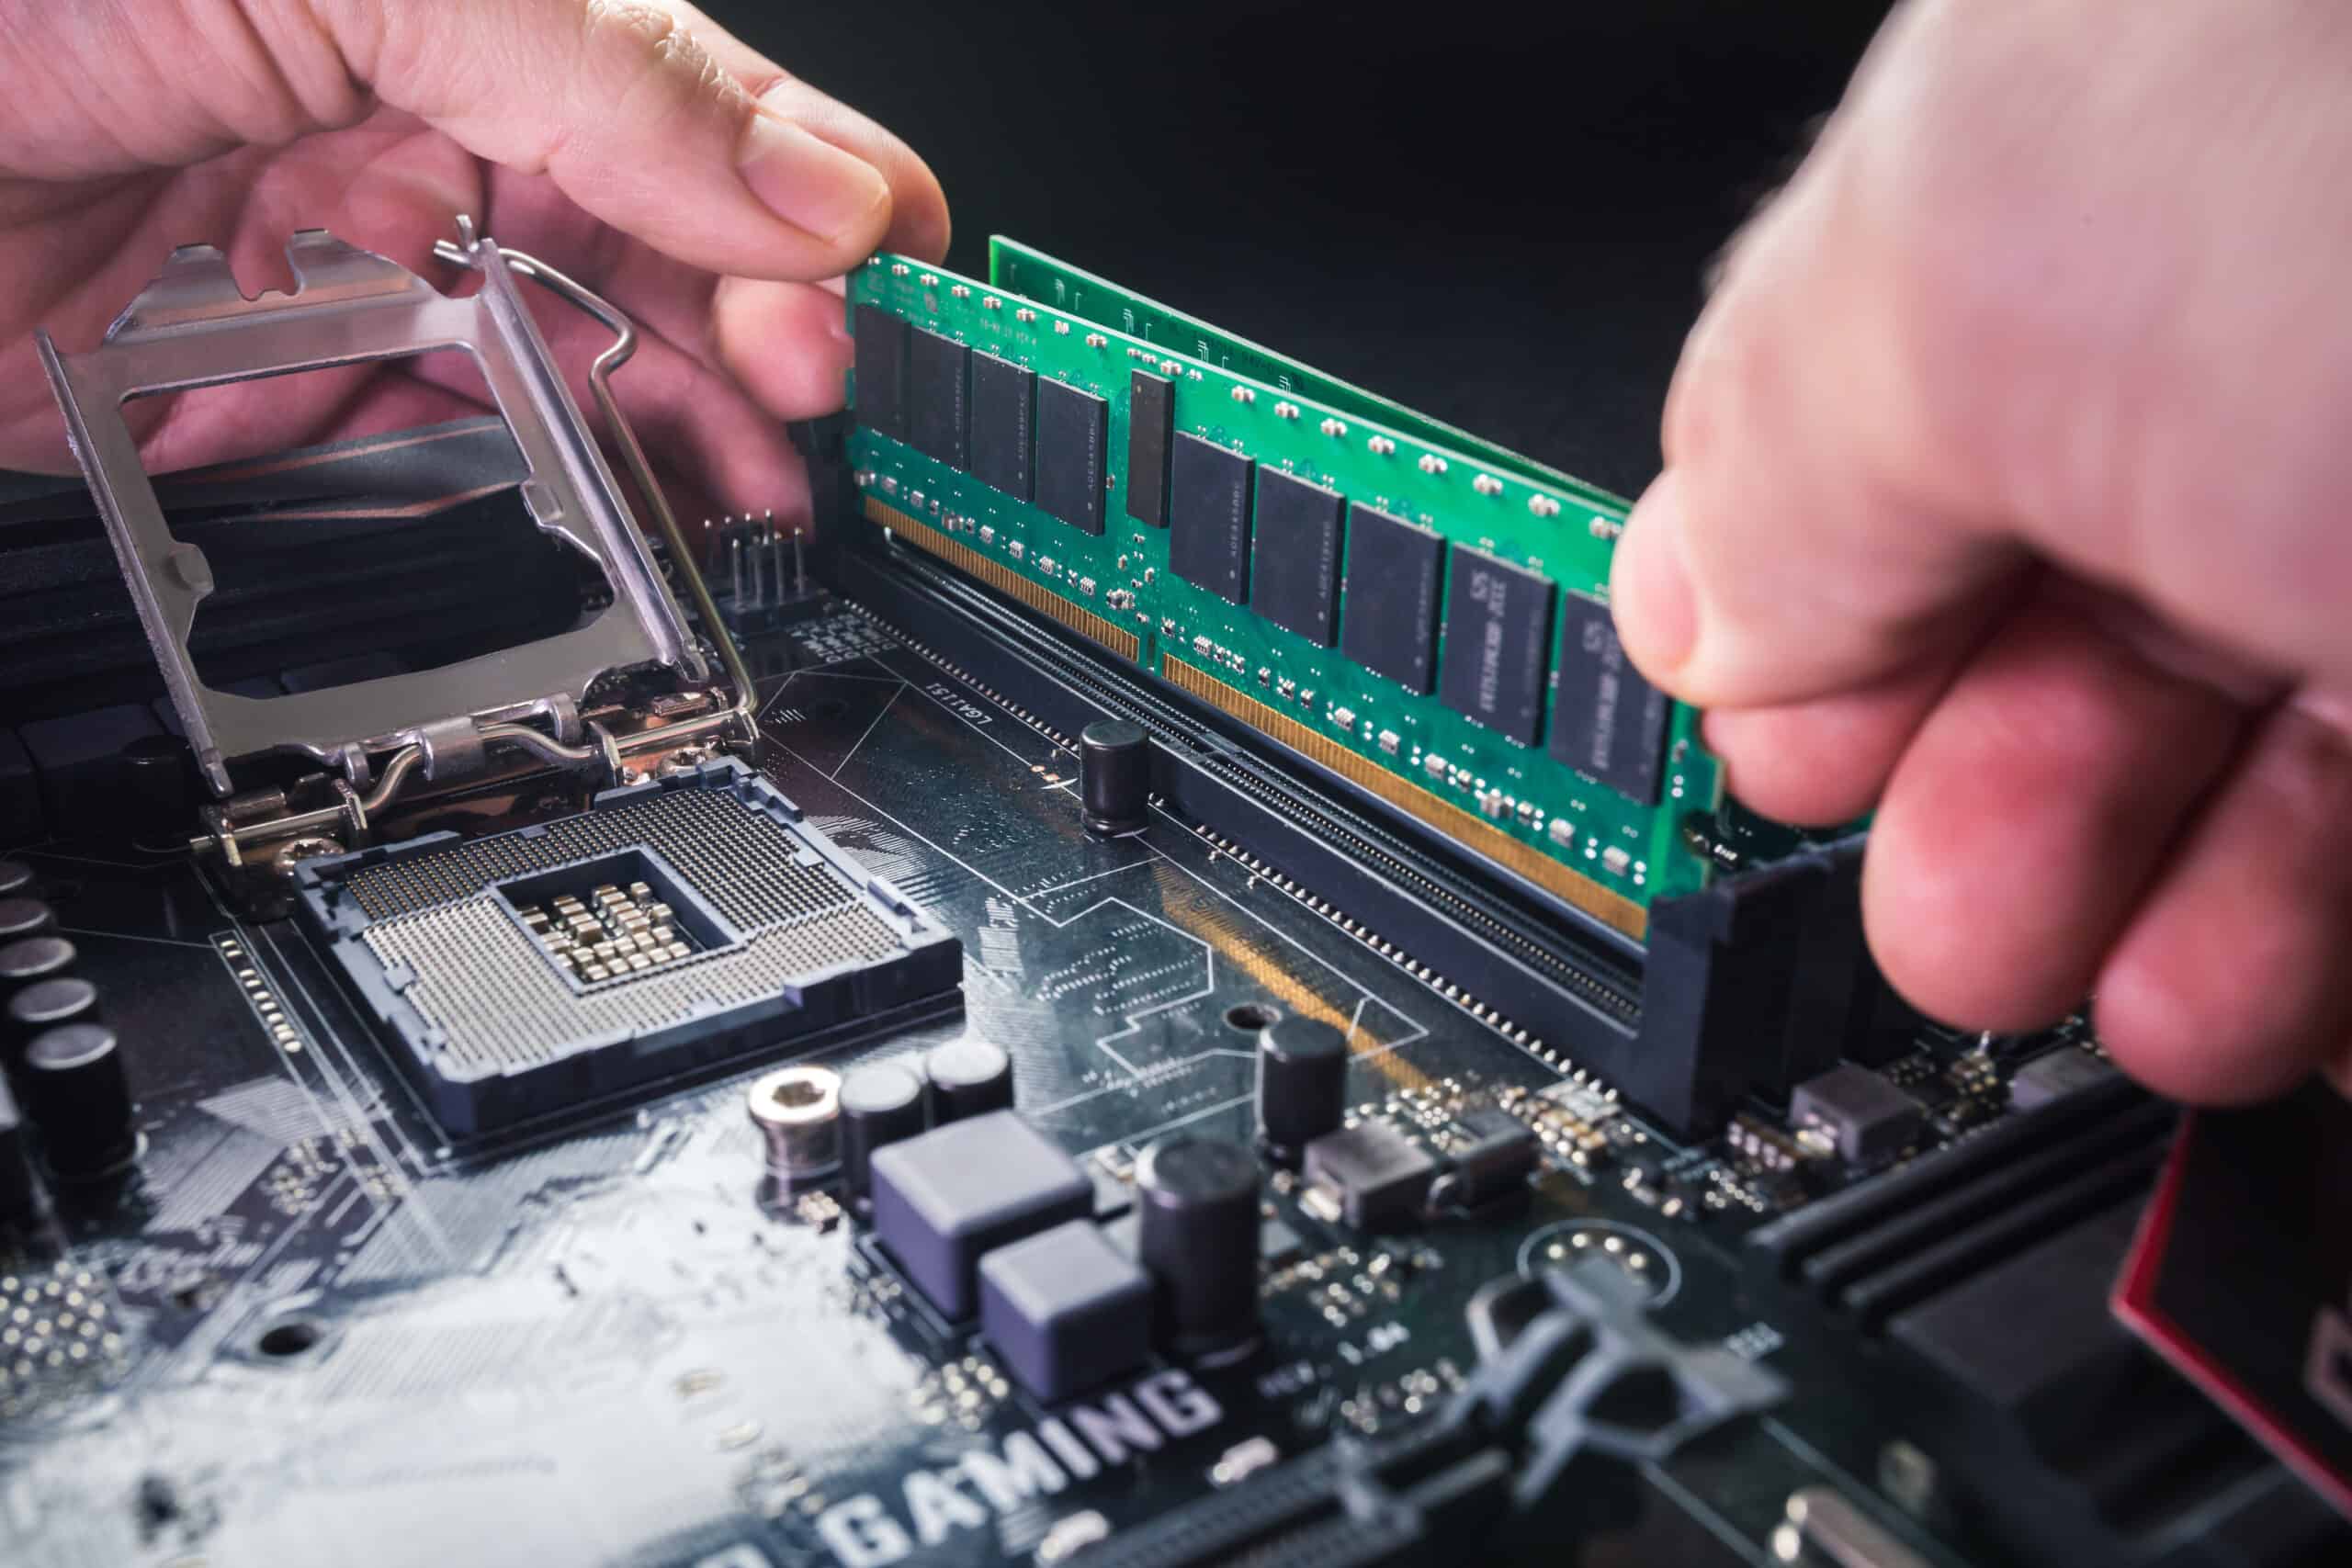
- Reseat the RAM modules: Sometimes, RAM modules can become loose due to vibration or poor connections. Turn off your computer, unplug the power cord, and open the case. Carefully remove the RAM modules and then reinsert them firmly in their slots. Make sure they are properly seated and locked into place.
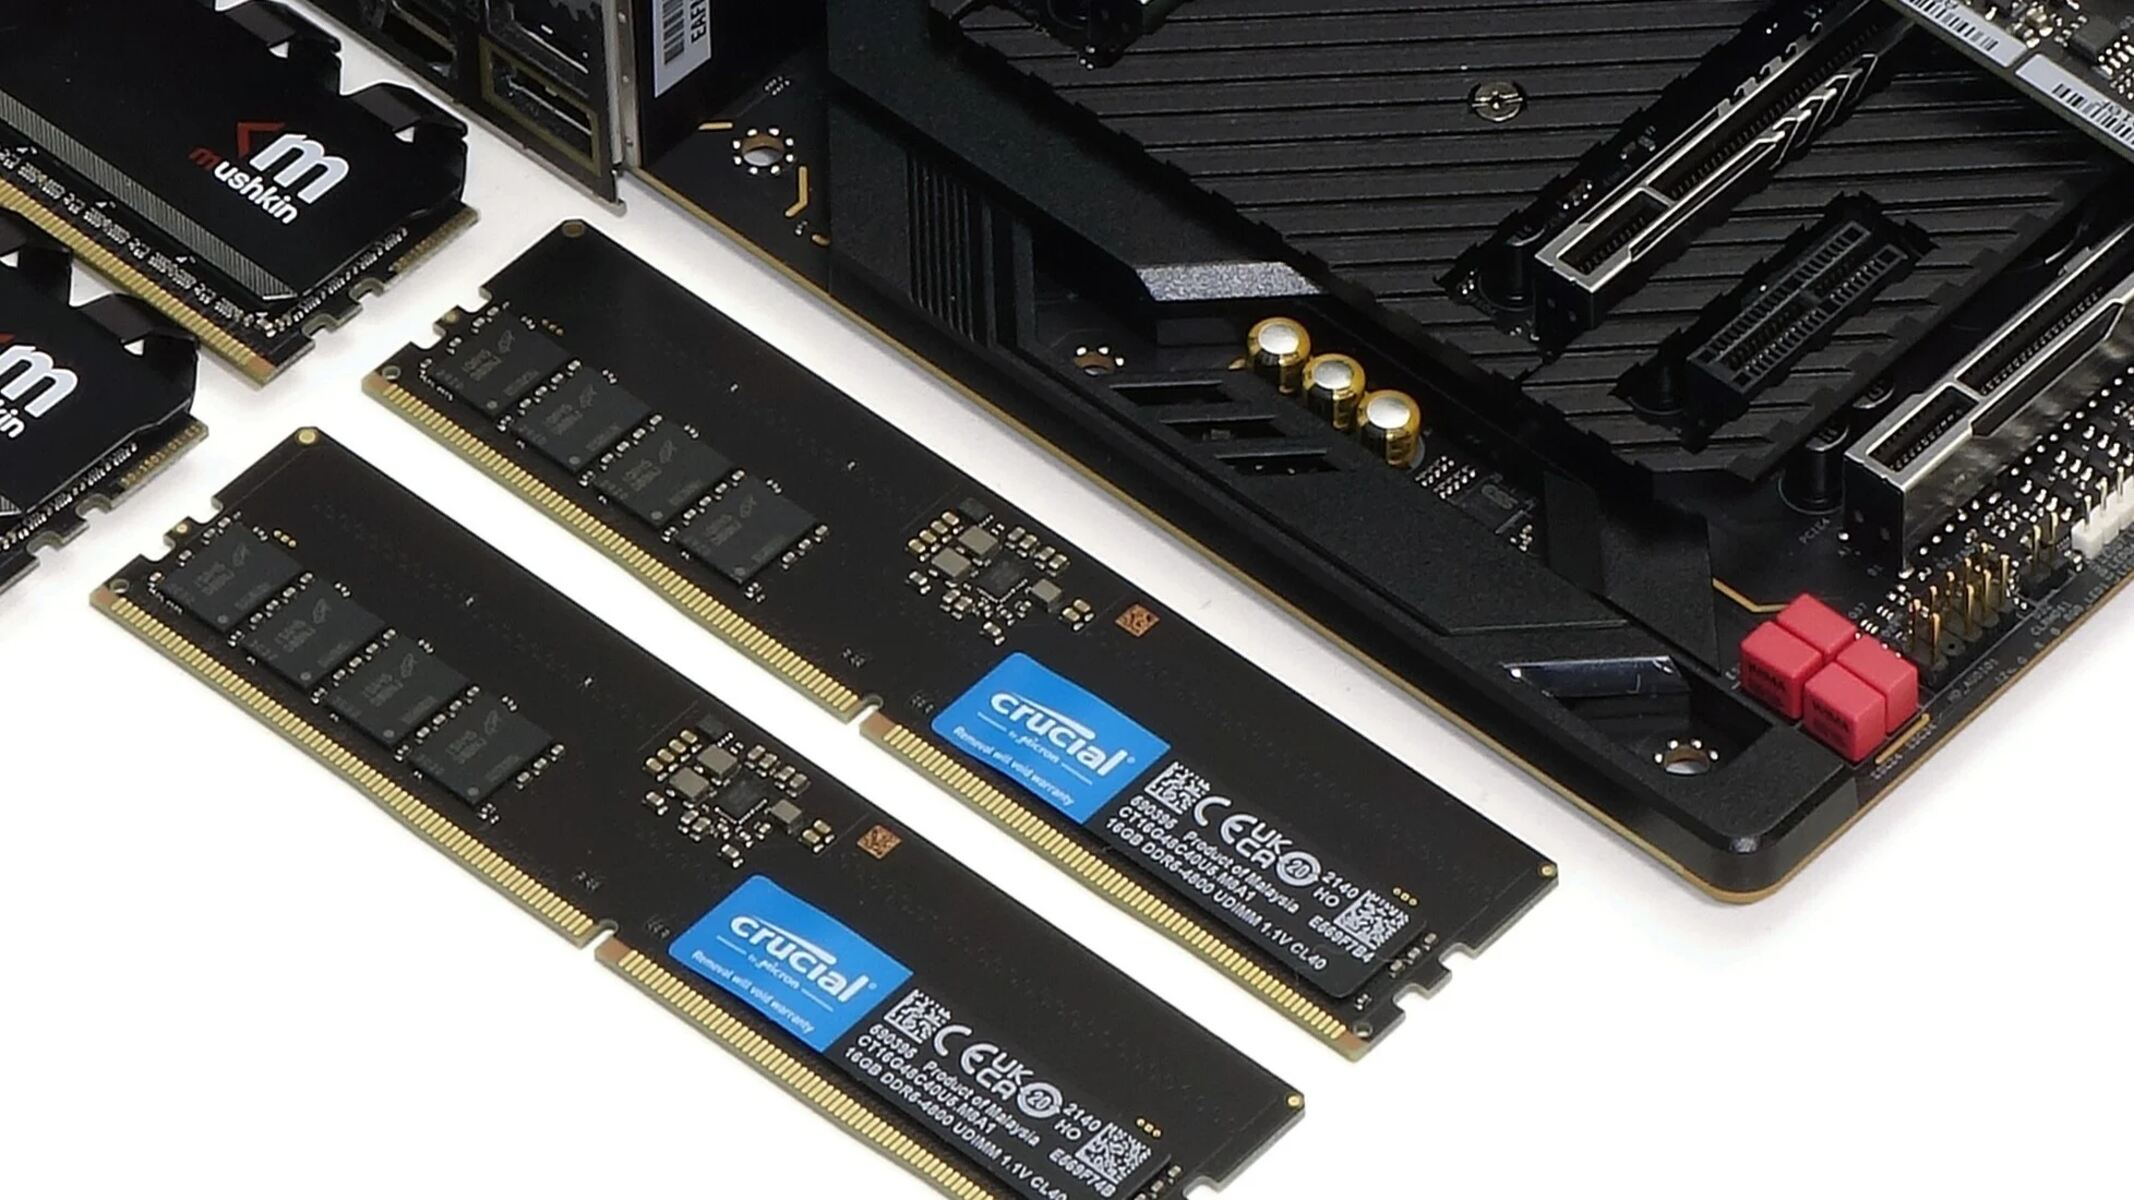
- Check for compatibility: Ensure that your RAM modules are compatible with your computer’s motherboard and meet the specifications recommended by the manufacturer. Mixing different types or speeds of RAM can lead to compatibility issues and reduced usable RAM.
- Test individual RAM modules: If you have multiple RAM modules installed, try testing them one at a time. Remove all but one module and boot up your computer. If the issue persists, switch to another module and repeat the process. This will help identify if any individual module is causing the problem.
- Check for physical damage: Inspect the RAM modules for any physical damage, such as bent pins or visible signs of wear. If you notice any damage, consider replacing the affected module.
Performing these hardware checks can help identify any underlying issues with your RAM modules that may be contributing to the reduced usable RAM. However, if the problem persists, it’s essential to explore other potential causes and solutions.
Perform a Scan for Malware or Viruses
Malware or viruses can not only compromise the security of your system, but they can also impact the performance and functionality of your computer, including the amount of usable RAM. It’s crucial to regularly perform malware and virus scans to ensure your system is clean. Here’s how you can do it:
- Update your antivirus software: Make sure your antivirus software is up to date with the latest virus definitions. This ensures that it can detect and eliminate the latest threats.
- Perform a full system scan: Open your antivirus software and initiate a full system scan. This comprehensive scan will check all files and programs on your computer for any signs of malware or viruses.
- Remove any detected threats: If the scan identifies any malware or viruses, follow the prompts to quarantine or remove them from your system. It’s important to note that some malware may be sophisticated and difficult to eliminate completely. In such cases, it may be necessary to seek professional assistance.
- Consider using an additional malware scanner: In some instances, your primary antivirus software may not detect all types of malware. To ensure thorough scanning, you can use reputable secondary malware scanners such as Malwarebytes or AdwCleaner.
- Enable real-time protection: Enable the real-time protection feature provided by your antivirus software. This feature actively monitors your system for any malicious activity, helping prevent new infections and protecting your RAM in the long run.
Regularly scanning for malware or viruses can help eliminate any malicious software that may be affecting your system’s performance and memory usage. However, if the reduced usable RAM issue persists, it’s essential to explore further solutions.
Adjust Virtual Memory Settings
Virtual memory, also known as the paging file, is a portion of your computer’s hard drive that is used as additional memory when your physical RAM is fully utilized. Adjusting the virtual memory settings can help optimize your system’s memory management and potentially resolve the issue of reduced usable RAM. Here’s how you can do it:
- Access the virtual memory settings: Right-click on the “This PC” or “My Computer” icon on your desktop or in the File Explorer and select “Properties.” In the System Properties window, click on the “Advanced system settings” link on the left-hand side.
- Open the Performance Options dialog: In the System Properties window, click on the “Settings” button in the Performance section. This will open the Performance Options dialog box.
- Navigate to the Virtual Memory settings: In the Performance Options dialog, go to the “Advanced” tab. Under the Virtual Memory section, click on the “Change” button.
- Modify the virtual memory settings: In the Virtual Memory dialog, uncheck the “Automatically manage paging file size for all drives” option. Select the drive where your Windows operating system is installed (usually the C: drive) and choose the “Custom size” option.
- Set the initial and maximum size: Enter a value for the Initial size and Maximum size of the virtual memory. The Initial size should be equivalent to the amount of RAM installed on your system, while the Maximum size can be higher if desired. Keep in mind that setting the Maximum size too high may lead to excessive disk space usage.
- Apply the changes: Click on the “Set” button and then “OK” to save and apply the changes to the virtual memory settings.
By adjusting the virtual memory settings, you can allocate additional space on your hard drive to be used as virtual memory, effectively expanding your system’s memory capacity. However, if the problem of reduced usable RAM persists, it’s important to explore other potential solutions.
Update Device Drivers
Outdated or incompatible device drivers can sometimes cause issues with system performance, including reduced usable RAM. Updating your device drivers can help ensure that your hardware components are working optimally and can potentially resolve the problem. Follow these steps to update your device drivers:
- Identify outdated drivers: Open the Device Manager by right-clicking on the Start button and selecting “Device Manager” from the context menu. Look for any devices with a yellow exclamation mark or a red “X” icon, as these indicate outdated or problematic drivers.
- Update drivers manually: Right-click on the device with the outdated driver and select “Update Driver.” Choose the option to search automatically for updated driver software. Windows will search for the latest driver version online and install it if available.
- Update drivers using manufacturer’s website: If Windows fails to find updated drivers or you want to ensure you have the most recent versions, visit the manufacturer’s website for your specific hardware component. Look for the drivers section and locate the relevant driver updates. Download and install the latest drivers manually.
- Use driver update software: If manually updating drivers seems complicated, you can use driver update software like Driver Booster or Driver Easy. These applications can scan your system for outdated drivers and automatically download and install the latest versions.
- Restart your computer: After updating the drivers, it’s recommended to restart your computer to ensure the changes take effect and to refresh the system.
Updating device drivers can help address compatibility issues and improve the performance of your hardware components, including memory management. However, if the issue of reduced usable RAM persists, continue exploring further solutions to resolve the problem.
Disable Unnecessary Startup Programs
When your computer starts up, numerous programs may automatically launch and run in the background, consuming valuable system resources, including RAM. Disabling unnecessary startup programs can help free up memory and improve overall system performance. Follow these steps to disable startup programs:
- Open the Task Manager: Right-click on the taskbar and select “Task Manager” from the context menu.
- Navigate to the Startup tab: In the Task Manager window, click on the “Startup” tab. Here, you will find a list of programs that automatically launch during startup.
- Disable unwanted startup programs: Identify the programs that you do not need to launch at startup and right-click on each program. Click on “Disable” to prevent the program from starting up automatically.
- Research the programs: If you are unsure about a specific program and its importance, you can search online to determine whether it is necessary for your system’s functionality. This will help you make informed decisions about which programs to disable.
- Restart your computer: After disabling the unnecessary startup programs, it’s recommended to restart your computer to apply the changes.
By disabling unnecessary startup programs, you can reduce the memory usage during boot-up and allow more RAM to be available for other critical tasks. However, if the issue of reduced usable RAM persists, continue exploring further solutions to resolve the problem.
Uninstall and Reinstall Problematic Applications
In some cases, specific applications may be causing conflicts or memory leaks, leading to reduced usable RAM in Windows 10. If you suspect that certain applications are causing the issue, uninstalling and reinstalling them can help resolve any underlying problems. Follow these steps:
- Open the Control Panel: Click on the Start button, search for “Control Panel,” and open it.
- Navigate to the Programs and Features section: In the Control Panel window, click on “Programs” or “Programs and Features” (depending on your view settings).
- Locate the problematic application: In the list of installed programs, find the application that you suspect is causing the reduced usable RAM issue.
- Uninstall the application: Right-click on the application and select “Uninstall.” Follow the prompts to complete the uninstallation process.
- Download the latest version: Visit the official website of the application and download the latest version compatible with your Windows 10 operating system.
- Install the application: Double-click on the downloaded file to start the installation process. Follow the on-screen instructions to install the application.
- Restart your computer: After reinstalling the problematic application, it is recommended to restart your computer to apply any changes and ensure proper functionality.
By uninstalling and reinstalling problematic applications, you can eliminate any corrupt or faulty files that may be causing memory issues. However, if the reduced usable RAM problem persists, continue exploring further solutions to address the issue.
Run a Memory Diagnostic Tool
If you are still experiencing reduced usable RAM in Windows 10 after trying various troubleshooting steps, it’s important to check for any underlying issues with your system’s memory. Running a memory diagnostic tool can help identify any potential problems with your RAM modules. Here’s how you can do it:
- Access Windows Memory Diagnostic: Press the Windows key + R to open the Run dialog box. Type “mdsched.exe” and click “OK” to launch the Windows Memory Diagnostic tool.
- Select the memory diagnostic option: In the Windows Memory Diagnostic tool window, choose between the “Restart now and check for problems (recommended)” or “Check for problems the next time I start my computer” options. The first option will immediately restart your computer and run the memory diagnostic, while the second option will perform the test during the next boot.
- Wait for the memory test to complete: The memory diagnostic tool will start checking your RAM for any problems. It will display the progress and any detected issues during the process. Note that the test may take some time to complete.
- Review the test results: Once the memory test is complete, your computer will either restart or boot up normally. If any memory issues are found, they will be displayed on-screen. Make a note of any error messages or codes for further troubleshooting.
- Perform additional troubleshooting: Depending on the results of the memory diagnostic test, you may need to take further action. If errors are detected, try reseating the RAM modules, replacing faulty modules, or consulting a professional technician for assistance.
Running a memory diagnostic tool can help identify any potential hardware issues that may be causing the reduced usable RAM. However, if the issue persists, continue exploring further solutions to resolve the problem.
Adjust Power Settings
Your computer’s power settings can play a role in memory management and overall system performance. Adjusting these settings can help optimize power usage and potentially resolve the issue of reduced usable RAM. Here’s how you can do it:
- Open the Power Options: Press the Windows key + R to open the Run dialog box. Type “powercfg.cpl” and click “OK” to open the Power Options window.
- Select a power plan: In the Power Options window, you will see different power plans available. Choose the one you are currently using (usually Balanced or Recommended).
- Click on “Change plan settings”: In the selected power plan, click on the “Change plan settings” link next to it.
- Adjust advanced power settings: In the Edit Plan Settings window, click on the “Change advanced power settings” link.
- Navigate to the power settings: In the Advanced settings window, expand the “Memory Power Management” section.
- Adjust power settings for RAM: Under the “Memory Power Management” section, you will find options such as “Minimum processor state” and “Maximum processor state.” Adjust these settings to reduce power consumption and optimize memory usage. For example, you can lower the minimum and maximum processor state percentages.
- Apply the changes: Click on the “Apply” button and then “OK” to save and apply the adjusted power settings.
By adjusting the power settings, you can optimize power usage and potentially free up memory that would have otherwise been allocated for power-hungry processes. However, if the problem of reduced usable RAM persists, continue exploring further solutions to address the issue.
Check for Windows Updates
Keeping your Windows operating system up to date is crucial for maintaining optimal performance and resolving various software-related issues. It’s important to check for and install any available Windows updates, as they often include bug fixes and performance improvements that can help address the issue of reduced usable RAM. Here’s how you can do it:
- Open Windows Settings: Click on the Start button and select the gear icon (Settings) from the Start menu, or press the Windows key + I.
- Go to Windows Update: In the Settings window, click on “Update & Security” to access the Windows Update options.
- Check for updates: In the Windows Update window, click on the “Check for updates” button. Windows will then start searching for any available updates for your system.
- Install updates: If there are any updates available, click on the “Download” or “Install” button to start downloading and installing them. It may take some time for the updates to be downloaded and installed, so be patient.
- Restart your computer: After the installation of updates is complete, you will be prompted to restart your computer. It’s important to restart to ensure that the updates are fully applied and take effect.
- Check for further updates: Once your computer has restarted, go back to the Windows Update settings and check for updates again. Repeat the process until no more updates are available.
Regularly checking for and installing Windows updates is crucial for maintaining the security, stability, and performance of your system. It can also help address any software-related issues, including those that may impact the amount of usable RAM. However, if the issue persists, continue exploring further solutions to resolve the problem.
Conclusion
Dealing with reduced usable RAM in Windows 10 can be frustrating, but by following the solutions mentioned in this article, you should be able to effectively address the issue and optimize your system’s memory usage. It’s important to remember that resolving this problem requires a systematic approach, checking various potential causes, and implementing appropriate solutions.
First, check for any hardware issues such as loose RAM modules or compatibility problems. Also, perform a scan for malware or viruses to ensure your system is clean and free from any malicious software that could be affecting your RAM. Adjusting virtual memory settings and updating device drivers can further help optimize memory usage. Additionally, disabling unnecessary startup programs and uninstalling/reinstalling problematic applications can free up valuable resources.
If these steps don’t resolve the issue, running a memory diagnostic tool or adjusting power settings may help identify any underlying memory-related problems. Finally, make sure to regularly check for Windows updates and install them to benefit from the latest bug fixes and performance improvements.
Remember, these troubleshooting steps are designed to address common causes of reduced usable RAM. However, if the problem persists, it may be beneficial to seek further assistance from technical support or a computer professional who can provide more specialized guidance.
By taking these steps and exploring the solutions provided, you can optimize your system’s performance, regain the full potential of your RAM, and ensure a smooth and efficient computing experience on Windows 10.


