Introduction
Welcome to the world of virtualization! If you’re using a Windows 8 operating system and want to explore the benefits of virtual machines, you’ve come to the right place. Installing a virtual machine allows you to run multiple operating systems on a single physical computer, opening up a world of possibilities for software testing, development, and creating isolated environments for different applications.
Virtual machines are an excellent tool for carrying out tasks that may be risky or impact the stability of your primary operating system. They also offer a great solution for cross-platform compatibility testing, allowing you to test your software on different operating systems without the need for separate hardware.
The purpose of this guide is to walk you through the step-by-step process of installing a virtual machine on your Windows 8 system. We’ll cover everything from downloading and installing the necessary software to configuring the virtual machine and optimizing its performance. By the end of this guide, you’ll have a fully operational virtual machine up and running on your Windows 8 system.
Whether you’re a software developer, an IT professional, or just a tech enthusiast looking to experiment with new operating systems, this guide will provide you with the knowledge you need to get started. So, without further ado, let’s dive into the exciting world of virtualization.
Prerequisites
Before we begin the virtual machine installation process, there are a few prerequisites that you need to ensure are in place. These prerequisites will help to ensure a smooth setup process and a seamless virtual machine experience.
1. Hardware Requirements: Your Windows 8 system should meet the minimum hardware requirements to run a virtual machine efficiently. This includes having an adequate amount of RAM, a capable processor, and sufficient disk space. Ideally, you should have at least 4GB of RAM, a multi-core processor, and at least 20GB of free disk space.
2. Virtualization Support: Verify that your system’s processor supports virtualization technology. This is crucial for running virtual machines smoothly. You can check if your processor has virtualization support by going into the BIOS/UEFI settings or using software tools like CPU-Z.
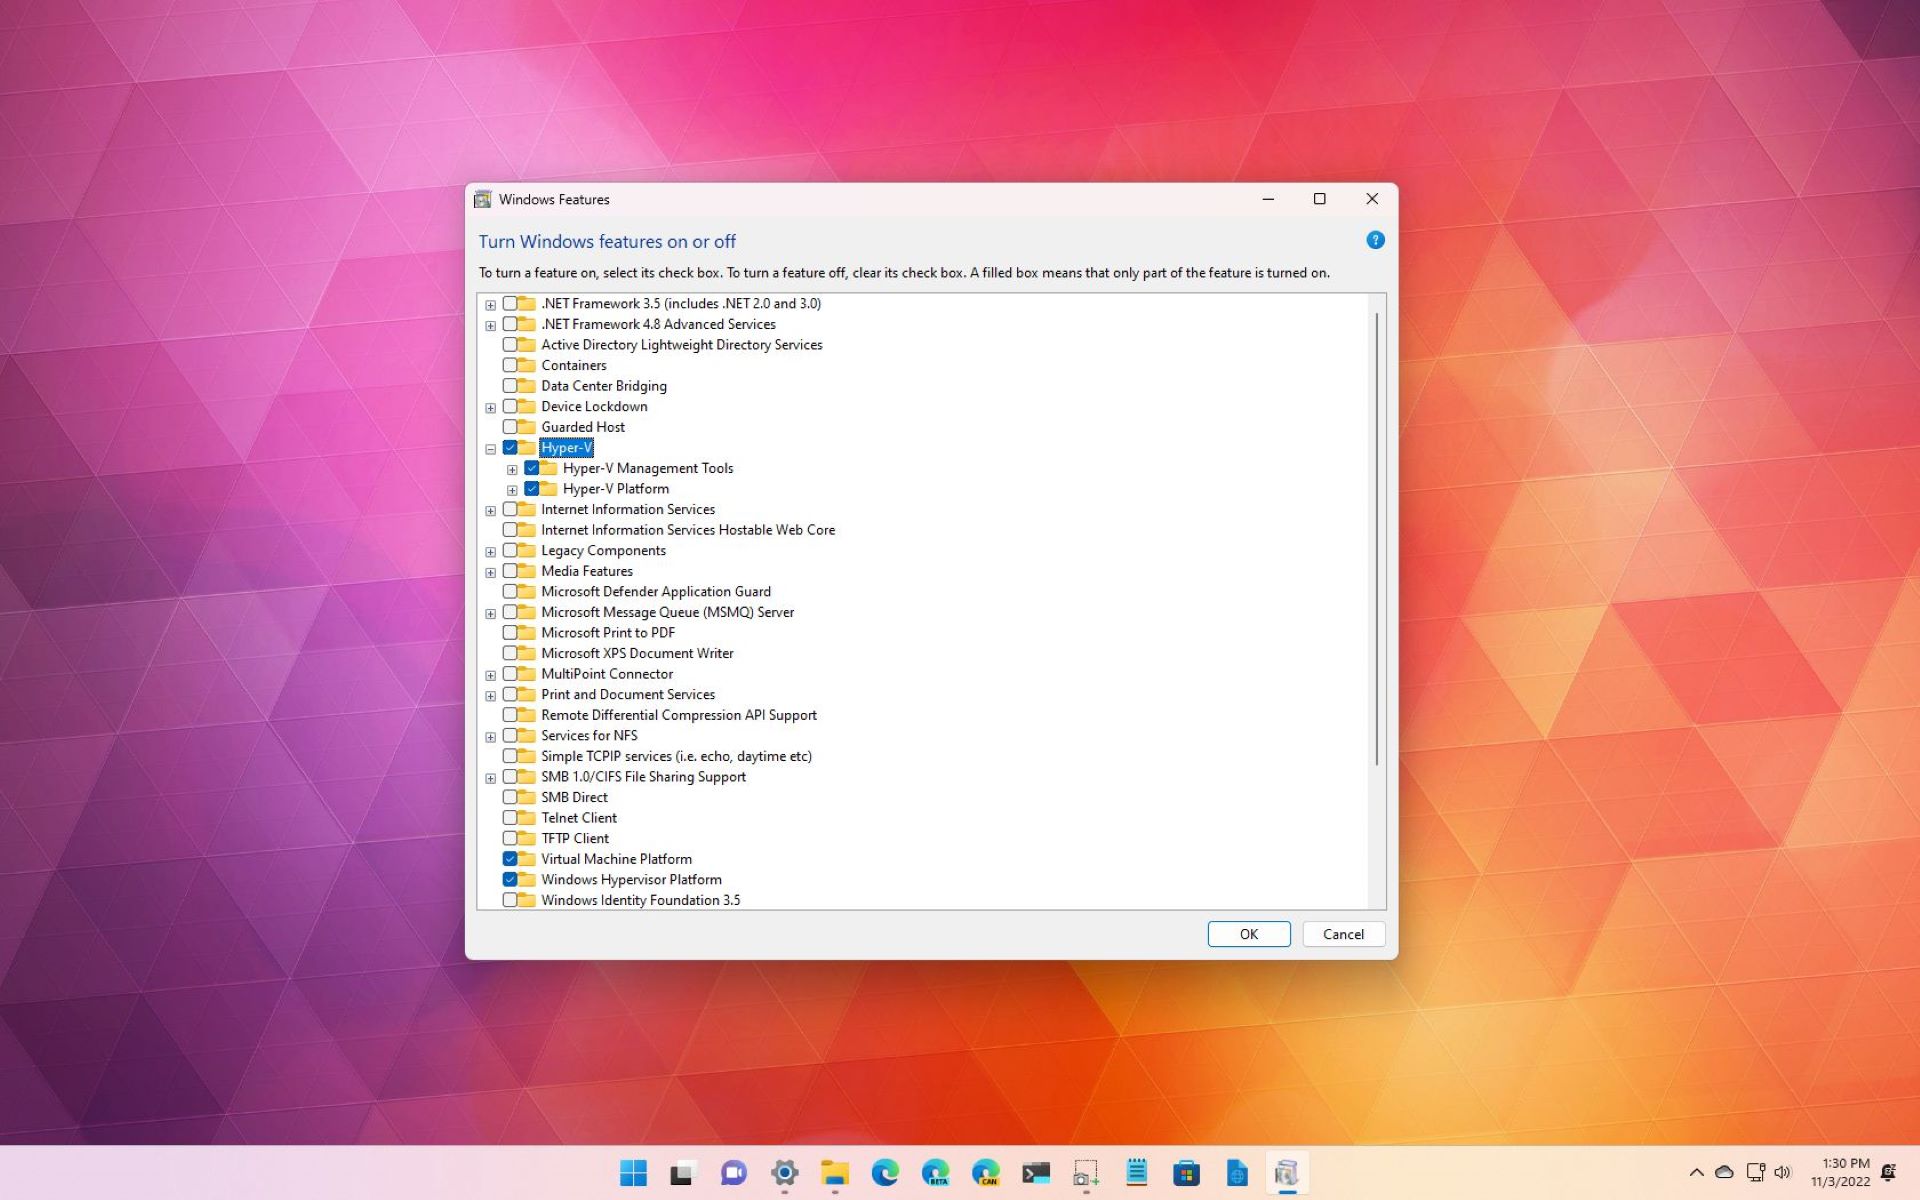
3. Virtual Machine Software: You will need to download and install a virtual machine software on your Windows 8 system. There are several options available, including Oracle VirtualBox, VMware Workstation, and Microsoft Hyper-V. Choose the software that best fits your needs and ensure that it is compatible with the Windows 8 operating system.
4. Operating System ISO: Obtain the ISO file for the operating system that you want to install on the virtual machine. Make sure you have a valid and licensed copy of the operating system ISO. This could be the latest version of Windows, Linux distributions like Ubuntu or CentOS, or any other OS of your choice.
5. Internet Connection: An active internet connection is recommended during the installation process. This will allow you to download any necessary updates or additional software required for the virtual machine setup.
By ensuring that these prerequisites are met, you’ll have a solid foundation for installing and running a virtual machine on your Windows 8 system. Once you have everything in place, we can move on to the next step of the installation process.
Step 1: Download and Install Virtual Machine Software
The first step in setting up a virtual machine on your Windows 8 system is to download and install the virtual machine software. This software acts as a platform for running virtual machines and provides the necessary tools and resources to create and manage them effectively.
There are several virtual machine software options available, but for the purpose of this guide, we’ll be using Oracle VirtualBox, a free and feature-rich virtualization solution. Follow the steps below to download and install VirtualBox:
- Open your preferred web browser and navigate to the official VirtualBox website.
- Click on the Downloads link on the homepage.
- On the Downloads page, you’ll see a list of available versions. Choose the version that is compatible with your Windows 8 operating system and click on the corresponding Windows hosts link to start the download.
- Once the download is complete, locate the downloaded setup file and double-click on it to initiate the installation process.
- Follow the on-screen prompts and accept the license agreement to proceed with the installation.
- During the installation, you may be prompted to install additional network drivers. It is recommended to install these drivers to ensure proper network connectivity within the virtual machines.
- Once the installation is complete, you can launch VirtualBox from the Windows Start menu or desktop shortcut.
Congratulations! You have successfully downloaded and installed the virtual machine software. With VirtualBox now installed on your Windows 8 system, you are ready to create and run virtual machines.
Remember to always download software from official sources to ensure its authenticity and security. It’s also a good practice to periodically check for updates to keep your virtual machine software up to date with the latest features and security patches.
Step 2: Create a New Virtual Machine
Now that you have installed the virtual machine software on your Windows 8 system, it’s time to create a new virtual machine. Follow the steps below to create a new virtual machine using VirtualBox:
- Launch VirtualBox by clicking on the desktop shortcut or accessing it from the Windows Start menu.
- In the VirtualBox Manager window, click on the New button located in the upper-left corner. This will open the Create Virtual Machine wizard.
- Enter a name for your virtual machine in the Name field. Choose a name that is descriptive and easy to remember.
- Select the type of operating system that will be installed on the virtual machine. For example, if you’re installing Windows 10, choose Microsoft Windows as the Type and Windows 10 (64-bit) as the Version.
- Allocate the desired amount of memory (RAM) for the virtual machine. It is recommended to allocate at least 2GB of RAM for basic functionality, but you can adjust this according to your system’s capabilities and requirements.
- In the Hard Disk section, select the option to Create a virtual hard disk now and click Create.
- Choose the type of hard disk file you want to create. The default option, VDI (VirtualBox Disk Image), should suffice for most scenarios.
- For the storage on physical hard disk, select Dynamically allocated if you want the virtual hard disk file to grow as you add files and data to the virtual machine. If you prefer a fixed-size allocation, choose the Fixed size option.
- Select the amount of storage space you want to allocate to the virtual hard disk file. This will depend on the requirements of the operating system and any additional software you plan to install on the virtual machine. It is recommended to allocate a minimum of 20GB for a basic installation.
- Click Create to finalize the creation of the virtual machine.
With these steps completed, you have successfully created a new virtual machine using VirtualBox. The next step is to install the operating system on the virtual machine, which we will cover in the next section.
Remember to allocate resources adequately based on the requirements of the operating system and software you plan to run on the virtual machine. It’s also a good practice to regularly back up your virtual machine files to prevent data loss in case of any unforeseen issues.
Step 3: Install the Operating System on the Virtual Machine
Now that you have created a new virtual machine using VirtualBox, it’s time to install the operating system on the virtual machine. Follow the steps below to install the operating system:
- Ensure that the virtual machine is selected in the VirtualBox Manager window, then click on the Start button.
- A new window will appear, displaying the virtual machine’s console. Click on the folder icon in the console window and select the ISO file for the operating system you want to install.
- Once the ISO file is selected, click Start to begin the virtual machine.
- The virtual machine will boot up and start the installation process. Follow the on-screen instructions provided by the operating system installer.
- Configure the language, keyboard layout, and other settings according to your preferences.
- Agree to the license terms and choose the installation type. Usually, you would select the Custom or Advanced option to have more control over the installation process.
- Select the virtual hard disk you created earlier when asked for the installation location. This is where the operating system will be installed.
- Allow the installation process to complete. This may take some time, depending on the speed of your system and the size of the operating system.
- Once the installation is finished, the virtual machine will restart. Follow any additional prompts or instructions to finalize the installation and set up the operating system.
- After the setup is complete, you can login to the virtual machine with the credentials provided during the installation process.
Congratulations! You have successfully installed the operating system on your virtual machine. You can now use the virtual machine to explore and run applications as if it were a separate physical computer.
Remember to install any necessary drivers and updates for the operating system within the virtual machine to ensure optimal performance and stability. It’s also a good practice to make regular backups of your virtual machine files to prevent data loss.
Step 4: Configure Virtual Machine Settings
After successfully installing the operating system on your virtual machine, it’s important to configure the virtual machine settings to optimize performance and enhance functionality. Follow the steps below to configure the virtual machine settings:
- Ensure that the virtual machine is selected in the VirtualBox Manager window, then click on the Settings button.
- In the Settings window, you’ll find various categories on the left-hand side. These categories include General, System, Display, Storage, Audio, Network, and more.
- Click on each category to explore and configure the associated settings based on your requirements.
- For example, under the System category, you can adjust the amount of Base Memory allocated to the virtual machine. It’s recommended to allocate a sufficient amount of memory for optimal performance.
- Under the Display category, you can configure settings such as the video memory allocated to the virtual machine and enable 3D acceleration for enhanced graphics performance.
- Explore other categories and settings to further customize the virtual machine based on your needs. For example, you can configure shared folders, USB device access, network settings, and more.
- Once you’ve made the necessary changes, click OK to save the settings and apply them to the virtual machine.
Configuring the virtual machine settings allows you to fine-tune its performance, optimize resource allocation, and enable additional features as per your requirements. It’s important to strike a balance between resource allocation and the host system’s capacity to ensure smooth operation of both the virtual machine and the host system.
Remember to periodically review and adjust the virtual machine settings based on any changes in your requirements or hardware capabilities. These settings can have a significant impact on the virtual machine’s performance and usability.
Step 5: Install Guest Additions
Once you have installed the operating system on your virtual machine, it’s highly recommended to install the guest additions software provided by the virtual machine software. Guest additions enhance the functionality and performance of the virtual machine by providing additional features and drivers. Follow the steps below to install guest additions:
- Start the virtual machine and log in to the operating system.
- In the VirtualBox menu bar, click on Devices and then choose Insert Guest Additions CD image. This will mount the guest additions ISO file inside the virtual machine.
- Once the ISO file is mounted, navigate to the CD drive inside the virtual machine.
- Run the setup or installer file provided by the guest additions software. The exact filename may vary depending on the virtual machine software you are using.
- Follow the on-screen instructions to install the guest additions software. You may need to accept a license agreement and choose the installation options as prompted.
- After the installation is complete, restart the virtual machine to apply the changes.
Once guest additions are installed, you’ll notice improved performance, better integration between the host and virtual machine, and additional features. Some of the benefits of installing guest additions include:
- Improved Display: Guest additions provide enhanced display drivers, allowing for seamless screen resolution adjustment and improved graphics performance.
- Shared Folders: Guest additions enable the sharing of files and folders between the host and virtual machine, making it easier to transfer and manipulate files across systems.
- Clipboard Sharing: With guest additions, you can easily share the clipboard content between the host and virtual machine, facilitating seamless copy and paste functionality.
- Enhanced Input Integration: Guest additions allow for better mouse and keyboard integration, reducing input lag and improving overall usability.
- Improved Networking: With guest additions, you can enable features like seamless network integration and host-based networking, enhancing connectivity and accessibility.
Installing guest additions is an essential step to maximize the capabilities of your virtual machine and improve the overall user experience. Make sure to keep the guest additions software up to date by periodically checking for updates provided by the virtual machine software.
Step 6: Optional Configurations and Optimizations
After completing the essential steps of setting up a virtual machine on your Windows 8 system, you have the option to further configure and optimize your virtual machine for a smoother and more efficient experience. Let’s explore some optional configurations and optimizations:
- Adjust Virtual Machine Resource Allocation: If you find that your virtual machine is running slowly or experiencing performance issues, you can fine-tune the allocation of resources such as CPU cores, RAM, and video memory to better match your system’s capabilities and the demands of the guest operating system.
- Create Snapshots: Virtual machine snapshots allow you to save the current state of your virtual machine and restore it later if needed. This is useful for testing software or making changes to your virtual machine configuration without the fear of irreversible consequences.
- Network Configuration: Depending on your setup and requirements, you may need to configure specific network settings for your virtual machine. This could include bridged networking, internal networking, or NAT configurations to enable network connectivity and communication within the virtual machine.
- Install Additional Software: Customize your virtual machine by installing additional software and tools that are relevant to your needs. This could include development environments, productivity suites, or any other software that enhances the functionality and productivity of your virtual machine.
- Enable Shared Clipboard and Drag-and-Drop: Take advantage of the shared clipboard and drag-and-drop features provided by the virtual machine software. This allows for seamless data transfer between the host and virtual machine, making it easier to share files and data.
- Take Regular Backups: It’s crucial to create backups of your virtual machine files to protect against data loss. Regularly back up the virtual machine files, including the virtual hard disk and any important data stored within the virtual machine.
- Monitor and Update Software: Periodically check for updates to your virtual machine software, including the virtualization software and any guest additions installed. These updates often bring performance improvements, bug fixes, and new features.
By implementing these optional configurations and optimizations, you can tailor your virtual machine to meet your specific requirements and ensure optimal performance. Experiment with different settings and software to find the setup that works best for your needs.
Remember to strike a balance between resource allocation for the virtual machine and your host system to avoid performance issues or excessive resource consumption. Regular maintenance and updates will help keep your virtual machine running smoothly and securely.
Conclusion
Congratulations! You have successfully learned how to install a virtual machine on your Windows 8 system. By following the step-by-step instructions outlined in this guide, you have acquired the necessary knowledge to create and configure virtual machines, install operating systems, and optimize their performance.
Virtual machines provide a powerful platform for running multiple operating systems on a single physical computer, enabling you to explore different environments, test software, and create isolated development environments. With virtualization technology, you can take advantage of the benefits of running multiple operating systems without the need for separate hardware.
Throughout the installation process, we covered the prerequisites to ensure a smooth setup, downloading and installing virtual machine software, creating a new virtual machine, installing the operating system, configuring virtual machine settings, installing guest additions, and optional configurations and optimizations.
Remember to regularly update your virtual machine software and guest additions to take advantage of new features, bug fixes, and security patches. Additionally, it is important to allocate resources properly and maintain regular backups of your virtual machine files to protect against data loss.
Virtual machines offer endless possibilities for software development, testing, and exploring different operating systems. Whether you’re a software developer, IT professional, or technology enthusiast, the knowledge you’ve gained from this guide will help you make the most of virtualization technology on your Windows 8 system.
Now go forth and unleash your creativity and productivity by harnessing the power of virtual machines on your Windows 8 system! Enjoy exploring new operating systems, testing software, and creating diverse development environments, all within the comfort of your own computer.