Introduction
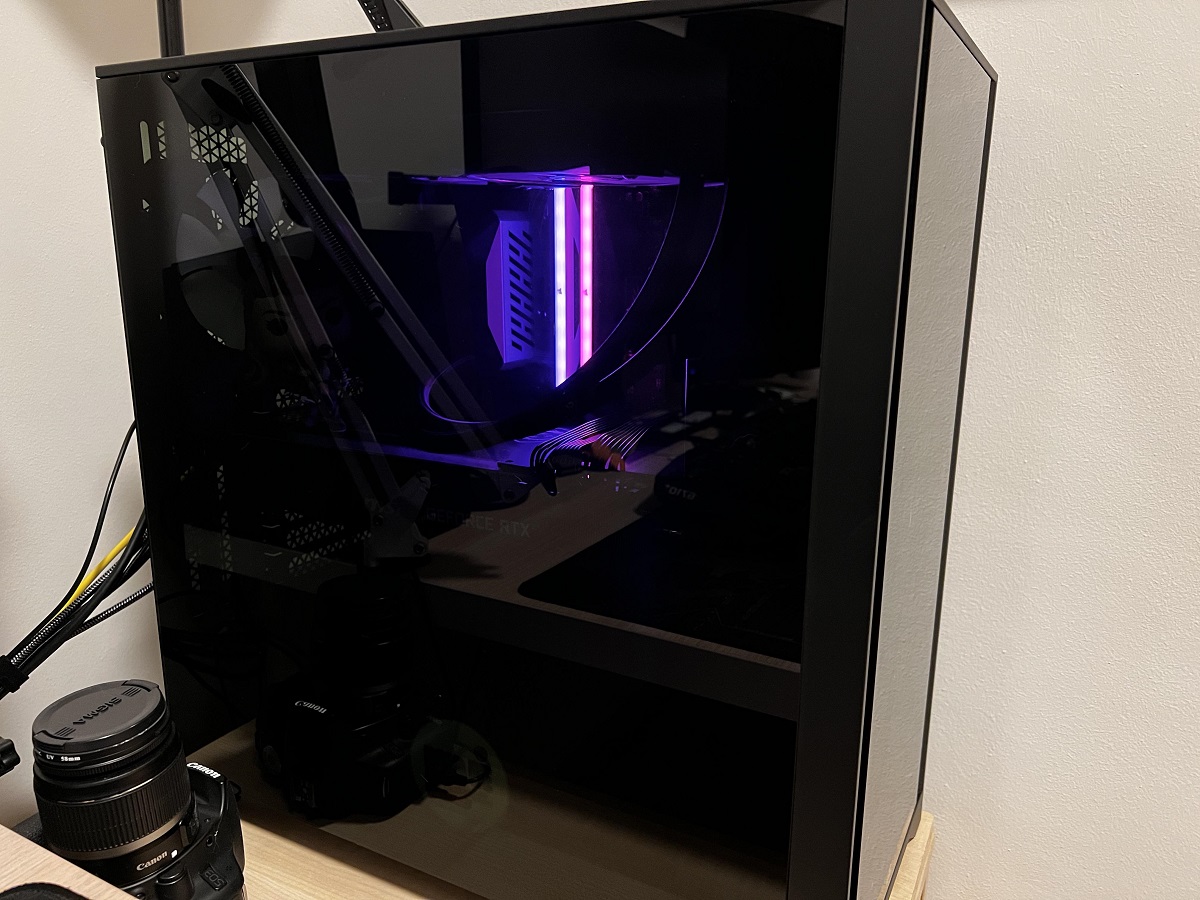
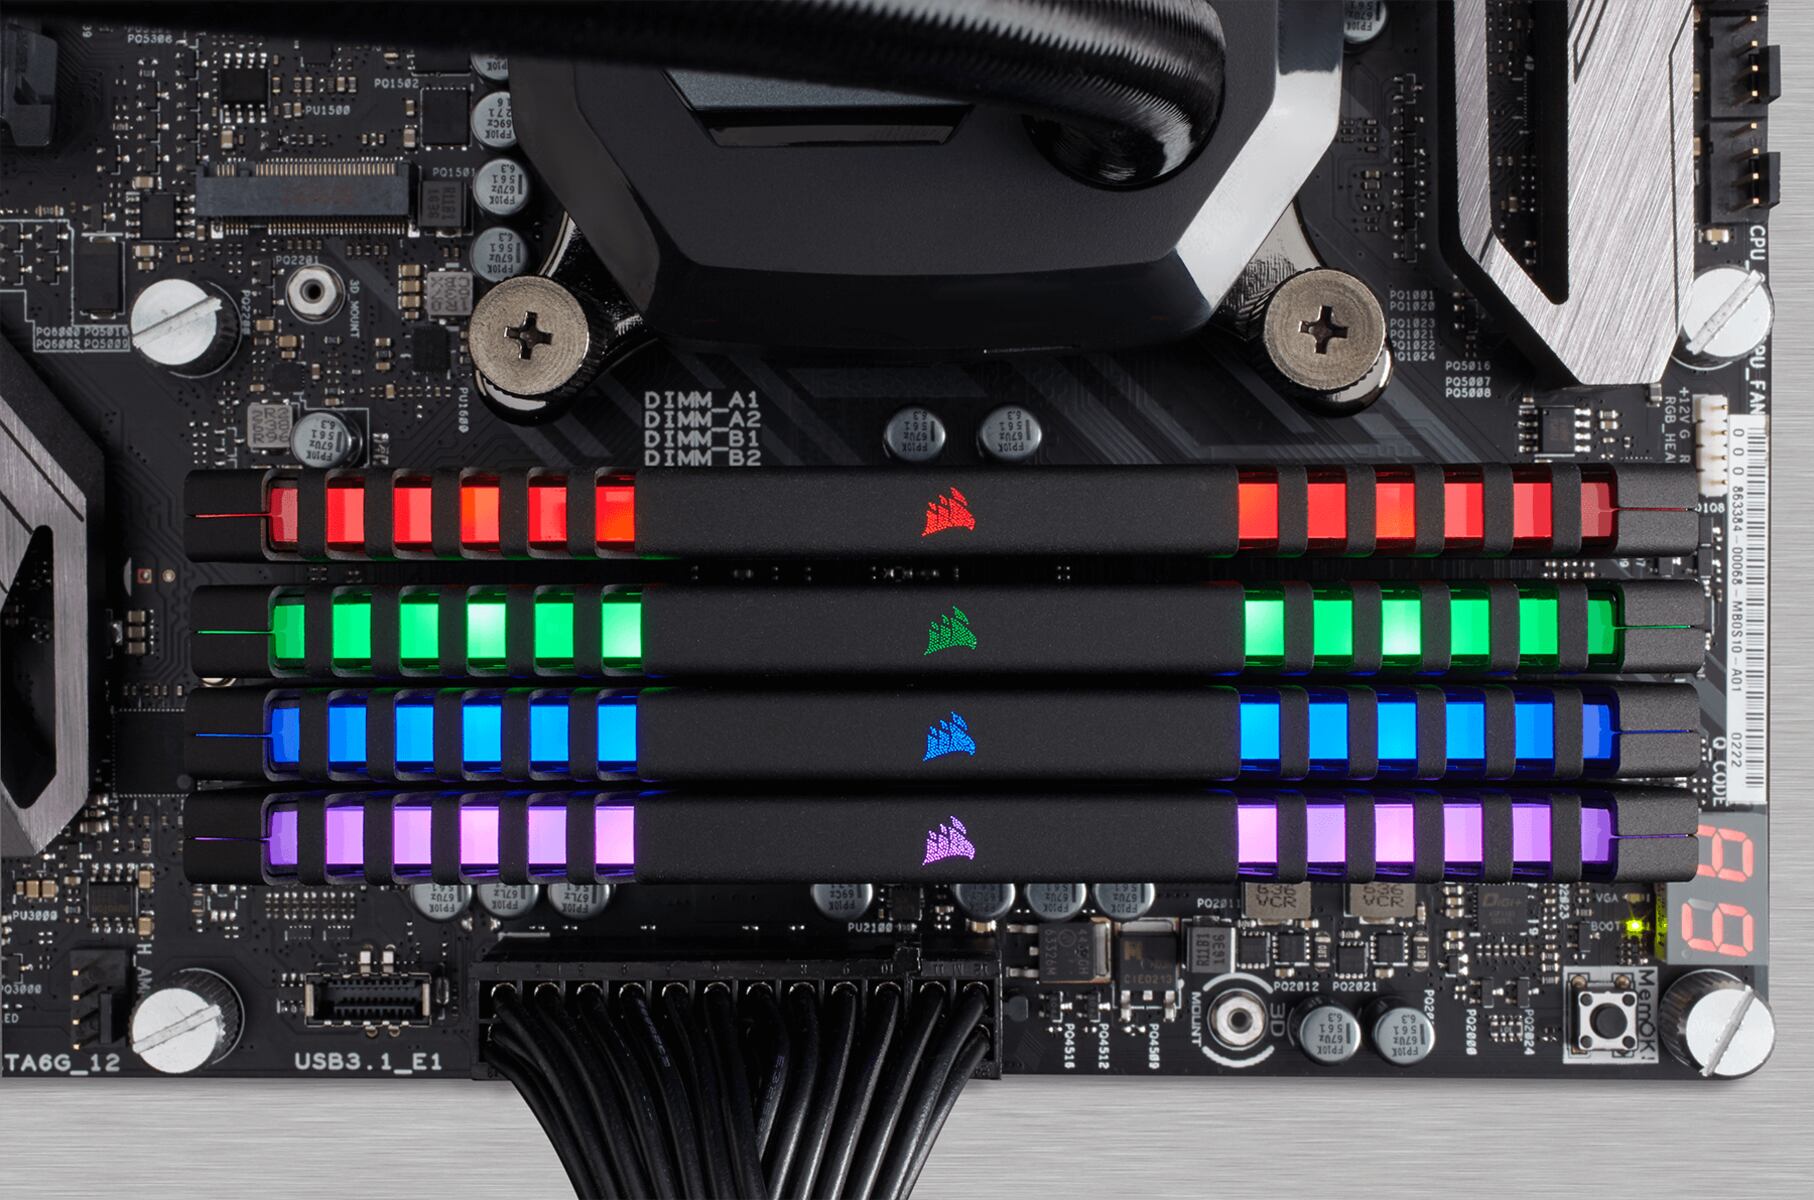
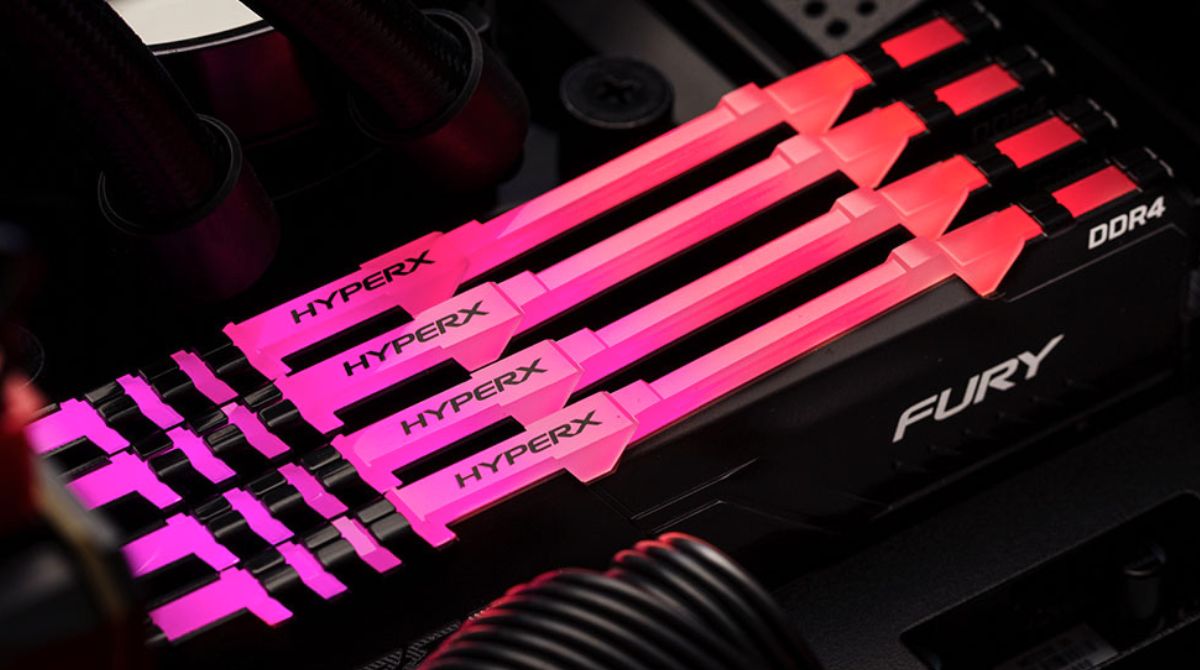
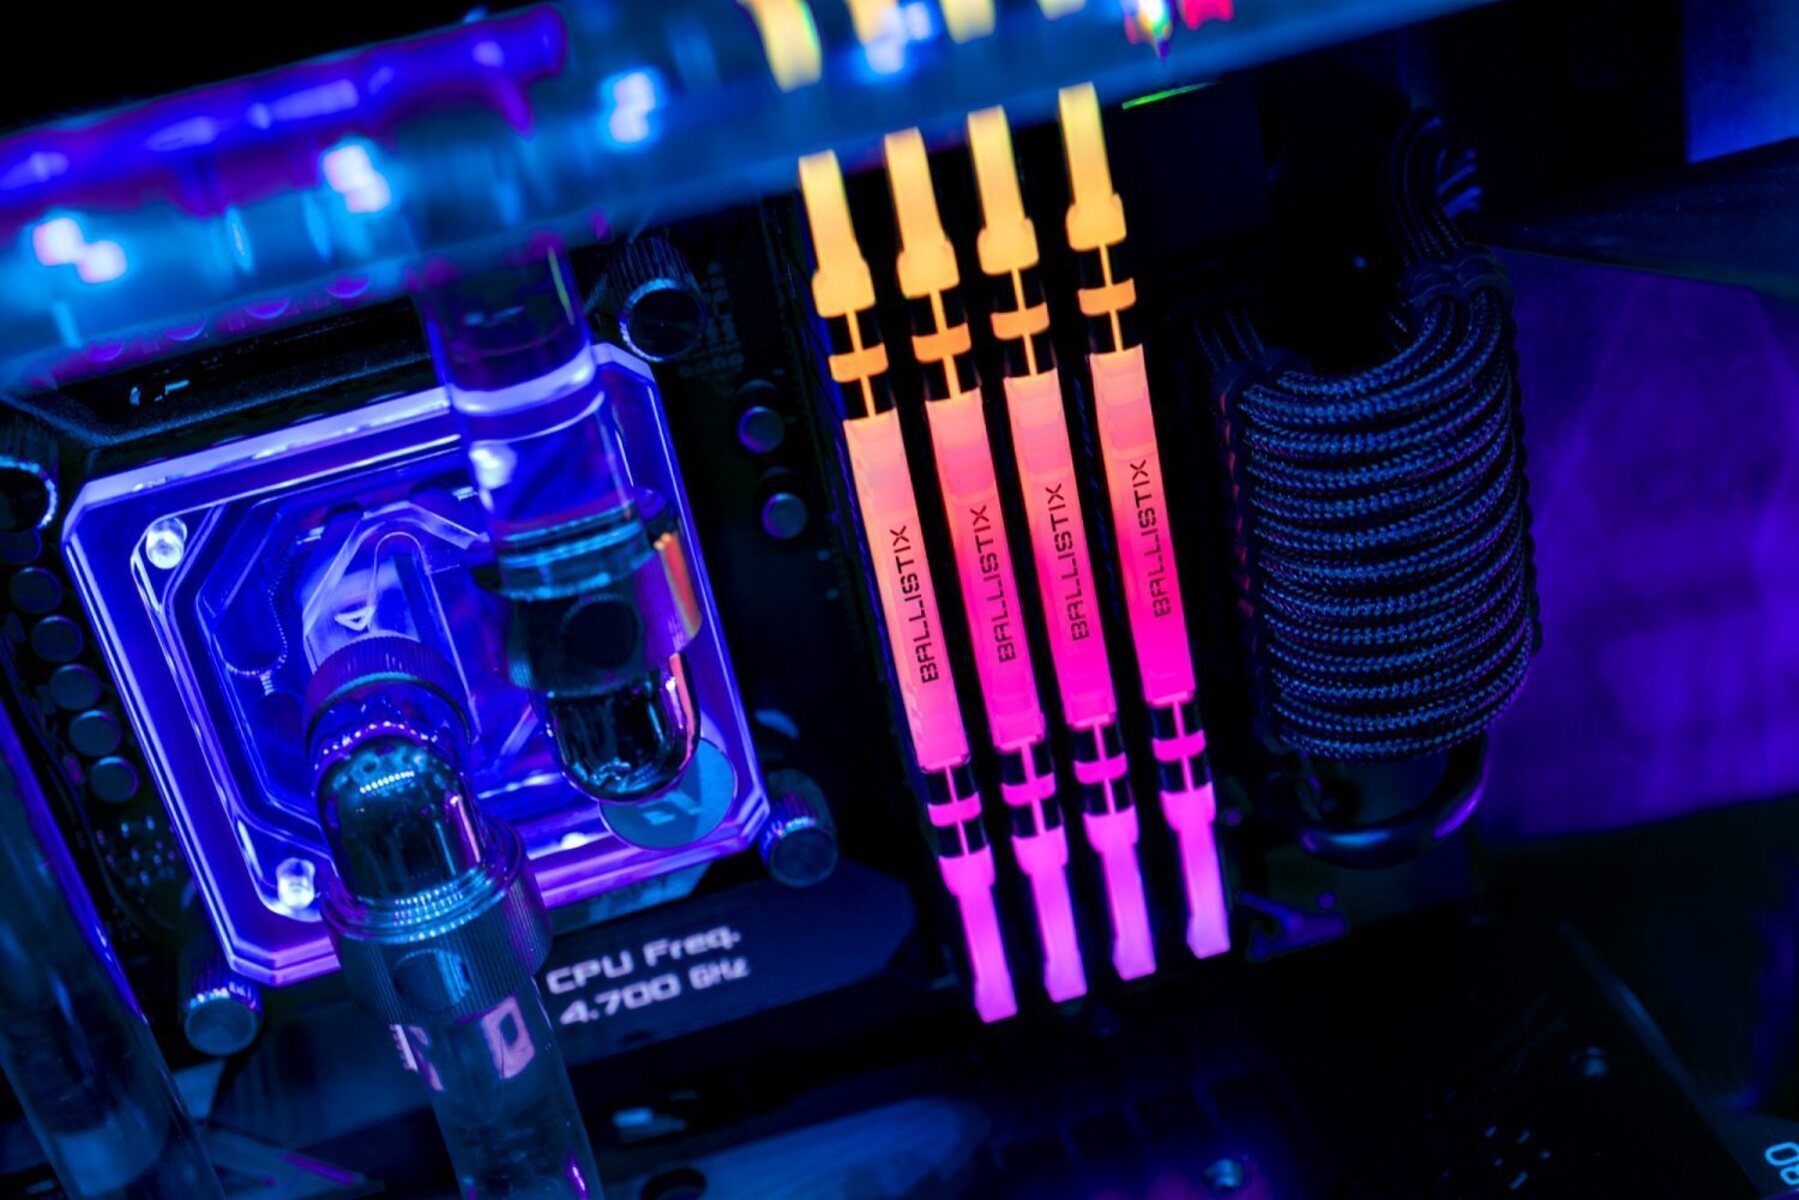
Changing the RGB color of your RAM modules can add a unique and personalized touch to your computer setup. Not only does it allow you to match the color scheme of your other components or create eye-catching effects, but it also adds a sense of customization to your gaming or work station.
With the advancements in technology, many RAM modules now come equipped with RGB lighting. While some modules have default RGB colors that can sync with your motherboard’s lighting software, others offer customization options, allowing you to choose your preferred RGB colors.
In this article, we will guide you through the steps to change the RGB color of your RAM. Whether you want a sleek, monochromatic look or a vibrant and dynamic color pattern, we will show you how to achieve it. So, if you’re ready to add some pizzazz to your computer setup, let’s dive into the process of changing the RGB color of your RAM modules.
Step 1: Check Compatibility
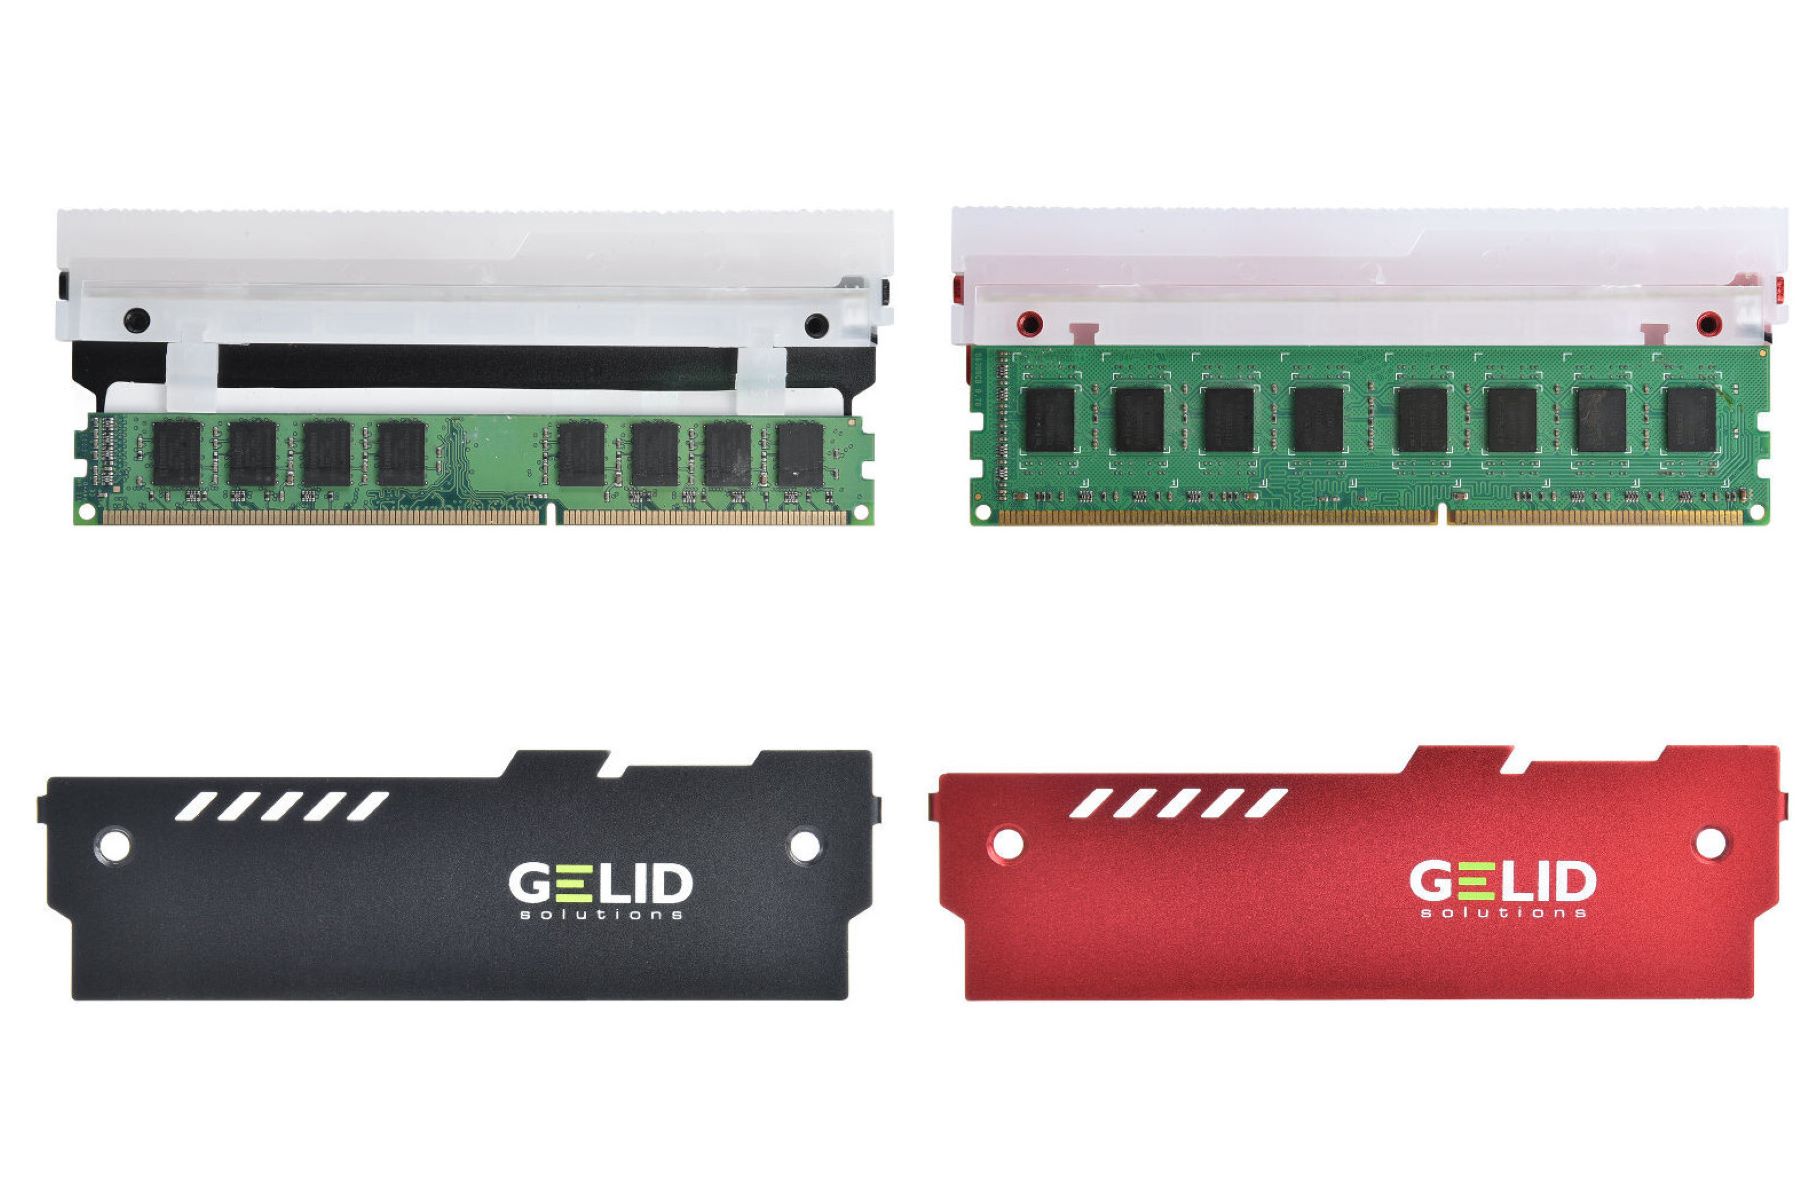
Before you begin the process of changing the RGB color of your RAM, it’s crucial to ensure that your RAM modules are compatible with RGB customization. Not all RAM modules have RGB lighting features, so it’s essential to check if your modules support this functionality.
To determine if your RAM modules are RGB compatible, you can refer to the product documentation or specifications provided by the manufacturer. Look for information regarding RGB lighting or customization options. Additionally, you can visit the manufacturer’s website and search for your specific RAM model to find out if it supports RGB customization.
It’s important to note that different RAM modules may require different RGB software or have specific compatibility requirements. So, even if you know your RAM modules have RGB lighting, double-check if they are compatible with the RGB software you plan to use.
If your RAM modules are not RGB compatible, unfortunately, you won’t be able to change their RGB color. However, you may consider upgrading to RGB-enabled RAM modules if you’re interested in customizing the lighting effects of your computer.
Once you have confirmed that your RAM modules are RGB compatible, you can proceed to the next step: installing the RGB software.
Step 2: Install RGB Software
To change the RGB color of your RAM modules, you will need to install the appropriate RGB software. Different RAM manufacturers may have their own RGB software, or you may be able to use third-party software that supports multiple RAM brands.
Start by visiting the website of your RAM manufacturer or searching for the RGB software they provide. Look for software downloads or support pages that specifically mention RGB controls. Download the software and follow the installation instructions provided.
If your RAM brand does not have its own RGB software, you can explore third-party software options. Here are a few popular RGB software programs that are compatible with multiple RAM brands:
- Aura Sync: Developed by ASUS, Aura Sync supports various RGB-enabled components, including RAM, motherboards, and graphics cards. It offers a wide range of customization options for creating unique lighting effects.
- Mystic Light: Created by MSI, Mystic Light is another versatile RGB software that allows you to control the lighting effects of your RAM modules and other RGB components. It comes with preset options as well as advanced customization features.
- RGB Fusion: Gigabyte’s RGB Fusion software provides intuitive controls for adjusting the RGB color settings of your RAM modules and other compatible components. It offers a user-friendly interface and extensive customization options.
Make sure to download the latest version of the RGB software to ensure compatibility with your operating system and RAM modules. Once the software is installed, proceed to the next step: opening the RGB software.
Step 3: Open RGB Software
After installing the RGB software, it’s time to open it and access the RGB control features. Locate the RGB software on your computer, either through the Start menu or the desktop shortcut created during the installation process.
Double-click on the RGB software icon to launch the application. Depending on the software you installed, you may be greeted with a welcome screen or a main dashboard displaying the connected RGB-enabled components.
Take a moment to familiarize yourself with the interface of the RGB software. It may include various tabs, sections, and options for controlling different aspects of the RGB lighting. Look for the section or tab specifically dedicated to RAM controls or RGB settings.
Some RGB software programs offer a unified control panel where you can customize the RGB color of all compatible components from a single interface. Others may have separate sections for each component, including RAM.
Once you have located the RAM control section, you are ready to move on to the next step: choosing the RAM settings.
Step 4: Choose RAM Settings
With the RGB software open, navigate to the RAM control section or tab where you can choose the desired settings for your RAM modules. This section will provide options for adjusting the RGB color, lighting effects, and other customization features.
Start by selecting the RAM module or modules you wish to modify. If you have multiple RAM modules installed, the software should detect and display them individually. Choose the RAM module you want to customize, and it should highlight or become the active selection.
Next, explore the available settings and options for your RAM. The RGB software may offer various customization features, such as:
- Color selection: Choose the RGB color you want for your RAM module. Most software programs provide a color wheel, RGB sliders, or predefined color palette to make it easy to find your desired shade.
- Lighting effects: Some software allows you to select different lighting effects for your RAM, such as static, breathing, strobing, or color cycle. Experiment with these effects to find the one that best suits your preferences.
- Intensity and brightness: Adjust the intensity or brightness of the RGB lighting on your RAM module. This setting allows you to make the lighting more subtle or vibrant, depending on your personal preference.
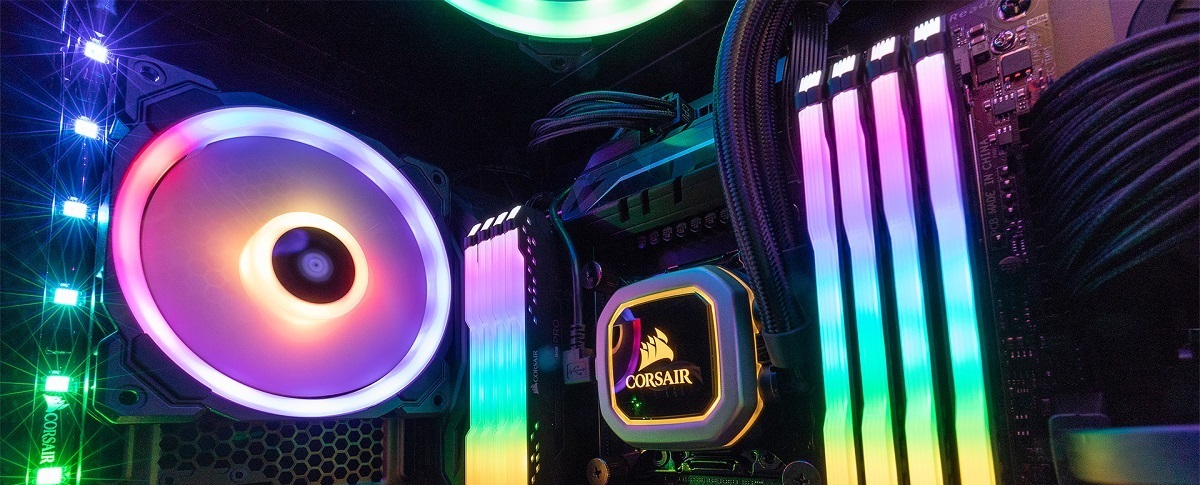
- Synchronization: If you have other RGB-enabled components, such as a motherboard or graphics card, you may have the option to synchronize the lighting effects across all compatible components. This creates a cohesive and visually appealing look.
Take your time to explore the various customization options and fine-tune the settings according to your preferences. You can preview the changes in real-time within the software’s interface.
Once you are satisfied with the RAM settings, it’s time to move on to the next step: selecting the RGB color.
Step 5: Select RGB Color
Now that you have chosen the RAM settings, it’s time to select the specific RGB color you want for your RAM modules. This step allows you to fine-tune the color scheme of your computer setup and create a visually pleasing aesthetic.
In the RAM control section of the RGB software, look for the color selection option. This may be represented as a color wheel, RGB sliders, or a predefined color palette.
Click on the color selection tool and explore the available color options. You can choose colors by manually adjusting the RGB values or by selecting a color from the palette.
If you have a particular color scheme in mind, you can use color theory principles or RGB codes to ensure accuracy. Alternatively, you can simply experiment with different colors and find the one that appeals to you the most.
Remember that the RGB lighting on your RAM modules can be vibrant and vivid, so don’t be afraid to choose bold and eye-catching colors to make a statement. However, if you prefer a more subtle and refined look, you can opt for softer or pastel shades.
As you select different colors, the RGB software should provide a preview of how the chosen color will appear on your RAM modules. This allows you to make adjustments and fine-tune the color until you achieve the desired effect.
Once you are satisfied with the selected RGB color for your RAM modules, proceed to the next step: applying and saving the changes.
Step 6: Apply and Save Changes
After selecting the RGB color for your RAM modules, it’s time to apply and save the changes you’ve made using the RGB software. Applying the changes will activate the new RGB color on your RAM modules, allowing you to see the customization in action.
In the RAM control section of the RGB software, you should find a button or option to apply the changes. This button may be labeled as “Apply,” “Save,” or a similar term. Click on this button to apply the selected RGB color to your RAM modules.
Once you have applied the changes, the RGB software will send the updated RGB color settings to your RAM modules, and you should immediately see the new color illuminating your modules.
At this point, take a moment to observe the newly customized RGB color on your RAM modules. Ensure that the color is as desired and that it complements the overall look of your computer setup.
If you’re not satisfied with the result, you can go back to the RGB software and make further adjustments. Experiment with different colors and settings until you achieve the desired effect.
Once you are happy with the new RGB color, it’s essential to save the changes to ensure that they persist even after rebooting your computer. Look for a “Save” or “Apply and Save” button within the RGB software and click on it to save the customization settings.
By saving the changes, the RGB software will remember the selected RGB color, allowing your RAM modules to maintain the customized settings every time you power on your computer.
Now that you have successfully applied and saved the changes, it’s time to move on to the final step: testing the new RGB color on your RAM modules.
Step 7: Test the New RGB Color
After applying and saving the changes to your RAM modules’ RGB color, it’s important to test the new color to ensure that it meets your expectations. Testing the color will allow you to see how it looks under different lighting conditions and evaluate its overall impact on your computer setup.
Start by taking a moment to admire the new RGB color on your RAM modules. Observe how it interacts with the rest of your components and the overall ambiance of your workspace. Pay attention to any reflections or color variations that may occur.
If you have any lighting controls, such as dimmers or ambient lighting settings, adjust them to see how the RGB color on your RAM modules responds. This will help you gauge its visibility and impact under different lighting conditions.
Additionally, you can open up any visually demanding programs or games to see how the RGB color enhances your computer experience. Notice how the color breathes life into your setup, creating an immersive and personalized atmosphere.
While testing the new RGB color, don’t shy away from experimenting with different lighting effects and intensity settings available in the RGB software. This will allow you to explore the full potential of your customized RAM lighting and find the perfect balance that suits your preferences.
If, during the testing phase, you feel the need to make further adjustments to the RGB color or lighting effects, you can always go back to the RGB software and modify the settings accordingly. Remember that customization is a continuous process, and you can always refine and fine-tune the RGB color to match your evolving preferences.
Once you are satisfied with the appearance and functionality of the new RGB color on your RAM modules, congratulations! You have successfully changed the RGB color of your RAM and added a personal touch to your computer setup.
Remember to share your customized RGB color and setup with fellow enthusiasts or on online communities to inspire and exchange ideas with others who are passionate about PC customization.
Enjoy the enhanced visual experience and the unique aura that the new RGB color brings to your computer setup!
Conclusion
Changing the RGB color of your RAM modules is a fantastic way to personalize and enhance the visual appeal of your computer setup. By following the steps outlined in this guide, you can easily modify the RGB color of your RAM and create a unique ambiance that aligns with your style and preferences.
Remember to start by checking the compatibility of your RAM modules and ensuring that they support RGB customization. Install the appropriate RGB software provided by your RAM manufacturer or explore third-party software options that offer compatibility with multiple RAM brands.
Once you have installed the RGB software, open it and navigate to the RAM control section. Choose the desired settings for your RAM, including RGB colors, lighting effects, and intensity levels. Take advantage of the customization options available to create a look that truly represents your style.
After selecting the RGB color, apply and save the changes to activate the new color on your RAM modules. Take the time to test the new RGB color under different lighting conditions and observe how it enhances the overall aesthetics of your computer setup.
Remember that customization is an ongoing process, and you can always go back to the RGB software and make adjustments to the RGB color or lighting effects as your preferences change over time.
By successfully changing the RGB color of your RAM modules, you have added a personal touch to your computer setup and created a visually captivating environment. Enjoy the immersive experience and share your customized RGB color with others to inspire and engage in the vibrant community of PC customization.
Embrace the power of RGB lighting to express your personality and make your computer setup truly unique!