Introduction
RAM (Random Access Memory) is an essential component of any computer system, serving as a temporary storage space for data that is currently being processed. It plays a critical role in the overall performance and stability of your computer. However, over time, RAM modules can develop faults or errors that can cause system crashes, slow performance, and other issues. Therefore, it is crucial to regularly test your RAM to ensure its optimal functionality.
Testing your RAM involves running diagnostic tools or performing physical inspections to identify any faults or errors. By doing so, you can detect potential issues before they worsen and take appropriate actions to resolve them. In this article, we will discuss why it is important to test your RAM, common signs of faulty RAM, and various methods you can use to perform RAM testing.
Whether you’re a casual computer user or a professional, understanding the importance of RAM testing can save you from unnecessary troubles and improve the overall performance of your system. Faulty RAM can lead to frequent crashes, system freezing, reduced speed, and data corruption. Therefore, proactive testing should be a vital part of your computer maintenance routine.
Throughout this article, we will provide step-by-step instructions for different RAM testing methods. These methods include using built-in tools like the Windows Memory Diagnostic Tool, third-party software like MemTest86, and even physical inspection of RAM modules. Each method is designed to help you identify issues with your RAM and find effective solutions.
It is worth mentioning that regular RAM testing is particularly important for users who engage in resource-intensive tasks such as gaming, video editing, or running multiple applications simultaneously. However, even if you use your computer for everyday tasks, occasional RAM testing can help prevent potential problems and ensure a smooth and stable computing experience.
Understanding RAM
RAM (Random Access Memory) is a crucial component of a computer system that is responsible for temporarily storing data that the CPU (Central Processing Unit) needs for quick access. It is an essential part of the computer’s memory hierarchy, alongside the cache and the primary storage device (such as a hard drive or solid-state drive).
Unlike permanent storage devices, like hard drives or SSDs, RAM is volatile memory. This means that its contents are lost when the computer is powered off or restarted. However, RAM offers several significant advantages over permanent storage. Firstly, it is much faster to read from and write to, allowing for quick access to data that is actively used by the CPU.
RAM is organized into small storage units called cells, with each cell typically storing a single bit of data. These cells are organized in a grid-like structure, with rows and columns. The intersection between a row and a column represents a cell, and the CPU can read or write data to a specific cell by addressing its row and column numbers.
The capacity of the RAM is determined by the number of cells it contains, and it is typically measured in gigabytes (GB). Modern computer systems can have varying amounts of RAM, with higher-capacity modules allowing for more data to be stored temporarily. RAM modules are inserted into slots on the computer’s motherboard and are connected to the CPU through a memory controller.
When the computer is turned on, the operating system and other critical software are loaded into the RAM. This allows the CPU to quickly access the necessary data for smooth system operation. As programs and applications are opened, they are also loaded into RAM, enabling the CPU to read and write data from and to the RAM at high speeds.
Understanding the importance of RAM is crucial for optimizing a computer’s performance. Inadequate RAM can lead to sluggish system behavior, as the CPU constantly needs to read and write data to and from slower permanent storage devices. Insufficient RAM can also result in frequent program crashes and system freezes, especially when running resource-intensive tasks.
Regularly testing your RAM can help identify any potential issues that may be affecting your computer’s performance. By ensuring that your RAM is in optimal condition, you can enhance the speed and stability of your system, allowing you to work efficiently and enjoy a seamless computing experience.
Why is it important to test your RAM?
Testing your RAM is essential for maintaining a healthy and efficient computer system. RAM modules, like any other hardware component, can develop faults or errors over time. These faults can lead to various issues, including system crashes, slow performance, and data corruption. Here are some reasons why it is important to regularly test your RAM:
- Identify faulty modules: By testing your RAM, you can identify any faulty modules that may be causing issues in your system. Faulty RAM can lead to unpredictable behavior in your computer, such as sudden crashes or blue screens of death. Testing allows you to isolate the problematic module and replace it, restoring stability to your system.
- Prevent data corruption: Faulty RAM can cause data corruption, leading to data loss or incorrect output. When your computer reads or writes data from/to RAM, errors can occur if the RAM module is not functioning properly. By testing your RAM, you can catch these errors early on and prevent data corruption.
- Improve system performance: Faulty or failing RAM can severely impact your computer’s performance. Slow responsiveness, program crashes, and system freezes are commonly experienced when RAM issues are present. Testing your RAM helps you identify these issues and resolve them, improving the overall performance and speed of your system.
- Optimize resource-intensive tasks: If you use your computer for tasks that require a lot of memory, such as gaming, graphic design, or video editing, it is even more critical to test your RAM. These resource-intensive tasks heavily rely on the speed and stability of RAM, and any faults can result in poor performance and reduced efficiency. By testing your RAM, you can ensure it can handle the demands of these tasks without any issues.
- Prolong the lifespan of your system: Regularly testing your RAM can help prolong the lifespan of your entire computer system. By identifying and addressing any RAM issues promptly, you can prevent them from causing further damage to other components, such as the CPU or motherboard. This proactive approach to system maintenance can save you time and money in the long run.
In summary, testing your RAM is vital for maintaining a stable and high-performing computer system. It helps identify faulty modules, prevents data corruption, improves system performance, optimizes resource-intensive tasks, and prolongs the lifespan of your entire system. By incorporating RAM testing into your regular computer maintenance routine, you can ensure the smooth operation of your system and avoid potential problems down the line.
Common signs of faulty RAM
Identifying the signs of faulty RAM is crucial for addressing potential issues with your computer system. Faulty RAM can cause various problems, ranging from system crashes to data corruption. Here are some common signs that may indicate faulty RAM:
- Frequent system crashes: If you experience frequent system crashes, where your computer suddenly reboots or displays a blue screen of death, it could be a sign of faulty RAM. RAM errors can disrupt the stability of your system and cause it to crash when accessing or manipulating data.
- Random and intermittent freeze-ups: If your system randomly freezes for short periods or becomes unresponsive during normal usage, it can be a symptom of faulty RAM. These freezes can occur when the RAM fails to read or write data correctly, causing interruptions in the system’s operations.
- Programs crashing or becoming unresponsive: Faulty RAM can cause individual programs to crash unexpectedly or become unresponsive. If you notice that certain programs consistently crash or exhibit sluggish behavior, despite your system meeting their requirements, it is worth considering RAM issues as a possible cause.
- Data corruption or loss: Faulty RAM can lead to data corruption or loss, especially when reading or writing files. You may encounter errors when opening or saving files, or notice that file contents are incorrect or distorted. If you regularly experience data-related issues, faulty RAM could be the underlying culprit.
- Slow system performance: RAM issues can significantly impact the overall performance of your computer. If you notice a significant decrease in system speed, longer loading times for applications, or delayed response to commands, it could be due to faulty RAM. As the RAM struggles to read and write data correctly, it slows down the entire system.
- Increased system heat: Faulty RAM modules can generate more heat than normal, leading to increased system temperatures. If you notice that your computer’s cooling fans are running at higher speeds than usual or that the system temperature is consistently elevated, it could be a result of faulty RAM causing excessive heat generation.
If you experience one or more of these symptoms, it is essential to test your RAM to determine whether it is causing the problems. By identifying faulty RAM, you can take appropriate actions to resolve the issues and restore the stability and performance of your computer system.
Method 1: Windows Memory Diagnostic Tool
One of the easiest ways to test your RAM is by using the built-in Windows Memory Diagnostic Tool. This tool is available on most Windows operating systems and can help identify any memory-related issues in your computer. Follow these steps to use the Windows Memory Diagnostic Tool:
- Open the Windows Memory Diagnostic Tool: Press the Windows key + R to open the Run dialog box. Type “mdsched.exe” and press Enter. This will launch the Windows Memory Diagnostic Tool.
- Select the type of memory test: The tool will present two options – “Restart now and check for problems (recommended)” or “Check for problems the next time I start my computer.” Choose the option that suits your preference. If you select the first option, make sure to save any open files and close running programs, as your computer will restart.
- Let the tool test your RAM: Once you have selected an option, your computer will restart, and the Windows Memory Diagnostic Tool will start running. It will perform a series of tests to check for any memory-related issues. This process may take some time, so be patient and let the tool complete the tests.
- View the test results: Once the tests are complete, your computer will restart again. After it boots up, you can view the test results. If the tool detected any errors, it will display them on the screen. Take note of any errors or issues found during the test.
The Windows Memory Diagnostic Tool is a quick and convenient way to test your RAM without the need for additional software or technical knowledge. However, it is worth noting that this tool may not catch more complex or intermittent memory issues. If you suspect severe RAM issues or the tool does not find any problems but you are still experiencing symptoms of faulty RAM, you may need to consider alternative testing methods.
Method 2: MemTest86
MemTest86 is a powerful third-party software tool specifically designed for comprehensive RAM testing. Unlike the Windows Memory Diagnostic Tool, MemTest86 offers more advanced testing capabilities and is often recommended for thorough and accurate RAM testing. Here’s how you can use MemTest86 to test your RAM:
- Download and create a bootable USB or CD: Visit the official MemTest86 website and download the appropriate version for your system. You will need to create a bootable USB drive or CD using the provided tool or software. Follow the instructions provided to create the bootable medium.
- Insert the bootable medium and restart your computer: Insert the bootable USB drive or CD into your computer and restart it. Make sure your computer is set to boot from the USB or CD drive in the BIOS settings. This will allow your computer to boot directly into MemTest86.
- Run MemTest86: Once your computer boots up, MemTest86 will automatically start running and begin testing your RAM. It will perform a series of extensive tests, checking every memory address for errors and faults. These tests are time-consuming but provide a thorough analysis of your RAM’s performance.
- Review the test results: As MemTest86 runs, it will display the test progress and any errors found on the screen. Take note of any errors reported during the testing process. Even a single error is an indication of faulty RAM and the need for further investigation.
- Continue testing or take appropriate action: You can allow MemTest86 to complete multiple passes to ensure a more accurate diagnosis. Alternatively, if errors are detected during the first set of tests, it is recommended to replace the faulty RAM module(s) to resolve the issue.
MemTest86 offers a more comprehensive and reliable approach to RAM testing, particularly for advanced users or those experiencing persistent issues with their computer. It is important to remember that MemTest86 may take several hours to complete, depending on the size and speed of your RAM. Therefore, it is advisable to schedule the test during a time when the computer is not needed.
Using MemTest86 can help identify stubborn or intermittent RAM issues that other testing methods may miss. It is a valuable tool for diagnosing memory problems and ensuring the stability and performance of your computer system.
Method 3: Using CMD (Command Prompt)
Another way to test your RAM is by using the Command Prompt (CMD) utility in Windows. This method requires running a built-in tool called Windows Memory Diagnostic through the command line interface. Here’s how you can test your RAM using CMD:
- Open Command Prompt: Press the Windows key + R to open the Run dialog box. Type “cmd” and press Enter, or search for “Command Prompt” in the Start menu and click on it to open.
- Run Windows Memory Diagnostic: In the Command Prompt window, type the command “mdsched.exe” and press Enter. This will launch the Windows Memory Diagnostic tool.
- Choose a memory test option: You will be presented with two options: “Restart now and check for problems (recommended)” or “Check for problems the next time I start my computer.” Select the option that suits your preference by pressing the corresponding number key and Enter.
- Wait for the test to complete: Your computer will restart, and the Windows Memory Diagnostic tool will start testing your RAM. It will run a series of tests to check for any memory-related issues. This process may take some time, so be patient and allow the tool to complete its tests.
- Review the test results: Once the test is complete, your computer will restart again. After it boots up, you can view the test results by opening the Event Viewer. Press the Windows key + R, type “eventvwr.msc” and press Enter. In the Event Viewer window, navigate to “Windows Logs” > “System” and look for the entry with “MemoryDiagnostics-Results” as the source. This entry will provide the test results and any errors detected.
Using CMD to run the Windows Memory Diagnostic tool provides a straightforward method to test your RAM without the need for additional software. While it may not offer as comprehensive testing as third-party tools like MemTest86, it can still help detect memory-related issues and provide valuable insight into the health of your RAM modules.
Remember to save any open files and close running programs before running the memory test through CMD, as your computer will need to restart. Regularly testing your RAM using this method can help ensure the stability and performance of your computer system.
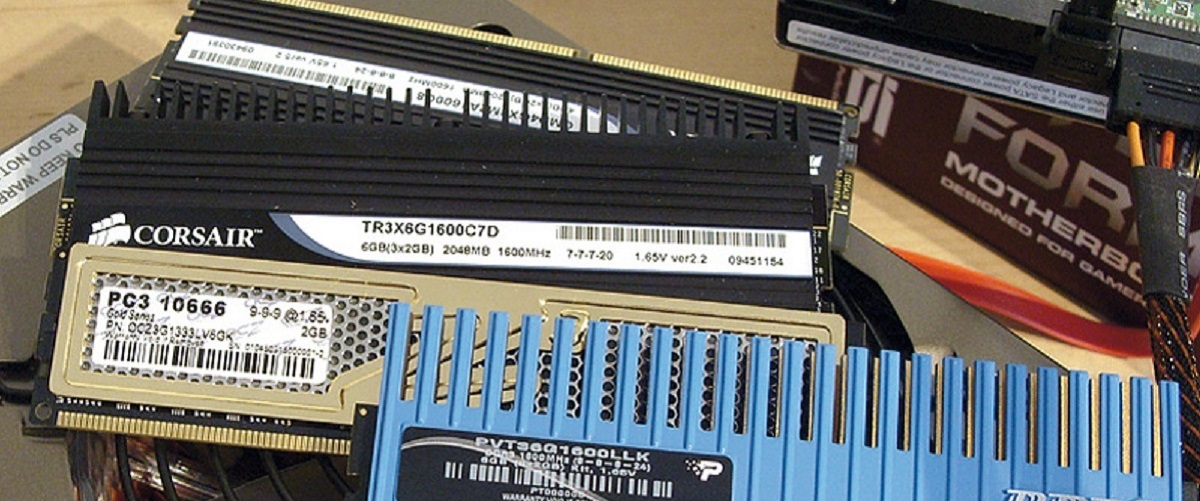
Method 4: Physical inspection of RAM modules
In addition to software-based tests, a physical inspection of your RAM modules can also help identify potential issues. Although this method does not provide an in-depth analysis of the RAM’s functionality like diagnostic tools do, it can still offer valuable insights. Here’s how you can perform a physical inspection of your RAM modules:
- Power off your computer: Shut down your computer and unplug it from the power source. It is essential to take precautions and work on your computer in a static-free environment.
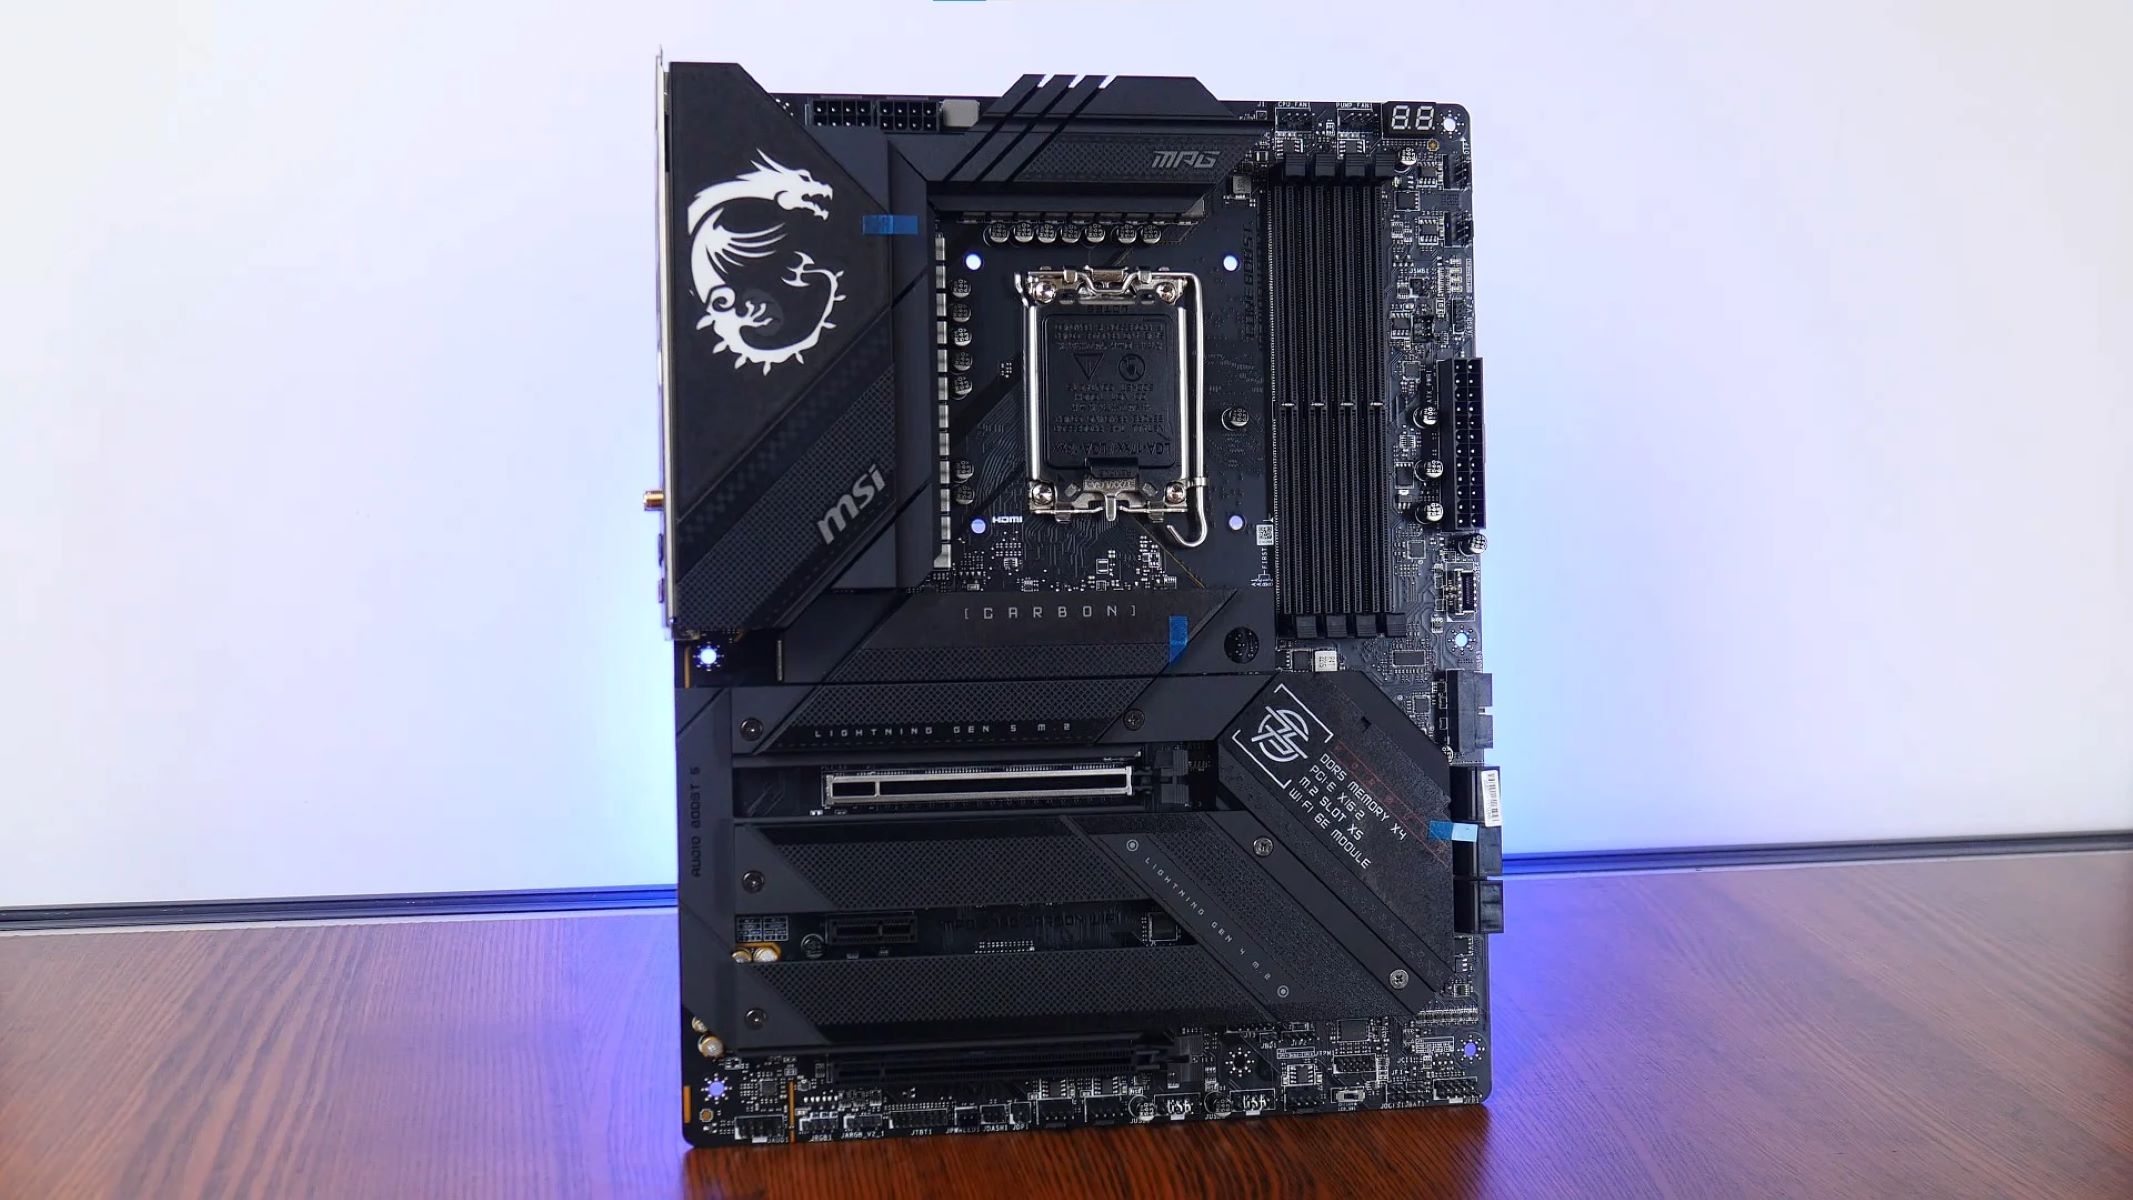
- Open your computer’s case: Depending on the type of computer you have, you may need to unscrew the case or remove panels to access the motherboard. Refer to your computer’s manual for the proper steps to open the case safely.
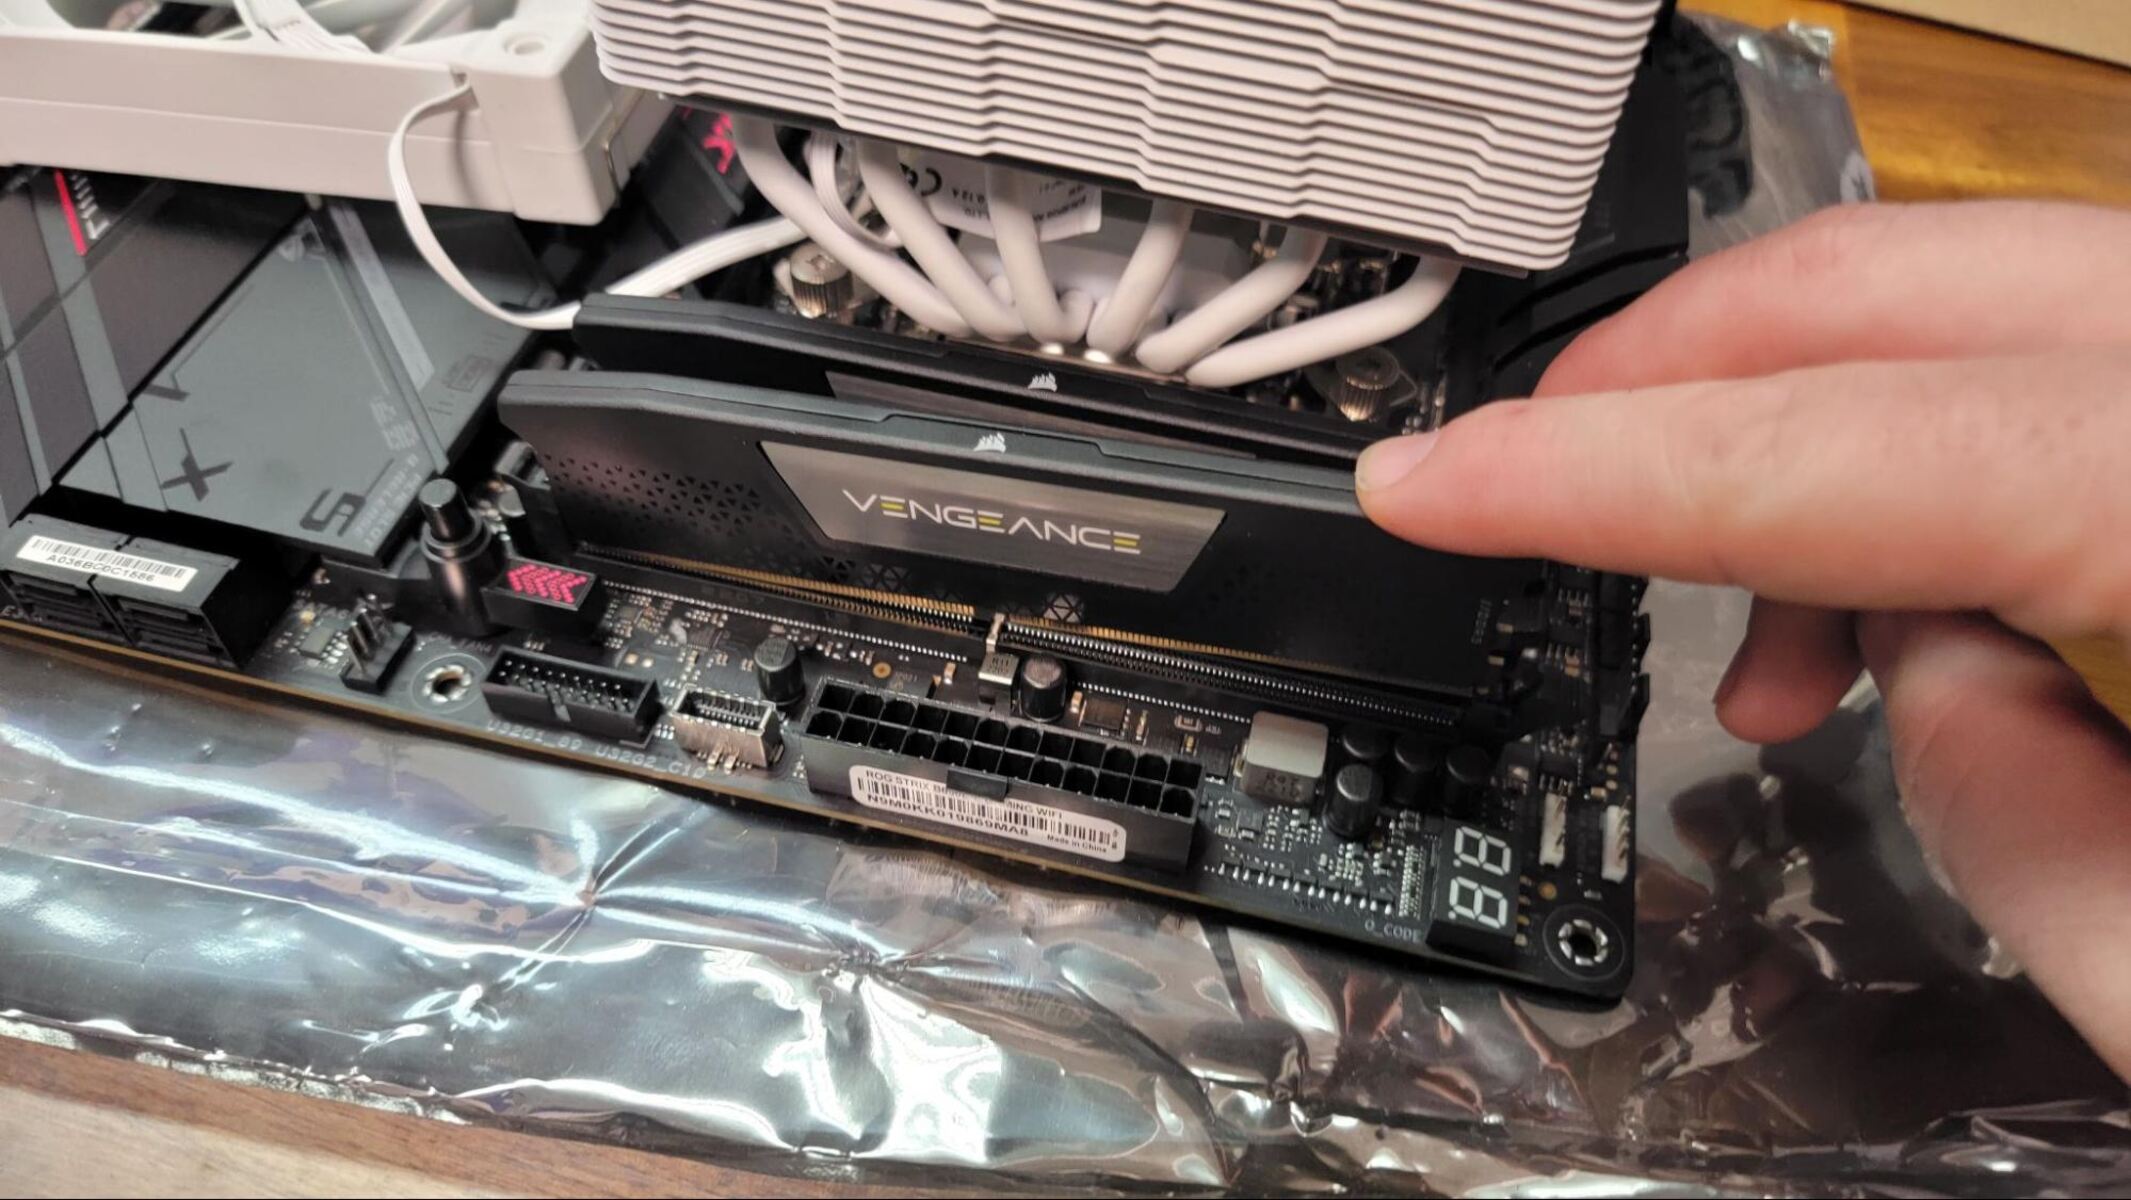
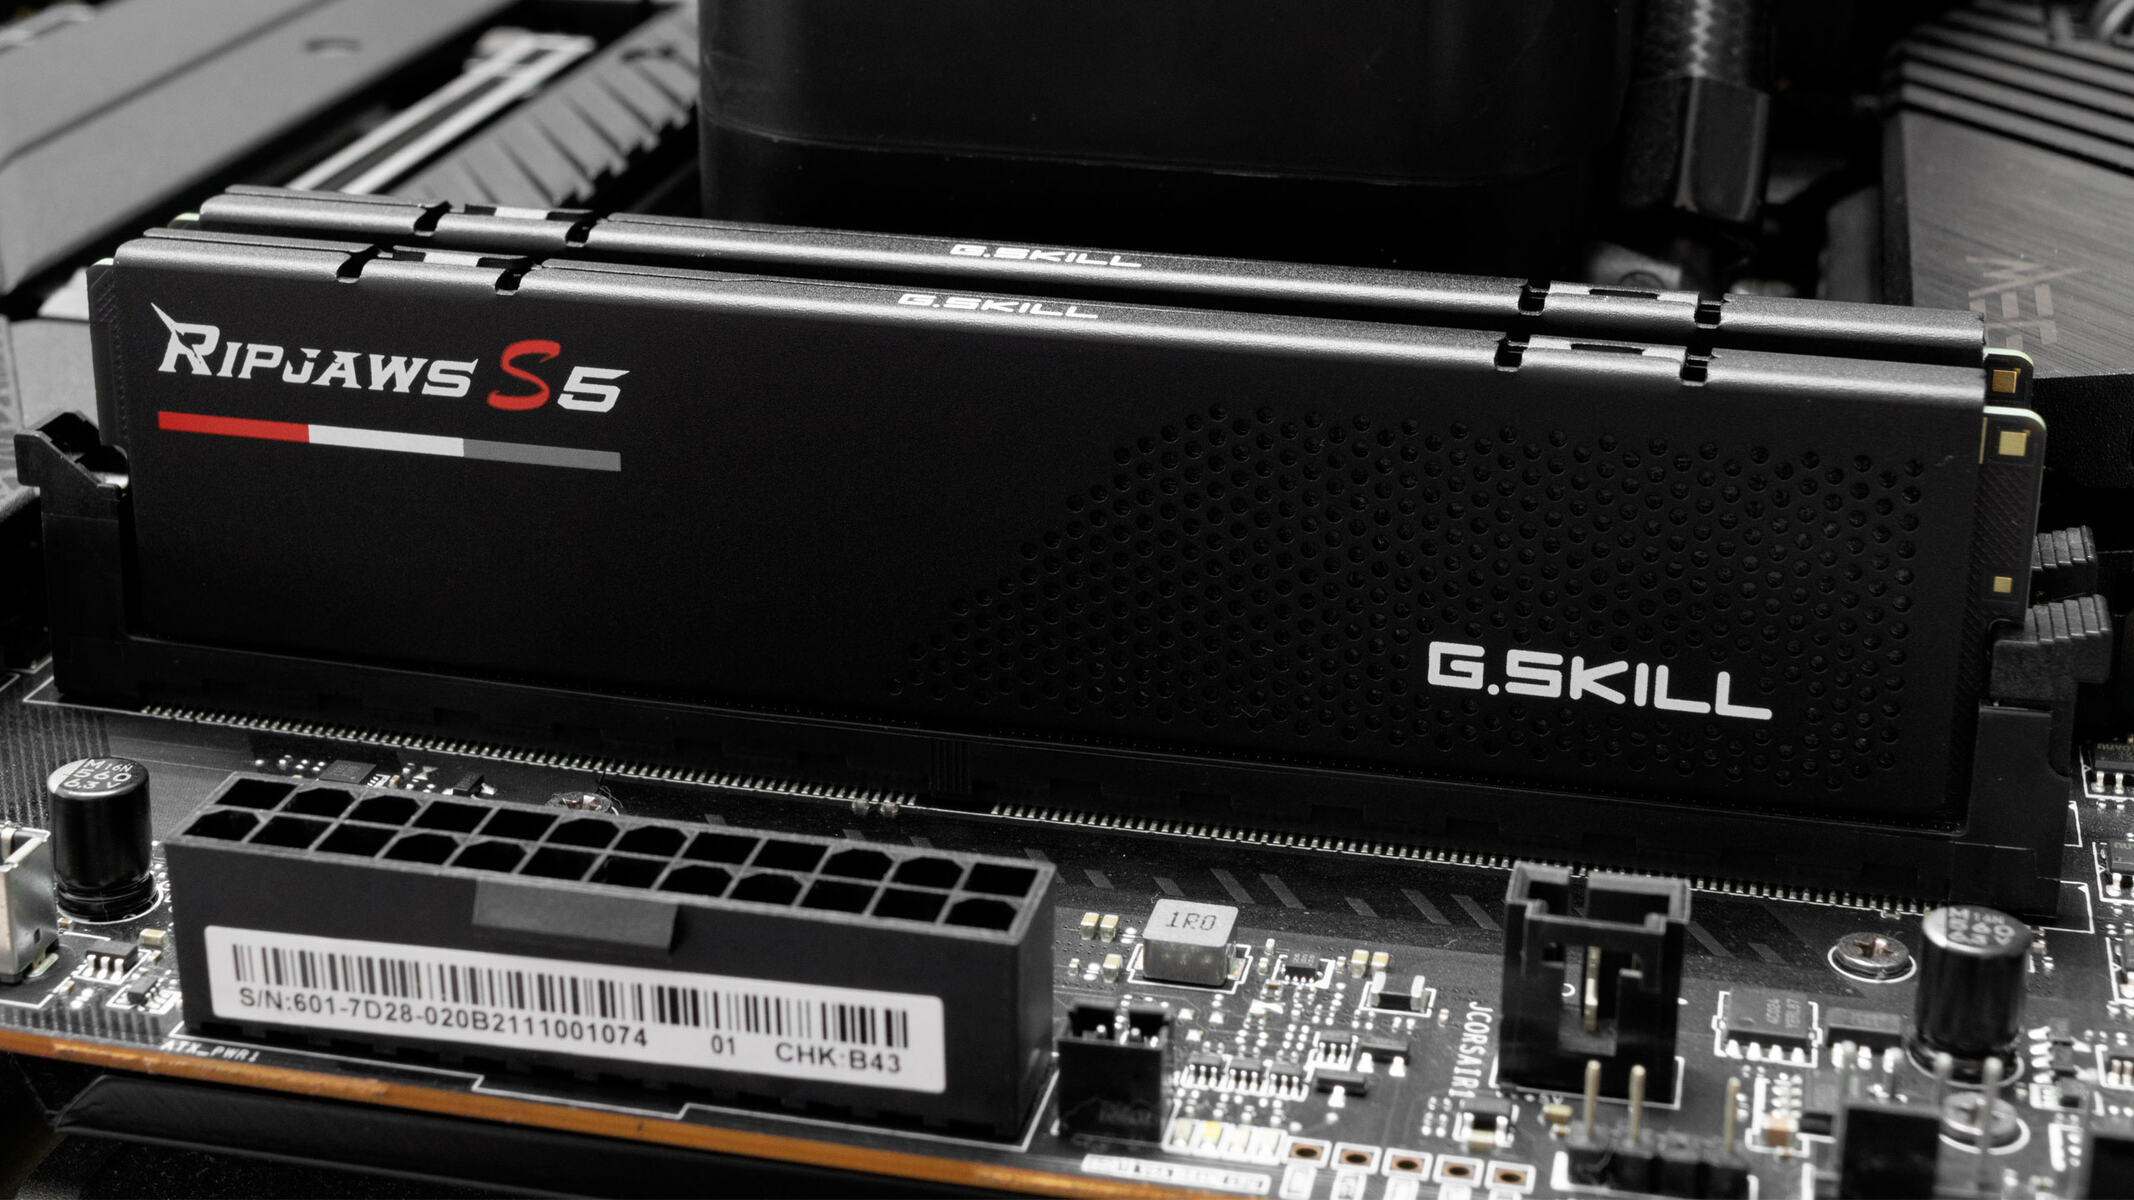
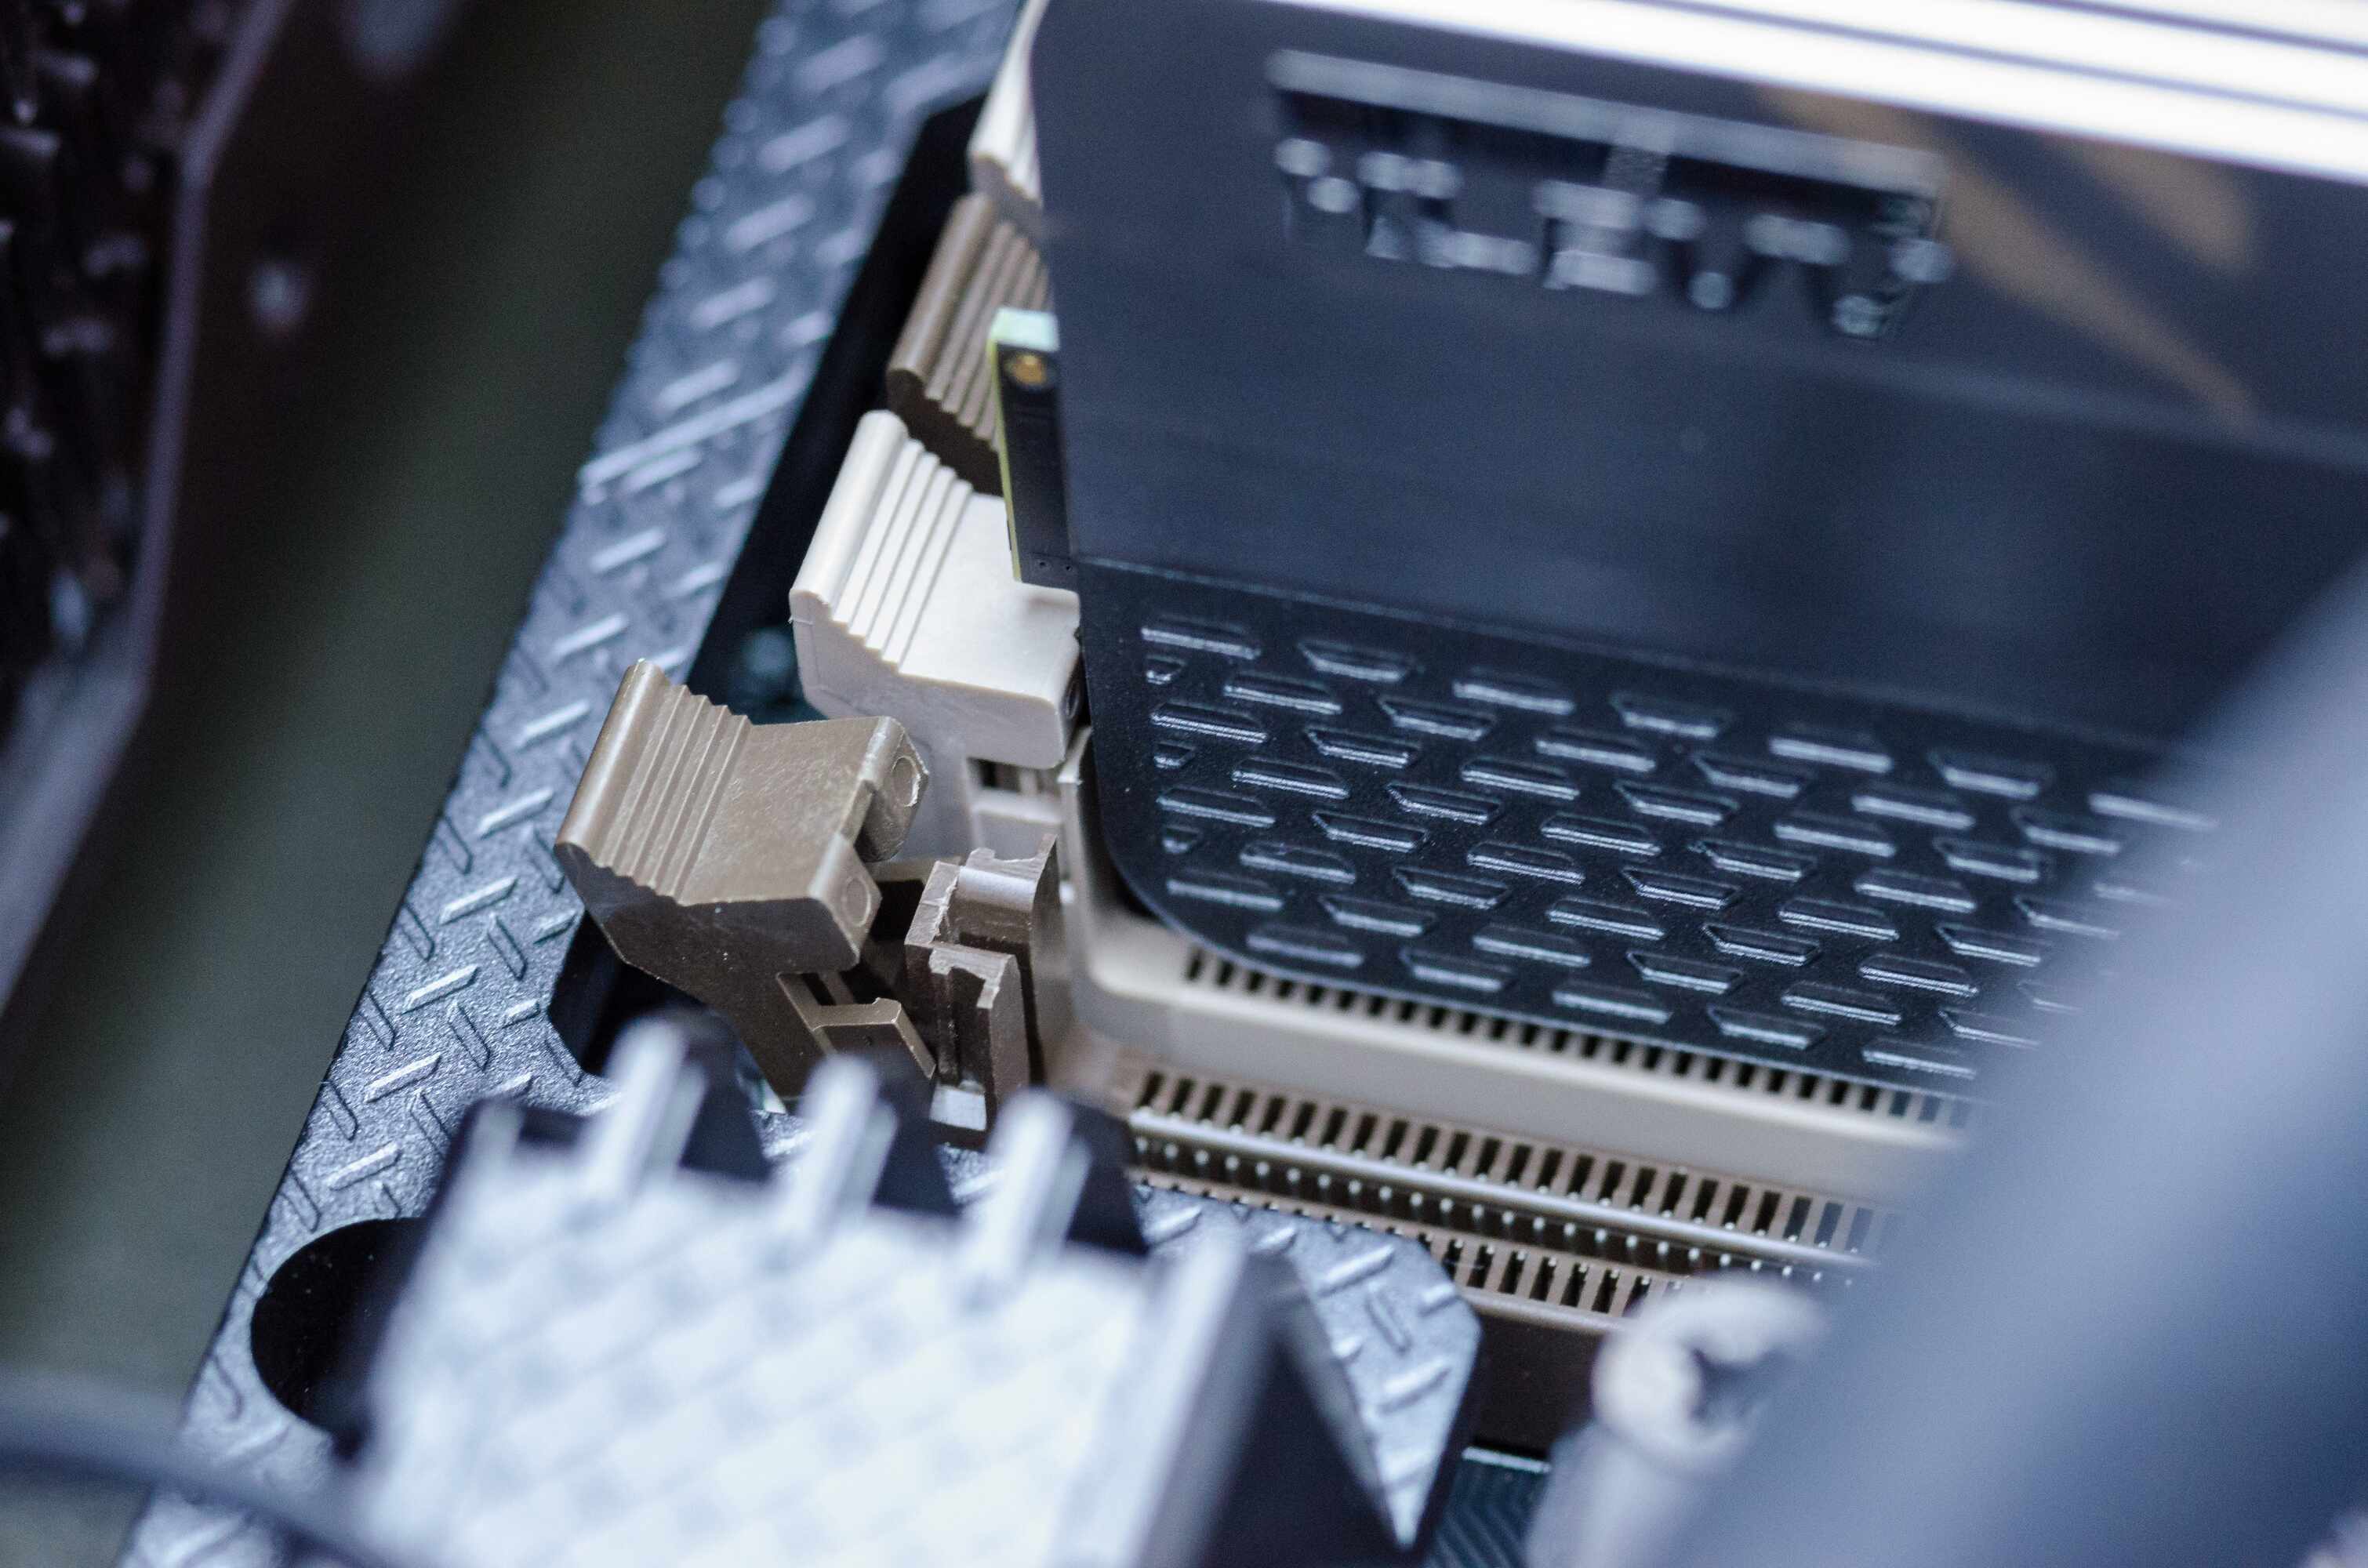
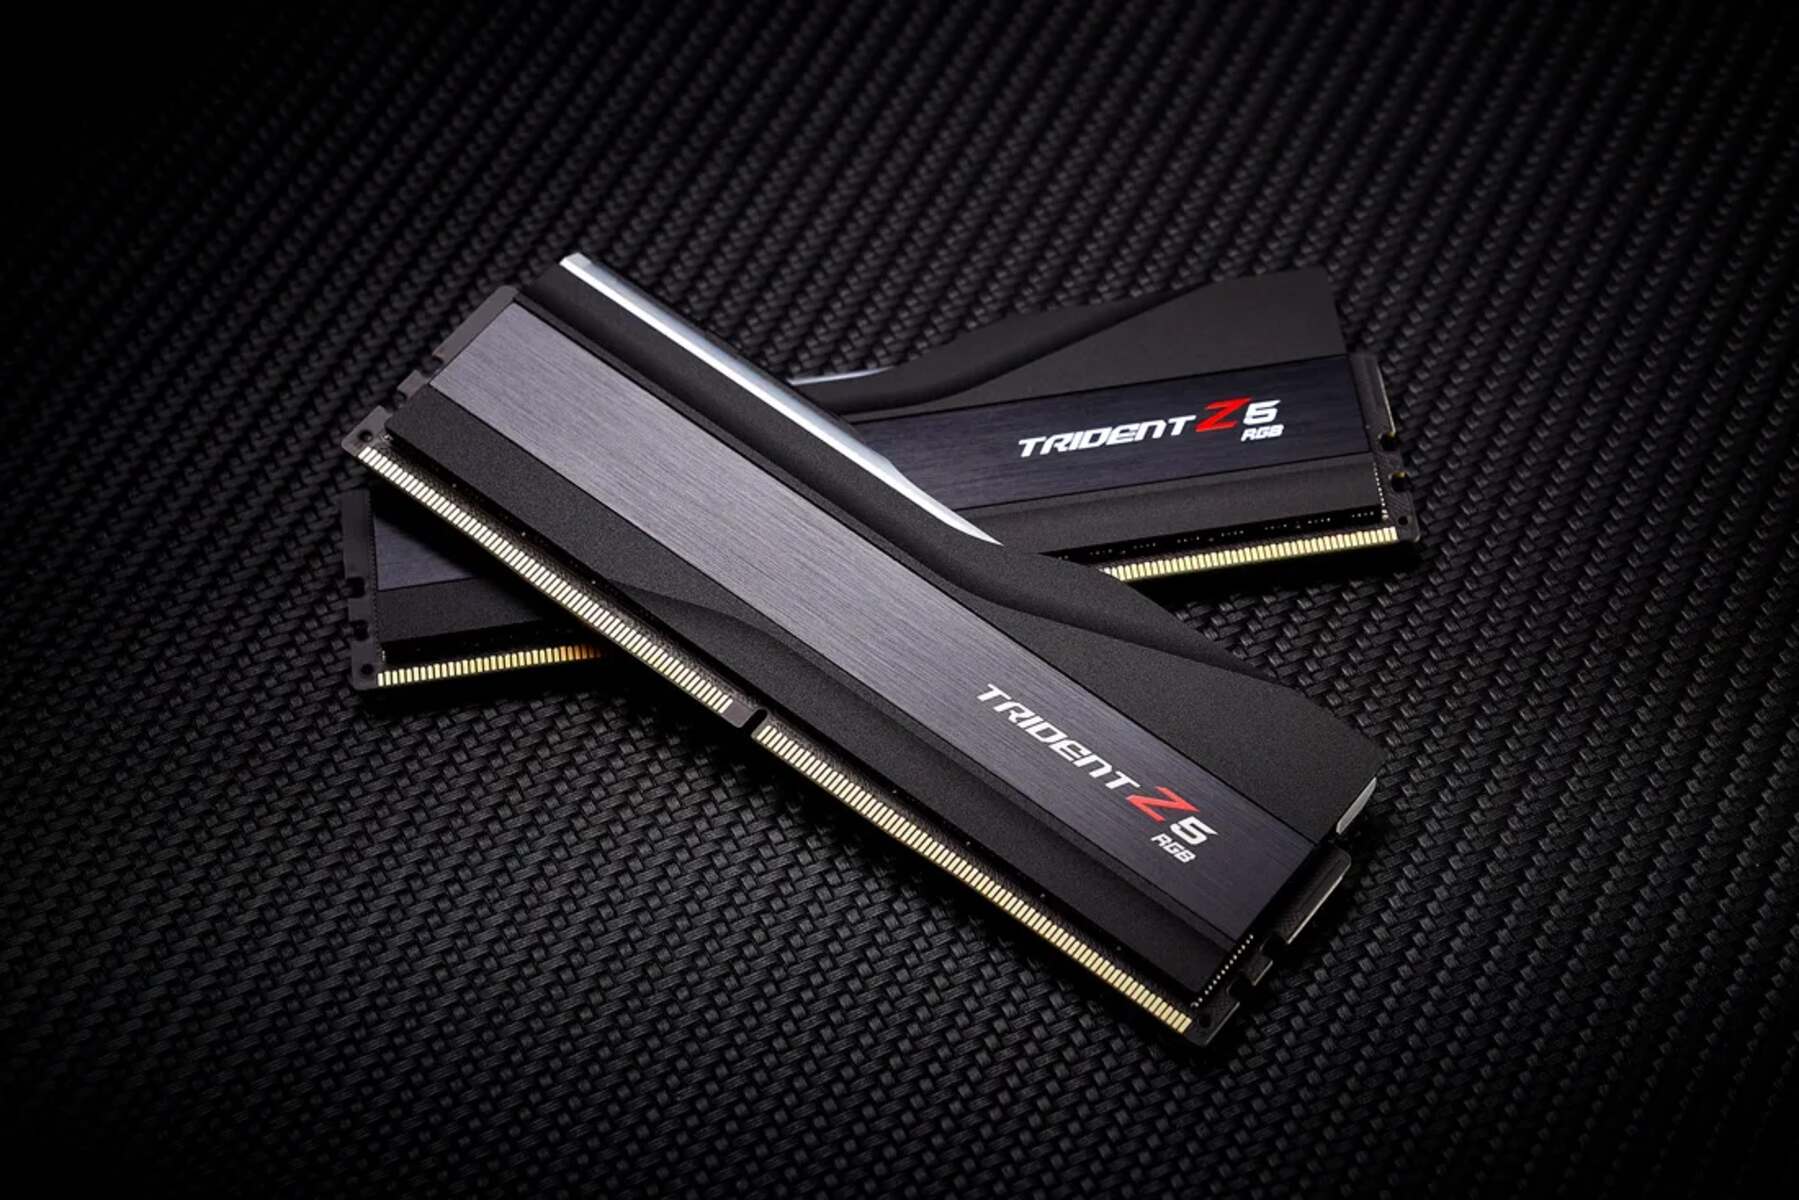
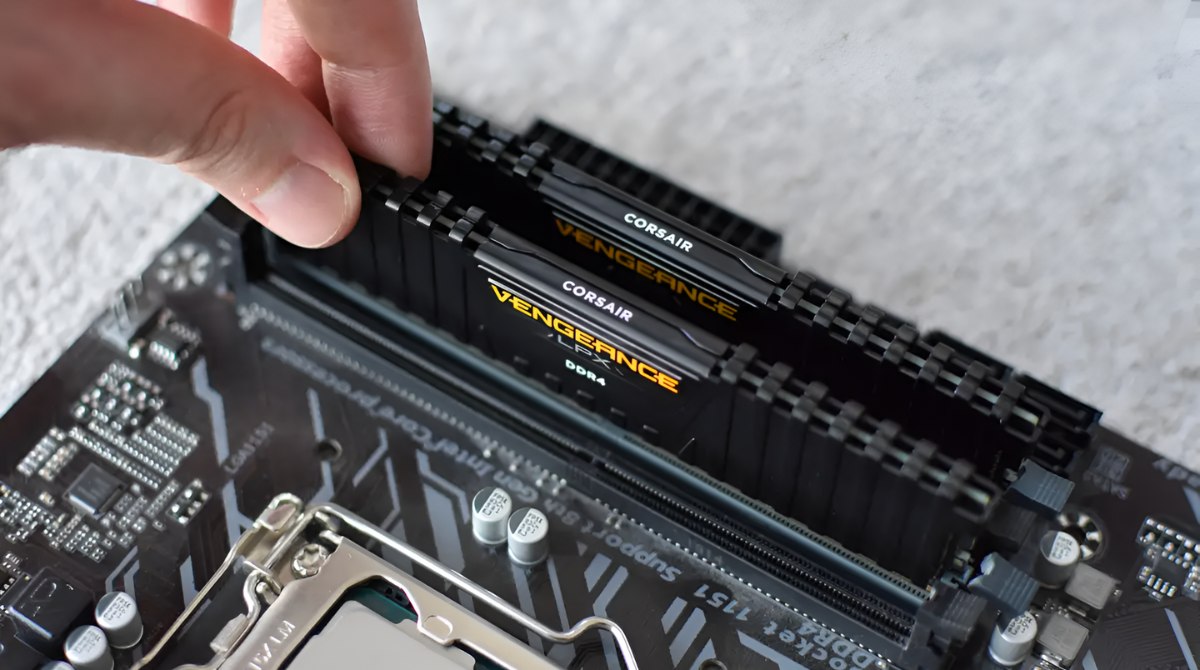
- Locate the RAM modules: RAM modules are typically long, rectangular sticks that are inserted into slots on the motherboard. They may be secured with clips or retaining arms on either side.
- Inspect the RAM modules: Carefully examine each RAM module for any visible signs of damage or issues. Look for bent or damaged pins, loose connections, or signs of corrosion on the contacts. Any physical damage or abnormalities may indicate potential problems with the module.
- Re-seat the RAM modules: If you do not notice any physical damage, try re-seating the RAM modules. Gently remove each module by releasing the retaining clips or arms. Then, align the module with the slot and firmly push it back into place until it clicks into position. This can help ensure a proper connection and resolve any loose contact issues.
- Close the computer’s case and power on: Once you have inspected and re-seated the RAM modules, securely close the computer case and plug it back into the power source. Power on your computer and observe its performance to see if the physical inspection and re-seating have resolved any potential issues.
Performing a physical inspection of your RAM modules allows you to identify apparent problems such as physical damage, loose connections, or signs of corrosion. While it may not detect more complex or intermittent issues, this method can help you address common physical issues and potentially improve the performance and stability of your system.
Remember to handle your RAM modules with care, avoiding excessive force or static electricity. If you encounter any significant physical damage or suspect that the RAM modules are defective, it may be necessary to replace them with new ones to ensure proper operation.
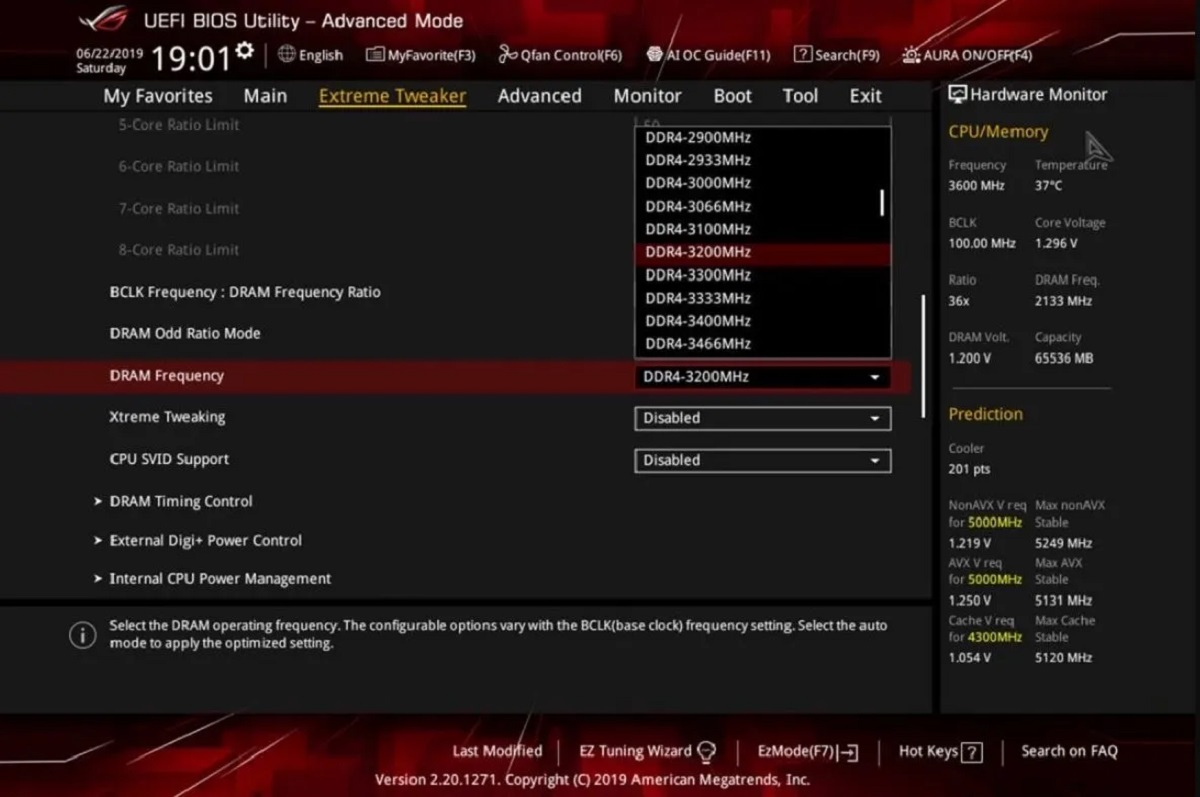
Method 5: Quick RAM test in BIOS/UEFI
Another simple way to perform a quick test on your RAM is by using the built-in diagnostics available in your computer’s BIOS (Basic Input/Output System) or UEFI (Unified Extensible Firmware Interface). This method allows you to test your RAM before the operating system loads, providing a basic assessment of its functionality. Here’s how you can conduct a quick RAM test in the BIOS/UEFI:
- Power on your computer: Start your computer and immediately press the designated key to enter the BIOS/UEFI setup. The specific key varies depending on your computer manufacturer but is typically shown on the splash screen during boot-up (e.g., Del, F2, F10, Esc).
- Navigate to the memory test option: Once in the BIOS/UEFI setup, navigate through the menu using the arrow keys. Look for a section related to system diagnostics or memory testing. The location and naming of this option may differ among BIOS/UEFI versions.
- Initiate the RAM test: Select the memory test option and choose to run a quick or basic test. It may be labeled as “Memory Test,” “Memory Diagnostic,” or something similar. Follow the prompts or on-screen instructions to start the test.
- Wait for the test to complete: The BIOS/UEFI memory test will now check the integrity of your RAM. The duration of the test can vary but is typically relatively quick. Observe the progress indicator or completion message on the screen.
- Review the test results: Once the test is complete, the BIOS/UEFI setup may display the test results. Look for any reported errors or notifications related to the RAM. If errors are detected, take note of the specific details, such as the failing memory address or module.
- Exit the BIOS/UEFI setup: After reviewing the test results, exit the BIOS/UEFI setup by selecting the appropriate option or pressing the designated key. Save any changes (if prompted) and allow your computer to continue booting up normally.
A quick RAM test in the BIOS/UEFI provides a straightforward way to perform a basic assessment of your RAM’s functionality. While it may not offer as exhaustive testing as specialized diagnostic tools, it can quickly identify any glaring issues with your RAM before the operating system loads.
Keep in mind that the BIOS/UEFI memory test may not catch all types of memory problems, especially intermittent issues or more complex faults. For a more comprehensive analysis, consider using dedicated RAM testing software like MemTest86 or Windows Memory Diagnostic.
Possible solutions for faulty RAM
If you have determined that your RAM is indeed faulty through testing, it’s important to take appropriate action to resolve the issue. Here are some possible solutions for faulty RAM:
- Replace the faulty RAM module: If you have identified a specific RAM module as being faulty, the most straightforward solution is to replace it. Contact the manufacturer or check your computer’s documentation to determine the appropriate type and specifications for the replacement RAM module. Once you have the new module, carefully insert it into the slot, ensuring a secure connection.
- Remove and re-seat the RAM modules: Sometimes, faulty RAM is simply due to a loose connection. In such cases, removing and re-seating the RAM modules may solve the issue. Gently press down on the retaining clips or arms and remove each module. Then, re-insert them firmly into their respective slots, ensuring they are properly aligned and securely seated.
- Clean the RAM contacts: Over time, dust or oxidation can accumulate on the contacts of the RAM modules, leading to poor connections. Use a soft, lint-free cloth or an eraser to gently clean the gold contacts of the RAM modules. Avoid using liquid cleaners or abrasive materials, as they can damage the contacts.
- Check for compatibility or configuration issues: Sometimes, faulty RAM can result from compatibility or configuration issues. Ensure that the RAM modules you are using are compatible with your computer’s motherboard and operating system. Check for any BIOS/UEFI updates available for your motherboard to address compatibility issues. Additionally, verify that the RAM modules are correctly configured, such as running at the appropriate frequency or voltage settings.
- Seek professional help: If you are uncomfortable or unsure about handling the RAM replacement or troubleshooting process, it is advisable to seek professional assistance. Computer technicians or service centers can help diagnose and resolve RAM-related issues efficiently and accurately.
It’s important to note that if you have a computer under warranty, reaching out to the manufacturer or authorized service provider is recommended to avoid voiding the warranty. They can provide guidance and potential solutions for faulty RAM within the warranty terms.
By taking appropriate action and implementing the necessary solutions, you can resolve faulty RAM issues and restore the stability and performance of your computer system.
Conclusion
Testing your RAM is crucial for maintaining the optimal performance and stability of your computer system. Faulty RAM can lead to system crashes, slow performance, data corruption, and other frustrating issues. By regularly testing your RAM, you can identify any potential problems early on and take the necessary steps to resolve them.
In this article, we discussed the importance of testing your RAM, common signs of faulty RAM, and various methods you can use to perform RAM testing. These methods include utilizing built-in tools like the Windows Memory Diagnostic Tool, third-party software like MemTest86, performing a physical inspection of RAM modules, and conducting a quick RAM test in the BIOS/UEFI.
Each testing method offers its own advantages and limitations, and the choice of method depends on your level of expertise and the severity of the RAM issues you are experiencing. It is recommended to use multiple testing methods to ensure a comprehensive analysis of your RAM’s functionality.
If you discover that your RAM is faulty, there are several solutions available. You can replace the faulty RAM module, re-seat the modules, clean the contacts, check for compatibility or configuration issues, or seek professional help.
Remember to handle your RAM modules and computer components with care, keeping in mind static electricity precautions and following manufacturers’ instructions. If you are unsure or uncomfortable with performing RAM testing or troubleshooting, consult a professional technician for assistance.
By taking proactive steps to test and maintain your RAM, you can prevent potential problems, optimize system performance, and enhance your overall computing experience. Regular RAM testing should be integrated into your computer maintenance routine to ensure a stable and efficient system for both personal and professional use.