Introduction
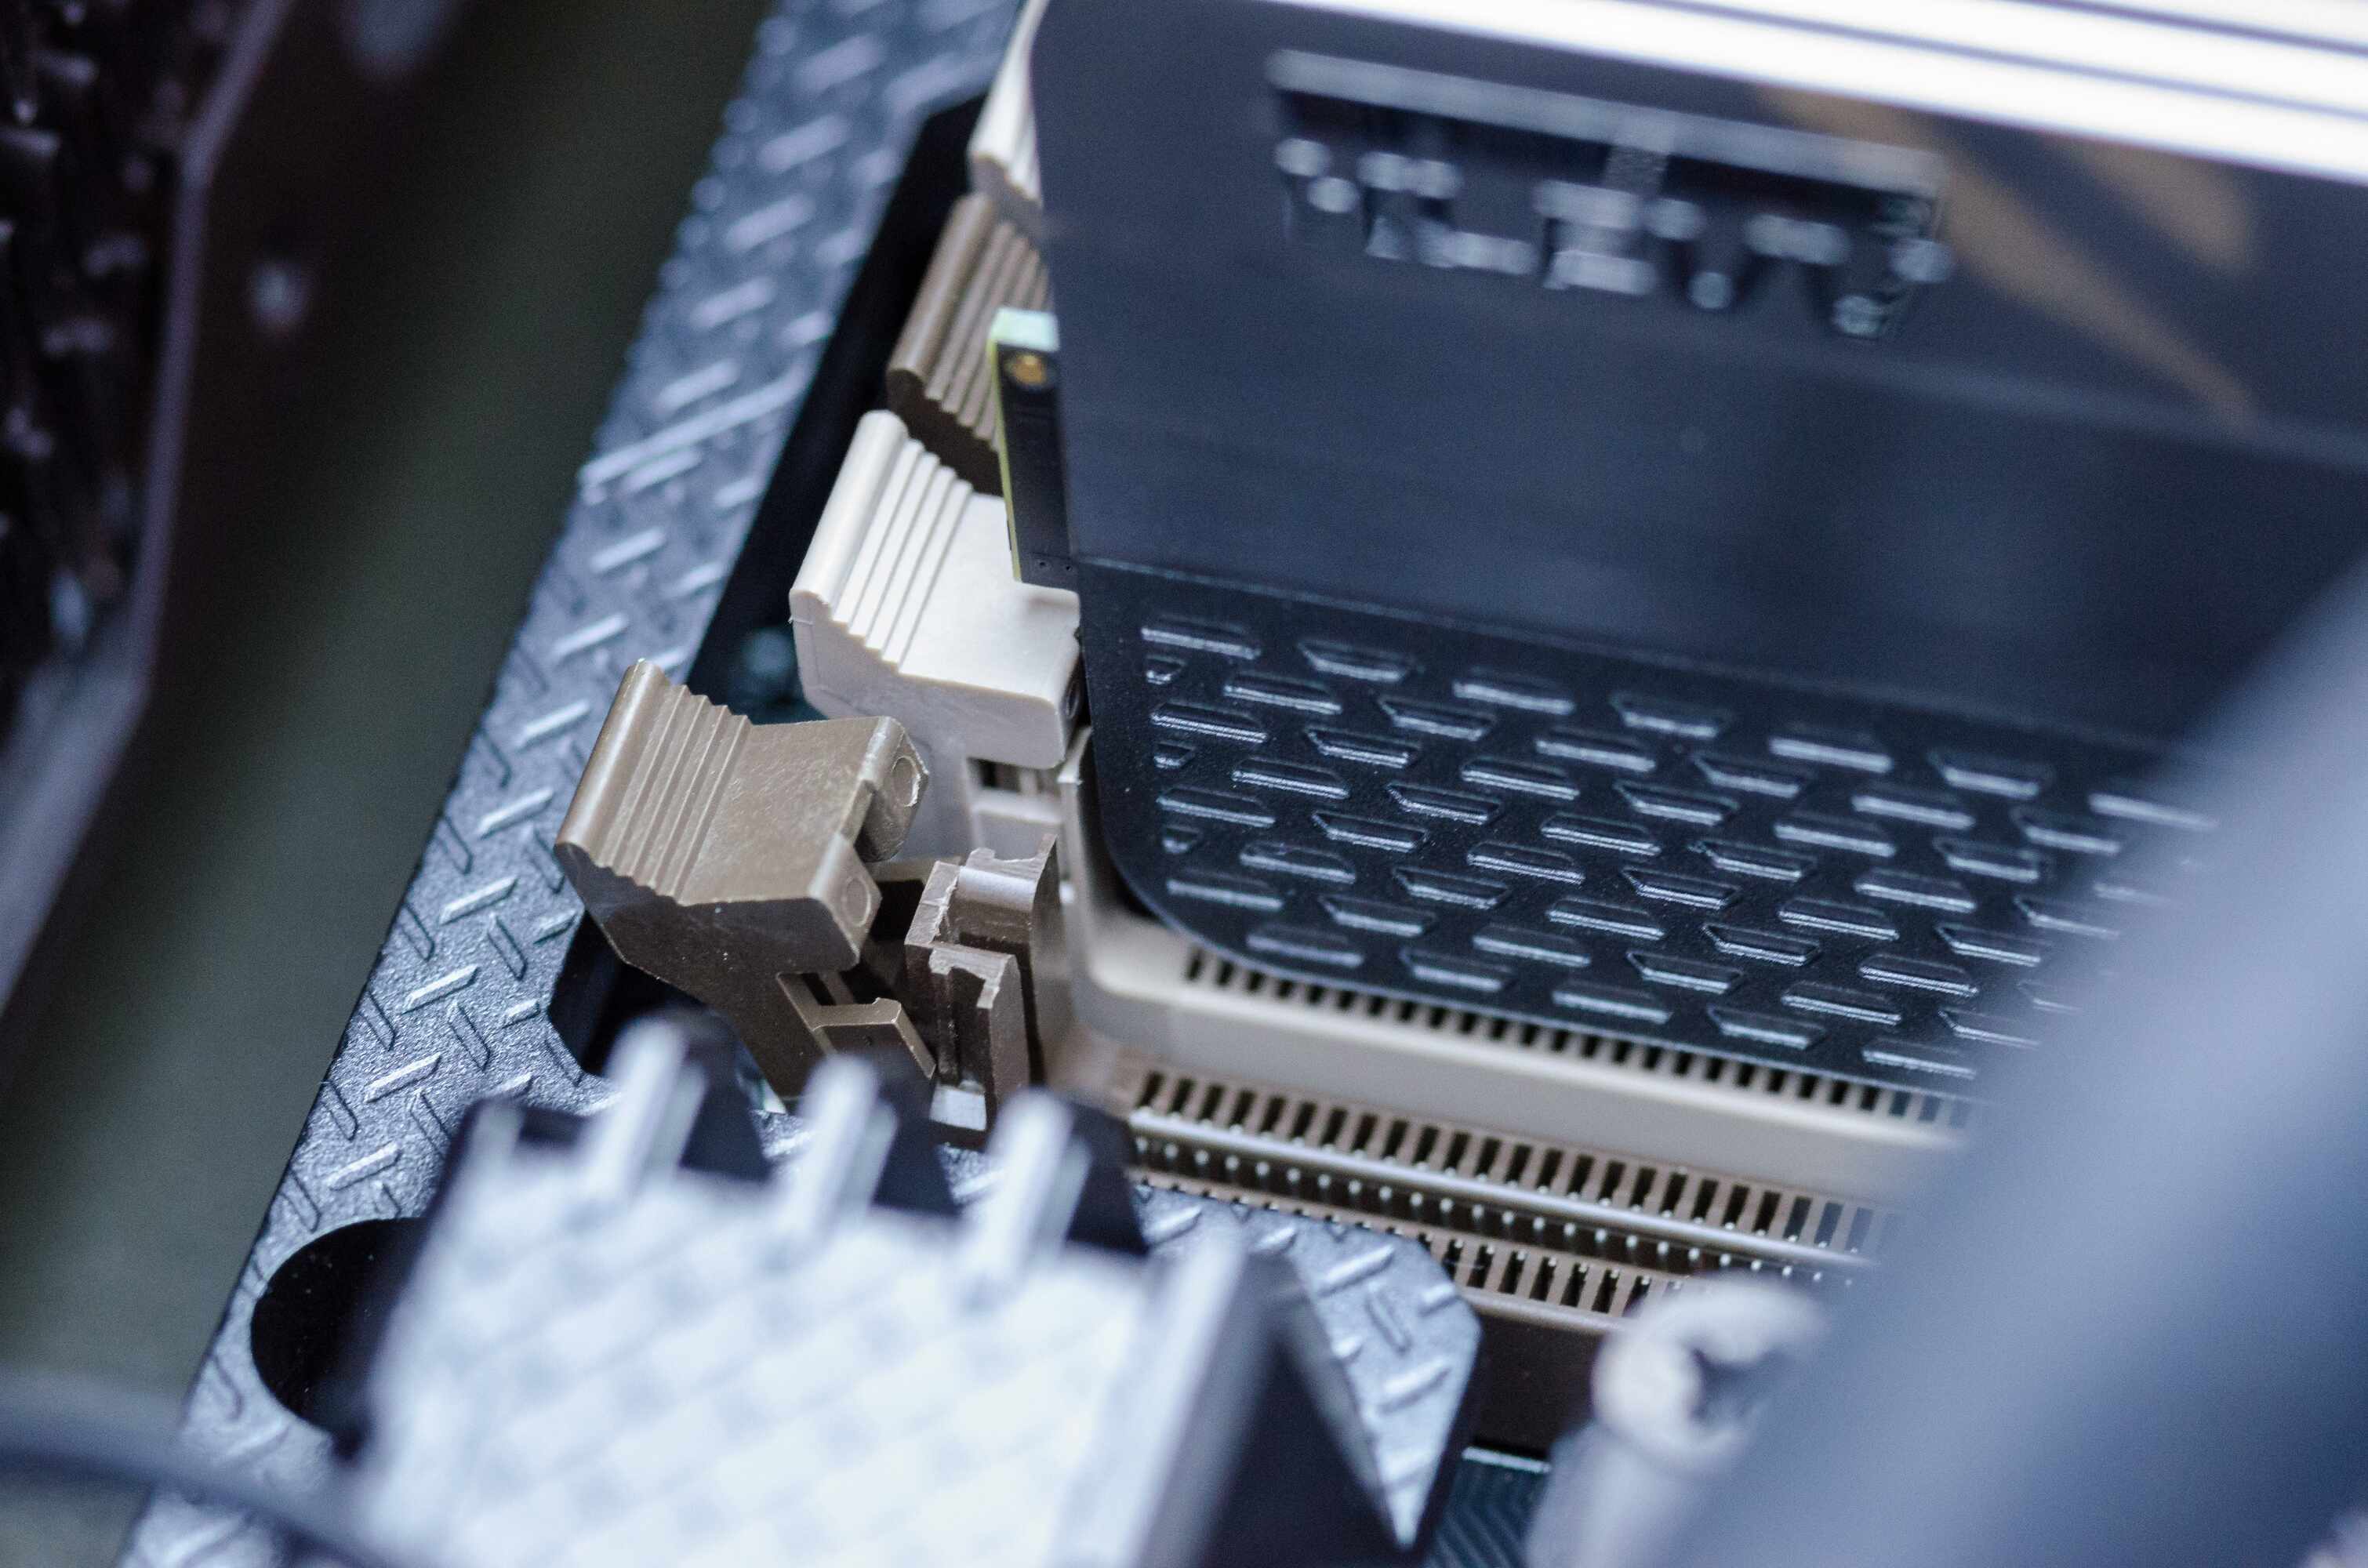
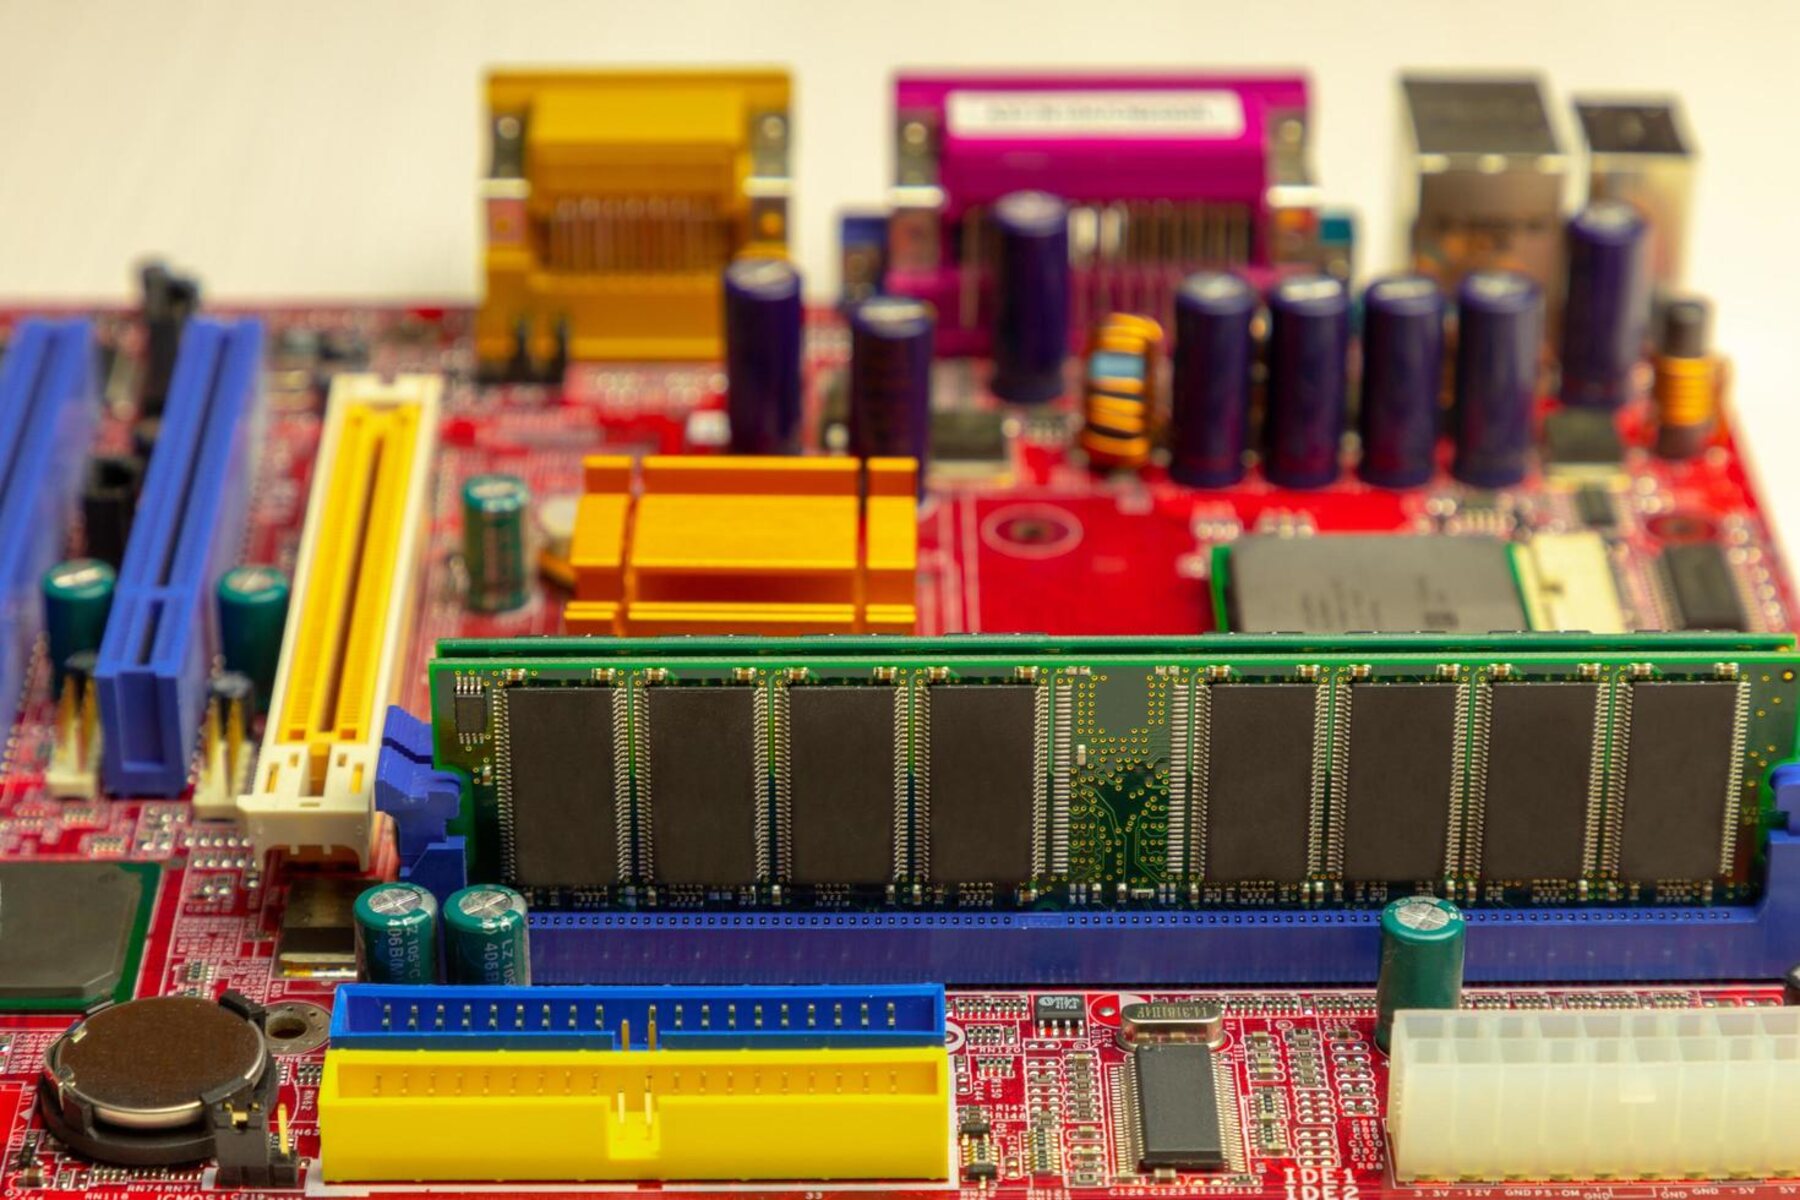
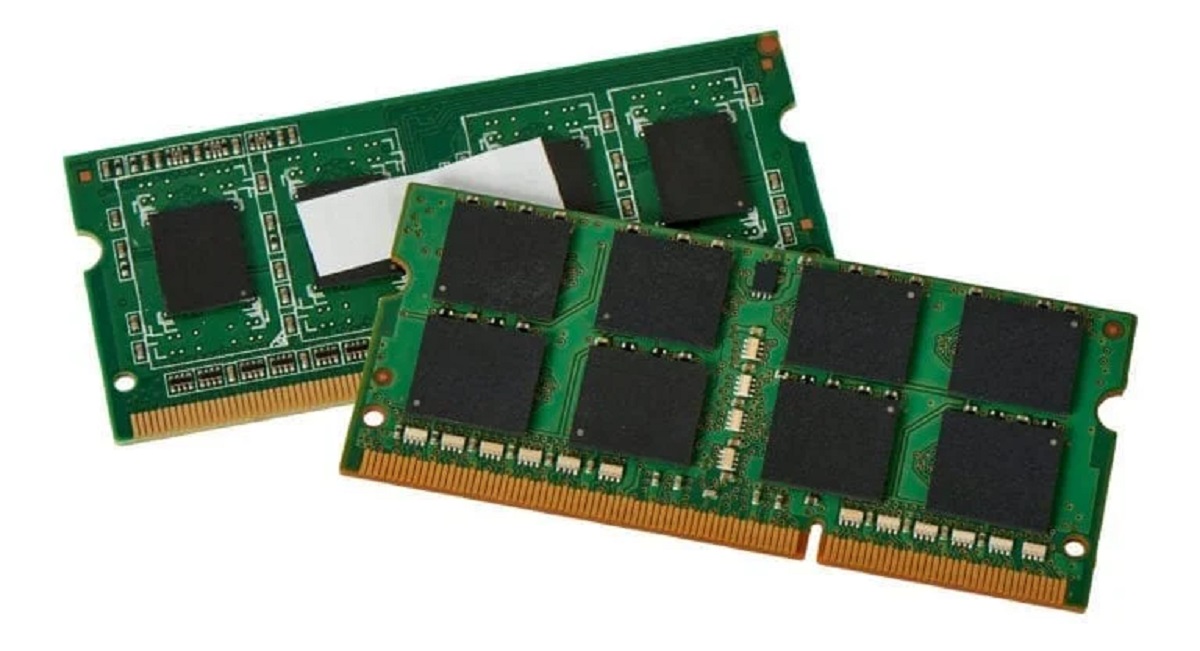
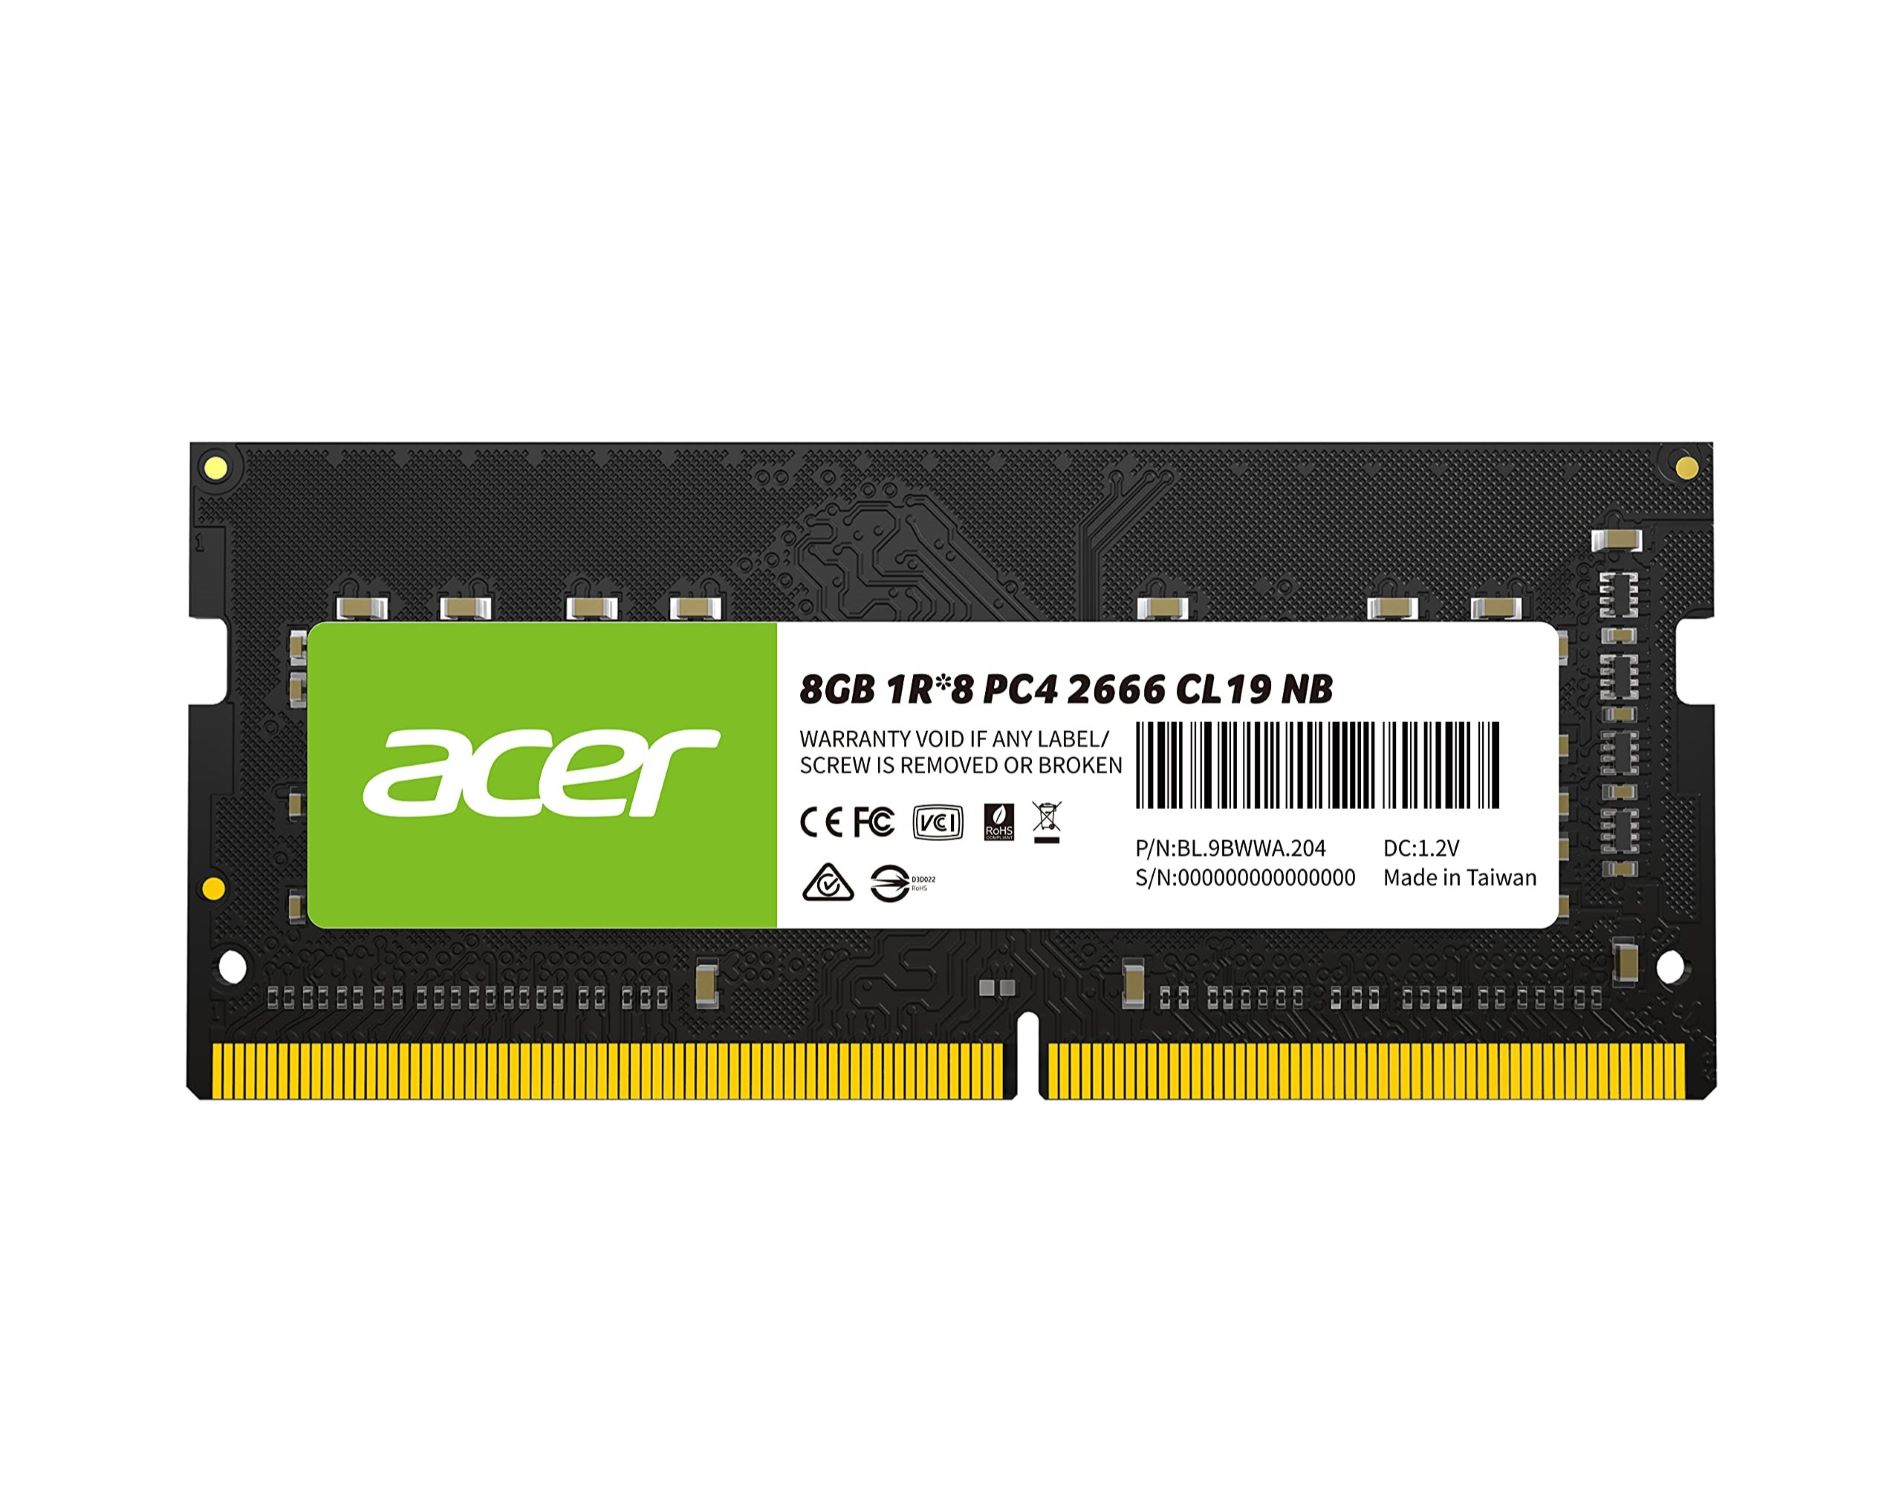
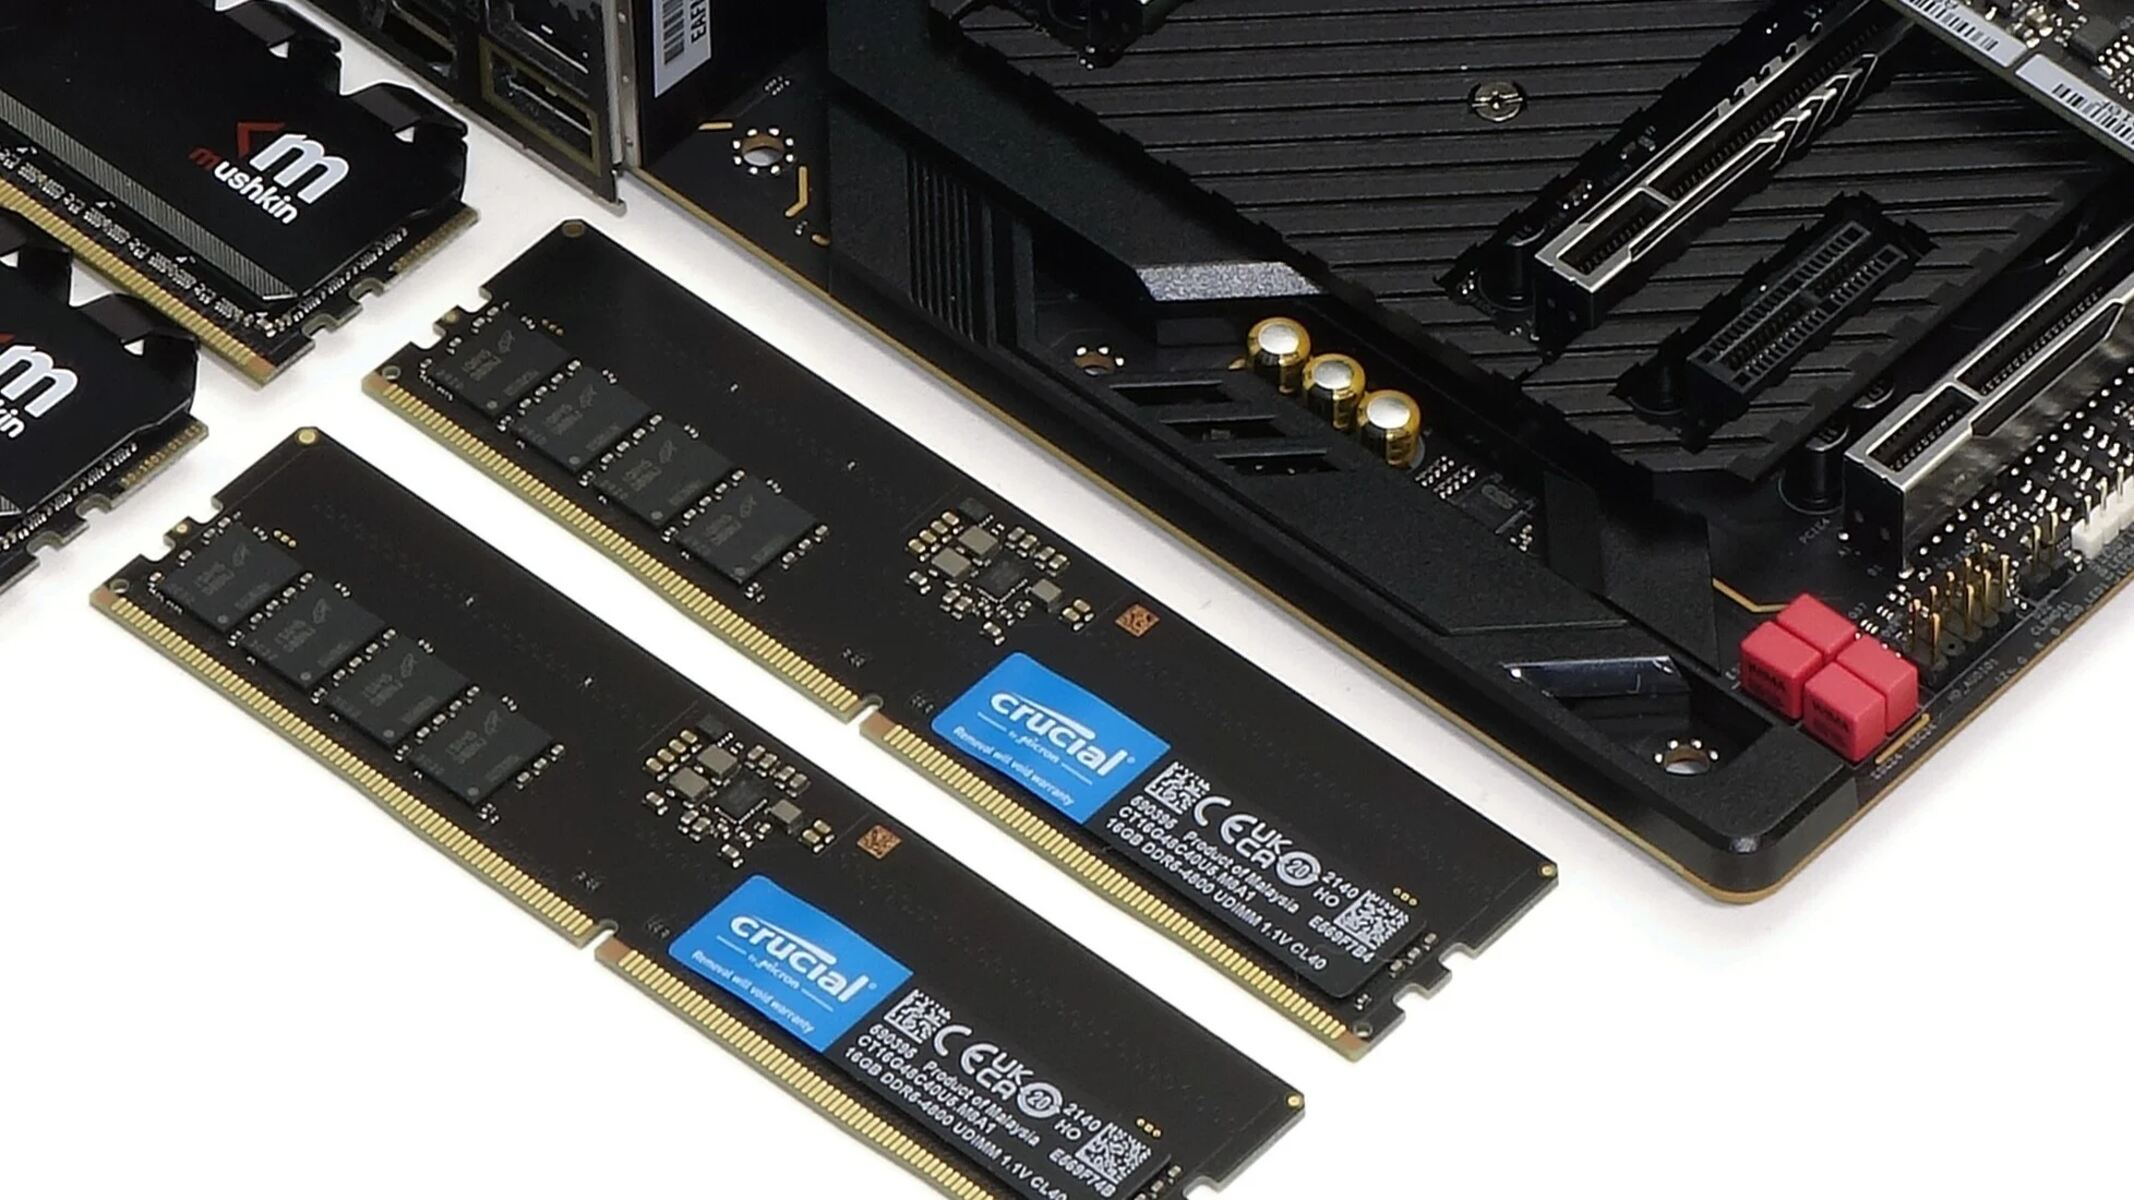
When your computer starts experiencing frequent crashes, freezes, or strange errors, it could be an indication of faulty RAM (Random Access Memory). RAM is a crucial component of your computer’s hardware that stores data temporarily for faster access. Over time, RAM can develop issues such as faulty modules or data corruption, leading to system instability.
To troubleshoot and diagnose RAM-related problems in Windows 10, you need to test the integrity of your RAM modules. Fortunately, there are several methods available to perform RAM testing on your Windows 10 PC, ranging from built-in tools to third-party software options. In this article, we will explore each method in detail and guide you through the process.
It’s essential to identify and address any RAM issues promptly, as they can cause system crashes, data loss, and overall decreased performance. By identifying faulty RAM, you can take appropriate measures, such as replacing the faulty modules, to ensure your computer’s optimal performance and stability.
In the following sections, we will walk you through four different methods to test your RAM in Windows 10. These methods include using the built-in Windows Memory Diagnostic tool, the Windows Memory Diagnostic utility, the Windows Command Prompt, and third-party software tools. Each method has its own advantages and may vary in terms of ease of use and functionality, so you can choose the one that best suits your needs and preferences.
Before diving into the RAM testing methods, it’s important to note that updating your device drivers and performing a virus scan can also help solve some performance-related issues. Therefore, it’s advisable to try these steps first before proceeding with RAM testing.
Method 1: Using Windows Memory Diagnostic Tool
Windows 10 has a built-in tool called Windows Memory Diagnostic that can help you test your RAM for any potential issues. This tool runs a series of tests to check the integrity of your RAM modules and provides a detailed report of any problems found.
To access the Windows Memory Diagnostic tool, follow these steps:
- Press the Windows key + R on your keyboard to open the Run dialog box.
- Type “mdsched.exe” and press Enter.
- In the Windows Memory Diagnostic window, select “Restart now and check for problems (recommended)”.
- Your computer will reboot, and the tool will start testing your RAM.
- Wait for the test to complete. This may take several minutes.
- Once the test is finished, your computer will automatically restart.
- After rebooting, you can access the test results by opening the Event Viewer. To do this, press the Windows key + X, then select “Event Viewer”. In the Event Viewer, go to “Windows Logs” > “System” and look for an entry with “MemoryDiagnostics-Results” as the source.
If the Windows Memory Diagnostic tool detects any issues with your RAM, it will be mentioned in the test results. Common problems may include “Hardware problems were detected” or “Memory hardware problem.” In such cases, it is advisable to consult a professional or contact your computer manufacturer for further assistance in resolving the issues.
Remember, it is essential to leave your computer undisturbed during the testing process. Any interruptions or interference may affect the accuracy of the test results. Additionally, it is recommended to run the Windows Memory Diagnostic tool for an extended period or perform multiple passes to ensure a comprehensive analysis of your RAM’s condition.
Method 2: Using Windows Memory Diagnostic Utility
Another option to test your RAM in Windows 10 is by using the Windows Memory Diagnostic utility. This utility operates in a similar manner to the Windows Memory Diagnostic tool but offers some additional features and flexibility.
To utilize the Windows Memory Diagnostic utility, follow these steps:
- Open the Start menu and search for “Windows Memory Diagnostic”.
- Select “Windows Memory Diagnostic” from the search results.
- In the Windows Memory Diagnostic dialog box, choose either “Restart now and check for problems” or “Check for problems the next time I start my computer”.
- If you select the first option, your computer will restart, and the utility will begin testing your RAM immediately. If you choose the second option, the testing will commence during the next system startup.
- Wait for the utility to complete the testing process. This may take some time.
- After the testing is finished, your computer will reboot.
- To access the test results, open the Event Viewer by right-clicking on the Start button and selecting “Event Viewer”. In the Event Viewer, navigate to “Windows Logs” > “System”, and locate the entry with “MemoryDiagnostic” as the source.
Similar to the Windows Memory Diagnostic tool, the Windows Memory Diagnostic utility provides a detailed report of any issues found during the RAM testing. If the utility detects any problems with your RAM, it will be indicated in the test results. Make note of these problems and consider seeking professional help or contacting your computer manufacturer for further assistance in resolving them.
Remember to allow the Windows Memory Diagnostic utility to complete the testing without interruptions for accurate results. Additionally, it is advisable to run multiple passes or let the utility perform an extended test to ensure a thorough examination of your RAM’s health.
Method 3: Using Windows Command Prompt
For users who prefer a command-line interface, testing RAM in Windows 10 can also be done using the Command Prompt. The built-in Windows Memory Diagnostic tool can be accessed and run directly through the Command Prompt, providing a convenient alternative for advanced users.
To test your RAM using the Windows Command Prompt, follow these steps:
- Open the Start menu and search for “Command Prompt”.
- Right-click on “Command Prompt” and select “Run as administrator”.
- In the Command Prompt window, type “mdsched” and press Enter.
- Choose either “Restart now and check for problems (recommended)” or “Check for problems the next time I start my computer”.
- Wait for your computer to restart, and the Windows Memory Diagnostic tool will automatically start testing your RAM.
- Once the test is complete, your computer will reboot.
- To view the test results, open the Event Viewer by pressing the Windows key + X, then selecting “Event Viewer”. In the Event Viewer, go to “Windows Logs” > “System” and look for an entry with “MemoryDiagnostics-Results” as the source.
Using the Command Prompt method gives advanced users more control and flexibility. You can customize the testing parameters by utilizing specific command-line switches available with the Windows Memory Diagnostic tool. These switches enable you to perform extensive tests, including the ability to specify testing options, test duration, and more.
Remember to let the Windows Memory Diagnostic tool complete the testing process without any interruptions and to review the test results carefully. If any issues are detected with your RAM, consider seeking professional assistance or contacting your computer manufacturer for further guidance.
Method 4: Using Third-Party Software Tools
In addition to the built-in Windows tools, there are several third-party software tools available that offer advanced features and comprehensive RAM testing options. These tools often provide more detailed reports and can be a valuable resource for users who require in-depth analysis of their RAM modules.
When it comes to third-party software tools for RAM testing in Windows 10, some popular options include:
- MemTest86: MemTest86 is a widely used tool that runs outside of the operating system, providing a thorough and reliable RAM testing experience. It offers various test patterns and customization options to assess the integrity of your RAM. You can create a bootable USB or CD and run MemTest86 independently of your operating system.
- PassMark MemTest: PassMark MemTest is another popular choice for RAM testing. It performs a comprehensive analysis of your RAM, identifying issues such as errors, failures, and overclocking problems. PassMark MemTest is easy to use, offers extensive reporting, and allows you to perform multiple test passes.
- OCCT (OverClock Checking Tool): Although primarily designed for CPU and GPU stress testing, OCCT includes a CPU:OCCT test that can help detect memory-related issues. It puts your system under heavy load, including memory stress testing, providing a comprehensive evaluation of your system’s stability.
To use these third-party software tools, download the tool of your choice from their respective websites and follow the installation instructions. Each tool may have its own interface and testing procedures, so it’s important to refer to the documentation or user guide for detailed instructions on how to run the RAM tests.
It’s worth noting that while third-party software tools offer advanced features and extensive testing options, they may require a certain level of technical expertise and understanding. Always ensure that you download these tools from trusted sources and exercise caution when using them.
By utilizing third-party software tools, you can access more in-depth analysis of your RAM’s performance, identify subtle issues that may go unnoticed by built-in tools, and make informed decisions about necessary actions to maintain optimal system stability and performance.
Conclusion
Testing your RAM is an essential step in diagnosing and resolving system stability issues and performance problems. Whether you experience frequent crashes, random errors, or slow performance, identifying faulty RAM can help you take appropriate measures to restore your computer’s optimal functionality.
In this article, we explored four different methods to test your RAM in Windows 10. The built-in Windows tools, such as the Windows Memory Diagnostic tool and the Windows Memory Diagnostic utility, provide convenient options for users to perform RAM testing without the need for additional software. These tools offer easy-to-follow steps and deliver detailed reports regarding any issues found during the testing process.
For more advanced users, utilizing the Command Prompt allows greater flexibility and control over the RAM testing process. This method allows customization of testing parameters, providing a more tailored approach to diagnosing RAM-related problems.
Additionally, third-party software tools like MemTest86, PassMark MemTest, and OCCT offer more advanced features and extensive testing capabilities. These tools can provide in-depth analysis, helping to identify even the most subtle issues with your RAM.
Remember, regardless of the method you choose, it is important to allow the testing processes to complete without interruptions to obtain accurate and reliable results. If any issues are detected with your RAM, it is recommended to seek professional assistance or contact your computer manufacturer for further guidance on resolving the problems.
By regularly testing your RAM and addressing any issues promptly, you can ensure the stability, performance, and longevity of your computer system. Don’t overlook the significance of RAM in your computing experience and proactively take the necessary steps to maintain its optimal functionality.