Introduction
Welcome to the world of After Effects, where creativity knows no bounds. Whether you’re a professional motion graphics artist or a beginner exploring the exciting field of visual effects, you’re probably aware of the importance of a smooth and efficient workflow. One crucial aspect of this workflow is the RAM Preview feature in Adobe After Effects.
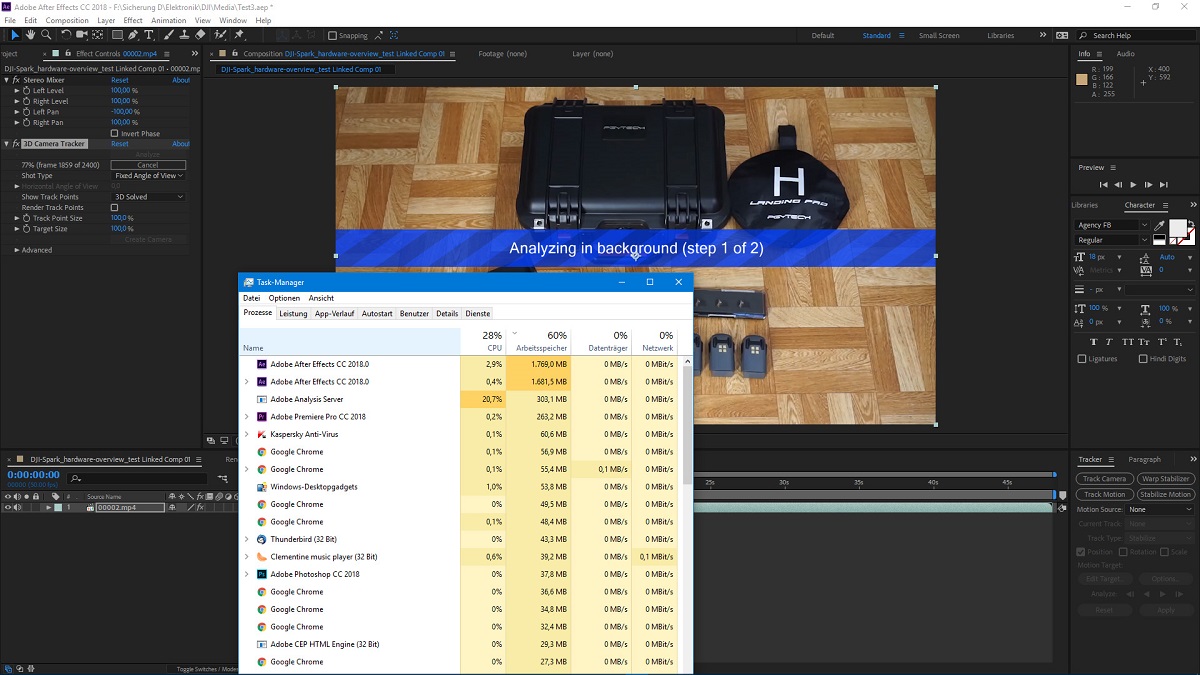
The RAM Preview function allows you to see how your compositions or specific sections of your project will play out in real-time, making it an invaluable tool for artists and editors alike. However, the rendering process of RAM Preview can sometimes be time-consuming, especially when working with complex or resource-intensive projects.
But fear not, because in this article, we will explore various tips and techniques to optimize the After Effects RAM Preview process. By implementing these strategies, you can significantly reduce rendering times, improve overall performance, and achieve faster and smoother previews of your work.
From adjusting preview settings to utilizing disk cache and upgrading hardware, we’ll cover a range of methods that will help enhance your After Effects experience. So, let’s dive in and discover how to make your After Effects RAM Preview faster and more efficient!
Understanding RAM Preview in After Effects
Before diving into the optimization techniques, it’s important to understand how the RAM Preview feature works in After Effects. Essentially, RAM Preview allows you to load and cache a preview of your composition in the computer’s RAM, providing a smoother playback experience.
When you initiate a RAM Preview, After Effects temporarily renders the frames of your composition and stores them in RAM. This process allows you to see how your project will look and feel in real-time, enabling you to make necessary adjustments and fine-tune your animations.
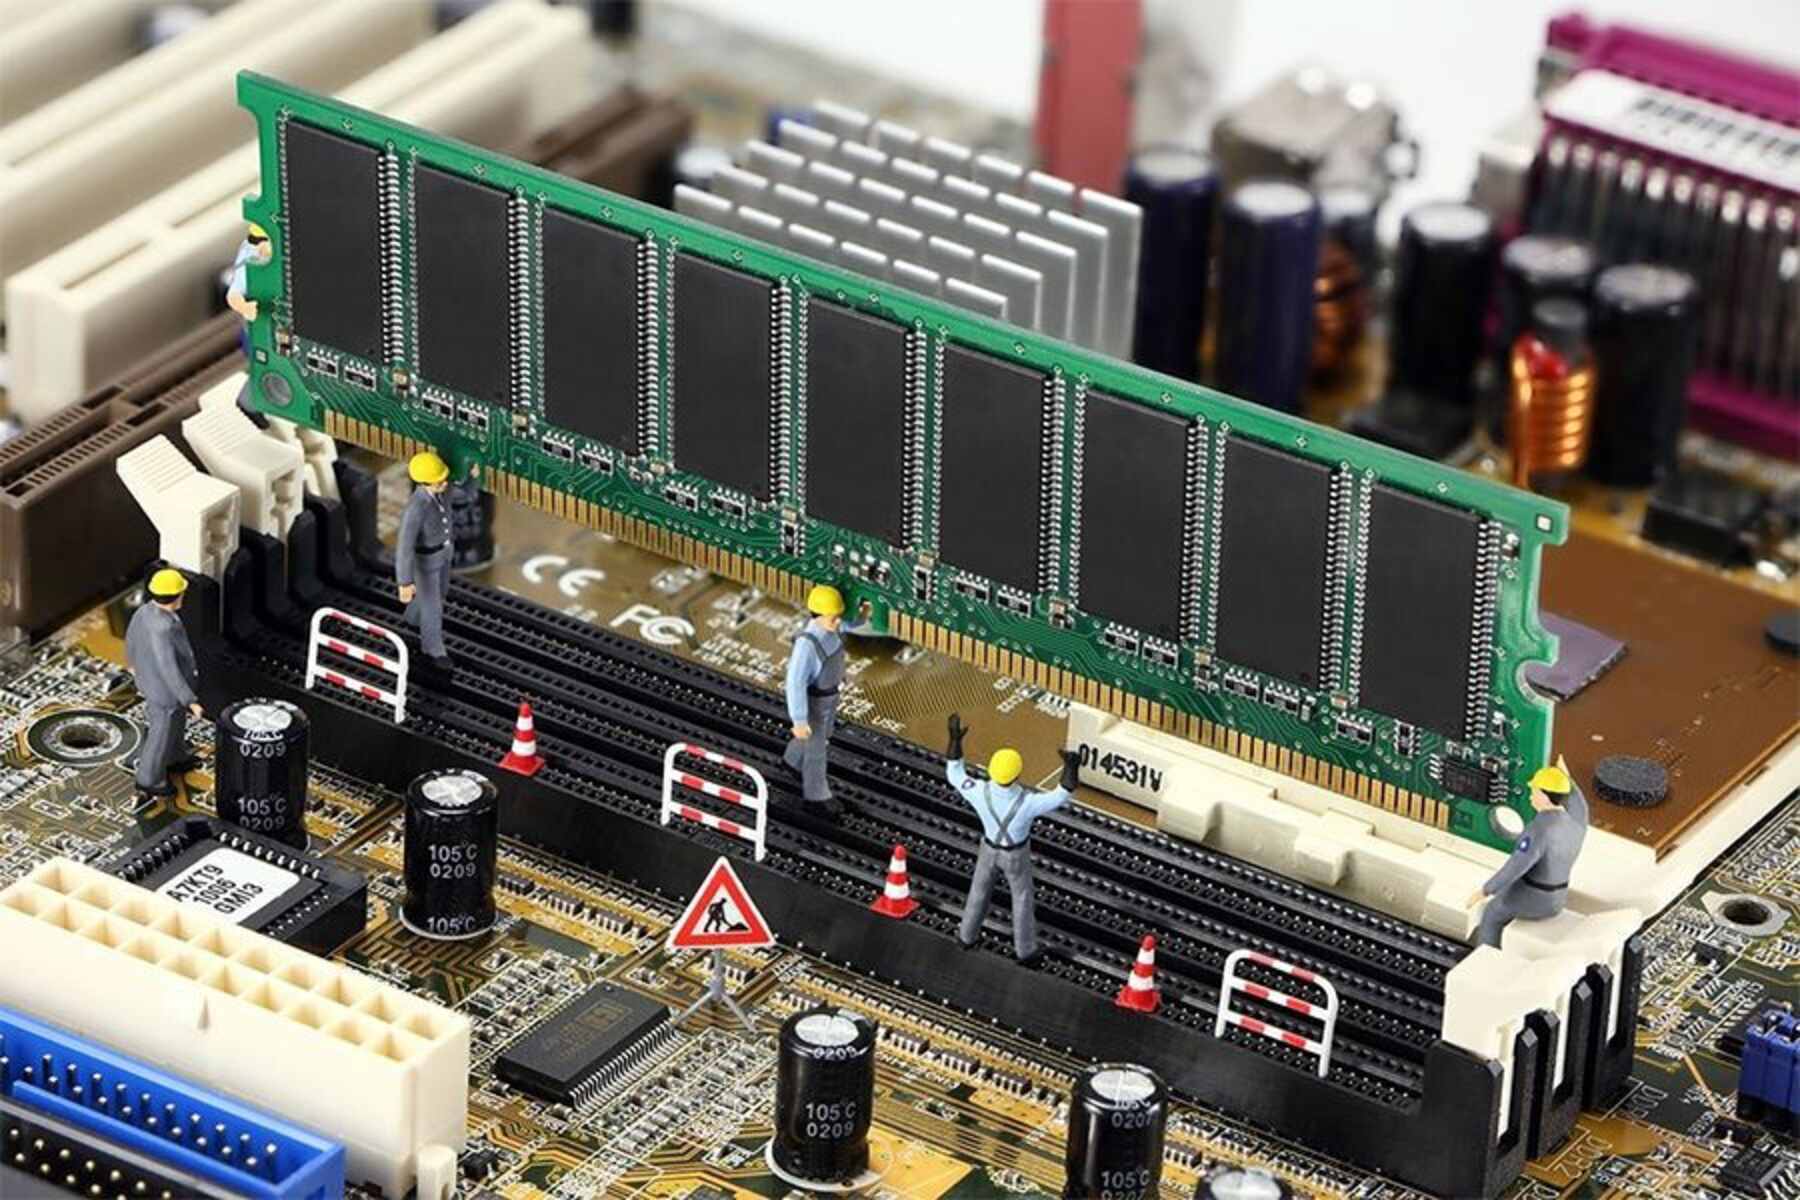
RAM Preview relies on two key factors: available RAM and the settings you choose for preview resolution and quality. The more RAM you have allocated to After Effects, the larger the preview cache it can store, resulting in smoother playback.
By default, After Effects automatically starts a RAM Preview when you press the “0” key on the numeric keypad or click the RAM Preview button in the Preview panel. However, you can customize the RAM Preview settings in the Preferences menu to suit your specific needs.
While the RAM Preview feature is incredibly useful, it’s important to note that it may not be a 100% accurate representation of the final render. The RAM Preview is meant to provide a close approximation of how your composition will play out, but for a truly accurate preview, you’ll need to perform a full render.
Now that we have a solid understanding of RAM Preview in After Effects, it’s time to explore the optimization techniques that can help speed up the rendering process and make our previews faster and more efficient.
Tips for Optimizing RAM Preview
Now that we understand the basics of RAM Preview in After Effects, let’s explore some practical tips and techniques for optimizing this function and achieving faster and smoother previews.
- Adjust the Preview Resolution: One effective way to reduce rendering times is by adjusting the preview resolution. By default, After Effects sets the resolution to “Full,” which can be resource-intensive. Lowering the preview resolution to “Half” or a custom value can significantly speed up the RAM Preview process.
- Reduce the Composition Quality: Another method to optimize RAM Preview is by reducing the overall composition quality. While it may not be ideal for checking fine details, lowering the quality settings can reduce the complexity of the preview and improve performance.
- Disable Unnecessary Effects: If your composition includes effects that are not essential for previewing, consider disabling them temporarily. This can lighten the processing load and result in faster previews. Remember to re-enable the effects before final rendering.
- Enable Disk Cache for Faster Previews: After Effects offers a feature called Disk Cache, which allows you to store rendered frames on your hard drive. Enabling this feature can speed up subsequent previews, as After Effects can retrieve the frames from the cache instead of rendering them again.
- Allocate More RAM to After Effects: If you have additional RAM available, consider allocating a higher amount to After Effects. This will increase the amount of preview cache that can be stored, resulting in improved performance and smoother previews.
- Optimize the Composition Structure: Streamlining your composition structure can have a significant impact on RAM Preview. Avoid unnecessary nested compositions and trim down layers that are not essential for previewing. This can help reduce the processing load and speed up the rendering process.
- Trim Lengthy Footage: If your composition includes lengthy video footage, consider trimming it or using the “Work Area” feature to focus on specific sections. This way, you can preview only the necessary parts and save time during the rendering process.
- Pre-render Heavy Effects and Compositions: If you have complex effects or compositions that take a long time to render during the RAM Preview, consider pre-rendering them as separate files. You can then import these pre-rendered files into your main composition, reducing the processing load and speeding up the preview process.
- Upgrade Hardware for Better Performance: If you frequently work with large and resource-intensive projects, consider upgrading your computer’s hardware. Increasing the RAM, upgrading the CPU, or using a faster hard drive can greatly improve the performance of After Effects, including the RAM Preview function.
By implementing these tips, you can optimize the RAM Preview process in After Effects and achieve faster, smoother, and more efficient previews of your compositions. Experiment with different settings and techniques to find the optimal configuration for your specific project.
Adjust the Preview Resolution
One effective way to reduce rendering times and optimize the RAM Preview in After Effects is by adjusting the preview resolution. By default, After Effects sets the preview resolution to “Full,” which can be resource-intensive for complex compositions. Lowering the preview resolution can significantly speed up the rendering process and improve overall performance.
To adjust the preview resolution, navigate to the Preview panel in After Effects. At the bottom of the panel, you will find a drop-down menu labeled “Resolution.” By default, it is set to “Full.” However, you can change it to “Half” or a custom value to lower the resolution.
Lowering the preview resolution reduces the number of pixels After Effects needs to display in real-time, resulting in faster rendering. While it may slightly decrease the visual quality of the preview, this setting is often sufficient for most editing and fine-tuning purposes.
Keep in mind that choosing a lower resolution may not be ideal for checking fine details or working on projects with high precision requirements. However, for initial previews and general editing tasks, it can significantly improve the performance of RAM Preview.
Experiment with different resolution settings to find the right balance between performance and visual clarity for your specific project. If you find that a particular resolution causes a significant loss in visual quality, try setting a custom resolution that is a compromise between speed and clarity.
By adjusting the preview resolution to a lower setting, you can save valuable rendering time and achieve faster and smoother previews in After Effects. Remember to increase the resolution to “Full” before performing the final render to ensure the best possible quality for the finished project.
Reduce the Composition Quality
Another effective technique for optimizing RAM Preview in After Effects is to reduce the overall composition quality. By default, After Effects sets the quality to “Best” to ensure the highest level of detail and visual fidelity. However, this high-quality setting can be resource-intensive, leading to longer rendering times.
To adjust the composition quality, navigate to the Composition panel in After Effects. In the toolbar at the top, you will find a drop-down menu labeled “Resolution/Down Sample Factor” and another one labeled “Magnification Ratio.” These settings allow you to adjust the quality and level of detail displayed in the composition view.
Lowering the composition quality reduces the complexity of the preview, resulting in faster rendering and improved performance. By reducing the quality, After Effects renders fewer pixels and processes less visual information, making the RAM Preview process more efficient.
It is important to note that reducing the composition quality may result in a loss of fine details and visual precision. However, for initial previews, editing tasks, or when working with less critical elements of your composition, this reduced quality setting is often sufficient.
Experiment with different levels of composition quality to find the appropriate balance between performance and visual accuracy for your specific project. You can lower the quality to a level that still allows you to assess the overall look and feel of your composition without sacrificing too much rendering time.
Remember to increase the composition quality to its highest setting, “Best,” before performing the final render to ensure the best possible visual quality in the finished project.
By reducing the composition quality during the RAM Preview process, you can significantly decrease rendering times and speed up the previewing experience in After Effects. This optimization technique is especially valuable when working with complex compositions or resource-intensive effects.
Disable Unnecessary Effects
When working with After Effects, it’s common to apply various effects to your compositions to enhance the visual appeal or achieve specific artistic effects. However, having too many effects enabled during the RAM Preview process can significantly slow down rendering times and hinder performance.
An effective technique to optimize RAM Preview is to disable any unnecessary effects that are not essential for previewing the composition. By disabling these effects temporarily, you can reduce the processing load on your computer’s resources and achieve faster previews.
To disable an effect in After Effects, locate the layer to which the effect is applied. In the timeline panel, you will find a list of effects applied to that layer. Simply click on the eye icon next to the effect’s name to toggle its visibility on or off.
When disabling effects, it’s important to keep in mind that this action is only temporary and for preview purposes. You should re-enable the effects before performing the final render to ensure that your composition is complete and reflects your intended visual style.
By disabling unnecessary effects during the RAM Preview process, After Effects can focus its processing power on rendering the essential components of your composition. This optimization technique results in faster rendering times and smoother previews, allowing you to make necessary adjustments and fine-tune your animation with ease.
Take a moment to review your composition and identify any effects that are not crucial for previewing. Effects that are purely cosmetic or not integral to the core animation can often be disabled temporarily without impacting the overall look and feel of your composition.
Experiment with disabling different effects to see the impact on rendering times and performance. This way, you can find the right balance between having the necessary effects enabled and achieving faster previews in After Effects.
Remember, disabling effects is a temporary measure to optimize the RAM Preview process. Make sure to re-enable the effects before rendering the final output to ensure that your composition is complete and showcases your intended visual style.
Enable Disk Cache for Faster Previews
One powerful feature in After Effects that can significantly improve the speed and efficiency of RAM Preview is the Disk Cache. By enabling Disk Cache, you can store rendered frames on your hard drive, allowing After Effects to retrieve them quickly for subsequent previews.
To enable Disk Cache in After Effects, go to the Edit menu and select Preferences. In the Preferences menu, navigate to the “Media & Disk Cache” tab. Here, you will find options to control the Disk Cache settings.
Check the box that says “Enable Disk Cache” to activate this feature. You can then specify the location on your hard drive where you want After Effects to store the cached frames.
By enabling Disk Cache, After Effects will render frames during the RAM Preview process and save them to the specified location on your hard drive. Subsequent previews of the same frames can then be retrieved quickly from the cache, without the need for re-rendering.
Enabling Disk Cache can significantly speed up RAM Preview, especially when working with complex compositions or effects-heavy projects. It reduces the time spent on re-rendering frames and allows you to see real-time previews more efficiently.
It’s worth noting that Disk Cache utilizes the available space on your hard drive, so make sure you have sufficient disk space to accommodate the cached frames. You can also set a limit on the maximum size of the cache in the Preferences menu to manage the space it occupies.
Experiment with different Disk Cache settings to find the optimal configuration for your specific project. If you frequently revisit specific sections of your composition or make iterative changes, having Disk Cache enabled can provide a significant boost in productivity and rendering speed.
With Disk Cache enabled, After Effects can quickly retrieve rendered frames, avoiding the need for repetitive rendering and resulting in faster and smoother previews. Utilizing this feature is especially beneficial when working on projects with extensive effects or long compositions.
Allocate More RAM to After Effects
Allocating more RAM to After Effects is a straightforward yet effective method to optimize the RAM Preview process and enhance overall performance. Increasing the amount of RAM available to After Effects allows for a larger preview cache, resulting in improved rendering times and smoother previews.
To allocate more RAM to After Effects, you need to access the preferences menu. Go to the Edit menu and select Preferences. In the Preferences menu, navigate to the “Memory” tab.
Under the “RAM Allocation” section, you’ll find the option to set the amount of RAM allocated to After Effects. Adjust the slider or input a specific value to increase the RAM allocation. However, be mindful not to allocate all available RAM as it may impact the performance of other applications running simultaneously on your computer.
Allocating more RAM to After Effects enables the software to store a larger preview cache in RAM, allowing for smoother and more efficient rendering. This is especially beneficial when working with complex projects that require a significant amount of memory.
Keep in mind that the amount of RAM you can allocate depends on the total RAM installed on your computer. If you’re experiencing frequent RAM Preview delays and sluggish performance, consider upgrading your system’s RAM capacity for even better performance.
After increasing the allocated RAM, make sure to restart After Effects to apply the changes. You should notice improved rendering times and more fluid previews as After Effects can store a larger preview cache.
Experiment with different amounts of allocated RAM to find the optimal configuration for your specific project. It’s important to strike a balance between allocating enough RAM for efficient rendering and leaving adequate resources available for other applications.
By allocating more RAM to After Effects, you can harness the full power of your system to enhance the RAM Preview process. This optimization technique results in faster rendering, smoother previews, and an overall improved user experience.
Optimize the Composition Structure
The composition structure plays a crucial role in the performance of RAM Preview in After Effects. Optimizing the composition structure involves streamlining and organizing your layers and compositions to improve rendering times and overall efficiency.
One important consideration is to avoid unnecessary nested compositions. While nesting can be useful for organization and managing complex projects, too many levels of nesting can slow down the RAM Preview process. Try to minimize nested compositions as much as possible by flattening the structure or merging layers when appropriate.
Another aspect of optimizing the composition structure is to trim down layers that are not essential for previewing. Identify any layers that are not visible or contributing to the primary animation, and consider hiding or deleting them during the RAM Preview process. This removes the rendering load associated with these unnecessary layers, leading to faster and smoother previews.
Organizing and labeling your layers and compositions appropriately can also contribute to a more efficient workflow. By giving each layer a descriptive name and grouping related layers together, you can easily navigate and make adjustments during the preview process. This organization helps you stay organized and minimizes the time spent searching for specific elements.
Additionally, consider simplifying complex effects or animations by using pre-compositions. This technique involves pre-rendering sections of your composition that contain resource-intensive effects or animations as separate compositions. By pre-rendering these sections, you can replace them with a single composition layer, reducing the processing load during the RAM Preview process.
Experiment with different organization techniques and composition structures to find the optimal configuration for your specific project. By optimizing the composition structure, you can streamline the RAM Preview process, improving rendering times and efficiency in After Effects.
Remember to strike a balance between organizing your composition structure and maintaining the flexibility to make adjustments and modifications. While optimizing the structure is important, it should not hinder your ability to iterate and fine-tune your animations.
By optimizing the composition structure, you ensure a more efficient workflow and smoother RAM Preview experience. This optimization technique can save you valuable time and improve the overall performance of your After Effects projects.
Trim Lengthy Footage
Working with lengthy footage in After Effects can slow down the RAM Preview process, especially when you’re only interested in specific sections of the footage. Trimming the footage to focus on the necessary parts not only helps you save time during the rendering process but also improves the overall efficiency of RAM Preview.
Start by identifying the portions of the footage that are not directly relevant to your composition or animation. These could be sections of downtime, repeated actions, or footage that simply doesn’t contribute to the overall narrative or visual impact.
Once you’ve identified these unnecessary segments, use the trimming tools in After Effects to remove them. In the timeline panel, you can select the layer with the footage, position the playhead to the desired start and end points, and then trim the layer accordingly. You can also utilize the “Work Area” feature to define a specific range of the timeline to be previewed.
By trimming the lengthy footage, you effectively reduce the amount of content that needs to be processed during the RAM Preview. This results in faster rendering times and a more streamlined preview experience.
Keep in mind that trimming the footage only affects the RAM Preview process and not the final render. The original footage remains intact for further edits or future reference.
Trimming lengthy footage in After Effects not only improves the RAM Preview process but also allows you to focus on the essential parts of your composition. It eliminates distractions and makes it easier to fine-tune your animation without being weighed down by unnecessary content.
Remember to consider the context and flow of your composition when trimming the footage. Ensure that you maintain the necessary storytelling elements and visual continuity, even as you remove non-essential segments.
Experiment with different trimming techniques to optimize the RAM Preview process for your specific project. By trimming lengthy footage, you’ll experience faster rendering times, smoother previews, and an overall more efficient After Effects workflow.
Pre-render Heavy Effects and Compositions
Working with heavy effects or complex compositions in After Effects can significantly slow down the RAM Preview process. One effective technique to optimize the previewing experience is to pre-render these resource-intensive elements as separate files.
By pre-rendering heavy effects or compositions, you essentially render them in advance and replace them with a single pre-rendered file in your main composition. This lightens the processing load during the RAM Preview, resulting in faster rendering times and smoother previews.
To pre-render an effect or composition, you need to select the layers that contain the heavy effects or animations. Right-click on the selection and choose “Pre-compose” to create a new composition that encapsulates these layers.
Next, navigate to the “Composition” menu and select “Add to Render Queue.” In the Render Queue panel, customize the output settings as needed and click the “Render” button to begin the pre-rendering process. Once the pre-render is complete, you can import the resulting file back into your main composition.
By pre-rendering heavy effects or compositions, you essentially replace them in the RAM Preview process with a single rendered file. This significantly reduces the processing load and allows for faster previews, as After Effects no longer needs to calculate and render these effects or compositions in real-time.
Keep in mind that pre-rendering is not suitable for elements that require dynamic adjustments or interaction with other layers in your composition. It’s best suited for effects or compositions that don’t require real-time modifications during the RAM Preview process.
Additionally, it’s important to note that pre-rendering creates separate files that take up disk space. Therefore, it’s crucial to manage your files properly and delete any unnecessary pre-rendered files to free up space.
Experiment with pre-rendering heavy effects or compositions in After Effects to optimize the RAM Preview process for your specific project. By offloading the processing load to pre-rendered files, you can achieve faster rendering times and smoother previews, even when working with complex effects or animations.
Upgrade Hardware for Better Performance
If you find that your RAM Preview process in After Effects is consistently slow and inefficient, even after applying various optimization techniques, it may be time to consider upgrading your hardware for better performance. Upgrading your computer’s hardware can significantly improve the overall speed and efficiency of After Effects, including the RAM Preview function.
One of the primary hardware components that affects After Effects performance is the amount of RAM installed in your system. After Effects relies heavily on RAM for caching and processing data during the rendering process. Therefore, increasing the RAM capacity will allow for larger preview caches and smoother, more efficient previews. Consider upgrading to higher RAM capacity if your current system is struggling to handle complex projects.
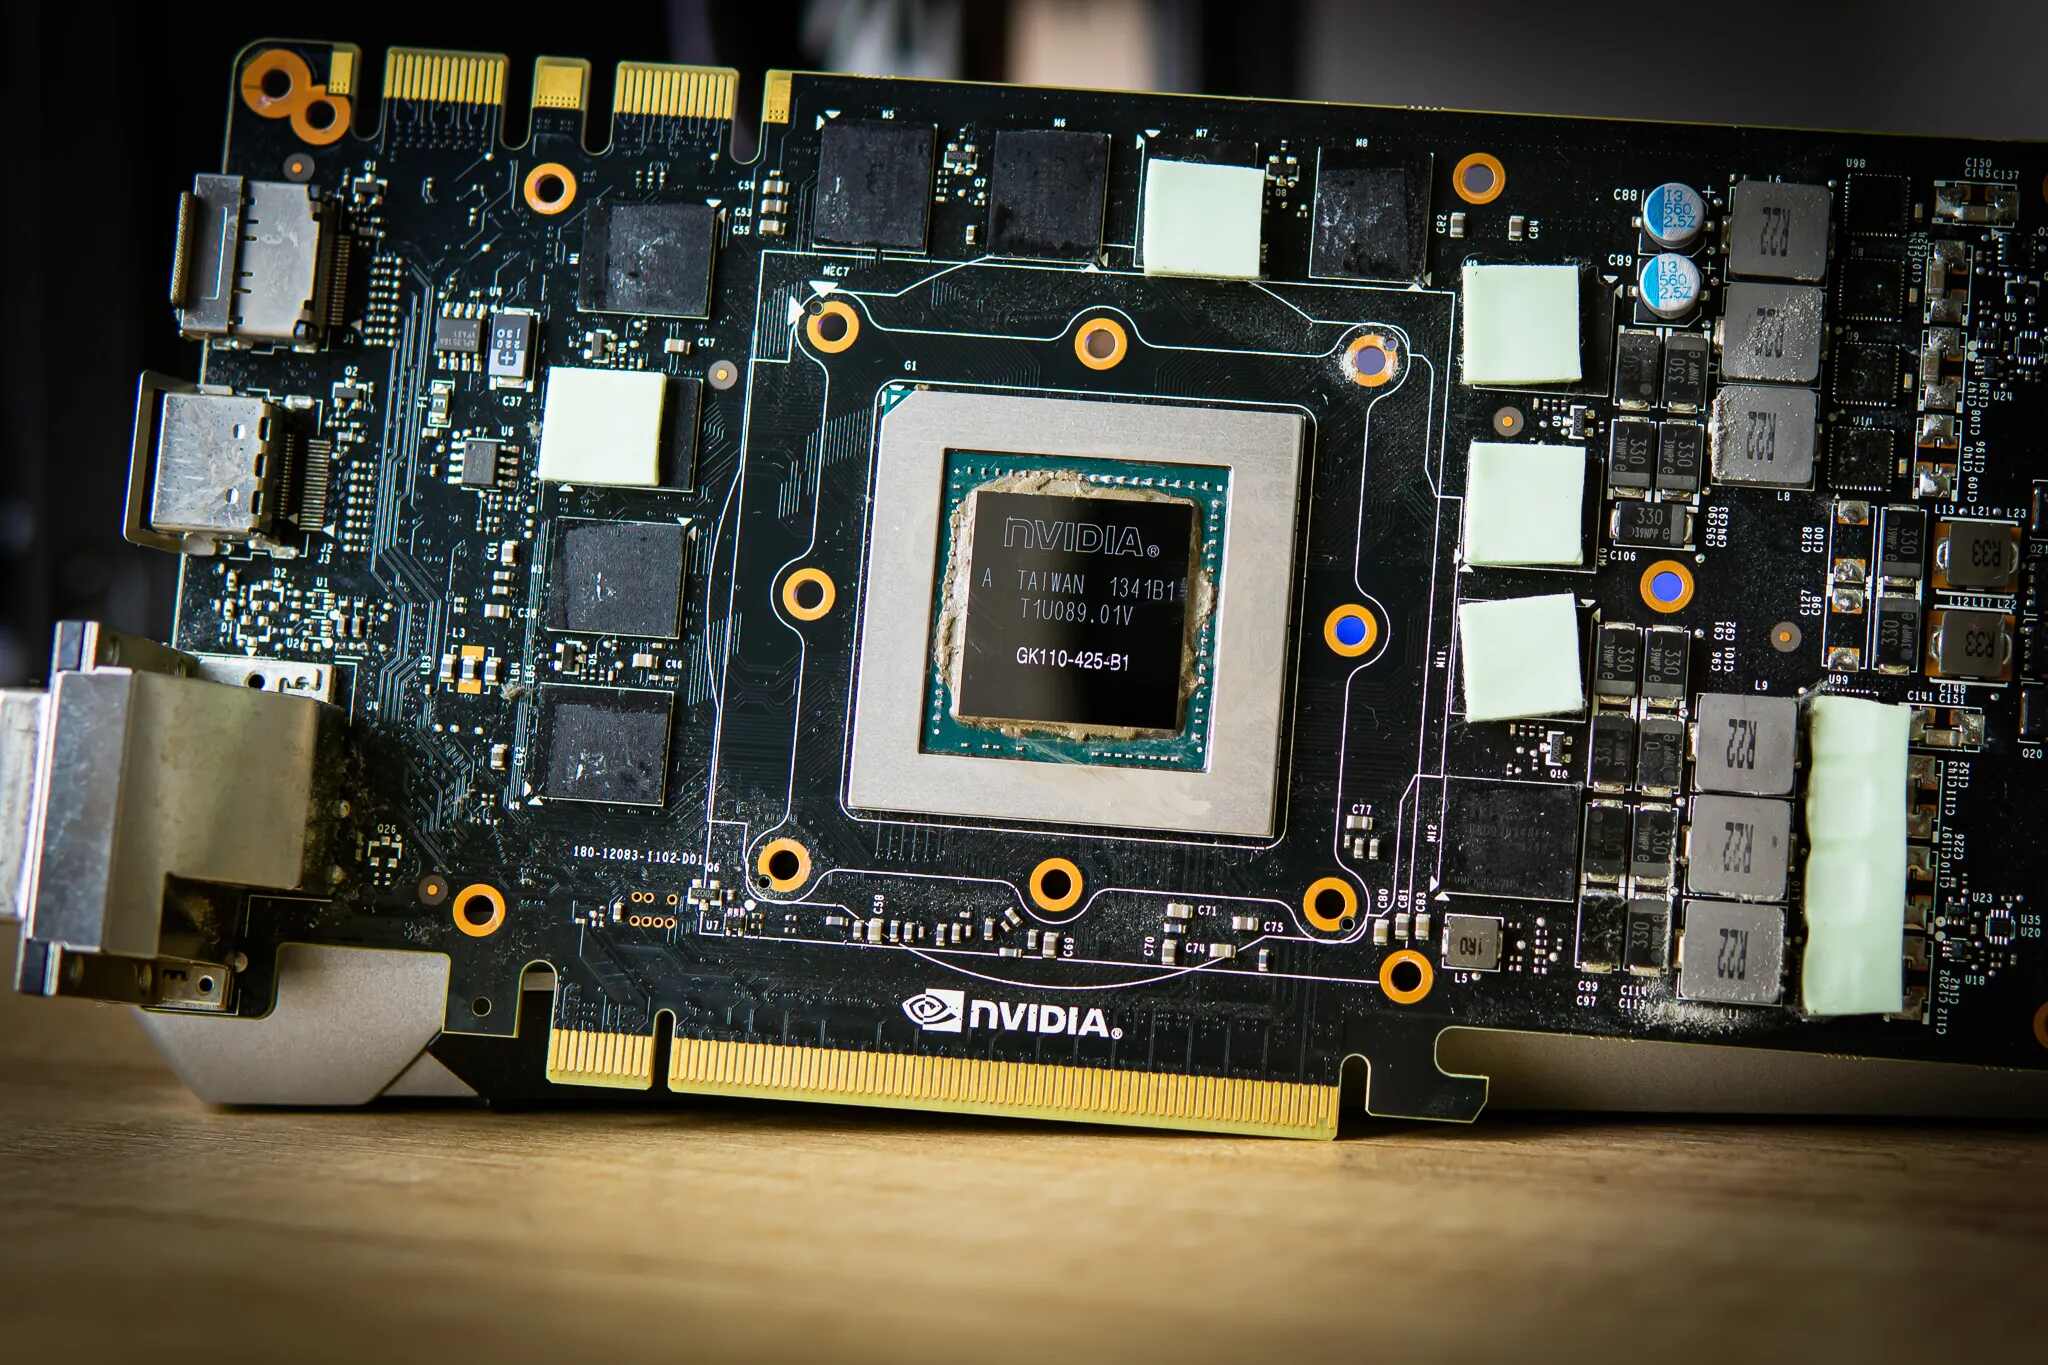
The CPU, or central processing unit, is another crucial hardware component that influences After Effects performance. A more powerful CPU with higher clock speeds and more cores can handle the calculations and computations required for real-time rendering more efficiently. Upgrading to a faster CPU can significantly improve the speed of the RAM Preview and overall performance of After Effects.
Additionally, the speed and storage capacity of your hard drive or solid-state drive (SSD) can impact the RAM Preview process. A faster and larger storage solution enables faster read and write speeds, allowing After Effects to access necessary files and cache data more quickly. Consider upgrading to a faster SSD or using separate SSDs for your operating system, software, and project files to enhance performance.
Graphics processing units (GPUs) can also play a role in After Effects performance, especially when using effects that leverage GPU acceleration. Upgrading to a more powerful GPU can improve the rendering speeds of GPU-accelerated effects and contribute to faster RAM Previews in such situations.
Before upgrading your hardware, be sure to consider the compatibility requirements and specifications recommended by Adobe for After Effects. Additionally, consult with knowledgeable professionals or do thorough research to ensure that any upgrades you consider are compatible with your current setup and offer a noticeable improvement in performance.
While upgrading hardware can be a significant investment, it can have a substantial impact on the overall performance of After Effects. Faster rendering times, smoother previews, and an improved workflow can all result from upgrading your system’s hardware to meet the demands of the software.
Ultimately, upgrading your hardware is a proactive step towards optimizing the RAM Preview process and ensuring a more efficient experience in After Effects, especially when working with resource-intensive projects.
Conclusion
After Effects RAM Preview is an essential feature that allows you to see your compositions in real-time, enabling adjustments and fine-tuning for optimal visual results. However, the rendering process during RAM Preview can sometimes be time-consuming, affecting productivity and workflow.
In this article, we explored various techniques to optimize the RAM Preview in After Effects and achieve faster and smoother previews. By adjusting the preview resolution, reducing the composition quality, disabling unnecessary effects, enabling Disk Cache, allocating more RAM to After Effects, optimizing the composition structure, trimming lengthy footage, pre-rendering heavy effects and compositions, and upgrading hardware, you can significantly enhance the previewing experience.
Remember to find the right balance between optimizing preview settings and maintaining visual quality and creative intent. Each project may require different adjustments and considerations, so feel free to experiment with the techniques mentioned to find the optimal configuration for your needs.
By implementing these techniques, you can save valuable rendering time, improve overall performance, and ultimately increase productivity in After Effects. A smoother and more efficient RAM Preview process allows you to focus on the creative aspects of your work and deliver high-quality animations with ease.
Keep in mind that optimization is an ongoing process, and as your projects evolve, it’s essential to revisit these techniques and adjust them accordingly. Additionally, staying up to date with the latest version of After Effects and keeping your system’s software and drivers updated can contribute to a better previewing experience.
By harnessing the power of After Effects and employing the optimization techniques mentioned in this article, you can make the most of the RAM Preview feature and bring your creative visions to life with greater efficiency and ease.