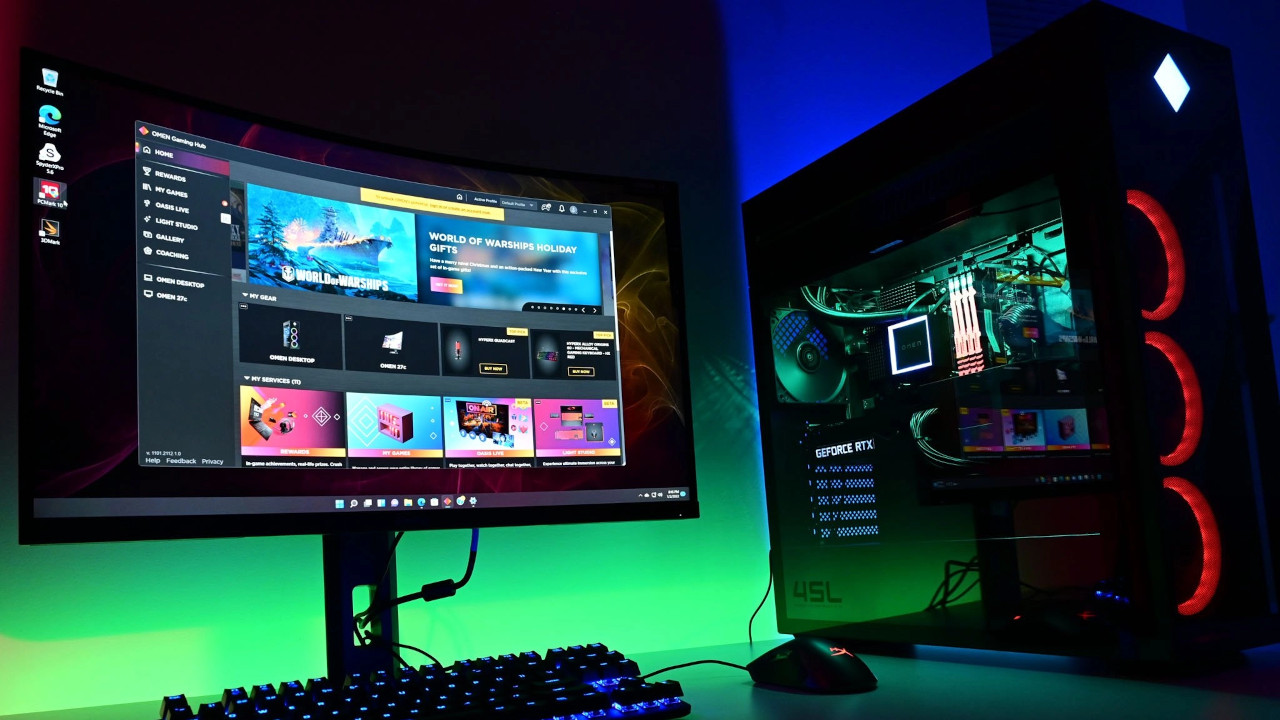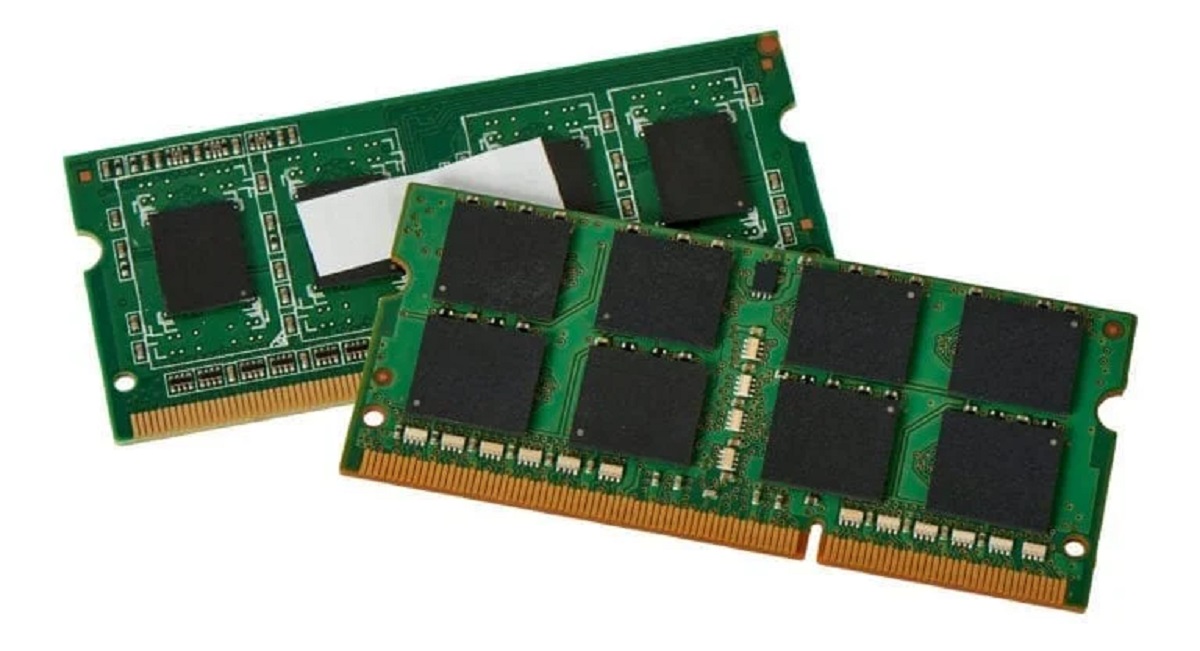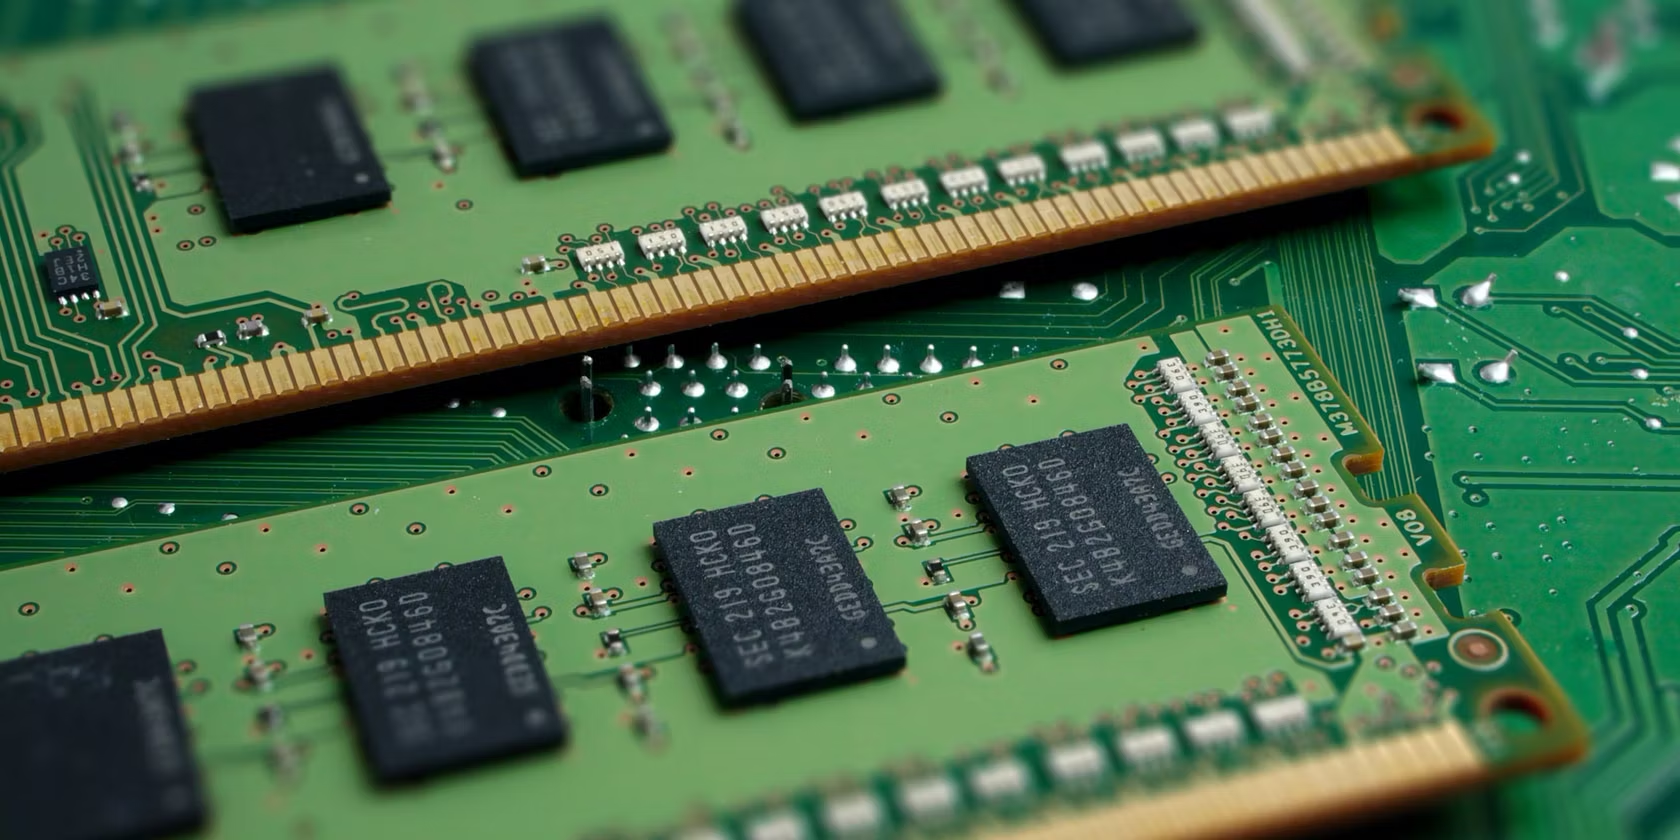
Troubleshooting RAM Installation Issues
Installing new RAM can greatly improve your computer’s performance, but occasionally, you may encounter some issues during the installation process. Here are a few troubleshooting steps to tackle common RAM installation issues:
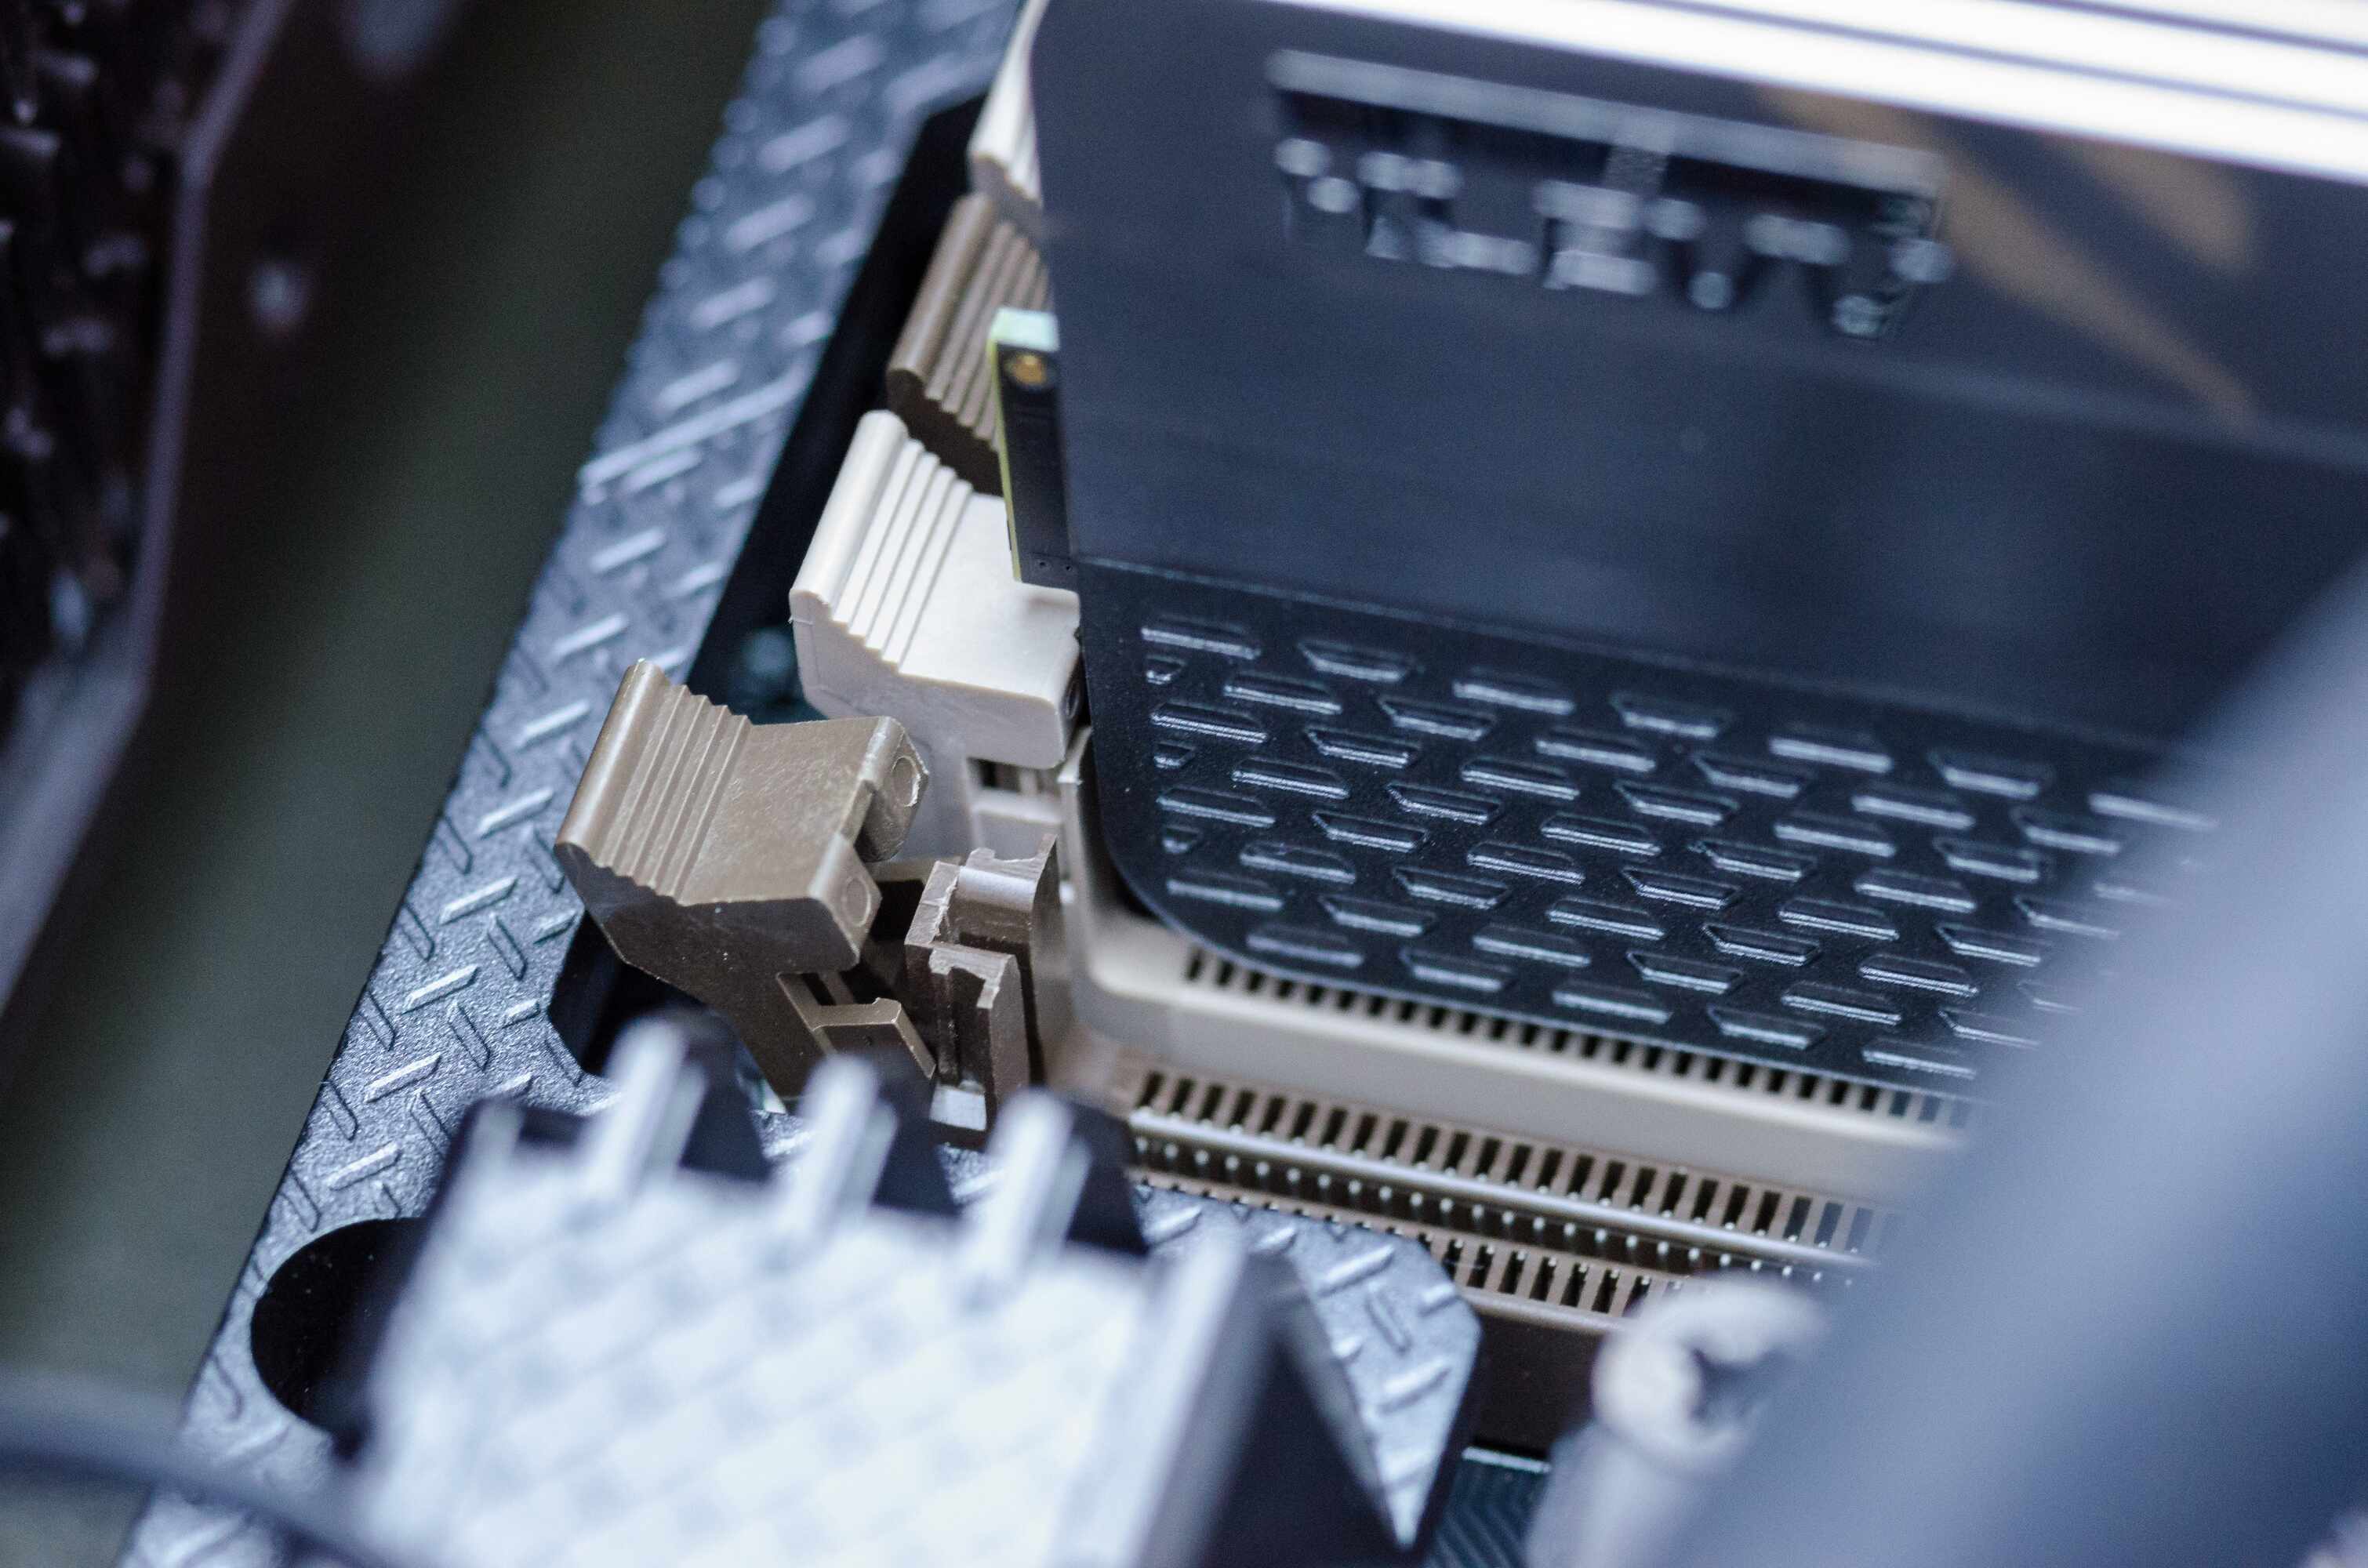
- Ensure proper installation: Double-check that the RAM modules are securely inserted into the motherboard slots. Sometimes, they may not be seated correctly, causing the computer to not recognize the new RAM.
- Check compatibility: Make sure that the new RAM is compatible with your computer’s specifications, including type, speed, and capacity. Refer to the motherboard’s documentation or manufacturer’s website for compatibility information.
- Clear CMOS: If your computer fails to boot or display any output after installing new RAM, try resetting the CMOS (Complementary Metal-Oxide-Semiconductor) settings. Refer to your motherboard’s manual for instructions on how to clear the CMOS.
- Update BIOS: Outdated BIOS firmware can sometimes cause compatibility issues with new hardware. Check your motherboard manufacturer’s website for BIOS updates and install the latest version if available.
- Test individual modules: If you have multiple RAM modules, try installing them one at a time to identify if a specific module is causing the issue. This can help determine if the problem lies with a faulty module.
- Reseat components: Occasionally, loose connections can cause issues with RAM recognition. Try reseating the RAM modules and other hardware components, such as the graphics card and cables, to ensure proper connections.
- Consult professional assistance: If you have tried all the above steps and are still facing issues, it may be best to seek professional assistance from a qualified technician who can diagnose and fix any underlying hardware problems.
By following these troubleshooting steps, you can address common RAM installation issues and ensure that your new RAM is recognized and functioning properly, allowing you to benefit from improved computer performance.
Checking RAM Recognition
Once you have successfully installed new RAM in your Windows 10 computer, it’s essential to verify that the system recognizes the added memory. Here are a few steps to check the RAM recognition:
- System Information: Open the System Information utility by pressing the Windows key + R, then type “msinfo32” and hit Enter. In the System Information window, navigate to the “Installed Physical Memory (RAM)” section. Here, you can verify the total amount of RAM installed on your system.
- Task Manager: Press the Ctrl + Shift + Esc keys to open the Task Manager. Click on the “Performance” tab and then select “Memory” from the left-hand menu. Check the “Physical Memory” section to view the total installed memory and its usage.
- BIOS/UEFI: Restart your computer and enter the BIOS (Basic Input/Output System) or UEFI (Unified Extensible Firmware Interface) settings by pressing the designated key (such as Del or F2) during the boot process. In the BIOS/UEFI menu, look for an option that displays the installed RAM details.
- Third-Party Software: There are various third-party software tools available that can provide detailed information about your system’s hardware, including RAM. Some popular options include CPU-Z, HWiNFO, and Speccy. Download and install one of these tools and navigate to the memory section to check the installed RAM capacity.
By performing these checks, you can confirm that your newly installed RAM is recognized by the system. If you encounter any discrepancies or the RAM is not being recognized, refer to the “Troubleshooting RAM Installation Issues” section to address potential problems.
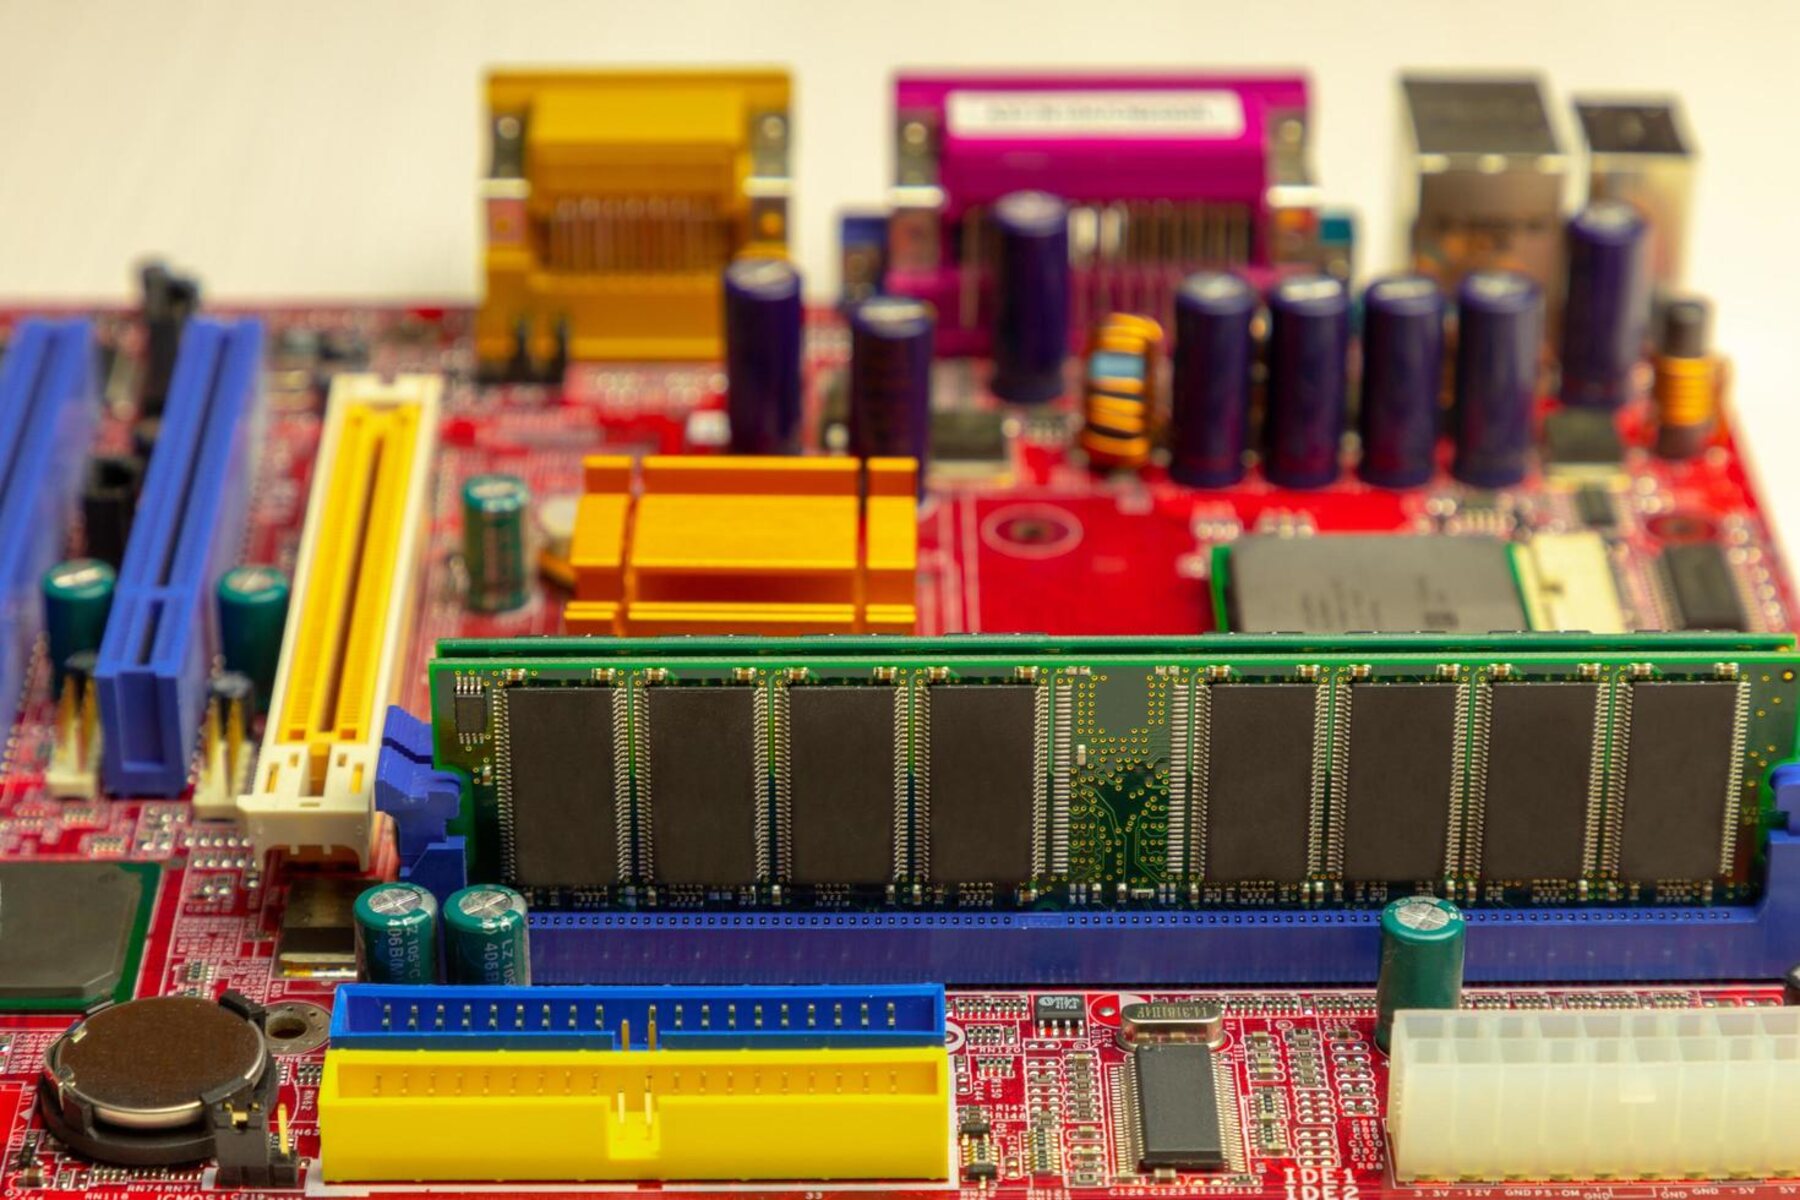
Adjusting RAM Settings in BIOS
After installing new RAM, you may need to adjust the settings in your computer’s BIOS (Basic Input/Output System) to optimize the performance of the RAM. Here are the steps to adjust the RAM settings in the BIOS:
- Access the BIOS: Restart your computer and enter the BIOS settings by pressing the designated key (such as Del or F2) during the boot process. The key to access the BIOS may vary depending on your computer’s manufacturer.
- Navigate to RAM settings: Once you’re in the BIOS, look for the “Memory” or “RAM” settings. The location of these settings may vary depending on the BIOS version and motherboard manufacturer.
- XMP/DOCP Profile: If you have installed RAM with higher clock speeds, you can enable the XMP (Extreme Memory Profile) or DOCP (Direct Over Clock Profile) option to automatically adjust the RAM frequency and timings to their optimal settings. This feature may be located under the RAM settings or in a separate “Overclocking” or “Performance” section.
- Manual adjustments: If you prefer manual control, you can adjust the RAM frequency, timings, and voltage settings individually. However, it is important to note that manually overclocking or adjusting RAM settings can potentially void your warranty or cause stability issues if done incorrectly.
- Save and exit: Once you have made the desired changes to the RAM settings, save the changes and exit the BIOS. The computer will restart with the new settings applied.
Adjusting the RAM settings in the BIOS can help optimize the performance of your new RAM and ensure that it runs at its full potential. However, be cautious when making manual adjustments, and if you’re unsure, it’s best to rely on the XMP/DOCP profiles or seek guidance from experts to avoid any potential issues.
Optimizing Performance with New RAM
Installing new RAM can significantly improve your computer’s performance, but to fully utilize its potential, it’s important to optimize its settings. Here are some tips to optimize performance with your new RAM:
- Enable XMP/DOCP profiles: If your RAM supports XMP (Extreme Memory Profile) or DOCP (Direct Over Clock Profile), enable these profiles in the BIOS. They automatically adjust the RAM frequency, timings, and voltage settings for optimal performance.
- Ensure dual-channel or quad-channel mode: If you have multiple RAM modules, make sure they are installed in the appropriate slots to enable dual-channel or quad-channel mode. This mode improves memory bandwidth and can enhance overall performance.
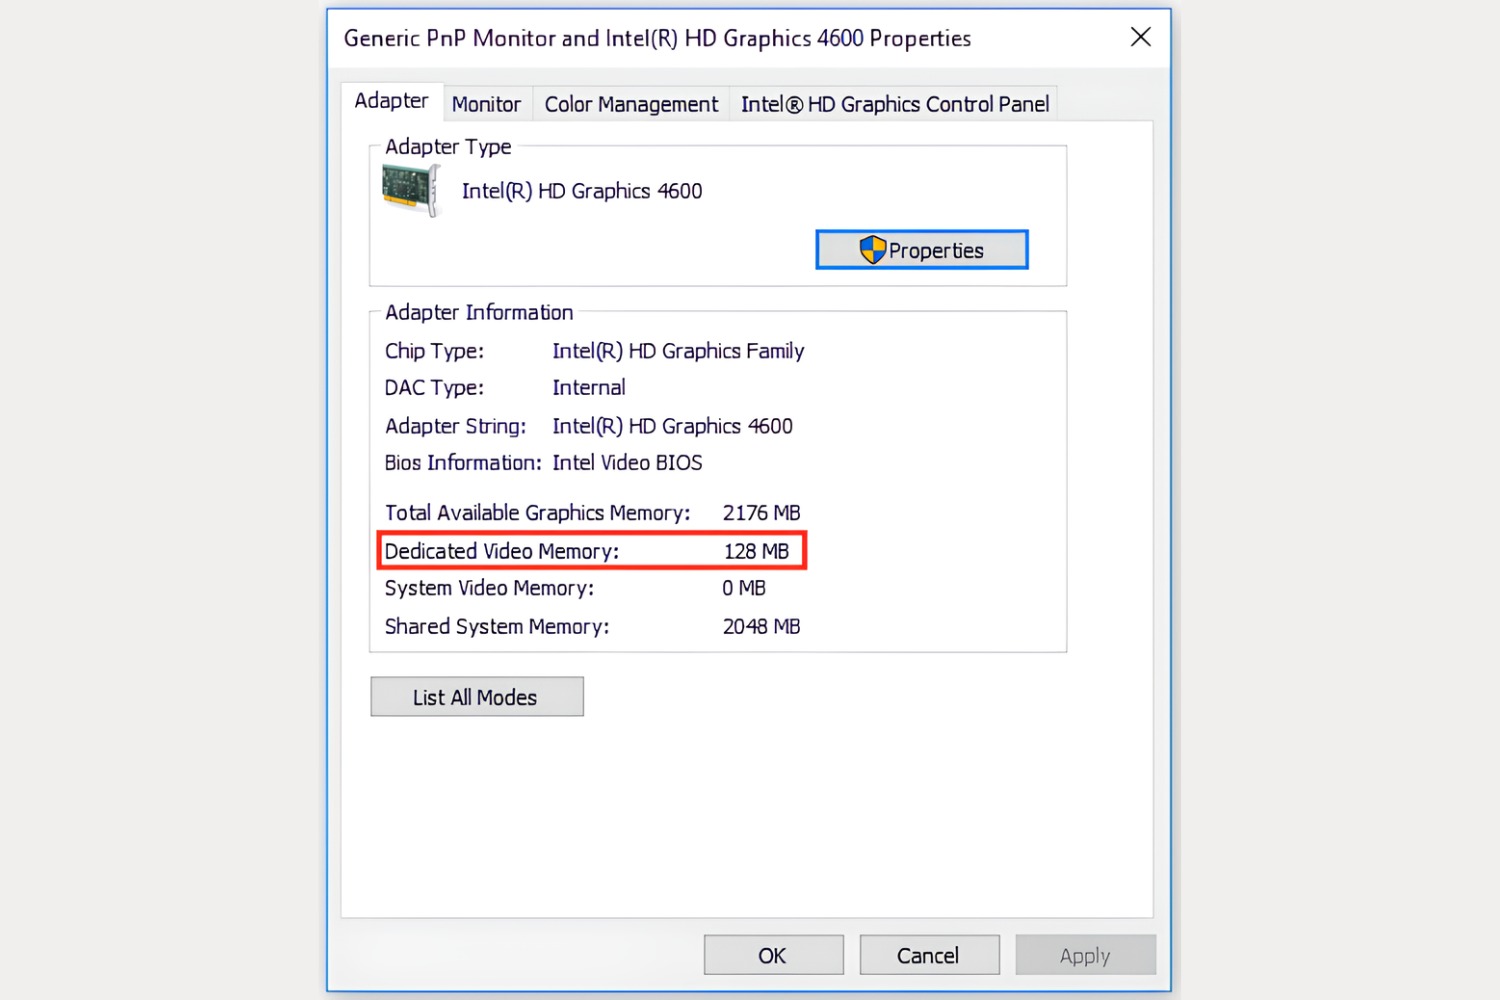
- Allocate RAM for graphics: If you have integrated graphics or a dedicated graphics card, allocate a portion of RAM for graphics memory in the BIOS settings. This can improve graphics performance in games and multimedia applications.
- Adjust virtual memory settings: Virtual memory, also known as the page file, is a portion of the hard drive that the computer uses as additional RAM. Adjusting the virtual memory settings can help improve performance when the RAM is fully utilized. Go to the Control Panel, search for “System,” click on “Advanced system settings,” go to the “Advanced” tab, and click on “Settings” under the “Performance” section. In the “Performance Options” window, go to the “Advanced” tab and click on “Change” under the “Virtual memory” section to adjust the settings.
- Clean up unnecessary programs and background processes: Close any unnecessary programs and disable or remove unnecessary background processes that consume system resources. This can free up more RAM for the tasks you are actively working on.
- Regularly update device drivers: Ensure that your computer’s device drivers, including those for the motherboard, graphics card, and other hardware components, are up to date. Outdated drivers can impact system performance, including RAM utilization.
- Perform regular system maintenance: Regularly clean up disk space, defragment the hard drive, and run system optimization utilities to keep your computer running smoothly. A well-maintained system can enhance RAM performance.
By following these optimization tips, you can maximize the performance of your new RAM and unlock its full potential, resulting in a faster and more efficient computing experience.
Adjusting Virtual Memory Settings
Virtual memory is a feature in Windows 10 that uses a portion of the hard drive as additional RAM when the physical RAM (Random Access Memory) is fully utilized. By adjusting the virtual memory settings, you can optimize the performance of your computer, especially when using new RAM. Here’s how to adjust the virtual memory settings:
- Open the System Properties: Right-click on the “Start” button and select “System” from the menu. In the System window, click on “Advanced system settings” on the left-hand side.
- Access the Performance Options: In the System Properties window, go to the “Advanced” tab and click on the “Settings” button under the “Performance” section.
- Adjust the Virtual Memory settings: In the Performance Options window that appears, go to the “Advanced” tab and click on the “Change” button under the “Virtual memory” section.
- Uncheck “Automatically manage paging file size for all drives”: In the Virtual Memory window, uncheck the box that says “Automatically manage paging file size for all drives.” This allows you to customize the virtual memory settings manually.
- Select the drive: Choose the drive where you want to adjust the virtual memory settings. Typically, this is the system drive (usually the C: drive).
- Choose between system-managed or custom size: You have two options:
- System-managed size: Selecting this option allows Windows to automatically manage the virtual memory size based on the available space on the drive. This is the recommended option for most users.
- Custom size: Selecting this option allows you to manually specify the initial and maximum size for the virtual memory. If you choose this option, consult the recommended virtual memory size specified by your computer’s manufacturer or refer to Microsoft’s guidelines.
- Apply the changes: Once you have made the desired adjustments, click on the “Set” button, then click on “OK” to apply the changes and close the windows.
- Restart your computer: To finalize the changes, restart your computer.
Adjusting the virtual memory settings can help optimize the performance of your computer, especially when using new RAM. By customizing the virtual memory size, you ensure that your computer has enough additional memory to handle demanding tasks effectively.
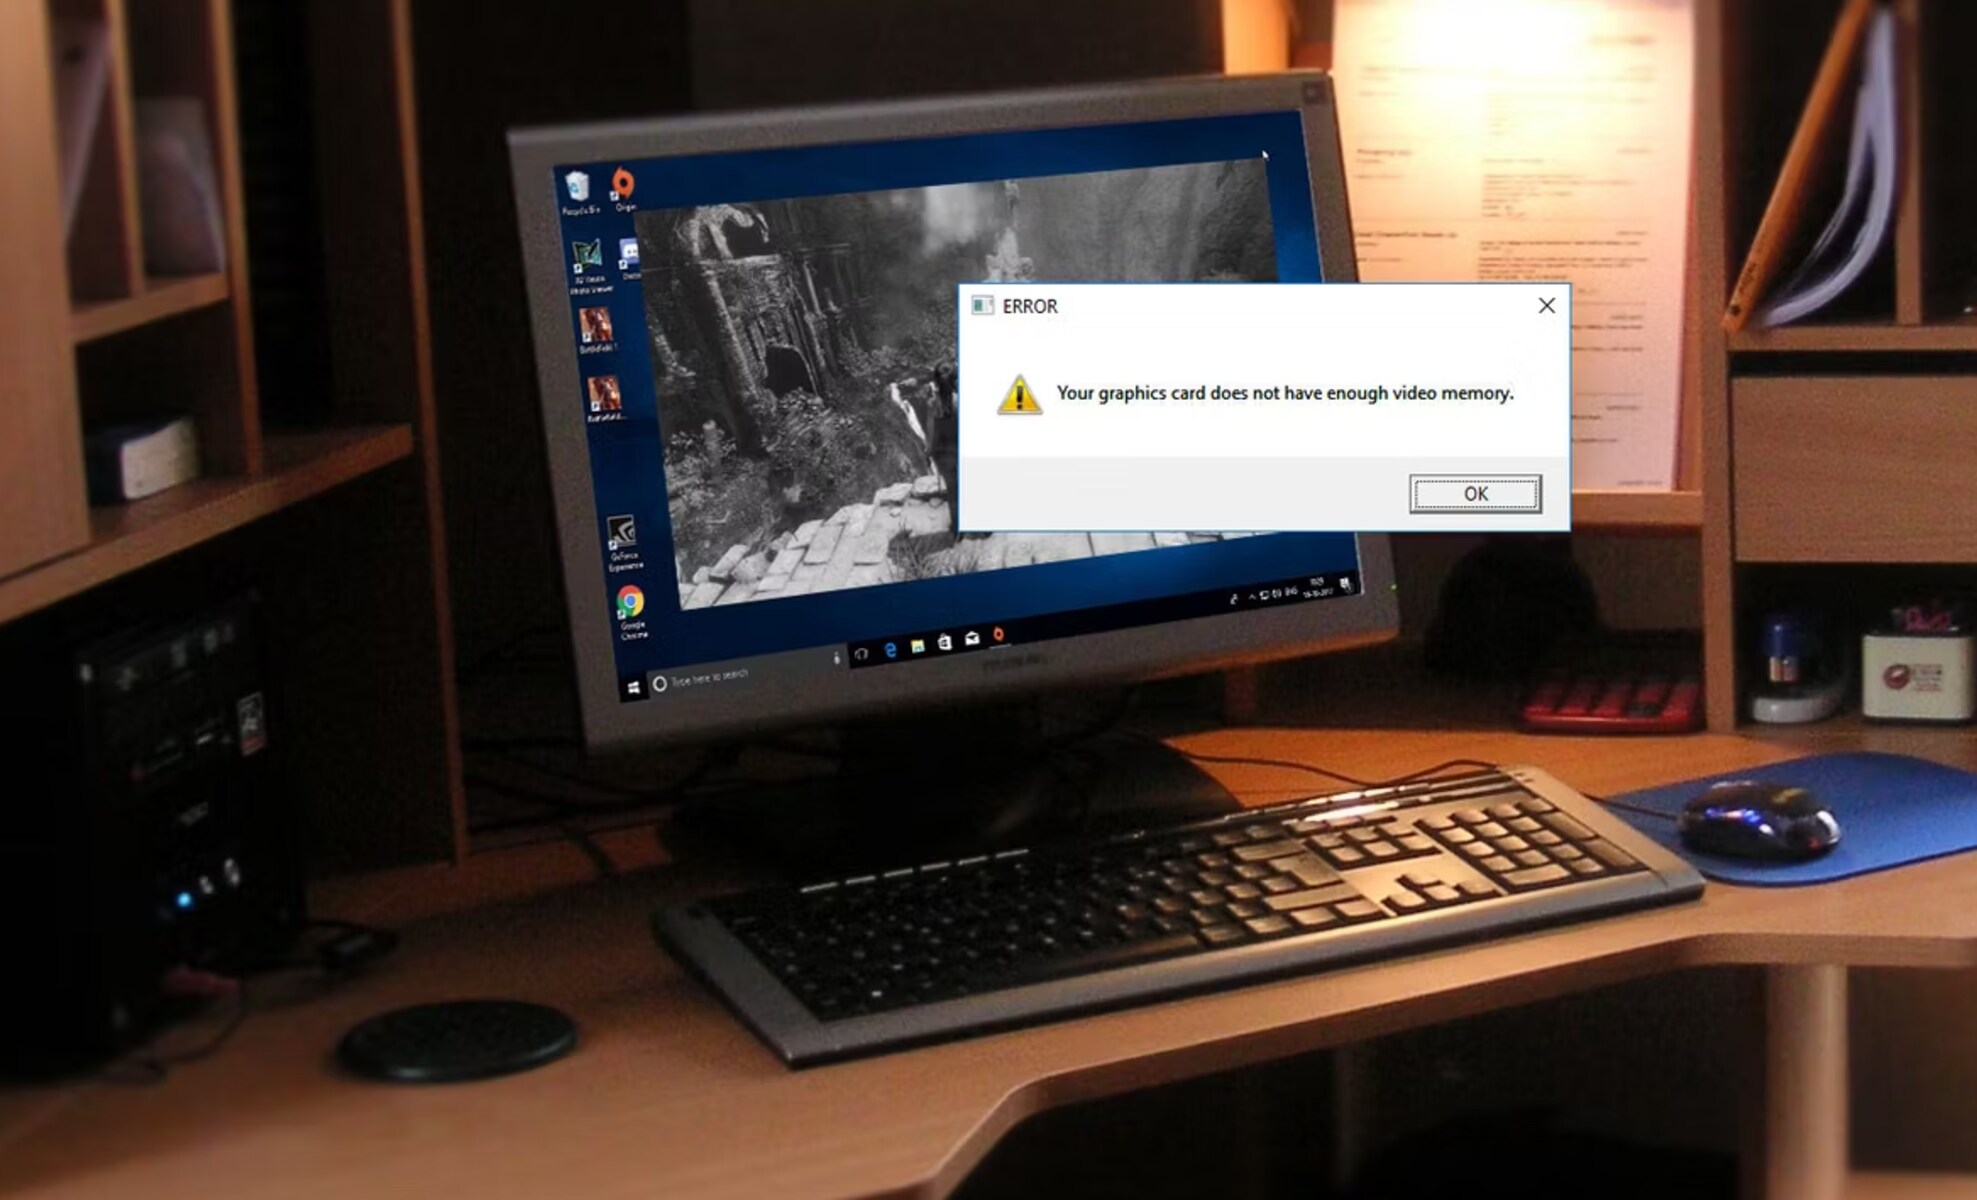
Testing RAM Stability and Performance
Once you have installed new RAM in your Windows 10 computer and adjusted the settings, it’s important to test the stability and performance of your system to ensure that the new RAM is functioning properly. Here are a few methods to test your RAM:
- Windows Memory Diagnostic: Windows 10 has a built-in tool called Windows Memory Diagnostic that can help identify any issues with your RAM. To access it, press the Windows key + R, type “mdsched.exe” and hit Enter. Choose either to restart now and check for problems or to check for problems the next time you restart your computer. The tool will run a diagnostic test on your RAM and report any errors.
- MemTest86: MemTest86 is a popular third-party tool that is considered one of the most reliable methods to test the stability and performance of your RAM. It is a bootable tool that runs outside of the Windows environment. You can download it from their official website and create a bootable USB or CD/DVD and follow the instructions to test your RAM.
- Prime95: Prime95 is a well-known stress testing tool that can be used to test the stability of your entire system, including the RAM. It puts a heavy load on your processor and memory, allowing you to observe if there are any stability issues or errors. You can download Prime95 from their website and run the stress test for an extended period, monitoring the system’s stability.
- Benchmarking software: There are various benchmarking software available that can test the performance of your RAM, such as PassMark PerformanceTest, AIDA64, and SiSoftware Sandra. These tools provide detailed information about the RAM speed, latency, bandwidth, and other performance metrics, allowing you to compare the performance against similar systems.
By testing the stability and performance of your RAM, you can identify any potential issues and ensure that your new RAM is functioning optimally. If you encounter any errors or stability problems during the tests, you may need to reseat the RAM modules, adjust the settings, or consult with a professional technician for further assistance.
Overclocking RAM (optional)
Note: Overclocking is an advanced technique that involves increasing the clock speed of your RAM beyond its default specifications. This section is optional and intended for experienced users who understand the risks and have adequate cooling solutions in place.
If you’re looking to maximize the performance of your RAM even further, you may consider overclocking it. Overclocking allows you to push the RAM’s speed beyond its rated limits, potentially providing a noticeable performance boost. Here are a few steps to overclock your RAM:
- Know your RAM: Before attempting to overclock, make sure you know the specifications of your RAM, including rated speed, timings, and voltage. These details can usually be found on the RAM module or in the manufacturer’s documentation.
- Access the BIOS: Restart your computer and enter the BIOS settings by pressing the designated key (such as Del or F2) during the boot process.
- Find RAM settings: Look for the “Memory” or “RAM” settings in the BIOS. The location and options may vary depending on your motherboard manufacturer and BIOS version.
- Enable manual control: Switch from automatic settings to manual control over the RAM frequency, timings, and voltage. This allows you to adjust these settings according to your overclocking needs.
- Gradually increase frequency: Start by increasing the RAM frequency by a small increment, such as 100MHz. Save the changes and exit the BIOS. Test the stability of your system using stress-testing tools such as MemTest86 or Prime95. If the system is stable, you can continue increasing the frequency in small increments until you reach a stable overclock.
- Tweak timings and voltage: Once you have found a stable overclock frequency, you can experiment with tightening the RAM timings and increasing the voltage slightly to further enhance performance. Note that increasing voltage should be done conservatively and within safe limits defined by the RAM manufacturer.
- Monitor temperatures: Overclocking can generate additional heat, so it’s crucial to monitor the temperature of your RAM and other components using monitoring software or the BIOS. Ensure that your cooling solution is adequate to keep the temperatures under control.
- Perform stability tests: After each adjustment, stress-test your system using tools like MemTest86 or Prime95 for an extended period to check for any stability issues or errors. If any issues arise, revert the settings to the previous stable configuration.
Overclocking RAM can provide a performance boost, but it carries risks. Overclocking can void warranties, cause system instability, and potentially damage components if not done correctly. It’s crucial to have a thorough understanding of the overclocking process and conduct it with caution. If you’re unsure or uncomfortable with overclocking, it’s best to stick to the default settings or consult with experienced overclockers.
Frequently Asked Questions (FAQs)
Here are some commonly asked questions about installing new RAM on Windows 10:
- 1. Do I need to upgrade my RAM?
Upgrading your RAM can provide a noticeable performance boost, especially if you frequently run memory-intensive tasks such as multitasking, gaming, video editing, and running virtual machines. - 2. How do I know if my RAM is compatible with my system?
To ensure compatibility, check your computer’s motherboard specifications or consult the manufacturer’s website for the supported RAM type, speed, and capacity. Alternatively, you can use tools like CPU-Z to identify your current RAM and find compatible replacements. - 3. How do I physically install new RAM?
To install new RAM, first, power down your computer and unplug it. Open the case, locate the RAM slots on the motherboard, gently insert the RAM module(s) into the slot(s) at a slight angle, and press it down until it clicks into place. Finally, close the case and reconnect the power. - 4. Can I mix different types or speeds of RAM?
Mixing different types or speeds of RAM modules can lead to compatibility and stability issues. It is generally recommended to use RAM modules of the same type, speed, and capacity for optimal performance. - 5. How do I check if my computer recognizes the new RAM?
You can check if your computer recognizes the new RAM by accessing the System Information utility, opening the Task Manager, or checking the BIOS/UEFI settings. These tools will display the total amount of installed RAM. - 6. How do I adjust the RAM settings in the BIOS?
Restart your computer and enter the BIOS settings by pressing the designated key (such as Del or F2) during the boot process. Look for the RAM or Memory settings, where you can adjust options such as XMP/DOCP profiles, RAM frequency, timings, and voltage. - 7. Do I need to adjust the virtual memory settings after installing new RAM?
It’s recommended to check and adjust the virtual memory settings after installing new RAM to ensure optimal performance. You can access these settings through the System Properties and customize the virtual memory size based on your system’s needs. - 8. Should I overclock my RAM?
Overclocking RAM can provide a performance boost but is an advanced technique that carries risks. It’s suitable for experienced users who understand the process and have adequate cooling. Overclocking can void warranties, cause instability, and potentially damage components if not done correctly.
These are just some of the commonly asked questions regarding installing new RAM on Windows 10. If you have any additional queries or concerns, it’s always best to consult the manufacturer’s documentation or seek assistance from professional technicians.