Introduction
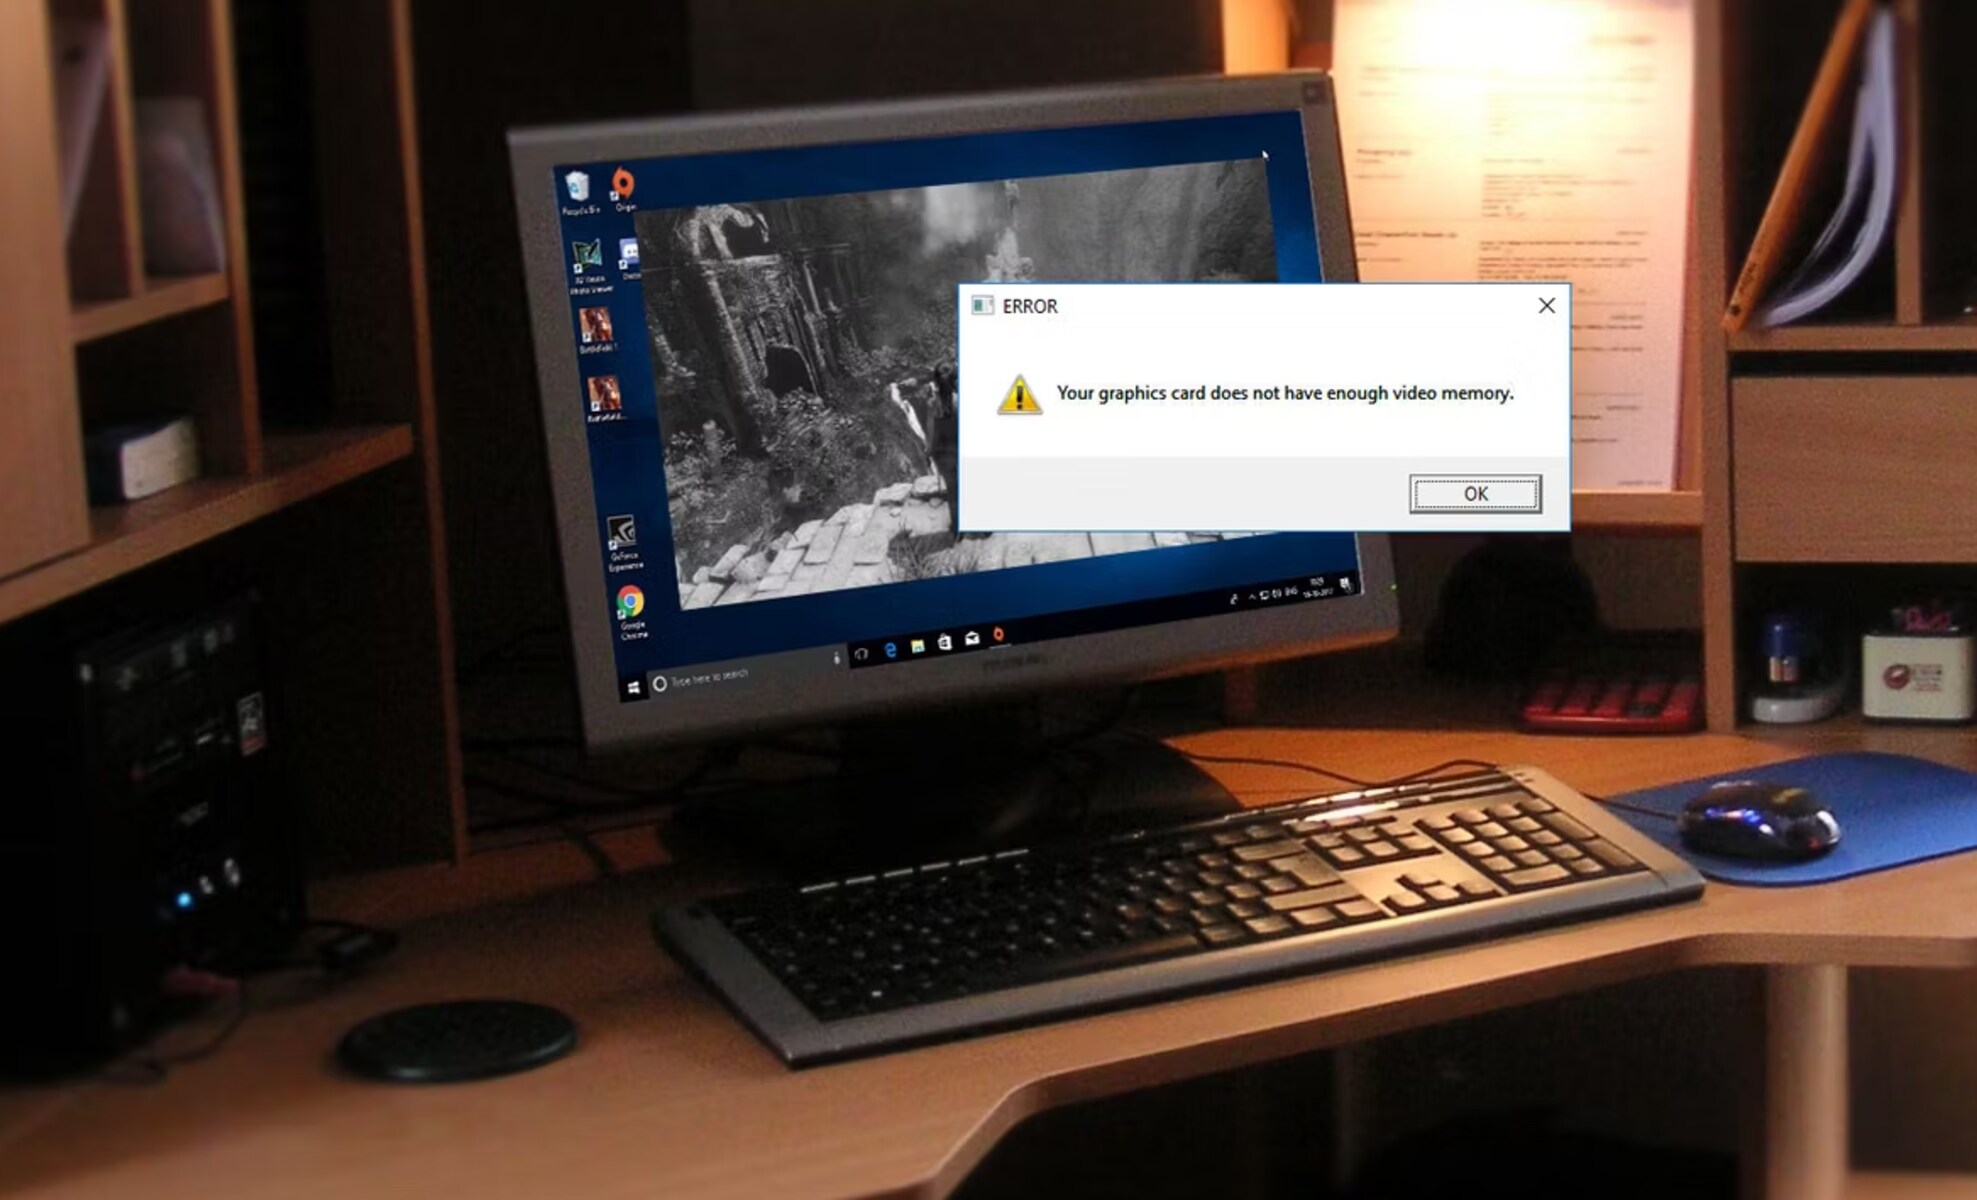
In today’s digital age, video content has become an integral part of our lives. From streaming movies to playing graphics-intensive games, having a good amount of dedicated Video RAM (VRAM) is essential for a smooth and immersive experience.
Unfortunately, many Windows 10 laptop users often find themselves limited by the amount of dedicated VRAM allocated to their system. This can lead to laggy gameplay, stuttering videos, and overall subpar performance. However, there are several methods you can employ to get more dedicated VRAM on your Windows 10 laptop and unlock the full potential of your system.
In this article, we will take a closer look at the various techniques you can use to increase the amount of dedicated VRAM on your Windows 10 laptop. Whether you are a casual gamer or a passionate video editor, these methods will help you optimize your system’s performance and allow you to enjoy seamless multimedia experiences.
Before diving into the solutions, it is important to understand what dedicated VRAM is and how it impacts your laptop’s performance. So, let’s explore the world of dedicated VRAM and its significance in the realm of multimedia computing.
Understanding Video RAM
Video RAM, also known as VRAM, is a specialized type of memory that is dedicated to storing and accessing the graphics data of your laptop. Unlike your system’s regular RAM, which is used for general computing tasks, VRAM is designed specifically for handling the demanding visual requirements of modern applications like games, video editing software, and graphic design tools.
The primary function of VRAM is to store the textures, shaders, and other visual assets required for rendering images and videos on your laptop’s display. It acts as a buffer between the CPU and GPU, allowing for faster and more efficient data transfer during graphics-intensive tasks.
The amount of dedicated VRAM available on your laptop has a direct impact on its graphics performance. A higher VRAM capacity allows for smoother gameplay, faster video playback, and improved visual quality. Conversely, a lower VRAM allocation can result in lag, frame rate drops, and graphical glitches.
It’s important to note that dedicated VRAM is separate from your laptop’s system RAM, which is used for general computing tasks. While they both contribute to overall performance, their roles and functions are distinct. Increasing the amount of dedicated VRAM will not affect the capacity or speed of your system’s RAM.
It’s also worth mentioning that not all laptops have the same amount of dedicated VRAM. Entry-level or budget laptops typically come with a lower VRAM allocation, while high-end gaming laptops and workstations feature more substantial VRAM capacities. However, even if you have a laptop with limited VRAM, there are strategies you can employ to optimize its usage and potentially increase its allocation.
Now that we have a better understanding of what dedicated VRAM is and why it is crucial for optimal graphics performance, let’s explore the various methods you can use to check your current VRAM allocation and increase it if necessary.
Checking the Current Dedicated Video RAM
Before you can start working on increasing the amount of dedicated VRAM on your Windows 10 laptop, it is important to know what your current allocation is. Fortunately, Windows provides a straightforward way to check this information.
To check the current dedicated VRAM on your Windows 10 laptop, follow these steps:
- Right-click on the Start button and select “System”.
- In the System window, click on “Advanced system settings” in the left-hand pane.
- A new window will open, with the “System Properties” tab selected. Click on the “Settings” button under the “Performance” section.
- In the Performance Options window, go to the “Advanced” tab and click on the “Change” button under the “Virtual memory” section.
- Another window will appear, labeled “Virtual Memory”. Here, you will see the current allocation of VRAM under the “Currently allocated” section.
Alternatively, you can also use a built-in Windows command called “dxdiag” to check your VRAM allocation:
- Press the Windows key + R to open the Run dialog box.
- Type “dxdiag” and press Enter.
- The DirectX Diagnostic Tool will open. Go to the “Display” tab.
- Under the “Device” section, you will find the “Approx. Total Memory” value, which indicates your current VRAM allocation.
Once you have determined the amount of dedicated VRAM on your Windows 10 laptop, you can proceed with the next steps to increase it if necessary. Whether your current allocation is insufficient for your needs or you simply want to maximize your laptop’s performance, there are several methods you can explore to adjust or optimize the amount of dedicated VRAM.
Adjusting Dedicated Video RAM in BIOS
If you find that the current allocation of dedicated VRAM on your Windows 10 laptop is inadequate for your needs, one potential solution is to adjust the VRAM settings in your laptop’s BIOS (Basic Input/Output System). However, please note that not all laptops provide the option to modify the VRAM allocation in the BIOS, as it depends on the manufacturer and model.
Here’s how you can try to adjust the dedicated VRAM in your laptop’s BIOS:
- Restart your laptop and continuously press the specified key or combination (such as F2, Del, or Esc) to enter the BIOS settings. This key varies depending on the laptop manufacturer, so consult your laptop’s documentation or search online for the specific key for your model.
- Once you’re in the BIOS settings, navigate through the menus using the arrow keys and look for options related to graphics, display, or VRAM settings. The specific naming and location of these settings can vary between BIOS versions.
- Find the option to adjust the VRAM allocation. It may be labeled as “Graphics Configuration,” “Video Settings,” or something similar.
- Use the arrow keys to select the VRAM setting and increase or decrease the allocation as needed. Some BIOS interfaces may have a specific value to select, while others may provide options like a slider or predetermined allocation sizes.
- After making the desired changes, save the settings and exit the BIOS by following the on-screen instructions. Your laptop will then restart with the new VRAM allocation.
Note that adjusting the VRAM allocation in the BIOS can have an impact on other system resources, so it’s essential to strike a balance to avoid potential stability or performance issues. Additionally, not all laptops provide the flexibility to modify VRAM settings, especially those with integrated graphics, so you might not see these options in your BIOS.
If your laptop doesn’t have the option to change the VRAM allocation in the BIOS, don’t worry. There are still other methods you can explore to potentially increase the amount of dedicated VRAM on your Windows 10 laptop.
Updating Graphics Drivers
If you’re experiencing performance issues or facing limitations with your current VRAM allocation, one of the first steps you should take is updating your graphics drivers. Outdated or incompatible drivers can significantly impact your laptop’s graphics performance and may prevent you from utilizing the full potential of your dedicated VRAM.
Here’s how you can update your graphics drivers:
- Identify your graphics card model. You can do this by right-clicking on the Start button and selecting “Device Manager.” In the Device Manager window, expand the “Display adapters” category to see the name of your graphics card.
- Visit the website of your graphics card manufacturer. Common manufacturers include NVIDIA, AMD, and Intel.
- Locate the drivers section on the manufacturer’s website and search for the drivers specific to your graphics card model and Windows 10.
- Download the latest drivers for your graphics card and save them to a convenient location on your laptop.
- Open the downloaded driver file and follow the on-screen instructions to install the updated drivers.
- Once the installation is complete, restart your laptop to apply the changes.
Updating your graphics drivers ensures that your laptop is equipped with the latest performance optimizations and compatibility fixes. This can often result in improved graphics performance, including potentially more efficient utilization of your dedicated VRAM.
In addition to manually updating your graphics drivers, you can also utilize driver update software, which automates the process of finding and installing the latest drivers for your hardware. Such software can save time and ensure that you have the most up-to-date drivers for optimal performance.
By keeping your graphics drivers updated, you provide your Windows 10 laptop with the best chance of utilizing its dedicated VRAM effectively, resulting in smoother graphics performance and an enhanced overall user experience.
Closing Unnecessary Applications and Processes
One simple yet effective way to optimize the usage of your dedicated VRAM on a Windows 10 laptop is to close unnecessary applications and processes running in the background. These applications consume system resources, including VRAM, even if you’re not actively using them, which can limit the available VRAM for other tasks.
Here are some steps you can take to close unnecessary applications and processes:
- Press Ctrl + Shift + Esc simultaneously to open the Task Manager.
- In the Task Manager window, switch to the “Processes” tab.
- Sort the processes by VRAM usage by clicking on the “Memory” column header. This will allow you to identify which processes are consuming the most VRAM.
- Identify any non-essential applications or processes that are using a significant amount of VRAM. Examples may include resource-intensive games running in the background, video editing software, or any other programs that you are not actively using.
- Select the unnecessary processes one by one and click on the “End Task” button at the bottom right corner of the Task Manager window. Exercise caution and avoid closing any essential system processes.
- Repeat this process for all the unnecessary processes, freeing up valuable VRAM and system resources.
By closing unnecessary applications and processes, you can ensure that your dedicated VRAM is primarily utilized by the applications you actively use. This can lead to improved performance, reduced lag, and a smoother multitasking experience.
In addition to closing applications and processes manually, you can also configure certain applications to automatically close when they are not in use or adjust their graphics settings to optimize resource usage. Check the settings of individual applications to explore these options.
Remember to save any unsaved work before closing applications, and be mindful of closing essential system processes as it may cause instability or affect the functionality of your Windows 10 laptop. It’s recommended to research any unfamiliar processes before terminating them to avoid any unintended consequences.
By adopting these practices, you can maximize the available VRAM on your Windows 10 laptop and ensure that it is allocated to the applications and processes that need it the most.
Using a Virtual RAM Extension
If you’re looking to increase the amount of available VRAM on your Windows 10 laptop, one alternative solution is to utilize a virtual RAM extension. This technique allows you to allocate a portion of your system’s regular RAM as virtual VRAM, effectively boosting the available graphics memory.
Here’s how you can use a virtual RAM extension:
- Open the Start menu, right-click on “This PC” or “My Computer,” and select “Properties.”
- In the System Properties window, go to the “Advanced” tab and click on the “Settings” button under the “Performance” section.
- In the Performance Options window, go to the “Advanced” tab and click on the “Change” button under the “Virtual memory” section.
- Uncheck the option “Automatically manage paging file size for all drives.”
- Select the drive where your Windows 10 installation is located (usually the C: drive).
- Choose the “Custom size” option and enter a value for the initial and maximum size of the virtual memory. The size you choose will be the amount of virtual VRAM allocated.
- Click “Set” and then “OK” to save the changes.
- Restart your laptop to apply the new virtual VRAM allocation.
By utilizing a virtual RAM extension, you are essentially reserving a portion of your system’s RAM to be used as additional VRAM. This can be particularly useful if your laptop has limited dedicated VRAM but sufficient system RAM available.
However, it’s important to note that virtual VRAM is not as high-performing as dedicated VRAM, as it relies on the regular RAM resources and may introduce some level of latency. Therefore, this method may provide a boost in graphics performance but may not be as effective as physically increasing the dedicated VRAM.
Additionally, allocating too much virtual VRAM may impact the overall system performance, so it’s recommended to allocate a reasonable amount based on your specific requirements and available system resources.
Remember to monitor your laptop’s performance after implementing a virtual RAM extension and adjust the allocation if necessary. If you find that the performance is not satisfactory, you may consider exploring other methods to increase the dedicated VRAM on your Windows 10 laptop.
Optimizing Windows 10 Performance Settings
To ensure that your Windows 10 laptop is utilizing its dedicated VRAM to its fullest potential, it’s essential to optimize the performance settings of your system. By adjusting these settings, you can fine-tune your laptop’s performance, prioritize graphics-related tasks, and maximize the utilization of dedicated VRAM.
Here are some steps you can take to optimize the performance settings in Windows 10:
- Open the Start menu, click on “Settings,” and select “System.”
- In the System settings, go to the “Display” tab.
- Under the “Advanced display settings” section, click on “Graphics settings.”
- In the Graphics settings window, make sure the “Hardware-accelerated GPU scheduling” option is turned on. This feature allows your GPU to manage its own memory, including dedicated VRAM, resulting in improved performance.
- Close the Graphics settings window and go back to the System settings.
- Click on “Power & sleep” in the left-hand pane.
- Under the “Related settings” section, click on “Additional power settings.”
- In the Power Options window, select the power plan that is currently active (usually the “Balanced” plan) and click on “Change plan settings.”
- Click on “Change advanced power settings” to open the Advanced settings tab.
- Scroll down and find the “Graphics settings” or “Graphics Power Plan” option.
- Expand the graphics settings option and make sure that the “Maximum Performance” or “High Performance” option is selected.
- Save your changes and exit the Power Options window.
By enabling hardware-accelerated GPU scheduling and adjusting the power plan to prioritize maximum performance, you can ensure that your Windows 10 laptop is utilizing its dedicated VRAM optimally.
Additionally, it’s worth mentioning that you can optimize the performance settings of individual applications as well. Some applications have their own graphics settings that allow you to adjust options such as resolution, texture quality, and anti-aliasing, which can impact VRAM usage. By tuning these settings appropriately, you can strike a balance between performance and visual quality.
Remember to restart your laptop after making these changes to apply the new settings effectively.
By optimizing the performance settings in Windows 10, you can create an environment that makes the most efficient use of your dedicated VRAM, resulting in enhanced graphics performance and a smoother user experience.
Upgrading RAM
If you’ve tried various methods to increase the amount of dedicated VRAM on your Windows 10 laptop and still find yourself limited by its capacity, one definitive solution is to upgrade your RAM. Increasing the amount of physical RAM in your laptop can provide a significant boost in overall system performance, including graphics-related tasks that rely on dedicated VRAM.
Here are the steps to upgrade your RAM:
- Determine the maximum amount of RAM your laptop can support. You can check the manufacturer’s website or refer to your laptop’s documentation for this information.
- Purchase the appropriate RAM modules that are compatible with your laptop. Ensure that the specifications match the required type, speed, and capacity.
- Turn off your laptop and unplug any connected cables.
- Locate the RAM slots on your laptop. They are typically located on the underside of the laptop or underneath a removable panel.
- Carefully remove any existing RAM modules by pushing apart the clips on either side and gently pulling the module out of the slot.
- Insert the new RAM module into the slot at a 45-degree angle and press firmly until it clicks into place. Note that some laptops may require you to install modules in a specific order or only support a certain configuration.
- Repeat the process for any additional RAM modules you are installing.
- Reattach the removable panel or close the laptop case.
- Turn on your laptop and check if the new RAM is detected by the system. You can do this by going to the “System” settings or using third-party system information tools.
By upgrading your RAM, you can increase the amount of available memory for your laptop, ensuring that there is ample capacity for both system processes and graphics-intensive tasks. This can result in improved overall performance, faster loading times, and smoother graphics rendering.
It’s important to note that upgrading RAM requires compatible modules and knowledge of your laptop’s specifications. If you’re unsure about the process, it’s recommended to seek assistance from a professional or consult the laptop manufacturer’s support resources.
Additionally, keep in mind that increasing the amount of physical RAM does not directly increase the dedicated VRAM. However, it allows your laptop to handle more data efficiently, reducing the reliance on virtual memory and potentially improving VRAM utilization.
Before purchasing and installing new RAM modules, make sure to research the compatibility and upgrade options specific to your Windows 10 laptop.
Conclusion
Having sufficient dedicated VRAM is crucial for a seamless and immersive experience while using graphics-intensive applications on your Windows 10 laptop. By implementing the techniques mentioned in this article, you can optimize your VRAM usage and enhance overall performance.
Throughout this article, we discussed various methods to increase the amount of dedicated VRAM on your Windows 10 laptop. You learned how to check your current VRAM allocation, adjust VRAM settings in the BIOS (if available), update graphics drivers for improved performance, close unnecessary applications and processes to free up VRAM, utilize a virtual RAM extension, and optimize Windows 10 performance settings.
While each method has its own advantages and considerations, it’s essential to assess your specific needs and the capabilities of your laptop before implementing any changes. Not all laptops offer the same level of flexibility in terms of VRAM allocation or upgrade options. Therefore, it’s important to research your laptop’s specifications and consult the manufacturer’s resources if needed.
Remember, if your Windows 10 laptop still experiences limitations in graphics performance despite these optimizations, it may be worth considering hardware upgrades, such as upgrading your RAM or investing in a laptop with a higher VRAM capacity.
Ultimately, by taking advantage of the methods outlined in this article, you can optimize your Windows 10 laptop’s performance and make the most of your dedicated VRAM, allowing you to enjoy enhanced visuals, smoother gameplay, and improved productivity in graphics-intensive tasks.
Start implementing these strategies today and unlock the full potential of your Windows 10 laptop’s dedicated VRAM!


