Introduction
Welcome to the electrifying world of Cyberpunk 2077, a futuristic open-world action role-playing game that takes you on a thrilling journey through the gritty streets of Night City. As you immerse yourself in this cyberpunk dystopia, you’ll need every advantage you can get to survive and thrive in this unforgiving environment. One crucial element that can significantly impact your gaming experience is your computer’s RAM.
RAM, which stands for Random Access Memory, plays a vital role in how smoothly and efficiently your system runs Cyberpunk 2077. It acts as a temporary storage unit for data that your computer needs to access quickly, such as game files, textures, and other crucial gameplay elements. Having ample RAM ensures that these resources are readily available, minimizing lag, improving load times, and providing a seamless gaming experience.
However, before you rush off to upgrade your RAM, it’s important to understand the system requirements for Cyberpunk 2077. The amount of RAM you need will depend on various factors such as your operating system, the complexity of the game, and the other programs running in the background.
In this article, we will explore the importance of RAM in Cyberpunk 2077, discuss the system requirements, guide you through the process of upgrading your RAM, and provide tips for optimizing RAM usage in the game.
So, whether you’re a seasoned netrunner or just starting your adventure in Night City, read on to discover how to get more RAM and maximize your Cyberpunk 2077 experience.
What is RAM and its Importance in Cyberpunk 2077
If you’ve ever wondered what RAM is and why it’s important for gaming, let’s break it down. RAM, or Random Access Memory, is a type of computer memory that temporarily stores data that your computer needs to access quickly. Unlike your computer’s hard drive, which is used for long-term storage, RAM provides fast and temporary access to data. Think of it as the workbench of your computer, where essential files and processes are kept for quick retrieval.
In the context of Cyberpunk 2077, RAM plays a crucial role in ensuring the game runs smoothly and without any hiccups. As you traverse the densely populated Night City, your computer is constantly loading and unloading game assets, such as character models, textures, and sound effects. This data needs to be stored in RAM for quick access, reducing load times and preventing the game from stuttering or freezing.
Imagine this scenario: you’re exploring a neon-lit alley in Night City, and suddenly, a gang of cyber-enhanced enemies confronts you. Your adrenaline is pumping as you engage in a high-octane gunfight. In this intense moment, every millisecond counts. But if your computer’s RAM is insufficient, the game might struggle to process the rapid flow of information, causing lag and ruining your immersion.
Having enough RAM in your system ensures that Cyberpunk 2077 can access the necessary files and data quickly, keeping your gaming experience seamless and immersive. With sufficient RAM, you’ll experience faster load times, smoother gameplay, and enhanced graphics, allowing you to fully immerse yourself in the neon-soaked, futuristic world of Cyberpunk 2077.
Furthermore, RAM is not only essential for the performance of the game itself but also for running other programs and processes simultaneously. While playing Cyberpunk 2077, you may want to have other applications open, such as web browsers for guides or communication platforms to interact with fellow gamers. Adequate RAM allows your computer to handle these additional tasks without slowing down the game or causing system instability.
In summary, RAM is a crucial component when it comes to optimizing your Cyberpunk 2077 gaming experience. It ensures quick access to game data, reduces load times, minimizes lag, and improves overall system performance. With adequate RAM, you can enjoy the immersive world of Cyberpunk 2077 without any interruptions or technical issues.
System Requirements: How Much RAM Does Cyberpunk 2077 Need?
Before diving into the process of getting more RAM for Cyberpunk 2077, it’s essential to understand the minimum and recommended system requirements set by the developers, CD Projekt Red. These specifications provide a baseline for ensuring optimal performance and a smooth gaming experience.
Cyberpunk 2077 is a visually stunning and graphically demanding game, and as such, it requires a relatively high amount of RAM. The minimum system requirements state that you should have at least 8GB of RAM to run the game. While this may suffice for basic gameplay, it’s worth noting that the game’s performance may be limited, and you may experience occasional lag or longer load times.
For a more optimal experience, CD Projekt Red recommends having 12GB of RAM. This provides a bit more headroom for the game to utilize additional resources and ensures smoother gameplay, especially in graphically intensive scenes or during intense combat encounters.
However, if you want to push the boundaries and experience Cyberpunk 2077 at its best, it’s advisable to aim for 16GB or even 32GB of RAM. This will allow the game to load and cache more assets in memory, resulting in faster rendering, improved texture quality, and reduced stuttering.
It’s important to note that the amount of RAM you need for Cyberpunk 2077 also depends on other factors such as your graphics card, processor, and the operating system you are using. If you have a more powerful setup or plan on running the game at higher resolutions, such as 1440p or 4K, having more RAM becomes even more crucial to avoid bottlenecks and fully utilize your system’s capabilities.
Keep in mind that the system requirements can vary from player to player, depending on your desired level of graphical fidelity and performance. If you’re unsure about the optimal amount of RAM for your specific setup, you can consult Cyberpunk 2077’s official website or reach out to the game’s community forums for guidance.
In summary, while the minimum requirement for Cyberpunk 2077 is 8GB of RAM, it’s generally recommended to have at least 12GB or more to ensure a smoother and more enjoyable gaming experience. Upgrading your RAM to meet or exceed these requirements will greatly enhance the performance and visual quality of Cyberpunk 2077, allowing you to fully immerse yourself in the futuristic world of Night City.
Ensuring Compatibility: Understanding RAM Types
When it comes to upgrading your RAM for Cyberpunk 2077, it’s important to ensure compatibility with your existing hardware. Understanding different RAM types and their compatibility will help you make informed decisions and avoid any potential issues.
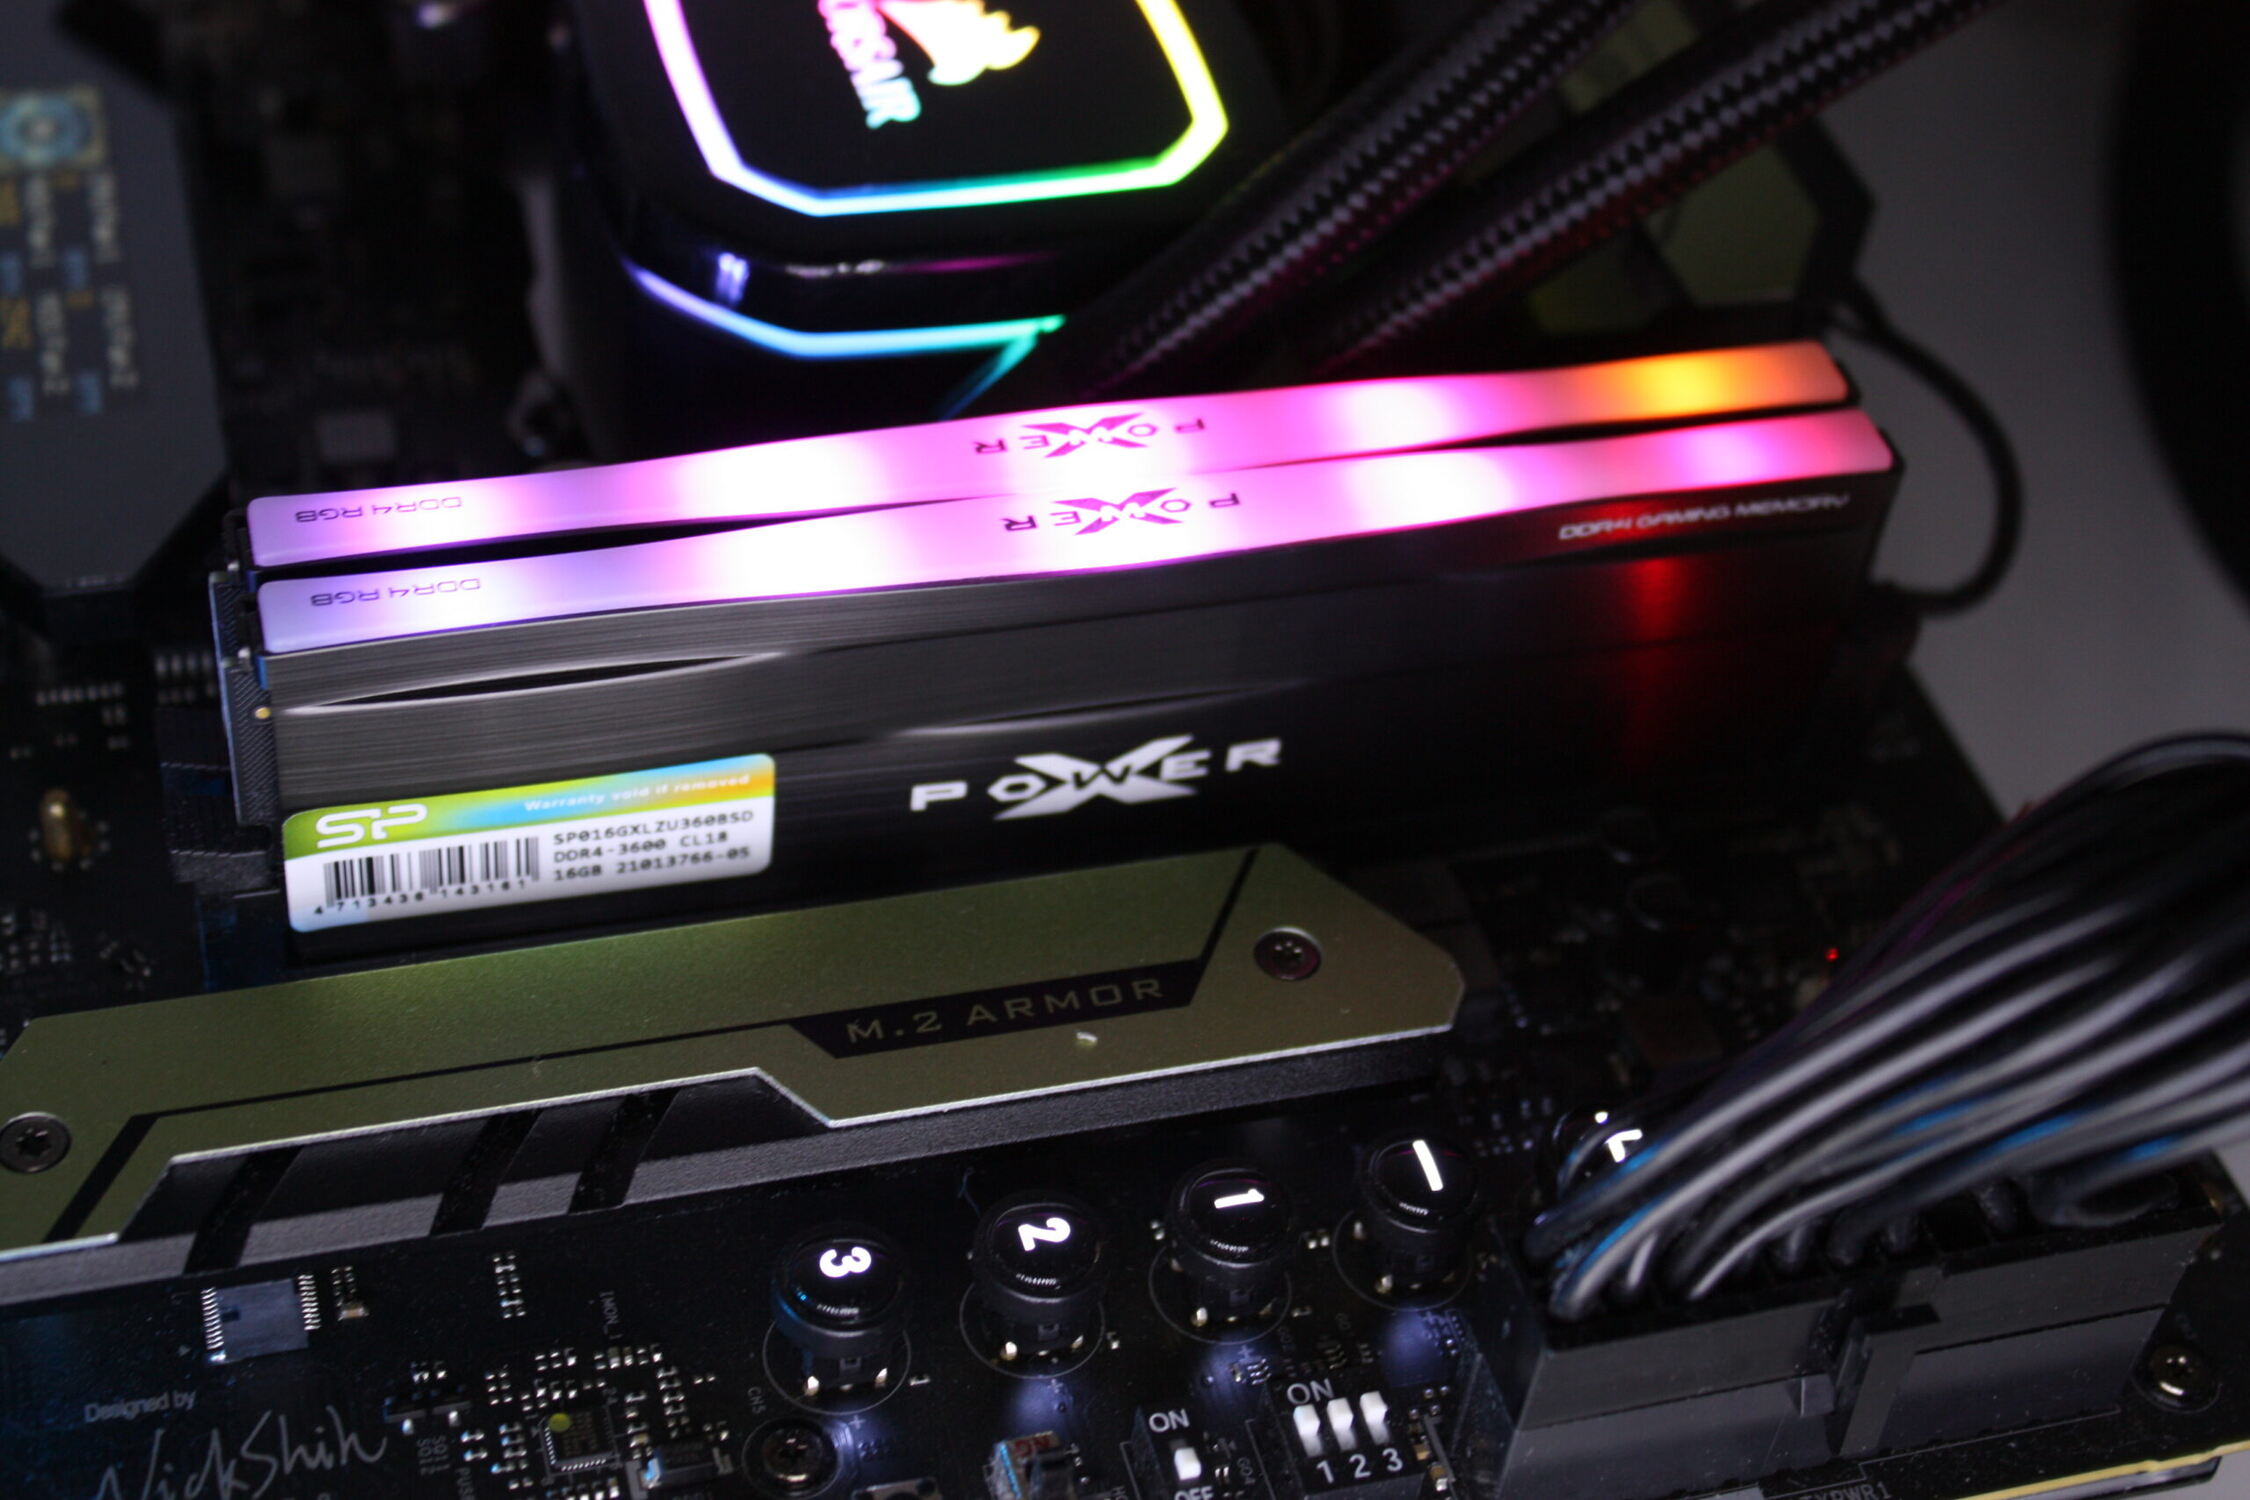
There are several types of RAM available in the market, such as DDR3, DDR4, and the newer DDR5. The type of RAM your system supports depends on your motherboard’s specifications. Cyberpunk 2077, being a modern and demanding game, requires DDR4 RAM for optimal performance.
DDR4 RAM offers faster data transfer rates and higher bandwidth compared to its predecessor, DDR3. It also has lower power consumption, which is advantageous for both performance and energy efficiency. These factors make DDR4 RAM the ideal choice for running Cyberpunk 2077 at its best.
To determine if your system supports DDR4 RAM, consult your motherboard’s manual or visit the manufacturer’s website for detailed information. Most recent motherboards are compatible with DDR4, but it’s always best to double-check to avoid any compatibility issues.
Another factor to consider is the speed of the RAM. It is measured in megahertz (MHz) and indicates the rate at which data can be transferred. Higher speed RAM generally results in better performance. However, it’s worth noting that the impact on gaming performance may be marginal, so it’s not always necessary to invest in the highest speed RAM available.
When shopping for RAM modules, consider the specifications recommended by the motherboard manufacturer. This will ensure compatibility and optimal performance. It’s also advisable to purchase RAM modules from reputable brands that offer reliable products and good customer support.
In addition to compatibility, you should also consider the capacity of the RAM modules you intend to purchase. As mentioned earlier, Cyberpunk 2077 recommends a minimum of 8GB of RAM, but having more will offer a better gaming experience. Consider your budget and gaming needs when deciding on the capacity of the RAM modules to ensure you have enough headroom for other resource-intensive tasks and future games.
In summary, understanding the different RAM types and their compatibility is crucial when upgrading your RAM for Cyberpunk 2077. Ensure that your motherboard supports DDR4 RAM, and consider its speed and capacity based on your budget and gaming requirements. By choosing the right RAM modules, you can ensure optimal performance and compatibility, allowing you to fully enjoy the immersive world of Cyberpunk 2077 without any technical limitations.
Upgrading Your RAM: A Step-by-Step Guide
If you’ve determined that your current RAM is insufficient for the demanding requirements of Cyberpunk 2077, fear not! Upgrading your RAM is a relatively simple process that can significantly enhance your gaming experience. Follow this step-by-step guide to successfully upgrade your RAM:
- Research and purchase compatible RAM: Before making any purchase, ensure that you are buying RAM modules that are compatible with your motherboard. Refer to your motherboard’s manual or visit the manufacturer’s website to determine the compatible RAM specifications.
- Gather the necessary tools: You will need a small Phillips screwdriver, an antistatic wrist strap (optional but recommended), and a clean, well-lit workspace.
- Power down and disconnect: Shut down your computer and unplug all cables. This will ensure your safety while working inside the computer and prevent any damage to your system.
- Ground yourself: To prevent static discharge that could potentially damage sensitive components, strap on an antistatic wrist strap or touch a grounded metal object before proceeding.
- Locate and remove existing RAM: Open your computer’s case or access panel to locate the RAM slots. Gently press down on the retention clips on either side of the RAM module to release it. Carefully remove the module from the slot.
- Insert the new RAM module: Align the notch on the new RAM module with the corresponding slot on the motherboard. Firmly press down on the module until it clicks into place. Ensure that the retention clips lock the module securely.
- Repeat for additional modules (if applicable): If you are installing more than one RAM module, repeat the process for each additional module. Consult your motherboard’s manual for guidance on the optimal configuration for multiple modules.
- Close and power up: Carefully close the computer’s case or access panel, ensuring that all screws are tightened. Reconnect all cables and power up your system.
- Verify the new RAM: Once your computer has powered up, navigate to your operating system’s settings or use third-party software to verify that your computer recognizes the new RAM. Check that the capacity and speed of the installed RAM matches your expectations.
It’s important to note that while upgrading RAM is a straightforward process, it’s always a good idea to take precautions and consult the documentation provided by your motherboard manufacturer. If you’re unsure about any step, seeking guidance from a professional or experienced individual can help ensure a successful upgrade.
With your upgraded RAM installed, you’re now ready to dive back into the neon-lit world of Cyberpunk 2077 with improved performance and smoother gameplay!
Selecting the Right RAM for Cyberpunk 2077
When it comes to selecting the right RAM for Cyberpunk 2077, there are a few factors to consider to ensure compatibility and optimal performance. Here are some key points to keep in mind:
1. Compatible RAM type: As mentioned earlier, Cyberpunk 2077 requires DDR4 RAM for optimal performance. Ensure that the RAM modules you choose are DDR4 and compatible with your motherboard. Refer to your motherboard’s specifications or consult the manufacturer’s website for compatibility information.
2. RAM capacity: Consider the capacity of the RAM modules based on your budget and gaming needs. While the minimum requirement for Cyberpunk 2077 is 8GB, it’s recommended to have at least 12GB or more for a smoother and more enjoyable gaming experience. If you have additional budget and want to future-proof your system, consider opting for 16GB or even 32GB of RAM.
3. RAM speed: The speed of the RAM, measured in megahertz (MHz), indicates how quickly data can be transferred. While higher RAM speeds can result in better performance, the impact on gaming performance may be marginal. Consider the price-to-performance ratio when choosing the RAM speed. Aim for a balance between speed and cost that suits your needs.
4. Brand and quality: Select reputable brands known for producing reliable RAM modules. Opting for quality brands ensures better compatibility, reliability, and customer support in case you encounter any issues.
5. Overclocking capabilities (optional): If you’re interested in pushing your system’s performance further, consider RAM modules with good overclocking capabilities. Overclocking allows you to increase the RAM’s speed beyond its default specifications, unlocking potential performance improvements. However, note that overclocking may void your warranty and should be done with caution and knowledge.
6. Budget: Consider your budget when selecting RAM modules. While it’s tempting to go for the highest specifications available, it’s essential to align your choices with your budget and gaming priorities. Remember, the RAM is just one component of your overall system, and balancing your spending across all components will yield the best overall performance.
By considering these factors, you can select the right RAM for Cyberpunk 2077 that suits your needs, budget, and hardware compatibility. If you’re unsure about the specific requirements for your system, consult the game’s official website, your motherboard’s documentation, or seek advice from knowledgeable professionals or online communities.
Upgrading your RAM to meet or exceed the recommended specifications will ensure a smoother and more immersive gaming experience in the sprawling world of Cyberpunk 2077.
Installing and Configuring Additional RAM
Congratulations on acquiring your additional RAM modules! Now, let’s walk through the process of installing and configuring the additional RAM to optimize its performance for Cyberpunk 2077:
- Prepare your workspace: Ensure that you have a clean and well-lit workspace with enough room to comfortably work on your computer.
- Power down and disconnect: Shut down your computer and unplug all cables. This will prevent any electrical damage to your system and ensure your safety.
- Ground yourself: To avoid static discharge that could harm the RAM or other sensitive components, strap on an antistatic wrist strap or touch a grounded metal object before proceeding.
- Open your computer’s case: Depending on your computer model, remove the side panel or access cover to expose the internal components. Refer to your computer’s manual if needed.
- Locate the RAM slots: Identify the slots where the additional RAM will be installed. Typically, they are located near the existing RAM modules. Remember to handle the RAM modules by their edges and avoid touching the gold contacts.
- Insert the RAM modules: Align the notch on the bottom of the RAM module with the tab inside the slot. Gently press down on the module until it is securely seated in the slot. Apply even pressure on both ends until the module clicks into place.
- Verify installation: Once the RAM modules are installed, ensure that they are properly seated in their slots. They should be level and securely connected. Additionally, check that the retention clips on the sides of the slots are properly locked to secure the RAM modules in place.
- Close your computer’s case: Carefully replace the side panel or access cover, ensuring that it is correctly aligned and securely fastened with screws or latches.
- Power up your computer: Plug in all cables and peripherals, then power up your computer. The system should recognize the new RAM modules automatically.
- Configure BIOS settings (if necessary): In some cases, you may need to access your computer’s BIOS settings to configure the RAM speed, timings, or voltage. Consult your motherboard’s manual for instructions on how to access and modify these settings if required.
- Verify RAM recognition: Once your computer has booted up, check your operating system or use software utilities to verify that the additional RAM is recognized correctly. Ensure that the total installed RAM capacity matches your expectations.
Keep in mind that the installation process may vary slightly depending on your computer model and motherboard. Always refer to your computer’s manual or consult the manufacturer’s documentation for specific instructions.
By following these steps, you should have successfully installed and configured the additional RAM modules in your computer. You are now ready to enjoy Cyberpunk 2077 with improved performance and the ability to seamlessly explore Night City with enhanced visuals and smoother gameplay.
Optimizing RAM Usage in Cyberpunk 2077
To ensure that your upgraded RAM is utilized efficiently in Cyberpunk 2077, you can take steps to optimize its usage. Here are some tips to help you get the most out of your RAM while playing the game:
1. Close unnecessary programs: Before launching Cyberpunk 2077, close any unnecessary programs running in the background. This frees up valuable system resources, including RAM, that can be dedicated to running the game smoothly.
2. Adjust in-game settings: Access the game’s settings menu and review the graphical options. Adjusting certain settings like texture quality, shadow details, and anti-aliasing can reduce the amount of RAM required by the game. Fine-tuning these settings to strike a balance between visual quality and performance can help optimize RAM usage.
3. Keep your system updated: Ensure that both your operating system and Cyberpunk 2077 are fully updated with the latest patches and drivers. These updates often include performance optimizations that can improve RAM usage and overall game performance.
4. Monitor background processes: Use system monitoring tools or task managers to identify any resource-intensive background processes that may be using excessive amounts of RAM. Identifying and closing these processes can free up memory for Cyberpunk 2077.
5. Adjust virtual memory settings: Virtual memory acts as a supplemental storage space when physical RAM is fully utilized. You can optimize virtual memory settings to ensure it works efficiently alongside your upgraded RAM. Consider increasing the virtual memory allocation or letting the system manage it automatically for the best results.
6. Minimize multitasking: While playing Cyberpunk 2077, avoid running other resource-intensive applications simultaneously. Closing unnecessary browser tabs, communication tools, or media players can help reduce RAM usage and improve game performance.
7. Manage save files: Over time, accumulating numerous save files in Cyberpunk 2077 can impact RAM usage. Periodically delete old or unnecessary save files to free up storage space and potentially improve overall game performance.
8. Defragment your hard drive (if applicable): If you have Cyberpunk 2077 installed on a traditional hard drive (HDD), rather than a solid-state drive (SSD), defragmenting the drive can improve loading times and reduce the strain on RAM during data retrieval.
By implementing these optimization techniques, you can ensure that your upgraded RAM is utilized effectively in Cyberpunk 2077. These adjustments can enhance performance, reduce lag, and provide a smoother and more immersive gaming experience in the vibrant and dangerous world of Night City.
Troubleshooting RAM Issues in Cyberpunk 2077
While upgrading your RAM can significantly improve your gaming experience in Cyberpunk 2077, there may be instances where you encounter issues related to RAM. Here are some troubleshooting tips to address common RAM-related problems:
1. Check for loose connections: Ensure that the RAM modules are seated properly in their slots. Sometimes, an insecure connection can cause instability and system crashes. Gently press down on the modules to confirm they are securely inserted.
2. Test individual RAM modules: If you recently installed multiple RAM modules, one of them might be faulty or incompatible. Try testing each module individually by removing them one at a time and running the game with each module installed separately. This can help identify if a particular module is causing the issue.
3. Update motherboard BIOS: Outdated motherboard BIOS can lead to compatibility issues and instability. Visit the manufacturer’s website and check for any available BIOS updates. Follow their instructions to update the BIOS, which can potentially resolve RAM-related problems.
4. Run memory diagnostics: Use built-in memory diagnostics tools available in your operating system to check for any RAM errors. These tools can help identify if the RAM modules are faulty. Run a thorough scan to detect and resolve any issues.
5. Adjust RAM clock speed or timings: If you have manually configured your RAM’s clock speed or timings, try reverting to default settings. Overclocking or incorrect settings can cause instability and crashes. Operating your RAM at its default specifications will help ensure system stability.
6. Verify RAM compatibility: Double-check that the RAM modules you installed are compatible with your motherboard and meet the necessary specifications for Cyberpunk 2077. Mismatched or incompatible RAM can lead to stability issues and game crashes.
7. Test with a different RAM slot: If you experience issues with a specific RAM slot, try moving the RAM module to a different slot. Faulty slots can lead to instability, and switching to a different slot can help isolate the problem.
8. Seek professional assistance: If you have exhausted all troubleshooting options and continue to experience RAM-related issues, consider seeking assistance from a professional technician. They can provide further diagnosis and recommend appropriate solutions, such as replacing faulty RAM modules or investigating other possible hardware issues.
Remember that RAM issues can also be caused by other factors such as overheating or insufficient power supply. Maintaining proper system cooling and ensuring your power supply meets the necessary requirements for your hardware are also important considerations.
By following these troubleshooting steps and seeking professional assistance if needed, you can resolve common RAM-related issues that may occur while playing Cyberpunk 2077. Enjoy your enhanced gaming experience in Night City without any interruptions caused by RAM problems!
Conclusion
Congratulations on completing this guide to getting more RAM for Cyberpunk 2077! By understanding the importance of RAM in gaming, ensuring compatibility, upgrading your RAM modules, and optimizing their usage, you’ve taken significant steps toward enhancing your gaming experience in Night City.
We explored the role of RAM in Cyberpunk 2077 and how it impacts the game’s performance. With the right amount of RAM, you can reduce lag, improve load times, and enjoy seamless gameplay in the neon-lit streets of Night City.
We discussed the system requirements for Cyberpunk 2077 and the recommended RAM capacity to ensure smooth gameplay. Remember to consider other factors such as your graphics card and processor when determining the ideal amount of RAM for your system.
We delved into the importance of selecting compatible RAM modules and discussed the advantages of DDR4 RAM in terms of both performance and energy efficiency. Choosing reliable brands and considering your budget will help ensure a successful RAM upgrade.
We provided a step-by-step guide on how to install and configure additional RAM, empowering you to upgrade your system confidently. Remember to follow proper safety measures and consult your device’s manual for specific instructions.
To optimize RAM usage in Cyberpunk 2077, we offered practical tips such as closing unnecessary programs, adjusting in-game settings, and monitoring background processes. By implementing these strategies, you can maximize the benefits of your upgraded RAM.
In the event that you encounter any RAM-related issues, we provided troubleshooting techniques to help you address common problems. From checking connections to updating BIOS, these steps will assist you in resolving any instability or crashes effectively.
With the knowledge gained from this guide, you are well-equipped to enhance your gaming experience in Cyberpunk 2077 through optimized RAM usage. Embrace the futuristic world of Night City with improved performance, faster load times, and seamless gameplay!