Introduction
Welcome to the world of RAM clocking! If you’re a tech-savvy enthusiast or someone looking to optimize their computer’s performance, understanding how to clock RAM can make a significant difference in speeding up your system. RAM (Random Access Memory) plays a crucial role in storing data that your computer needs to access quickly. By clocking your RAM, you can potentially boost its performance and enhance your overall computing experience.
But what exactly is RAM clocking? In simple terms, it refers to adjusting the operating speed of your RAM modules. This involves increasing or decreasing the clock speed and timings to match your system’s requirements. A higher clock speed means your RAM can transfer data at a faster rate, resulting in smoother multitasking, quicker application loading times, and improved overall system responsiveness.
However, it’s important to note that clocking RAM is not without its risks. Increasing clock speeds beyond recommended limits or applying incorrect timings can lead to system instability and crashes. Therefore, it’s crucial to have a good understanding of the underlying principles and follow the proper steps to ensure a successful and safe RAM overclocking process.
In this comprehensive guide, we will introduce you to the fundamentals of RAM clocking. We’ll explain the concept of clock speeds and timings, discuss the factors that can affect RAM clocking, and guide you through the process of identifying your RAM’s existing settings. Additionally, we’ll provide you with step-by-step instructions on how to clock your RAM effectively to achieve optimal performance.
Whether you’re a seasoned PC enthusiast or a newcomer to the world of computer hardware, this guide is designed to equip you with the knowledge and tools to make informed decisions about clocking your RAM. So, let’s dive in and explore the exciting world of RAM clocking.
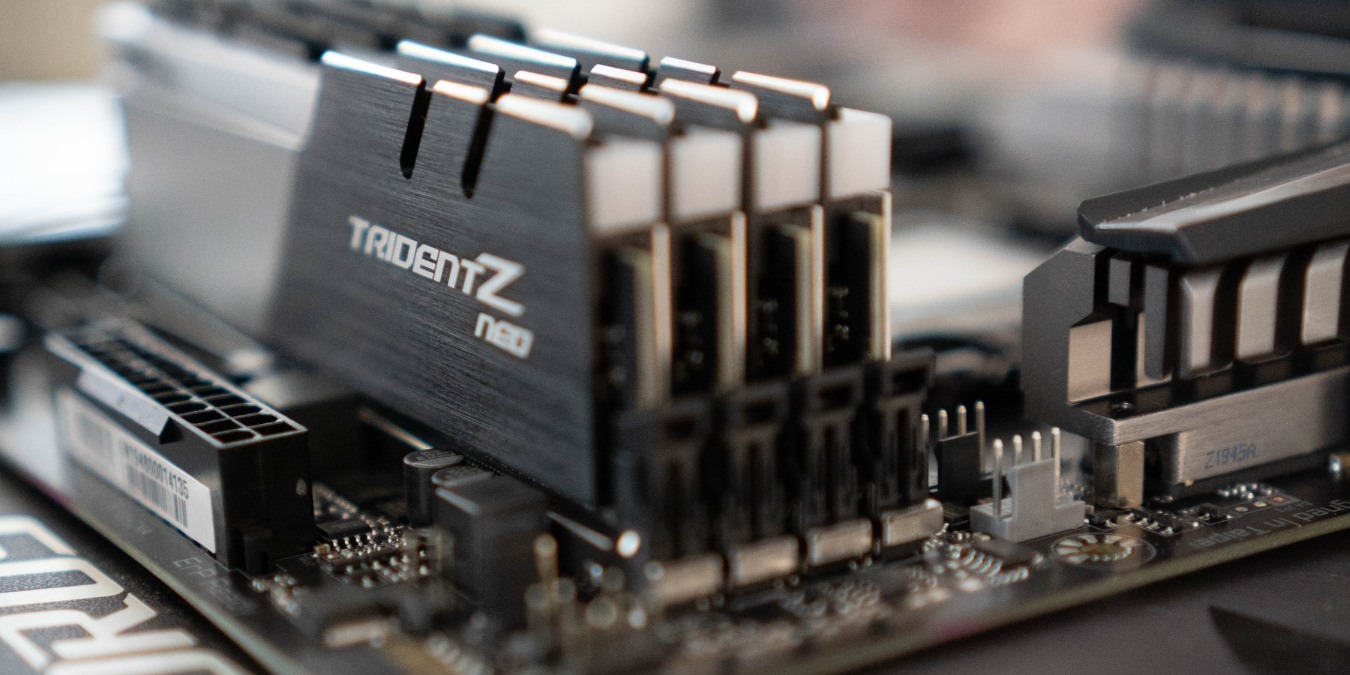
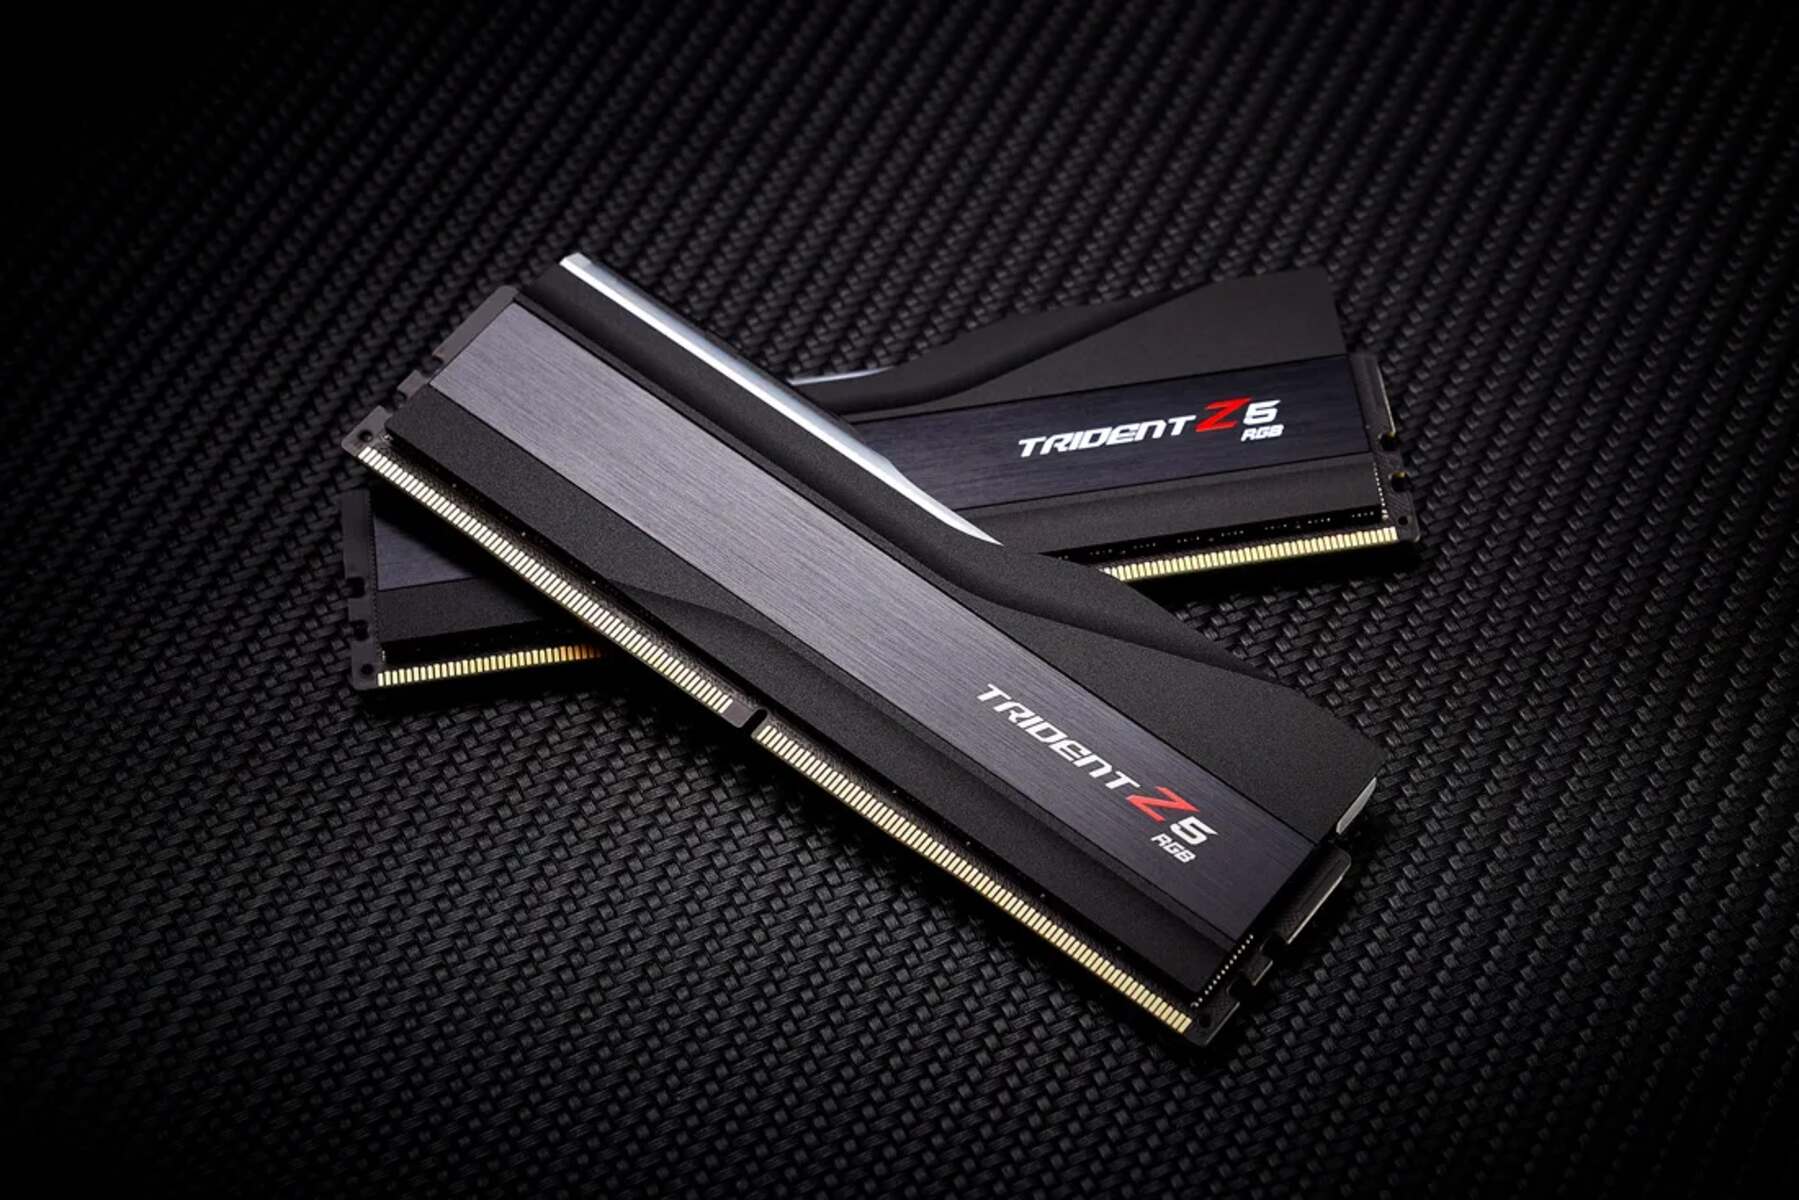
What is RAM?
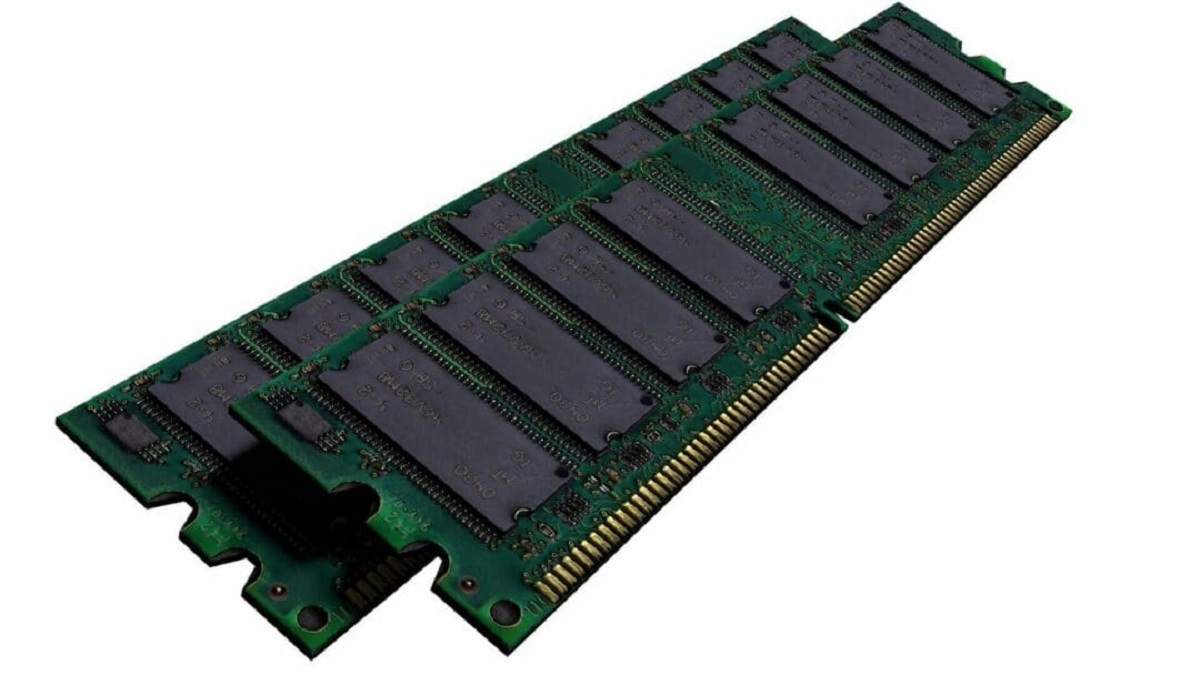
RAM, which stands for Random Access Memory, is a crucial component of a computer’s hardware. It serves as the temporary storage space where data and instructions from the CPU (Central Processing Unit) are stored while the computer is running. Unlike the computer’s permanent storage, such as the hard drive or SSD (Solid State Drive), RAM provides fast and immediate access to data, allowing the CPU to quickly retrieve and process information.
RAM is made up of small electronic circuits called memory cells, which can store binary data in the form of 0s and 1s. Each memory cell represents a bit of information, and the capacity of RAM is measured in terms of how many of these memory cells it contains. The more memory cells a RAM module has, the more data it can hold at once.
One of the key features of RAM is its random access nature, meaning that any memory cell can be accessed directly, regardless of its physical location. This allows for fast and efficient retrieval of data, as the CPU can read and write to any location in RAM at high speeds.
RAM plays a crucial role in a computer’s overall performance, as it determines how much data can be stored and accessed quickly by the CPU. When you open a program or run an application, the necessary data and instructions are loaded into RAM to be processed. The more RAM your computer has, the more data it can store, and the smoother and more responsive your system will be.
It’s important to note that RAM is a volatile form of memory, meaning that its contents are lost when the computer is powered off. This is why it’s often referred to as “temporary” or “volatile” memory. However, this volatility allows for fast read and write speeds, making RAM an essential component for efficient computing.
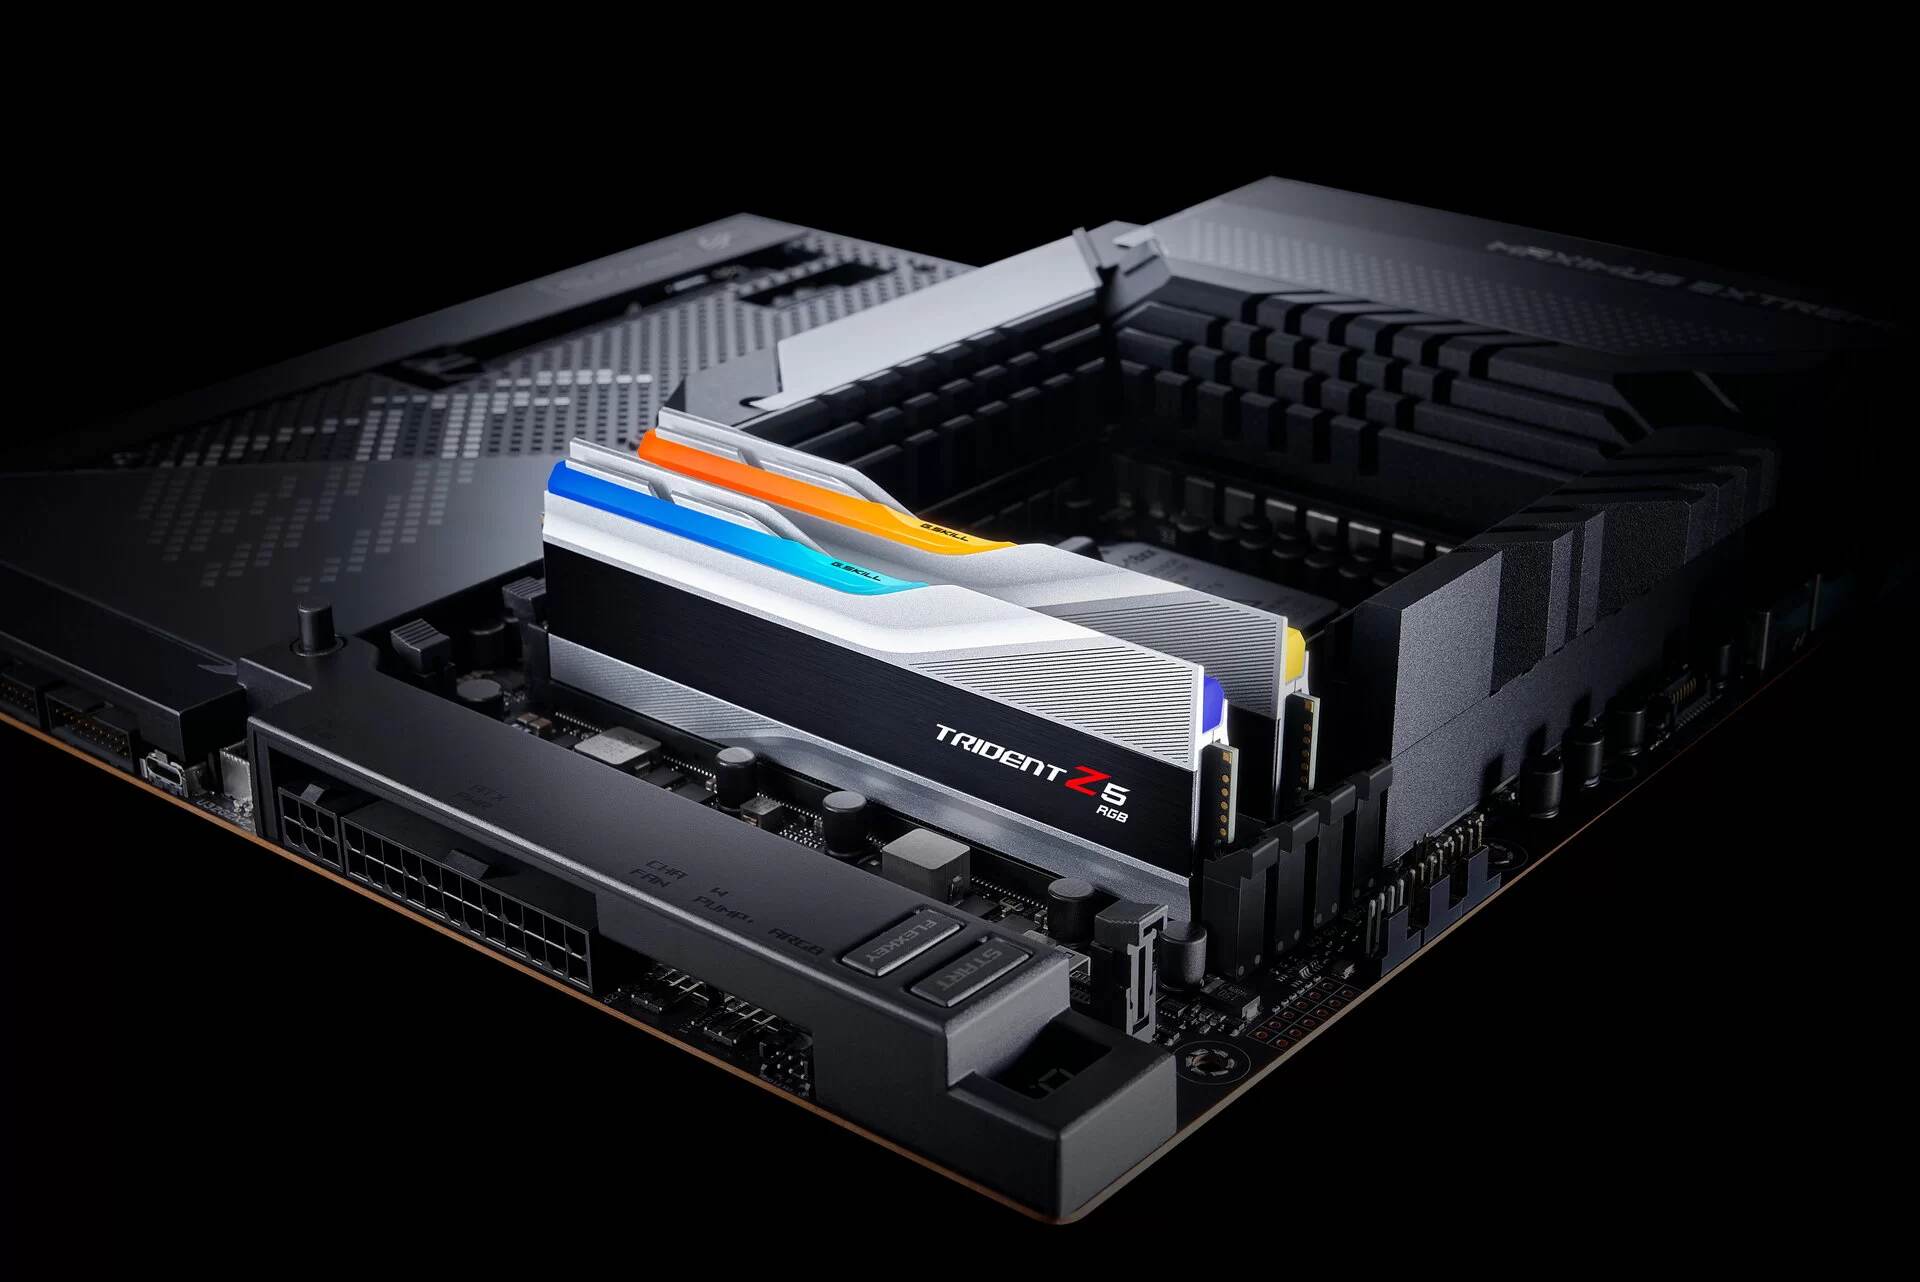
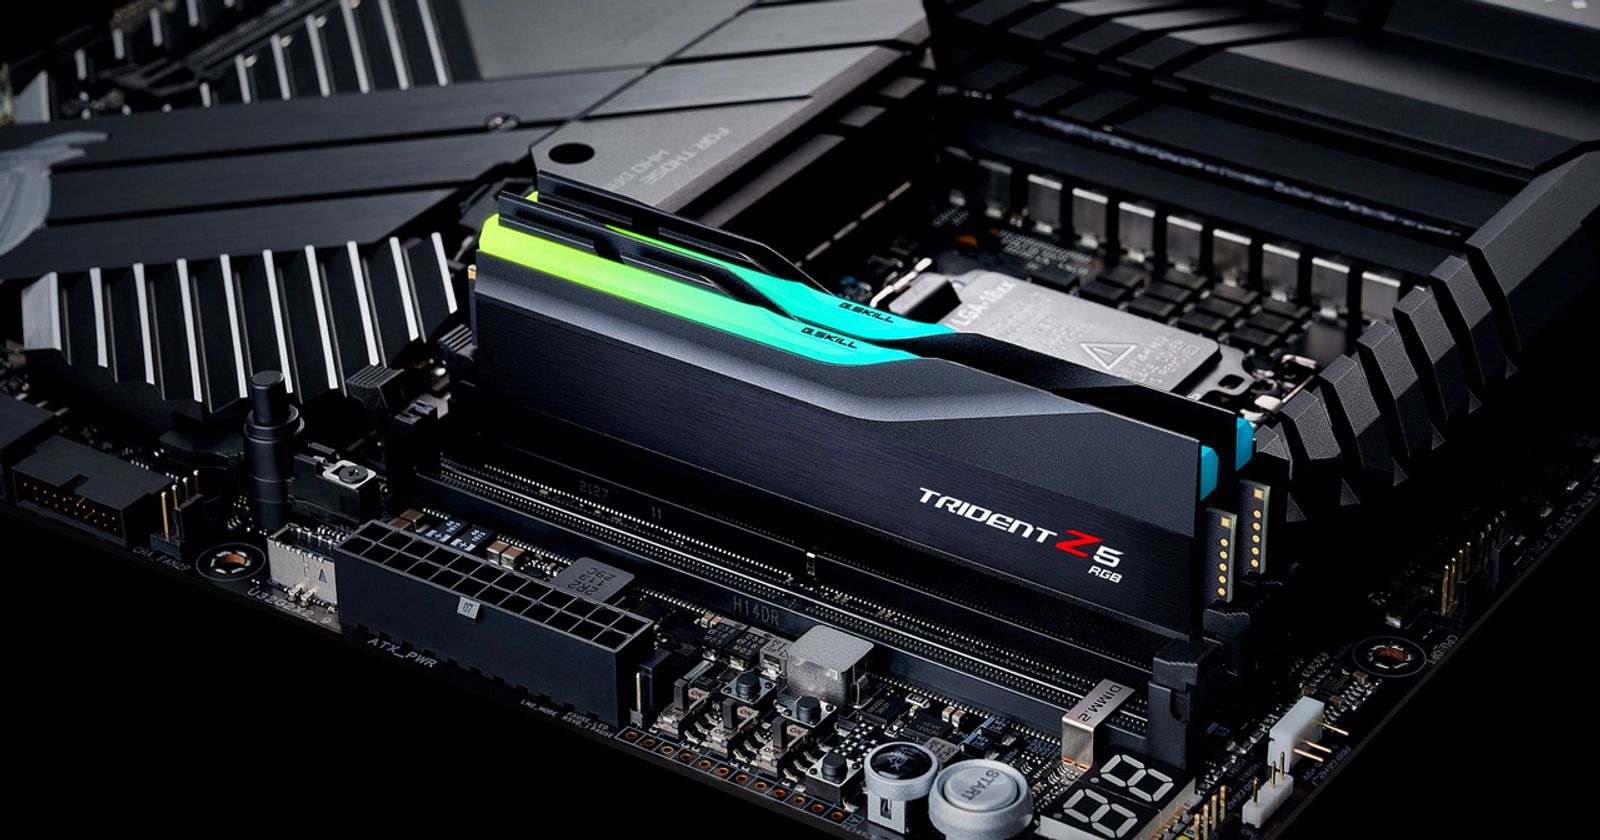
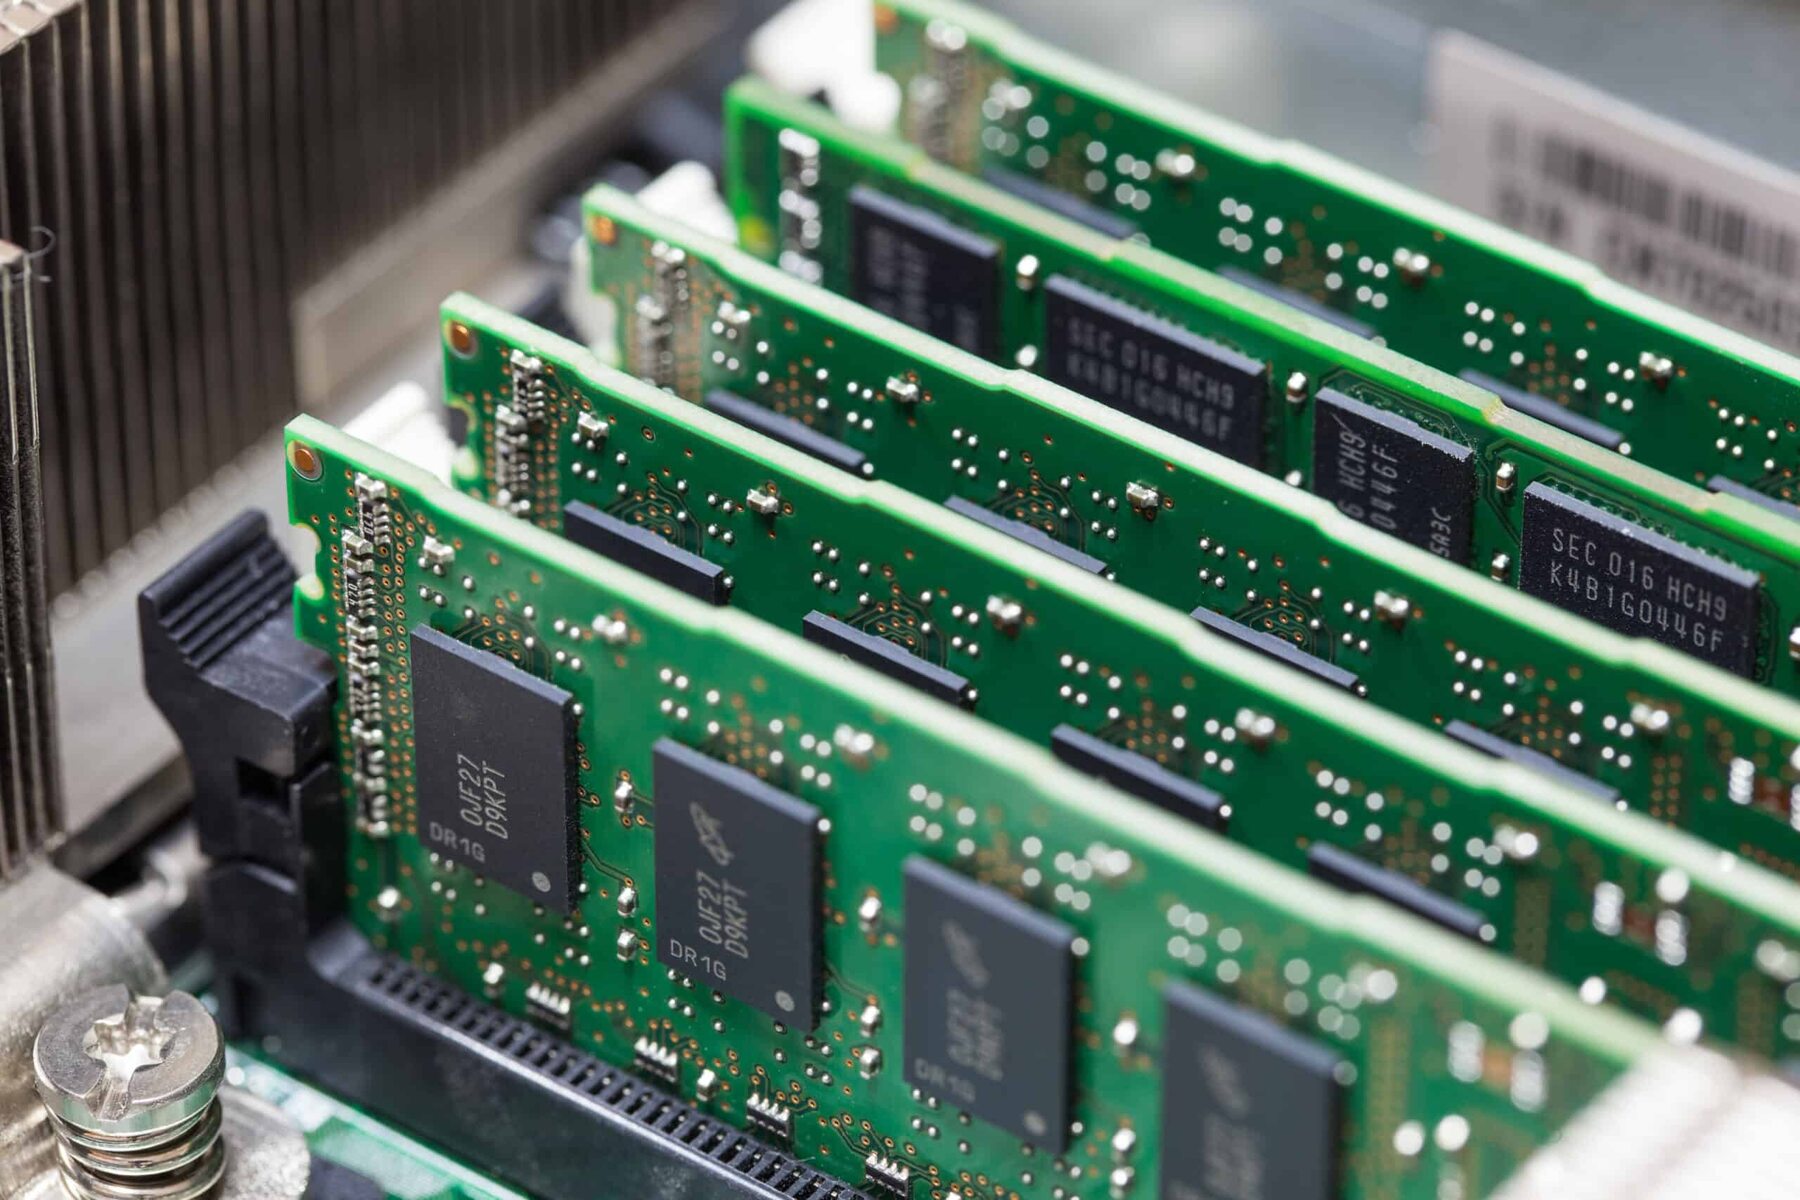
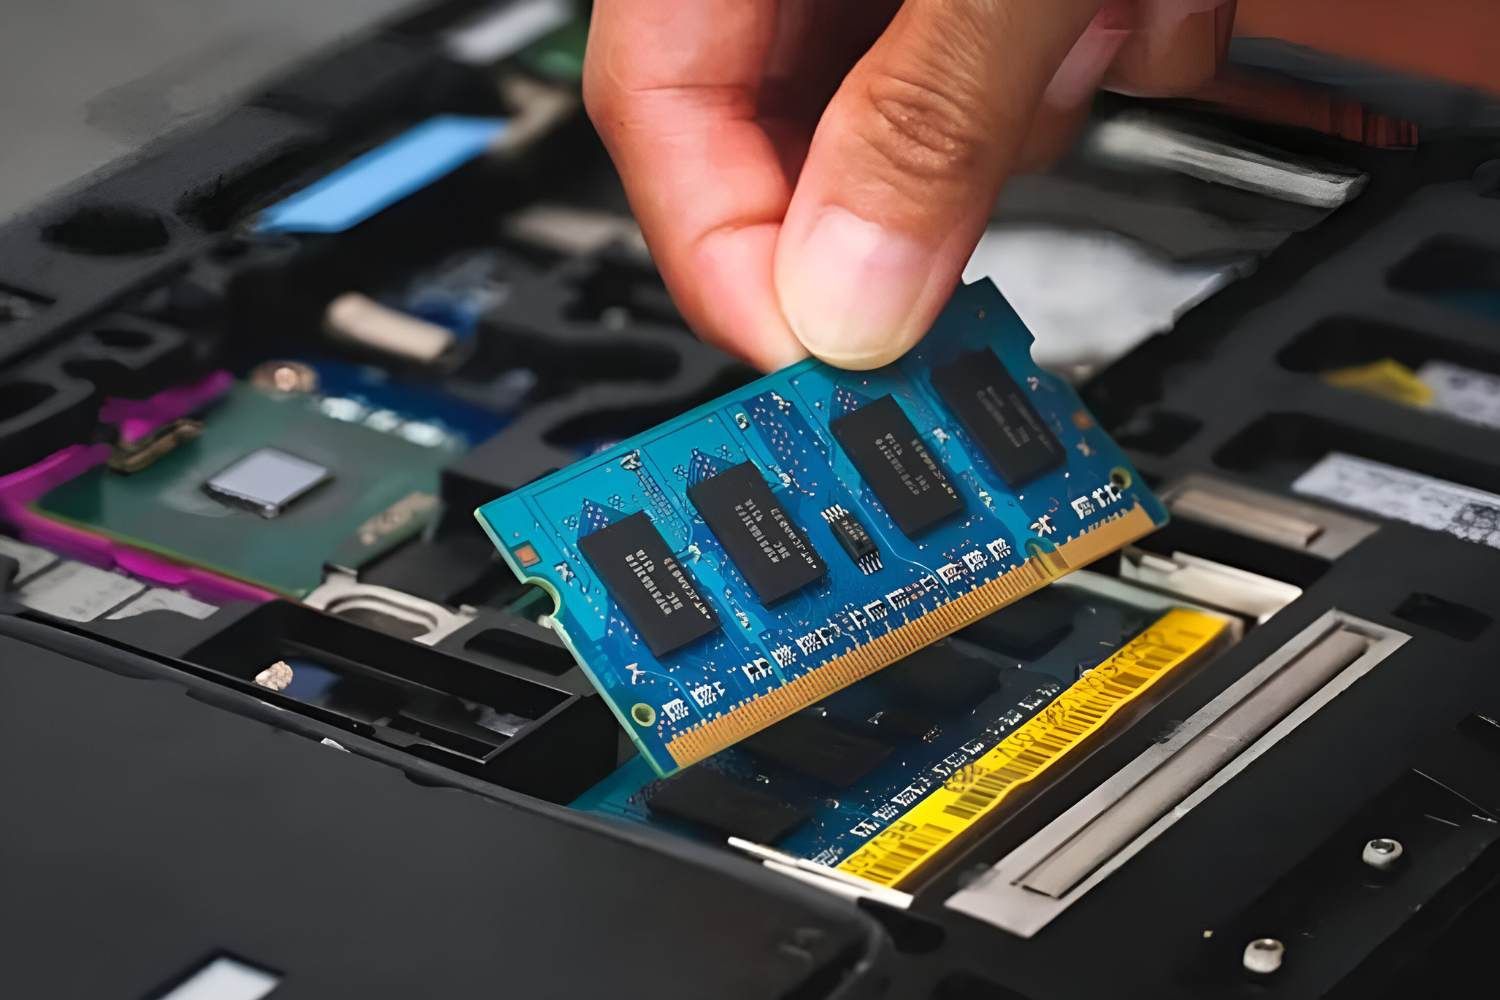
In modern computers, RAM comes in the form of small modules that are installed onto the motherboard. These modules are designed to be easily upgradeable, allowing users to increase their system’s RAM capacity as needed.
Why Clock RAM?
Clocking your RAM can have a significant impact on your computer’s performance, making it a worthwhile endeavor for tech enthusiasts and users looking to optimize their system. Here are several reasons why clocking RAM is beneficial:
1. Improved System Responsiveness: By increasing the clock speed of your RAM, you can enhance the speed at which your computer can access and retrieve data. This leads to faster program loading times, improved multitasking capabilities, and overall system responsiveness.
2. Enhanced Multitasking Abilities: When you have multiple applications running simultaneously, your RAM plays a crucial role in managing the data required by each program. With higher clock speeds, your RAM can quickly and efficiently handle the data demands of multiple applications, resulting in smoother multitasking experiences.
3. Faster Transfer of Data: Clocking your RAM can significantly increase the speed at which data is transferred between the RAM and the CPU. This means that your computer can process tasks and instructions more quickly, resulting in reduced lag and improved overall performance.
4. Better Gaming Performance: For gamers, clocking RAM can be particularly beneficial. It can enhance the loading times of games, reduce stuttering, and provide smoother gameplay. By ensuring that your RAM is running at optimal clock speeds, you can maximize your gaming experience.
5. Overclocking Capabilities: Many RAM modules offer the ability to be overclocked, allowing you to push the clock speeds beyond the manufacturer’s specifications. Overclocking can unlock even higher performance potential, but it requires careful monitoring and adjustment of settings to maintain stability and prevent overheating.
6. Cost-Effective Performance Boost: Upgrading your RAM modules to higher-capacity ones can be expensive. However, by clocking your existing RAM, you can achieve improved performance without the need for investment in new hardware.
It’s important to note that not all RAM modules are designed to be overclocked, and the extent to which you can push the clock speeds depends on factors such as the quality of the RAM itself and the capabilities of your computer’s motherboard. It’s crucial to research the specifications of your RAM and consult the manufacturer’s guidelines before attempting to clock it.
By understanding the benefits of clocking your RAM and following the proper procedures, you can unlock the full potential of your computer’s memory and enjoy a faster, more efficient computing experience.
Understanding Clock Speeds and Timings
When it comes to clocking RAM, it’s essential to have a basic understanding of clock speeds and timings. These parameters play a crucial role in determining how fast your RAM can operate and how efficiently data can be transferred. Let’s explore each of these concepts in more detail:
1. Clock Speed: The clock speed of RAM refers to how many cycles per second it can perform. It is measured in megahertz (MHz) or gigahertz (GHz). A higher clock speed means that your RAM can transfer data at a faster rate, resulting in improved performance. For example, if you have RAM with a clock speed of 3200 MHz, it can perform 3.2 billion cycles per second.
2. Timings: In addition to clock speed, RAM has a set of timings that determine how quickly it can respond to requests from the CPU. These timings are represented by a series of numbers, such as 16-18-18-36. Each number indicates a specific aspect of the RAM’s response time. The primary timings include:
- CAS Latency (CL): This timing represents the number of clock cycles it takes for the RAM to respond to a command from the CPU. A lower CL value indicates faster response time and better performance.
- RAS to CAS Delay (tRCD): This timing measures the delay between the activation of a row and the initiation of a read or write command. Lower tRCD values are preferable for improved performance.
- RAS Precharge Time (tRP): This timing represents the amount of time it takes for the RAM to disable a row and prepare for the next access. Lower tRP values result in better performance.
- Row Active Time (tRAS): This timing indicates the minimum amount of time a row must be active for the RAM to perform read or write operations. Lower tRAS values can improve performance.
Understanding these timings is important as they affect the overall efficiency of your RAM. A lower value for each timing indicates better performance, but it’s essential to strike a balance and ensure stability when adjusting these values.
It’s worth noting that not all RAM modules allow for manual adjustment of clock speeds and timings. Some models have fixed settings that cannot be changed, while others offer varying degrees of overclocking capabilities. Consult the manufacturer’s specifications and documentation for your specific RAM model to determine its overclocking potential.
By comprehending the significance of clock speeds and timings, you can make informed decisions when it comes to clocking your RAM. Next, we’ll explore the factors that can affect the clocking process and how to identify the existing settings of your RAM.
Factors Affecting RAM Clocking
When it comes to clocking RAM, several factors can impact the success and stability of the process. It’s essential to consider these factors to ensure a smooth and safe overclocking experience. Let’s explore some of the key factors that can affect RAM clocking:
1. RAM Module Quality: The quality and capabilities of your RAM modules can significantly impact their ability to be overclocked. Higher-quality RAM modules are typically designed with better components and more robust heat dissipation mechanisms, allowing for more reliable and stable overclocking.
2. Cooling Solutions: Overclocking RAM can generate additional heat, potentially leading to instability or even damage if not properly managed. Investing in adequate cooling solutions, such as high-quality heatsinks or liquid cooling systems, can help dissipate heat and maintain stable operation during overclocking.
3. System Power Supply: Overclocking RAM increases the power requirements of your system. Ensure that your power supply unit (PSU) can handle the additional power demands to avoid stability issues or potential damage to your components.
4. Motherboard Support: The motherboard plays a crucial role in overclocking RAM as it provides the necessary settings and controls. Ensure that your motherboard supports RAM overclocking and offers the necessary BIOS or UEFI options to fine-tune clock speeds and timings.
5. Compatibility: Not all RAM modules are compatible with all systems or motherboards. It’s essential to ensure that your RAM modules are compatible with your motherboard and its supported clock speeds and timings before attempting to overclock.
6. Voltage Requirements: Increasing the clock speeds and timings of RAM can often require a small increase in voltage to maintain stability. However, excessive voltage increases can lead to overheating and long-term damage. Consult the manufacturer’s recommendations and guidelines to ensure you provide the appropriate voltage for your RAM modules.
7. Testing and Stability: Overclocking RAM should always be accompanied by rigorous testing to ensure stability and reliability. Stress-testing tools, such as Memtest86 or Prime95, can help identify any instabilities or errors that may arise from clocking your RAM. It’s crucial to thoroughly test your system and monitor its performance to ensure stable operation.
It’s important to note that overclocking RAM carries a certain level of risk, particularly if not done correctly. Ensure that you have a good understanding of the clock speed limitations of your RAM modules and follow proper procedures to avoid damaging your components or compromising system stability.
By considering these factors and proceeding with caution, you can increase the chances of a successful RAM overclocking experience and enjoy the improved performance it can bring to your computer.
Identifying Your RAM’s Clock Speed and Timings
Before you can begin the process of clocking your RAM, it’s crucial to identify its current clock speed and timings. This information will serve as a baseline and help you make appropriate adjustments during the overclocking process. Here are a few methods to identify your RAM’s clock speed and timings:
Method 1: Check the BIOS/UEFI Settings: Restart your computer and access the BIOS or UEFI settings. The method for accessing these settings may vary depending on your motherboard manufacturer. Once you’re in the settings, navigate to the memory or RAM section, where you should find information about the installed RAM modules, including their clock speed and timings.
Method 2: Use System Information Utility: On Windows, you can use the built-in System Information utility to gather information about your RAM. To access it, press the Windows key + R, type “msinfo32” (without quotes), and hit Enter. In the System Information window, navigate to “Components” > “Memory” to view details about your RAM, including the installed clock speed and timings.
Method 3: Use Third-Party Software: There are several third-party software tools that can provide detailed information about your RAM modules. Tools like CPU-Z and Speccy can display information about the clock speed, timings, and other specifications of your RAM. Simply download and install the software, run it, and navigate to the memory section to view the relevant details.
Once you have identified your RAM’s current clock speed and timings, make note of them for reference during the overclocking process. It’s essential to have this information on hand, as it will help you determine the extent to which you can push the clock speeds and adjust the timings.
It’s worth noting that some RAM modules may have their clock speeds and timings set to Auto in the BIOS/UEFI settings by default. In such cases, the modules will automatically adjust themselves based on the capabilities of your system. However, you can still manually set the clock speeds and timings to achieve optimal performance if desired.
By utilizing these methods, you can easily identify the clock speed and timings of your RAM. With this information in hand, you’re ready to proceed with the process of clocking your RAM and optimizing its performance.
Step-by-Step Guide to Clocking RAM
Now that you have identified your RAM’s current clock speed and timings, it’s time to dive into the process of clocking your RAM. Follow these step-by-step instructions to ensure a successful overclocking experience:
Step 1: Access the BIOS/UEFI Settings: Start by restarting your computer and accessing the BIOS or UEFI settings. This can usually be done by pressing a specific key during the boot process, such as Del, F2, or F12. Consult your motherboard’s user manual or the manufacturer’s website for the exact key to enter the settings.
Step 2: Locate Memory or RAM Settings: Once inside the BIOS/UEFI settings, navigate to the section that corresponds to memory or RAM settings. The exact location and name of this section may vary depending on your motherboard manufacturer.
Step 3: Find the Clock Speed and Timing Settings: Within the memory or RAM settings section, you should find options to adjust the clock speed and timings. These settings may be labeled as “DRAM Frequency,” “Memory Clock,” or something similar. Additionally, you might find options for adjusting individual timings such as CAS Latency (CL), RAS to CAS Delay (tRCD), RAS Precharge Time (tRP), and Row Active Time (tRAS).
Step 4: Adjust the Clock Speed: Increase or decrease the clock speed to the desired value. It’s recommended to make incremental changes rather than jumping to the maximum possible clock speed right away. Increase the clock speed gradually and test for stability before making further adjustments. Monitor your system for any signs of instability, such as crashes or errors.
Step 5: Fine-Tune the Timings: If your motherboard allows for individual timing adjustments, you can fine-tune them to achieve optimal performance. Consult your RAM’s specifications and manufacturer’s recommendations for the ideal values for each timing. Make small adjustments and test for stability after each change.
Step 6: Test and Monitor Stability: After making adjustments to the clock speed and timings, it’s crucial to thoroughly test the stability of your system. Use stress-testing tools, such as Memtest86 or Prime95, to check for errors or instability. Monitor your system’s performance, temperature, and overall stability during extended testing periods.
Step 7: Repeat and Optimize: If the initial overclocking adjustments are successful and stable, you can continue to fine-tune the clock speed and timings to further optimize performance. Repeat the process of making small adjustments, testing for stability, and monitoring performance until you achieve the desired balance between performance and stability.
Remember to keep a record of the changes you make to the clock speed and timings for future reference. This documentation will be useful if you need to revert to the original settings or troubleshoot any issues that may arise. Additionally, regular monitoring of your system’s performance and temperature can help identify any potential issues and ensure long-term stability.
By following this step-by-step guide, you can effectively clock your RAM and improve your computer’s performance. However, it’s crucial to approach overclocking with caution and to be aware of the limitations and potential risks involved. Always refer to your RAM and motherboard manufacturer’s guidelines and specifications for the recommended settings and overclocking parameters.
Tips for Optimizing RAM Performance
Optimizing the performance of your RAM goes beyond just clocking it. There are several additional steps you can take to ensure that your RAM is running at its best and delivering optimal performance. Consider these tips to further enhance your RAM’s performance:
1. Install Sufficient RAM: Ensure that you have enough RAM installed in your system to meet the demands of your workload. Insufficient RAM can lead to slow performance and increased reliance on virtual memory, which is significantly slower than physical RAM.
2. Match RAM Modules: If you have multiple RAM modules installed, try to match their specifications as closely as possible. Mismatched modules can cause stability issues and limit the effective performance of your RAM.
3. Enable XMP/DOCP Profile: Check your motherboard’s BIOS/UEFI settings for an XMP (Extreme Memory Profile) or DOCP (Direct Overclock Profile) option. Enabling this profile can automatically configure your RAM to its optimal settings, including clock speed and timings.
4. Keep System Clean and Updated: Regularly clean up unnecessary files and update your operating system and drivers. This helps maintain system efficiency and ensures compatibility with the latest RAM optimizations.
5. Avoid Overclocking Extremes: While overclocking can be beneficial, pushing your RAM to extreme clock speeds or timings can lead to instability. Find the right balance between performance and stability to avoid potential issues.
6. Maintain Proper Cooling: Adequate cooling is critical for maintaining optimal RAM performance. Ensure that your system has proper airflow and consider additional cooling solutions, such as high-quality fans or liquid cooling, to prevent overheating.
7. Minimize Background Processes: Close unnecessary background processes and applications that consume system resources. This helps free up RAM for active tasks and enhances overall system performance.
8. Disable Memory-Hogging Programs: Some programs, such as certain antivirus software or resource-intensive applications, can consume a significant amount of RAM. Consider disabling or optimizing these programs to reduce their impact on your RAM usage.
9. Use RAM Optimization Software: There are various RAM optimization software tools available that can help manage and optimize your RAM usage. These programs can clear up unused RAM, optimize memory allocation, and improve overall system performance.
10. Regularly Test and Monitor: Frequently test your RAM’s stability using stress-testing tools and monitor system performance to identify any issues or bottlenecks. This allows you to address any potential problems promptly and ensure consistent performance.
Implementing these tips alongside proper RAM clocking techniques can maximize the performance and efficiency of your computer. Experimentation and fine-tuning may be required to find the optimal settings for your specific system and workload. Always refer to your RAM manufacturer’s recommendations and guidelines for additional insights on optimizing performance.
Troubleshooting Common Issues
While clocking your RAM can lead to improved performance, it’s not uncommon to encounter challenges along the way. Understanding and troubleshooting common issues can help you overcome any hurdles that may arise during the process. Here are some common issues you may encounter when clocking RAM and how to troubleshoot them:
1. System Instability: If your system becomes unstable or experiences crashes after overclocking the RAM, it’s likely that the clock speed or timings are too aggressive. Try lowering the clock speed or increasing the timings to achieve a more stable configuration. It may require several adjustments and testing iterations to find the right balance between performance and stability.
2. Blue Screen of Death (BSOD) Errors: If you encounter BSOD errors after clocking your RAM, it could indicate an incompatible or unstable configuration. Make sure the clock speed and timings are within the recommended specifications of your RAM and motherboard. Consider reverting to default settings if the issue persists.
3. Failure to Boot: In some cases, an overly aggressive RAM overclocking configuration can prevent your system from booting. This can occur if the settings become unstable or exceed the capabilities of your RAM modules. To resolve this issue, clear the CMOS (Complementary Metal-Oxide-Semiconductor) or use the motherboard’s BIOS/UEFI option to reset settings to default. Then, gradually adjust the clock speed and timings while testing for stability.
4. RAM Timing Errors: If you receive timing-related errors during stress tests or memory-intensive tasks, it may indicate incompatible or overly aggressive timings. Increase the timings slightly or revert to default settings and test stability again. Adjusting individual timings one at a time can help identify and resolve timing-related errors.
5. Increased Heat and Overheating: Overclocking RAM can generate additional heat, which may lead to temperature-related issues. Ensure that your system has adequate cooling in place, including proper airflow, quality fans, and heat sinks. Consider adjusting fan speeds or investing in additional cooling solutions to mitigate overheating.
6. Incompatibility Issues: Some RAM modules and motherboards may not be fully compatible with each other, resulting in stability issues or failure to overclock. Check the compatibility of your RAM with your motherboard and ensure that the modules are listed on the manufacturer’s compatibility list. If incompatibility persists, consider using RAM modules that are recommended and tested for compatibility with your motherboard.
7. Data Corruption or Loss: Overclocking RAM has the potential to cause data corruption or loss if the configuration is unstable. It’s important to back up your important data regularly to mitigate the risk of data loss. Implement adequate stability testing before relying on an overclocked RAM configuration for critical tasks.
8. Insufficient Power or Voltage: Overclocking RAM can increase power requirements. Ensure that your power supply unit (PSU) can deliver sufficient power to your system, especially when overclocking. Also, make sure the RAM is receiving the recommended voltage as stated by the manufacturer. Voltage fluctuations or insufficient power can cause instability and system crashes.
If you encounter any issues while clocking your RAM, it’s important to take a systematic and cautious approach to troubleshooting. Begin by reviewing your settings, testing for stability, and making incremental changes. Remember to consult your RAM and motherboard manufacturer’s documentation or support resources for specific troubleshooting steps or recommendations.
By troubleshooting common issues and taking the necessary precautions, you can overcome challenges and successfully achieve an optimized overclocking configuration for your RAM, leading to improved system performance.
Conclusion
Clocking your RAM can be a rewarding endeavor that allows you to unlock the maximum potential of your computer’s memory. By adjusting the clock speeds and timings, you can optimize RAM performance, achieve faster data transfer rates, and enhance overall system responsiveness. However, it’s important to approach the process with caution, considering factors like RAM module quality, cooling solutions, power supply capacity, and motherboard compatibility.
In this comprehensive guide, we explored the fundamentals of RAM clocking, including the concepts of clock speeds and timings. We discussed the benefits of clocking RAM, such as improved system responsiveness, enhanced multitasking abilities, and faster data transfer. Additionally, we provided a detailed step-by-step guide to help you navigate the process of clocking your RAM effectively.
We also shared tips for optimizing RAM performance, such as installing sufficient RAM, matching RAM modules, enabling XMP or DOCP profiles, keeping your system clean and updated, and monitoring system temperature. Furthermore, we addressed common troubleshooting issues, such as system instability, BSOD errors, failure to boot, timing errors, overheating, incompatibility issues, data corruption, and insufficient power or voltage.
Remember that every system is unique, and the results of RAM overclocking may vary. It’s important to understand the limitations of your specific hardware, meticulously test for stability, and maintain proper cooling to ensure the longevity and reliability of your system.
By combining these insights with your own experimentation and research, you can confidently embark on the journey of clocking your RAM and experience the performance benefits it has to offer. Always refer to the documentation and guidelines provided by your RAM and motherboard manufacturers for specific instructions and recommendations.
Now that you have the knowledge and tools to effectively clock your RAM, take the necessary steps to optimize your computer’s performance and enjoy a faster and more efficient computing experience.