Introduction
Welcome to this guide on how to use less RAM on your Windows 10 computer. RAM (Random Access Memory) is an essential component of your computer that helps it run smoothly and handle multiple tasks simultaneously. However, if you find that your computer is running slower or experiencing frequent freezes, it may be because your RAM usage is too high.
High RAM usage can be caused by various factors, including running memory-intensive programs, having too many background processes, or outdated hardware drivers. When your computer’s RAM is overwhelmed, it can affect overall performance and limit your ability to multitask efficiently.
The good news is that there are several steps you can take to optimize your RAM usage and ensure your computer runs smoothly. In this guide, we will explore various methods and techniques to help you reduce RAM usage on your Windows 10 system.
It’s important to note that while following these steps can help free up RAM and improve system performance, they may not solve all performance-related issues. If you continue to experience problems, it may be necessary to seek additional troubleshooting or consider upgrading your hardware.
Now, let’s dive into the different strategies you can employ to use less RAM on your Windows 10 computer.
Close Unnecessary Programs and Background Processes
One of the most effective ways to reduce RAM usage is by closing unnecessary programs and background processes. Many software applications and processes consume valuable system resources, even when you’re not actively using them. By terminating these unused programs, you can free up significant amounts of RAM.
To close programs, start by checking your system tray, located in the bottom-right corner of the screen. This area often contains icons for various running programs and utilities. Right-click on any unnecessary icons and choose “Exit” or “Close” to shut down the corresponding programs.
In addition to closing visible programs, it’s crucial to manage background processes, which are the hidden programs running in the background. Press the “Ctrl + Shift + Esc” keys simultaneously to open the Task Manager. Then, navigate to the “Processes” tab and identify any processes that are consuming a significant amount of RAM.
To end a process, select it and click on the “End Task” button at the bottom-right corner of the Task Manager window. Exercise caution when terminating processes, as some may be necessary for the proper functioning of your computer.
Another helpful tool is the Resource Monitor, which provides detailed information about the programs and processes that are using system resources. To access it, open the Task Manager (Ctrl + Shift + Esc), click on the “Performance” tab, and then select the “Open Resource Monitor” link at the bottom of the window.
Once you’re in the Resource Monitor, navigate to the “Memory” tab. Here, you can view a list of Active Processes, along with their respective memory usage. From this list, you can identify processes that are consuming excessive amounts of RAM and choose to close them if they are non-essential.
By closing unnecessary programs and background processes, you can significantly reduce the strain on your computer’s RAM, resulting in improved system performance and responsiveness. Keep in mind that some programs, such as antivirus software or system utilities, may need to remain running for your computer’s security and maintenance. Use discretion when deciding which programs to close to ensure the stability of your system.
Disable Startup Programs
When you start your Windows 10 computer, several programs automatically launch in the background, consuming valuable system resources. Disabling unnecessary startup programs can significantly reduce the amount of RAM used during system startup and improve overall performance.
To manage startup programs, open the Task Manager by pressing “Ctrl + Shift + Esc” and go to the “Startup” tab. Here, you’ll find a list of programs that are set to launch when your computer boots up.
Take a look at the list and identify programs that you don’t need to start automatically. Right-click on the program and click “Disable” to prevent it from launching at startup. It’s important to note that not all programs can be disabled, as some are essential for system functionality.
In addition to using the Task Manager, you can also use the built-in Windows 10 feature called “Startup Apps” to manage startup programs. To access it, open the Settings app, click on “Apps,” and then select “Startup” from the left sidebar. From here, you can easily toggle the switches to enable or disable specific programs from starting up with your computer.
Disabling unnecessary startup programs can provide a noticeable improvement in system performance and reduce the strain on your computer’s RAM. However, be mindful of which programs you disable, as some may be necessary for certain functionalities or security purposes.
Regularly reviewing and adjusting your startup programs is a good practice to ensure that only essential programs are loading during system startup. By reducing the number of unnecessary programs, you can optimize your computer’s resources and enhance its overall performance.
Manage Windows Services
Windows services are background processes that run automatically and provide various functionalities and features within the operating system. Some of these services may consume a significant amount of RAM, especially if they are not essential to your specific needs. By managing and disabling unnecessary Windows services, you can further optimize your computer’s RAM usage.
To access the Windows Services Manager, open the Run dialog by pressing “Windows + R” on your keyboard and type in “services.msc”. Press Enter to launch the manager.
Within the Services Manager, you’ll find a list of services along with their descriptions, statuses, and startup types. Take some time to review the list and identify services that are not essential or regularly used.
To disable a service, right-click on it and select “Properties”. From the properties window, change the startup type to either “Manual” or “Disabled”. Setting a service to “Manual” means it will only start when needed, while setting it to “Disabled” prevents it from starting altogether.
Note that not all services should be disabled, as some are critical for system operation and functionality. It’s important to conduct thorough research or consult with an IT professional if you are unsure about the impact of disabling a specific service.
Another way to manage Windows services is through the System Configuration utility. Open the Run dialog and type in “msconfig”. In the System Configuration window, navigate to the “Services” tab. Here, you can enable or disable services by checking or unchecking the corresponding boxes. Be cautious when making changes to these settings, as they directly affect the functioning of your system.
By selectively disabling unnecessary Windows services, you can free up valuable system resources, including RAM. This can lead to improved performance, faster boot times, and smoother multitasking.
It’s worth mentioning that when managing Windows services, it’s best to proceed with caution and only disable services that are not vital to the operation of your computer. If you are uncertain about the functionality of a particular service, it is recommended to seek professional advice or conduct thorough research.
Disable Visual Effects
Windows 10 offers various visual effects and animations that enhance the user interface but can also consume a significant amount of RAM and system resources. Disabling or reducing these visual effects can help optimize your computer’s performance and free up valuable RAM.
To adjust the visual effects settings, right-click on the Start button and select “System”. In the System window, click on “Advanced system settings” in the left sidebar. This will open the System Properties dialog. Click on the “Settings” button under the Performance section to open the Performance Options dialog.
Within the Performance Options dialog, you have several options. To disable all visual effects, select the “Adjust for best performance” option. This will remove all visual effects, including animations, shadows, and transparency, resulting in a more minimalist appearance.
If you prefer to retain some visual effects, you can select the “Custom” option. Here, you can enable or disable specific visual effects according to your preferences. You can experiment with different combinations until you find a balance between visual appeal and performance.
Another way to quickly access the visual effects settings is by using the search function in the Windows taskbar. Simply type “performance” and select “Adjust the appearance and performance of Windows” from the search results.
In addition to adjusting visual effects, you can also reduce the amount of RAM used for displaying thumbnails. Open the File Explorer, go to the “View” tab, and click on “Options”. In the Folder Options dialog, navigate to the “View” tab and check the box that says “Always show icons, never thumbnails”. This will prevent the system from generating thumbnails for files, leading to lower RAM usage.
By disabling or reducing visual effects, you can reduce the strain on your computer’s RAM and improve overall performance. The extent to which you disable visual effects depends on your personal preference and the performance needs of your system. Experiment with different settings and find the right balance that suits your requirements.
Adjust Power Settings
Windows 10 comes with various power settings that determine how your computer utilizes its resources, including RAM. By adjusting these power settings, you can optimize your computer’s performance and reduce unnecessary resource usage.
To access the power settings, open the Start menu and click on the gear icon to open the Settings app. From the Settings app, select “System” and then choose “Power & Sleep” from the left sidebar.
Within the Power & Sleep settings, you can customize the power settings according to your preferences. By default, Windows 10 is often set to the “Balanced” power mode, which aims to balance performance and energy consumption. However, for improved performance and reduced RAM usage, you can select the “High performance” power plan.
The “High performance” power plan ensures that your computer operates at maximum performance, allowing for faster processing and reduced system resource limitations. Keep in mind that selecting the “High performance” plan may slightly increase power usage and decrease battery life on laptops and portable devices.
If you’re using a laptop or want to optimize power usage without compromising performance, you can choose the “Power saver” plan. This power plan reduces system performance and limits resource usage to extend battery life. However, it may also result in a slight decrease in overall performance.
In addition to selecting a power plan, you can also customize the power settings further by clicking on the “Additional power settings” link. Here, you can adjust specific settings such as the time it takes for the display to turn off or the computer to go into sleep mode.
By optimizing the power settings on your Windows 10 computer, you can effectively manage resource allocation, including RAM usage. The ideal power settings will vary depending on your specific needs, so it’s a good idea to experiment with different settings to find the balance between performance and energy efficiency that works best for you.
Adjust Virtual Memory Settings
Virtual memory is a feature in Windows that allows your computer to use a portion of the hard drive as additional memory when the physical RAM becomes insufficient. By adjusting the virtual memory settings, you can optimize memory management and potentially reduce the strain on your computer’s RAM.
To access the virtual memory settings, open the Start menu and click on the gear icon to open the Settings app. From the Settings app, select “System” and then choose “About” from the left sidebar. Scroll down and click on the “System info” link.
In the System Properties window that appears, click on the “Advanced system settings” option in the left sidebar. This will open the System Properties dialog. Under the “Performance” section, click on the “Settings” button to open the Performance Options dialog. Navigate to the “Advanced” tab and click on the “Change” button in the Virtual memory section.
By default, Windows manages the virtual memory automatically. However, you can customize the settings by unchecking the “Automatically manage paging file size for all drives” option. This allows you to manually adjust the virtual memory allocation.
The recommended virtual memory size is usually 1.5 to 3 times the size of your physical RAM. You can set a custom size by selecting the “Custom size” option and entering the initial and maximum size values in megabytes. Alternatively, you can choose the “System managed size” option to let Windows handle the virtual memory allocation.
It’s important to note that setting the virtual memory too low may result in system instability and performance issues. Conversely, setting it too high may waste disk space. Finding the optimal virtual memory size may require some trial and error, depending on your specific system requirements and available hard drive space.
After making changes to the virtual memory settings, click on the “Set” button and then “OK” to apply the changes. You may need to restart your computer for the changes to take effect.
Adjusting the virtual memory settings can help optimize memory usage and potentially reduce the strain on your computer’s RAM. By ensuring that your system has enough virtual memory to handle demanding tasks, you can improve overall performance and prevent memory-related issues.
Update Drivers
Outdated or incompatible drivers can sometimes result in increased RAM usage and performance issues on your Windows 10 computer. It’s crucial to keep your drivers up-to-date to ensure optimal system performance. Updating drivers not only helps resolve potential compatibility issues but also improves the efficiency of hardware components, which can ultimately reduce the strain on your computer’s RAM.
There are several ways to update drivers in Windows 10. One of the most convenient methods is to use Windows Update. Windows 10 automatically checks for updates and installs them on your computer. To access Windows Update, open the Start menu, click on the gear icon to open the Settings app, and then select “Update & Security”. From here, click on “Windows Update” and then click on “Check for updates” to search for available driver updates.
If Windows Update does not find any driver updates or you want to manually update specific drivers, another option is to visit the manufacturer’s website. Identify the manufacturer and model of the hardware device for which you want to update the drivers and visit the manufacturer’s support website. Look for the “Downloads” or “Support” section and search for the latest drivers for your specific hardware device. Download and install the driver according to the provided instructions.
Alternatively, you can also use third-party driver update software to scan your system and automatically update outdated drivers. These software programs simplify the process by scanning your computer for outdated drivers and providing a convenient way to download and install the latest versions.
Regularly checking for driver updates and keeping them up-to-date can help optimize your computer’s performance and minimize RAM usage. By ensuring that your hardware components have the latest drivers installed, you can take advantage of performance improvements, bug fixes, and enhanced compatibility with the operating system.
Note that when updating drivers, it’s important to download and install them from trusted sources to avoid downloading potentially harmful or incompatible files. Stick to official manufacturer websites or reputable driver update software to ensure the integrity and reliability of the drivers.
By keeping your drivers updated, you can enhance the performance and efficiency of your hardware components, minimizing the strain on your computer’s RAM and improving overall system performance.
Uninstall and Reinstall Applications
Over time, you may accumulate a variety of applications on your Windows 10 computer that you no longer use or need. These unnecessary applications can take up valuable storage space and contribute to increased RAM usage. By uninstalling unused applications, you can free up disk space and potentially reduce the strain on your computer’s RAM.
To uninstall applications, open the Start menu and click on the gear icon to open the Settings app. From the Settings app, select “Apps” and then choose “Apps & features” from the left sidebar. This will display a list of installed applications on your computer.
Scroll through the list and identify applications that you no longer use or need. Click on the application and then select “Uninstall”. Follow the on-screen instructions to complete the uninstallation process. Repeat this process for other unnecessary applications.
In addition to uninstalling applications, it may be beneficial to reinstall certain applications that you frequently use but are experiencing performance issues. Over time, applications may accumulate unnecessary files or become corrupted, leading to increased RAM usage and performance degradation.
To reinstall an application, visit the official website or application store and download the latest version of the software. Once downloaded, follow the installation instructions provided by the application’s developer. This process will replace the existing application files with fresh copies, potentially resolving any performance or RAM-related issues.
It’s important to note that when uninstalling and reinstalling applications, be cautious of any data or settings associated with the application. Back up any important data or settings before uninstalling, as they may be permanently deleted during the uninstallation process.
Regularly reviewing and managing your installed applications can help optimize your computer’s performance and reduce RAM usage. By removing unnecessary applications and reinstalling those experiencing performance issues, you can ensure that your system resources, including RAM, are efficiently utilized.
Remember to uninstall applications only if you are certain that they are no longer needed or causing performance issues. Exercise caution and perform backups when necessary to avoid any loss of important data or settings.
Scan for Malware
Malware, such as viruses, trojans, and other malicious software, can significantly impact your computer’s performance and RAM usage. These malicious programs may run in the background, consuming valuable system resources and causing performance issues. Performing regular malware scans can help identify and remove any potential threats, ultimately reducing RAM usage and improving system performance.
Windows 10 comes with Windows Security, a built-in antivirus and security program that helps protect your computer from malware. To initiate a malware scan, open the Start menu and click on the gear icon to open the Settings app. From the Settings app, select “Update & Security” and then choose “Windows Security” from the left sidebar.
Within the Windows Security app, click on “Virus & threat protection”. Here, you’ll find options to perform a quick scan, full scan, or custom scan. A quick scan checks common areas where malware is often found, while a full scan examines all files and folders on your computer. A custom scan allows you to choose specific files, folders, or drives to scan.
Click on the scan option that best suits your needs, and Windows Security will scan your computer for potential malware. If any threats are detected, the program will prompt you to take appropriate action, such as quarantining or removing the infected files.
In addition to Windows Security, there are various third-party antivirus and anti-malware programs available that offer advanced security features. These programs often provide real-time protection, scheduled scanning, and additional security features to safeguard your computer from malware.
It’s important to keep your antivirus software and malware definitions up to date to ensure the best possible protection. Regularly perform scans for malware, especially after downloading or installing new programs or visiting unfamiliar websites.
By scanning for malware and removing any detected threats, you can improve your computer’s security, reduce the strain on your RAM, and enhance overall system performance.
Remember, prevention is key. Be cautious when downloading and installing software, and refrain from opening suspicious email attachments or visiting potentially harmful websites. Taking proactive measures to protect your computer can go a long way in maintaining optimal system performance and reducing RAM usage.
Upgrade Hardware
If you’ve tried all the software optimization techniques and are still experiencing high RAM usage and performance issues, it may be time to consider upgrading your computer’s hardware components. Upgrading hardware can provide a significant boost in performance and allow your computer to handle more memory-intensive tasks efficiently.
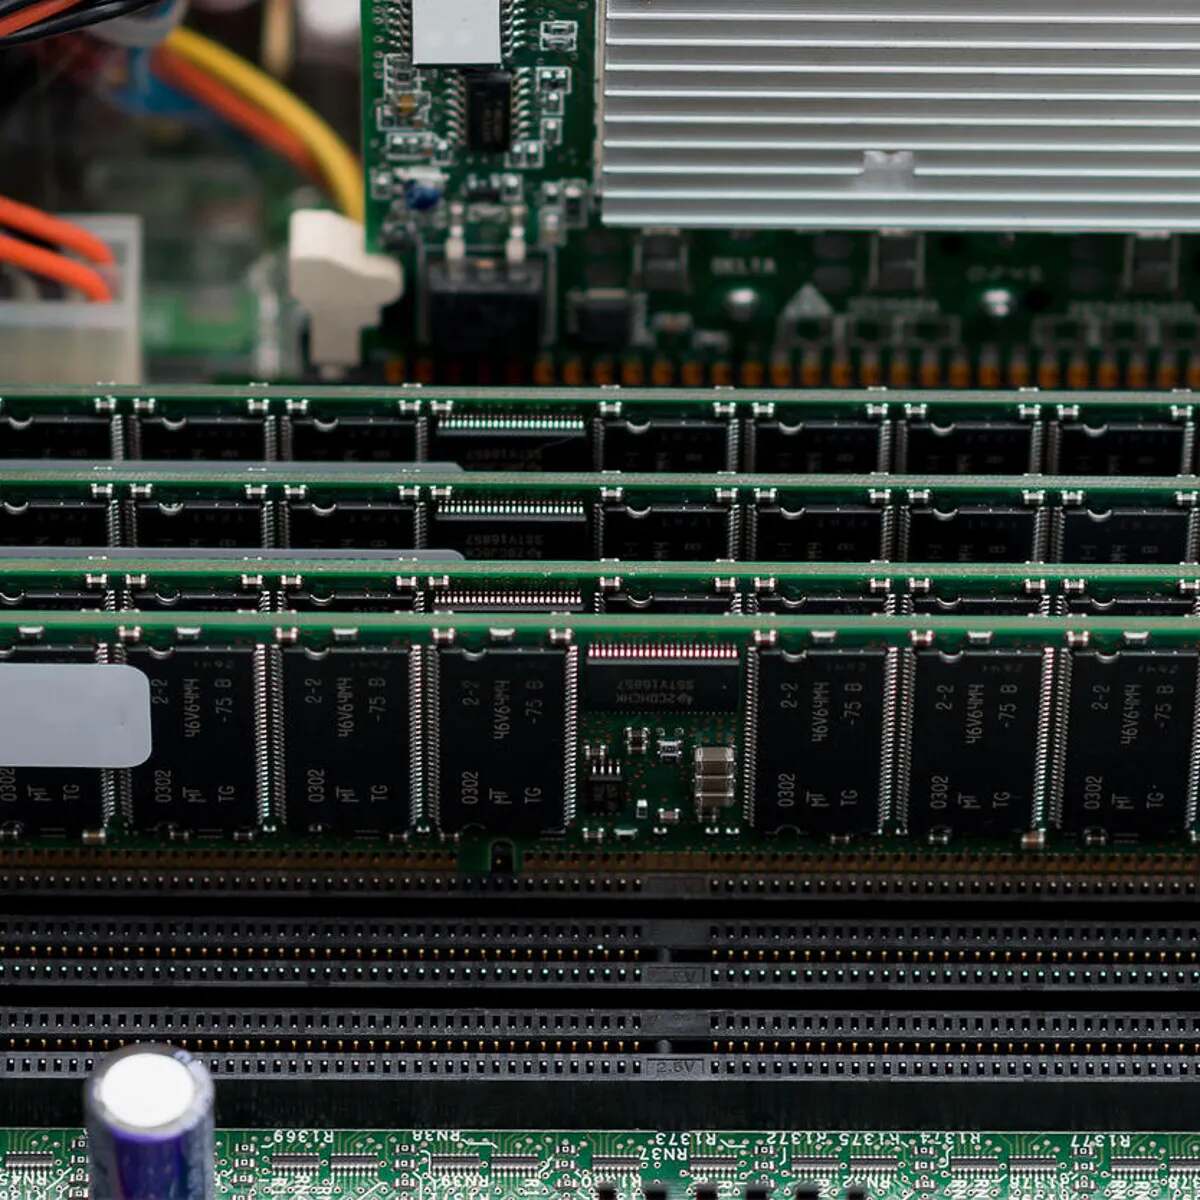
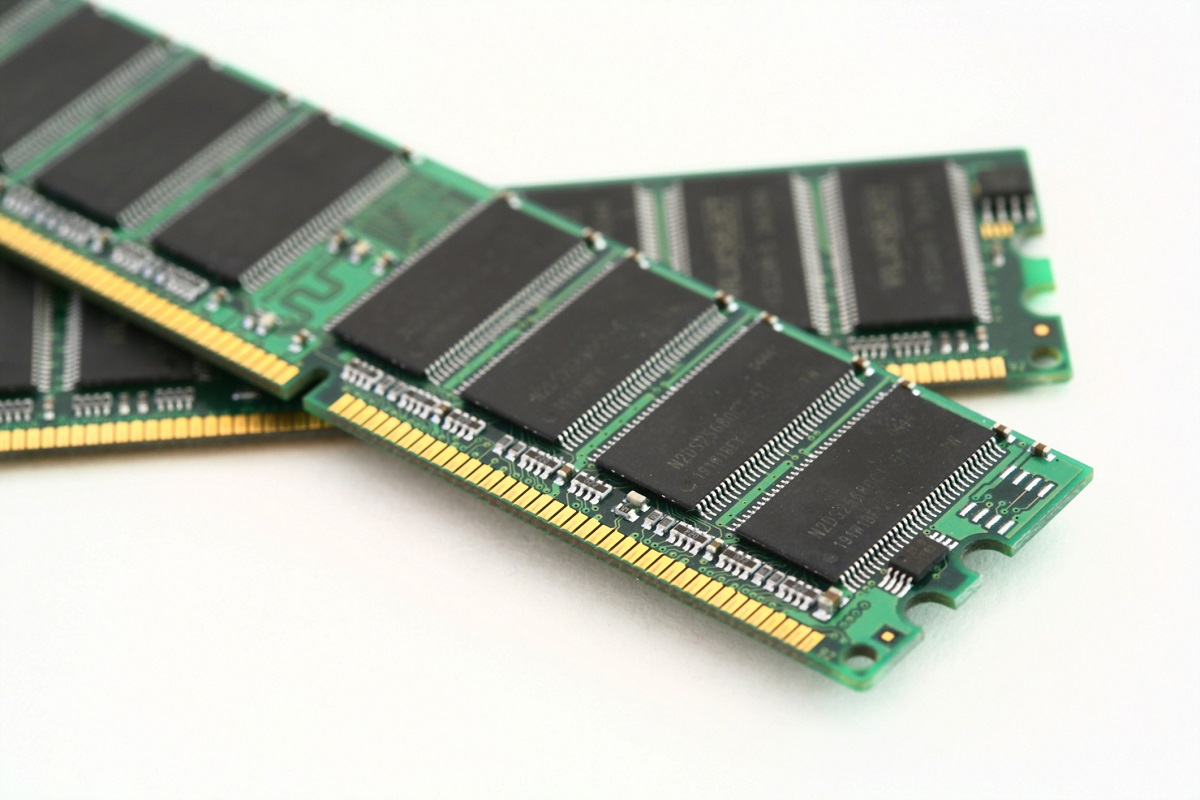
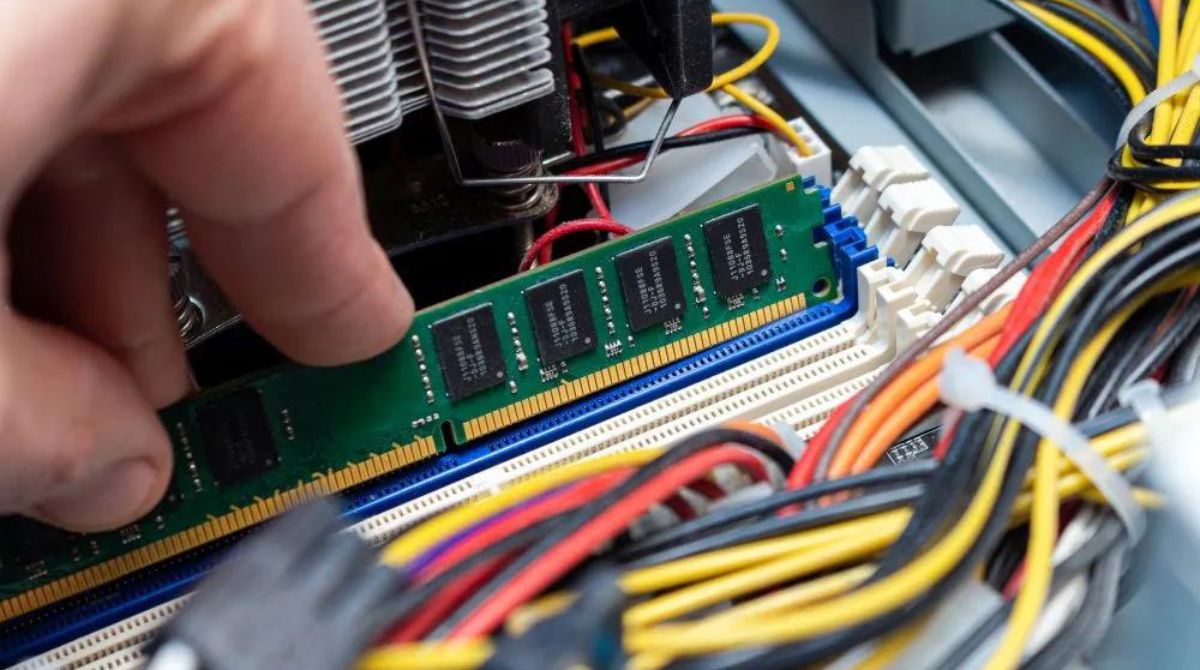
The most straightforward way to increase RAM is by adding more memory modules. Check the specifications of your motherboard to determine the type and maximum capacity of RAM it supports. Purchase compatible RAM modules and install them in the available slots. With additional RAM, your computer can handle more simultaneous processes, reducing the strain on existing memory and improving overall performance.
In addition to increasing RAM, upgrading other hardware components can also contribute to improved performance. For example:
- Processor (CPU): A faster and more powerful CPU can handle tasks more efficiently, reducing the processing load on the RAM.
- Storage Drive: Switching to a solid-state drive (SSD) can significantly boost your computer’s speed, as SSDs offer faster data read and write speeds compared to traditional hard disk drives (HDDs).
- Graphics Card (GPU): Upgrading your GPU can enhance graphics performance, especially for gaming or multimedia-intensive applications.
Before purchasing and installing new hardware components, check the compatibility with your existing system and ensure that your power supply can handle the additional load, particularly for high-end GPUs or power-hungry processors.
If you’re not comfortable with hardware upgrades or need assistance, consider consulting with a professional or taking your computer to a trusted technician to ensure proper installation.
Upgrading hardware can be a more significant investment compared to software optimizations, but it can result in substantial performance improvements. It’s important to evaluate your specific needs and budget when considering hardware upgrades.
Remember to regularly maintain and keep your hardware clean to prevent overheating or performance issues. Dust buildup in components like the CPU cooling system or the GPU fan can lead to throttling and reduced performance.
Disclaimer: Upgrading hardware components may void warranties or require technical expertise. Please consult the manufacturer’s guidelines or seek professional assistance if needed.
Conclusion
Optimizing RAM usage on your Windows 10 computer can significantly improve system performance and ensure smooth multitasking. By following the strategies outlined in this guide, you can effectively reduce RAM usage and enhance overall efficiency.
Start by closing unnecessary programs and background processes to free up valuable system resources. Disable startup programs to prevent unnecessary applications from launching at boot. Managing Windows services and adjusting visual effects can further optimize RAM usage.
Adjusting power settings and virtual memory allocation can also have a significant impact on system performance. Updating drivers keeps your hardware running smoothly and helps minimize RAM-related issues. Uninstalling unnecessary applications and performing malware scans are essential for freeing up system resources.
If software optimizations are not sufficient, upgrading hardware components such as RAM, CPU, storage, or GPU can take your computer’s performance to the next level. However, hardware upgrades should be carefully considered based on your specific needs and budget.
Remember to conduct regular maintenance and security measures to keep your computer running smoothly. Regularly scanning for malware, performing system updates, and keeping your drivers up-to-date are crucial for maintaining optimal performance.
By implementing these strategies and continually monitoring your computer’s performance, you can ensure efficient use of RAM and enjoy a fast, responsive Windows 10 experience.