Introduction
Welcome to the world of Windows 10, where we all strive for smooth and efficient performance on our computers. One of the key components that directly affects the performance of your system is RAM, or Random Access Memory. Understanding how to free up RAM in Windows 10 can help optimize your computer’s resources and ensure a better overall experience.
RAM is a crucial component of your computer that allows it to run multiple programs and tasks simultaneously. It temporarily stores data that your processor needs to access quickly. The more RAM you have, the more efficiently your computer can handle tasks and run programs without slowing down.
However, over time, your RAM can get filled up with unnecessary processes and programs, resulting in a sluggish system performance. This can lead to slowed down application launches, longer response times, and overall decreased productivity. To ensure that your computer operates smoothly, it’s important to regularly free up RAM and optimize its usage.
In this article, we will explore various methods to check your RAM usage, clear up unnecessary processes, disable startup programs, adjust virtual memory settings, run a disk cleanup, and update your operating system and drivers. We will also provide some additional tips for optimizing your RAM usage. By following these steps, you can significantly improve the performance of your Windows 10 system.
What is RAM and why is it important?
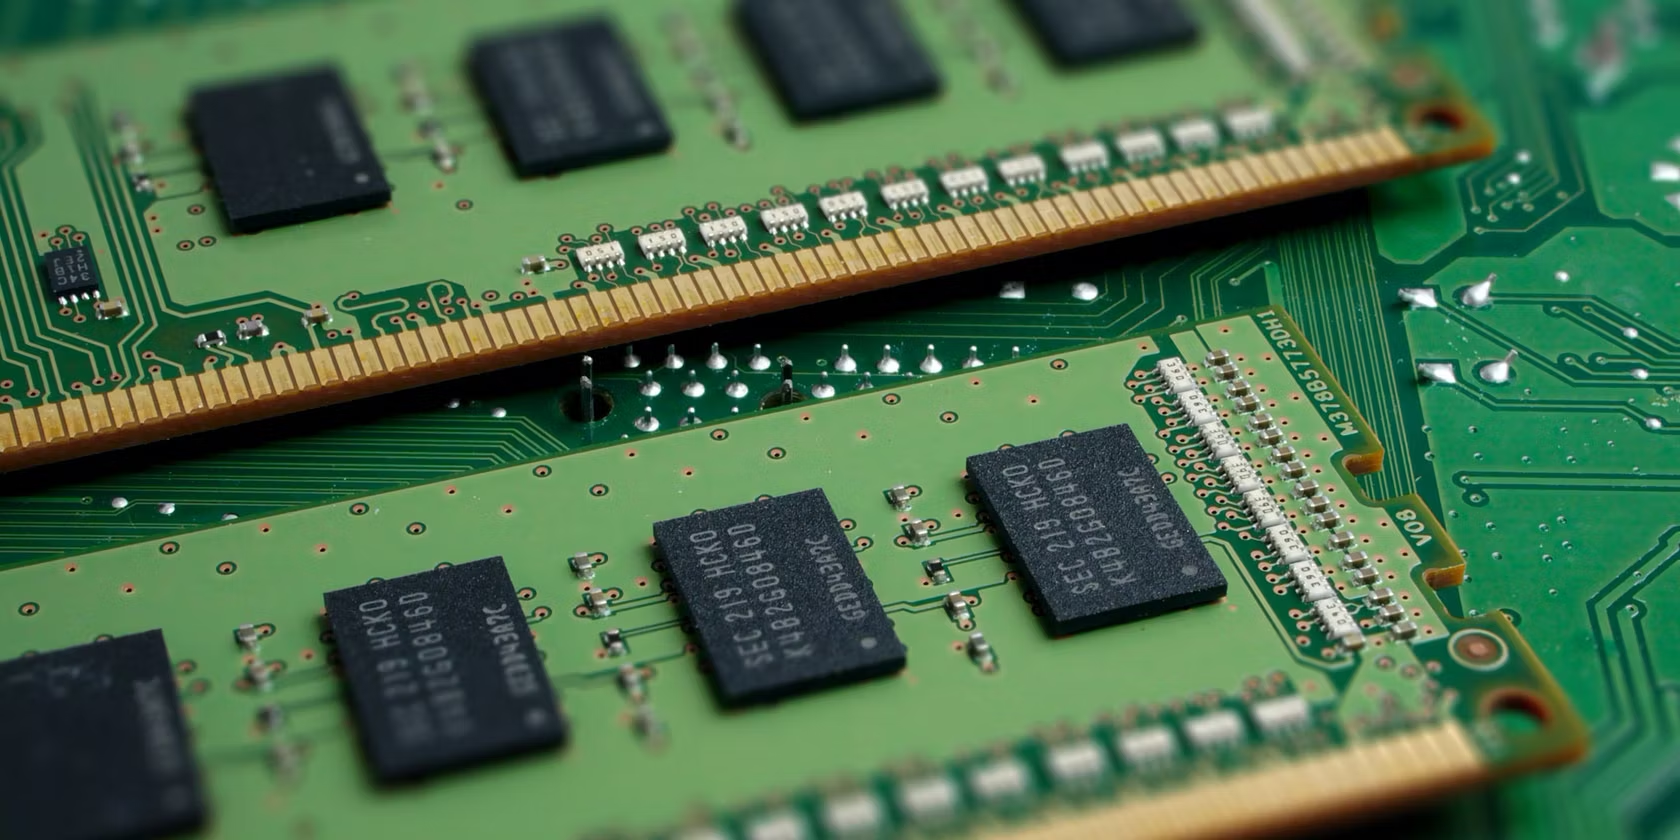
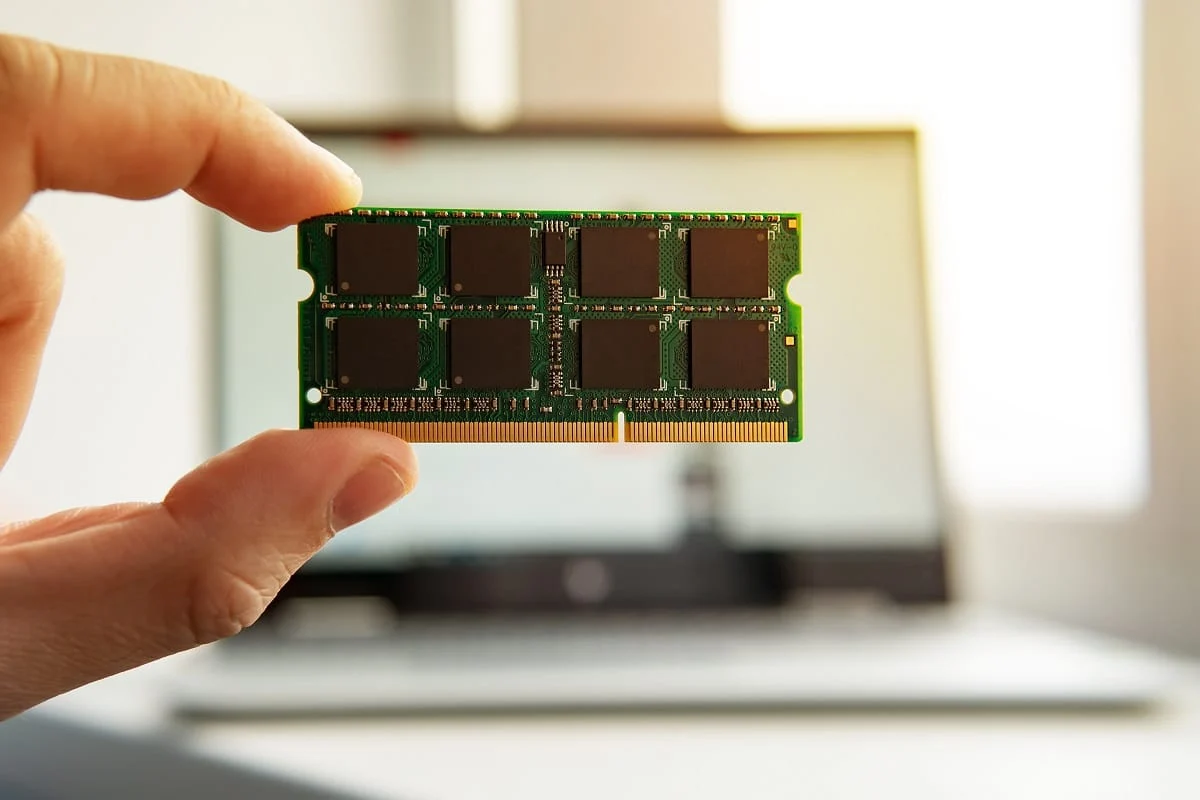
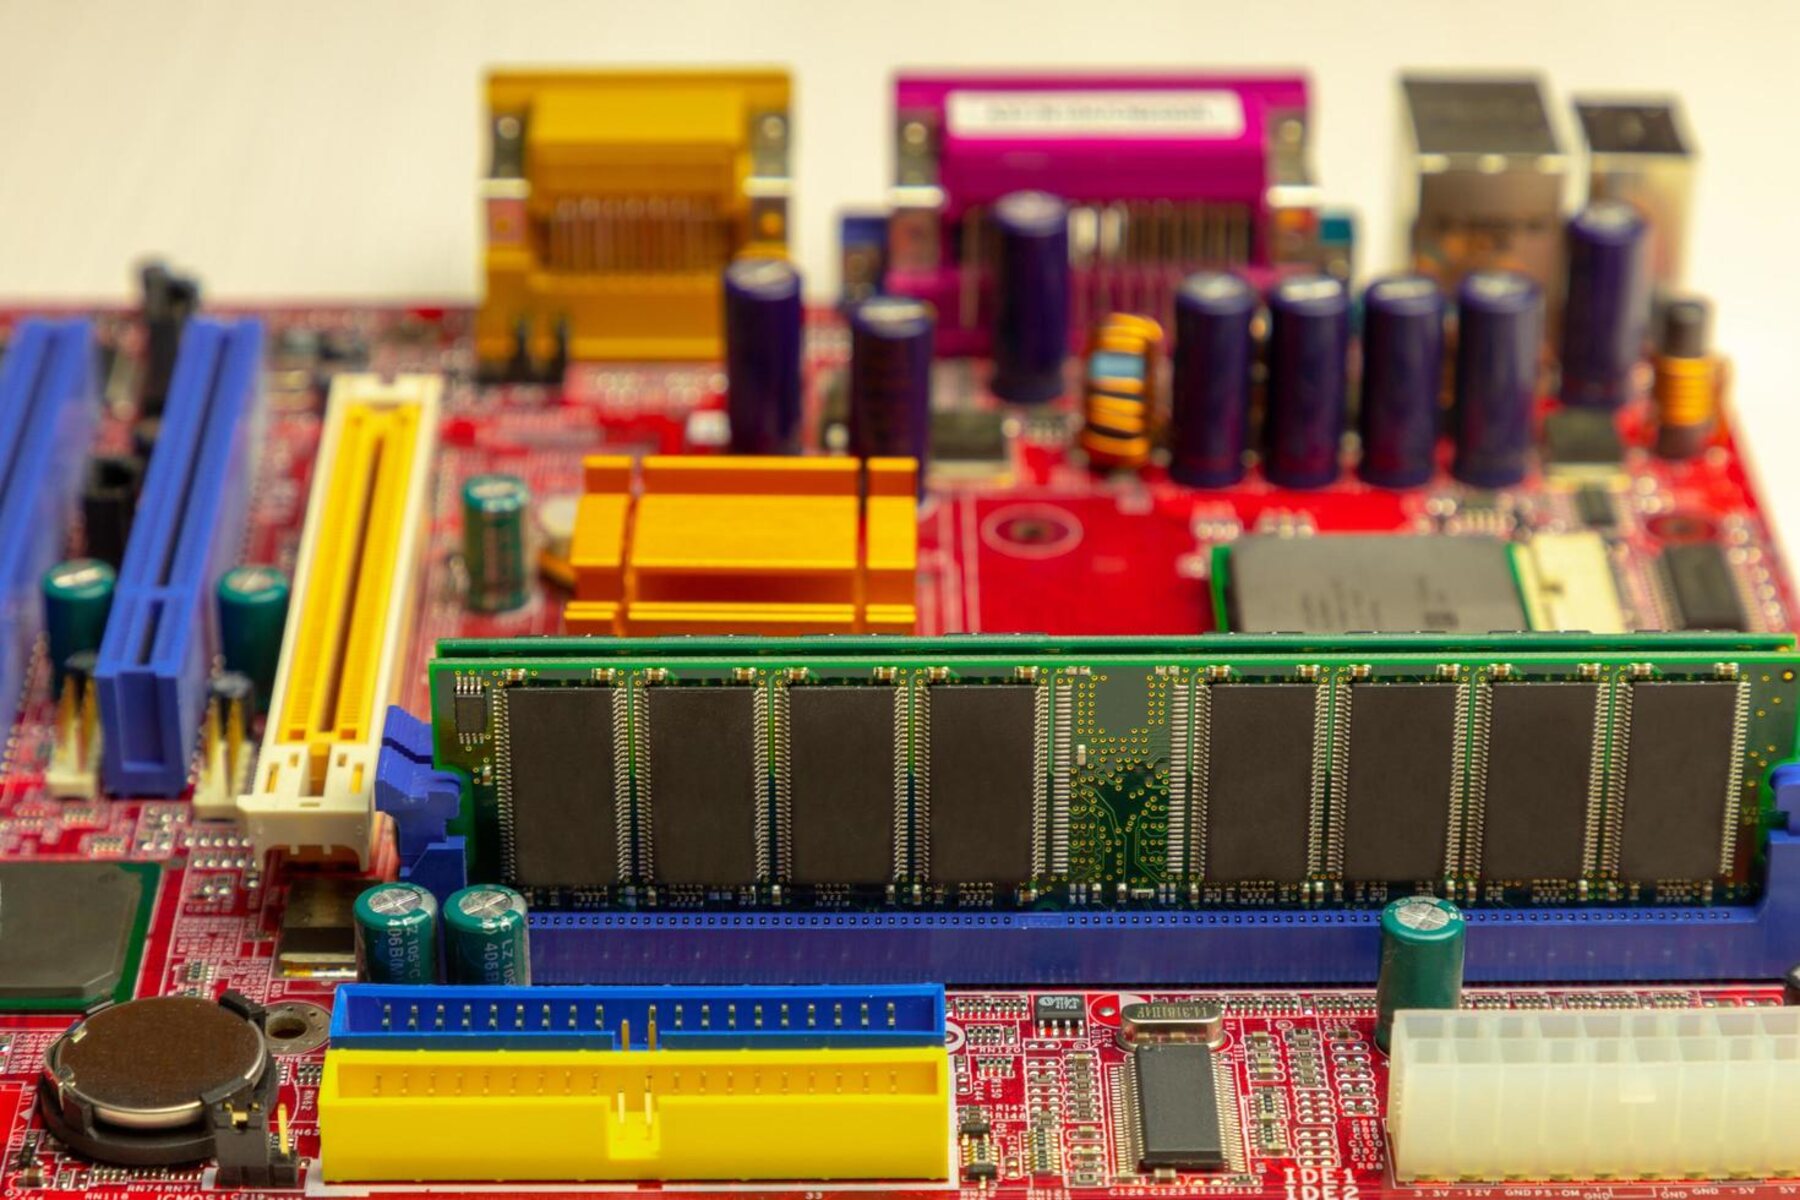
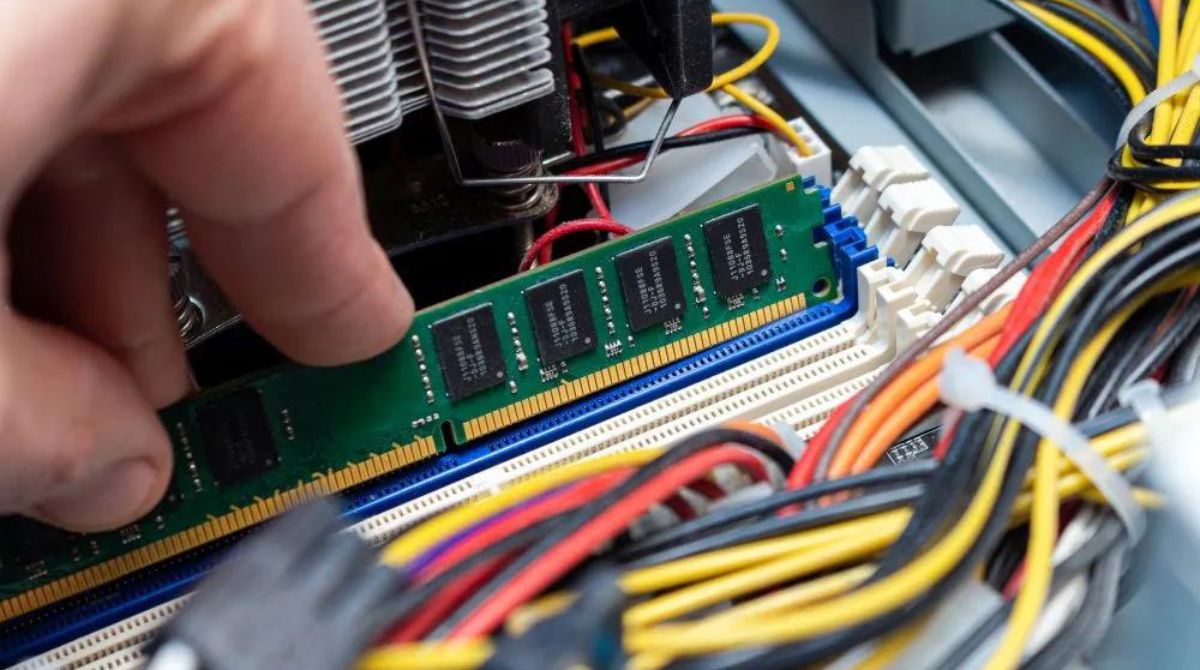
RAM, or Random Access Memory, is a crucial component of your computer’s hardware. It is responsible for temporarily storing and accessing data that your processor needs to perform tasks. Unlike your computer’s hard drive, which stores data permanently, RAM provides fast and temporary storage that allows your computer to quickly access information while it is actively running.
When you open a program or perform a task on your computer, the necessary data is loaded into RAM, allowing the processor to access it quickly. The more RAM you have, the more data can be stored in this fast memory, resulting in faster and more efficient performance. RAM acts as a bridge between your computer’s processor and the storage devices, ensuring that the data can be accessed without any significant delays.
RAM plays a crucial role in multitasking. When you have multiple programs running simultaneously, they all require memory to function. If your computer does not have sufficient RAM, it may struggle to handle these tasks simultaneously, resulting in slowdowns, lags, and even crashes. Insufficient RAM can lead to a bottleneck in your system’s performance, hindering your productivity and overall user experience.
Having enough RAM is particularly important for resource-intensive tasks such as gaming, video editing, graphic design, and running virtual machines. These tasks require a significant amount of memory to process and store data quickly. Without enough RAM, your system may struggle to handle these tasks efficiently, leading to reduced performance and potential data loss.
It is worth noting that while RAM is essential for optimal system performance, it is not the only factor to consider. Your computer’s processor, storage devices, and graphics card also play significant roles in determining overall speed and performance. However, ensuring that you have enough RAM and properly managing its usage can go a long way in improving the responsiveness and speed of your computer.
Why does RAM get filled up?
RAM can get filled up with unnecessary processes and programs over time, which can lead to a decrease in your system’s performance. There are several reasons why RAM usage can increase and become filled up:
- Running multiple programs simultaneously: Each program that you launch on your computer consumes a certain amount of RAM. When you have multiple programs running at the same time, the combined RAM usage can quickly add up, filling up the available memory. This is especially true for resource-intensive programs like video editing software or video games that require a significant amount of RAM to run smoothly.
- Background processes and services: Your computer runs background processes and services even when you are not actively using specific programs. These background processes can consume a portion of your available RAM. While some background processes are necessary for the functioning of your operating system, unnecessary or poorly optimized processes can use up additional resources and contribute to the filling up of your RAM.
- Startup programs: Many programs and applications configure themselves to start automatically when you boot up your computer. These startup programs load into memory and stay active in the background, consuming RAM resources. Over time, as you install more programs, your list of startup programs can grow, resulting in increased RAM usage.
- Inefficient memory management: Some programs and processes do not release the memory they have allocated even after they are closed. This can lead to “memory leaks” where the RAM usage remains high even when the program is no longer running. Memory leaks can slowly consume more and more RAM over time, contributing to overall RAM usage and potentially causing system instability.
- Large files and data caching: When you access large files or run memory-intensive programs, your computer may use a technique called caching to store recently accessed data in RAM. While this can improve performance by allowing quicker access to frequently used data, it can also contribute to RAM filling up if the cached data is not properly managed.
Understanding the reasons why RAM gets filled up can help you identify areas where you can take action to free up memory and optimize your system’s performance. By managing your programs, services, and startup items, you can ensure that your computer’s RAM is efficiently utilized and that your system runs smoothly.
How to check your RAM usage in Windows 10
Before you can start freeing up RAM in Windows 10, it’s important to check how much memory is currently in use. Windows 10 provides built-in tools that allow you to monitor your RAM usage and identify any potential issues. Here’s how you can check your RAM usage:
- Task Manager: Press Ctrl + Shift + Esc to open the Task Manager. Click on the Performance tab, and you will see the Memory section. Here, you can view the total amount of RAM installed on your computer, as well as the amount of RAM currently in use. The percentage of RAM usage and the remaining available memory will also be displayed.
- Resource Monitor: Open the Task Manager again using the same keyboard shortcut (Ctrl + Shift + Esc). This time, click on the Performance tab, and then click on the Open Resource Monitor link at the bottom. In the Resource Monitor window, navigate to the Memory tab. Here, you can see detailed information about the processes and services that are currently utilizing your computer’s RAM.
- Settings: Another way to check your RAM usage is through the Windows Settings app. Press the Windows key on your keyboard and type Settings, then click on the matching result. In the Settings window, click on System, and then select About. Under the Device specifications section, you will find information about the installed RAM and the system type (32-bit or 64-bit).
By using these methods, you can quickly get an overview of your computer’s RAM usage and determine if it is running at capacity or if there is room for optimization. Monitoring your RAM usage regularly can help you identify if there are any memory-intensive processes or programs that are causing excessive memory usage.
Now that you know how to check your RAM usage in Windows 10, let’s move on to the next sections where we will explore various methods to free up RAM and optimize your system’s performance.
Clearing up unnecessary processes and programs
One of the most effective ways to free up RAM in Windows 10 is to identify and close unnecessary processes and programs that are consuming memory resources. Here are some steps you can take to clear up unnecessary processes and programs:
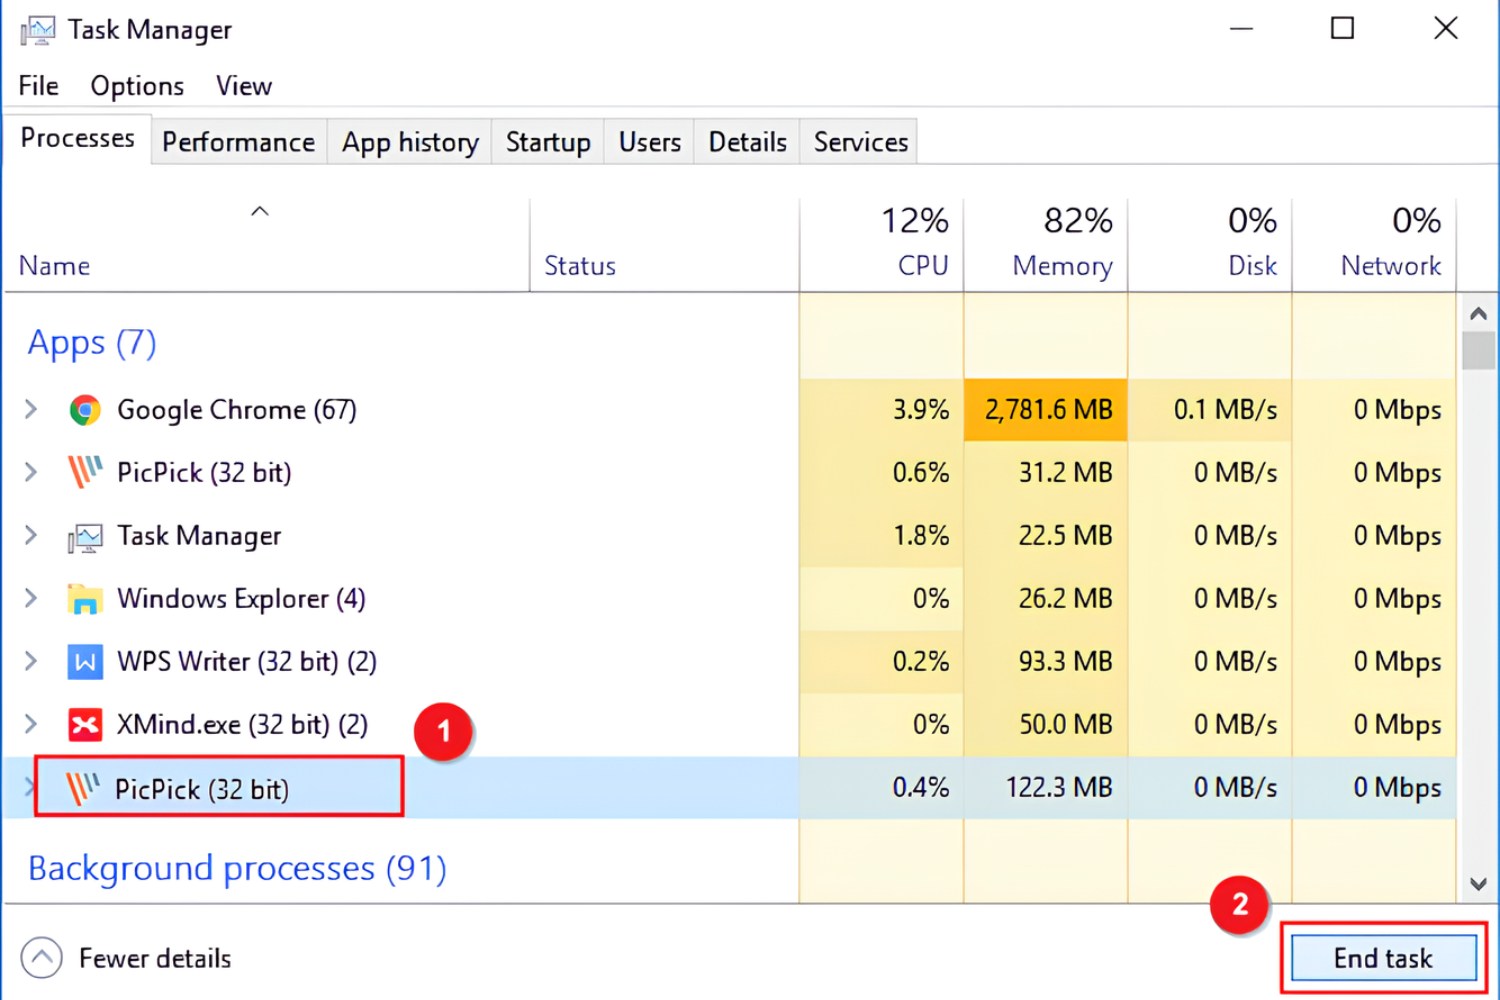
- Close unused applications: Begin by closing any programs or applications that are running in the background but are not being actively used. These unused programs continue to consume memory resources, even if you are not actively using them. Right-click on the program’s icon in the taskbar and choose Close, or use the Task Manager (accessible by pressing Ctrl + Shift + Esc) to end the processes of unused applications.
- Identify memory-intensive processes: Use the Task Manager to identify processes that are consuming a significant amount of RAM. Sort the processes by Memory usage to see which ones are utilizing the most memory resources. Once you have identified memory-intensive processes, you can decide whether to close them or investigate further if they are essential for your computer’s operation.
- Uninstall unnecessary programs: Open the Control Panel and navigate to Programs > Uninstall a program. Review the list of installed programs and uninstall any that you no longer use or need. Uninstalling unnecessary programs not only frees up disk space but also reduces the burden on your system’s resources, including RAM.
- Disable background processes: Some programs may run background processes that are not necessary for their core functionality. Check your startup programs and disable any unnecessary background processes or services. You can access startup programs and services through the Task Manager or the System Configuration utility (type msconfig in the Run dialog box).
- Optimize browser tabs and extensions: If you regularly use web browsers with multiple tabs or have numerous extensions installed, they can consume a significant amount of RAM. Consider closing unnecessary tabs and disabling or removing extensions that are not essential.
By clearing up unnecessary processes and programs, you can free up valuable RAM resources for other tasks and improve the overall performance of your Windows 10 system. Remember to regularly monitor your system’s RAM usage and close any processes or programs that are not needed to ensure efficient memory utilization.
Disabling startup programs
Startup programs are applications and processes that automatically launch when you start your computer. These programs can consume valuable system resources, including RAM, and can significantly impact the startup time and overall performance of your Windows 10 system. Disabling unnecessary startup programs can help free up RAM and optimize your computer’s performance. Here’s how you can disable startup programs:
- Task Manager: Press Ctrl + Shift + Esc to open the Task Manager. Click on the Startup tab to see a list of programs that launch at startup. Evaluate the list and identify programs that you don’t need to start automatically. Right-click on the program and select Disable to prevent it from launching at startup.
- System Configuration: Press the Windows key on your keyboard and type msconfig. Click on the matching result to open the System Configuration utility. In the Startup tab, you will see a list of programs that start when your computer boots up. Uncheck the box next to the programs you want to disable, and click Apply and OK.
- Task Scheduler: Press the Windows key and type Task Scheduler. Click on the matching result to open the Task Scheduler window. In the left pane, navigate to Task Scheduler Library > Microsoft > Windows > StartUp. Here, you will find a list of programs that launch at startup. Right-click on the program you want to disable and select Disable.
- Third-party startup managers: There are also third-party software tools available that provide more advanced options for managing startup programs. These tools offer additional features such as categorizing startup programs, providing recommendations, and optimizing startup performance. Examples of popular third-party startup managers include CCleaner, Autoruns, and Startup Delayer.
Disabling unnecessary startup programs can significantly reduce the amount of RAM used during system startup. It can also improve the responsiveness of your computer by reducing the number of background processes running in the background. Just be cautious when disabling startup programs, and make sure to only disable programs that you don’t need to start automatically.
By taking control of your startup programs, you can free up RAM and ensure that your Windows 10 system starts up quickly and runs smoothly.
Adjusting virtual memory settings
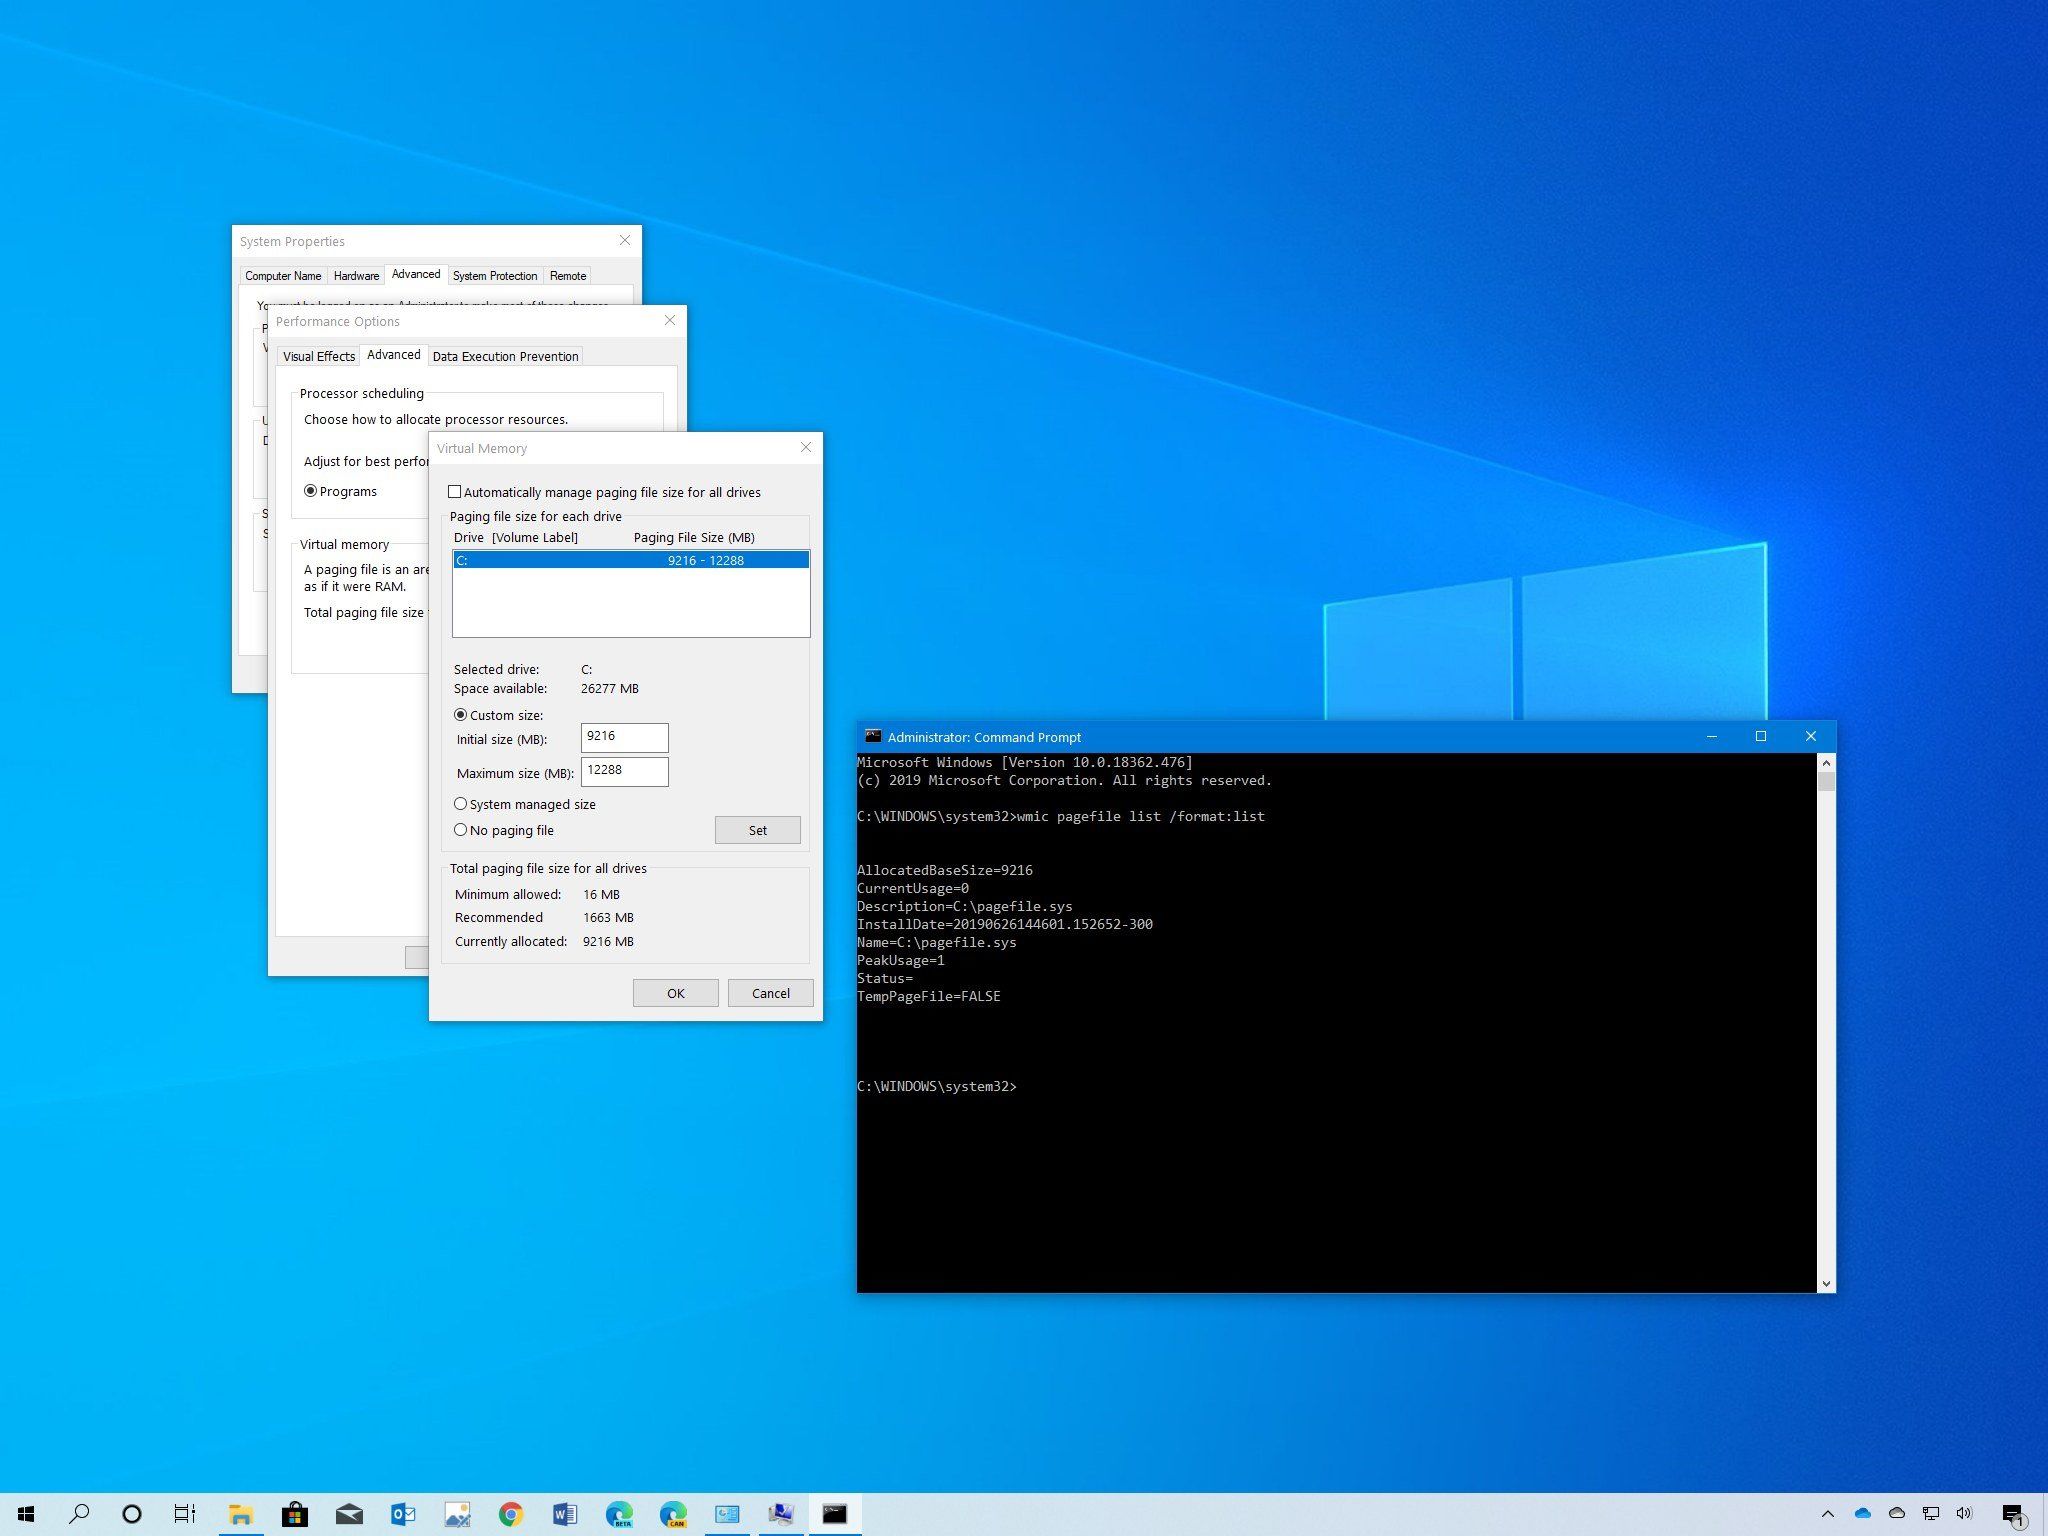
Virtual memory is a feature in Windows 10 that uses a portion of your computer’s hard drive space as a supplement to physical RAM. It allows your system to temporarily store data that doesn’t fit into RAM, ensuring smooth operation even when the demand for memory exceeds the available physical RAM. By adjusting your virtual memory settings, you can optimize the allocation of storage space and potentially free up some RAM. Here’s how you can adjust virtual memory settings:
- Open System Properties: Right-click on the Start button and select System. In the System window, click on Advanced system settings located on the left-hand side.
- Access Virtual Memory settings: In the System Properties window, click on the Settings button under the Performance section. In the Performance Options window, navigate to the Advanced tab and click on the Change button under the Virtual Memory section.
- Adjust virtual memory: In the Virtual Memory window, make sure the “Automatically manage paging file size for all drives” option is unchecked. Select the drive where your Windows 10 operating system is installed (usually the C: drive) and choose the “Custom size” option.
- Specify the initial and maximum size: Enter an initial size (in megabytes) for the virtual memory. This is the amount of space that Windows will allocate on your hard drive when your computer starts up. You can set this value based on the total amount of physical RAM installed on your computer.
For the maximum size, it is recommended to set it to a value that is 1.5 to 3 times the size of your computer’s physical RAM. For example, if you have 8 GB of RAM, you can set the maximum size to 12 GB (12288 MB). - Click OK: Once you have entered the desired values for the initial and maximum size of the virtual memory, click on the Set button, then click OK to apply the changes. You may need to restart your computer for the changes to take effect.
Adjusting virtual memory settings can help optimize the usage of both physical RAM and hard drive space. By allocating an appropriate amount of virtual memory, you can ensure that your computer’s resources are utilized efficiently, potentially freeing up RAM for other tasks. However, keep in mind that excessively increasing the virtual memory size may impact the performance of your system. It’s best to monitor the performance and adjust the settings accordingly for optimal results.
Now that you have adjusted your virtual memory settings, let’s explore more ways to free up RAM and enhance the performance of your Windows 10 system.
Running a disk cleanup
Over time, your computer’s hard drive can accumulate unnecessary files, temporary data, and other clutter that can take up valuable storage space. This can also indirectly impact your computer’s performance and RAM usage. Running a disk cleanup in Windows 10 can help free up disk space and potentially alleviate the burden on your RAM. Here’s how you can do it:
- Open Disk Cleanup: Press the Windows key on your keyboard and type Disk Cleanup. Click on the matching result to open the Disk Cleanup utility.
- Select the drive to clean up: In the Disk Cleanup window, select the drive where you want to remove unnecessary files. This is typically your system drive, which is usually labeled as the C: drive.
- Scan for unnecessary files: Click on the OK button to begin the scanning process. Disk Cleanup will analyze your selected drive and calculate the amount of space that can be freed up by removing unnecessary files.
- Select file types to delete: Once the scan is complete, the Disk Cleanup utility will present you with a list of file types that can be safely deleted. These can include temporary files, system files, cached data, and more. Review the list and check the boxes next to the file types you want to remove.
- Clean up the selected files: Click on the OK or Delete Files button to proceed with removing the selected files. Disk Cleanup will permanently delete the selected files from your hard drive, freeing up disk space.
A disk cleanup can help remove unnecessary files and free up storage space on your computer’s hard drive. By freeing up disk space, you indirectly reduce the burden on your RAM, potentially improving overall system performance. It is recommended to run disk cleanup regularly to keep your hard drive clutter-free.
Now that you have cleaned up your disk and freed up valuable storage space, let’s dive into more methods to optimize your system’s RAM usage in Windows 10.
Updating your operating system and drivers
Keeping your operating system and drivers up to date is crucial for maintaining system stability, compatibility, and ensuring optimal performance. Outdated software can not only lead to security vulnerabilities but can also contribute to RAM usage and performance issues. Here’s how you can update your operating system and drivers in Windows 10:
- Windows Update: Press the Windows key on your keyboard and type Windows Update. Click on the matching result to open the Windows Update settings. Here, you can check for available updates and install them. Windows Update will automatically search for the latest updates and security patches for your operating system.
- Device Manager: Press the Windows key + X to open the Power User Menu, and select Device Manager. In the Device Manager window, expand the categories to find the devices that need driver updates. Right-click on the device and select Update driver. You can choose to update the driver automatically or browse your computer to manually install the downloaded driver updates.
- Manufacturer’s website: For devices such as graphics cards, printers, or other peripherals, it is often recommended to visit the manufacturer’s website for driver updates. Look for a Support or Downloads section on the website and locate the model of your device. Download and install the latest drivers available for your specific hardware.
- Third-party driver update tools: There are also third-party driver update tools available that can scan your system, detect outdated drivers, and automatically download and install the latest versions. Examples of popular driver update tools include Driver Booster, Driver Easy, and Snappy Driver Installer. These tools can simplify the process of keeping your drivers up to date.
Updating your operating system and drivers not only ensures that you have the latest features and improvements but also helps optimize your system’s resources, including RAM usage. Newer versions of software often come with performance enhancements, bug fixes, and better memory management, which can contribute to a smoother and more efficient system.
Remember to regularly check for updates for both your operating system and drivers to ensure that your Windows 10 system stays up to date and performs at its best.
Tips for optimizing your RAM usage
Optimizing your RAM usage is essential for ensuring smooth system performance and efficient resource management. Here are some tips to help you make the most out of your RAM in Windows 10:
- Close unused applications and tabs: When you’re finished using a program or browsing session, make sure to close it rather than leaving it running in the background. This frees up valuable RAM for other tasks.
- Manage browser extensions: Browser extensions can consume significant memory resources. Disable or remove any unnecessary or unused extensions to reduce RAM usage when browsing the web.
- Use lightweight alternatives: Consider using lightweight programs and apps that use less RAM compared to their resource-intensive counterparts. For example, using a lightweight text editor instead of a full-featured office suite can help conserve memory.
- Limit startup processes: Review the list of programs that launch at startup and disable any unnecessary ones. This reduces the amount of memory consumed during system startup, allowing for faster and more efficient boot times.
- Monitor resource-heavy applications: Keep an eye on applications that use a significant amount of RAM and consider alternative programs that are less resource-intensive. For example, if a certain video editing software uses excessive memory, explore other options that are lighter on system resources.
- Ensure efficient memory allocation: Windows 10 employs a memory management system that automatically allocates memory resources. However, you can fine-tune your system’s memory allocation by adjusting virtual memory settings, as mentioned earlier.
- Upgrade your RAM: If you consistently find that you are running out of RAM and experiencing performance issues, consider upgrading your computer’s memory. Adding more RAM can significantly improve multitasking capabilities and overall system performance.
- Regularly clean up your system: Use disk cleanup tools to remove unnecessary files and perform routine maintenance tasks. This helps free up disk space, which indirectly alleviates the pressure on RAM.
- Restart your computer: Restarting your computer periodically can help clear out temporary files and reset memory usage, improving overall system performance. This can be especially beneficial if you’ve been using your computer for an extended period without a restart.
By implementing these tips, you can optimize your RAM usage and ensure that your Windows 10 system operates smoothly and efficiently. Remember that regular monitoring and maintenance are key to keeping your system running at its best.
Conclusion
Managing and optimizing RAM usage in Windows 10 is essential for maintaining a smooth and efficient computer system. By following the techniques and tips outlined in this article, you can effectively free up RAM and improve overall system performance:
We started by understanding the importance of RAM and why it is crucial for multitasking and running resource-intensive programs. We then delved into the reasons why RAM gets filled up, such as running multiple programs simultaneously and inefficient memory management.
To check your RAM usage, we explored various methods, including using the Task Manager, Resource Monitor, and the Settings app. This allows you to keep track of your system’s memory usage and identify any potential issues.
We also discussed the importance of clearing up unnecessary processes and programs, disabling startup programs, adjusting virtual memory settings, running a disk cleanup, and updating your operating system and drivers. These steps can significantly help in freeing up RAM and improving system performance.
Additionally, we provided some valuable tips for optimizing your RAM usage, such as closing unused applications, managing browser extensions, and considering lightweight alternatives. By implementing these tips, you can make the most out of your available memory resources.
In conclusion, understanding how to free up RAM in Windows 10 is vital for maintaining a smooth and responsive computer system. By regularly monitoring your RAM usage and employing the techniques discussed, you can ensure efficient resource management, enhance system performance, and enjoy a seamless computing experience.