Understand what RAM is and why it’s important
Random Access Memory (RAM) plays a crucial role in the performance and speed of your computer. It is a type of volatile memory that temporarily stores and accesses data that the computer’s processor needs to perform tasks. RAM allows your computer to access and manipulate data quickly, resulting in faster overall performance.
Think of RAM as a workspace for your computer. When you open a program or perform a task, the necessary data is loaded into the RAM for quick access by the processor. The more RAM you have, the more programs and tasks your computer can handle simultaneously without slowing down.
RAM is important because it directly affects how smoothly your computer runs. If your computer doesn’t have enough RAM, it may struggle to handle multiple programs or tasks at once, causing slow performance, lag, and even crashes.
Having sufficient RAM is especially crucial for tasks that require a lot of memory, such as gaming, video editing, or running resource-intensive applications. Insufficient RAM in these scenarios can lead to poor performance, reduced frame rates, and longer render times.
Moreover, RAM also plays a role in system stability. When your computer runs out of RAM, it starts using a section of the hard drive called virtual memory as a substitute. However, virtual memory is significantly slower than RAM, so excessive use of virtual memory can cause a noticeable decrease in overall performance.
Overall, understanding the importance of RAM and its relationship to your computer’s performance is crucial. By properly managing and optimizing your RAM usage, you can ensure that your computer runs efficiently and smoothly, allowing you to accomplish your tasks without unnecessary frustrations.
Identify what is using up your RAM
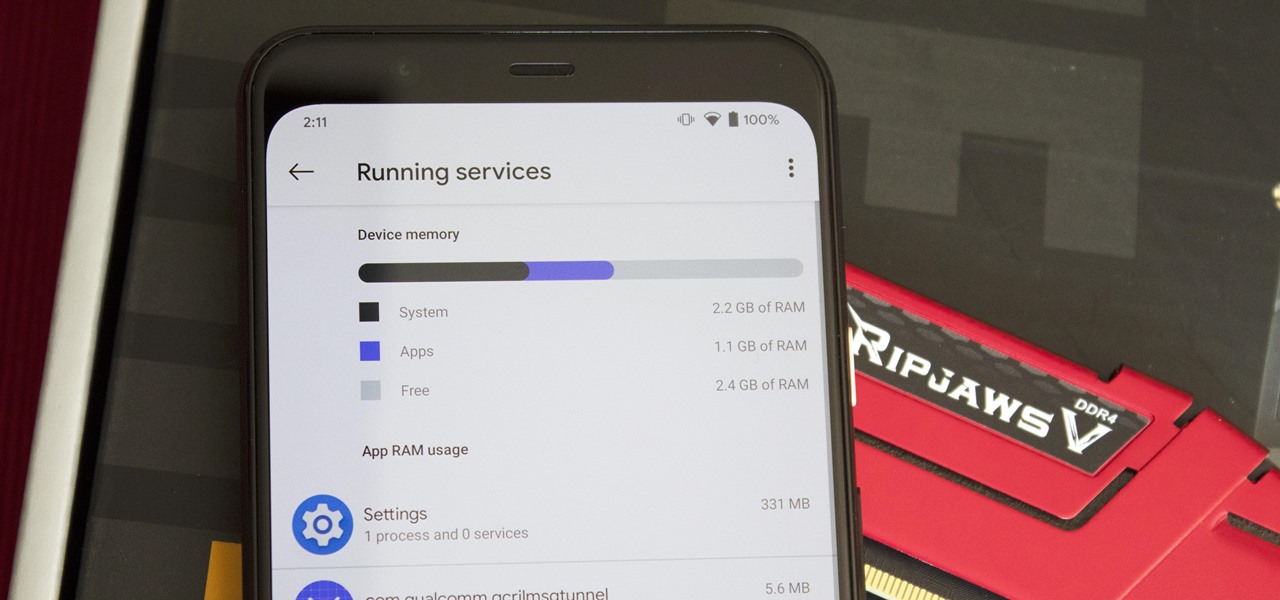
If your computer is running slower than usual or you notice that your RAM usage is abnormally high, it’s important to identify what programs or processes are consuming your memory. By pinpointing the culprits, you can take action to free up your RAM and improve your computer’s performance.
Here are a few methods to identify what is using up your RAM:
- Task Manager: Open the Task Manager by pressing Ctrl+Shift+Esc or right-clicking on the taskbar and choosing “Task Manager.” In the Processes or Details tab (depending on your operating system), you can see which programs and processes are using the most memory. Sort the list by memory usage to quickly identify the offenders.
- Resource Monitor: Another useful tool, available in the Performance tab of the Task Manager, is the Resource Monitor. It provides more detailed information about how programs and services are utilizing your RAM. It can help you identify memory leaks or excessive memory usage by specific processes.
- Third-Party Utilities: There are also third-party utilities available that provide more advanced insights into your system’s RAM usage. These tools can show you real-time data, historical trends, and even provide recommendations for optimizing your memory usage.
- Browsers: Web browsers can be significant memory hogs, especially if you have multiple tabs open or extensions installed. Check the task manager within your browser to see which tabs or extensions are consuming the most memory. Consider closing unnecessary tabs or disabling resource-intensive extensions.
- System Monitor: In addition to utilizing built-in tools, you can also use system monitoring software to get a comprehensive overview of your computer’s resource usage. These programs often provide detailed reports on memory usage, allowing you to identify and address any issues effectively.
By using these methods, you can identify the programs and processes that are using up your RAM resources. Armed with this information, you can take appropriate steps to free up your RAM and improve your computer’s performance.
Close unnecessary programs and processes
One of the most effective ways to free up your RAM is by closing unnecessary programs and processes running on your computer. Many applications can continue to run in the background, even when they are not actively being used, consuming valuable memory resources. By identifying and closing these unnecessary programs, you can significantly reduce your RAM usage and improve overall system performance.
Here are some steps to close unnecessary programs and processes:
- Task Manager: Open the Task Manager by pressing Ctrl+Shift+Esc or right-clicking on the taskbar and choosing “Task Manager.” In the Processes or Details tab (depending on your operating system), you can see a list of running programs and processes. Look for any applications or services that you no longer need or are using up a significant amount of memory. Right-click on them and select “End Task” or “End Process” to close them.
- System Tray: The system tray, located in the bottom-right corner of the screen, displays icons for various programs running in the background. Some programs may have the option to exit or close from their system tray icon. Right-click on the icons and look for options like “Exit,” “Close,” or “Quit” to stop these programs from running.
- Startup Apps: Many programs automatically start when you boot up your computer, consuming valuable resources. You can manage these startup programs to prevent them from running unnecessarily. Open the Task Manager and go to the Startup tab. Here you can disable programs that you don’t need to launch at startup, reducing the amount of RAM they consume.
- Background Processes: Some programs may continue to run in the background even when you close their windows. To identify and close these processes, go to the Task Manager and look for programs that are utilizing a significant amount of memory. If you no longer need them, right-click and choose “End Task” or “End Process” to terminate them.
- Browser Tabs and Extensions: Web browsers can be notorious for using up a substantial amount of RAM. Close any unused tabs in your browser and consider disabling or removing resource-intensive extensions. This can help free up memory and improve both browser and overall system performance.
By closing unnecessary programs and processes, you can free up valuable RAM resources and optimize your computer’s performance. It’s a simple yet effective step towards ensuring that your system runs smoothly and efficiently.
Manage startup programs
Startup programs are applications that launch automatically when your computer boots up. While some startup programs are essential for your computer’s functionality, many others can be safely disabled or delayed, freeing up valuable RAM resources and improving overall system performance.
Here are some steps to manage startup programs:
- Task Manager: Open the Task Manager by pressing Ctrl+Shift+Esc or right-clicking on the taskbar and choosing “Task Manager.” In the Startup tab, you’ll find a list of programs that launch at startup. The “Status” column indicates whether a program is enabled or disabled. To disable a program, select it and click on the “Disable” button.
- Windows Settings: On Windows 10, you can also manage startup programs through the Settings app. Open the Settings app and go to the “Apps” section. Click on “Startup” in the left sidebar to see a list of programs that launch at startup. Toggle the switch to disable or enable a program’s startup behavior.
- Third-Party Tools: There are also third-party tools available that provide more advanced features for managing startup programs. These tools often offer additional options, such as delayed startup or the ability to categorize programs based on their impact on system performance. Some popular third-party tools include CCleaner, Autoruns, and Startup Delayer.
- Research Each Program: Before disabling a program from startup, it’s a good idea to research its purpose and determine whether it is necessary for your computer’s functionality. Some startup programs may be essential for specific hardware drivers or antivirus software. Be cautious when disabling any programs that you are unsure about.
- Periodically Review and Remove: It’s a good practice to periodically review the list of startup programs and remove any that are no longer needed. Over time, new programs may be added to the list without your knowledge, leading to increased memory usage. Regularly reviewing and removing unnecessary startup programs can help keep your computer running smoothly.
By effectively managing startup programs, you can reduce the number of applications that run at startup and decrease the amount of RAM consumed. This, in turn, will help improve your computer’s boot time and overall performance, allowing you to start working more quickly and efficiently.
Disable visual effects
Visual effects, such as animations, transitions, and transparency, can enhance the aesthetic appeal of your computer’s user interface. However, these effects can also consume a significant amount of system resources, including RAM. Disabling or reducing visual effects can help free up RAM and improve overall system performance.
Here are a few steps to disable visual effects:
- Windows Settings: On Windows 10, open the Settings app and go to the “System” section. Click on “About” in the left sidebar and then select “Advanced system settings.” In the Performance section, click on the “Settings” button to open the Performance Options dialog box. Here, you can choose to adjust the visual effects for best performance or customize specific effects to disable.
- System Properties: Alternatively, you can access the same Performance Options dialog box by right-clicking on the “This PC” or “My Computer” icon on your desktop, selecting “Properties,” and then clicking on “Advanced system settings.” The steps to adjust visual effects are the same as mentioned above.
- Visual Effects Options: Within the Performance Options dialog box, you’ll see a list of visual effects that you can enable or disable. To maximize performance, you can choose to disable all visual effects by selecting the “Adjust for best performance” option. Alternatively, you can keep specific effects that you find useful or visually appealing.
- Adjust Transparency: In Windows 10, the transparency effect, known as Aero Glass, can consume additional resources. To disable transparency, open the Settings app, go to the “Personalization” section, and click on “Colors” in the left sidebar. Toggle off the “Transparency effects” option to disable the transparency effect.
- Disable Animations: Animations, such as window animations and menu animations, can also contribute to RAM usage. To disable animations, open the Control Panel, search for “Performance Options,” and open the Performance Options dialog box. In the Visual Effects tab, you can uncheck the checkbox for “Animate windows when minimizing and maximizing” and other animation-related effects.
By disabling or reducing visual effects, you can minimize the strain on your computer’s resources, including RAM. This can result in smoother navigation, faster response times, and an overall improvement in system performance.
Clear browser cache and temporary files
As you browse the internet, your web browser stores temporary files and data in a cache to speed up future page loading. However, over time, this cache can accumulate a significant amount of data, occupying valuable disk space and potentially affecting the performance of your computer. Clearing your browser’s cache and temporary files can help free up space and improve the overall performance of both your browser and your computer.
Here are the steps to clear browser cache and temporary files:
- Google Chrome: Click on the three-dot menu icon in the top-right corner, go to “More tools,” and choose “Clear browsing data.” In the popup window, select the desired time range (e.g., “Cached images and files”), and click on the “Clear data” button to remove the cached files.
- Mozilla Firefox: Click on the three-line menu icon in the top-right corner, go to “Options,” and select “Privacy & Security.” In the Cookies and Site Data section, click on “Clear Data.” You can choose to clear both cookies and cached web content, or select specific items, and then click on the “Clear” button.
- Microsoft Edge: Click on the three-dot menu icon in the top-right corner, go to “Settings,” and select “Privacy, search, and services.” Scroll down to the “Clear browsing data” section and click on the “Choose what to clear” button. Select the desired data types to remove (such as “Cached images and files”) and click on the “Clear” button.
- Apple Safari: Click on the Safari menu in the top-left corner and choose “Preferences.” Go to the “Privacy” tab and click on the “Manage Website Data” button. In the next window, click on the “Remove All” button to clear the cache and temporary files for all websites. Alternatively, you can select specific websites and click on the “Remove” button.
- Other Browsers: The steps to clear cache and temporary files may vary depending on the browser you are using. Look for options like “Clear browsing data,” “Clear cache,” or “Clear history” in the browser settings or preferences menu.
By regularly clearing your browser’s cache and temporary files, you can ensure that your browser operates efficiently, with faster page loading times and improved overall performance. Additionally, clearing these files can also help protect your privacy by removing potentially sensitive information stored in the cache.
Adjust virtual memory settings
Virtual memory, also known as the paging file, is a feature in your computer’s operating system that uses a portion of your hard drive as a temporary storage space for data that cannot fit in your computer’s physical RAM. By adjusting the virtual memory settings, you can optimize the allocation of this space and potentially improve your computer’s performance.
Here are the steps to adjust virtual memory settings:
- Open the Virtual Memory Settings: On Windows, right-click on the “This PC” or “My Computer” icon on your desktop and select “Properties.” In the System Properties window, click on the “Advanced system settings” link. In the Performance section, click on the “Settings” button. In the Performance Options dialog box, go to the Advanced tab and click on the “Change” button in the Virtual Memory section.
- Customize Virtual Memory: In the Virtual Memory dialog box, you can choose between the “Automatically manage paging file size for all drives” option or the “Custom size” option. If the automatic option is selected, the operating system will manage the virtual memory settings automatically. If you prefer to customize the settings, select the “Custom size” option.
- Specify the Paging File Size: If you choose the “Custom size” option, you can set the initial size and maximum size for the paging file. The initial size determines the amount of space allocated to the paging file when your computer starts up, while the maximum size restricts the file from growing beyond a certain limit. You can enter the desired values in megabytes (MB) for both the initial and maximum size.
- Consider System Recommendations: In the Virtual Memory dialog box, you may see a “Recommended” value for the paging file size. This value is based on your computer’s hardware and can be used as a guideline for setting the size. It is generally recommended to set the initial and maximum sizes to the same value to prevent the file from being resized frequently.
- Apply the Changes: Once you have adjusted the virtual memory settings, click on the “Set” or “OK” button to save the changes. You may be prompted to restart your computer for the changes to take effect.
By adjusting the virtual memory settings, you can allocate the appropriate amount of space on your hard drive for paging file usage. This can help to optimize the virtual memory management and ensure that your computer has enough resources to handle memory-intensive tasks, leading to improved overall performance.
Check for memory leaks
Memory leaks occur when computer programs incorrectly manage memory resources, causing them to consume more and more memory over time without releasing it back to the system. This can lead to decreased system performance, slowdowns, and even crashes. It’s important to regularly check for memory leaks to identify and address any problematic programs or processes.
Here are the steps to check for memory leaks:
- Monitor RAM Usage: Keep an eye on your computer’s RAM usage over an extended period of time. You can use the Task Manager or any third-party system monitoring software to track the memory consumption. Check if the memory usage steadily increases even when you are not running any memory-intensive programs.
- Identify Problematic Programs: If you notice a significant increase in memory usage over time, identify the programs or processes responsible for the memory leaks. In the Task Manager, sort the processes by memory usage and look for any abnormal consumption patterns or programs that keep consuming more memory without releasing it.
- Restart Programs: In some cases, memory leaks may occur due to specific instances of programs or processes. Try restarting the programs that are consuming excessive memory and observe if the memory usage drops back to normal levels. If it does, it could be an indication of a memory leak within that specific instance.
- Update or Reinstall Problematic Software: If you have identified a specific program that is causing memory leaks, check if there are any available updates or patches for that software. Sometimes, memory leaks can be caused by software bugs that are resolved in later versions. If updates are not available or do not fix the issue, consider reinstalling the software to start with a clean installation.
- Seek Developer Support: If you encounter persistent memory leaks or are unable to resolve them on your own, it may be beneficial to reach out to the software’s developer or support team. They may have specific fixes or workarounds for known memory leak issues, or they can investigate and provide guidance on how to address the problem.
Regularly checking for memory leaks is important to ensure the optimal performance of your computer. These steps will help you identify and resolve memory leaks, allowing you to maintain a stable and efficient computing experience.
Upgrade your RAM if necessary
If you find that your computer is consistently running low on available memory, experiencing frequent slowdowns, or struggling to handle the tasks you need to perform, it may be time to consider upgrading your RAM. Upgrading your RAM can significantly improve your computer’s performance and allow it to handle more demanding applications and tasks.
Here are a few things to consider when deciding to upgrade your RAM:
- Determine the Current RAM: Find out how much RAM is currently installed on your computer. You can check the system specifications in the Control Panel (Windows) or About This Mac (Mac) to see the current amount of RAM installed. Compare it to the recommended system requirements for the applications or tasks you frequently use.
- Check Available RAM Slots: Find out how many RAM slots are available on your computer’s motherboard. This information can be found in the user manual or by researching your computer’s model online. Knowing the available slots will help you understand how much additional RAM you can add.
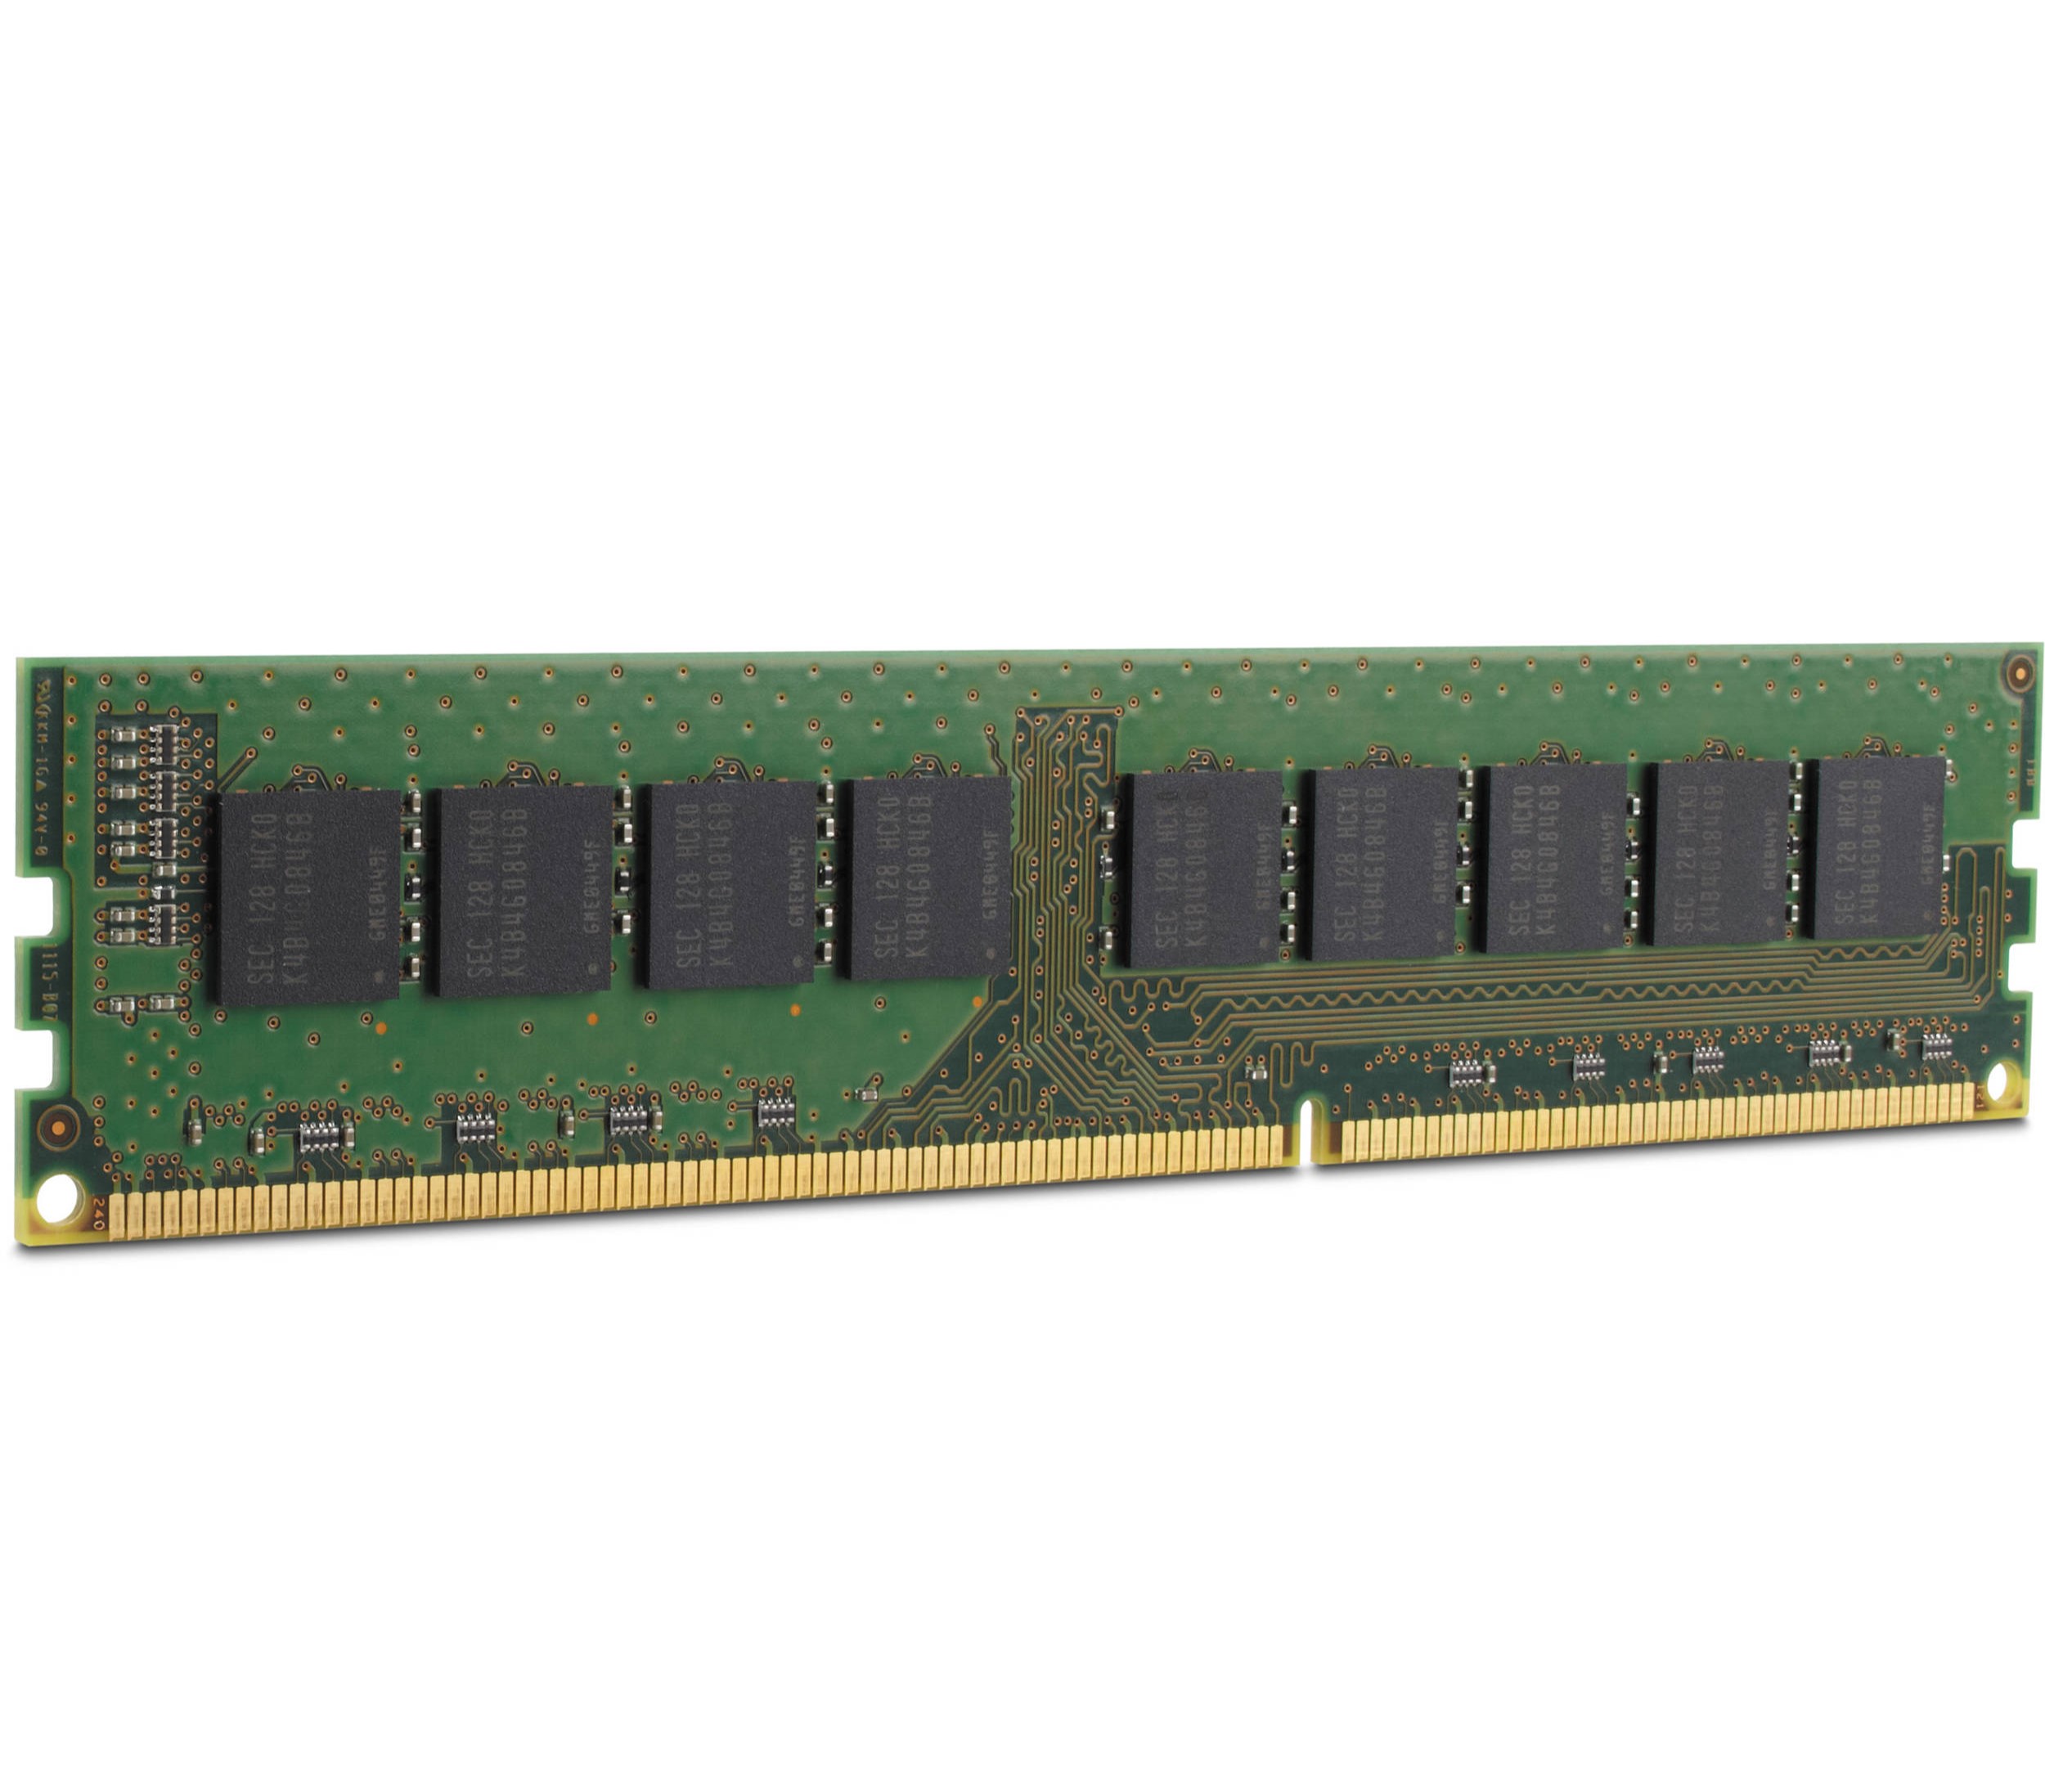
- Research Compatible RAM Types: Determine the types of RAM that are compatible with your computer. Depending on your computer’s age and manufacturer, it may require DDR3, DDR4, or other RAM types. Make sure to research for the specific RAM type and speed that is compatible with your computer.
- Calculate the Required RAM Upgrade: Determine the amount of additional RAM you need. Consider the recommended system requirements for the applications or tasks you use frequently. If your current RAM is insufficient to handle these requirements, calculate the additional RAM needed to meet or exceed the recommended specifications.
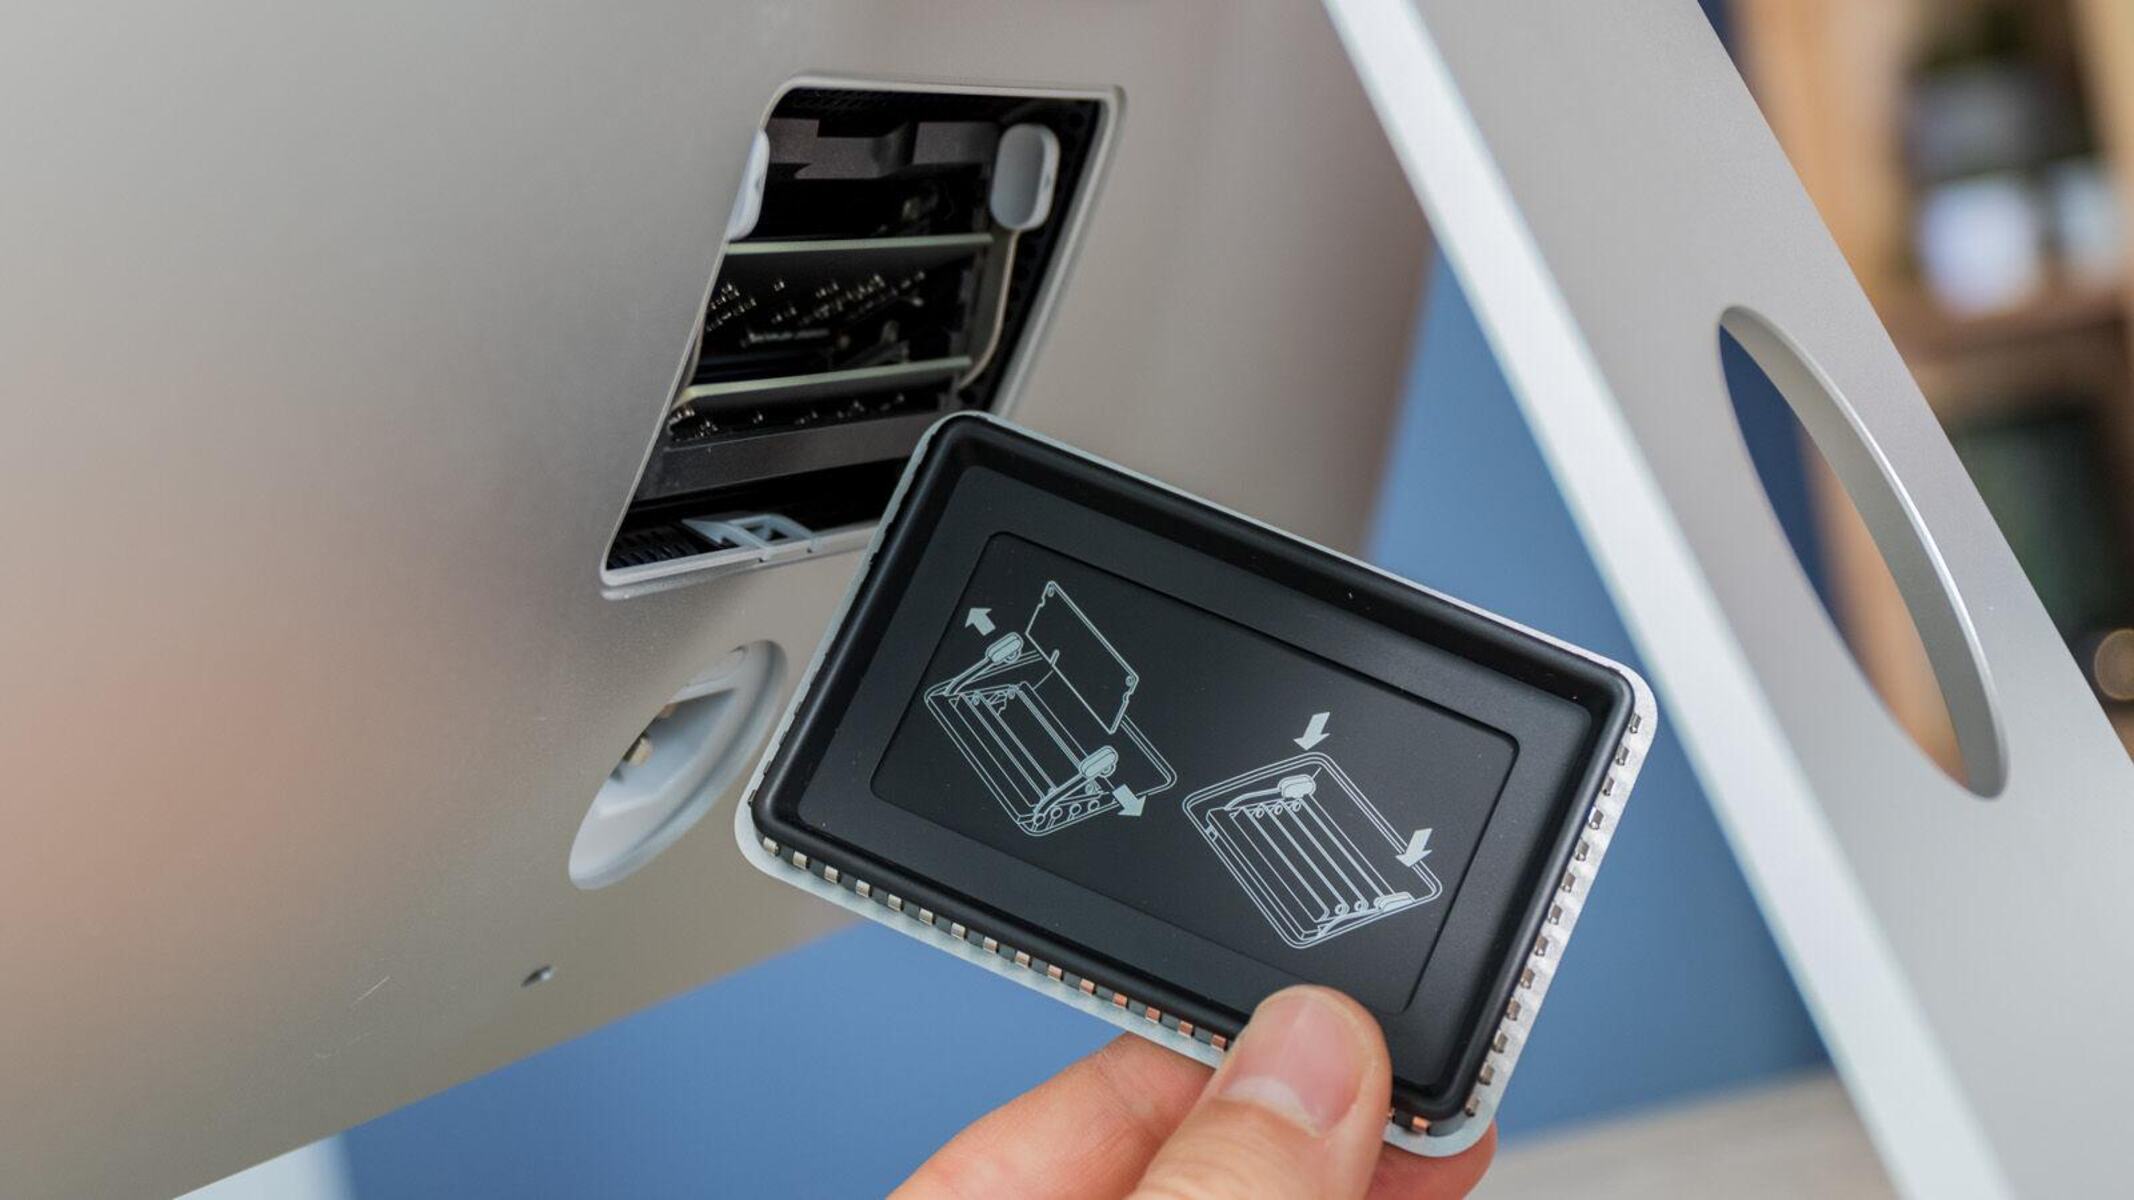
- Consult a Professional: If you’re unfamiliar with computer hardware or unsure about upgrading your RAM, it’s advisable to seek assistance from a professional technician. They can assess your computer’s compatibility, recommend the appropriate RAM upgrade, and help with the installation process.
Upgrading your RAM can breathe new life into your computer, providing a significant boost in performance and allowing you to multitask more effectively. However, it’s important to weigh the cost of the upgrade against the benefits it will provide for your specific computing needs. Consider all the factors mentioned above before making a decision on whether to upgrade your RAM.
Restart your computer regularly
Restarting your computer regularly may seem like a simple task, but it can greatly impact its performance and overall functionality. Restarting your computer clears temporary files, refreshes system resources, and resolves many software-related issues. It is a simple yet effective way to maintain a smooth and optimized computing experience.
Here are a few reasons why you should make it a habit to restart your computer regularly:
- Clears Temporary Files: When you use your computer, temporary files accumulate in the background. These files can take up valuable disk space and tax system resources. Restarting your computer clears these temporary files, giving your system a fresh start and freeing up precious resources.
- Resets System Processes: Over time, certain system processes may become unresponsive or start experiencing issues. Restarting your computer resets these processes, ensuring that they start fresh and function optimally. This can improve the overall speed and responsiveness of your computer.
- Updates and Installs Software: Restarting your computer is often necessary after installing or updating software. Some software installations and updates require a system reboot to complete the process and ensure that the changes take effect. Failing to restart your computer after such installations or updates can result in glitches or errors.
- Fixes Software Issues: Restarting your computer can help resolve various software-related issues. It can clear out memory leaks, reset network connections, and resolve conflicts between programs or processes. If you encounter software-related glitches, a simple restart can often fix the problem without the need for further troubleshooting.
- Improves Performance: Regularly restarting your computer can have a positive impact on its performance. It allows system resources to be efficiently managed, reduces memory fragmentation, and ensures that background processes and services are properly refreshed. This, in turn, can lead to faster startup times, smoother multitasking, and overall improved performance.
By making it a habit to restart your computer regularly, you can maintain its performance, minimize software-related issues, and ensure optimal functionality. Aim to restart your computer at least once a week, or more frequently if you notice any slowdowns or glitches. It is a simple yet effective step towards keeping your computer running smoothly.