Why is RAM usage important?
Random Access Memory, or RAM, is a crucial component of any computer system. It serves as temporary storage for data that is actively being used by the operating system and applications. RAM allows for faster access to data compared to the slower permanent storage devices like hard drives or solid-state drives. Understanding the importance of RAM usage can help you optimize your computer’s performance and ensure efficient multitasking.
When your computer runs multiple programs simultaneously, each program requires a certain amount of RAM to operate smoothly. If your RAM usage exceeds its capacity, your computer may become slow, unresponsive, or even crash. This is because when RAM is full, the operating system needs to move data to the hard drive, which is significantly slower, leading to performance degradation.
RAM plays a vital role in various computing tasks. For example, when you open a web browser, it uses RAM to store the web page elements like text, images, and videos. When you’re editing a large document or working on complex graphic design projects, RAM holds the active files and provides quick access for seamless editing. Also, video games require a significant amount of RAM to load game textures, animations, and other graphical elements.
Furthermore, RAM usage affects the overall system stability and productivity. If your computer constantly runs out of RAM, it may struggle to handle simple day-to-day tasks, resulting in frustration and reduced efficiency. By understanding the importance of RAM usage, you can take proactive steps to optimize your computer’s memory allocation and ensure a smooth computing experience.
In the following sections, we will explore the common causes of high RAM usage and provide practical tips to free up RAM, allowing you to improve your computer’s performance and avoid unnecessary slowdowns.
What causes high RAM usage?
High RAM usage can occur due to various factors and can significantly impact your computer’s performance. Understanding the common causes of high RAM usage can help you identify and address the issue effectively. Here are some of the main culprits:
1. Running multiple programs simultaneously: The more programs you have running at the same time, the more RAM they will collectively consume. This is especially true for resource-intensive applications like video editing software or virtual machines.
2. Memory leaks: Some poorly optimized software may have memory leaks, causing them to consume excessive RAM even when you’re not actively using them. It’s always a good idea to keep your software and operating system up to date to prevent memory leak-related issues.
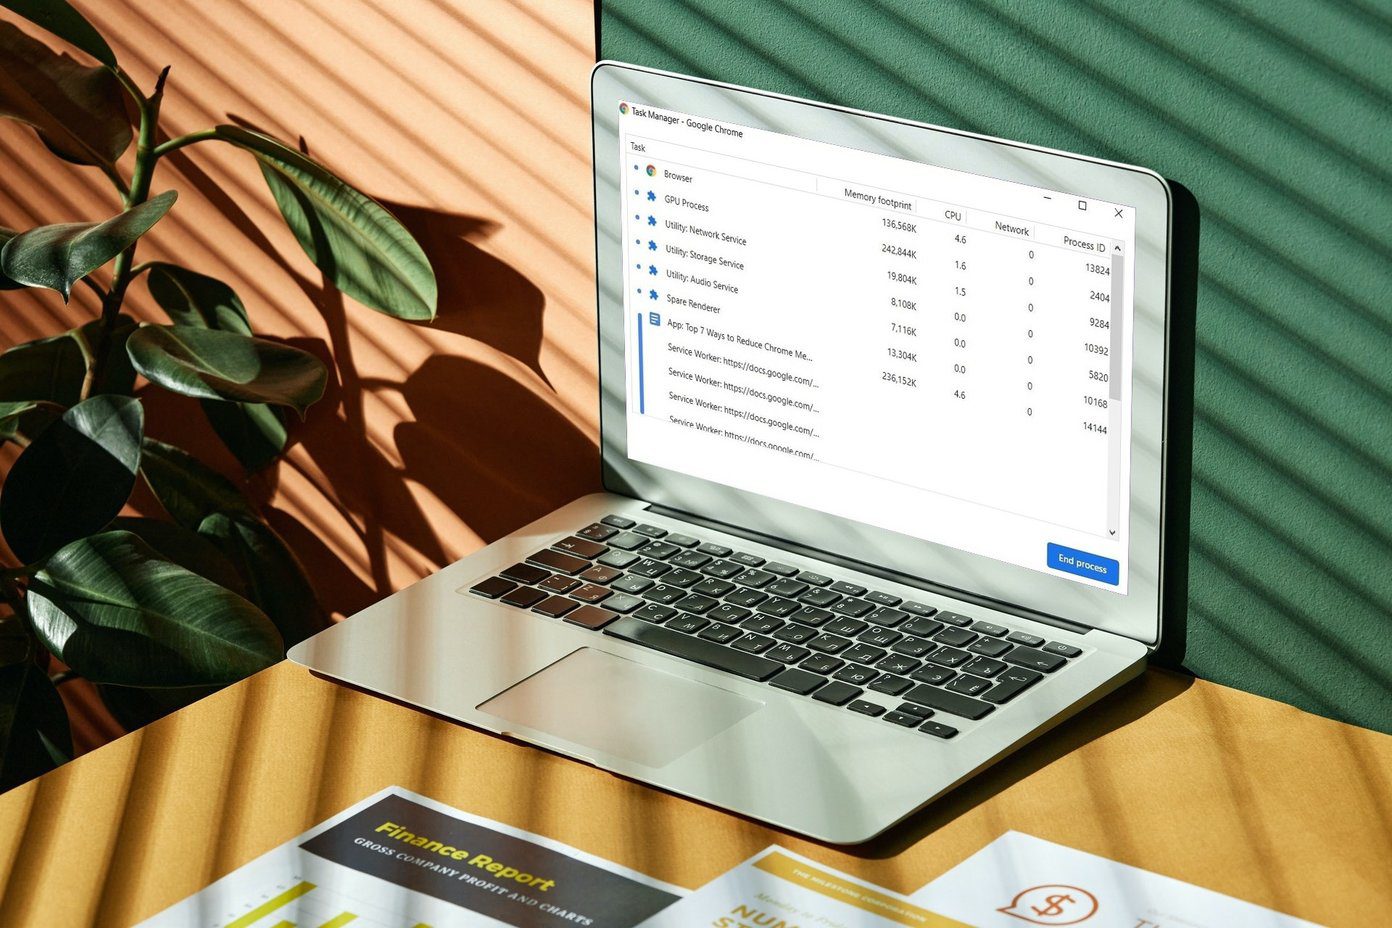
3. Web browsers and extensions: Web browsers are notorious for consuming a significant amount of RAM, especially when you have multiple tabs open or use extensions/add-ons. Each tab and extension adds to the memory usage, so consider closing unnecessary tabs or using more lightweight browsers or extensions.
4. Large files or applications: Opening and working with large files, such as high-resolution images or videos, can temporarily increase RAM usage. Similarly, resource-intensive applications like video editing or 3D modeling software can require substantial amounts of RAM to run smoothly.
5. Background processes and services: Many applications and services run in the background, often starting automatically when you boot up your computer. These background processes can use up a significant amount of RAM, impacting overall system performance. It’s important to identify and disable unnecessary startup programs and services.
6. Outdated or incompatible software: Using outdated or incompatible software can lead to memory allocation issues and high RAM usage. Always make sure to keep your software, drivers, and operating system updated to prevent such problems.
Identifying the root causes of high RAM usage is essential for optimizing your computer’s performance. In the next section, we will explore how to check your RAM usage and monitor system resources effectively.
How to check your RAM usage
Checking your RAM usage can provide valuable insights into your computer’s performance and help you identify if high RAM usage is causing any issues. Here are a few methods to check your RAM usage:
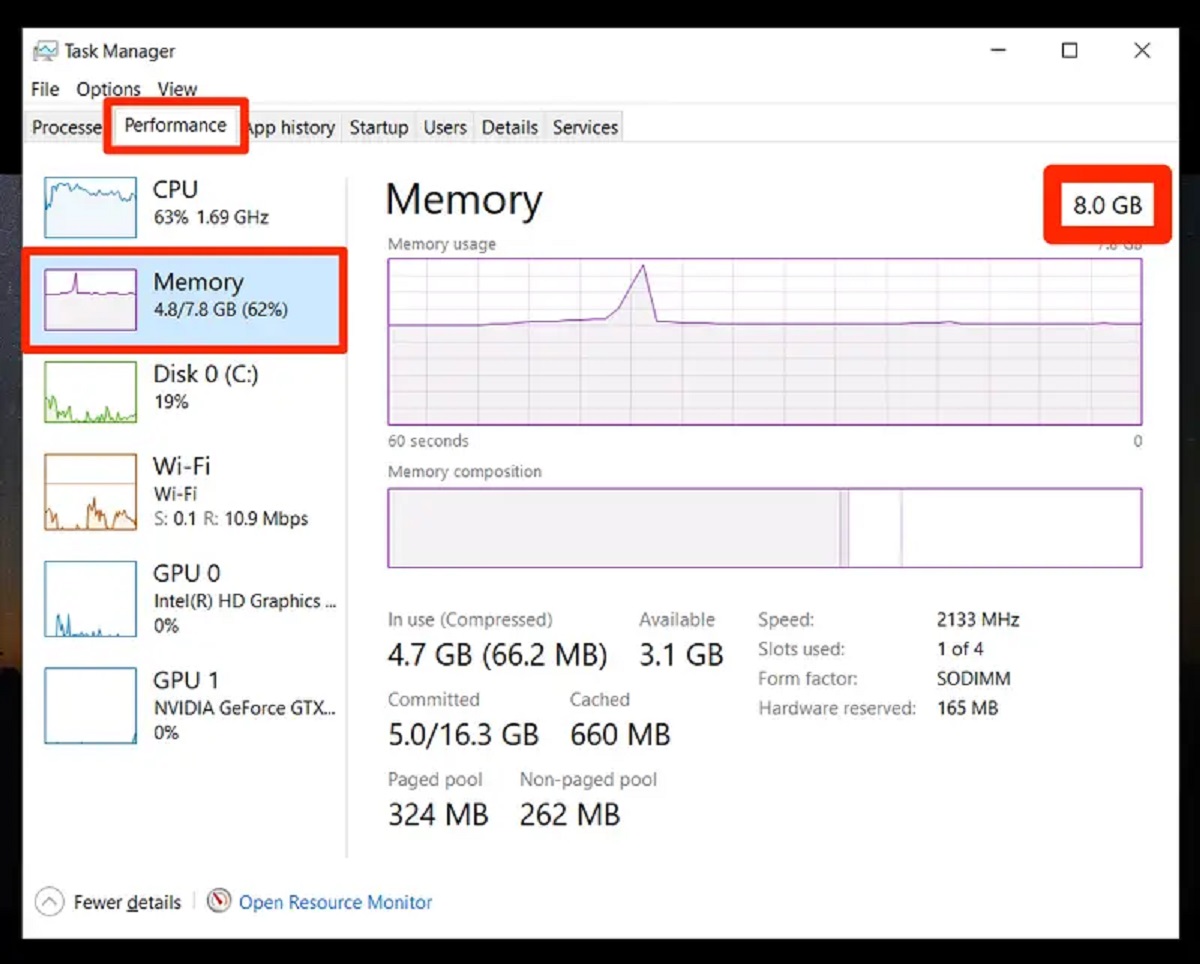
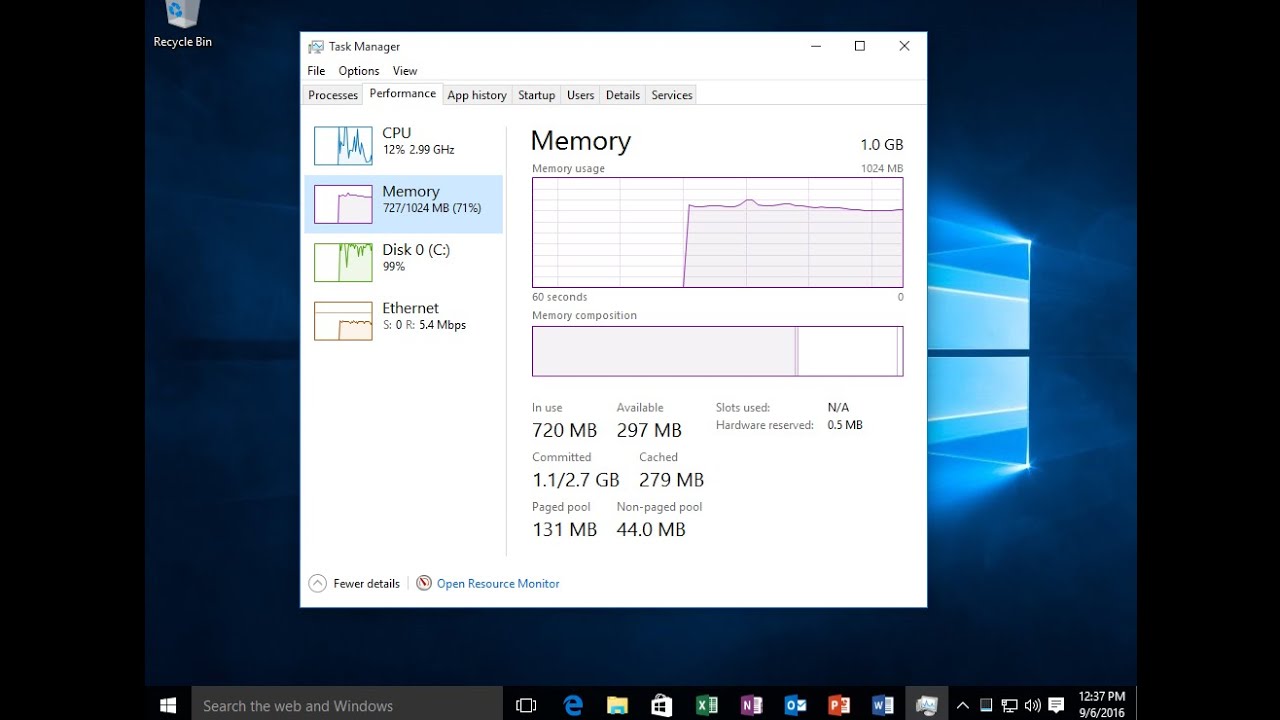
1. Task Manager (Windows): On Windows systems, you can use the Task Manager to monitor resource usage, including RAM. Simply press Ctrl + Shift + Esc, or right-click on the taskbar and select “Task Manager.” In the Task Manager window, go to the “Performance” tab and select “Memory” to see a detailed breakdown of RAM usage by different processes.
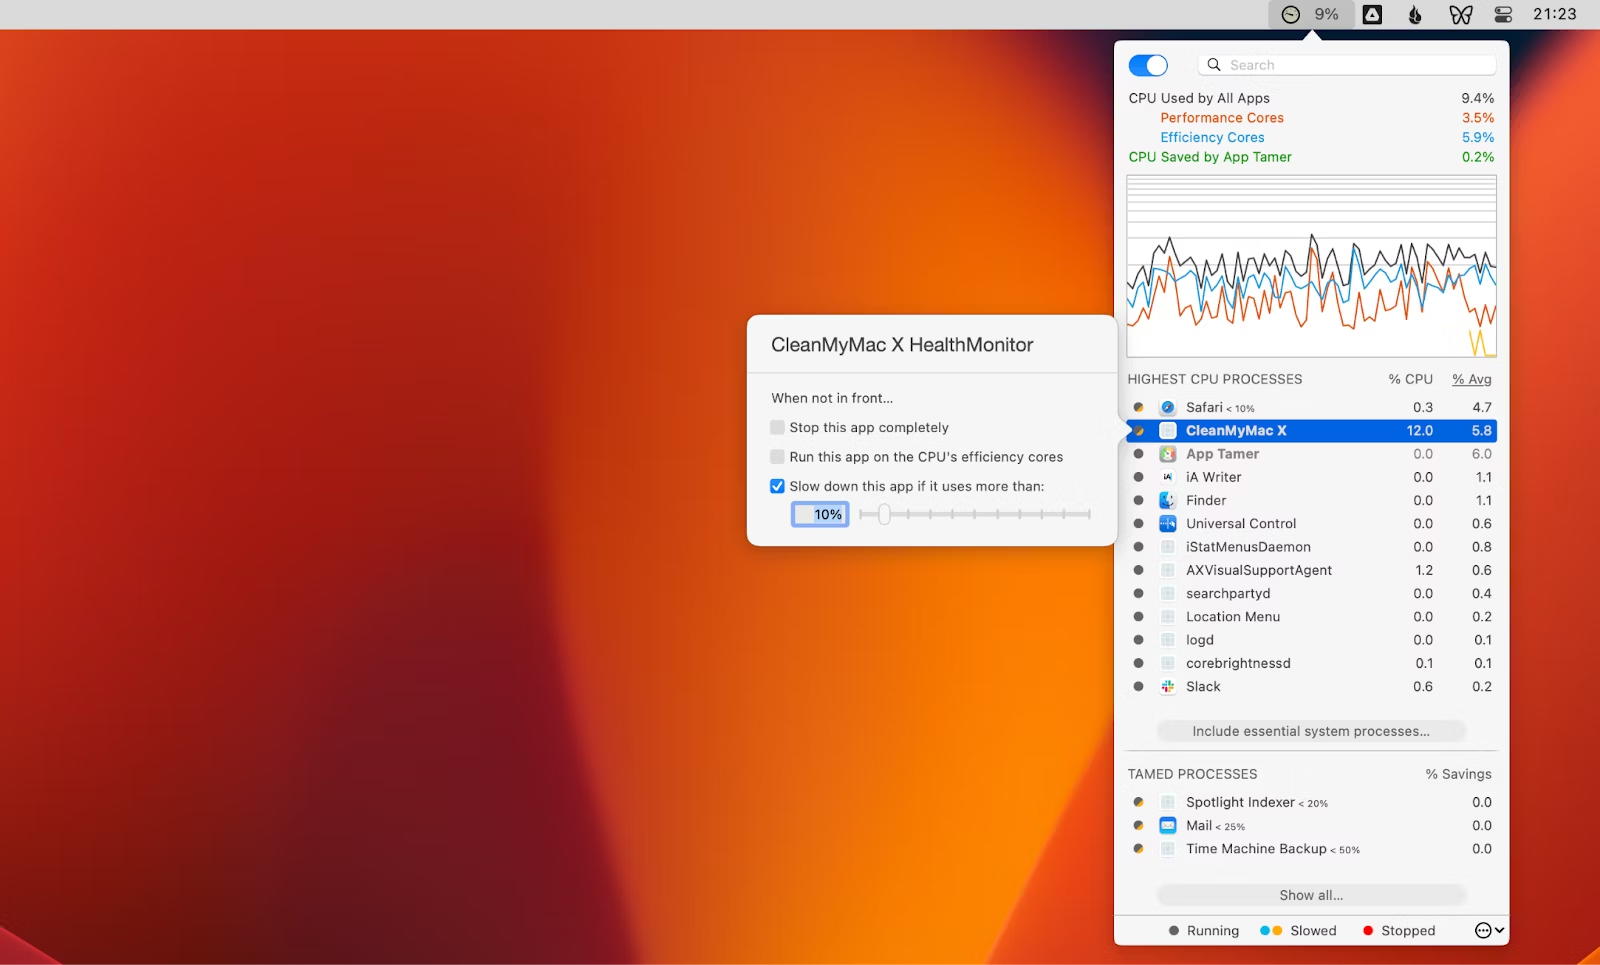
2. Activity Monitor (Mac): Mac users can utilize the Activity Monitor to check their RAM usage. To access it, go to the “Applications” folder, then open the “Utilities” folder, and launch “Activity Monitor.” In the Activity Monitor window, go to the “Memory” tab to view RAM usage and other related information.
3. Resource Monitor (Windows): Another option for Windows users is the Resource Monitor, which provides more advanced information about system resource usage. You can access it by typing “Resource Monitor” in the Start menu search bar or by launching the Task Manager and clicking on the “Performance” tab, then selecting “Resource Monitor.”
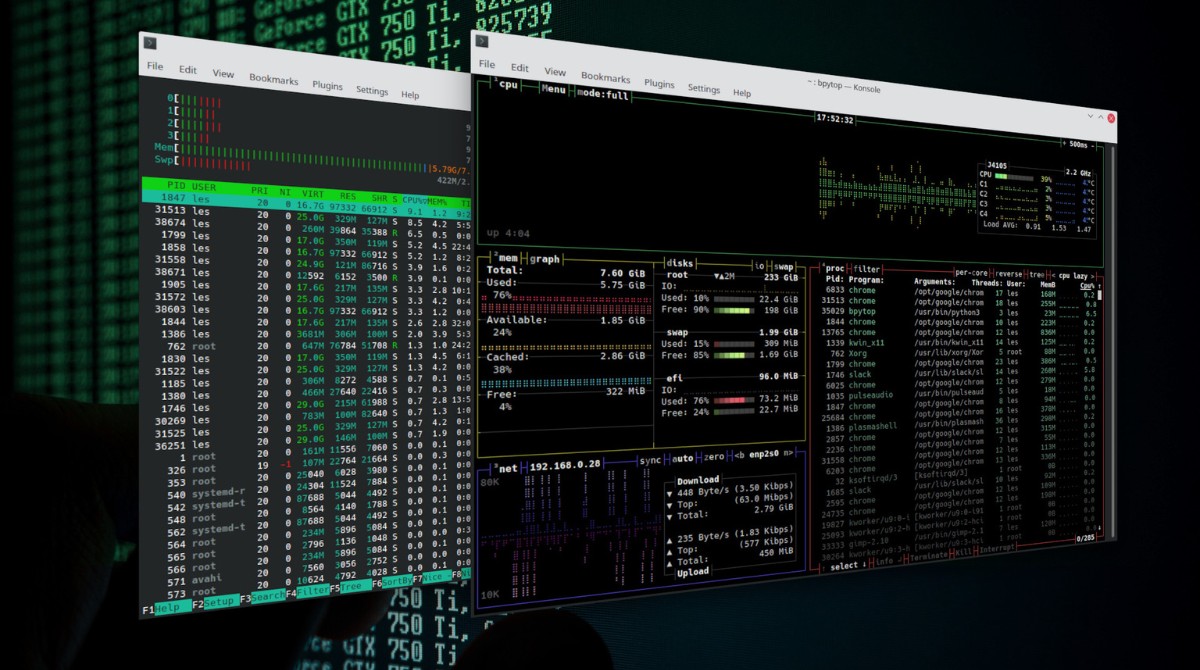
4. Command line tools: Advanced users can also check RAM usage using command line tools. On Windows, the tasklist command provides a list of running processes and their memory usage. On Mac, the top command in the Terminal can display similar information.
Regularly monitoring your RAM usage is essential to identify any abnormal patterns or excessive resource consumption. This information can help you troubleshoot performance issues and determine if there is a need to free up RAM. In the next section, we will explore practical tips to reduce RAM usage and optimize your computer’s performance.
Tips to free up RAM usage
Experiencing high RAM usage can slow down your computer and impact overall performance. Fortunately, there are several tips and tricks you can implement to free up RAM and optimize your computer’s memory usage. Here are some effective strategies:
- Close unnecessary programs: Close any programs or applications that you’re not actively using. Each open program consumes RAM, so closing unnecessary ones can significantly free up memory.
- Disable startup programs: Some programs automatically start when you boot up your computer, consuming valuable RAM. Disable or remove any unnecessary programs from your startup list to reduce memory usage.
- Clear browser cache: Web browsers store temporary data, such as images and website files, which can accumulate over time and consume RAM. Clearing your browser’s cache regularly can help free up memory.
- Use a lightweight antivirus software: Antivirus programs can be resource-intensive and consume a significant amount of RAM. Consider using a lightweight antivirus software or adjusting the settings of your current antivirus to reduce its memory usage.
- Uninstall unused programs: Removing programs that you no longer need or use can free up space on your hard drive and reduce RAM usage. Use the “Add or Remove Programs” feature on Windows or the “Applications” section in System Preferences on Mac to uninstall unnecessary software.
- Adjust visual effects settings: Visual effects and animations on your computer can consume additional RAM. Adjusting or disabling them in your operating system’s settings can help free up memory resources.
- Increase virtual memory: Virtual memory, also known as the page file, is a portion of your hard drive that acts as additional memory when your RAM is full. Increasing the virtual memory allocation can help compensate for high RAM usage by utilizing more of your hard drive space.
- Disable unnecessary services: Some services or background processes may be running on your computer and consuming RAM unnecessarily. Identify and disable any non-essential services to free up memory.
- Update your operating system: Keeping your operating system updated ensures that you have the latest bug fixes and optimizations. Updates often include improvements to memory management, which can help reduce RAM usage.
- Upgrade your RAM capacity: If you consistently encounter high RAM usage and performance issues, consider upgrading your computer’s RAM capacity. Adding more RAM can provide a substantial boost to your system’s performance.
By implementing these tips and tricks, you can minimize RAM usage, optimize your computer’s performance, and ensure a smoother multitasking experience. Experiment with different strategies to find the ones that work best for your specific needs and hardware configuration.
Close unnecessary programs
One of the simplest and most effective ways to free up RAM is by closing unnecessary programs that are running in the background. Every open program consumes a certain amount of RAM, so closing those that you’re not actively using can significantly reduce memory usage and improve system performance.
Here are some steps to close unnecessary programs:
- Identify running programs: Open the Task Manager on Windows or the Activity Monitor on Mac to see a list of currently running programs and their memory usage. Review the list and identify programs that you don’t need at the moment.
- Close programs manually: On Windows, right-click on the program’s window in the taskbar and select “Close” or use the keyboard shortcut Alt + F4. On Mac, click on the program’s window and then click on the red “X” button in the upper-left corner of the window.
- Use the system tray/notification area: Some programs may minimize to the system tray or notification area instead of closing completely. Look for their icons near the clock on Windows or in the menu bar on Mac. Right-click on the program’s icon and choose the option to exit or close the program.
- Use task manager/force quit: If a program becomes unresponsive and refuses to close, you can use the Task Manager on Windows or the Force Quit Applications window on Mac to forcefully close it. On Windows, right-click on the program in the Task Manager and select “End Task.” On Mac, press Command + Option + Esc to open the Force Quit Applications window, select the program, and click “Force Quit.”
- Disable background processes: Some programs continue running even after you close their windows. These background processes can consume RAM unnecessarily. To disable them, open the program’s settings or options and look for an option to disable background processes or automatic startup.
By regularly closing unnecessary programs, you can ensure that your computer’s RAM is efficiently utilized for the tasks you’re actively working on. This simple step can greatly improve system responsiveness and prevent excessive memory usage.
Keep in mind that some programs, such as antivirus software or cloud storage services, may need to run continuously in the background for proper functionality. Use your discretion when closing programs and prioritize those that are not essential to your current tasks.
Disable startup programs
Startup programs are applications that automatically launch when you boot up your computer. Having too many startup programs can slow down your computer’s startup time and consume valuable RAM. Disabling unnecessary startup programs can help free up memory and improve overall system performance.
Here’s how you can disable startup programs:
- Task Manager (Windows): Press Ctrl + Shift + Esc to open the Task Manager. In the Task Manager window, go to the “Startup” tab. You will see a list of programs that automatically start with your computer. Right-click on any program you want to disable and select “Disable” from the context menu. Disabling a startup program will prevent it from launching during startup.
- System Preferences (Mac): Click on the Apple menu and select “System Preferences.” In the System Preferences window, click on “Users & Groups” or “Users & Accounts” (depending on your macOS version). Select your user account, then click on the “Login Items” tab. Here, you will see a list of programs that launch at startup. Select the program(s) you want to disable and click the “-” button to remove them from the startup list.
- Specific program settings: Some programs have their own settings that allow you to enable or disable automatic startup. Look for options like “Launch at Startup” or “Open at Login” in the program’s preferences or settings menu. Uncheck these options to prevent the program from starting automatically.
It’s important to note that not all startup programs are unnecessary or harmful. Some programs, like antivirus software or drivers for essential hardware components, may need to start along with your computer for proper functionality. Use your discretion when disabling startup programs and prioritize those that are not crucial to your daily tasks.
Disabling unnecessary startup programs can help reduce RAM usage and streamline your computer’s startup process. You’ll notice faster boot times and more available memory for the programs you actively use.
Regularly review your startup programs and disable any that you no longer need or use. This simple optimization technique can have a significant impact on your computer’s performance, ensuring a smoother and more efficient computing experience.
Clear browser cache
As you browse the internet, your web browser stores various types of data, including images, website files, and cookies, in a temporary storage location called the cache. Over time, the cache can accumulate a significant amount of data, leading to increased RAM usage and slower browser performance. Clearing your browser cache regularly can help free up memory and improve your browsing experience.
Here are the steps to clear your browser cache:
- Google Chrome: Click on the three-dots menu in the top-right corner, then go to “More tools” and choose “Clear browsing data.” In the Clear browsing data window, select the time range for which you want to clear the cache (e.g., “Last hour,” “Last 24 hours,” “All time”), then check the box next to “Cached images and files.” Click “Clear data” to remove the cached data from your browser.
- Mozilla Firefox: Click on the hamburger menu in the top-right corner, then select “Options” (Windows) or “Preferences” (Mac). In the Options or Preferences tab, go to the “Privacy & Security” section. Scroll down to the “Cookies and Site Data” section and click on the “Clear Data” button. Check the box next to “Cached Web Content” and click “Clear” to delete the cached data.
- Microsoft Edge: Click on the three-dots menu in the top-right corner, then go to “Settings” and choose “Privacy, search, and services.” Scroll down to the “Clear browsing data” section and click on the “Choose what to clear” button. Check the box next to “Cached images and files” and click “Clear” to remove the cached data.
- Safari: Click on the “Safari” menu in the menu bar and select “Preferences.” In the Preferences window, go to the “Privacy” tab. Click on the “Manage Website Data” button and then click “Remove All” to clear the cache. Confirm the action by clicking “Remove Now.”
Clearing your browser cache not only frees up valuable RAM but also ensures that you’re viewing the latest versions of websites. This can be especially helpful if you’re experiencing slow page loading times or encountering website display issues.
Keep in mind that clearing your browser cache will also delete other types of data, such as login information and saved preferences on websites. You may need to log back in to certain websites or reconfigure any custom settings you had previously applied.
In addition to manual cache clearing, most browsers also provide options to automatically clear the cache when you close the browser or after a set period. Enabling these settings can help maintain efficient memory usage without requiring regular manual intervention.
By regularly clearing your browser cache, you can optimize your browsing experience and ensure that your web browser operates smoothly with minimal RAM usage.
Use a lightweight antivirus software
Antivirus software is essential for protecting your computer against malware and viruses. However, some antivirus programs can be resource-intensive and consume a significant amount of RAM, thereby affecting your system’s performance. Using a lightweight antivirus software can help minimize RAM usage while still providing robust protection for your computer.
Here are some steps to consider when choosing and using a lightweight antivirus software:
- Research lightweight options: Look for antivirus software that is specifically designed to be lightweight and have minimal impact on system resources. Some popular lightweight antivirus programs include Avast Free Antivirus, Bitdefender Antivirus Free Edition, and Kaspersky Security Cloud Free.
- Install the antivirus software: Download the lightweight antivirus software from the official website and follow the installation instructions. During the installation, make sure to select custom installation options that allow you to exclude unnecessary features or modules that may consume additional system resources.
- Adjust scan settings: Antivirus software typically performs regular scans of your computer to detect and remove malware. Adjust the scan settings to minimize the impact on system performance. For example, scheduling scans during periods when you’re less likely to be actively using your computer can help avoid slowdowns.
- Enable real-time protection: Real-time protection monitors your computer for potential threats and takes immediate action to block or quarantine suspicious files. Ensure that real-time protection is enabled, but also consider adjusting its settings to strike a balance between protection and system performance.
- Keep the software updated: Regularly updating your lightweight antivirus software ensures that you have the latest virus definitions and security patches. These updates often include optimizations that improve performance and reduce RAM usage.
- Choose smart scanning options: Many lightweight antivirus software offers scanning options that allow you to target specific files or folders instead of scanning your entire system. Smart or custom scan options can help save time and resources while still ensuring thorough protection.
- Consider cloud-based scanning: Some lightweight antivirus software utilizes cloud-based scanning, offloading the scanning process to the provider’s servers instead of relying solely on your computer’s resources. This can help further reduce RAM usage and improve performance.
By using a lightweight antivirus software and optimizing its settings, you can strike a balance between system protection and resource usage. These programs provide essential security without overwhelming your computer’s RAM, allowing for smoother multitasking and improved overall performance.
Remember to keep the lightweight antivirus software updated and periodically check for new versions that may offer further performance improvements. Maintaining a strong defense against malware while minimizing system resource usage is key to ensuring a seamless and secure computing experience.
Uninstall unused programs
Over time, it’s common for your computer to accumulate various programs and applications that are no longer needed or used. These unused programs can take up valuable space on your hard drive and contribute to high RAM usage. Uninstalling unused programs is an effective way to free up resources and optimize your computer’s performance.
Here are the steps to uninstall unused programs:
- Windows:
- Open the Control Panel by searching for it in the Start menu.
- Click on “Programs” or “Programs and Features.”
- In the list of installed programs, identify the programs you want to uninstall.
- Right-click on the program and select “Uninstall” or “Uninstall/Change.”
- Follow the on-screen prompts to complete the uninstallation process.
- Mac:
- Open the Finder and go to the “Applications” folder.
- Locate the program you want to uninstall.
- Drag the program’s icon to the Trash bin in the Dock.
- Right-click on the Trash bin and select “Empty Trash” to permanently remove the program.
When deciding which programs to uninstall, consider the following:
- Unused programs: Identify programs that you no longer use or haven’t used in a long time. Examples may include trial software, outdated utilities, or applications you installed for specific projects or tasks.
- Duplicate programs: Check for duplicate programs that serve similar purposes. Keeping multiple programs that perform the same function can unnecessarily occupy storage space and lead to increased RAM usage.
- Infrequently used programs: Evaluate programs that you rarely use but may be needed occasionally. Consider whether it would be more practical to reinstall them when needed rather than letting them take up space and memory when they’re not in use.
- Bloatware: Some computers come preloaded with unnecessary software, often referred to as bloatware. Review the installed programs and remove any non-essential software that may have come with your computer.
By regularly uninstalling unused programs, you can free up storage space on your hard drive and reduce RAM usage. This optimization can lead to improved system performance, faster loading times, and increased available resources for the programs you actively use.
Remember to exercise caution when uninstalling programs and be careful not to remove any software that is necessary for the proper functioning of your computer. If you’re unsure about the importance of a program, it’s recommended to research it or seek assistance before uninstalling.
Adjust visual effects settings
The visual effects and animations in your operating system can enhance the user experience but also consume valuable system resources, including RAM. Adjusting these visual effects settings can help reduce RAM usage and improve overall system performance. By optimizing the visual effects, you can strike a balance between aesthetics and resource utilization.
Here’s how you can adjust the visual effects settings:
- Windows:
- Right-click on the Start button and select “System.”
- In the System window, click on “Advanced system settings” on the left-hand side.
- Under the “Performance” section, click on the “Settings” button.
- In the Performance Options window, choose either the “Adjust for best performance” option to completely disable visual effects or select the “Custom” option to manually choose specific visual effects to enable or disable.
- After making your selection, click “Apply” and then “OK.”
- Mac:
- Click on the Apple menu and select “System Preferences.”
- In the System Preferences window, click on “Accessibility.”
- In the Accessibility sidebar, select “Display” on the left-hand side.
- Check the box next to “Reduce motion” to limit the visual effects and animations.
By adjusting visual effects settings, you can reduce the strain on your computer’s resources, allowing for improved performance, faster responsiveness, and lower RAM usage. Here are a few specific visual effects settings to consider:
- Transparency effects: Disabling or reducing the transparency effects in your operating system can reduce the demand on your graphics card and RAM. This includes transparent windows, menus, and other interface elements.
- Animation effects: Disabling or minimizing animated effects, such as animated window transitions or opening/closing animations, can help conserve system resources and decrease RAM usage.
- Live wallpapers: If you’re using an animated or interactive wallpaper, consider switching to a static image. Live wallpapers can consume significant system resources, including RAM, especially if they are resource-intensive.
- Menu and window effects: Minimizing or disabling visual effects like drop shadows, window animations, and menu fading can reduce the strain on your system resources, resulting in lower RAM usage.
Keep in mind that reducing visual effects may sacrifice some of the aesthetic appeal or visual smoothness of your operating system. Find a balance that suits your preferences while still optimizing system performance.
Adjusting visual effects settings can be especially beneficial for computers with limited RAM or older hardware, as it allows for a more efficient allocation of system resources. Experiment with different settings and monitor the impact on RAM usage to find the optimal balance of visuals and performance for your specific needs.
Increase virtual memory
Virtual memory, also known as the page file, is a portion of your computer’s hard drive that the operating system uses as a placeholder for data that doesn’t fit in the physical RAM. By increasing the virtual memory allocation, you can supplement your RAM and potentially reduce the strain on system resources, including RAM usage.
Here’s how you can increase virtual memory:
- Windows:
- Open the Control Panel by searching for it in the Start menu.
- Click on “System” or “System and Security” and then choose “System.”
- In the System window, click on “Advanced system settings” on the left-hand side.
- In the System Properties window, go to the “Advanced” tab and click on the “Settings” button under the “Performance” section.
- In the Performance Options window, go to the “Advanced” tab and click on the “Change” button under the “Virtual memory” section.
- Uncheck the option “Automatically manage paging file size for all drives.”
- Select the desired drive, usually the one containing your operating system, and choose “Custom size.”
- Set the initial size (MB) and maximum size (MB) for the virtual memory allocation. It’s recommended to set the initial size equal to the size of your physical RAM and the maximum size to a higher value.
- Click “Set” and then “OK” to apply the changes.
- Restart your computer for the changes to take effect.
- Mac:
- Open the Finder and go to the “Applications” folder.
- Open the “Utilities” folder and launch “Terminal.”
- In the Terminal window, type the following command and press Enter:
sudo nano /private/var/vm/swapfile - Enter your administrator password when prompted.
- In the text editor that opens, change the size of the swapfile by modifying the number after “count=” to the desired value in megabytes (MB).
- Press Ctrl + X, then Y, and finally Enter to save the changes.
- Restart your Mac for the changes to take effect.
Increasing virtual memory effectively adds additional memory capacity to your system, allowing it to handle more data when the physical RAM is full. However, it’s important to note that virtual memory utilizes storage space on your hard drive, which is much slower than RAM. Therefore, relying heavily on virtual memory may result in slightly slower system performance.
It’s recommended to set the virtual memory size within a reasonable range to achieve a balance between increased memory capacity and performance. Allocating too much virtual memory can lead to excessive disk usage and potential performance degradation.
Increasing virtual memory can be particularly useful for computers with limited physical RAM or those running memory-intensive applications. It provides an additional buffer space for temporary data storage, reducing the likelihood of system slowdowns and crashes due to insufficient memory.
Remember to monitor your system’s resource usage and adjust virtual memory accordingly if you notice continued high RAM usage or frequent memory-related issues.
Disable unnecessary services
Services are background processes that run on your computer and provide various functionalities or perform specific tasks. While some services are essential for the proper functioning of your operating system, there are often unnecessary services that run by default, consuming valuable system resources, including RAM. Disabling these unnecessary services can help reduce RAM usage and optimize your computer’s performance.
Here’s how you can disable unnecessary services:
- Windows:
- Press the Windows key + R to open the Run dialog box.
- Type “services.msc” and press Enter to open the Services window.
- In the Services window, you’ll see a list of all the services running on your computer.
- Identify the unnecessary services by carefully reviewing their names and descriptions.
- Right-click on a service and select “Properties” to learn more about it.
- If you determine that a service is unnecessary, right-click on it and choose “Stop” to stop it from running immediately.
- To prevent a service from starting automatically in the future, right-click on it and choose “Properties.” In the Properties window, change the “Startup type” to “Disabled” or “Manual.”
- Repeat these steps for any other unnecessary services.
- Exercise caution and ensure that you do not disable any critical services that are necessary for the functioning of your system or other software.
- Mac:
- Click on the Apple menu and select “System Preferences.”
- In the System Preferences window, click on “Users & Groups” or “Users & Accounts.” Select your user account on the left-hand side.
- Click on the “Login Items” tab to view the list of services or applications that start automatically when you log in to your Mac.
- Select the services or applications you want to disable and click on the “-” button to remove them from the list.
- Close the System Preferences window.
When deciding which services to disable, keep the following in mind:
- Research: Research the purpose and function of a service before disabling it. Look for information online or consult technical resources to ensure that you’re not disabling a critical service that may impact your system’s stability or functionality.
- Third-party services: Some software and applications install additional services that run in the background. Evaluate these services and consider whether they are necessary for the functioning of the associated software. Be cautious when disabling third-party services.
- System performance: Consider the impact on system performance and functionality when disabling services. Disabling certain services may prevent specific features or functionalities from working properly.
Disabling unnecessary services can significantly reduce system resource usage, particularly RAM usage. This optimization helps improve overall performance and responsiveness, enabling your computer to allocate more resources to the applications and tasks you are actively using.
Regularly review and update the list of disabled services as your computing needs and software usage change over time.
Update your operating system
Maintaining an updated operating system is essential for both security and performance reasons. Operating system updates often include bug fixes, performance improvements, and optimizations to various system components, including memory management. By regularly updating your operating system, you can help reduce RAM usage and ensure that your computer is running at its best.
Here’s how you can update your operating system:
- Windows:
- Open the Start menu and go to “Settings.”
- Click on “Update & Security.”
- In the Windows Update section, click on “Check for updates.”
- If updates are available, click on “Download” or “Install” to initiate the update process.
- Follow the on-screen prompts to complete the update installation.
- Restart your computer if prompted.
- Mac:
- Click on the Apple menu and select “System Preferences.”
- In the System Preferences window, click on “Software Update.”
- If updates are available, click on the “Update Now” button.
- Enter your administrator password if prompted.
- Follow the on-screen instructions to download and install the updates.
- Restart your Mac if prompted.
By updating your operating system, you can benefit from the following:
- Bug fixes: Operating system updates often include fixes for known issues and bugs. These fixes can help resolve memory-related issues and improve overall system stability.
- Performance improvements: Updates may bring performance optimizations to the operating system and its components, including memory management. These improvements can lead to reduced RAM usage and enhanced system responsiveness.
- Security enhancements: Regular updates ensure that your system is protected against the latest security threats. Security updates can help prevent malware and other malicious activities that could impact system performance and resource usage.
- Compatibility improvements: Updates can address compatibility issues with hardware, drivers, and third-party software. By keeping your operating system up to date, you can ensure optimal compatibility and minimize potential conflicts that may impact memory usage.
Remember to schedule regular checks for updates and enable automatic updates whenever possible. This ensures that your operating system remains up to date with the latest improvements and fixes, reducing the risk of performance issues and optimizing memory management.
Operating system updates are an integral part of computer maintenance, helping to keep your system running smoothly and efficiently. Incorporating this practice into your routine can have a positive impact on RAM usage and overall system performance.
Upgrade your RAM capacity
If you consistently experience high RAM usage and sluggish system performance, upgrading your computer’s RAM capacity can be a viable solution. RAM, or Random Access Memory, is a critical component that directly affects the speed and efficiency of your computer’s operations. By increasing the amount of RAM available, you can improve multitasking capabilities, reduce reliance on virtual memory, and enhance overall system performance.
Here are the steps to upgrade your RAM capacity:
- Research compatible RAM: Determine the type and specifications of RAM compatible with your computer. Identify the maximum RAM capacity your system can support by referring to the manufacturer’s documentation or conducting an online search. Consider factors like the RAM type (DDR3, DDR4), speed (MHz), and capacity (GB).
- Purchase new RAM modules: Purchase RAM modules that match the specifications of your computer. Ensure that the modules are from reliable manufacturers and meet quality standards. It is also advisable to buy RAM modules with the same specifications to ensure compatibility and optimal performance.
- Power down and disconnect: Before proceeding with the installation, power down your computer and disconnect all cables. Make sure you are working in a static-free environment to prevent any damage to the computer or the RAM modules.
- Locate and access RAM slots: Open your computer’s case or access panel to locate the RAM slots. Refer to your computer’s manual or search for online resources specific to your model for guidance on accessing the RAM slots.
- Remove existing RAM modules: Gently press the side clips on the RAM slots to release the existing RAM modules. Carefully remove the modules from their slots by pulling them straight out. Keep the modules in an anti-static bag to prevent damage.
- Install new RAM modules: Align the new RAM modules with the slots and insert them at a slight angle. Apply gentle and even pressure until the modules are fully seated in the slots. The side clips should automatically lock into place once the modules are properly installed.
- Secure and close: Ensure that the new RAM modules are securely in place. Close the case or access panel of your computer and reconnect all cables. Power on your computer and confirm that the system recognizes the new RAM capacity.
Upgrading your RAM capacity can notably improve your computer’s performance, especially if you often work with resource-intensive applications or multitask heavily. With additional RAM, your computer can handle larger data sets more efficiently, reducing the need for virtual memory and improving responsiveness.
Keep in mind that upgrading RAM is not always possible or cost-effective. Some computers, particularly laptops or certain models, may have limited or non-upgradable RAM. In such cases, it may be necessary to consider alternative solutions like optimizing system settings, closing unused programs, or upgrading to a newer computer with higher RAM capacity.
Before upgrading your RAM, it’s recommended to consult the documentation provided by your computer’s manufacturer or seek assistance from a professional if needed. They can guide you through the process and ensure compatibility with your specific hardware configuration.
Ultimately, upgrading your RAM capacity can provide a significant performance boost, allowing for smoother multitasking and faster response times, thus enhancing your overall computing experience.
Conclusion
Optimizing RAM usage is crucial for ensuring efficient computer performance and smooth multitasking. By implementing the strategies discussed in this article, you can free up RAM and enhance your computer’s responsiveness:
- Close unnecessary programs: Closing programs that are not actively in use can significantly reduce RAM usage.
- Disable startup programs: Disabling unnecessary programs from starting automatically can minimize RAM consumption during startup.
- Clear browser cache: Regularly clearing your browser’s cache can free up memory and improve browsing performance.
- Use a lightweight antivirus software: Choosing a lightweight antivirus program can provide robust protection while minimizing RAM usage.
- Uninstall unused programs: Removing programs that are no longer needed can free up storage space and reduce RAM usage.
- Adjust visual effects settings: Modifying visual effects and animations can reduce RAM consumption without sacrificing aesthetics.
- Increase virtual memory: Adjusting virtual memory settings can supplement physical RAM and enhance overall system performance.
- Disable unnecessary services: Disabling unnecessary background services can reduce system resource usage, including RAM.
- Update your operating system: Regularly updating your operating system ensures that you benefit from bug fixes, performance improvements, and memory optimizations.
- Upgrade your RAM capacity: Increasing your computer’s RAM capacity can provide a significant boost in performance, particularly for resource-intensive tasks and multitasking.
Remember, it’s essential to strike a balance between optimization and functionality. Carefully evaluate which strategies are most suitable for your specific needs and hardware configuration.
By implementing these techniques and continuously monitoring your computer’s RAM usage, you can create a smoother computing experience, enhance productivity, and enjoy the full potential of your system.